As a remix of this, I also modeled up parts just for those who either have printed, or will be printing, their XZ plates (as opposed to buying or making milled XZ plates), and who also desire to swap their X&Y axes.
LowRider 3 CNC - reversal of homing on short axis (for swapping X & Y axes) FOR PRINTED XZ PLATES (v1.3b)
https://www.printables.com/model/230531-lowrider-3-cnc-reversal-of-homing-on-short-axis-fo
Here are some details and pics:
This remix seeks to accommodate owners (or potential makers) of a LowRider v3 MPCNC who either have printed, or plan to print, their XZ plates (as opposed to buying or making milled metal XZ plates) and who also desire to flip the homing direction of the short axis, which by default is called X, as they also seek to swap the X and Y axes of the CNC machine, as documented and explained here. If you don’t want to reverse your short axis homing, you don’t need this. If you want to swap your X & Y axes, you probably need to reverse your short axis homing, and this should work for that.
Full disclosure: I did this with milled XY plates, not printed. I made this remix not for myself, but for others. Accordingly, until someone tries this with printed plates, and succeeds, I cannot properly guarantee it has no issues. If you make it, post your make and alert me to any issues.
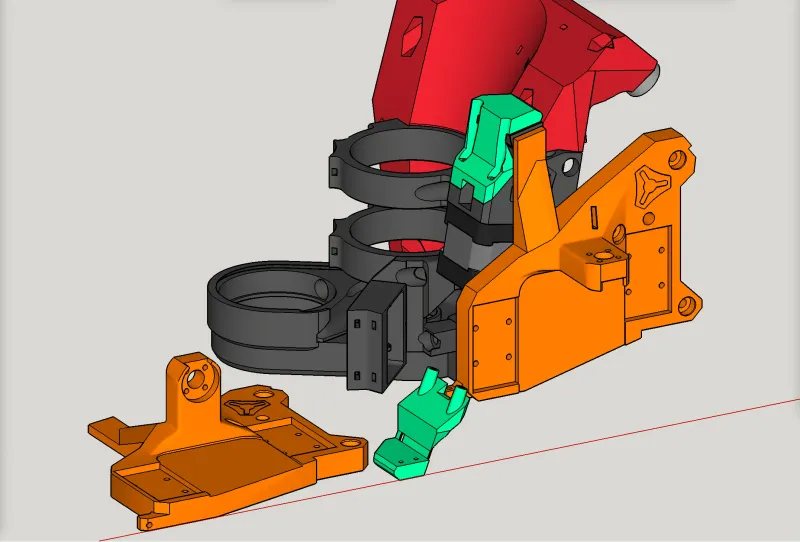
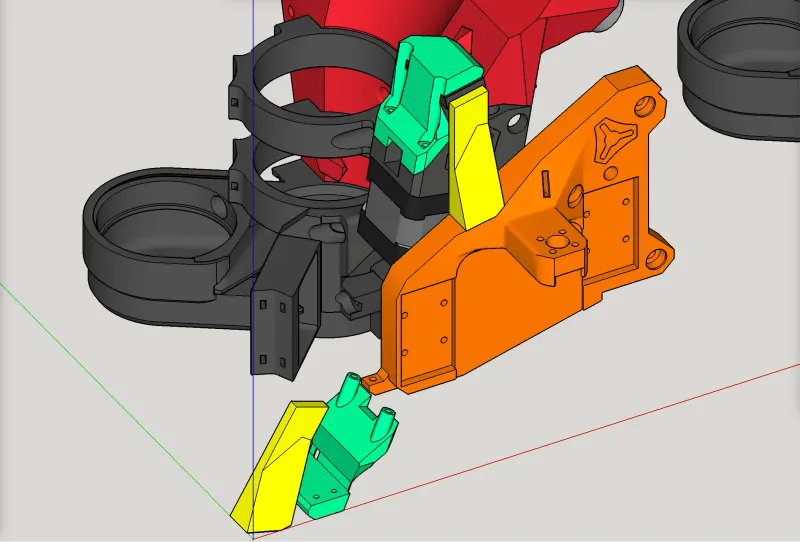
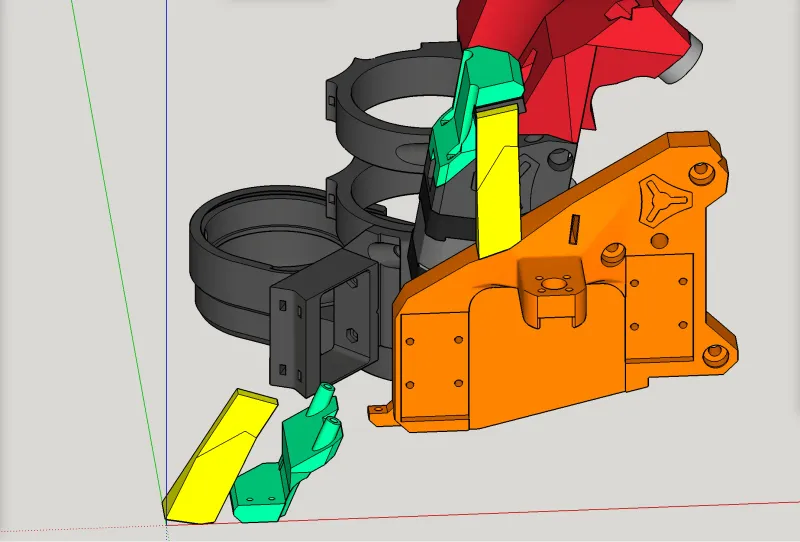
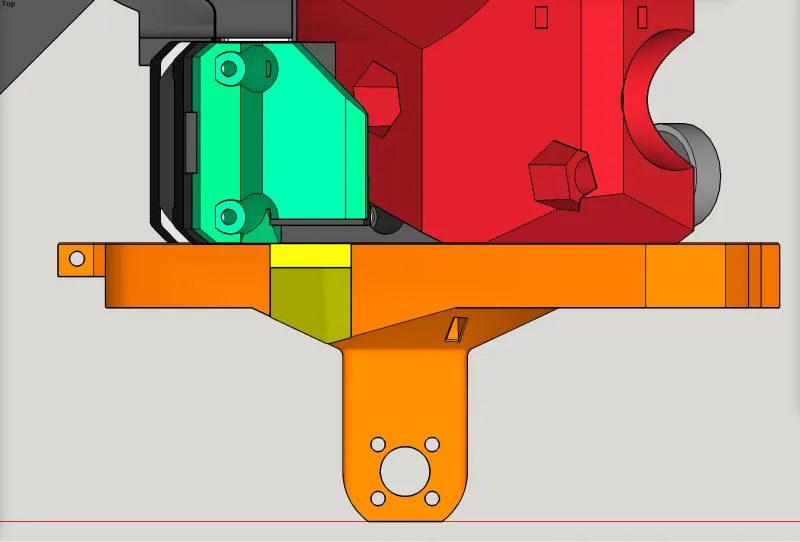
In the illustrations below, obviously the colorations are only for identification purposes.
For makers who have already 3D-printed their XZ-plate-right
Makers who have already 3D-printed their XZ-plate-right can print a stand-alone addon tab and glue it onto their existing XZ plate. This addon tab serves as the end stop surface for their (relocated) end stop switch to touch for triggering. These makers should print the part highlighted in yellow ( “addon-stop-tab-for-printed-XZ-plate-right-v1.3b.stl” ) and epoxy it onto their existing XZ plate as shown below ( plate shown in orange ). They also should should print the part highlighted in green ( “X end stop mount (for reversal of homing) (for printed XZ plate) v1.3b.stl” ), attach the end stop switch to it, and install it onto their existing X motor mount as shown below. This involves removing the two front screws holding the motor to the mount, which are short M3 screws, and replacing them with two M3 x 30mm screws that go through the new end stop switch mount, through the existing motor mount, and into the stepper motor.
These parts can be printed in PLA, with 30% infill and 3-4 perimeter walls.
For makers who have yet to 3D-print their XZ-plate-right
Makers who have not yet 3D-printed their XZ-plate-right can print the REMIXED XZ-plate-right ( shown in orange ) that has a pre-attached addon tab to serve as the end stop surface for their (relocated) end stop switch to touch for triggering. These makers should print the part highlighted in orange ( “REMIXED_printed_xz-plate-right_with-addon-tab-for-reversal-of-homing.stl” ) and use it as their XZ-plate-right as shown below. They also should should print the part highlighted in green ( “X end stop mount (for reversal of homing) (for printed XZ plate) v1.3b.stl” ), attach the end stop switch to it, and install it onto their existing X motor mount as shown below. This involves removing the two front screws holding the motor to the mount, which are short M3 screws, and replacing them with two M3 x 30mm screws that go through the new end stop switch mount, through the existing motor mount, and into the stepper motor.
These parts can be printed in PLA, with 3-4 perimeter walls. The remixed XZ plate should be printed with 70% infill, while the end stop switch mount can be printed with 30% infill.