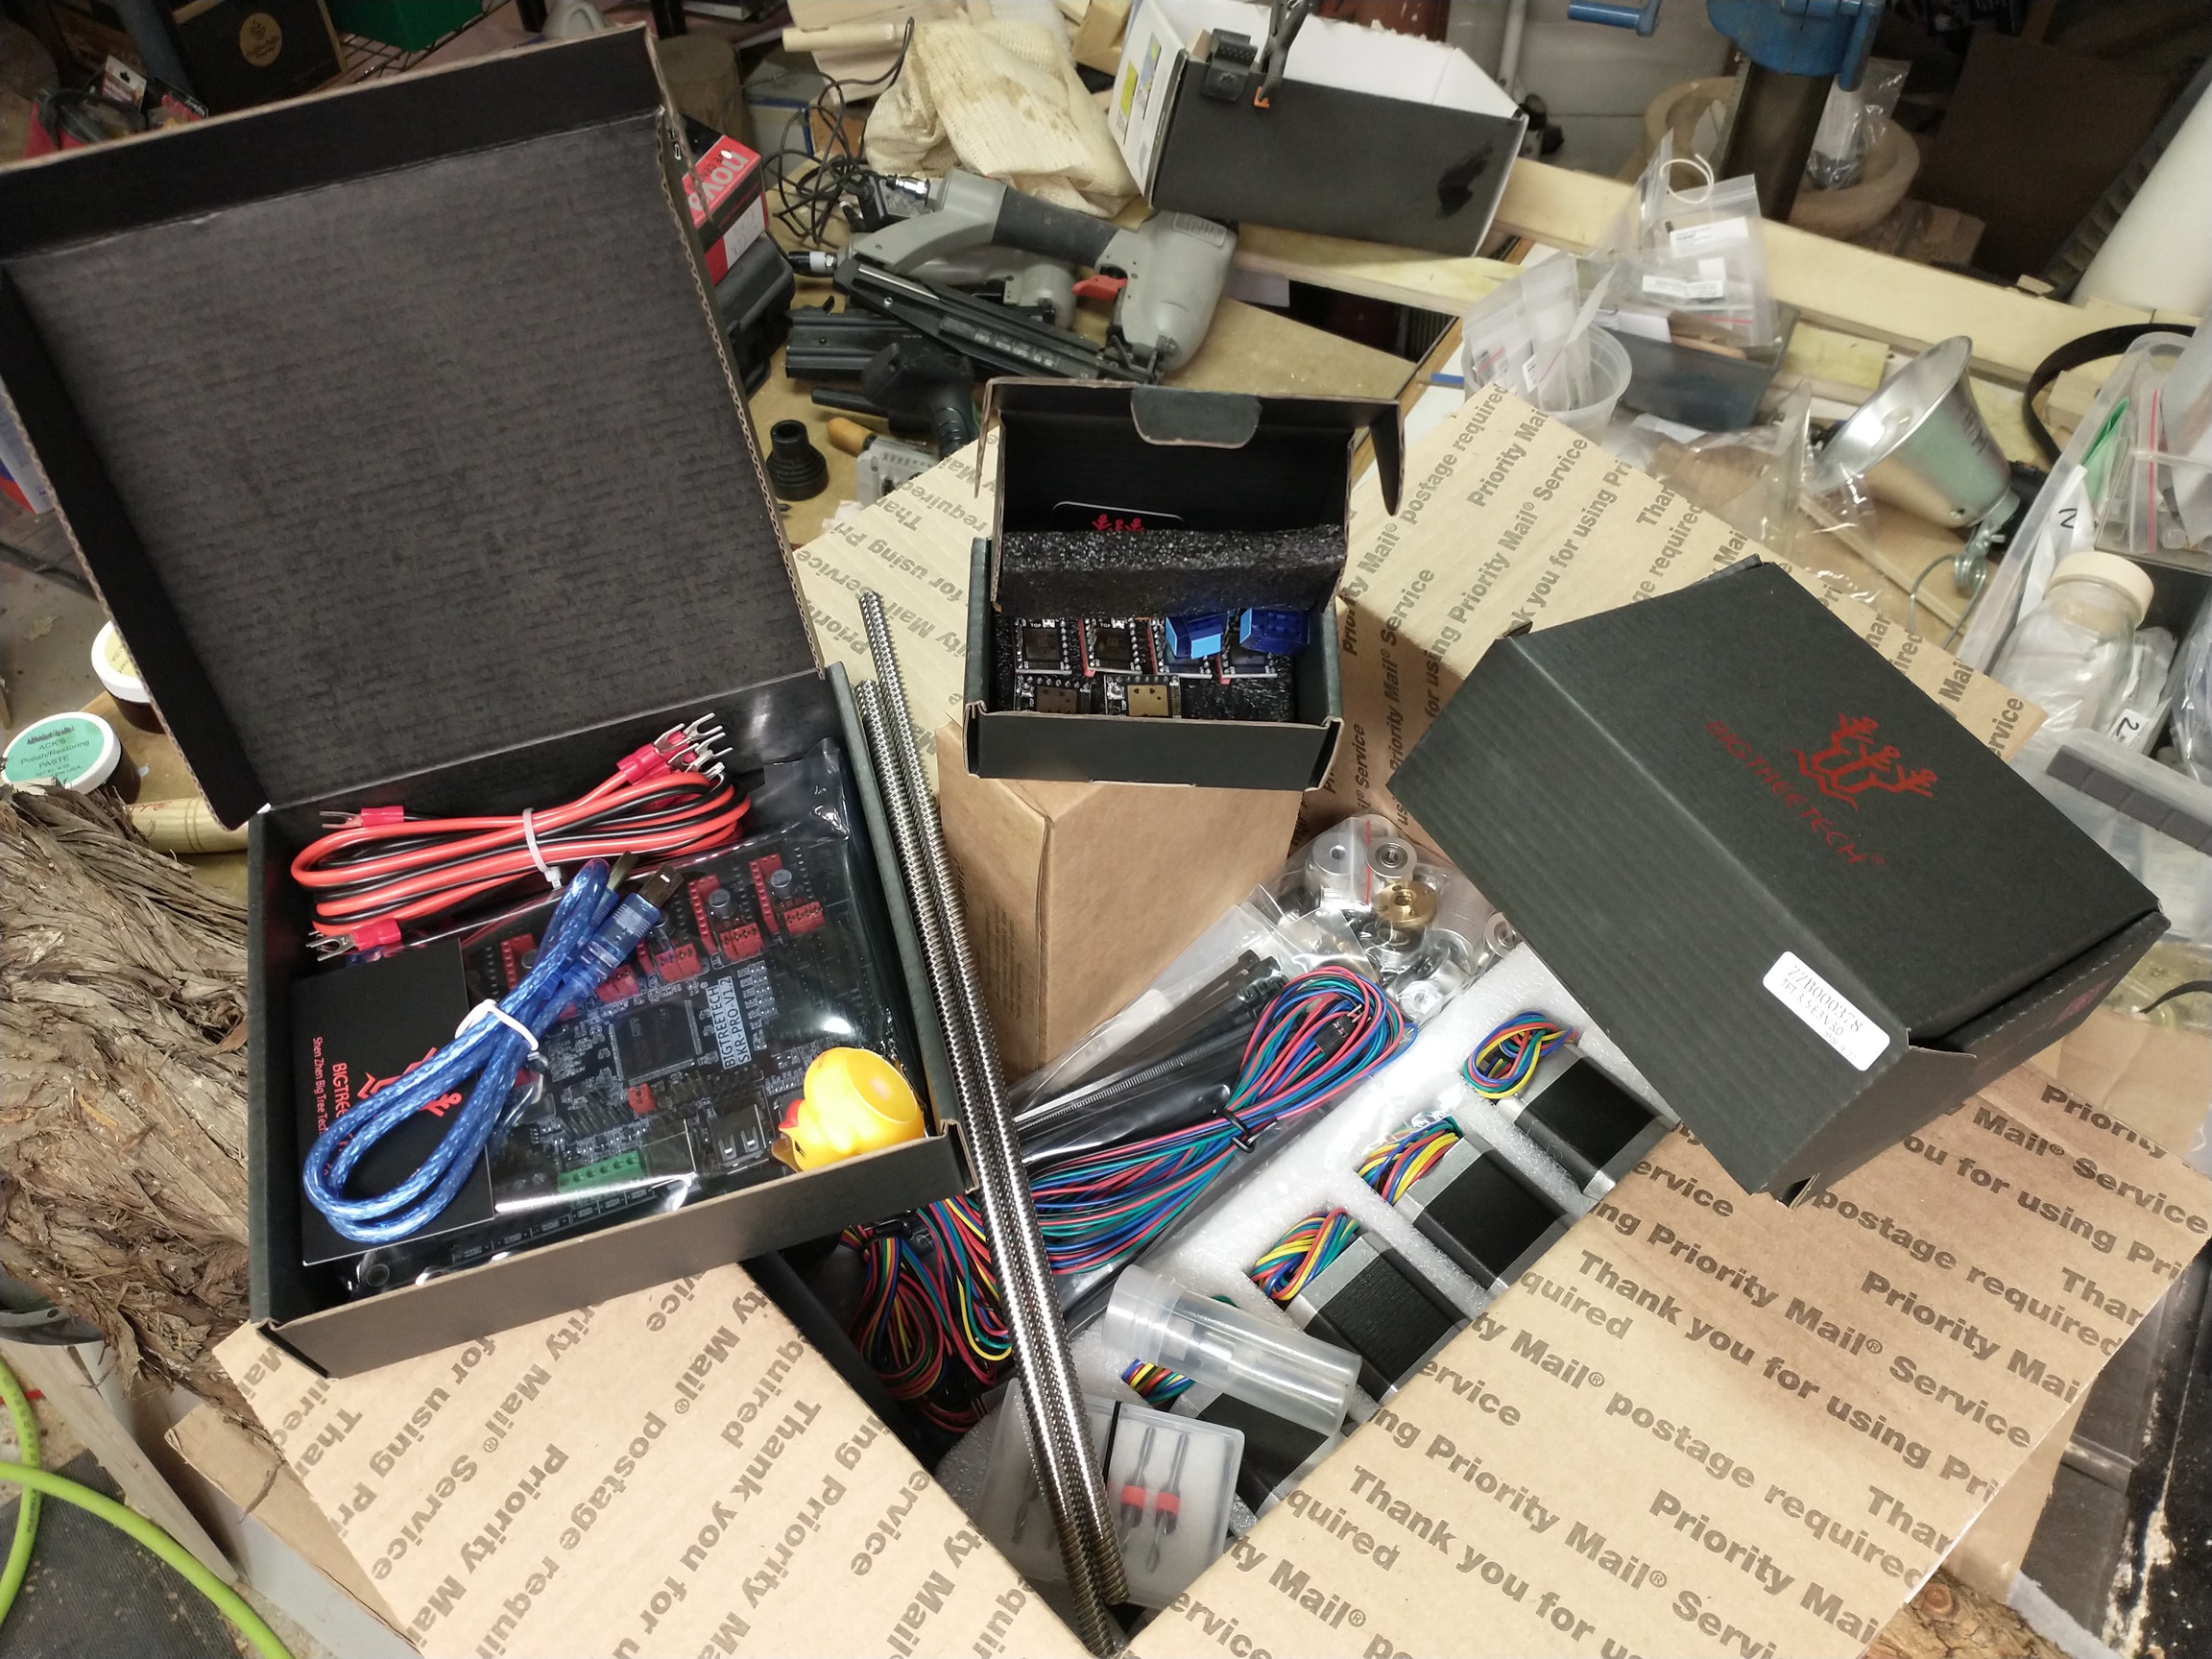
Ruh roh, looks like this just got real. 
7 Likes
Well I have seen everything in that box so I tried to find some interesting stuff fin the rest of the picture  Your table gives me a AvE vibe, if were are in Canaderp…well then you would have just outed yourself.
2 Likes
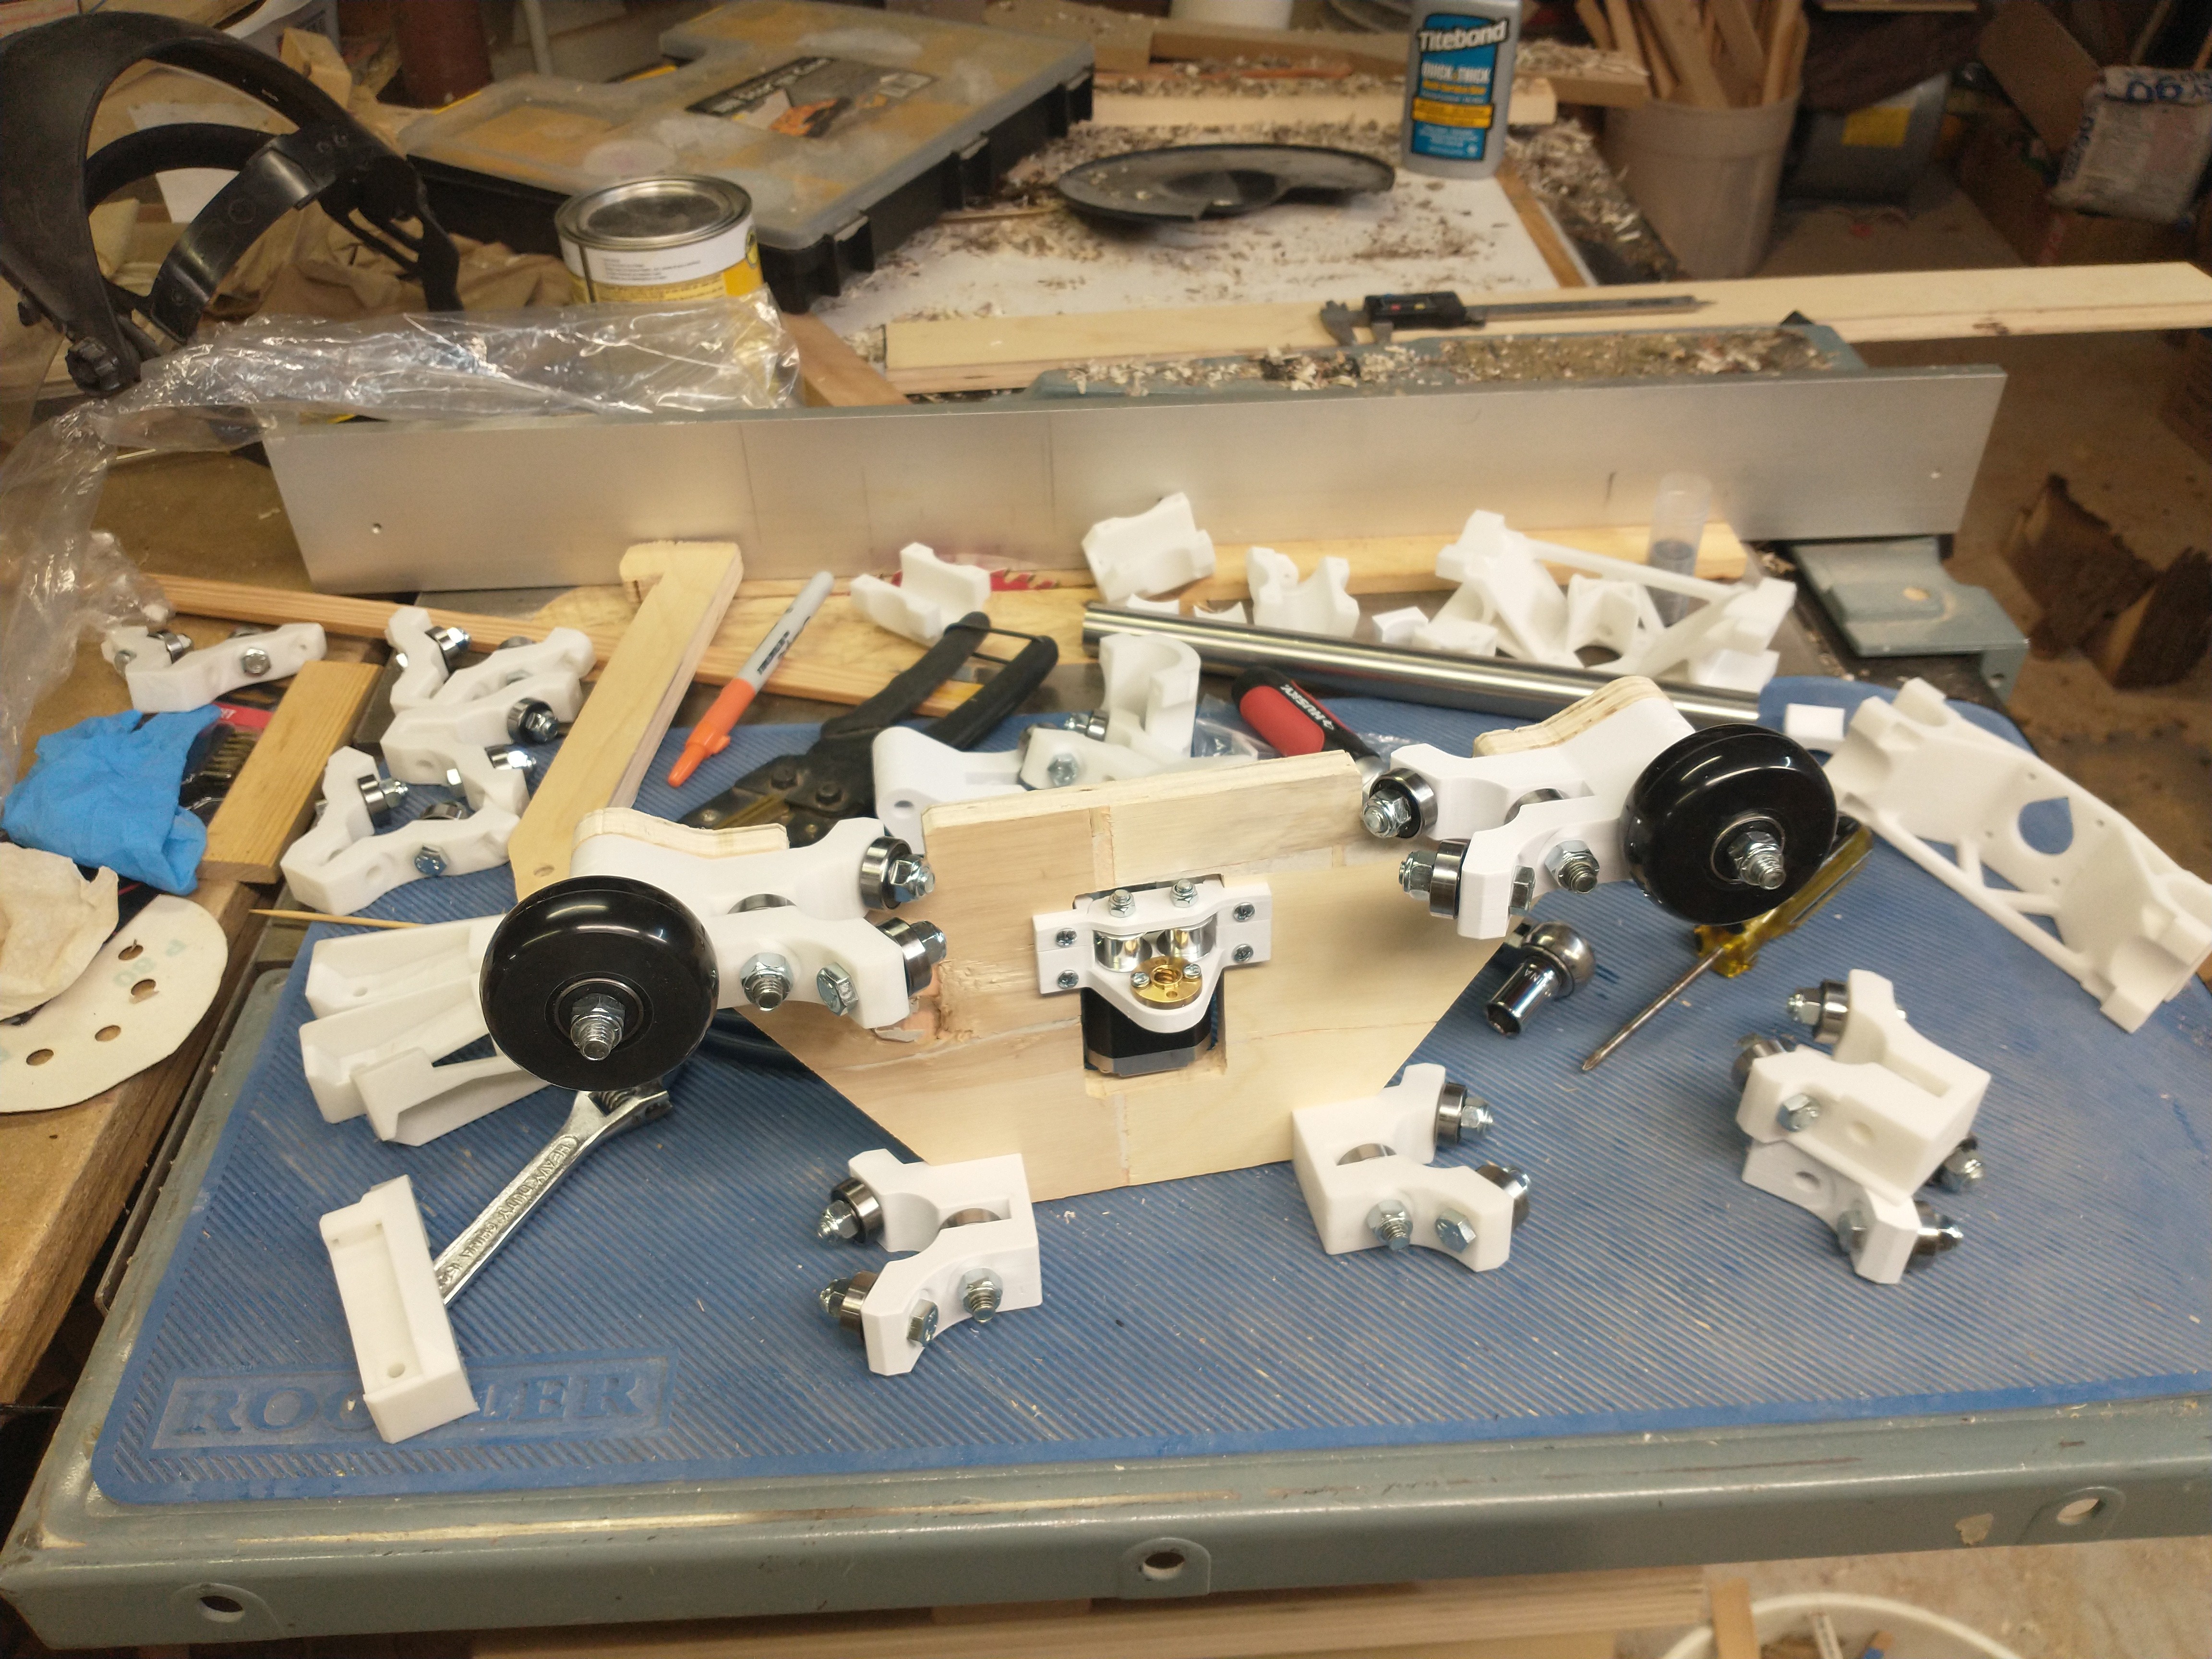
Lol that’s the top of my table saw, covered with logs prepped for the lathe. I’m not nearly as interesting as AvE.
I should have titled this “slow motion build”  finally a little progress. I only had 3/4 ply so planed it down to half inch. I hope to cut some new plates when she’s up and running.
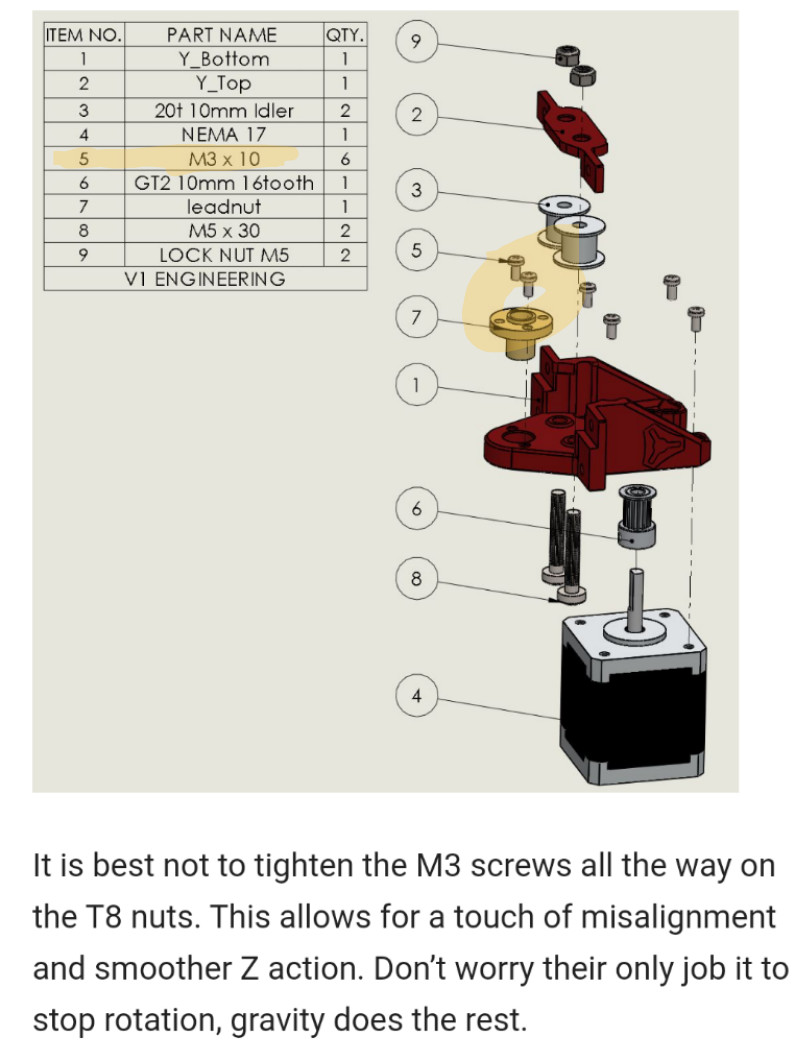
Question about the text here about the m3 screws and the T8 nuts. There are no nuts and my m3’s dropped into the printed part instead of threading in. Is this correct? The brass leadscrew nut can be twisted back and forth just a tiny bit with the two screws in it.
They should thread into the plastic part, I believe. Can you share a pic of the print?
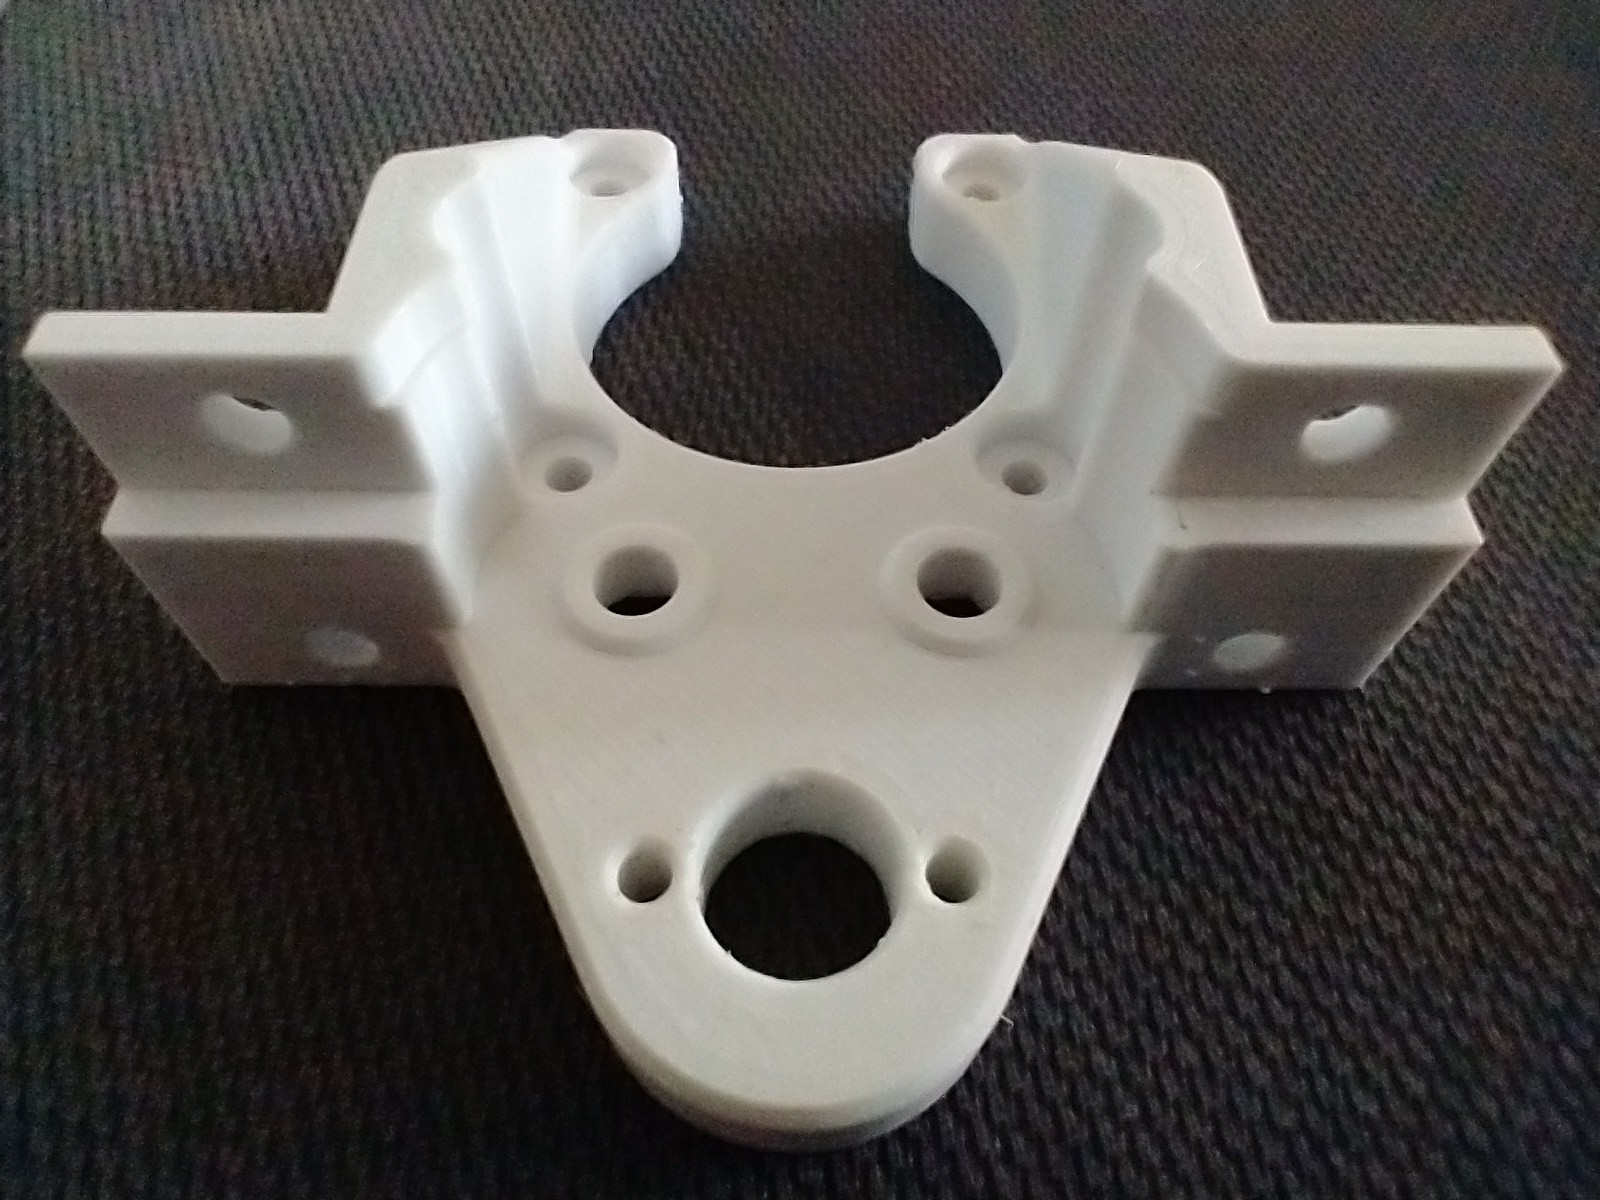
Those holes look too big the screw should thread in just a bit. The good news is they do not do much. Try a drop of superglue or thread locker and let the screws dry in place. The screws only hold the nut from spinning, Gravity does the rest.
1 Like
Thanks Ryan 
I’ve made some good build progress and tonight tried to wire and power up. I downloaded V1CNC_SkrPro_2209-2.0.7.2-src.zip, pulled out the .bin file and put it on the microSD as FIRMWARE.bin and deleted the file FIRMWARE.CUR. I also loaded the SD card for the display as per the instructions. When powered up, the board did the flashy led thing pretty quickly and the display took longer to load. After it all finished, I’m getting “No printer attached” on the display.
I checked the microSD and the file had been renamed to FIRMWARE.CUR so I assume it flashed ok. I tried reflashing anyway just to be sure. Still no joy after reflashing though, still No printer attached message.
Could you please look at my images and see if you can spot anything wrong at all?
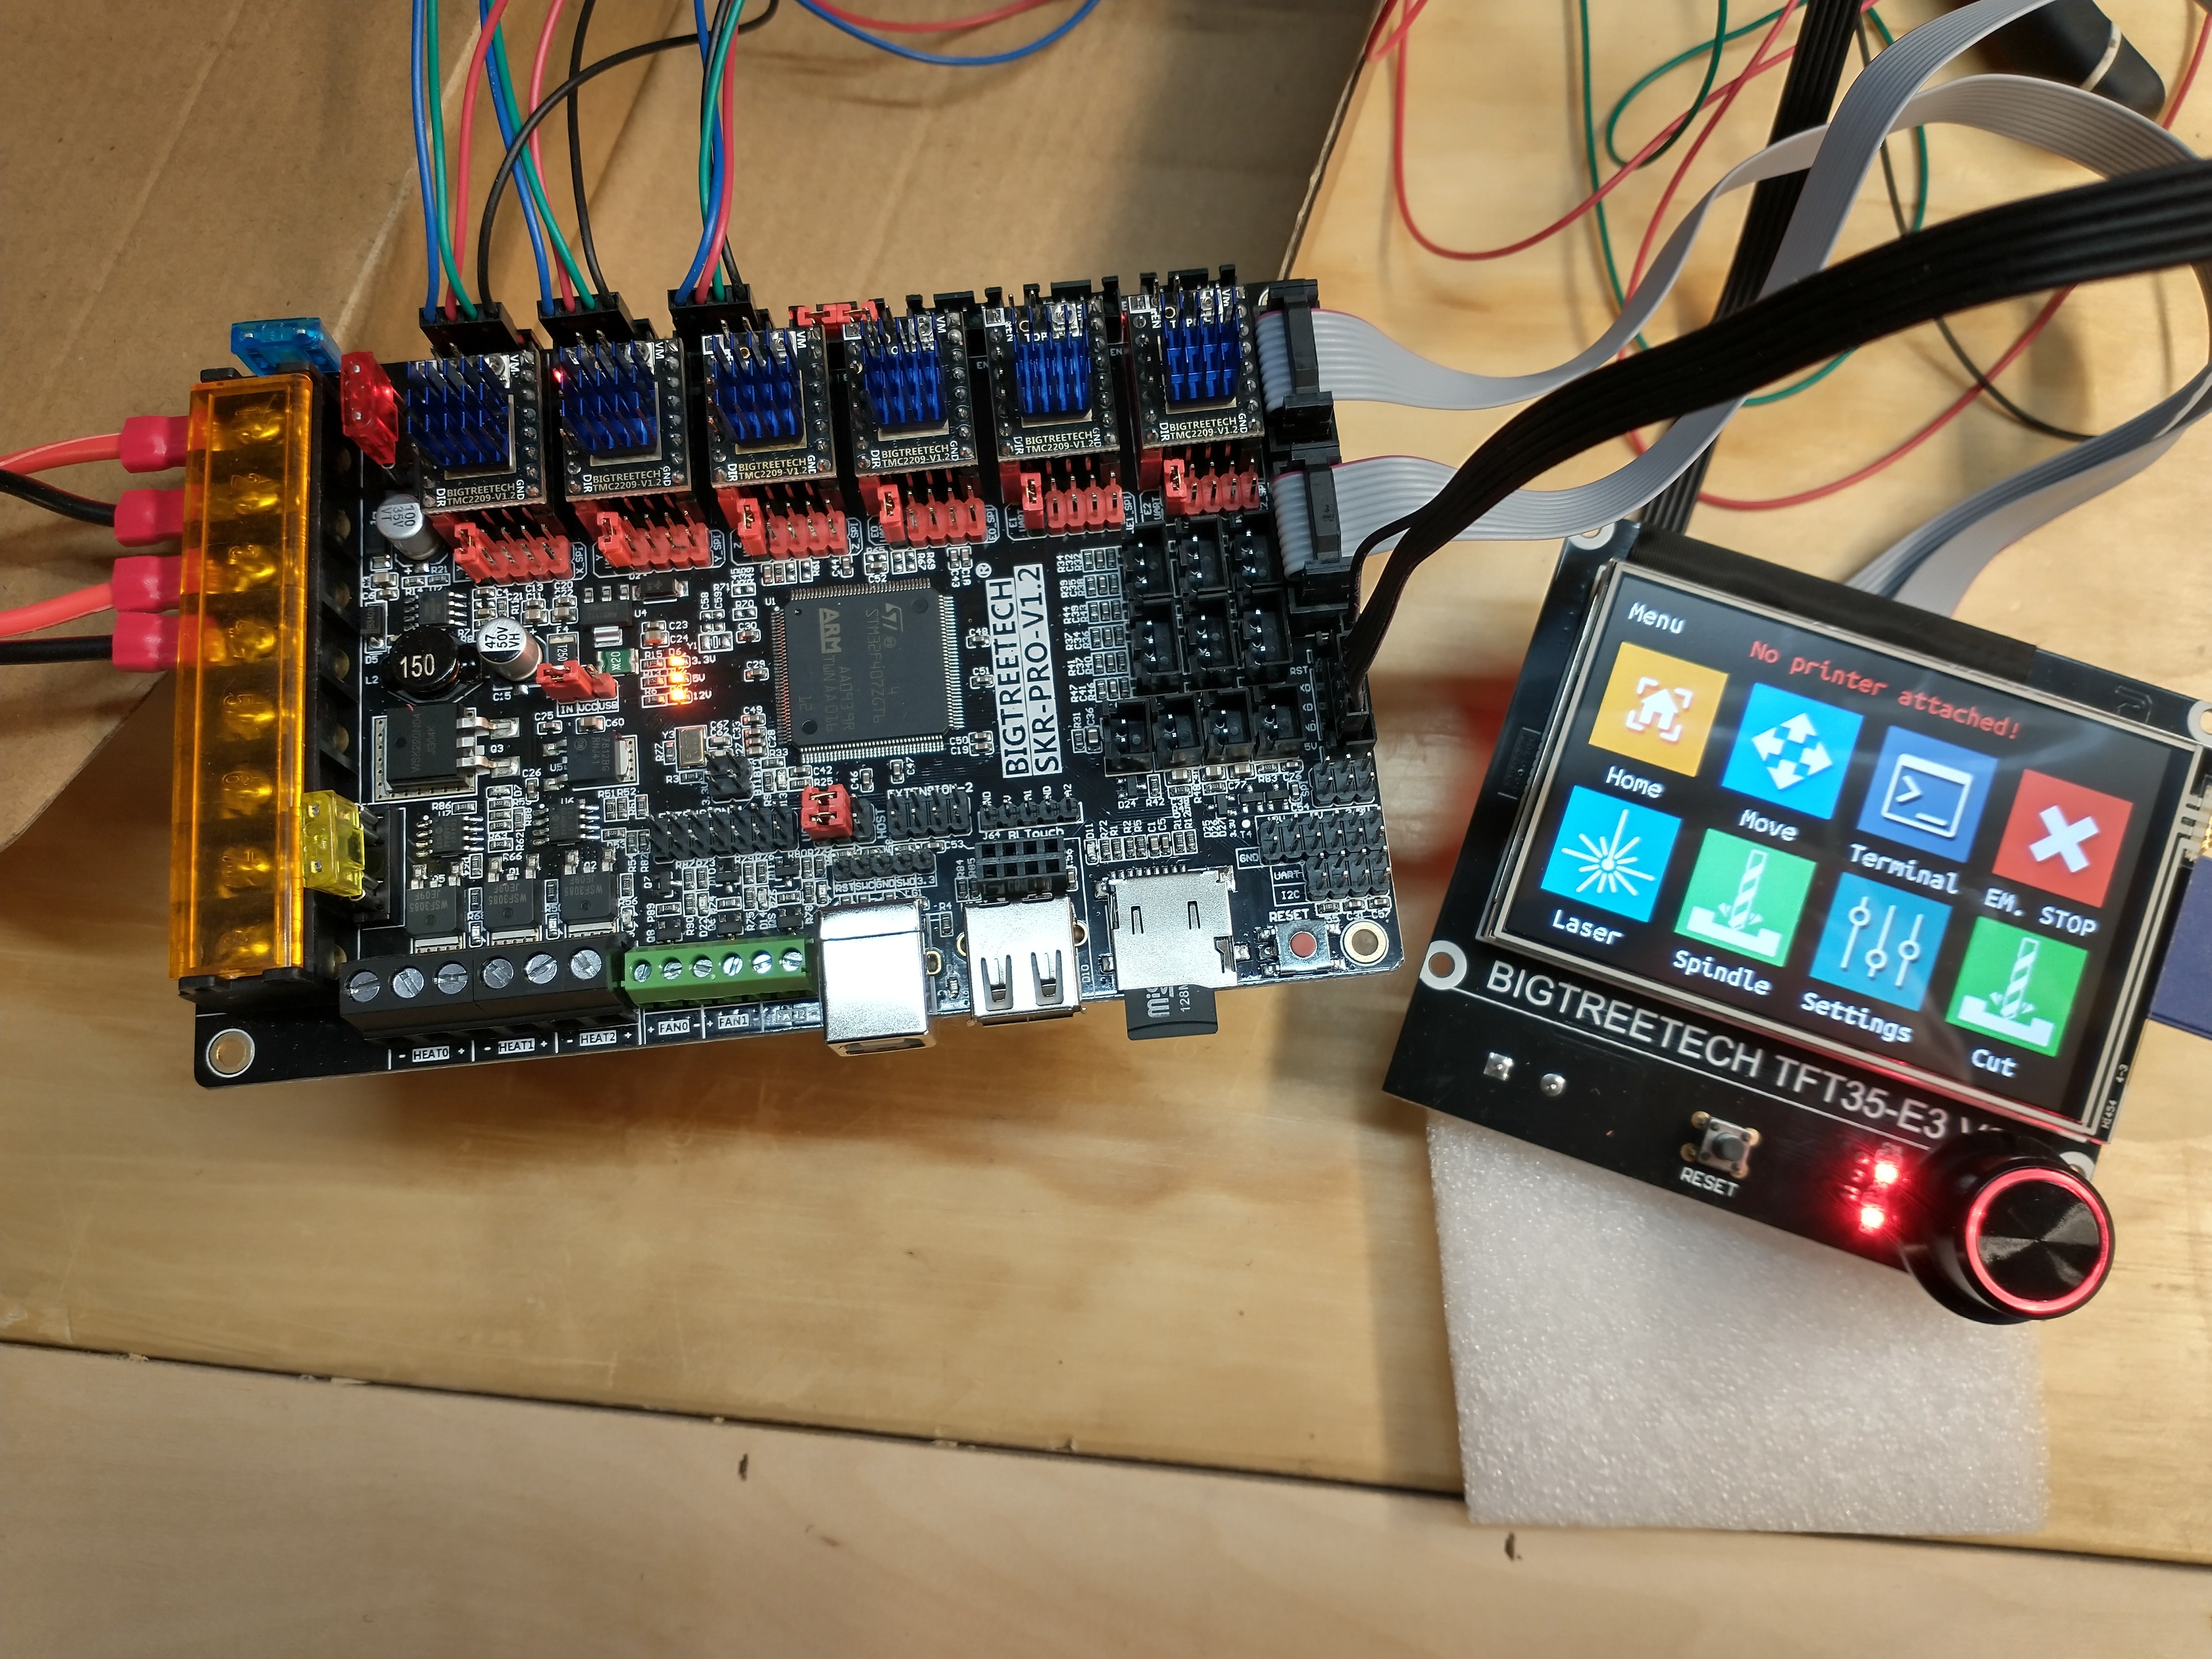


Looks good. The tft is probably just set on 115.2k. You can change it to 250k in the tft menu.
You can also try holding the knob down for 10 seconds and switch to marlin mode to try that out.
1 Like
Thanks a lot Jeff, that got me further. I now remember reading that somewhere in the forum but it didn’t click last night.
I was able to set the baud rate to 250k and it appeared to connect. What I’m seeing now is that when it connects the screen switches to the page that allows choice between touch and marlin mode. Once that happens, I can’t seem to get any response from the touch screen or the knob.
I found if I switch screens to ‘move’ before it connects, I can see and hear the servo motors power up and wiggle a bit just as the screen changes. I’ve attached a video of this behavior. Any thoughts on getting past this would be much appreciated.
https://youtu.be/4O6U_Cpy9SI
The gray cables are causing this. They are probably just plugged in wrong. You can just remove them if you only care about tft mode.
1 Like
Well you nailed that one too. I had them connected properly, I think, but maybe a bad connection. I took them off and touch screen worked great, then reconnected the same way and both modes work great. Thanks again Jeff, you are so very helpful and I really appreciate it.
1 Like
Crown Test!! I used a spring pen mount I found on thingiverse that clips into the xy plate in the router hole. It worked pretty well, but is a bit flexy. Maybe I had z too low and it was doing a bend and drag type movement, that’s what it looked like. But it works! Thanks for the help so far, I’m sure I’ll be needing more when I start trying to get it dirty. ![]()
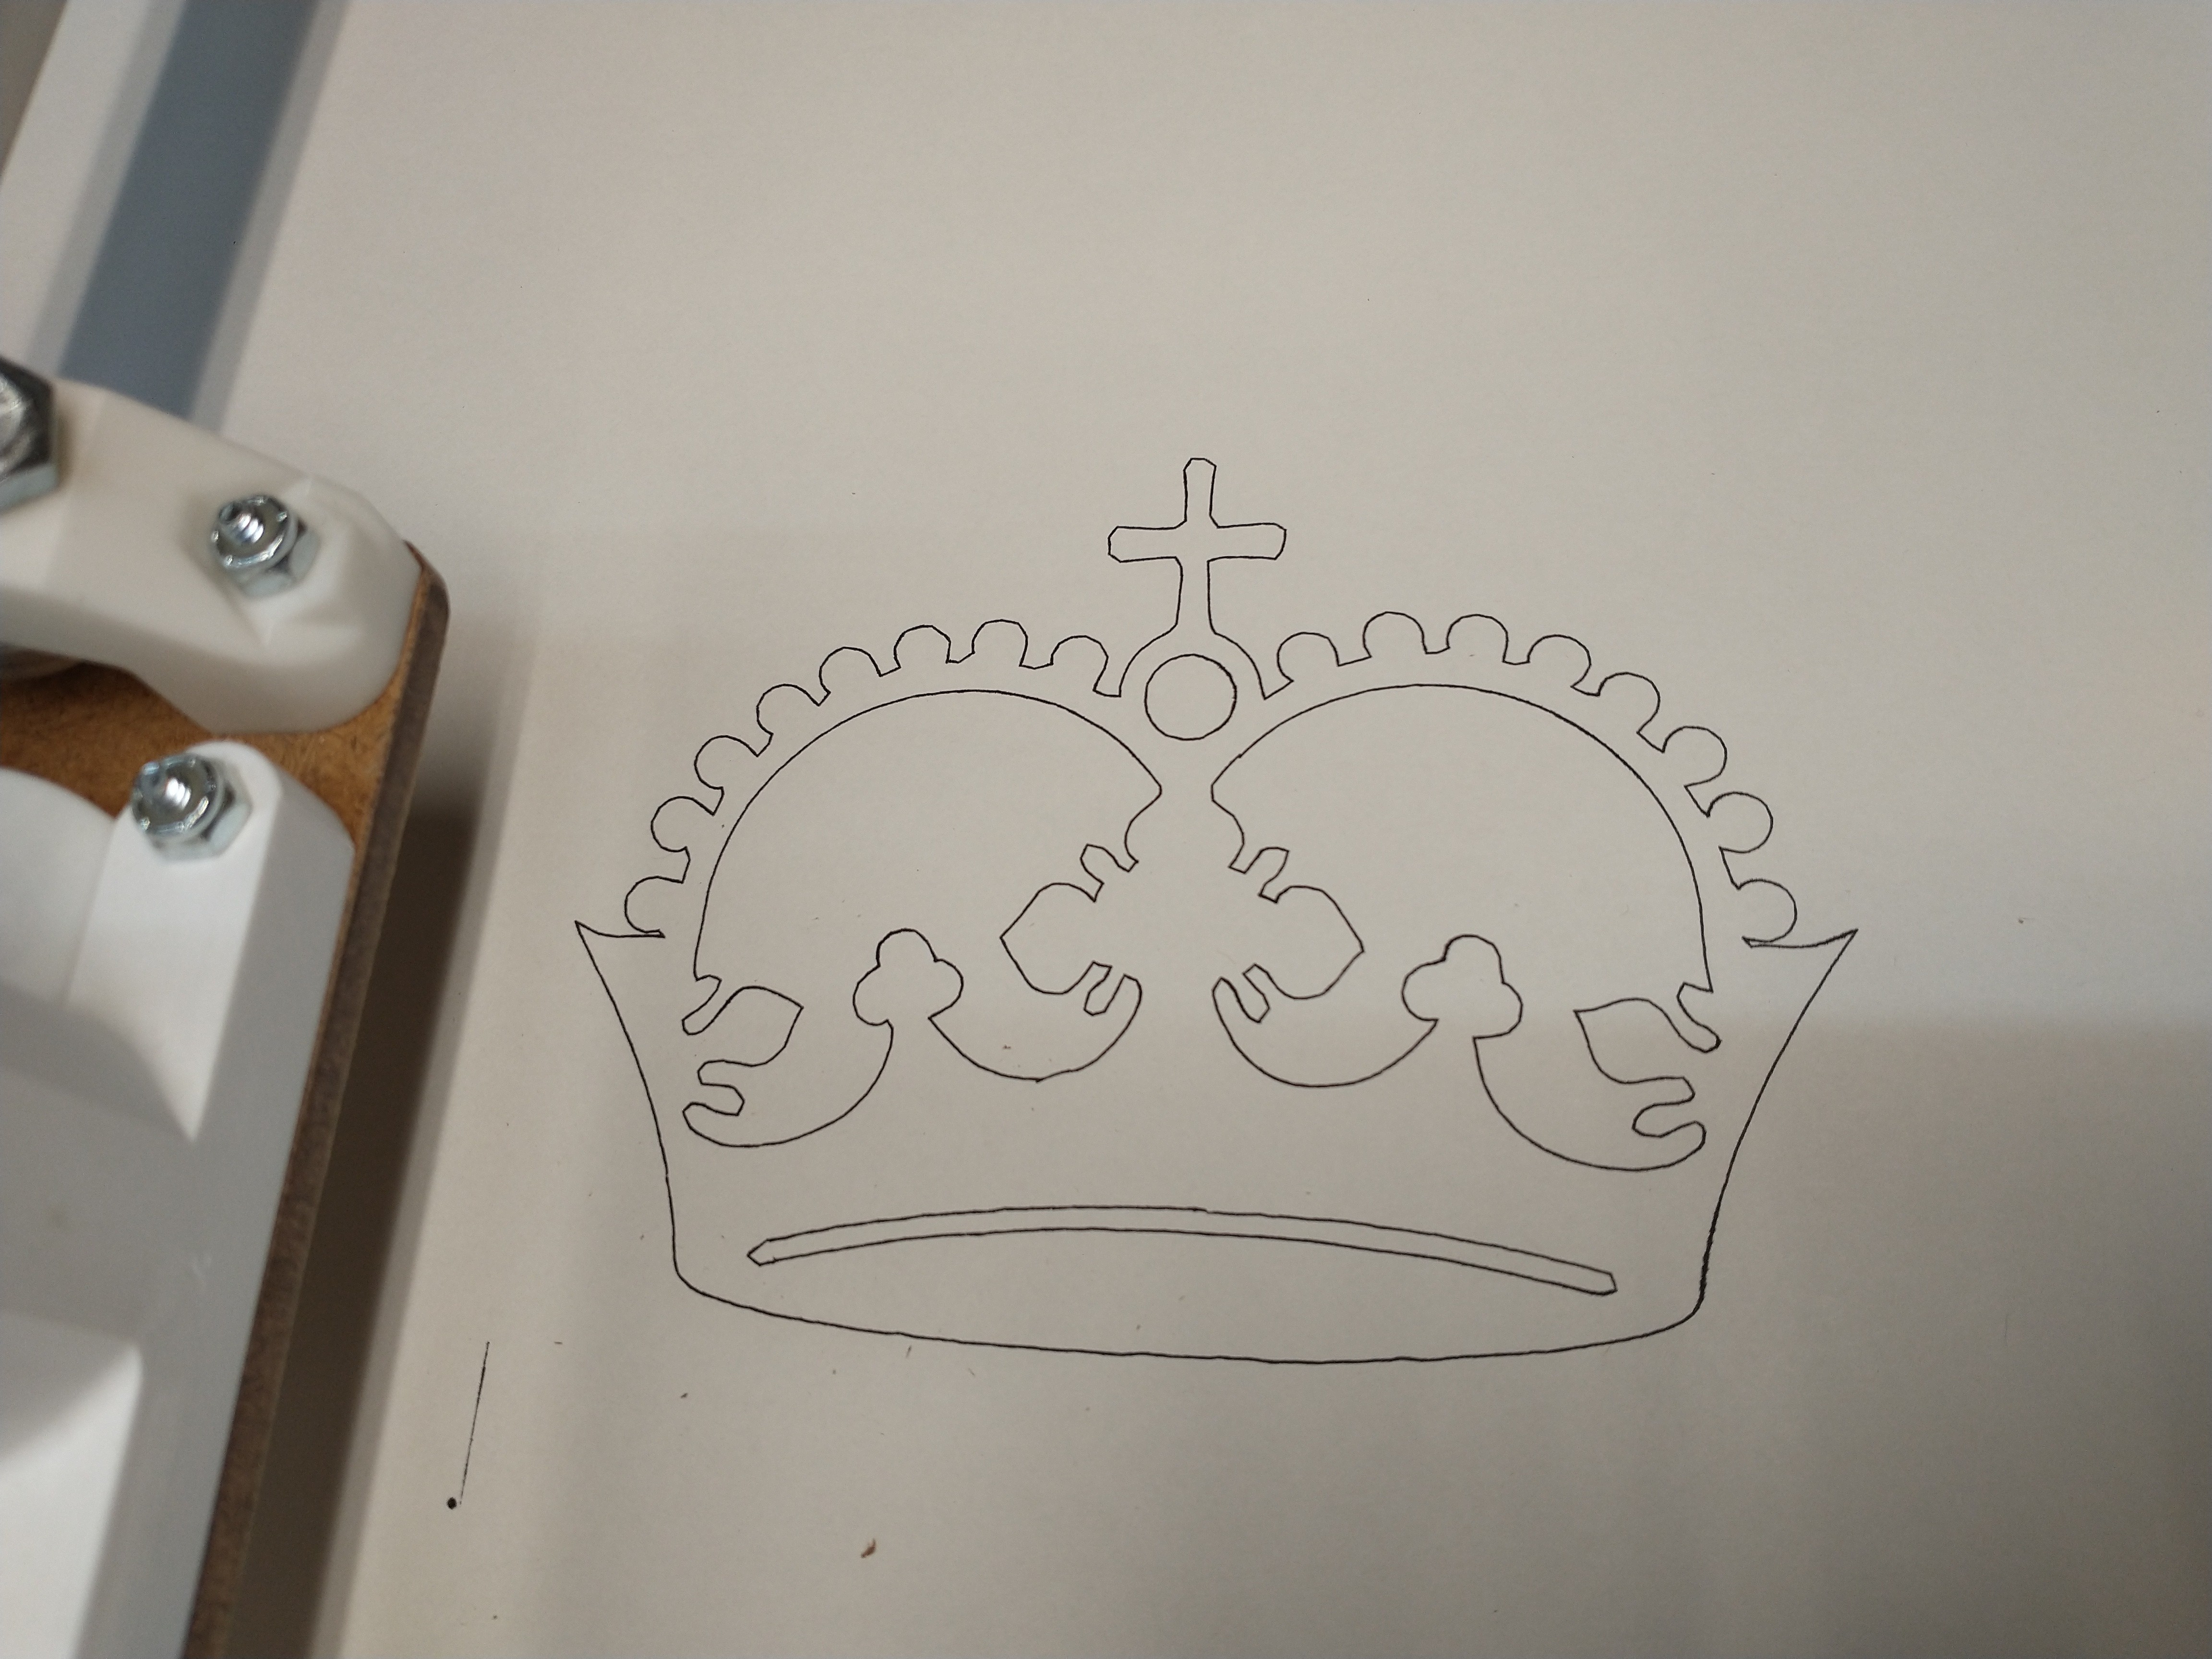
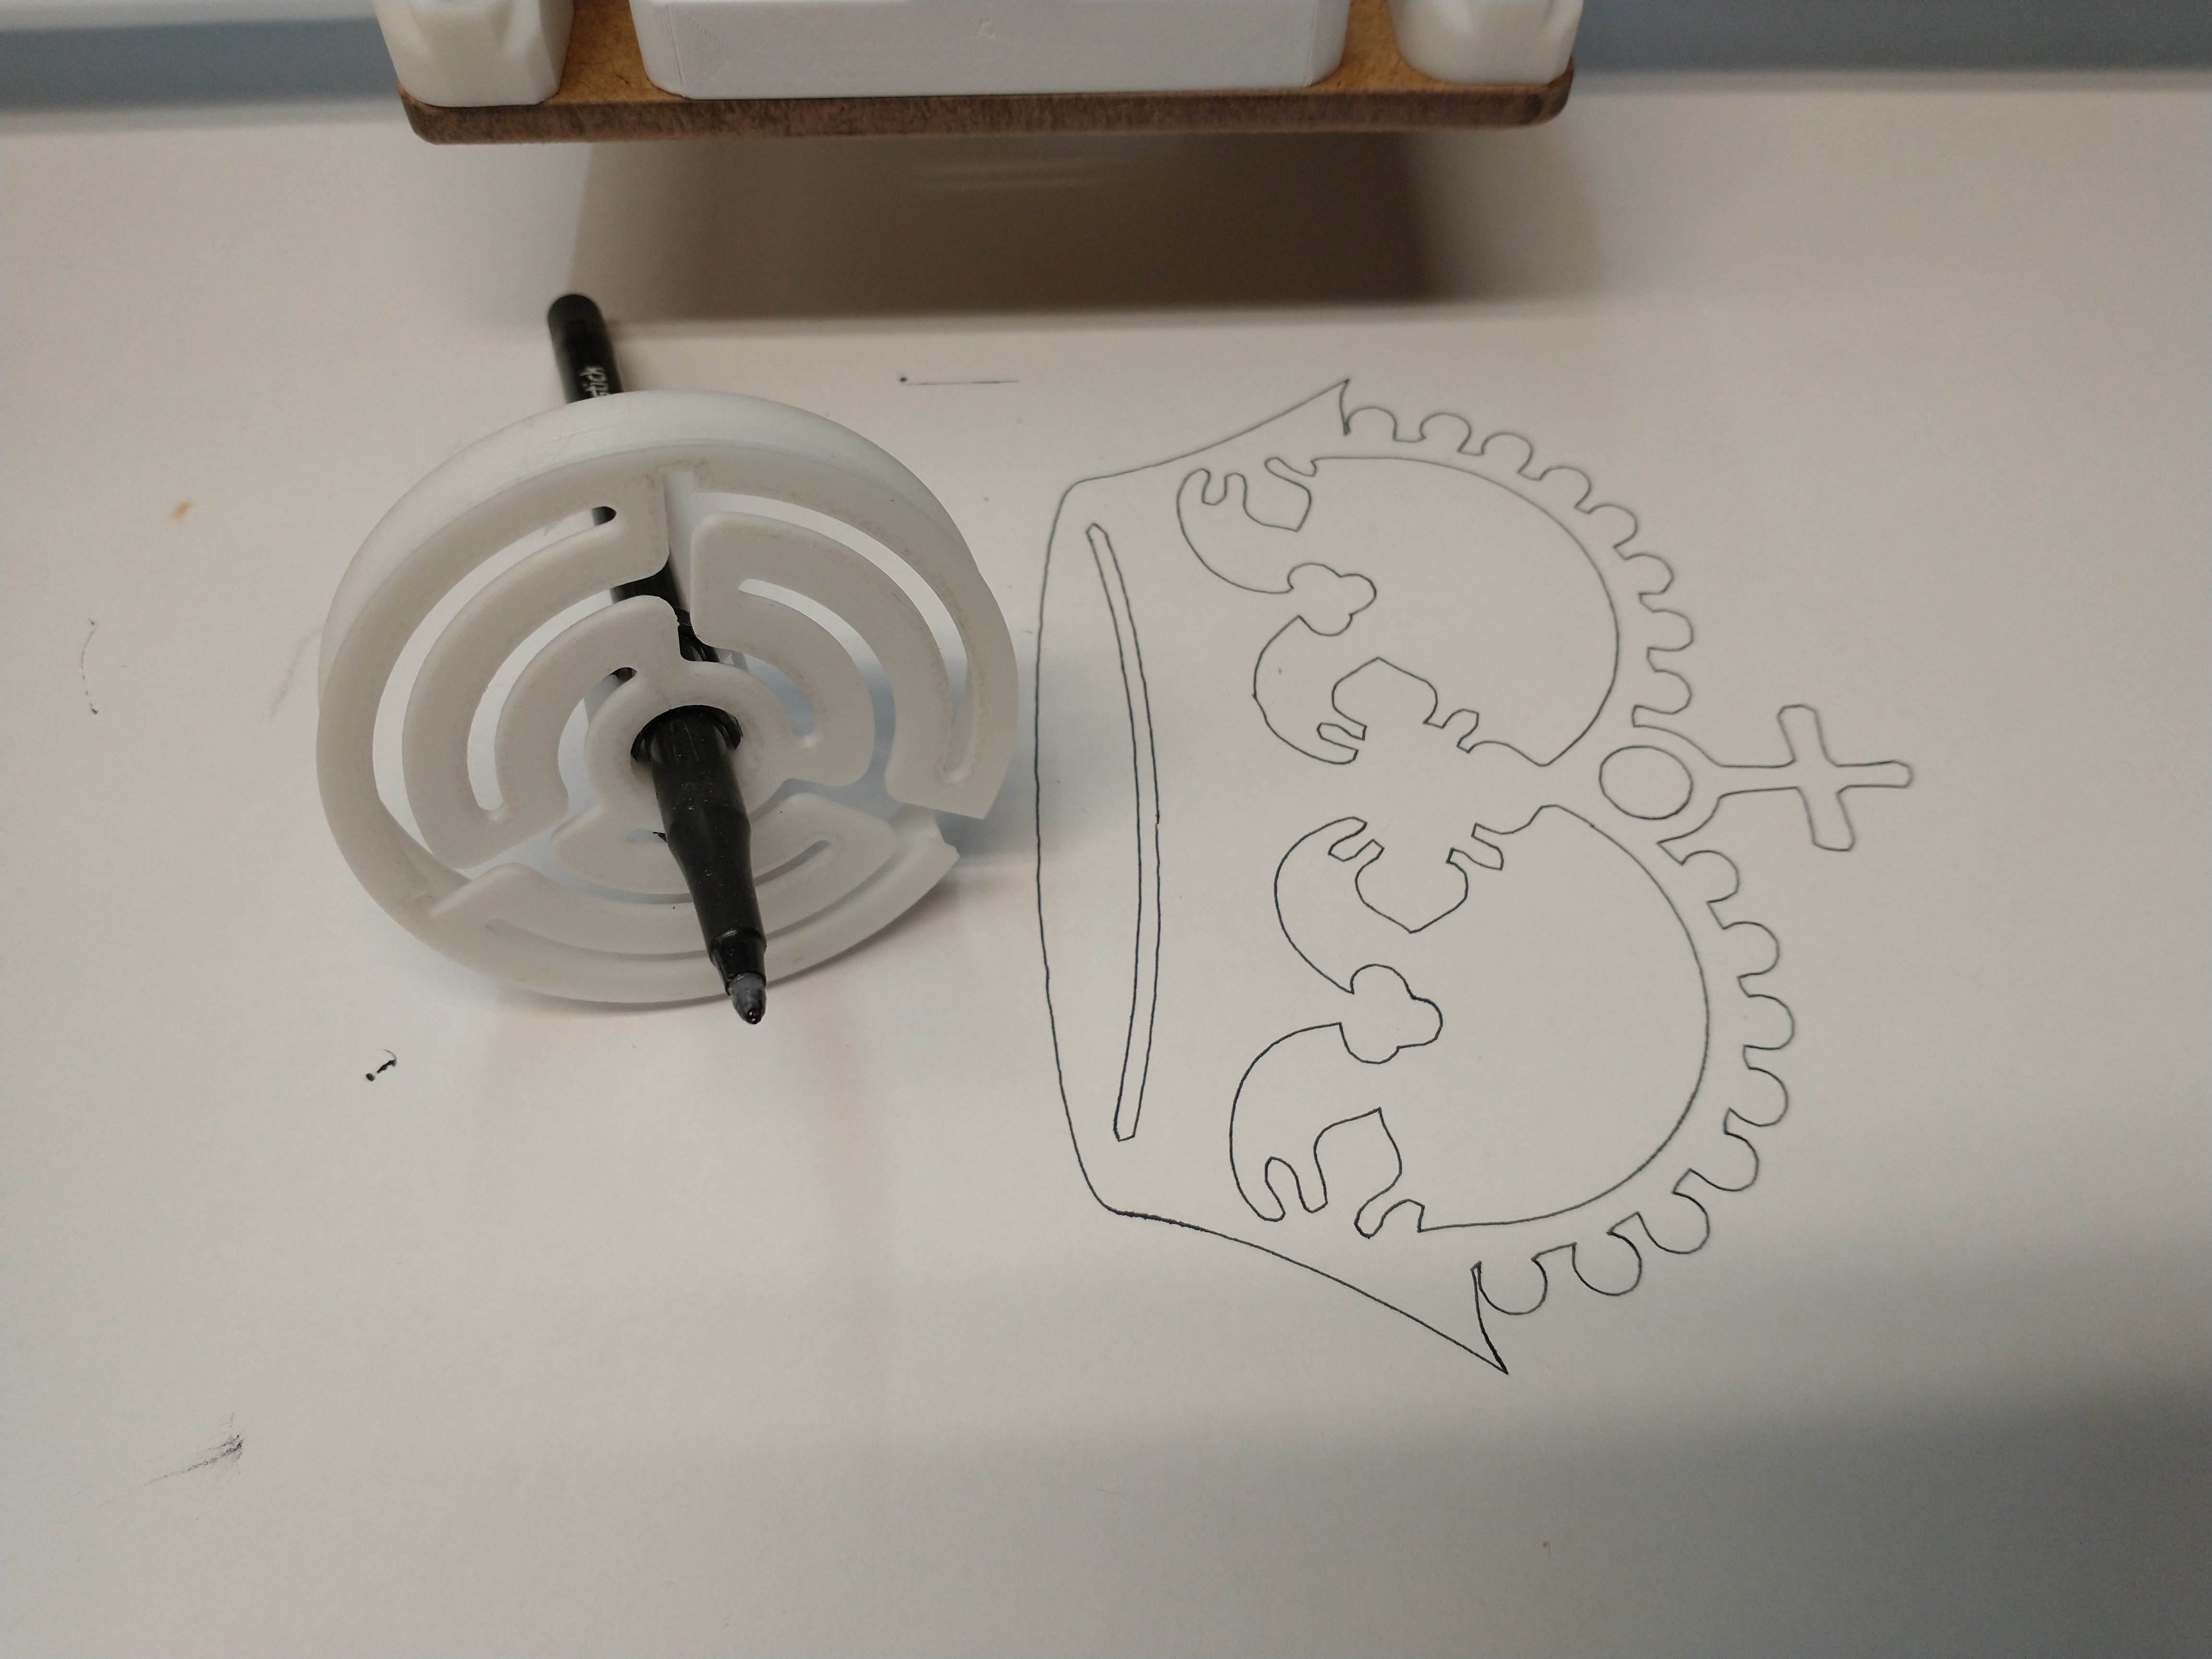

4 Likes
Awesome. Feels good to get this far doesn’t it. Congrats.
2 Likes
Hi Brent, thanks, and it sure does! Now I jump in the rabbit hole of learning about tool paths 
Is there a way to set home to the current position on the TFT other than using the terminal and typing G92 X0 Y0 Z0?
I can’t answer the tft part but you can set the g92 as part of your program start which is what I do to do this step. Just add a line of gcode.
1 Like
Thanks Brent. In this case I was just running the pre-built crown test gcode. I guess in the future I’ll be using tools to create gcode so I can do as you suggest.