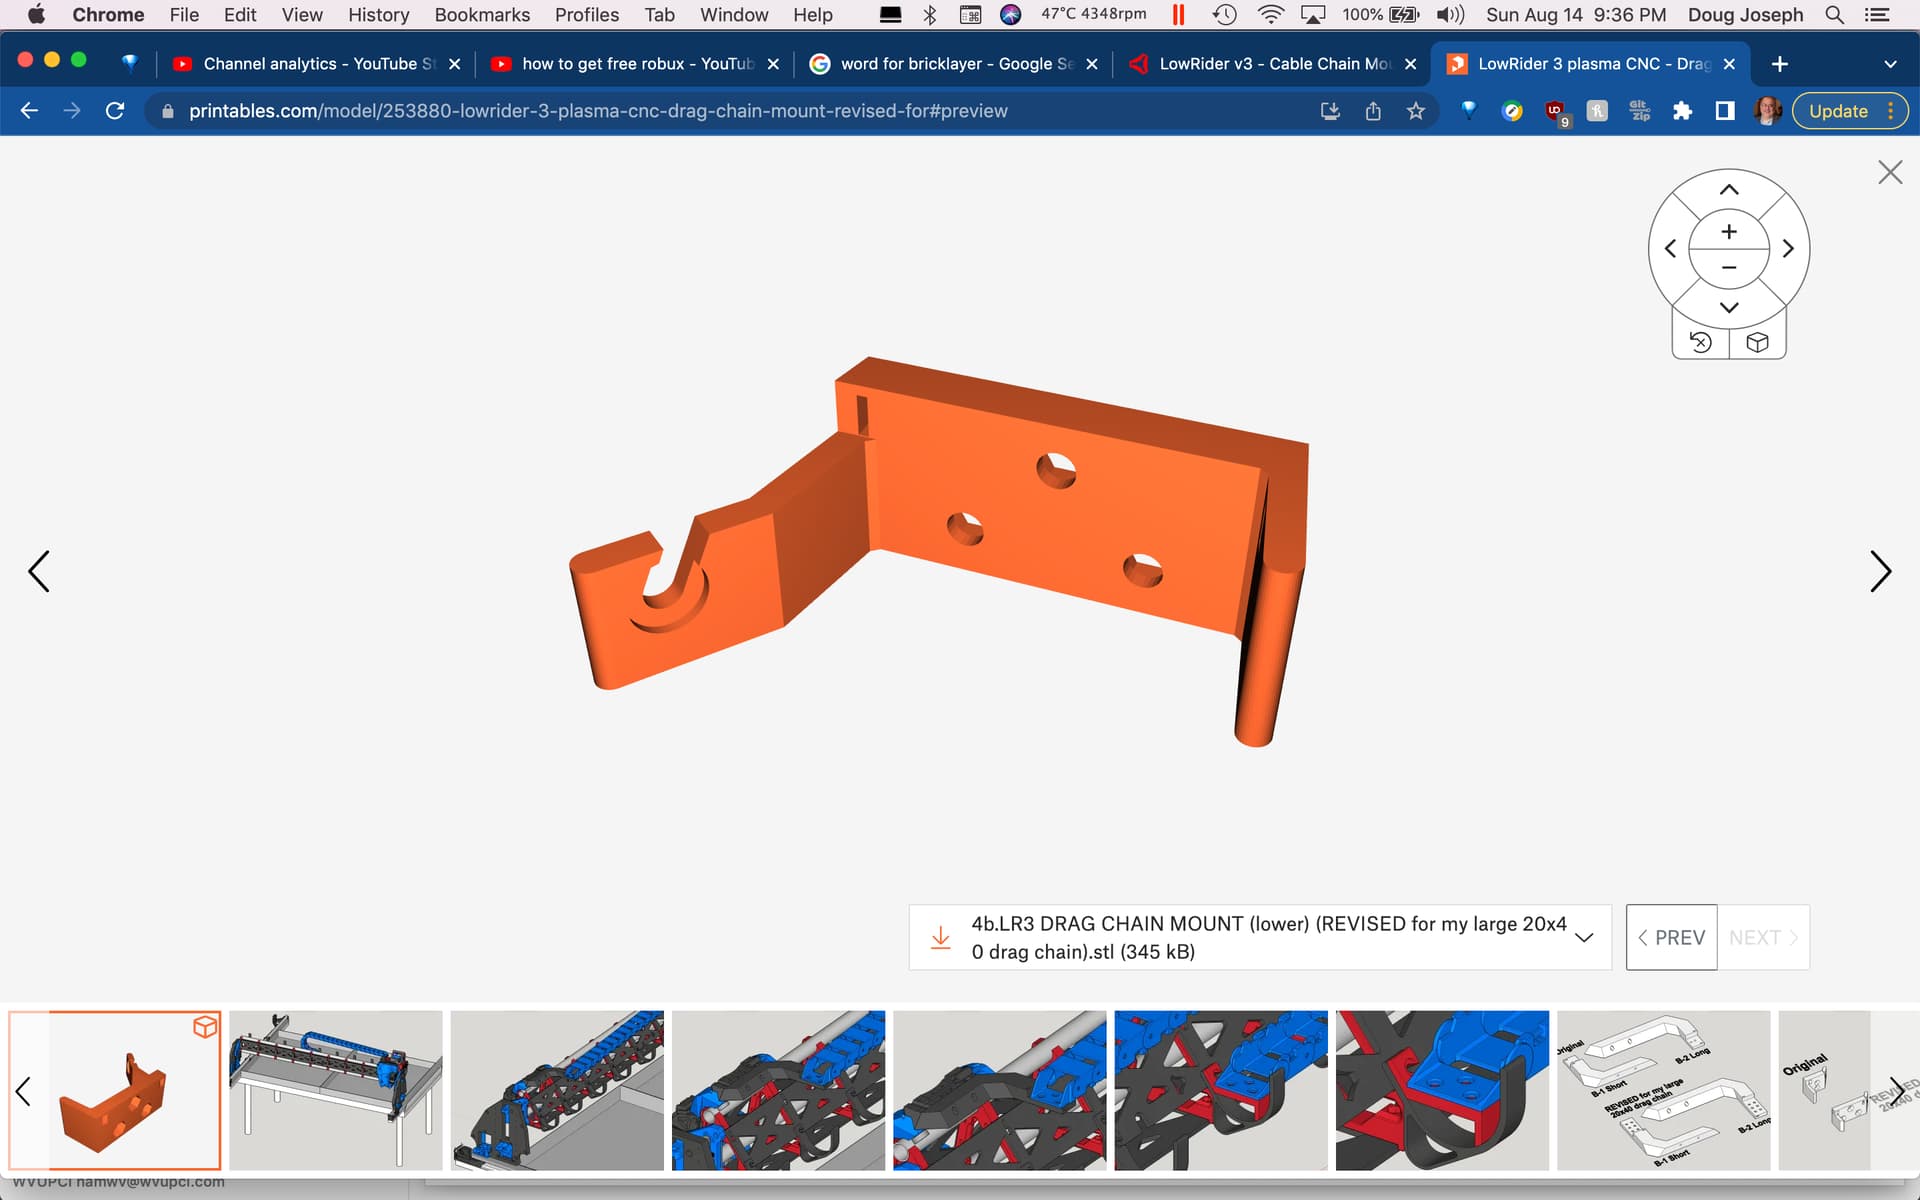
LINK TO PRINTABLE FILES: Printables
Description
I really like the LR3. It is a truly impressive design. My specific situation is such that I have needed to make a few minor tweaks to the plan.
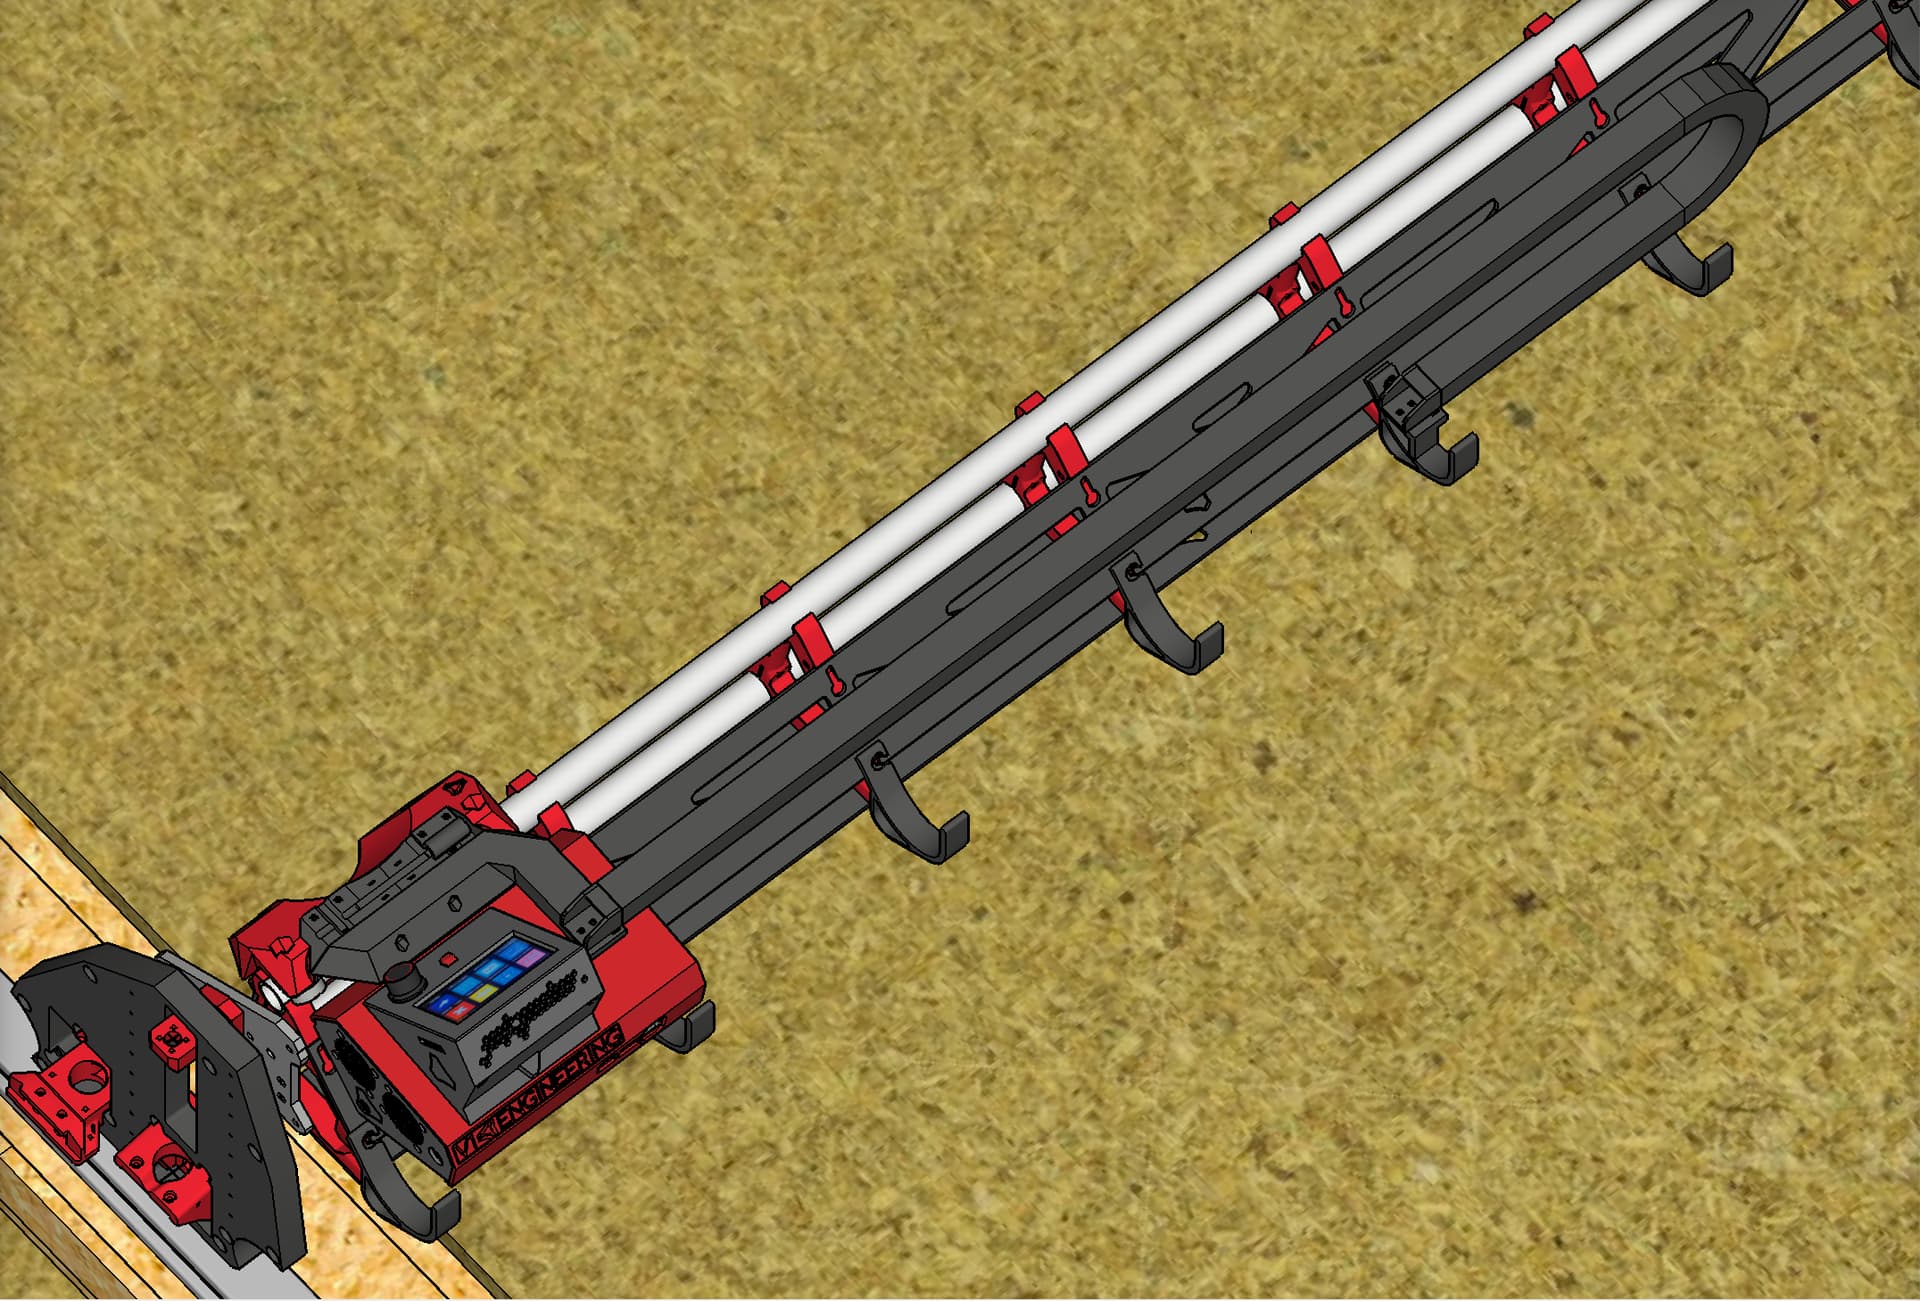
The normal plan is for clever use of the vac hose — having it serve as the cable guide for the router’s power cord and X axis wiring. However, since my dust collection hose comes down from overhead, I’ve had to install a cable chain for guiding the power cord and X axis wiring. Since that is outside the normal plan, I had to design up a handful of printed parts to mount the cable chain. I now have my designed parts printed and installed. If anyone else would benefit from the designs and wants them, here they are.
- The control box case (SKR Pro 1.2 with TFT35-E3) you see in the illustrations is available here.
- The cable chain I bought and used is this one: https://amzn.to/3ttnDpb
Printing
- Print as oriented.
- No supports needed.
- I printed with the same slicer settings as most of the LowRider parts call for.
Assembly/installation
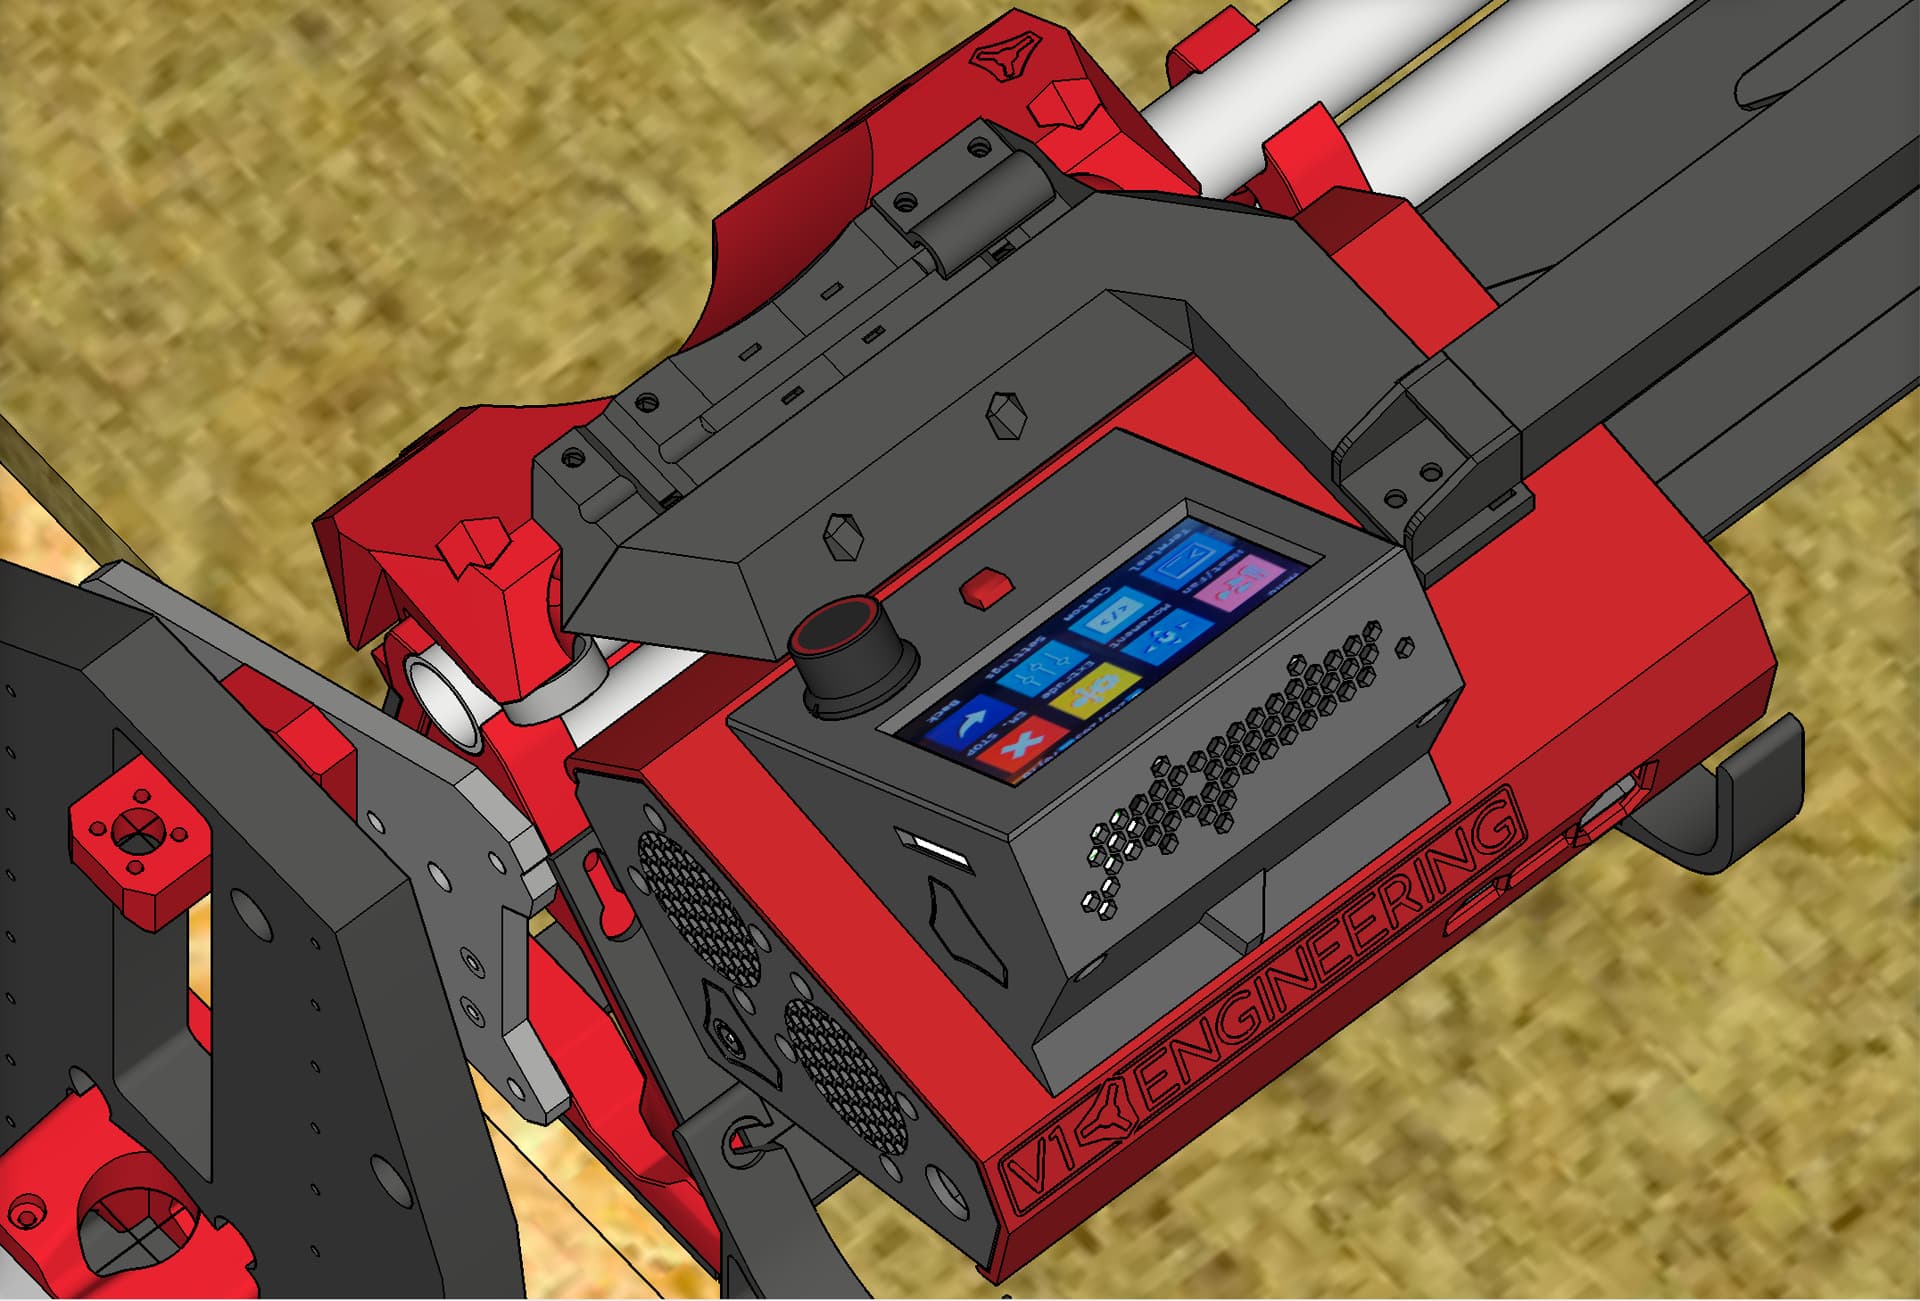
- The upper mount prints in two pieces (“upper A” and “upper B”), which have capture slots for M4 nylock nuts (fill these first), and are to be attached to each other with two (2) M4 x 20mm screws. Note: The “upper B” part comes in your choice of short version or long version. Use the short one if you can (if it does not collide with whatever control box case you have in use). If you must use the long one to keep from it hitting your control box, then be aware that the long one will collide with your YZ plate on the end where the cable chain fully extends, and thus you will need to cut a little notch out of your YZ plate to prevent the collision.
- Once the “upper A” and “upper B” parts are together, attach the upper mount to the top of the LowRider Core using two zip ties, which pass through zip tie slots in both the upper mount and the top of the Core. Tighten them down.
- Using two (2) M4 x 8mm screws, and using the part named “clamp for Makita router AC cord,” attach your router’s power cord tightly against the upper mount. (I have a Makita, but the same setup may work for you no matter what make of router you have.) Be careful not to use screws that are too long here as they would cut into your Core’s top.
- Using two (2) M4 x 10mm screws, attach the upper end of your cable chain to the end of the upper mount. I added nylock nuts underneath.
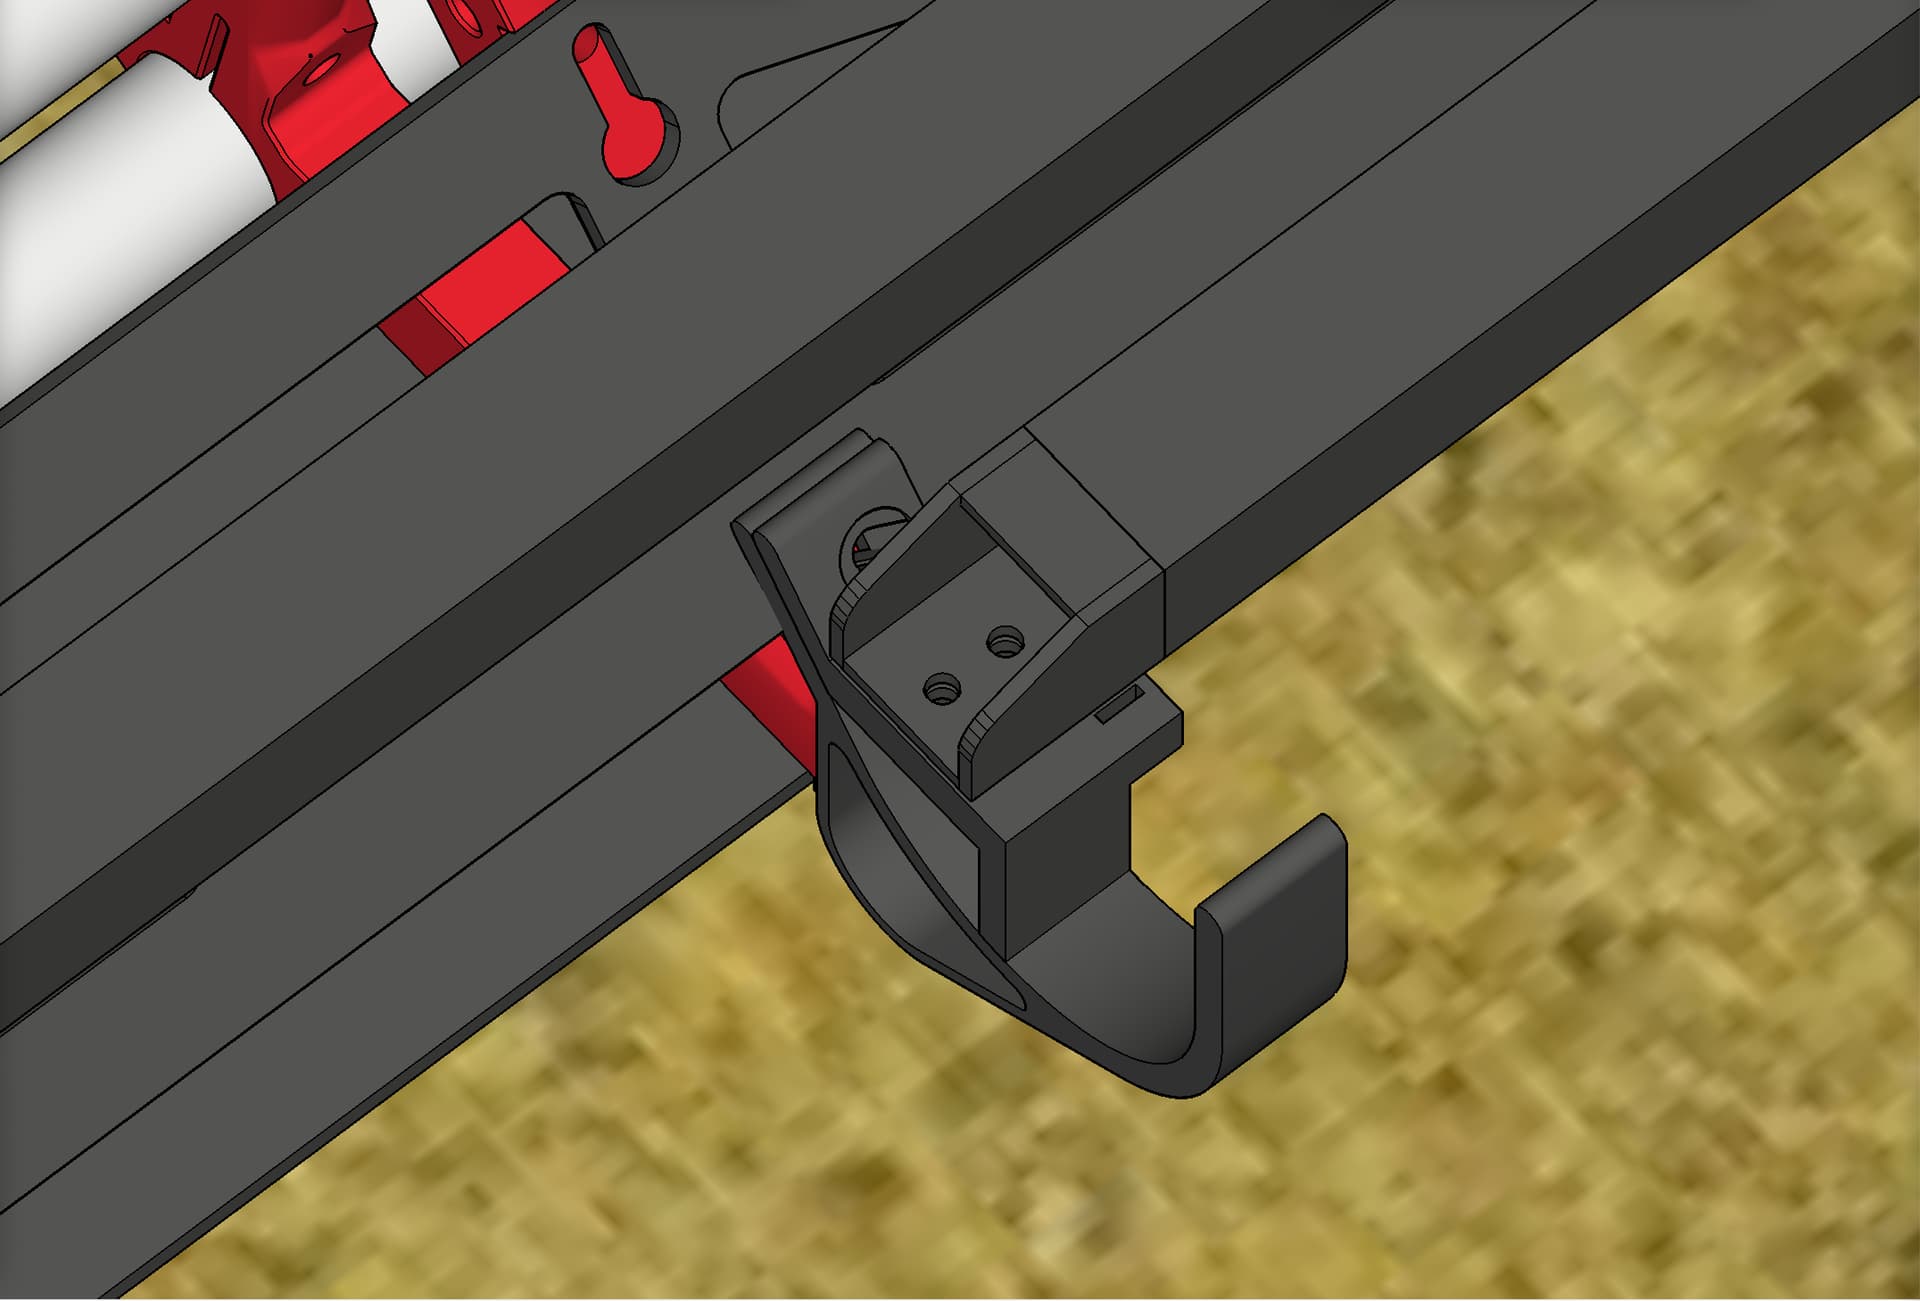
- On one or two of your existing “hose-hanger” parts, around the center of the beam, loosen the M5 screws holding them in place, and add on the printed lower mounts (on top of your existing “hose-hanger” parts). Note: You could print two as I did, using one to screw down the lower end of the cable chain, and using the other to attach a zip tie further stabilizing the cable chain. If your existing screws for the “hose-hanger” parts (presumably M5 x 30mm) are not long enough now that the new parts are added, then you will need longer screws (longer by 5mm or so). If you used ¼" material for your LR struts, it is likely you will need longer M5 screws.
- Tighten the screw(s) to secure the “hose-hanger” part(s) and lower mount(s).
- Attach the cable chain to the lower mount(s).
- Slide your LR Core through the full range of motion on the X axis and make sure you have the proper length of cable chain.
Other remixes by me for the LowRider 3 include:
- LowRider 3 CNC - Makita 700 Series Mount & removable dust shoe - REMIXED FOR 2.5" HOSE
- LowRider 3 CNC - hose-hanger modified for 2.5" vac hose
My PayPal tip jar: PayPal.Me
*Product links are Amazon affiliate links.