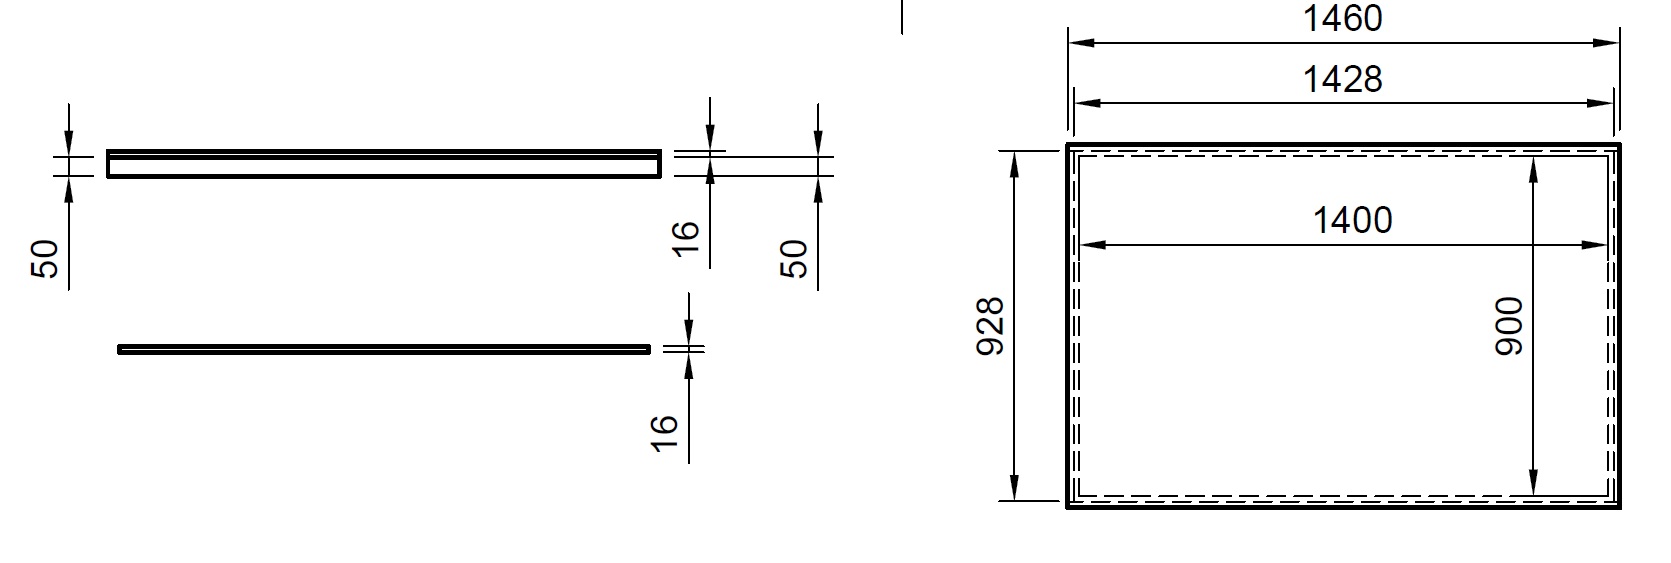
This is a basic scheme of the dimensions I aim to achieve…not full size as I intended but big enough to enjoy it !!!
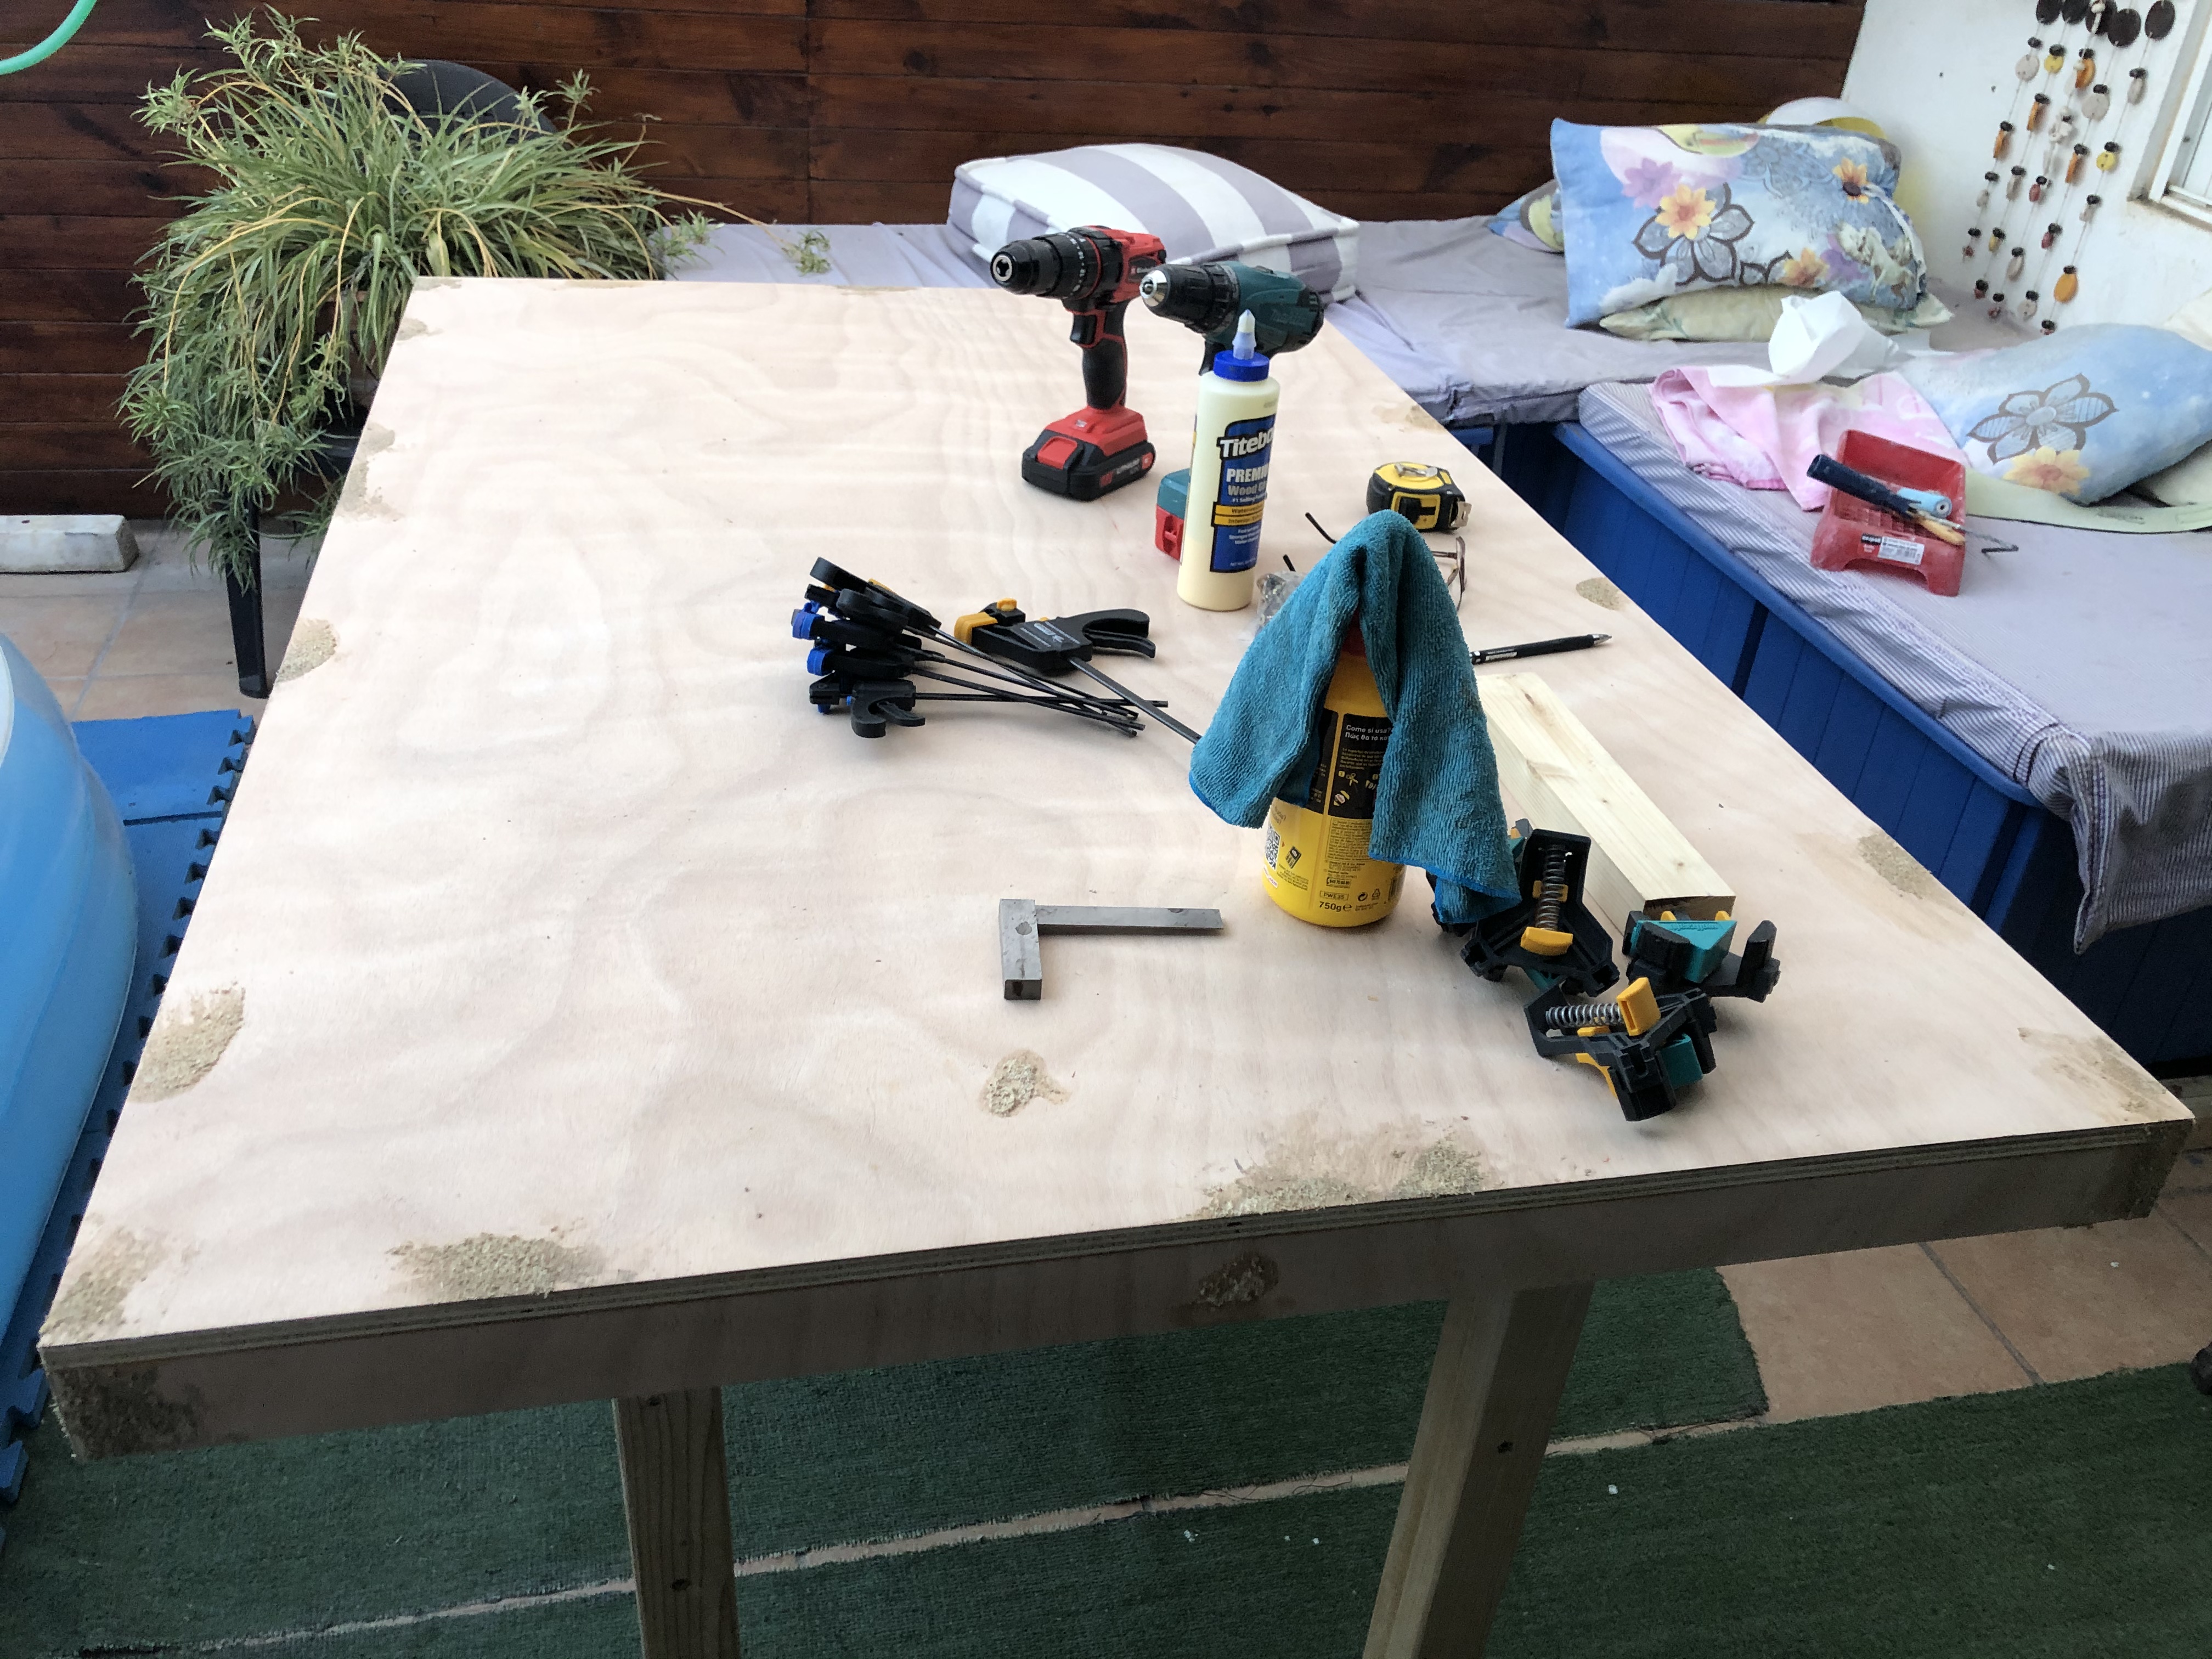
Spoil board drilled and first coat done…tomorrow I’ll try and finish coating this and start on the cover top…
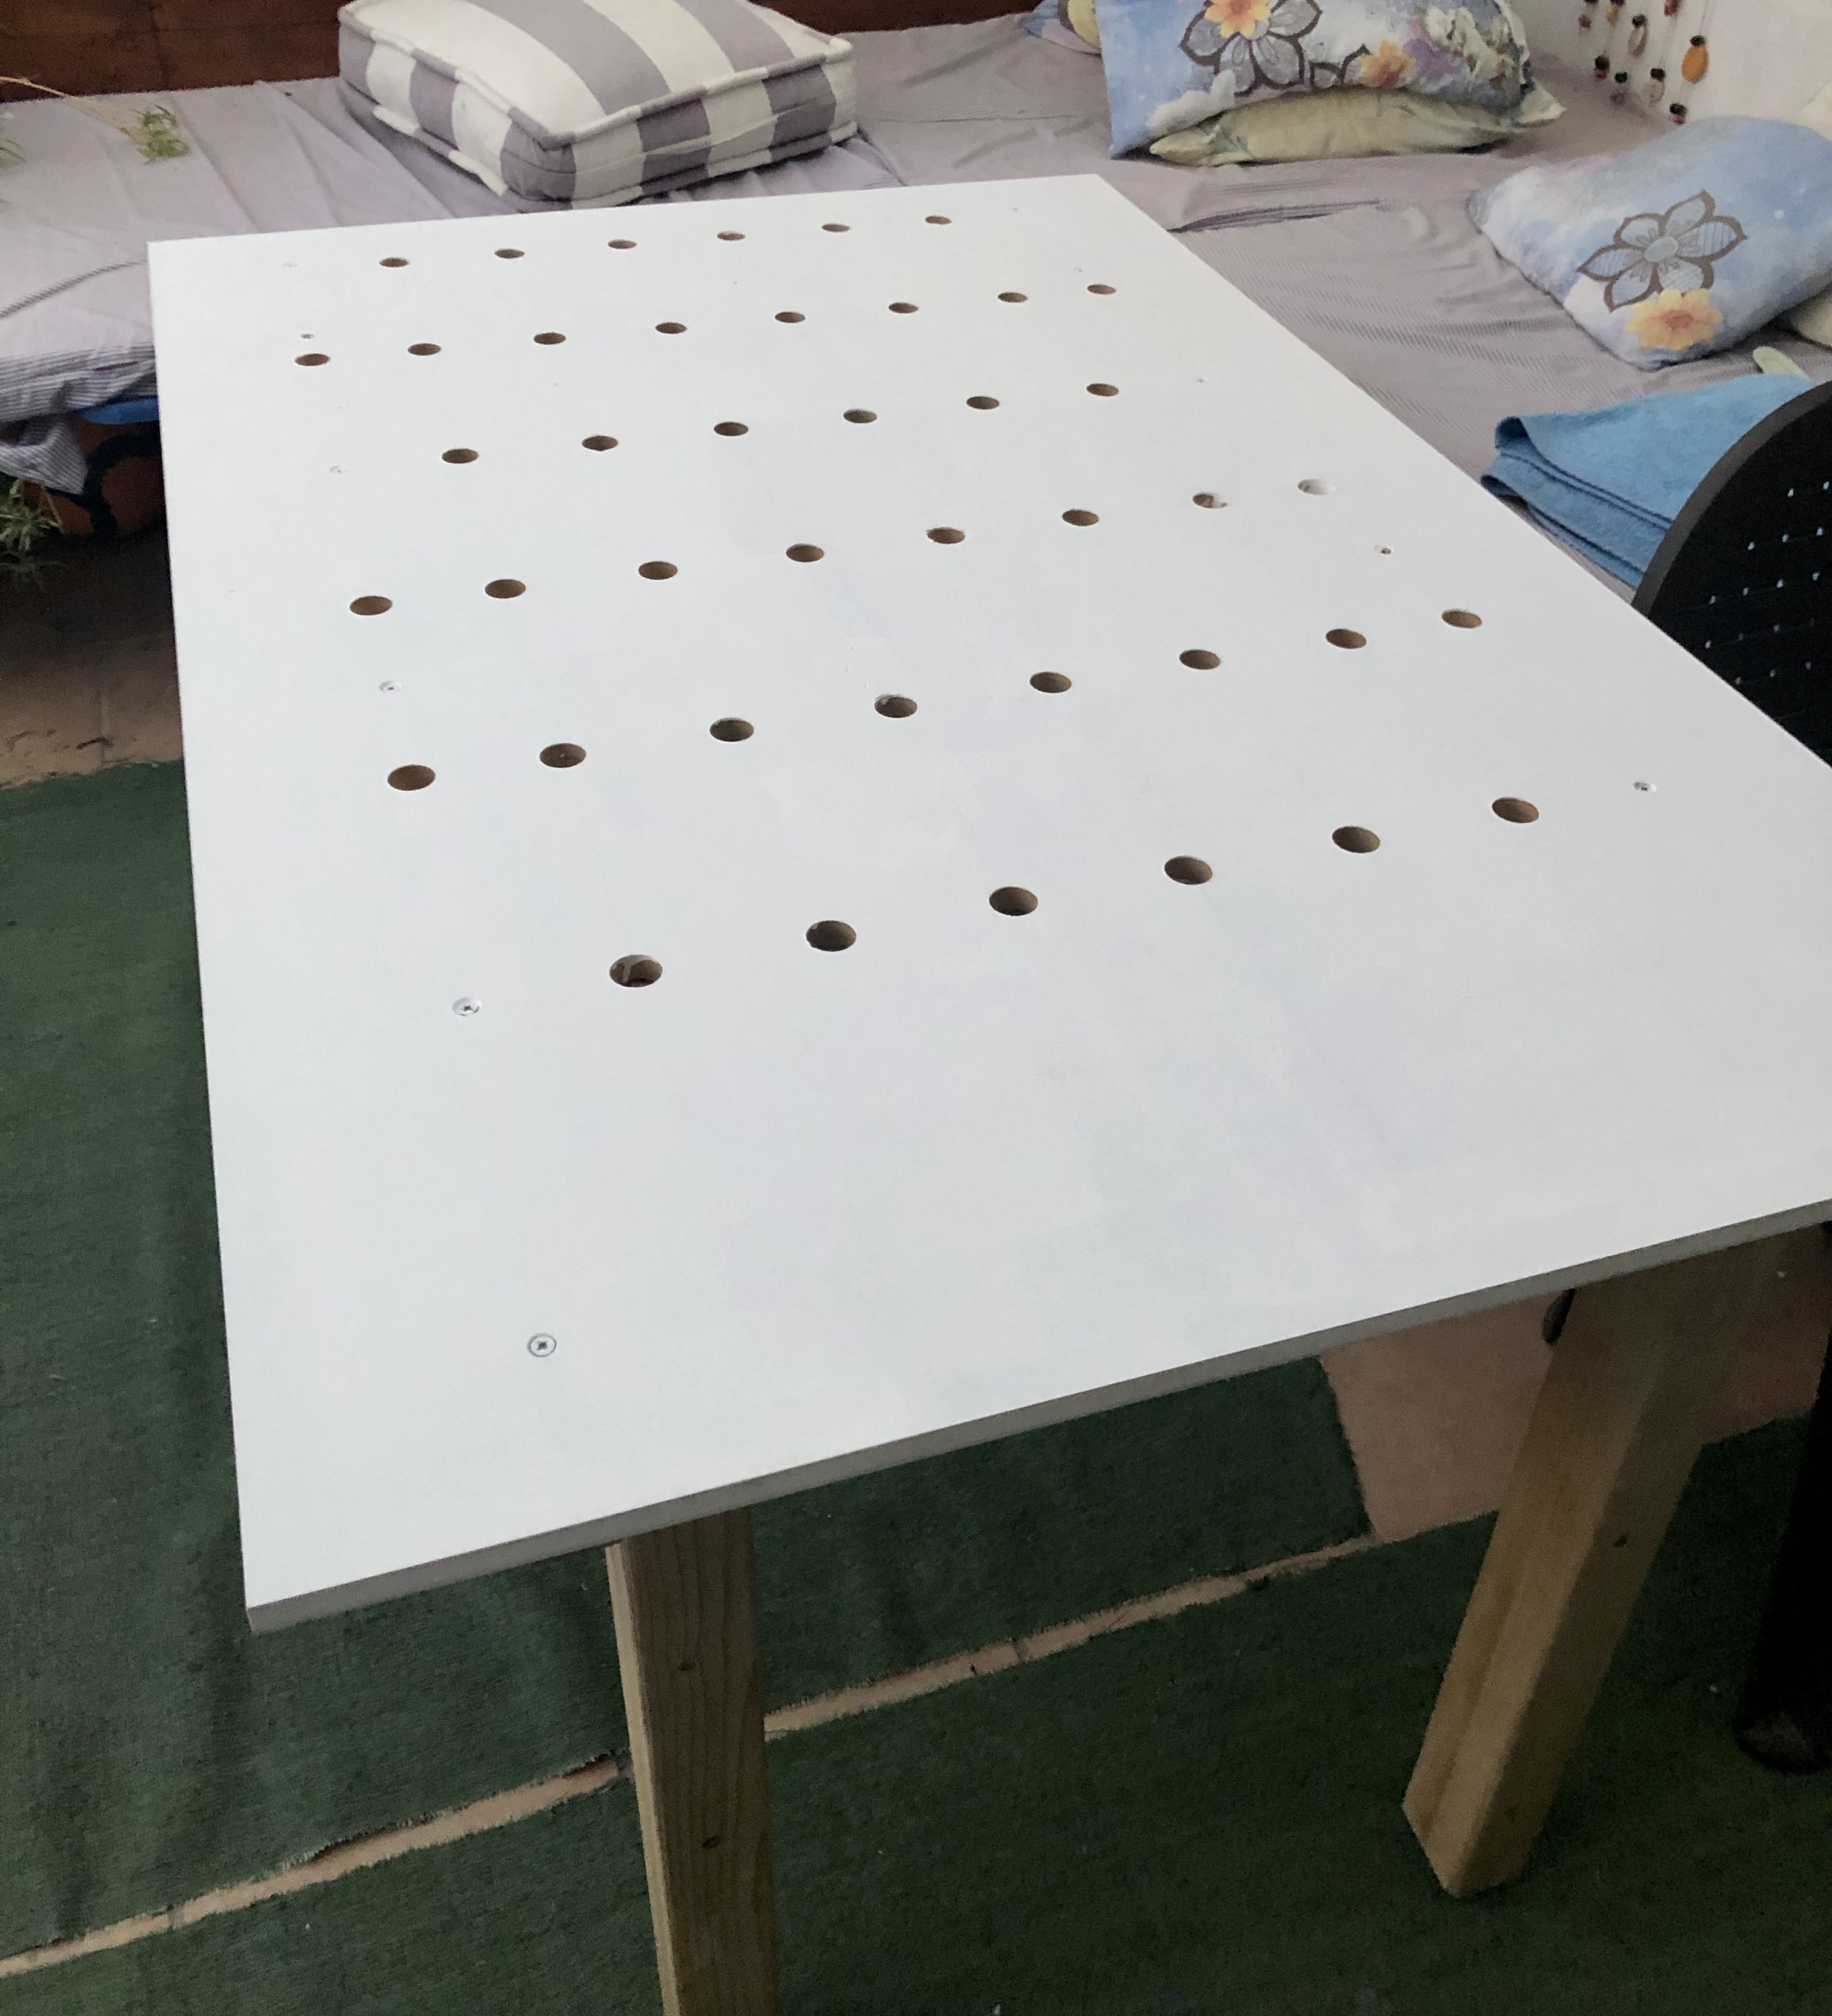
Spoil board finished painting, and top board which will be the on and off outdoor table is nearly done too…really hot here these days…I’m shattered !!! Top table will get a nice natural 2 component coat of polyurethane paint to protect it from humidity and the sun…hooefully 

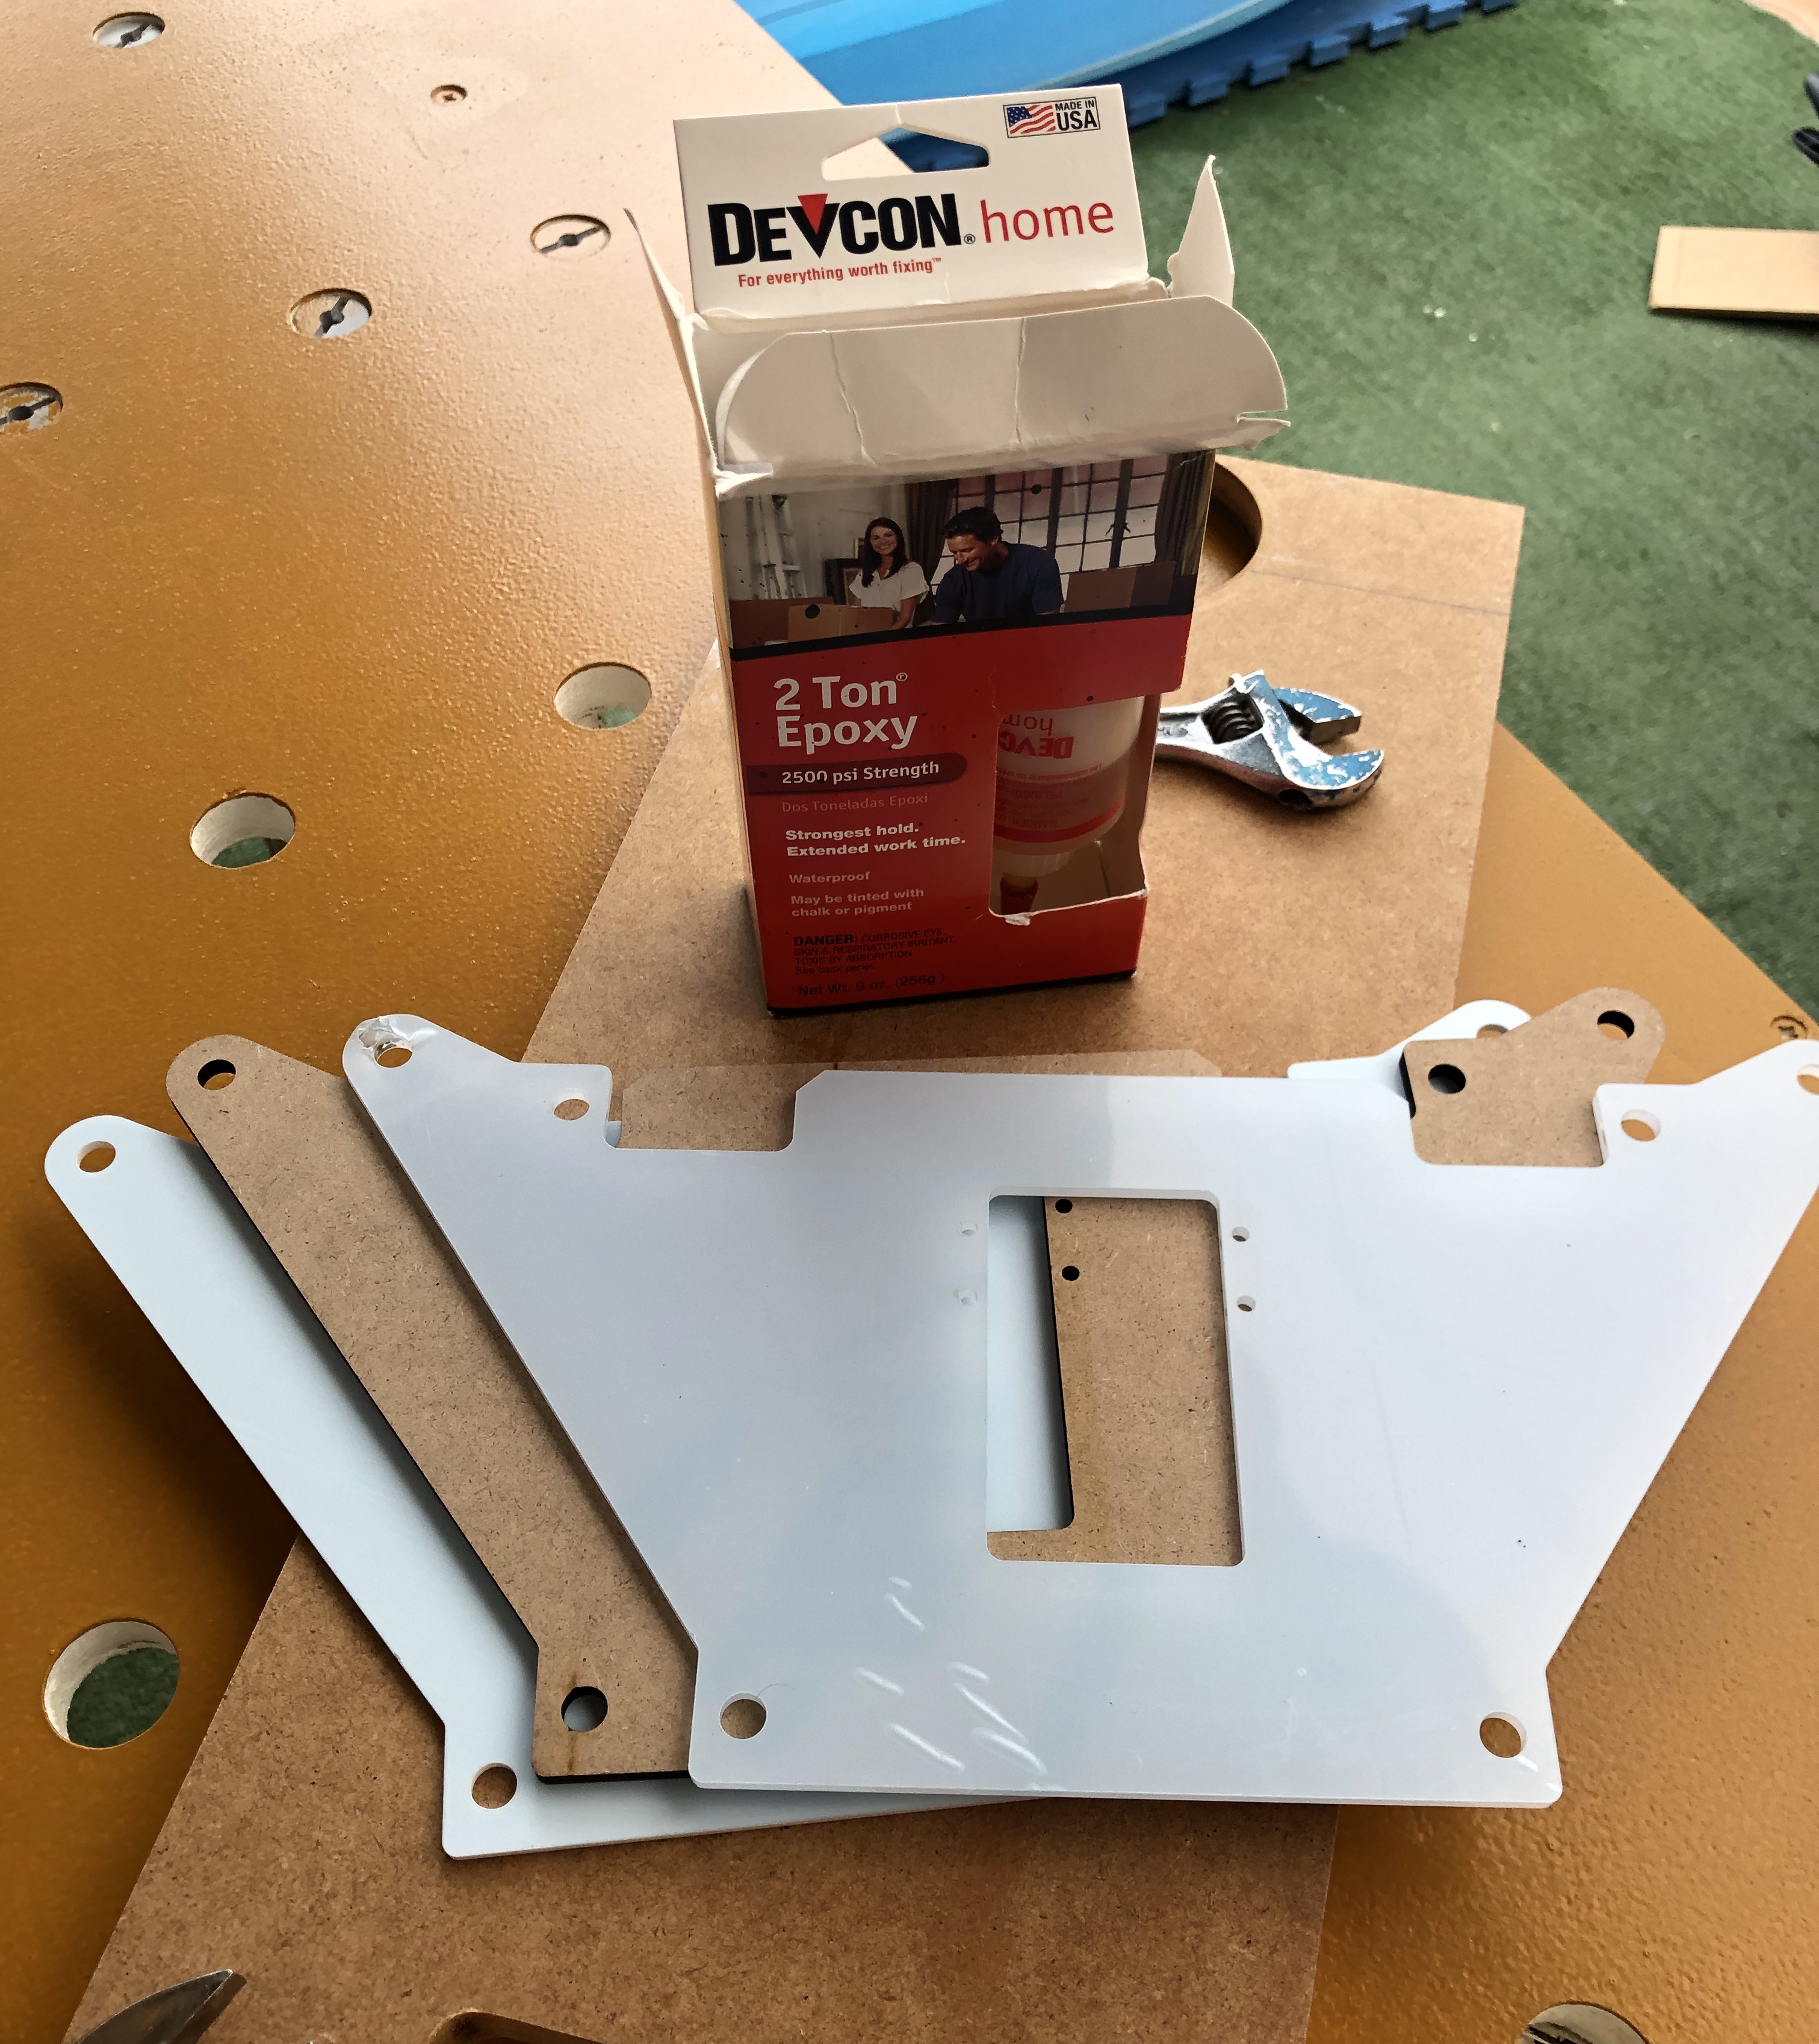
Ok, got my flat pieces cut out of MDF and methacrylate which I’ll glue together as a sandwich…will show pics through the weekend.
Now I need to sort electronics and I’d like to get things right on this…I want a TFT on it…I want to take the Rambo road, following Jeff’s advice but can’t afford ordering from Ryan and adding taxes on top of that. Any details I should check before ordering, by this I mean any bits I must make sure that will work and anywhere cheap in Europe I can order from ?
Cheers and thanks in advance
Àlex
Time to get the flat laser cut pieces together and then will concentrate on the electronics!!!
It’s going to be an epoxied mdf-methacrylate sandwich…hopefully won’t flex 
1 Like
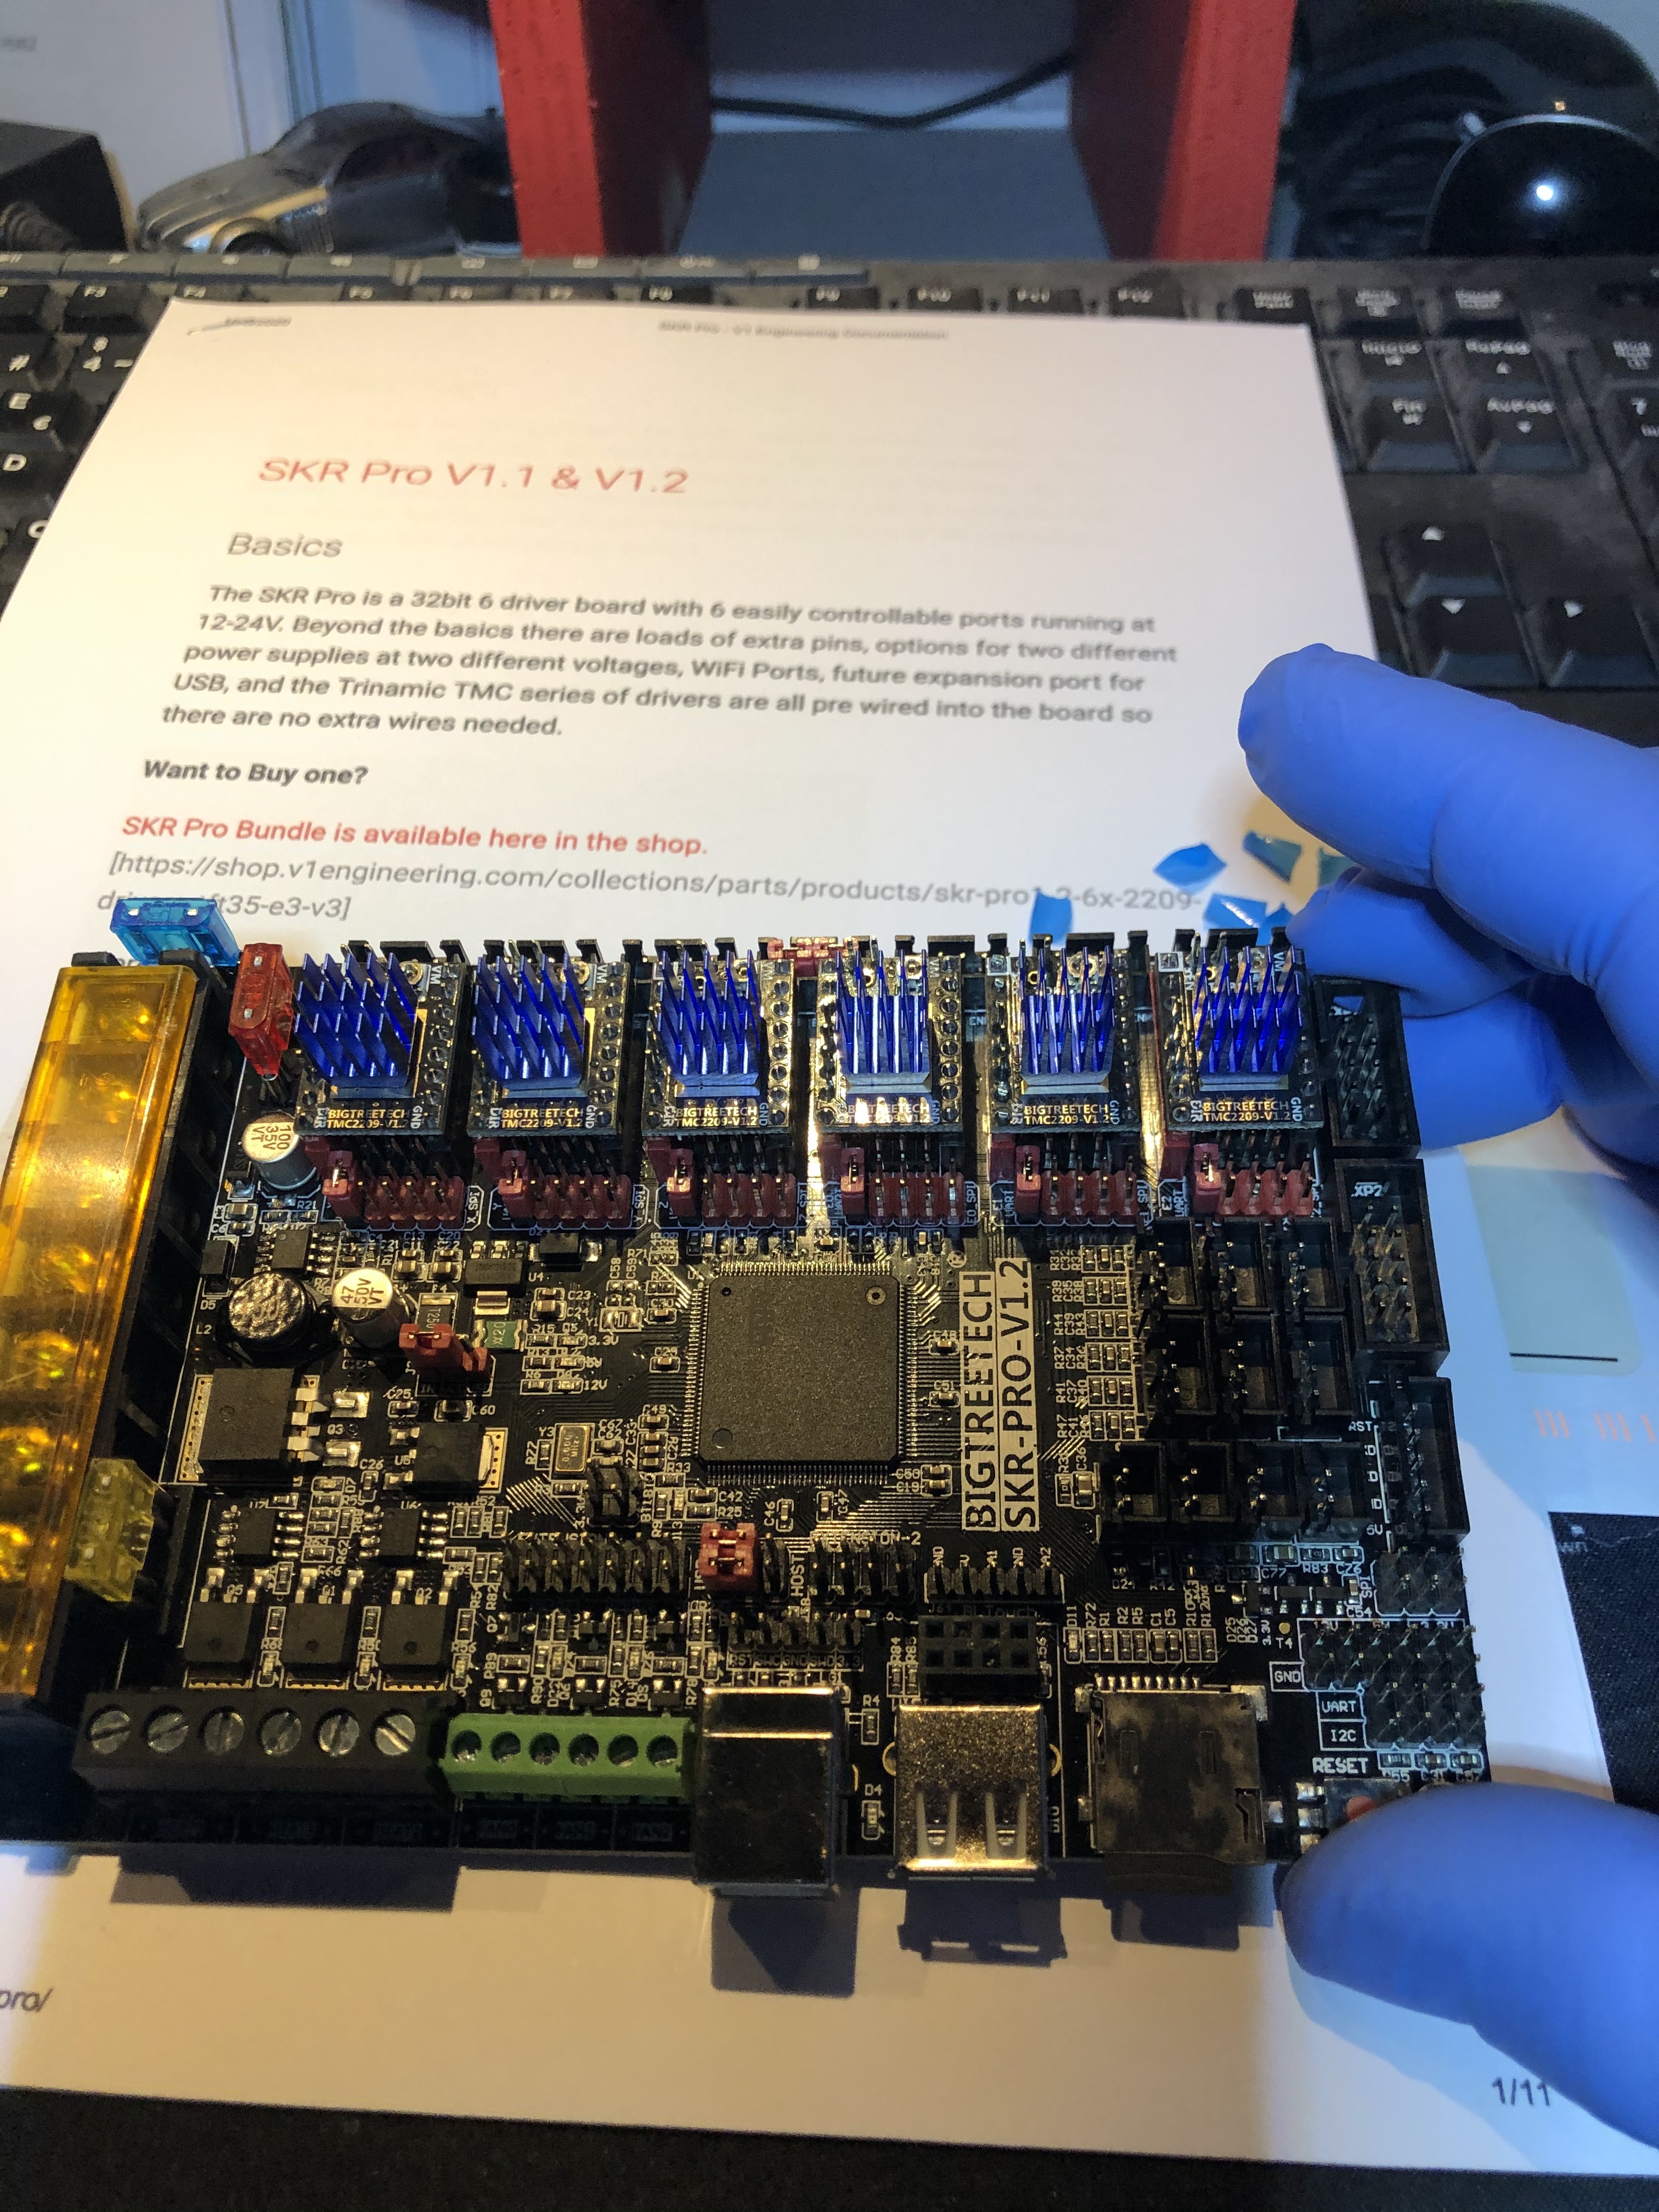
I’ll be sourcing myself with the SKR Pro 1.2 and the 2209 drivers, it will make it easier to be found here over my place…still need the wire extensions but I’m not too sure how long they need to be and I’d like to confirm that they need to be 4 pinned???..I want to run it under dual end-stops config.
Some help please ,
Àlex
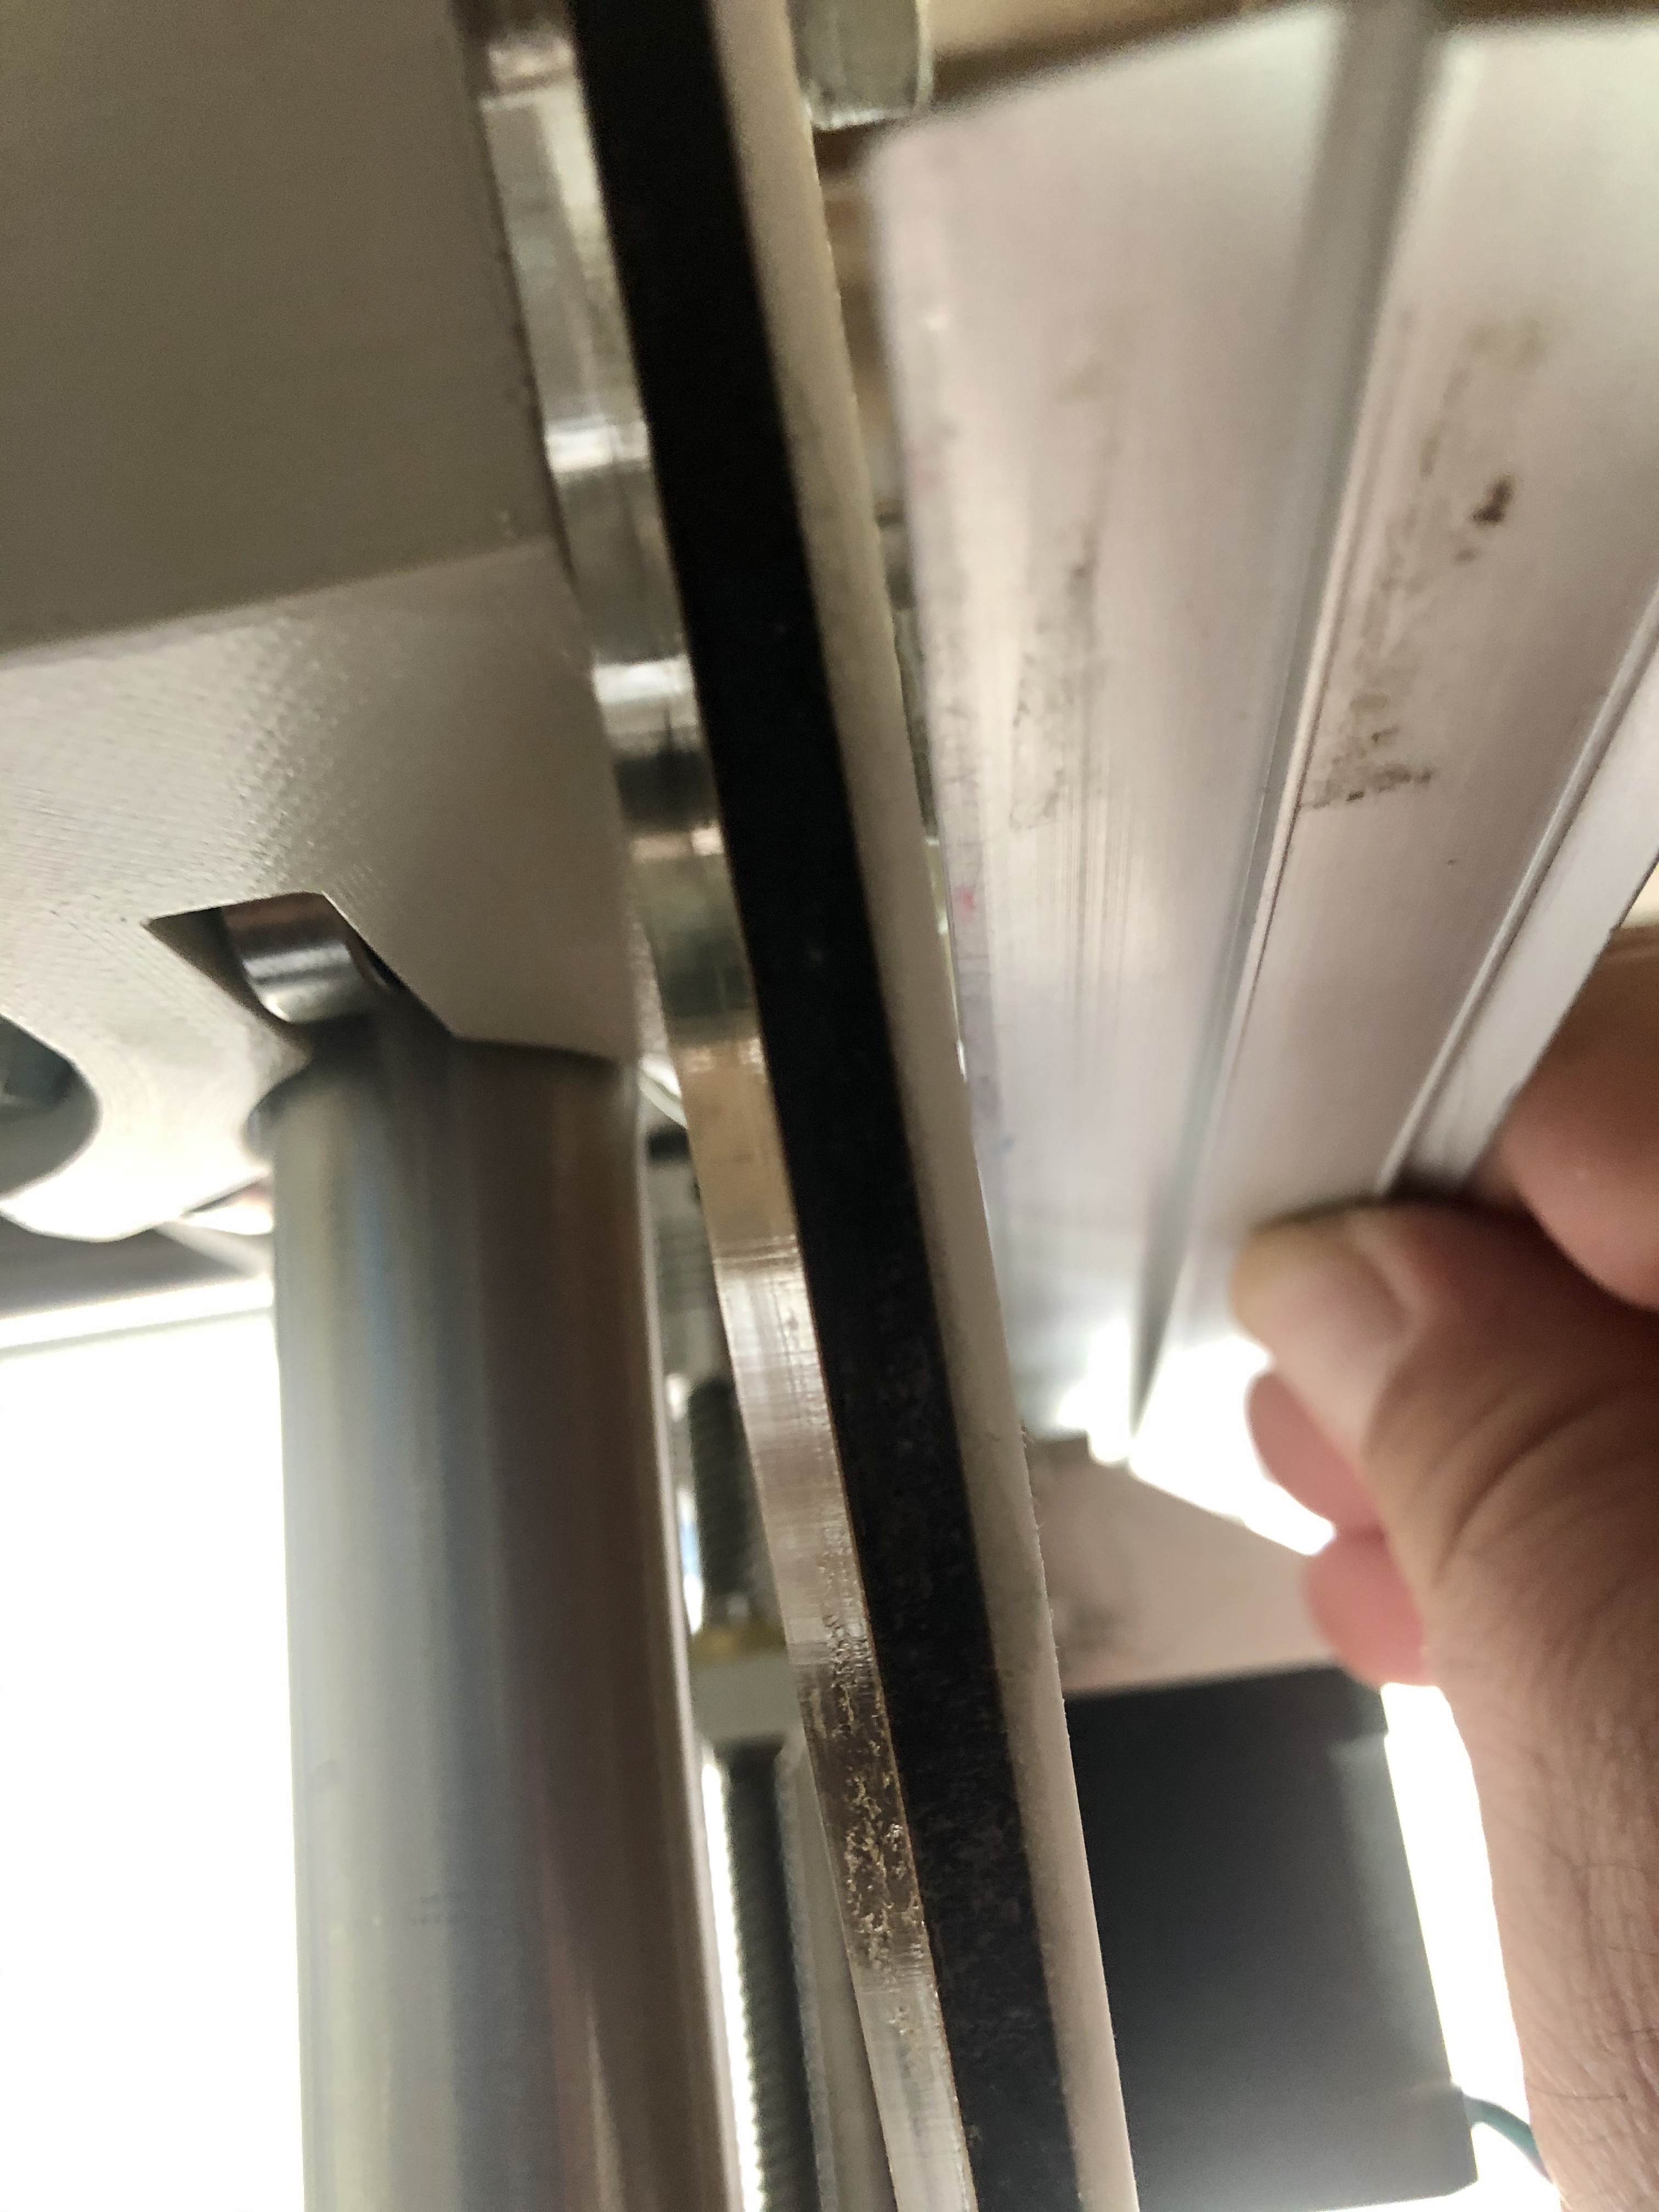
Ok electronics, wires and bits ordered…got round to change the side flat plates and after some tension adjustments I seem to have a bit of a warping on them…will this affect the precision ? Should I try and reduce tension somewhere ?
Thanks
Àlex
Ok, I’ve received almost all the electronics to start my very own nightmare through setting them to work…I’m still waiting for a power supply which I think should work…12V - 15A rated…or so it reads !!!
Power Supply
In the next hours and days will need as much help from all the experts around here to finish this project with success, so please bear with me if I sound stupid !!!
Now I’m off to re-read all the info on V1 page about the SKR, etc
Cheers,
Àlex
First question, probably obvious but I prefer being seen as a nerd than burning out the board. Regarding Dual End Stops, what does Extruders=0 and Extruders=1 mean? Is it meant to be for use as a printer? I understand that for a Lowrider2 CNC should be Extruders=0, Am I right?
Thanks,
Àlex
Correct. Marlin is, at it’s heart, a 3D Printer firmware that we’ve co-opted and badgered them into extending into a (slightly more) general-purpose gcode firmware. That’s also why there’s all that junk about temps and thermistors and heaters as well.
Thanks m8 !!! While we’re at it…do you know how to wire into the SKR board each motor individually? Or is it a waste of time…guide shows how to wire them in series but…I’m totally new to this and lack lots of info…sorry 
Cheers,
Ummm… Should be pretty simple. 4-connector cable from the driver to the motor. If the motor spins the wrong way, turn off the power, and flip one end of the cable around. That’s it. Literally, it’s that simple. You can’t hook up the cables in such a way as to burn up the motors or the drivers (unless you purposefully short connections, and even then, I don’t know if you’d hurt the drivers).
If the motor doesn’t turn at all, then the connectors are in the wrong order. There are two coils in each motor, and the four connectors are AABB or ABAB and your connectors are just going to the wrong coils. No big deal. Like I said, you can’t burn out your motors.
Ok, but then Lowrider 2 runs 5 motors, if I want them to run individually where should I plug each one on the board ? Instructions are for series wiring (as per pic)…so the question is, should I go series or not? There’s this pic on individual but don’t understand which axle and motor is which on the board.
Thanks for your help !!!
Àlex
So I can go trial and error without fear ?
Thanks
Ah! For that, I would have to invoke @jeffeb3 for all things LowRider and firmware related. It depends on how the firmware is configured for dual axis (if it’s configured for dual axis).
Or, I could link you to SKR Pro - V1 Engineering Documentation which explains it nicely… 
That’s what I’m reading and re-reading but being a complete nerd on this…makes me ask these silly questions…I know LR2 can run on individual drivers for motors but not sure how to wire them into the SKR board…as long as there’s no risk of burning it, I can go trial and error until the move as I want to…
Àlex
If you go down to the Dual Endstop pics, it shows using five drivers for five motors. Looks like there’s a typo in the docs… I think it means E0 and E1 become X2, not X1.
Yep, but my brain can’t understand the E=0 etc…I suppose it’s how they should be wired to the board, but I can’t figure that out…bear with me, never touched anything related to Arduino, raspberry’s, etc…but love this project…I love working with wood and been waiting for ages for something like this LowRider…
I’ll double check connectors on the board tonight and see if I can get things straight for me…lol