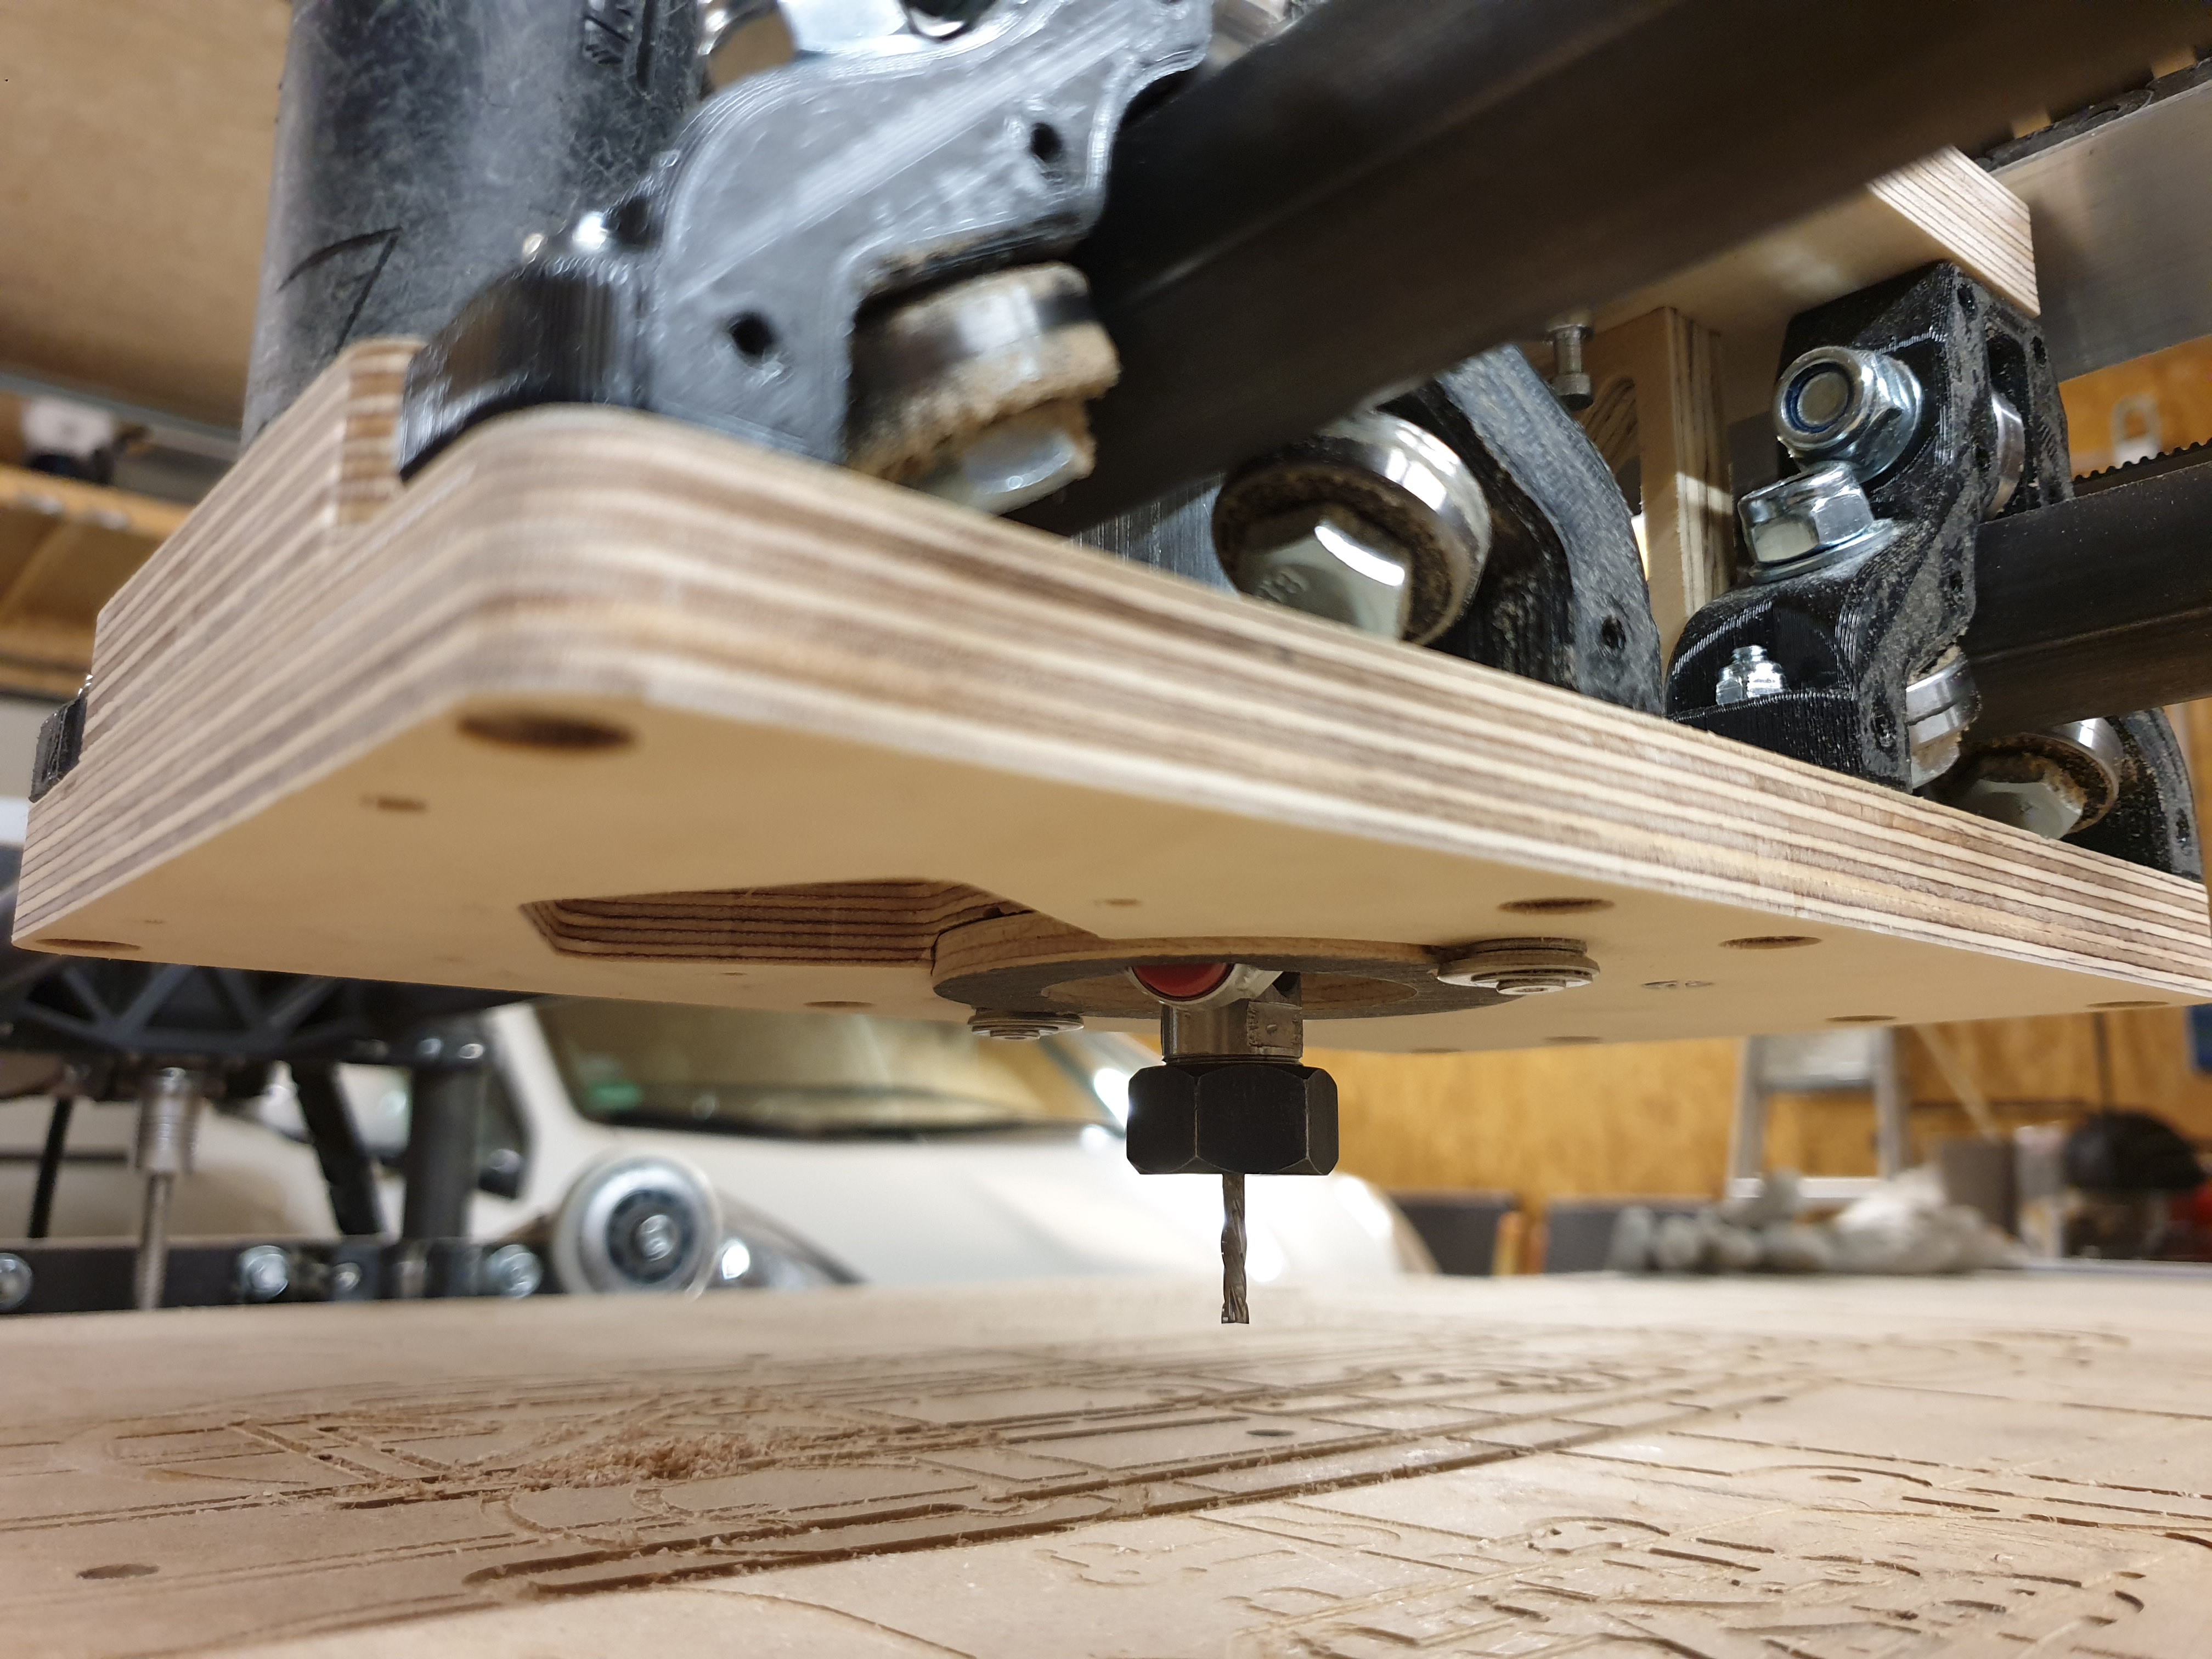
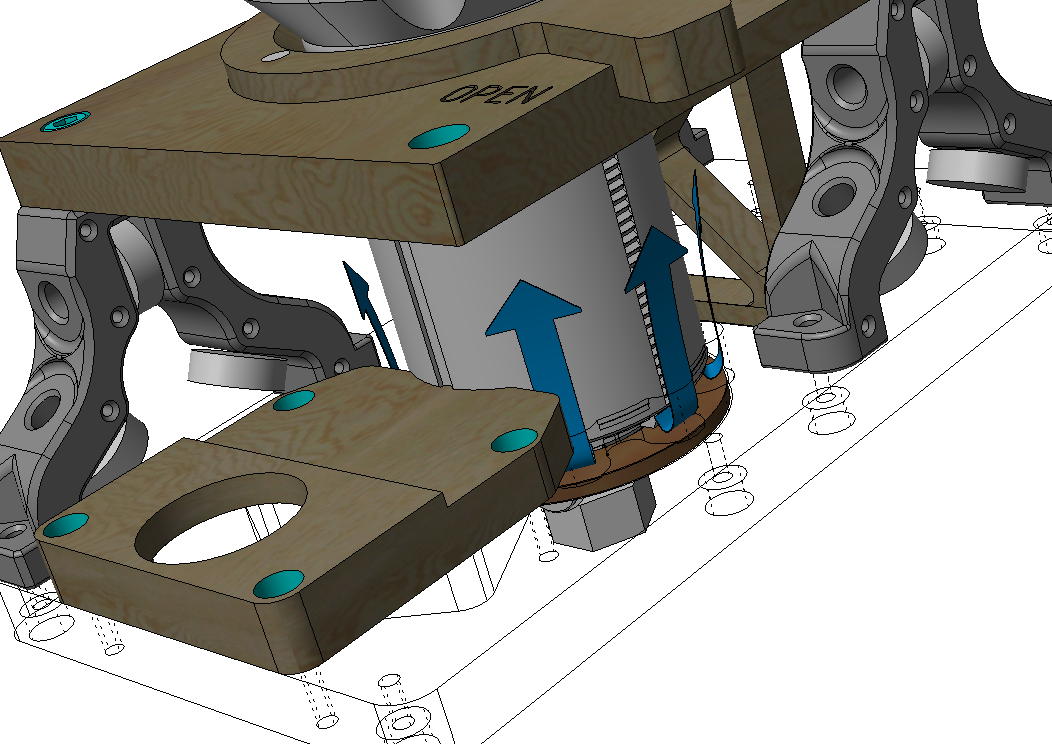
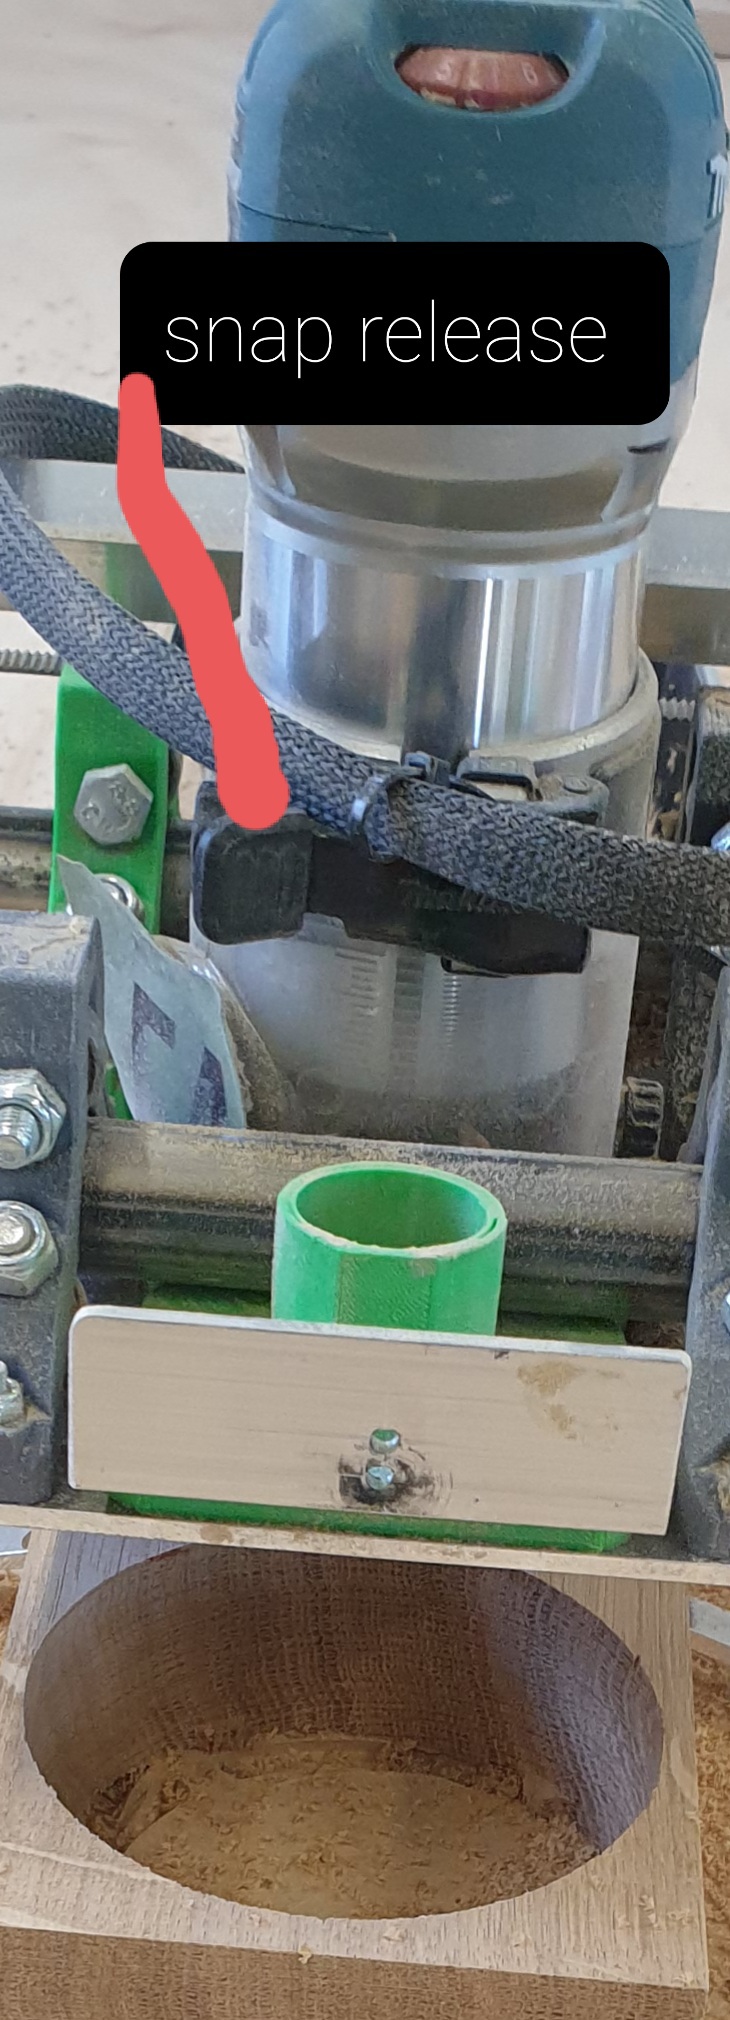
I want to show you the last upgrade I made to my lowrider. I tried to create a more solid design than a typical router base. Further I wanted to direct the airflow of the router upwards - this should lead to less dust polution in the air.
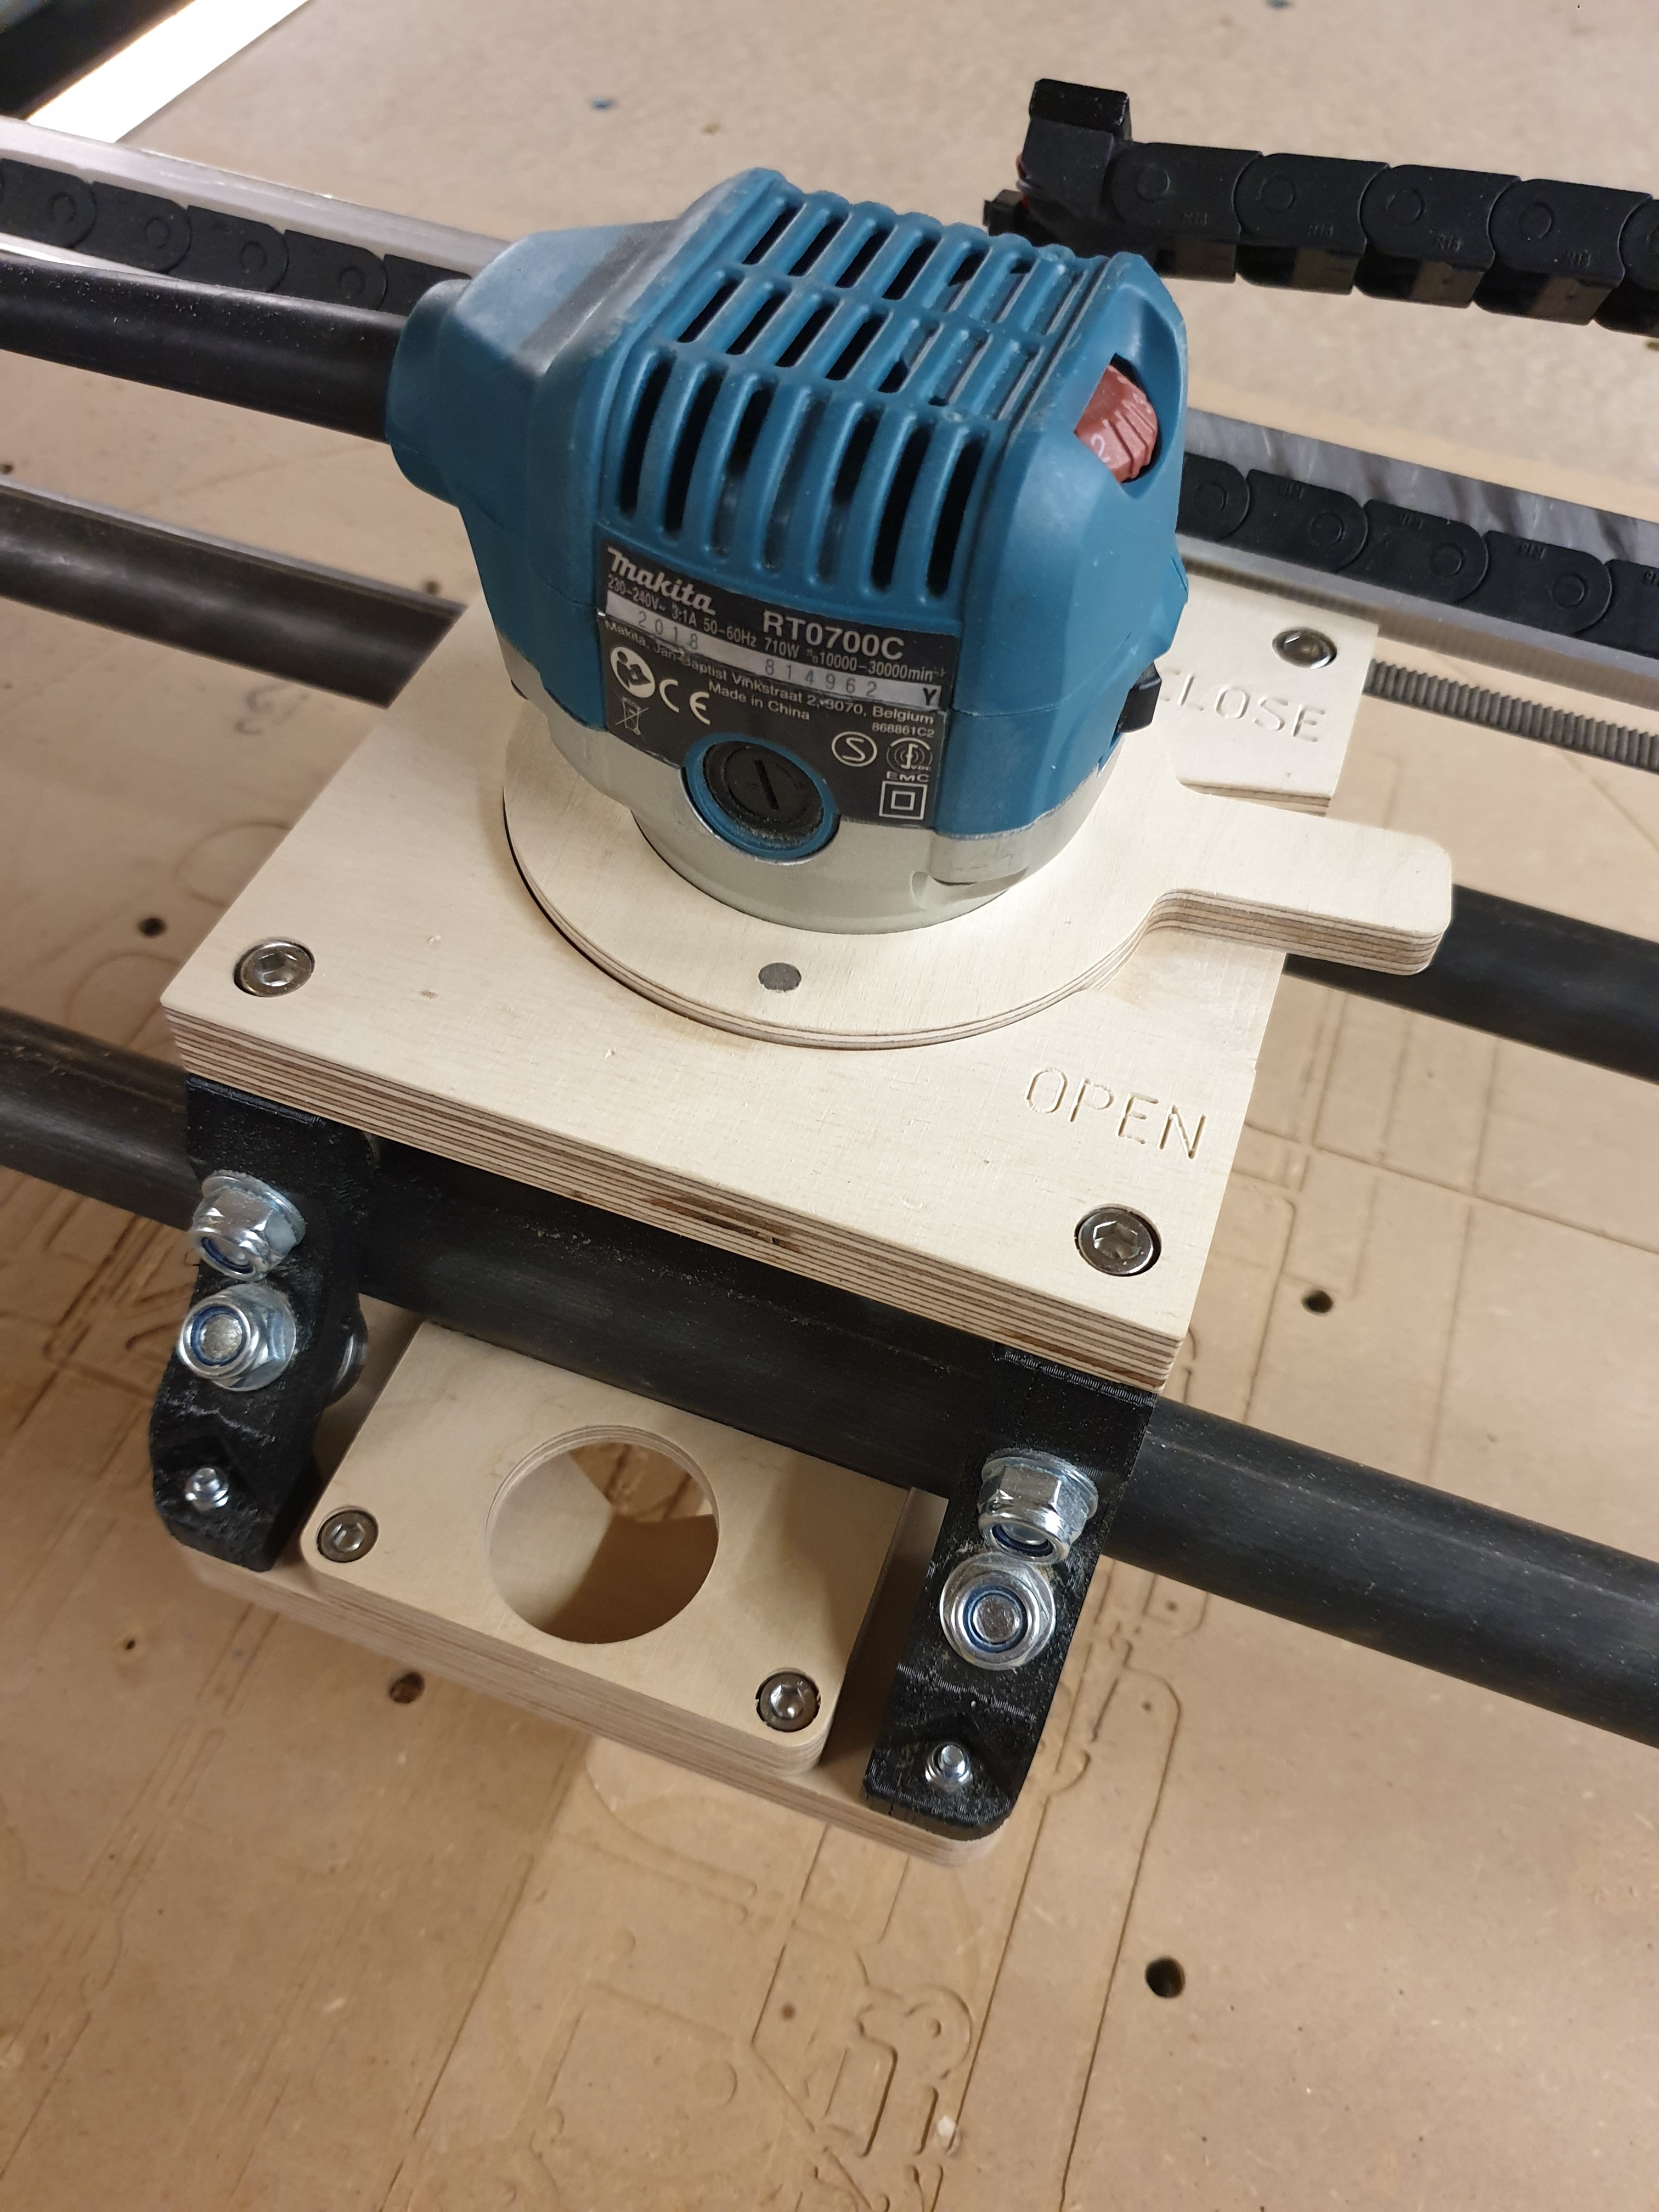
The new carriage has a quick release feature so I am able to remove the router for an quick and easy bit change.
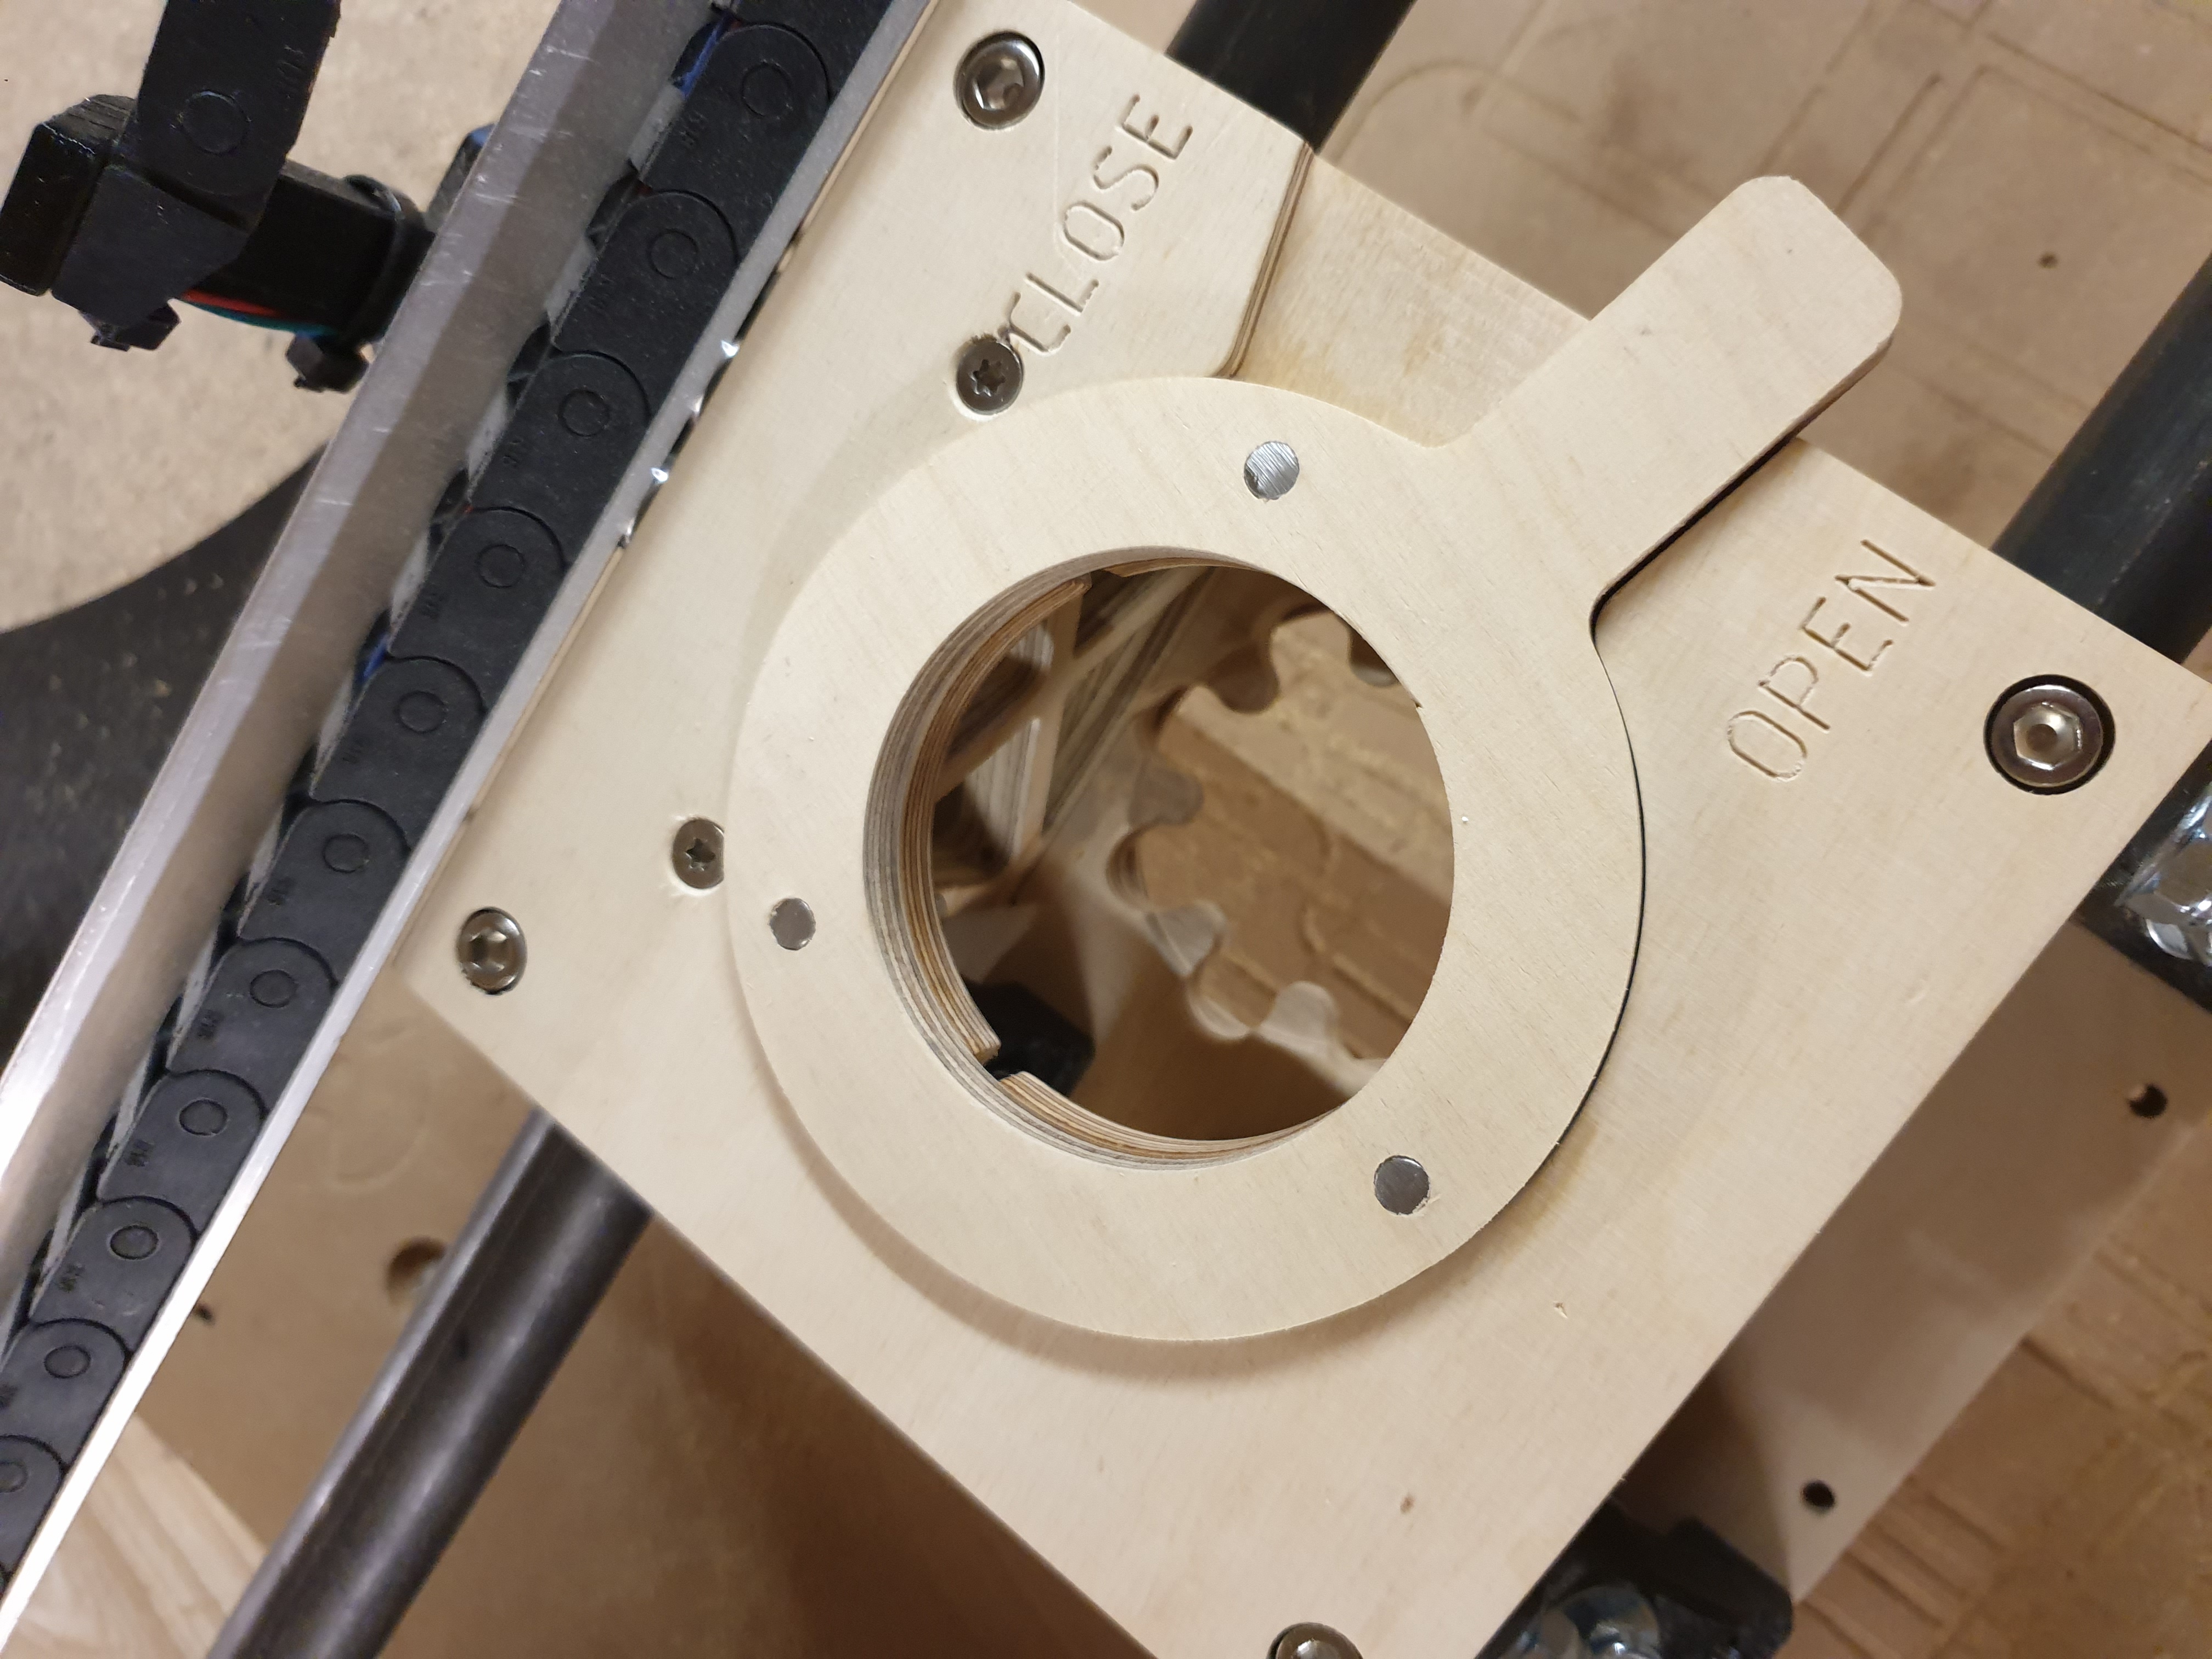
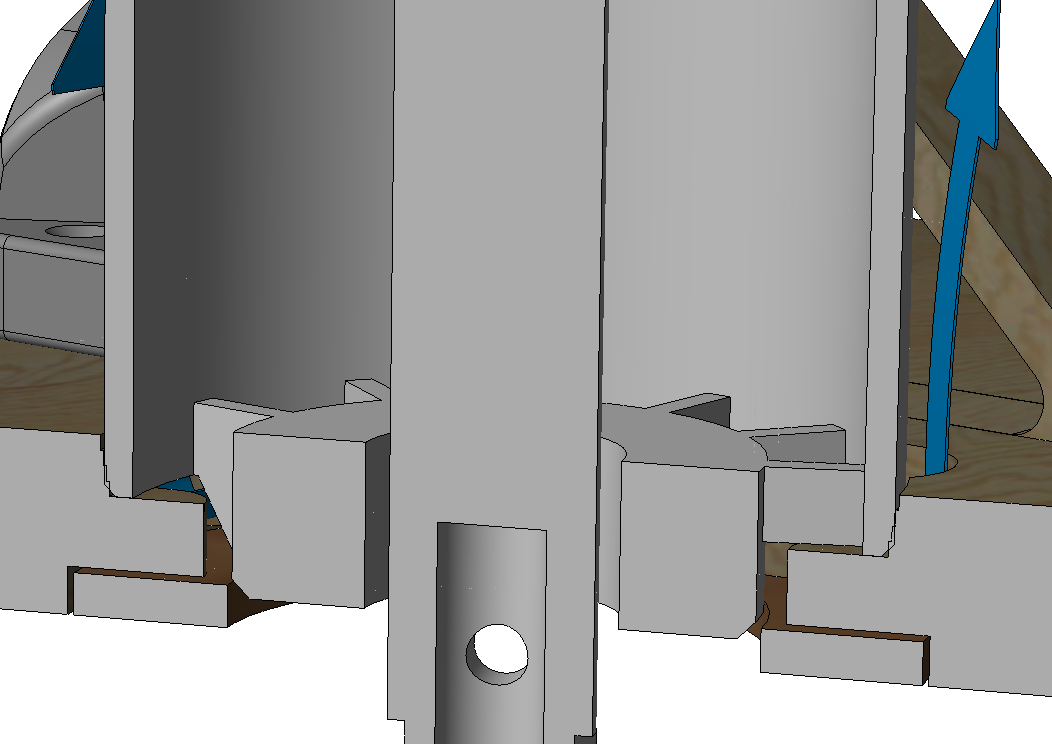
The 3 latches on the upper plate center the router automatically when the lever is turned to ‘CLOSE’ position.
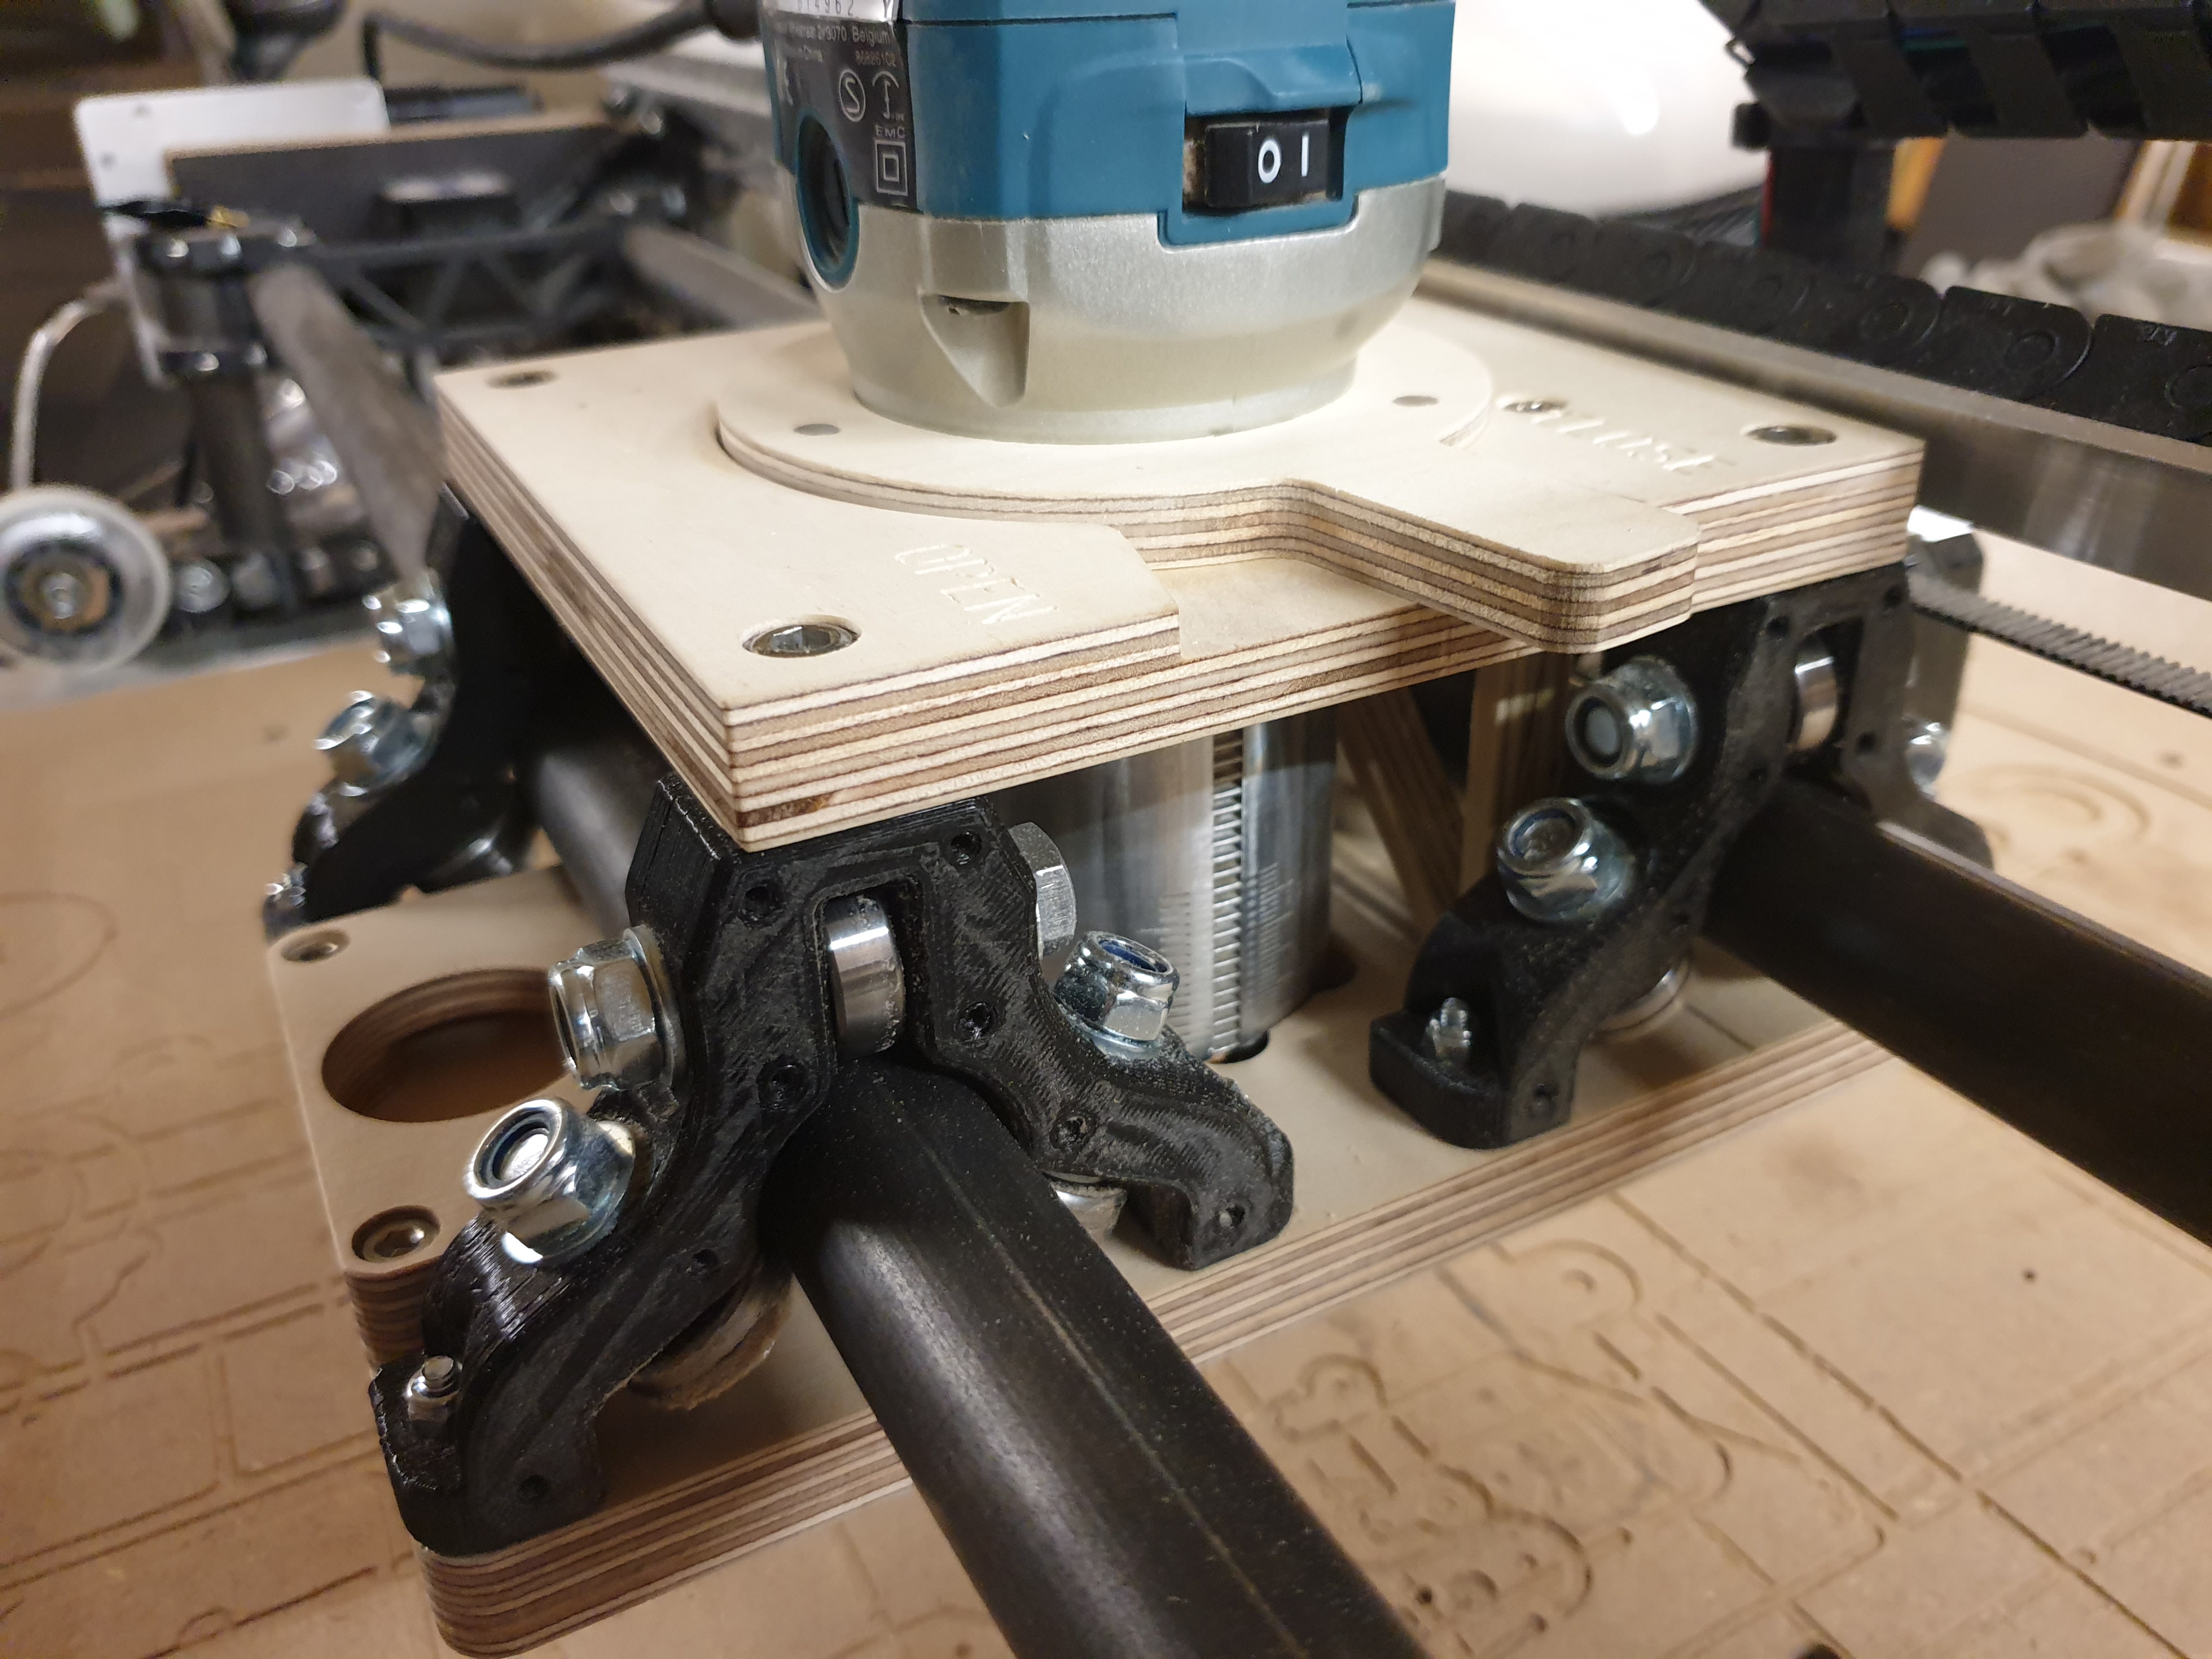
On the lower plate I stepped the diameters - the router centers itself when it’s pushed down into the carriage.

17 Likes
That’s great. It has the added bonus of giving you the base back to use outside of the cnc. Very clever.
Rich, I’ve been following this for sometime - hoping the plans for this appear somewhere. Any chance you are looking to share? Let’s discuss. I like this, and as Jeff said earlier - it also frees up the base for other uses.
If I find some time I will optimize the design and publish the files. But please don’t expect them in the next weeks 
What is the purpose of a removable lower collar/ring? To expel dust caught in the crooks and corners?
So - I’m taking a stab at this carriage based on those pictures - so far so good! I have the lower plate sorted. I’m working on the upper plate now. I do have a few questions for you @Rich;
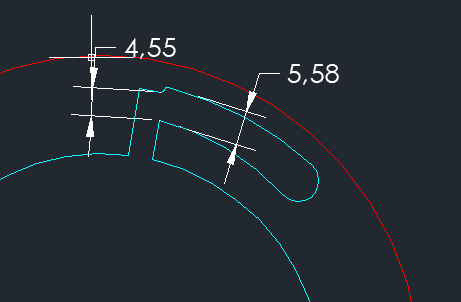
The three pressure tenons at the opening - first I can see that the tenon is slightly tapered for the pin to push the tenon in toward the router. I’m guessing it is at least .5mm to 1mm taper into the pin cavity. I also see the little “ramp” or “bump” just before the elbow opening. I assume this is to ensure the pin doesn’t throw all the way into the elbow. My direct line measurement from bump to the tip of the tenon is 4.55mm and the narrowest part of my cavity is 5.58mm for a 6mm pin. See the picture for clarity. Can you verify these pain points to secure the router?
I am going to extend the plates to align edges past the vacuum attachment so I can use this for a laser/drag knife mounting (later).
1 Like
Duffy I think you are close to the dimensions I have designed. And you completely figured out how it works 
I think I will throw my design on Thingi as a ‘design in progress’ and as a .step assembly. So you can just copy or modify as you want to
1 Like
Well, it might be back to the drawing board - or time to pick up a different router - two reasons; the Bosch Colt that I picked up doesn’t have a 1/8" collet readily available and the housing is shorter - I think - than the dewalt 611 or the Makita, well at least the plastic upper cover comes lower than I’m hoping for.
I appreciate the upload of the design. I’m working on the qucik release “monacle” today.
Okay, it’s online: Lowrider2 CNC - router carriage with quick release by RGform - Thingiverse
I can definately recommend the Makita. I just ordered the akku version (DRT50) to be able to trimm the edges of the milled parts in parallel when the CNC is running. It also gives me the possibility to set up a second tool for quick engravings… I think it will surely speed up my workflow.
So I just had a 2’x3’ piece of 9mm polycarb land in my lap! So I am thinking of making the base plate with it, create a sort of insert for the base that the router is sitting on, glue it down of course, then I’ll need to figure out the upper part. Maybe a reverse pin/clamp. Have the top plate hold the pins and the locking handle be plywood to flex for the clamping pressure.
1 Like
@Rich The strut you have, between the router and the step motor (and X-axis tube) did you find that it was absolutely needed? Or did you just do this to create further rigid-ness?
I did not try without it. But I can imagine that the carriage might be too weak without it.
It took less than 5 minutes to make that brace, so there was no doubt for me
1 Like
@Rich I wonder how how you fastened the upper plate to the LR2 X mounts?
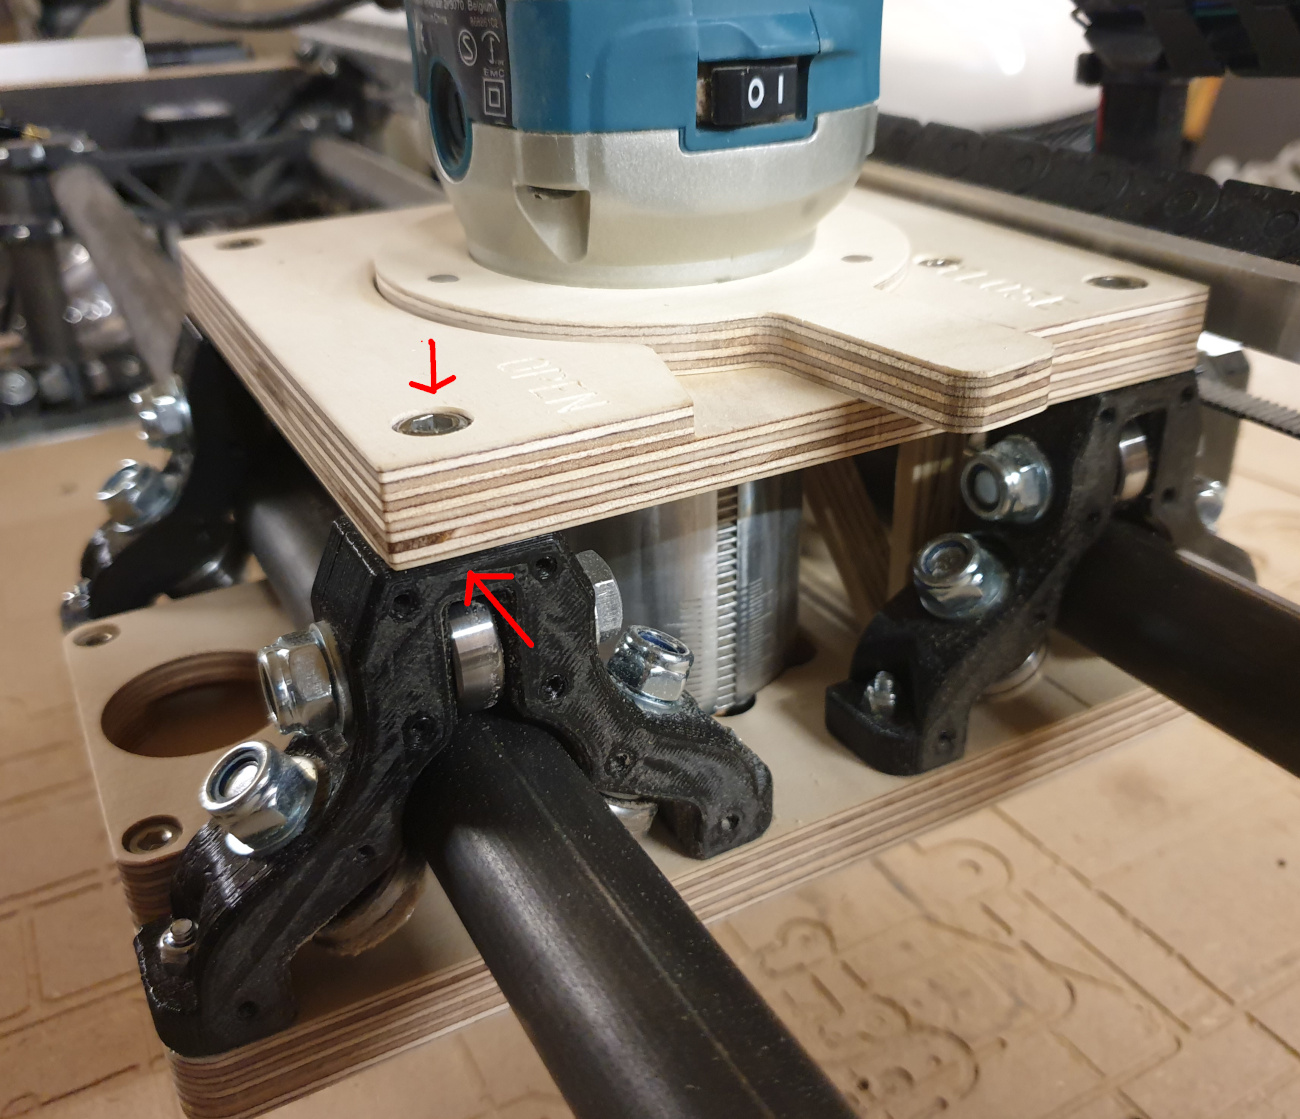
Did you redesign the mounts in some way , or did you just drill a hole in them and screw the plate down somehow?
1 Like
Hi
Looks good, but in the kit for my Makita router was a base with snap release. Simple and easy to use
Yes I also modified these rollers to have a 5mm hole where I cut a M6 thread in. These files are included in the step files on thingiverse
Oh, its a pity that my router did not come with a similar snap release.
Ah - I did not realize that - thank you for the tip!
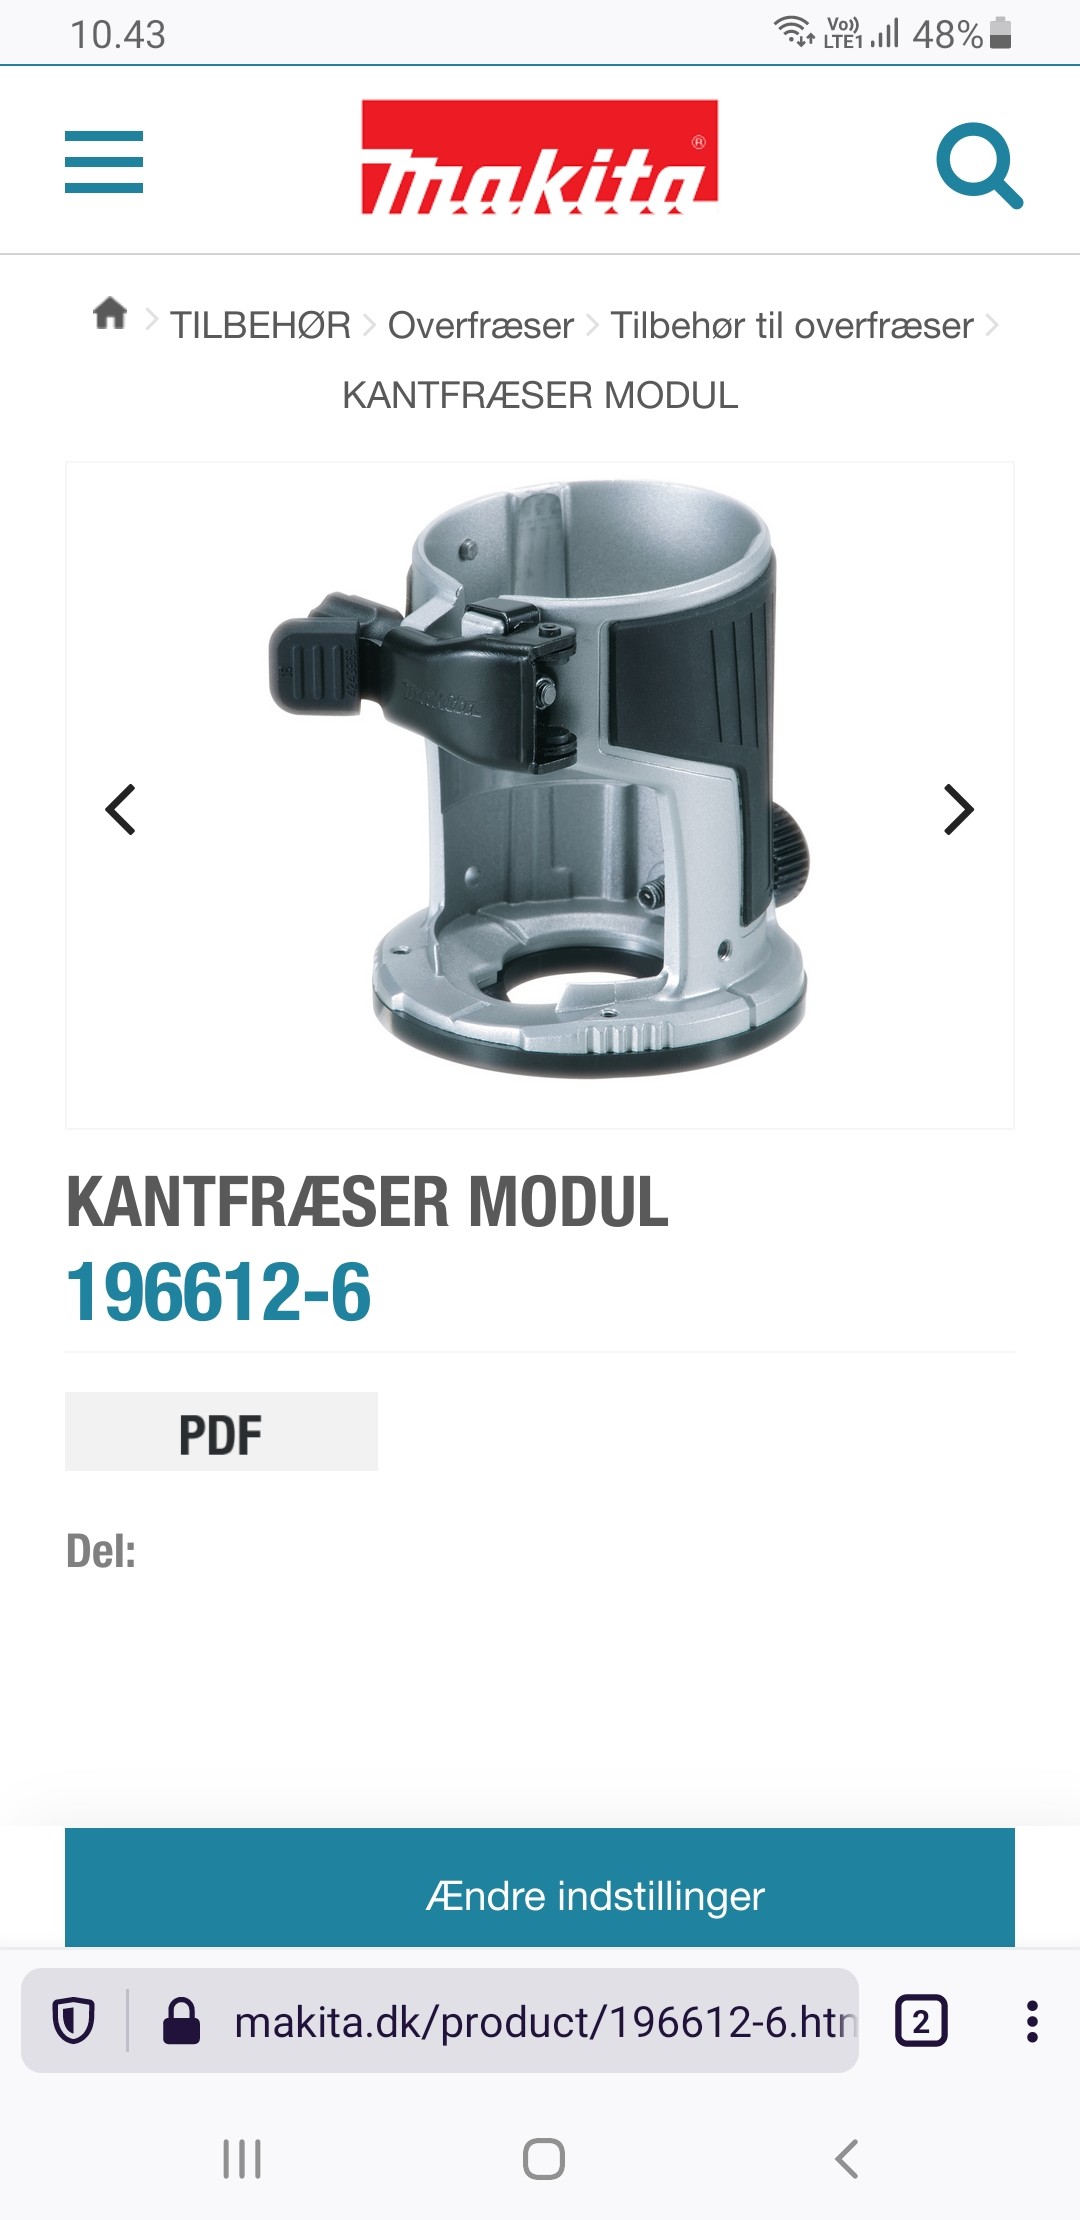
Thanks for the tip! I will have a look.
@Rich What are you doing to finish your plywood parts? Some heavy edge sanding and then a varnish? I’ve been plying with a high gloss poly spray but it does not quite end up looking as good as yours and I am looking for some alternatives.
Also I assume that is birch ply? Looks like a nice thick top layer, the stuff I keep finding has a hair thin Veneer on it which is not very forgiving to sanding.