Yes, then print another with the other face down. That gives you the two outer braces with “TOP” flat faces out to help with any printer bed distortions.
Ohhh I think I just had a light bulb. You mean basically the surface that the XZ plate mounts to should be facing up instead of on the build plate? So flipped like a pancake from default orientation. In my head I was thinking the surface for the strut plate and couldn’t figure out how to make that work lol.
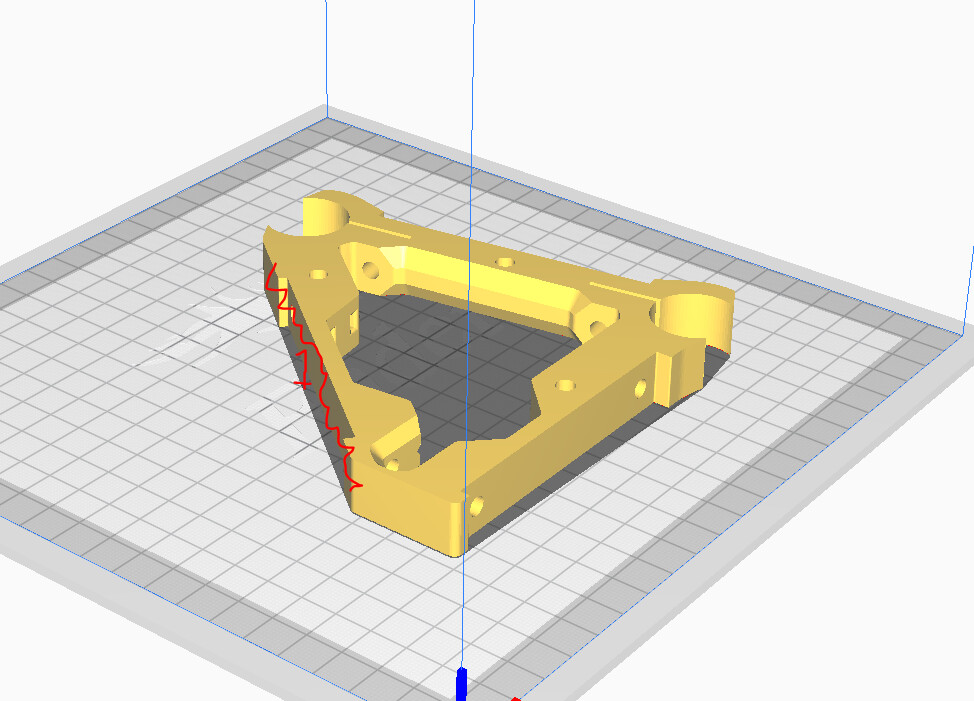
ok I know I’m late to the game here but I’m finally getting around to printing the LR3 parts and I’m still a bit confused on this point.
I’m probably being pedantic but should I just flip the brace over or should I mirror it? The reason I’m asking is there’s a very small chamfer on the bottom of the brace in the default orientation that’s not on the default top side. So, if I just flip it, the new bottom won’t have the chamfer.
Just thought I’d clarify as I’m running out of some of the filament my son picked out for the color scheme