Short: How many project focused hours to build your LR3?
“How many hours will this take to build?” Me, probably you and probably most people we talk to about LR3.
Why am I asking?
Understanding how many project focused hours it took to get those chips flying, people’s experience, and improvement ideas could:
Help future builders know what they’re getting into.
Help builders decide whether LR3 is good fit for their fun/profit priorities.
Help identify improvements worth pursuing.
This topic focuses on how long people took to build their LR3. Hopefully getting feedback on steps that felt like more of a struggle than they should (guess we could also infer this by reading/ML-analyzing frequent forum questions, but am explicitly asking here anyway…).
For me LR3 was/is a fun project, one that’s way more affordable than commercial alternatives. Self funding hobby would be a bonus. I intentionally spent the many hours it took to 3D print parts, and mill MDF/Aluminum plates, because I wanted to learn those skills, not to optimize my time. Others may have different requirements/priorities for their hobby/business. Discussions comparing LR3 with other DIY/Commercial alternatives would be good to have in other topics.
Here’s some poll questions to help folks anonymously provide fast feedback. Ideally a better poll mechanism would be used to help correlate build time with makers’ experience/related-skills. Maybe this is good enough, or at least a conversation starter that results in action… I’m hoping folks will chime in and post their experience, questions, suggestions too…
Hours spent researching CNCs before deciding to build a LR3? Guessing many of us spent many hours researching pros/cons, and alternative DIY/Commerical options.
0 - 1
2 - 4
5 - 9
10 - 19
20 - 29
30 - 39
40+
0voters
Hours spent finalizing design for your build? Decide on dimensions, EMT, wiring, table size, controller board, controller software, etc…?
0 - 1
2 - 4
5 - 9
10 - 19
20 - 29
30 - 39
40+
0voters
Hours to search, source and buy hardware? Filament, EMT, plate materials, electrical, kit or individual hardware components?
0 - 1
2 - 4
5 - 9
10 - 19
20 - 29
30 - 39
40+
0voters
Hours to Assemble your LR3? Just assembly of a mostly stock build. Do NOT include time to 3D print or mill parts. Exclude time for uncommon enhancements.
0 - 1
2 - 4
5 - 9
10 - 19
20 - 29
30 - 39
40 - 49
50+
0voters
Hours to calibrate, troubleshoot, install and learn CAM software enough to be able to make your first cut?
0 - 1
2 - 4
5 - 9
10 - 19
20 - 29
30 - 39
40 - 49
50+
0voters
Got ideas/suggestions for reducing Time To Chips Flying?
Got ideas/suggestions for increasing joy of your build experience?
Got Build Time related questions/suggestions that would help the community?
I guess I shouldn’t vote on this one. I think I will link it at the end of the LR3 build instructions, though. I would be very interested to see the numbers.
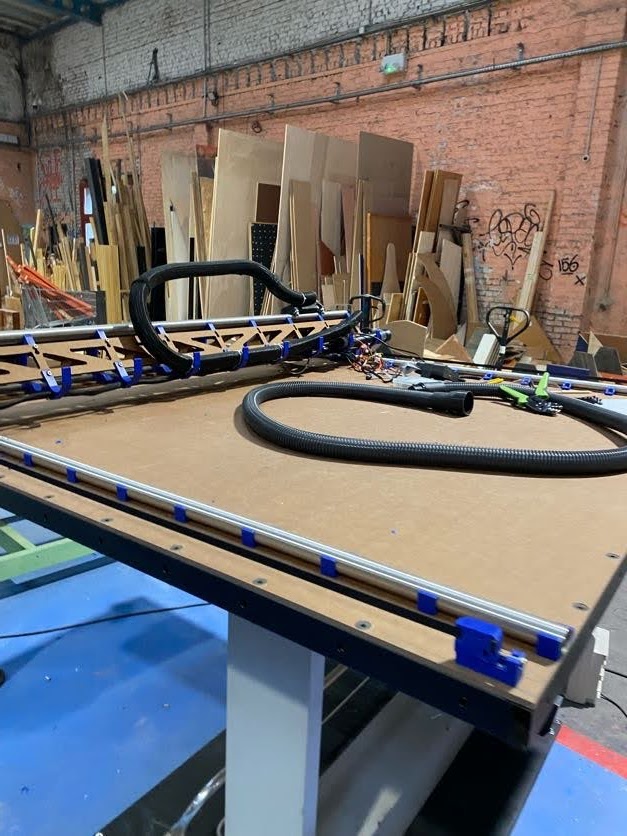
FabLab of Roubaix in France to create a project with the local mission of Roubaix.
This project was to sensitize the young people in search of a job or a training in a first time to make them discover the various numerical tools and materials such as the milling machine and the cutting with laser, and in a second time to carry out of A to Z a milling machine with large size.
During the building of the milling machine we did research about the materials and parts to be used during the assembly of the milling machine.
Machine we used :
3D printer
Laser cutter
Sander; Drill Press, Pannel Saw
Welding machine
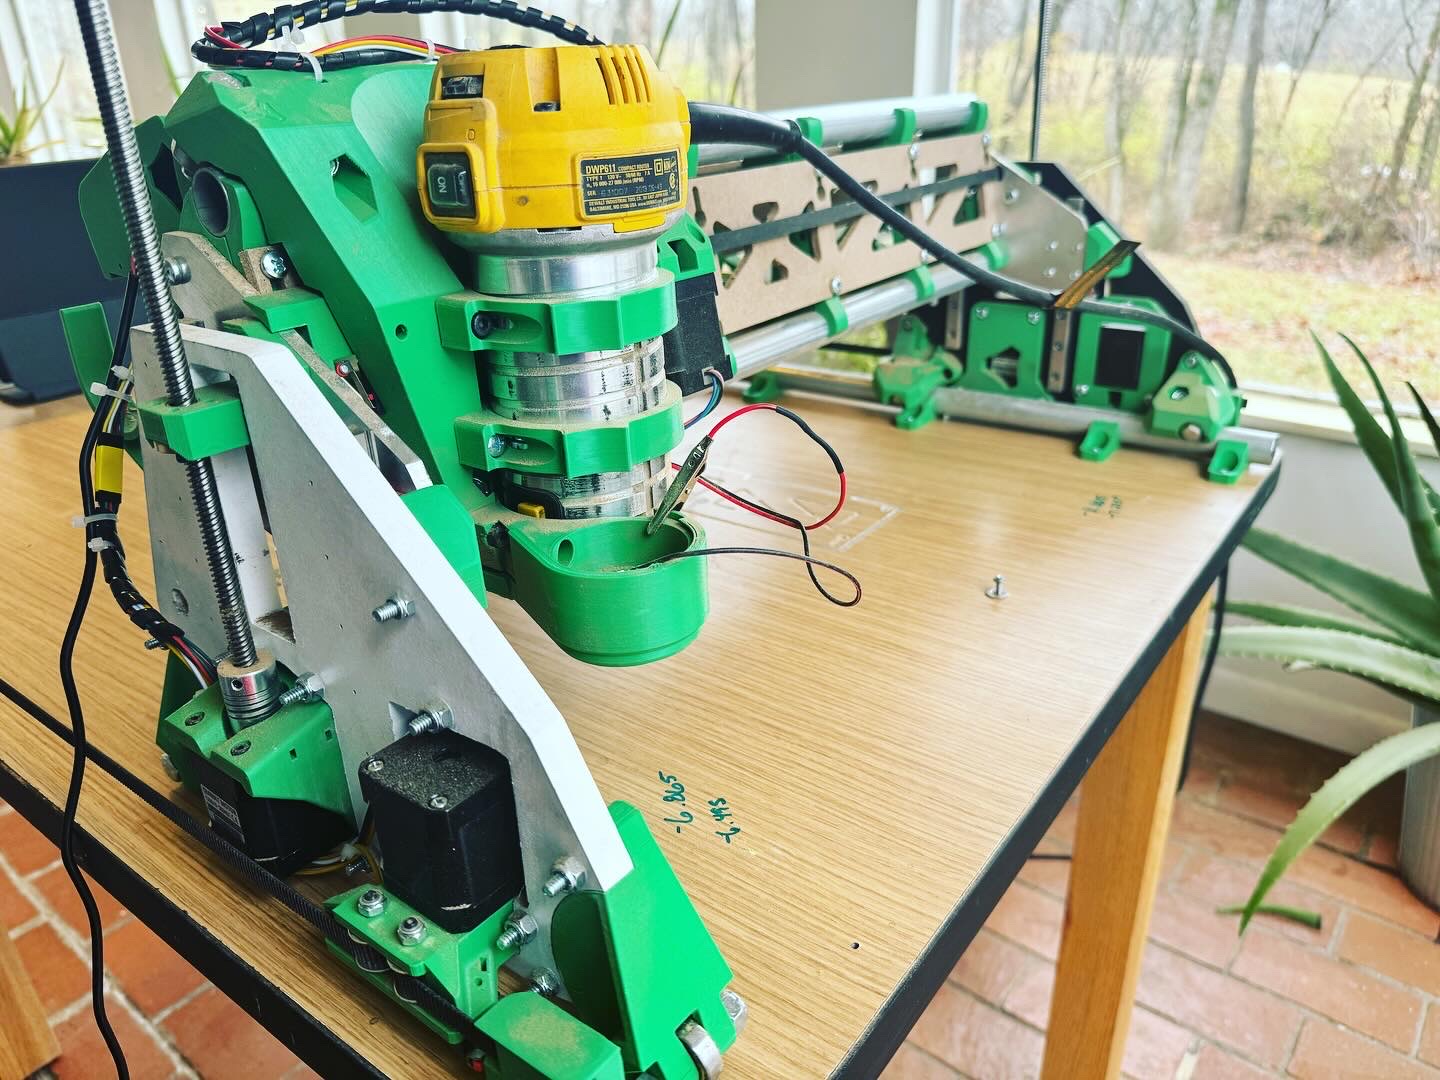
Wa also made some upgrades like dual linear .Y rail and custom table based on a folding drawing table (firmware Build adapted for the non turbo BTT skr1.4 to come on the forum )
Great !
In also from France, do you plan to document the build in your tutorials and especially the place where you had sourced Y tubes/diameter and bolts ?
Hello, we used 25.4mm 316L grade stainless steel diameter tube from rs-onlines. 86€ for 2x3m tubes. The bolts we used are DIN934 m5x30mm made out of stainless steel. they works pretty well except on the two lowers holes of the Z motors bracket. we needed to use a DIN 335C Chamber end mill to get the head of the screw deeper preventing them to hit the Y Rail Block
Just got done with my build. First I want to say Ty for the plans. Just seeing how much work went into this, really impressive. Couple things I wanted to note. Both the XZ and YZ plates can be milled by hand, both MDF and Aluminum with a bandsaw, center punch, drill press, and some files. I also didn’t tear down the machine after cutting the struts. I just removed the two top bearings from the LR core and slid the struts in. Finally if you’re using the Jackpot web UI with an iOS device you need to change the .gcode file to a .txt file extension in order to upload the files from the files app to the SD card.
Thanks again, I’m proud to be a part of this community.
One thing to be aware of… some people may have built other machines before starting on the LR3. I know I learned a lot from building my first 3d printer that carried over into my MPCNC build and subsequent MP3DPv4 build.