Been trying to get my process down for machining brass. I’ve broken 6 single-flute endmills so far… You’ll find my questions listed at the end of this message.
I am using the mimimal z-axis height recommended on website (you can’t even see the z-axis steel conduit between the plastic parts). My workbed usable machining area dimensions are 700mm x 350mm x 50mm.
My conservative baseline settings where I’ve had most luck are as follows: Feed - 250 rpm - 25.6k DoC - 0.064 Flute # - 1
I’m using 6 workholding clamps and a have the bottom side of the plate of brass covered 100% in double-sided sticky tape to the surfaced MDF spoil board.
My Experiments:
Over the course of my first 6 experiments, I was getting massive amounts of resonance. I also noticed there was a bit of give in my core after breaking 3 endmills. Because of the nature of the breaks, I strongly suspected the problem was rigidity so I went on a massive tightening spree of nearly every bolt on my core. On the next 3 experiments, I retried these experiments and I broke 1 endmill. there was still a little give on my core, so I tightened up my tension bolts again. My next 3 experiments, I haven’t broken a bit yet and the resonance frequency is much higher pitched than it was previously. However, it does still get a bit dicey when I’m doing a contour cut specifically in the final 20% of my cut into the 3mm brass.
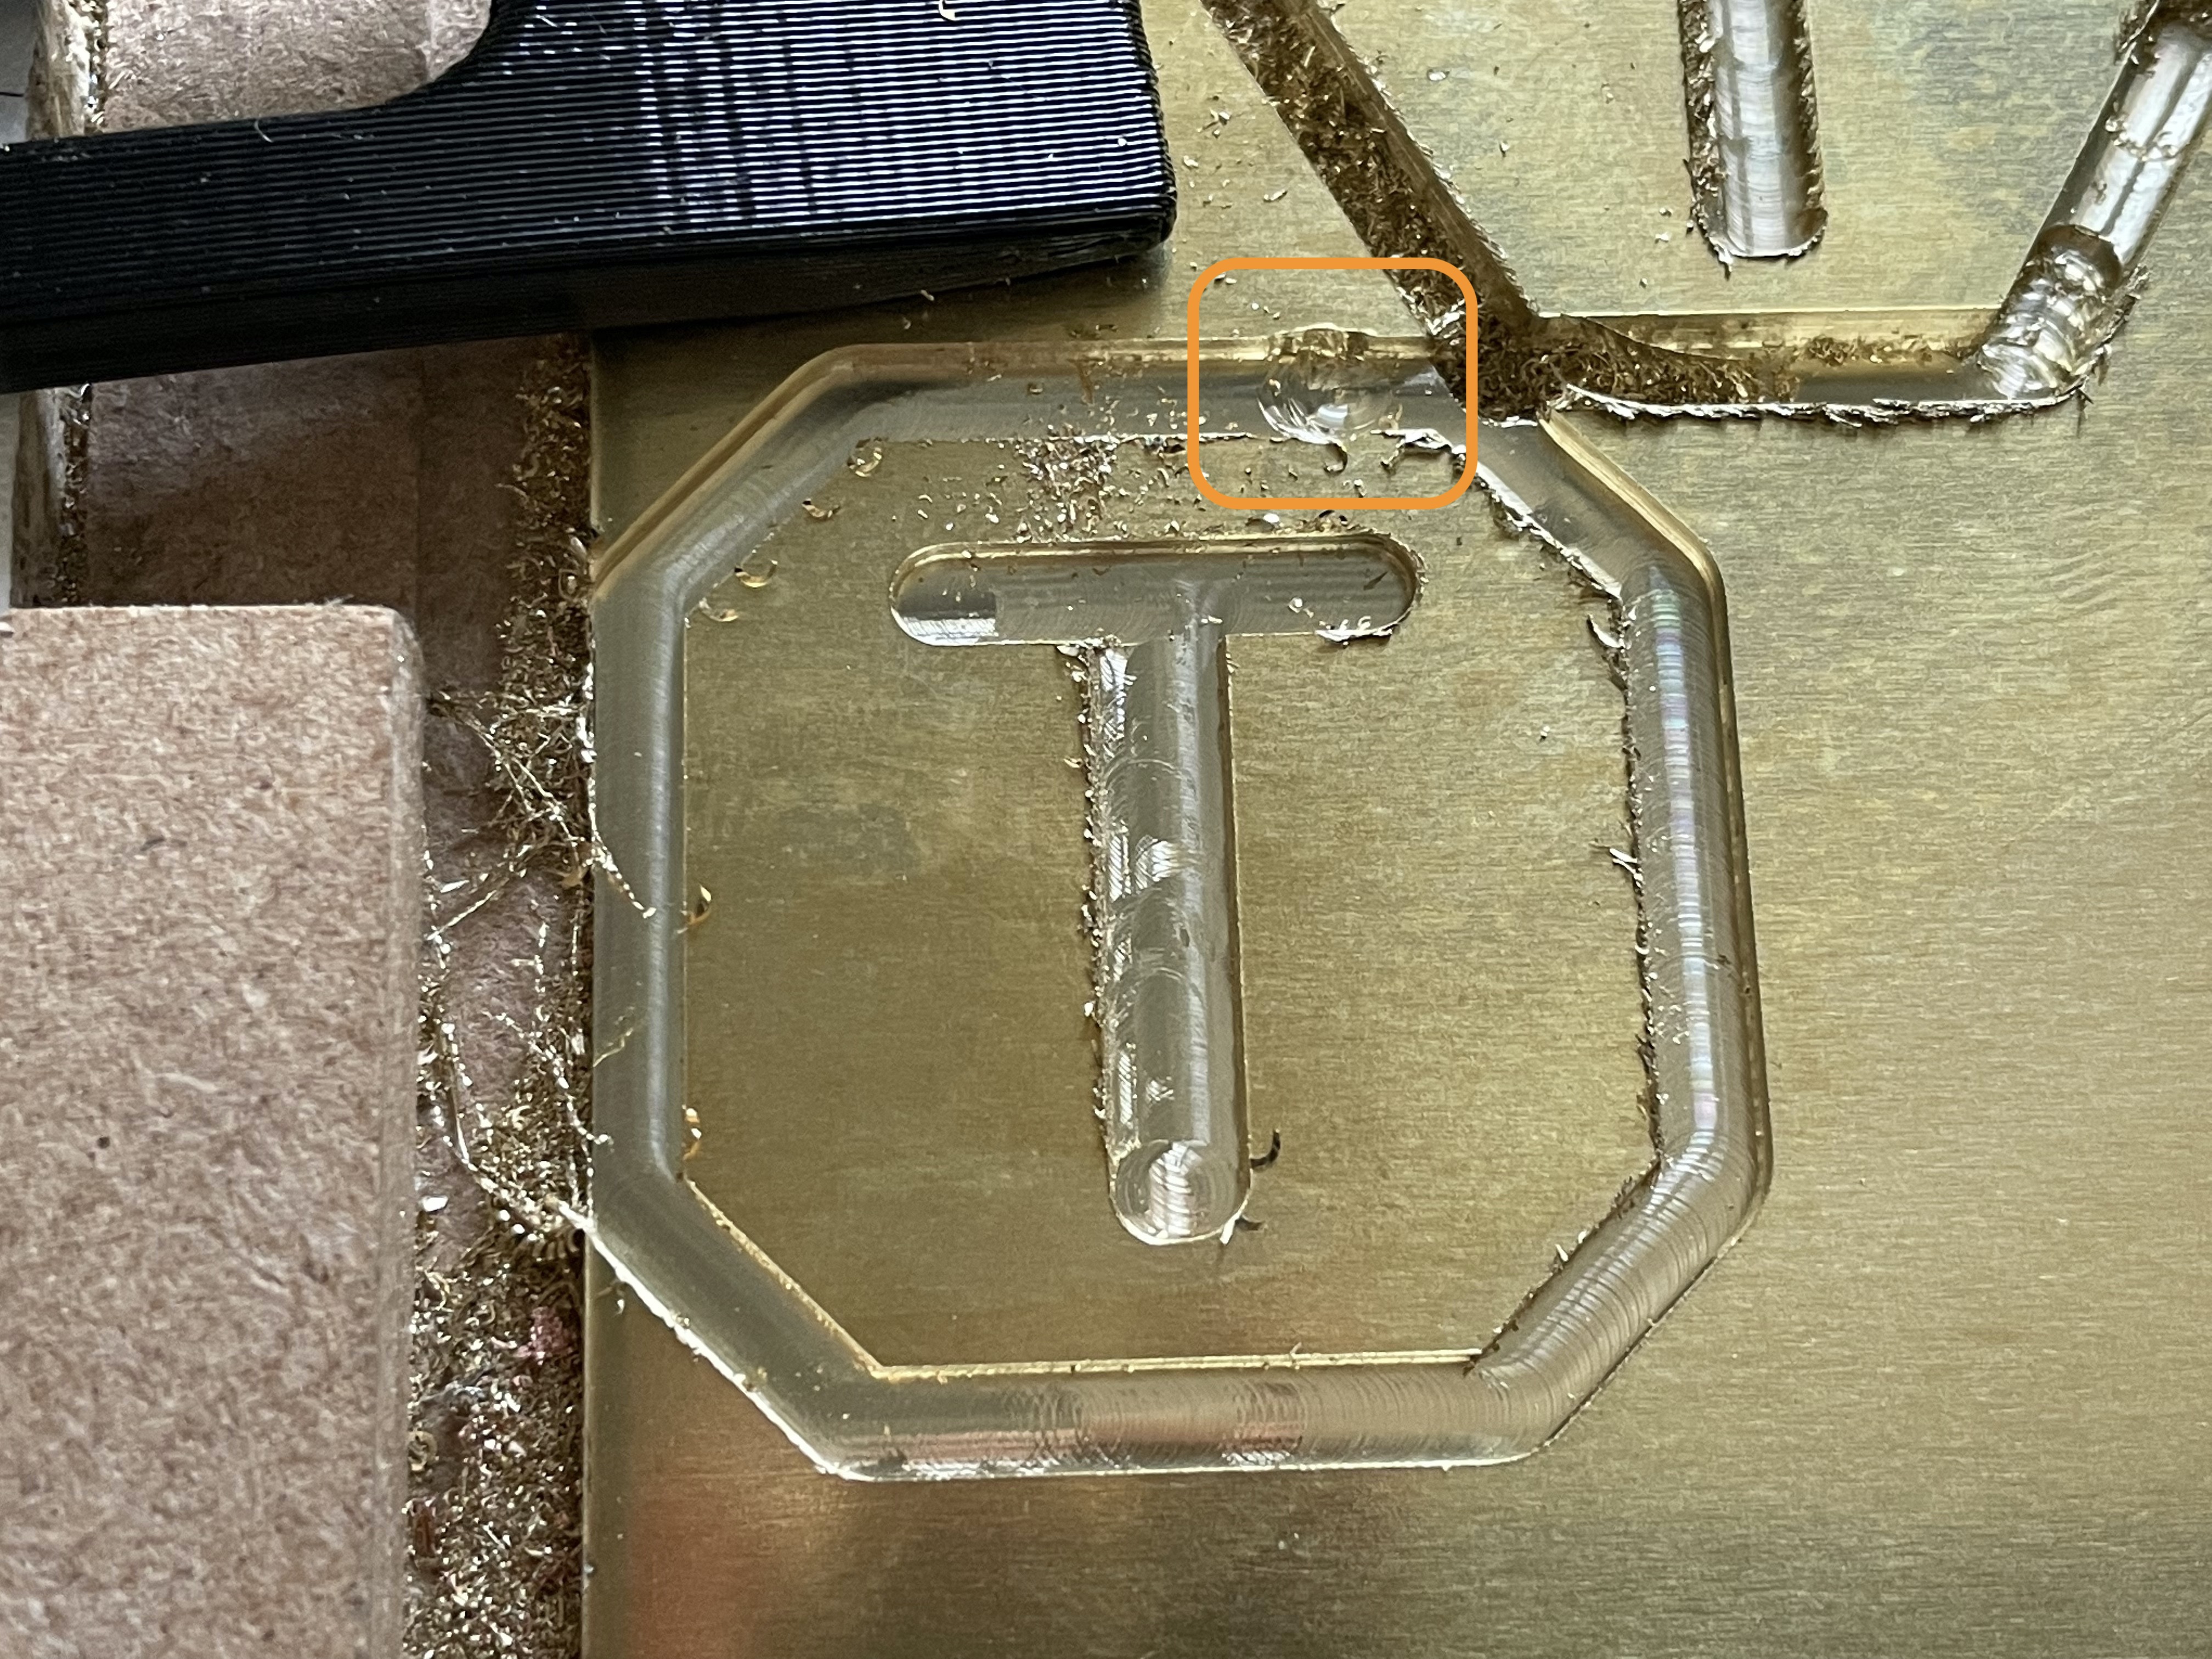
I suspect that all my issues come down to rigidity issues because every time I had a bit break in the first 9 experiments, it’s been preceded by: a) Intensifying resonance intensity with each layer of DoC suddenly. b) A clear loss of rigidity when looking at the stock afterward where the bit broke (see Picture).
Questions:
My conservative setting is slow as hell and I need to work out a way to make it faster by solving (what I beliebe to be) a rigidity issue.
Do you think I can get a better chance of success in cutting brass/copper (perhaps even steel??) by bringing my spoilboard height closer to the gantry height? So, instead of 50mm z-axis working height, I reduce it instead to like 30mm?
1a) Any other suggestions for increasing the rigidity of the spindle and/or dampening the high-frequency resonance?
What do you think the impact of chips are for a through-all cut through stock material thickness like this - Would you think tiny chips are to blame?
2a) Any suggestions for air compressors or air blowers that might help my cause (I’m UK, so available in European area)?
I have only a little experience milling brass, but based on cutting lots of wood, I suggest to set up your toolpaths so you are doing conventional cuts. I find more howling (resonance problems) with climb cuts. I believe the bit is pulling itself along to take up any flex in the system, then it relaxes back. Whereas with conventional, it maintains constant force opposite the direction of feeding. To do this may require using a smaller diameter bit and moving in little orbits (trochoidal), to always be doing a conventional cut.
Of course, do both directions and compare, and if climb is better, ignore the above!
Also, you may want to slow the spindle way down and/or move at a much faster feed rate (with a quite shallow cut, say 0.2-0.5mm). Brass is soft and relatively easy to cut, so you should have shavings not dust.
Cooling is always good. Just a spray bottle with water works fine.
My Brand:
I threw together an album of my photos and videos so you can get an idea of my feeds for brass (on my Handibot). I can’t recall the speed setting on the deWalt, probably low. The V bit was a 3-flute 60 degree 1/4" and the clearing bit was a 1/8" 2-flute upcut endmil, both solid carbide steel. https://photos.app.goo.gl/Ug1L2HhVpS2swjPq8
I heat the brand with a butane torch until the brass becomes rosy, then squash it down carefully with a heavy hammer.
If you make one, just don’t forget to make it a mirror image! (yes, in an early attempt I forgot this key step!)
FYI Everybody - the problem turned out to be lack of rigidity in the stock.
The double-sided sticky tape was trash on the MDF spoilboard. Carpet tape solved the problem and my results have been absolute perfection for the past 5 test cuts I did, even at the most demanding settings I’ve done so far. No Chatter, absolutely crisp edges and valleys of cuts. Just perfection.
Now I know what the problem is, I’m devising a removable spoil board for machining metals where I:
stick a plate of aluminium to the removable spoilboard permanently using the carpet tape, and then
using the double-sided sticky tape, stick my metal stock to the aluminium ‘spoil board’ surface (coz the double sided tape sticks great to polished aluminium stock, but will be easier to separate than the carpet tape after finish cutting).
Wish me luck, coz now my MPCNC has decided it doesn’t want to turn on anymore… lmfao.
 - any other advice to my questions people of V1?