Marlin Joystick with G-Code injector

Hello people

Thought I would post some info of my Joystick. I know there is another Joystick thread, but this one has a few extra features.

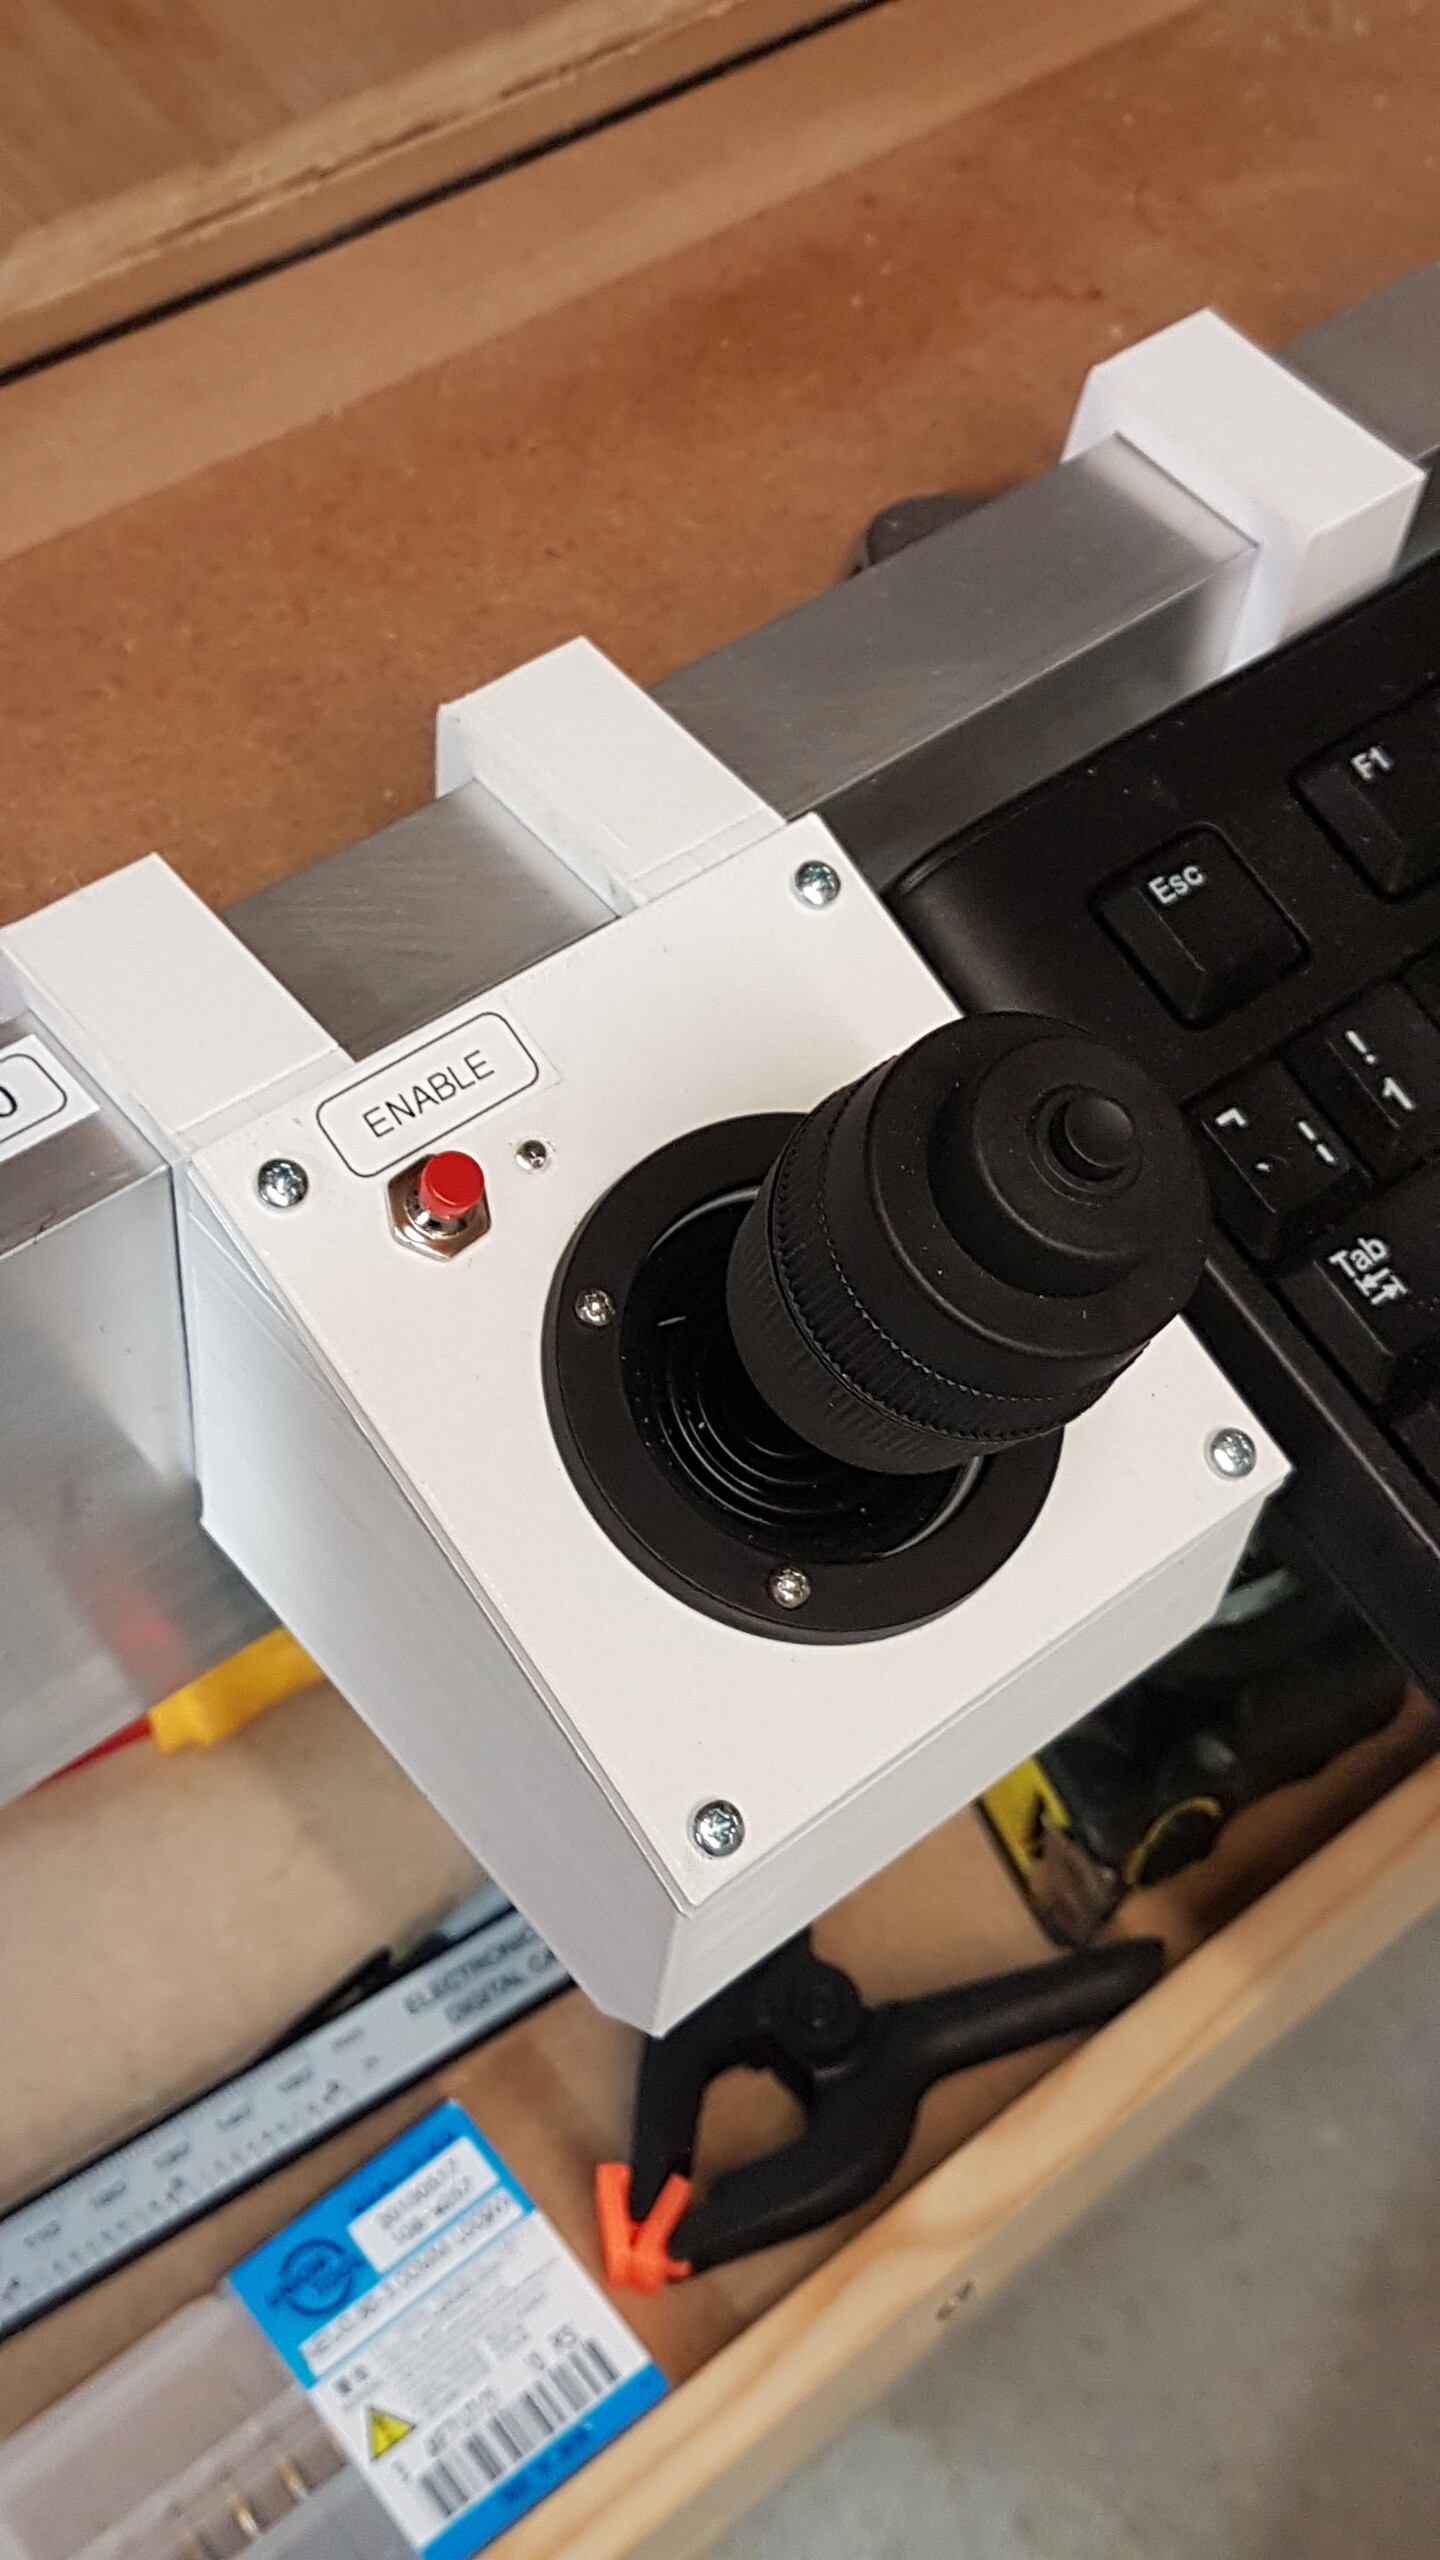
Its the standard twist X, Y, Z joystick. But I have a push button next to the joystick that enables it.
The button on the top of the joystick resets the X,Y,Z origin. You press and hold it for 2 seconds (to stop accidental resets).

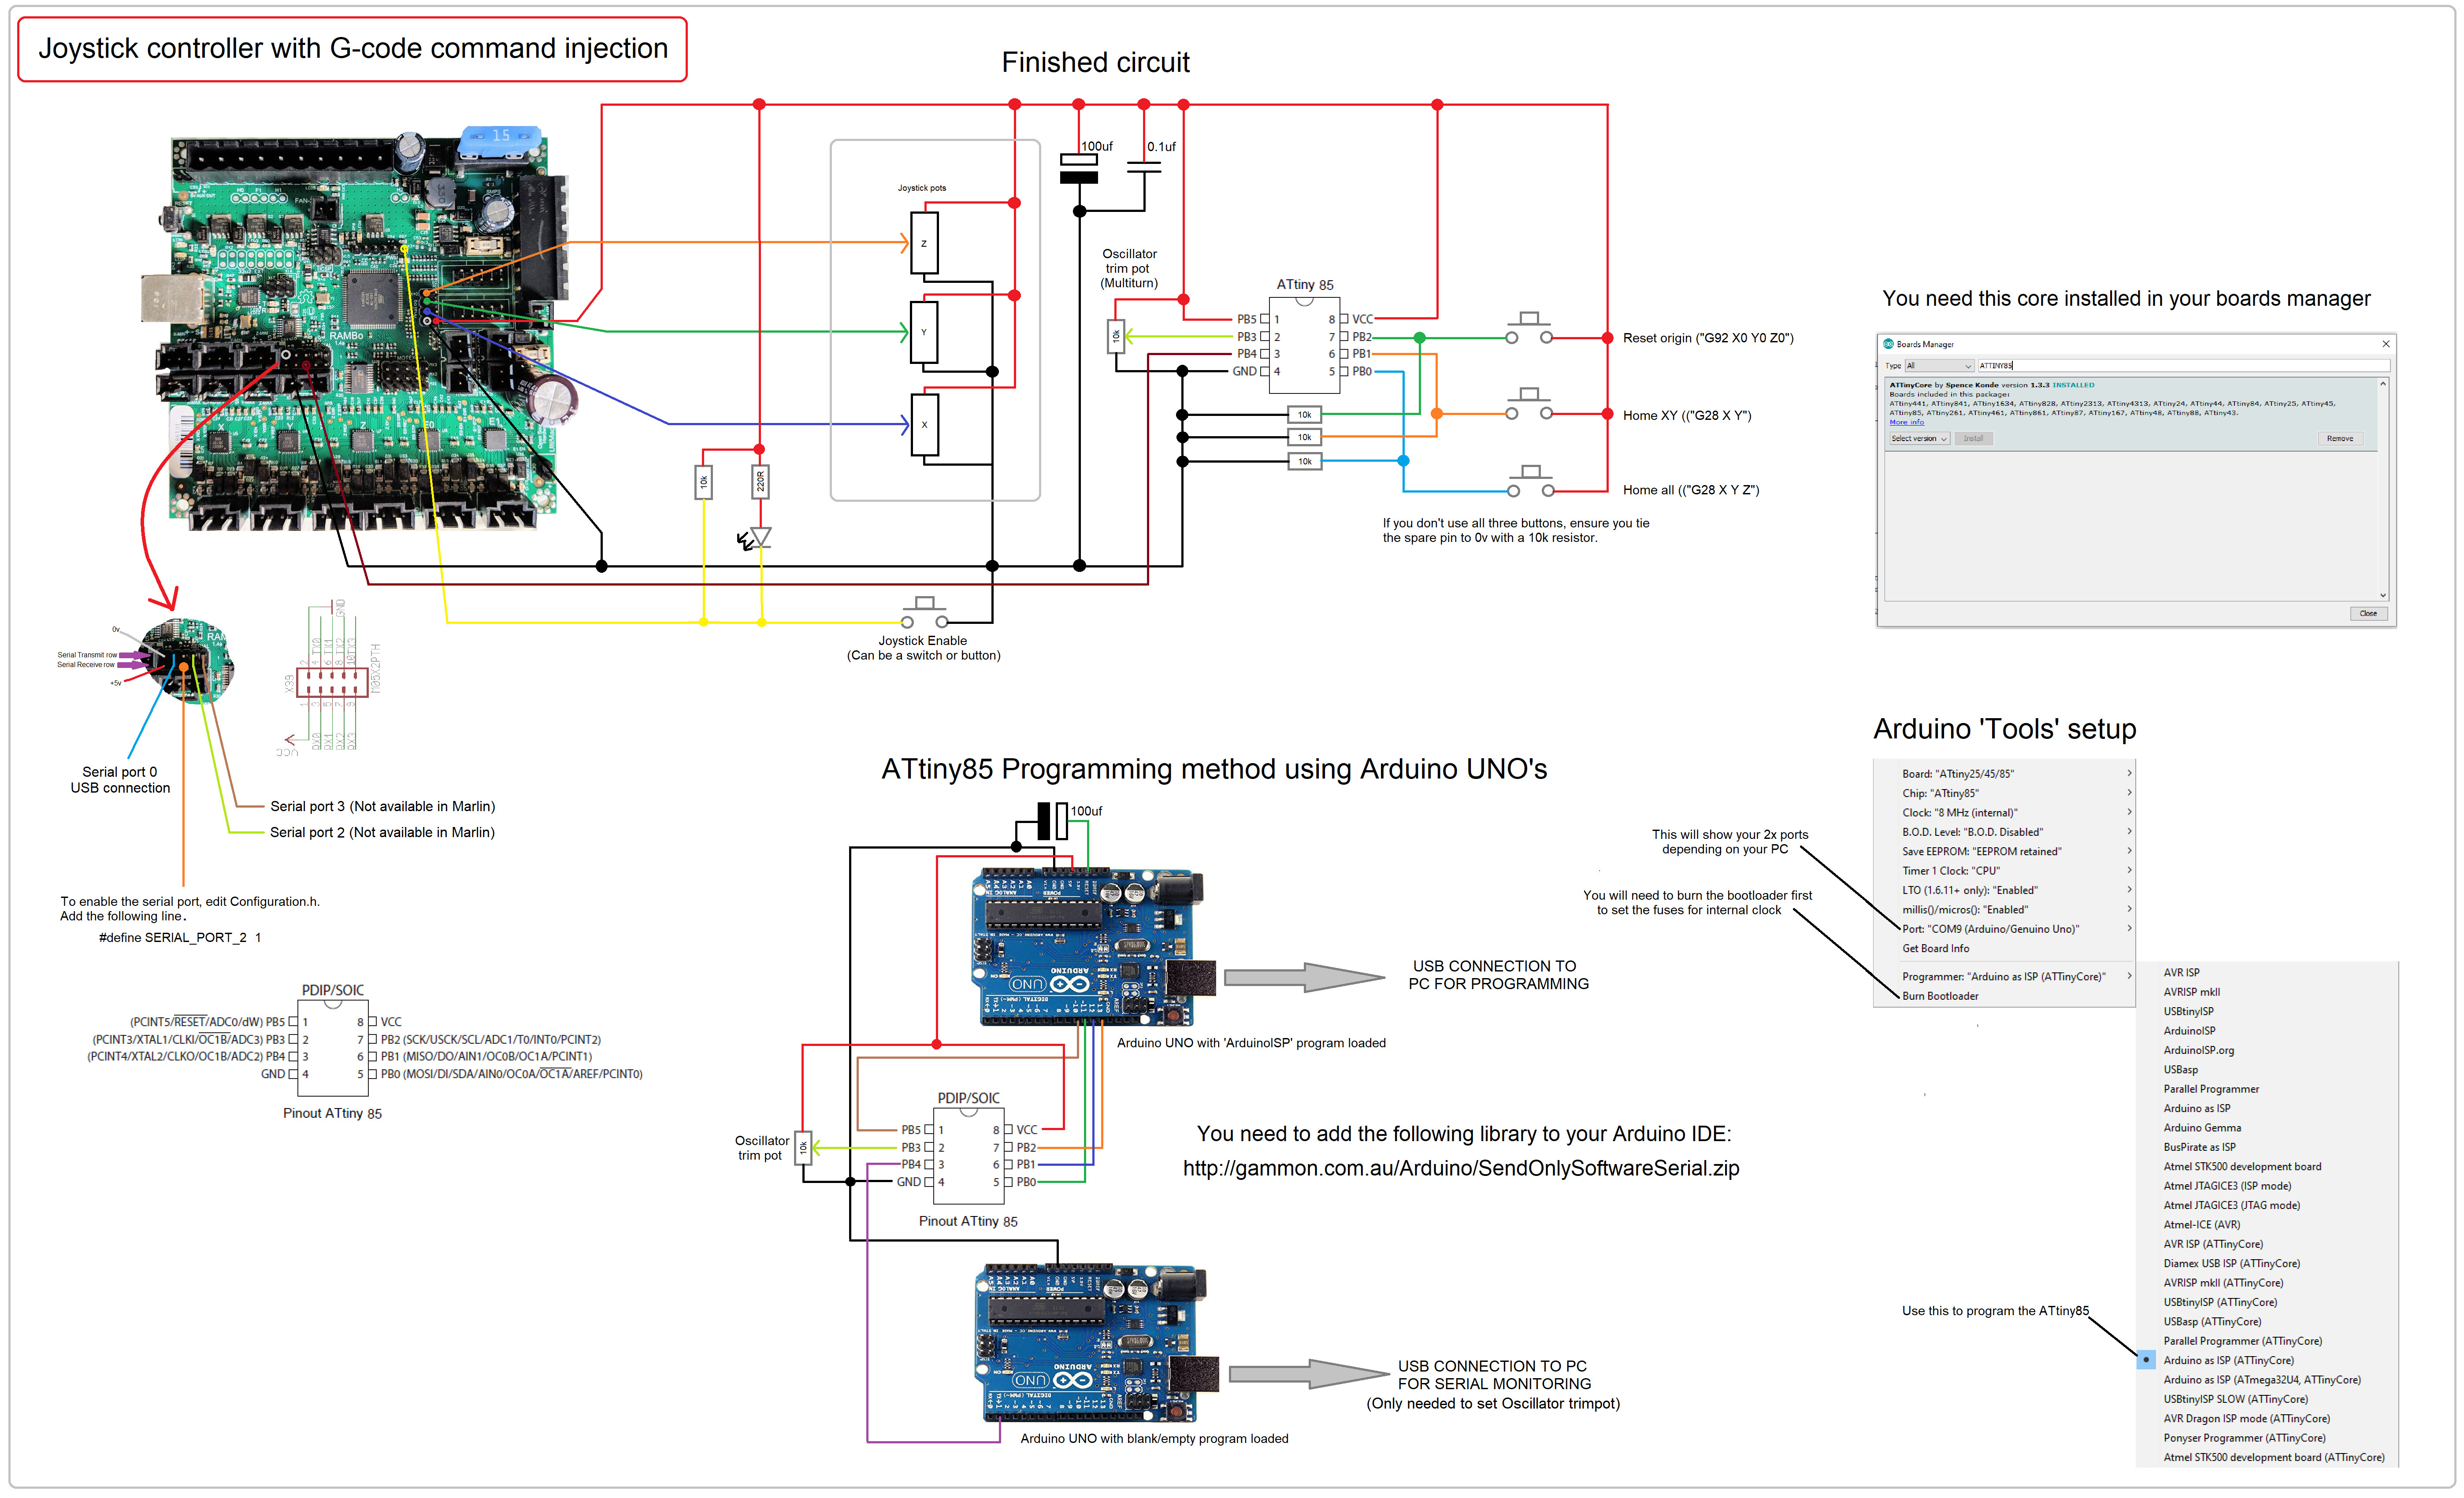
I won’t go too far into the joystick wiring. It’s been covered already, and it’s in my drawing.

Attached here is the wiring and code. In the Arduino code, you can change the value of the button delay (or remove it).
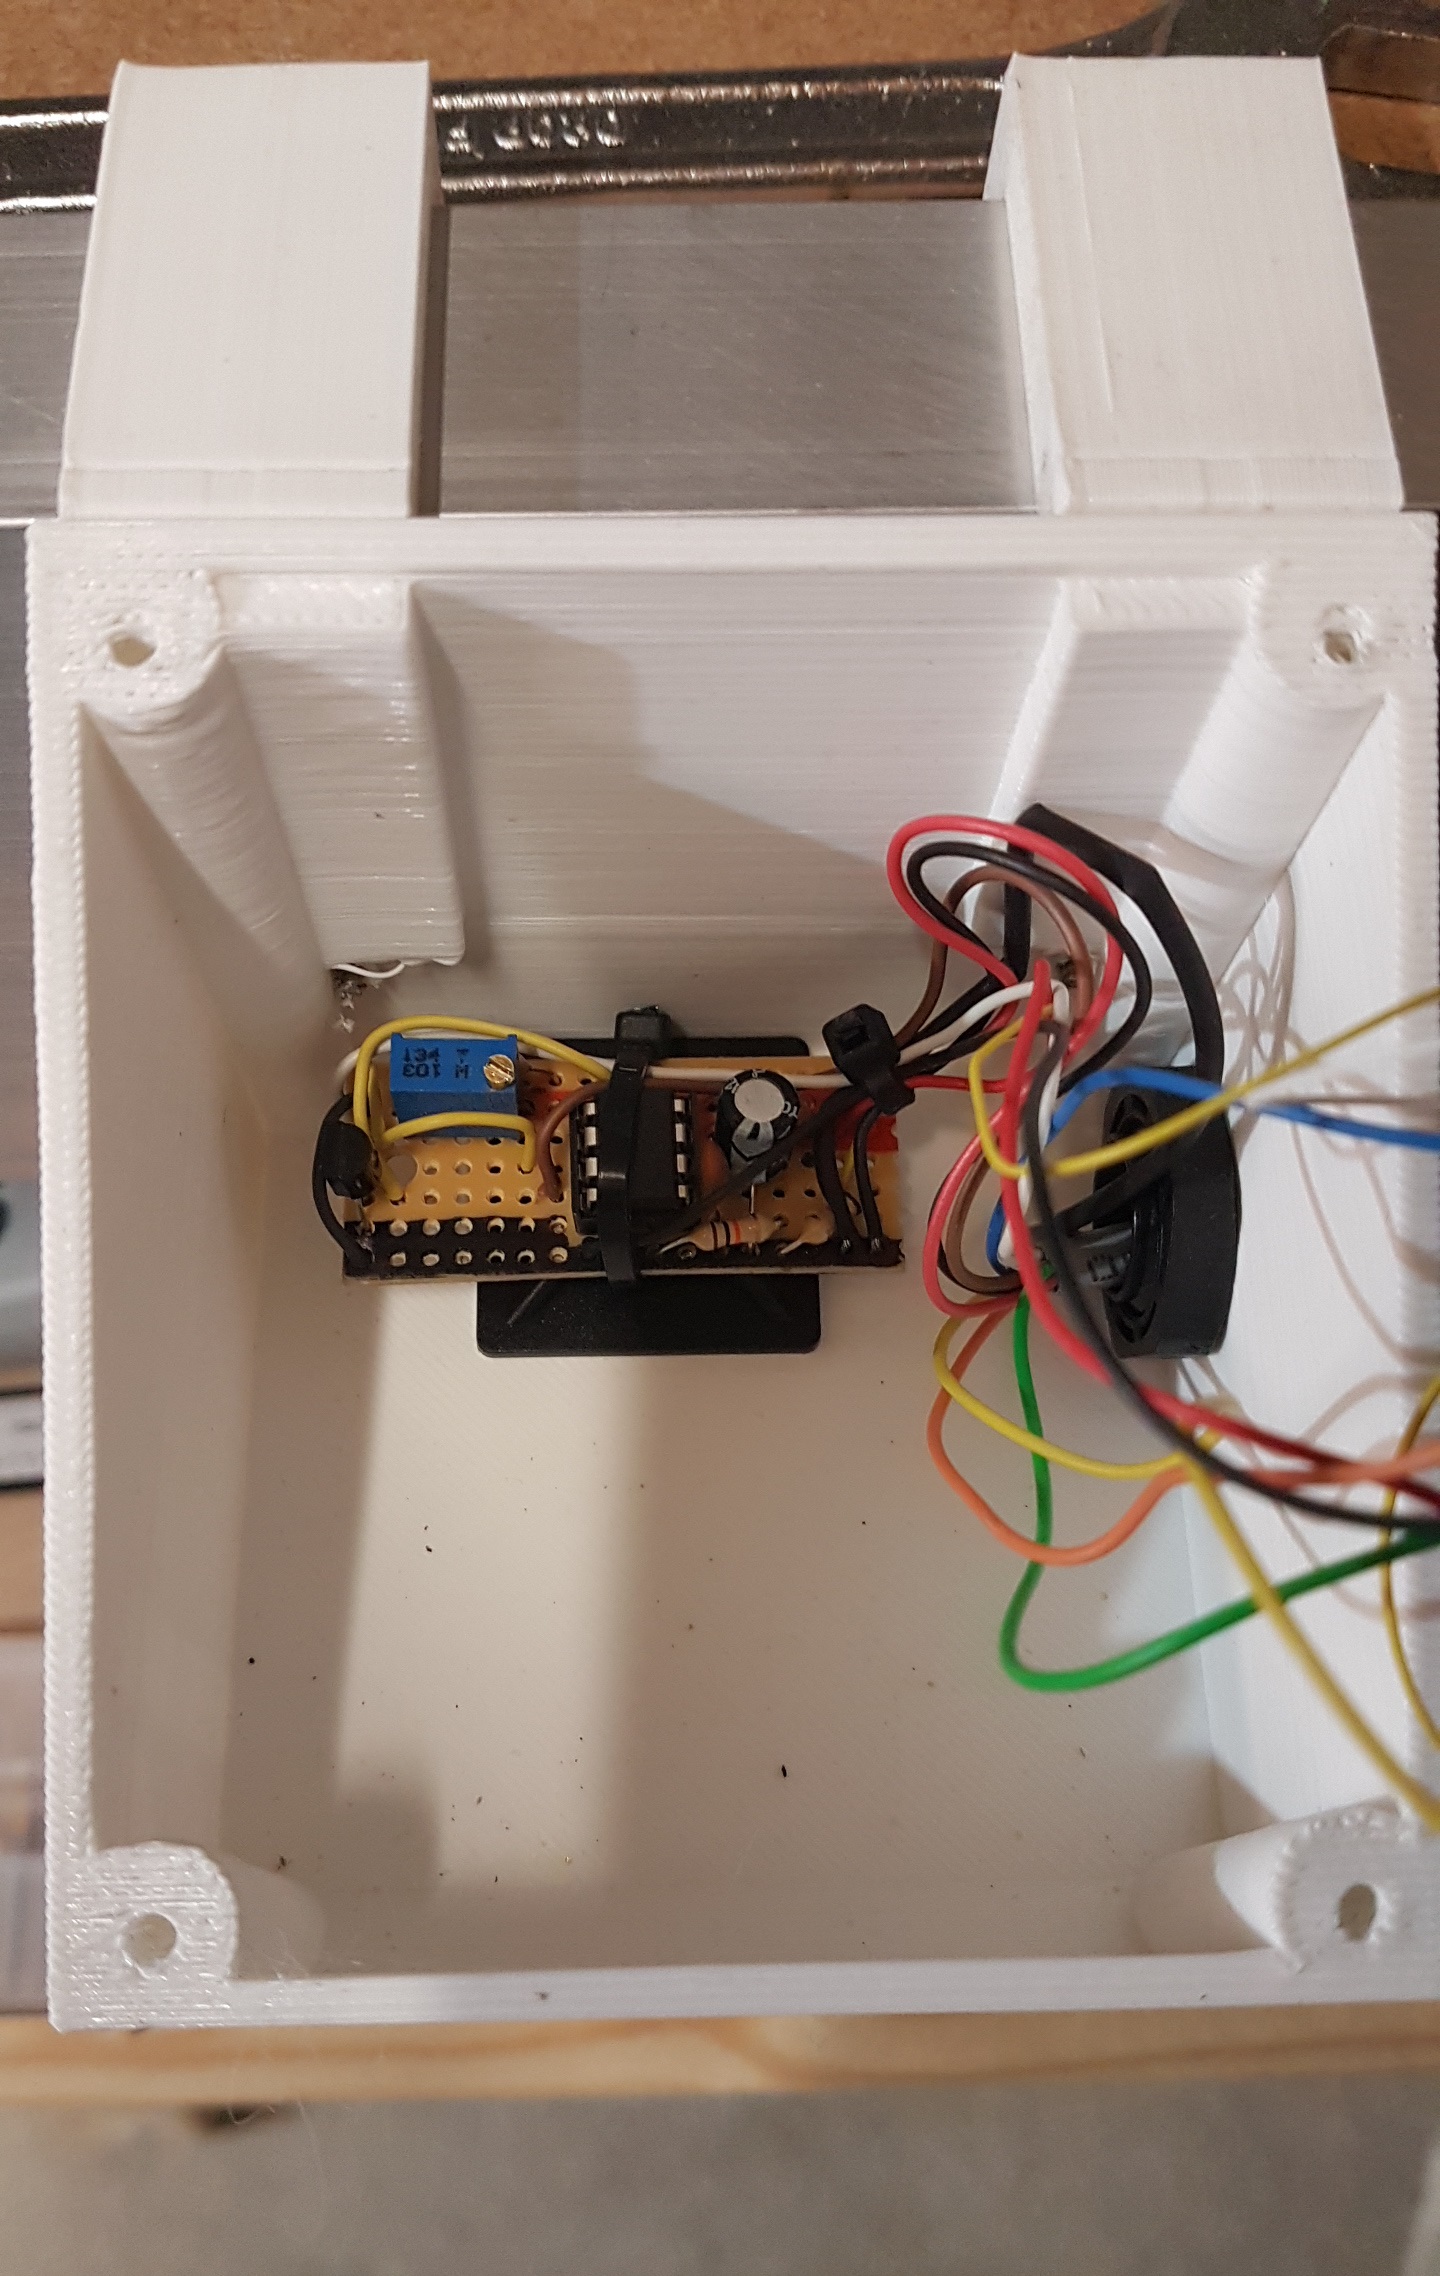
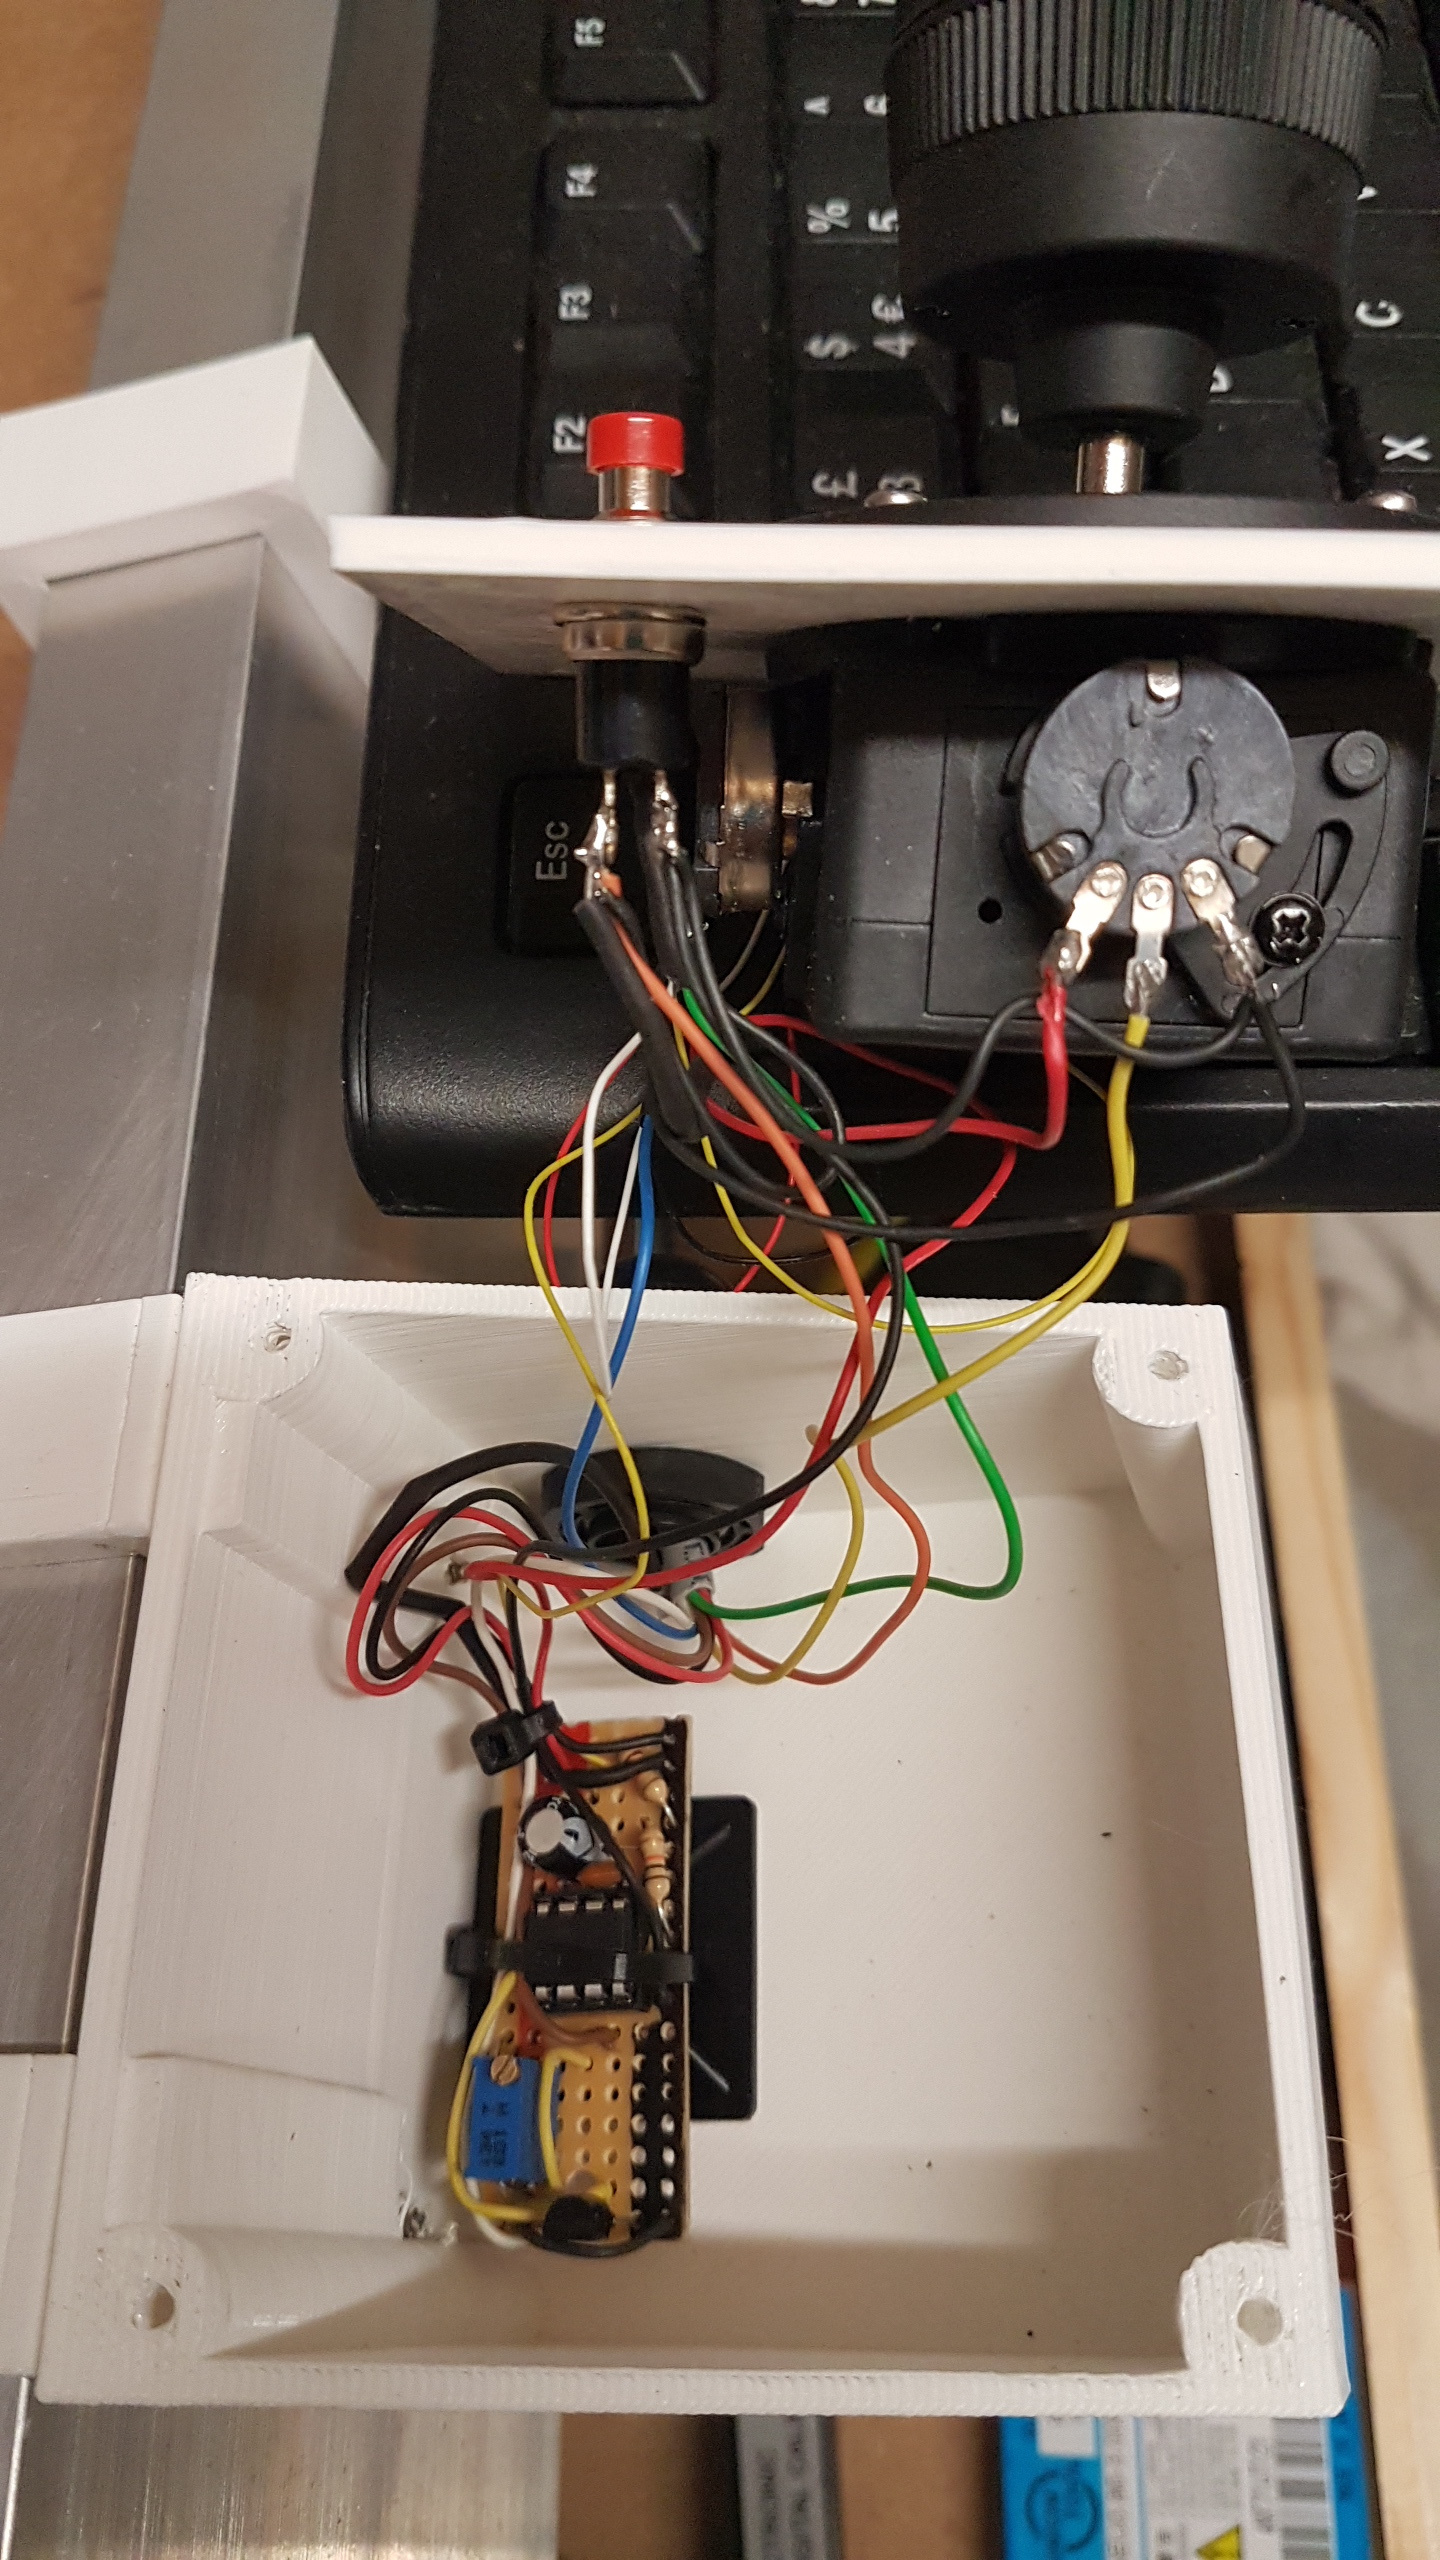
This is a tiny circuit on an 8 pin ATtiny85 processor (because I had some!).

These are great little IC’s, but the internal clock isn’t all that accurate. So, one of the pins has a multi-turn Pot on it that allows you to tune the clock until you get clean serial transmission.

There is a line in the code that is commented out. Uncomment that, and adjust the pot until the serial screen shows the G-code commands cleanly.

My CNC runs at 250000 baud. If your CNC is using a slower baud rate, then you may not need to fine tune the clock.

If you don’t pre-tune the circuit first, then when you press the button, Marlin will not understand the garbage text it received. It won’t hurt it, just not work.
You could just tune the pot until it does respond.

There are 3 buttons programmed here. Reset X,Y,Z origin, Home all and Home X.Y.
But, you can simply change the text in the serial command line and make them quite frankly… anything you want.

You can program ATtiny85 chips with a dedicated little programmer board (pennies off Ebay), or use an Arduino UNO with the ArduinoISP program loaded (that program is supplied with the Arduino IDE).

If you want to view the output of the ATtiny however, the serial port of the UNO will not work, and you will need a second one to enable that option (it’s in my drawing).

ATtiny85 chips are also pennies. I got 5 for less than a £1 each from RS a while back.

Of course, you could just use an Arduino Nano, Pro Mini etc. I just wanted a very small footprint.
And this can quite literally be used for any kind of ‘G-CODE’ button and with a bigger Arduino board, you could have far more buttons.

You will need to enable the second serial port in Configuration.h.

G-Code_Injector_v1.3.zip (958 Bytes)

// ATTiny85 Based Serial G-Code injector
// Steve Croot
// March 2020

#include <SendOnlySoftwareSerial.h>

#define BUTTON_1 0 // Button 1 input (HOME XYZ)
#define BUTTON_2 1 // Button 2 input (HOME XY)
#define BUTTON_3 2 // Button 3 input (RESET ORIGIN)
#define OscTrim 3 // Crystal trim pot

SendOnlySoftwareSerial MarlinSerial (4); // Serial TX pin

unsigned long CurrentMillis; // Timer elements for delayed button press
unsigned long ButtonMillis;
int ButtonDelay=2000; // Button delay in milliseconds. Adjust to suit or 0 for off.

void setup() { //--------------------------------------------------------------------------------------

MarlinSerial.begin(250000);

pinMode(BUTTON_1, INPUT);
pinMode(BUTTON_2, INPUT);
pinMode(BUTTON_3, INPUT);

}

void loop() { //----------------------------------------------------------------------------------------

CurrentMillis=millis();

int val = analogRead(OscTrim); // Obtain the adjustment value
OSCCAL = val/4; // Adjust the oscillator

//MarlinSerial.print("OSCCAL = ");MarlinSerial.println(OSCCAL, HEX);delay(200); // Uncomment this line to help tune the crystal (DO NOT LEAVE ACTIVE ONCE TUNED!)

if (digitalRead (BUTTON_1) == HIGH){ // Button 1 command (Home all)
do{
if (millis()-CurrentMillis>ButtonDelay){
MarlinSerial.println(“G28 X Y Z”);
do{delay(2);}while(digitalRead (BUTTON_1) == HIGH);
}
} while(digitalRead (BUTTON_1) == HIGH);
}

if (digitalRead (BUTTON_2) == HIGH){ // Button 2 command (Home X Y)
do{
if (millis()-CurrentMillis>ButtonDelay){
MarlinSerial.println(“G28 X Y”);
do{delay(2);}while(digitalRead (BUTTON_2) == HIGH);
}
} while(digitalRead (BUTTON_2) == HIGH);
}

if (digitalRead (BUTTON_3) == HIGH){ // Button 3 command (Reset origin)
do{
if (millis()-CurrentMillis>ButtonDelay){
MarlinSerial.println(“G92 X0 Y0 Z0”);
do{delay(2);}while(digitalRead (BUTTON_3) == HIGH);
}
} while(digitalRead (BUTTON_3) == HIGH);
}

} //---------------------------------------------------------------------------------------------------------

10 Likes

Video of the joystick working…

https://youtu.be/cISKIEQnKKY


1 Like

Very cool!

I am now thinking of all the possible gcode commands I might want to send, and even though the ATTiny has only 3 pins, with some diodes one could connect up to 7 buttons with each presenting a different binary code on those 3 pins. I have a pro micro around here somewhere and I could effectively have unlimited buttons provided no two are pressed simultaneously. I might also connect a beeper to make a short audible sound when it recognizes and sends the command.

Arminth’s joystick and Dui’s version have an external arduino to send gcode but only now am I really starting to grasp the possibilities.

Yep. Or read an analogue input with a different resistance on each button for more inputs.
Or… just get a bigger IC! Get yourself a Mega2560p small footprint, and you could send every G-code command you ever needed.

But, all I needed was Co-ord reset. So this does fine.

Never understood why more people don’t use these guys… I always keep half a dozen un-used ones on hand for quick projects:

https://www.dfrobot.com/product-1075.html

2 Likes

Those Beetles are quite expensive though. I used the ATtiny85 because… I had some spare from a previous project.
To be honest, I HATE Arduino’s with a passion. If I need to make anything along those lines, I usually use the far superior Teensy’s.

I like esp8266 or esp32 boards. Everyone has their favorite. The pro micro arduinos are pretty great too. The clones are pretty cheap.

I have such a huge but random stock of chips and processors kicking around the workshop, that I am trying to make an effort and use some of them up!

The Rambo 1.4 controller is using the standard Serial 0 for the USB connection to the laptop, and I have made a simple circuit that switches one of four serial data lines to the Rambo’s second serial port.
That circuit also has a HC-05 Bluetooth receiver built into it for future playing around with an Android app.
Currently, that circuit defaults the second serial port to my wireless tablet, but changes over automatically when you operate the Joystick button. It changes back once the command is sent.

If you connect to the Bluetooth receiver, it automatically switches to that instead.

1 Like

No idea if anyone wants to know or cares… but this is the circuit I used to allow up to 4x Serial connections to use the second Serial port on my Rambo 1.4 board.

Made using bits I found in my workshop, so there might be a more elegant solution, but this works for me.

Mine includes the HC-05 Bluetooth receiver, but you of course could bin that if you don’t need it.

4 Likes

Now if I thought it would help me I would make one but for life of me I dont think a cribbage board needs that level of input. But is sure is cool so I may give it a whirl😃

1 Like

:blush: :blush:
Yea, it’s only needed if you suffer from ‘too many control methods syndrome’ like me!

It was actually so that my wireless tablet (which is just mint - don’t need that horrible LCD thing) and the joystick (which is also a God-send for really quick start position setting) could work without issue.

The 4066 has 4x switches, so it seemed rude not to connect them all. Then I found the Bluetooth receiver and plonked that in there too.

2 Likes

As long as you admit it your not a junkie :sunglasses:

1 Like

I know you said you were just using bits you found in the workshop, but would it also work to connect the serial inputs into the dip switches directly and use an AND gate? With weak pullups so they are logic-high when the switches are open. And if you want to really live on the edge you can enable more than one simultaneously. :firecracker: :fire:

I thought some of the data coming from Marlin was important. At least for high traffic situations. If you are streaming gcode, for example, Marlin can’t store it as fast as you can send it, so streaming programs wait for the ‘ok’ from Marlin before sending more.

But maybe only the bluetooth radio would be talking that fast?

If you had two of the non-default inputs selected, and one sent a message, the other would try to pull it to ground, right? Seems bad. Not terrible, but bad. Maybe a diode on each of the serial inputs too? Unless one of the other diodes is fixing it and I can’t see it.

Yes, you can’t enable inputs 2,3 or 4 at the same time, otherwise it will ignore the data.
That is why my circuit uses the Nor gate to ensure that the wireless tablet (my main controller), is default input.
At no point, do I see myself ever using inputs 2,3 or 4 at the same time, so I didn’t bother with logic control on those.
I am sure you could detect the serial data somehow and change the input to suit, but it does not take much to corrupt the incoming data.
But, if you wanted, you could add logic to the inputs to create a tiered level of permission (1 highest priority, 4 lowest).
With most of 2020 now looking like a prison stretch at home, maybe something I will change.

I was more worried that you would short two tx pins if you accidentally had two inputs enabled at the same time, and let the magic smoke out.

Well if you ‘mix’ more than one serial output, you still never exceed the serial signal threshold, so you don’t damage anything… it just doesn’t understand the garbled data that arrives.

The other option is use a different IC. A CD4051 is a 1 gang, 8 way switch (But I don’t have one).
That would give you 8 serial lines that can never mix.

I’m starting to really like these boards too. Especially running microPython on them.

They are a bit pricy. They occasionally go on sale and I’ll stock up on a few. I probably have 3-4 doing nothing right now. I’ll have to take a look at the other boards you mentioned.

Just found a CD4051 multiplexer switch in the workshop :roll_eyes:

Serial switch rewire currently in progress… got nothing else to do! #CoronaBoredom

2 Likes