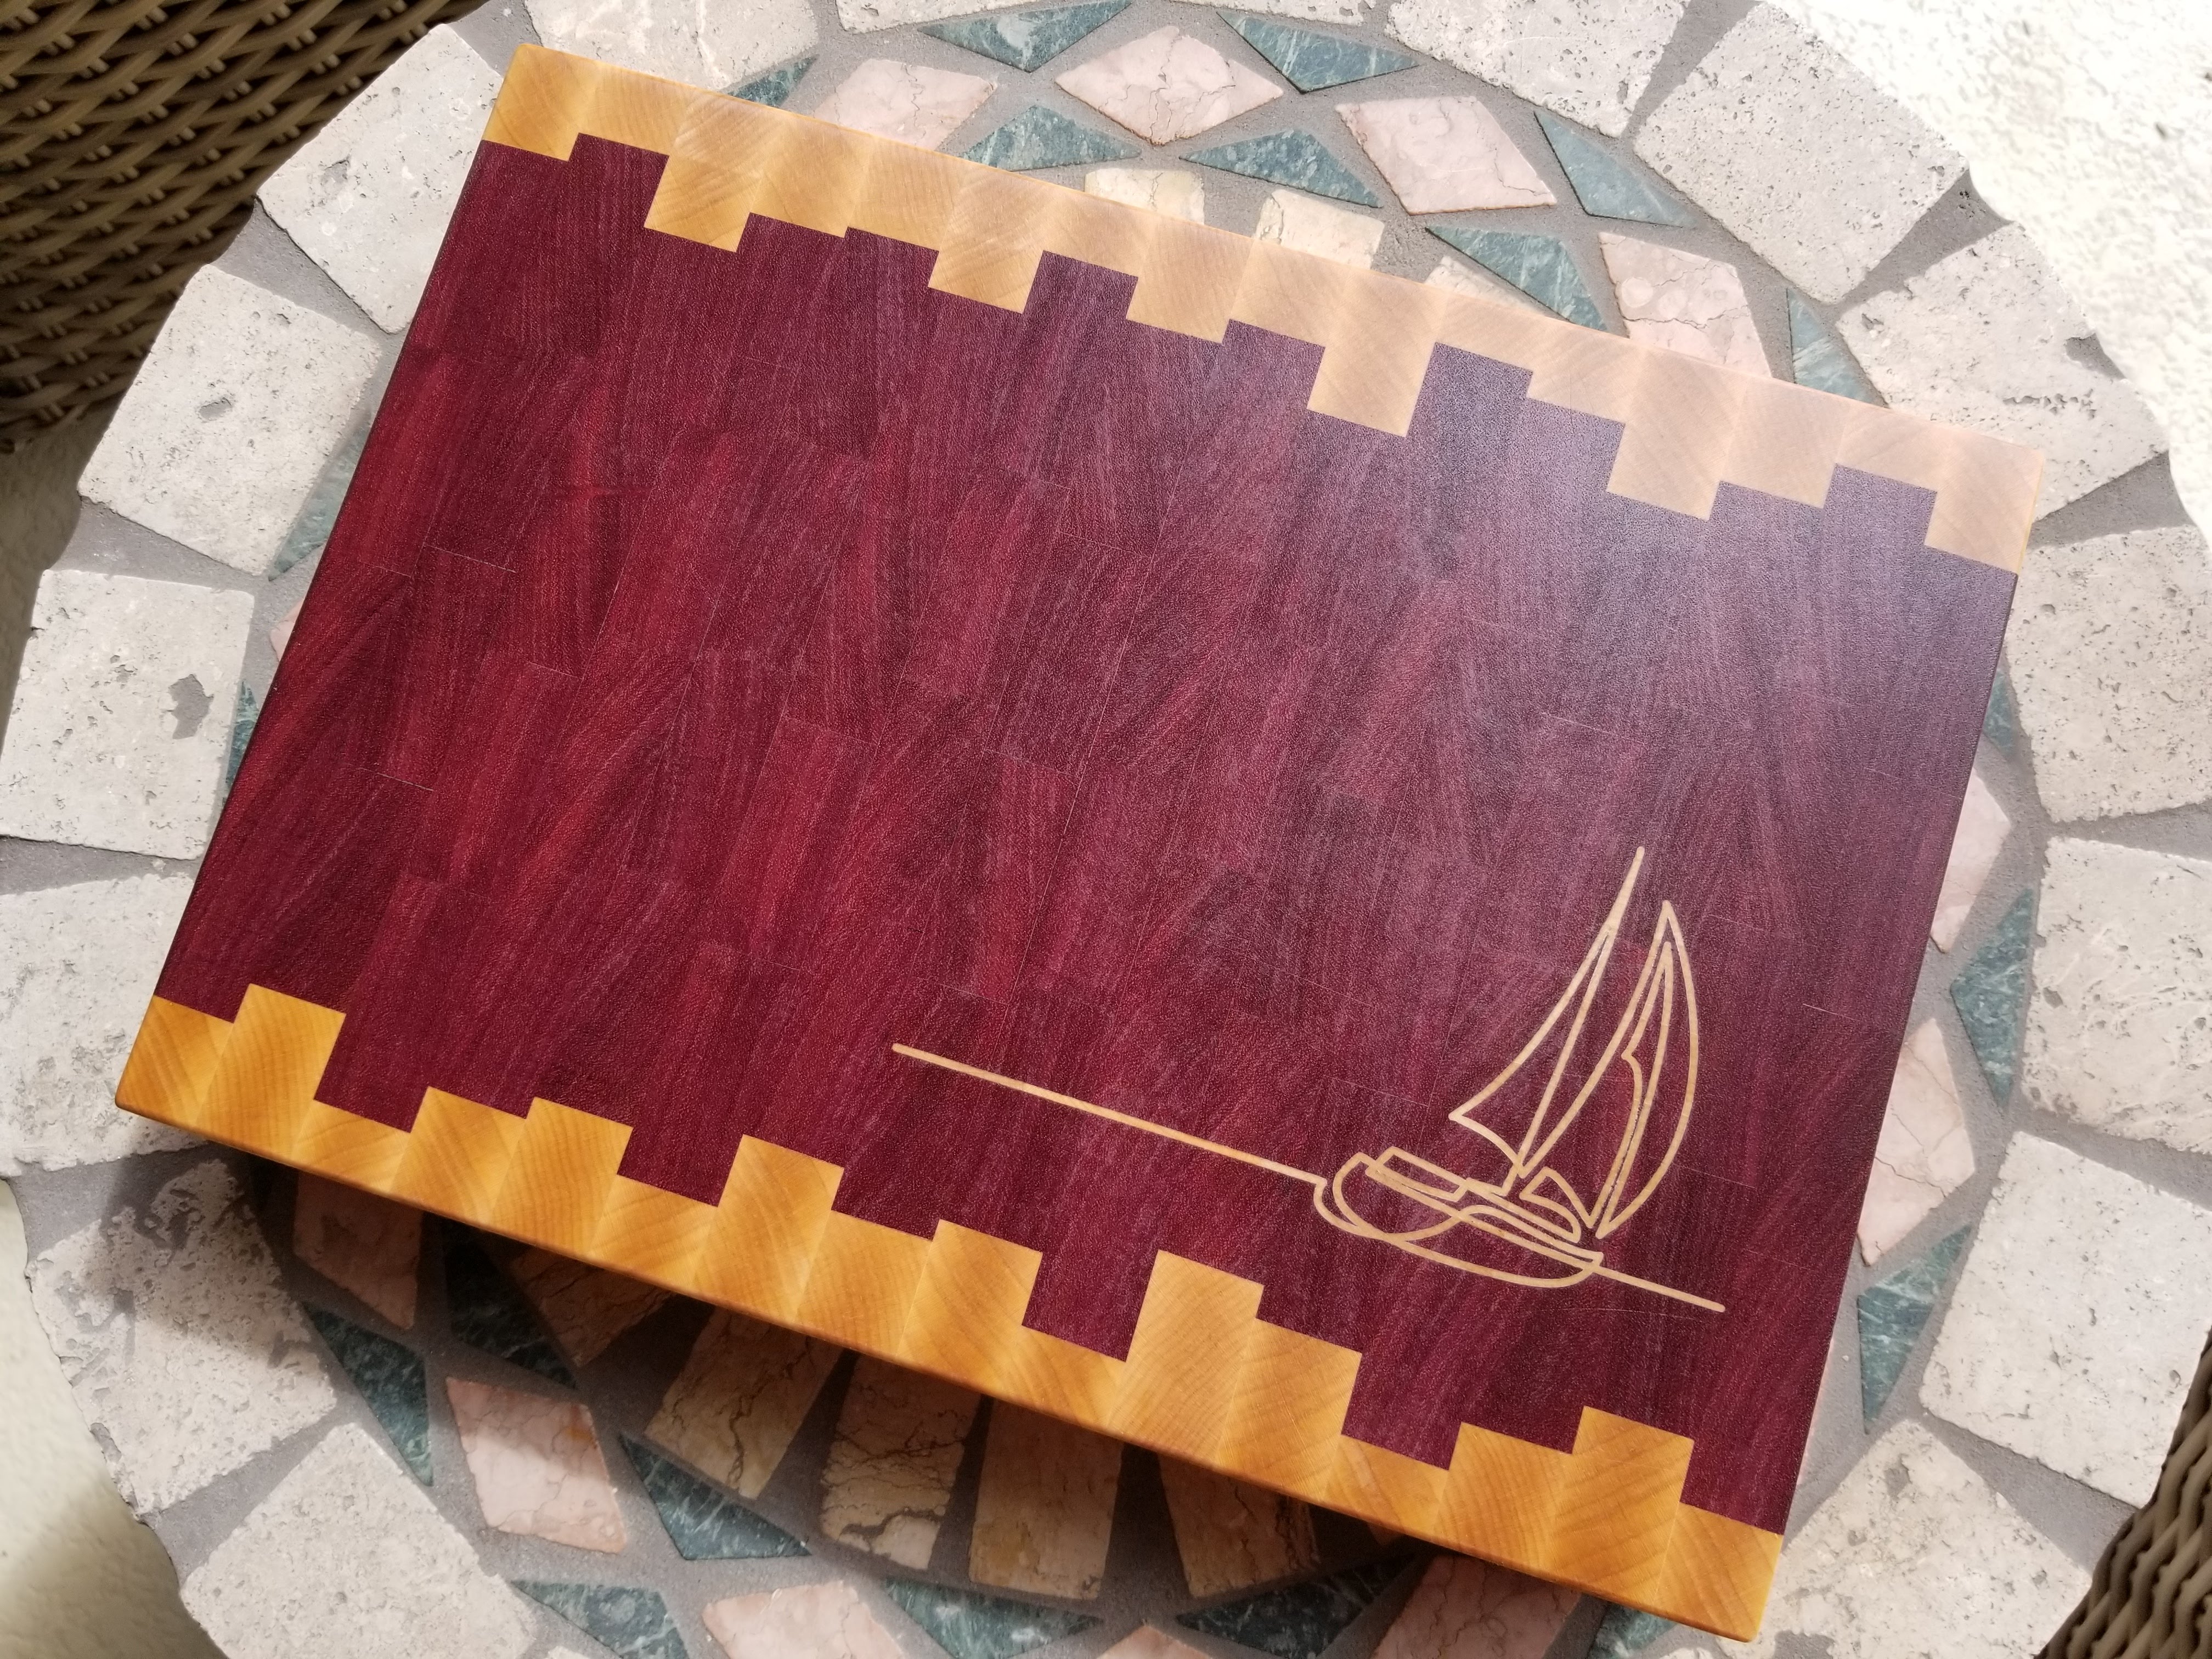
It’s getting to that time of year again where gifts need to be given and nice, end-grain cutting boards are generally well-received. I’ve been playing around with some inlays and an extra fine 30° x 1/4" V-bit with what I believe to be some solid results. This is one of the models I worked up.
Oh my goodness that is absolutely flawless!! The details and tiny edges are extremely impressive, I zoomed all the way in and see no signs of imperfection. WOW!
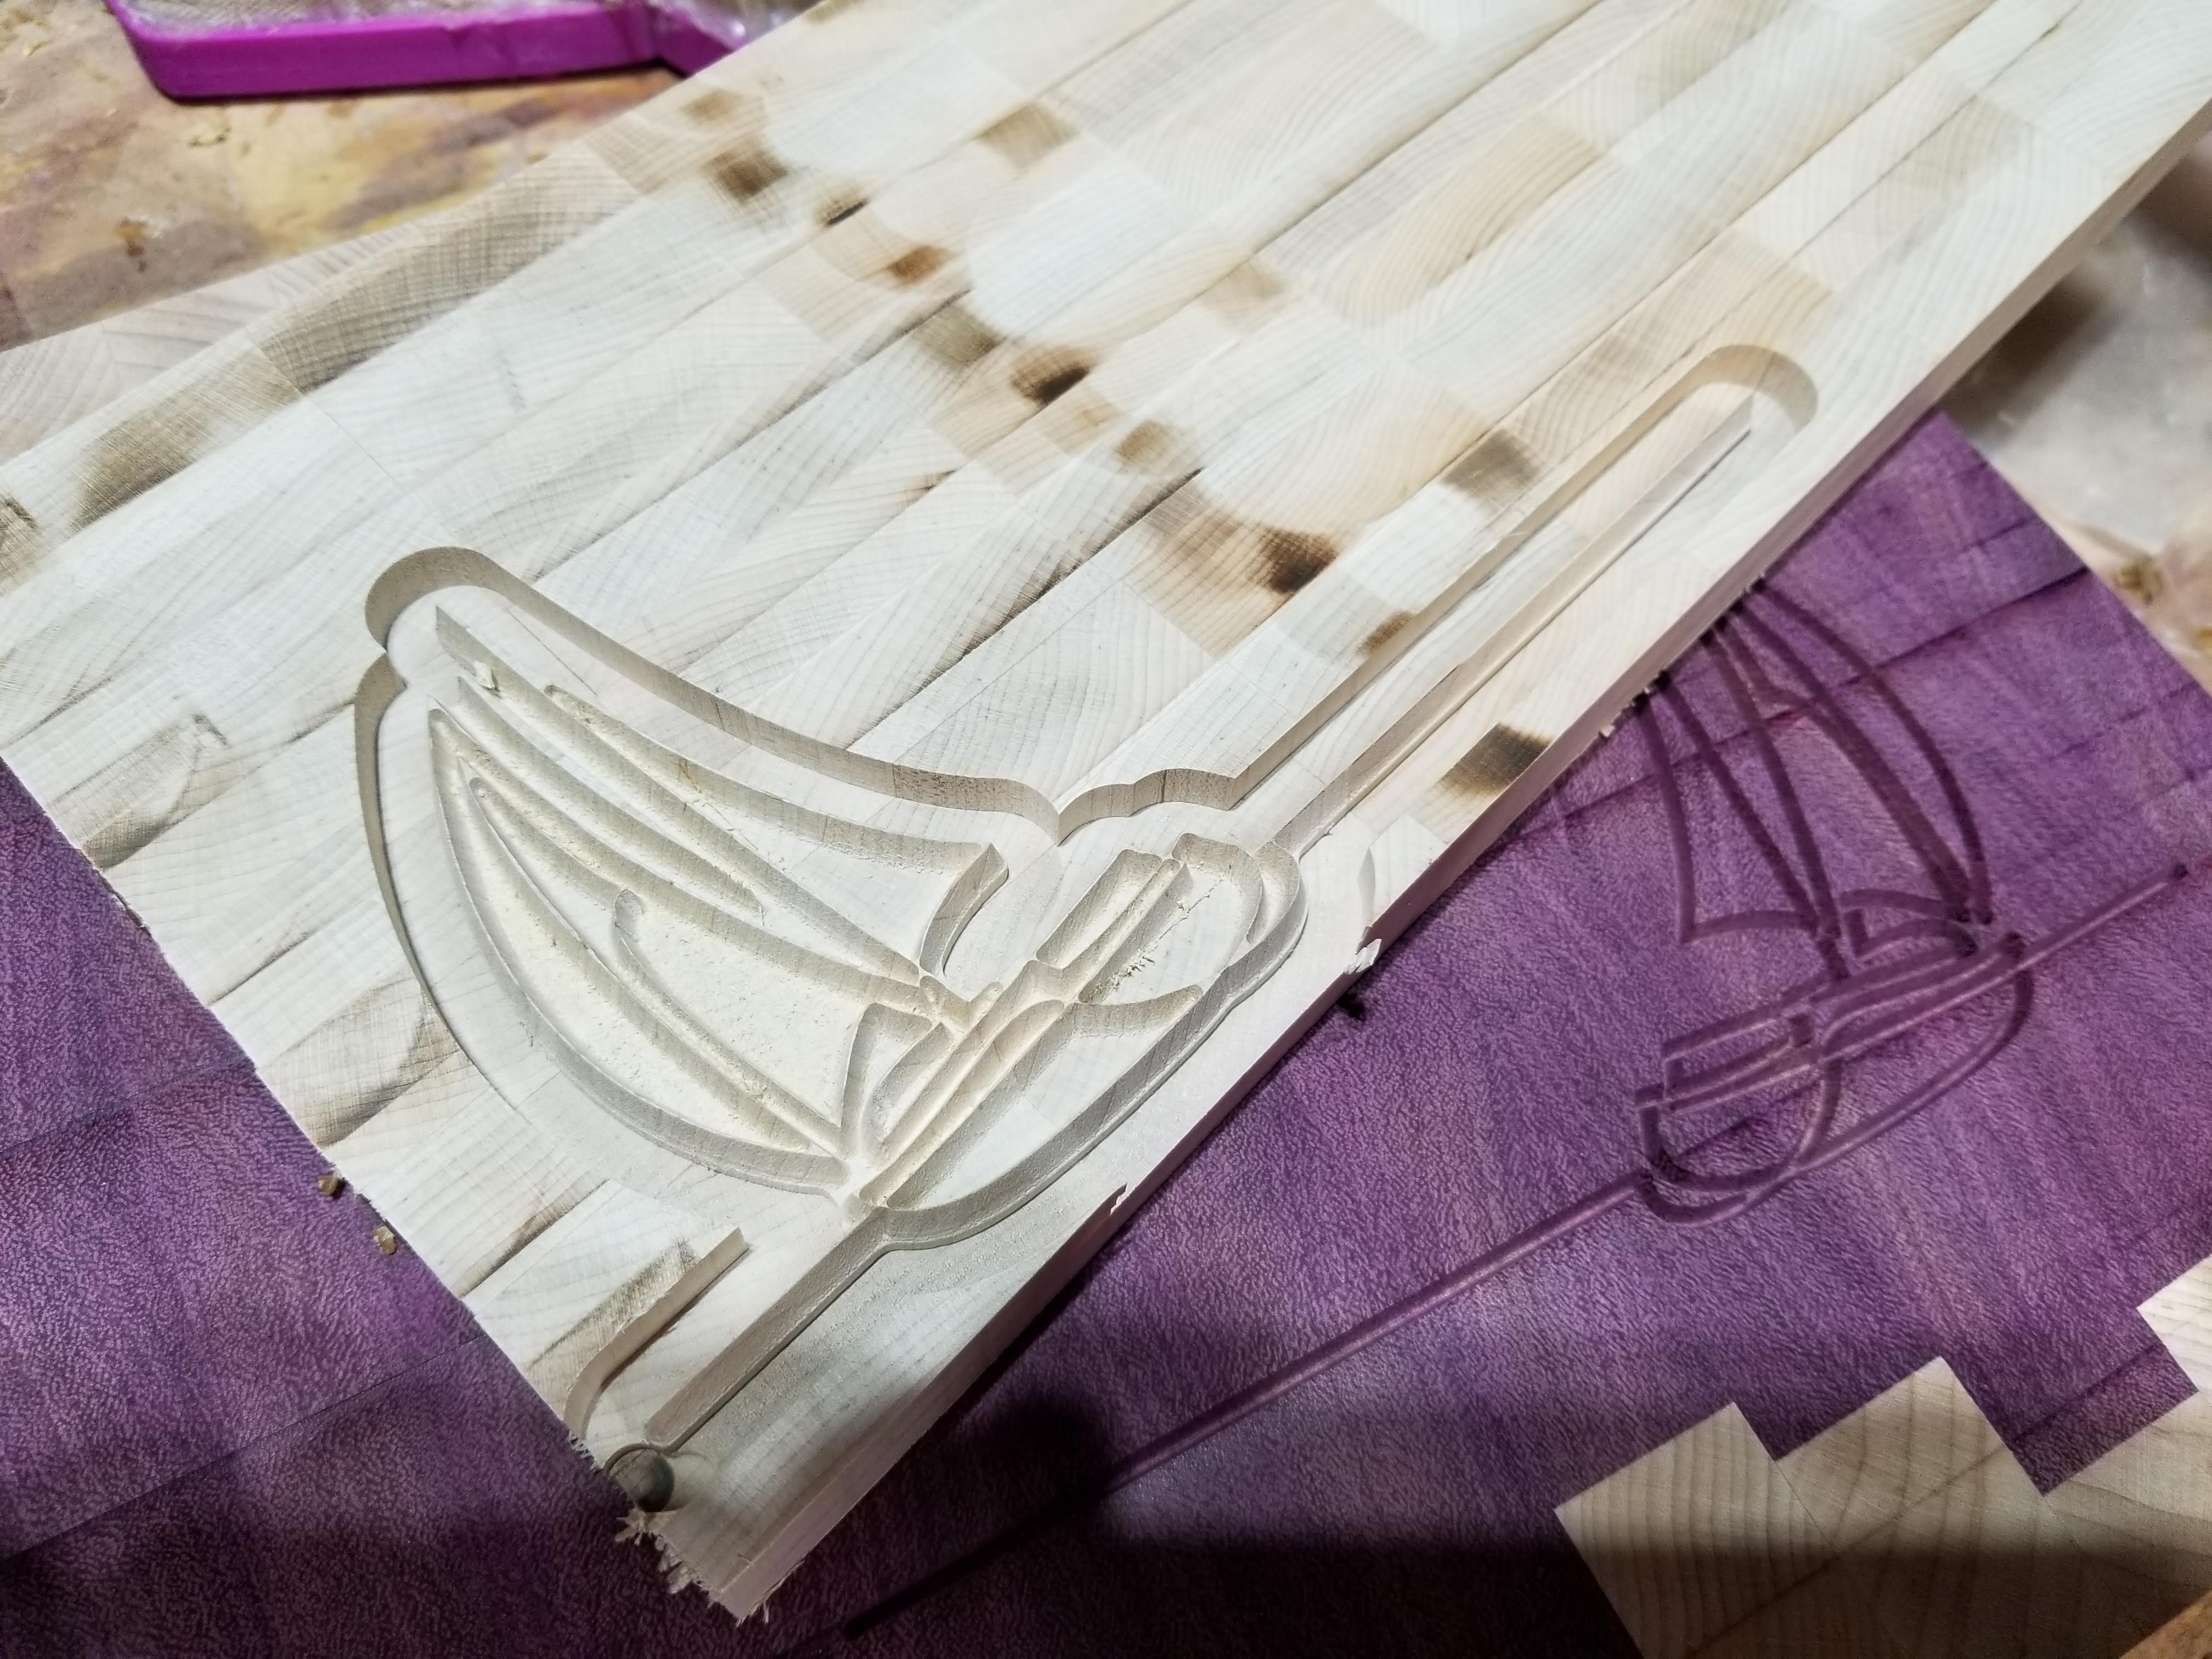
I couldn’t have done it without the Primo. Excellent accuracy and precision on the inlay parts.
I probably should have noted that I did use my little Harbor Freight shop press to set the inlay. It certainly helps in setting those clean edges. It doesn’t get a ton of use (no pun intended), but it served its purpose here.
Certainly easier than trying to mess with clamps and even pressure.
I’ve seen a few videos on youtube of endgrain cutting boards with inlay, and I’m starting to think that the endgrain orientation is a contributor to getting good detail. I’m thinking that the fibers vs. lignin is helpful in not losing small details when oriented as end-grain, whereas with long grain, the strength of the fibers contribute to breaking when the feature is supported only by lignin.
In my recent inlay experiments I’ve made some endgrain veneer (approx 5 mm thick) and had no issues. Although I haven’t really pushed the limit as far as detail, it has been very good so far.
just a minor aesthetic thought… If you decide to do the whale, either flip it 180* or move it to the other side of the board. That way it’s flowing onto the board.
Otherwise, your board looks awesome! I need/want to do some cutting board inlays soon. I need to finish getting the new CNC up and running to start doing this.
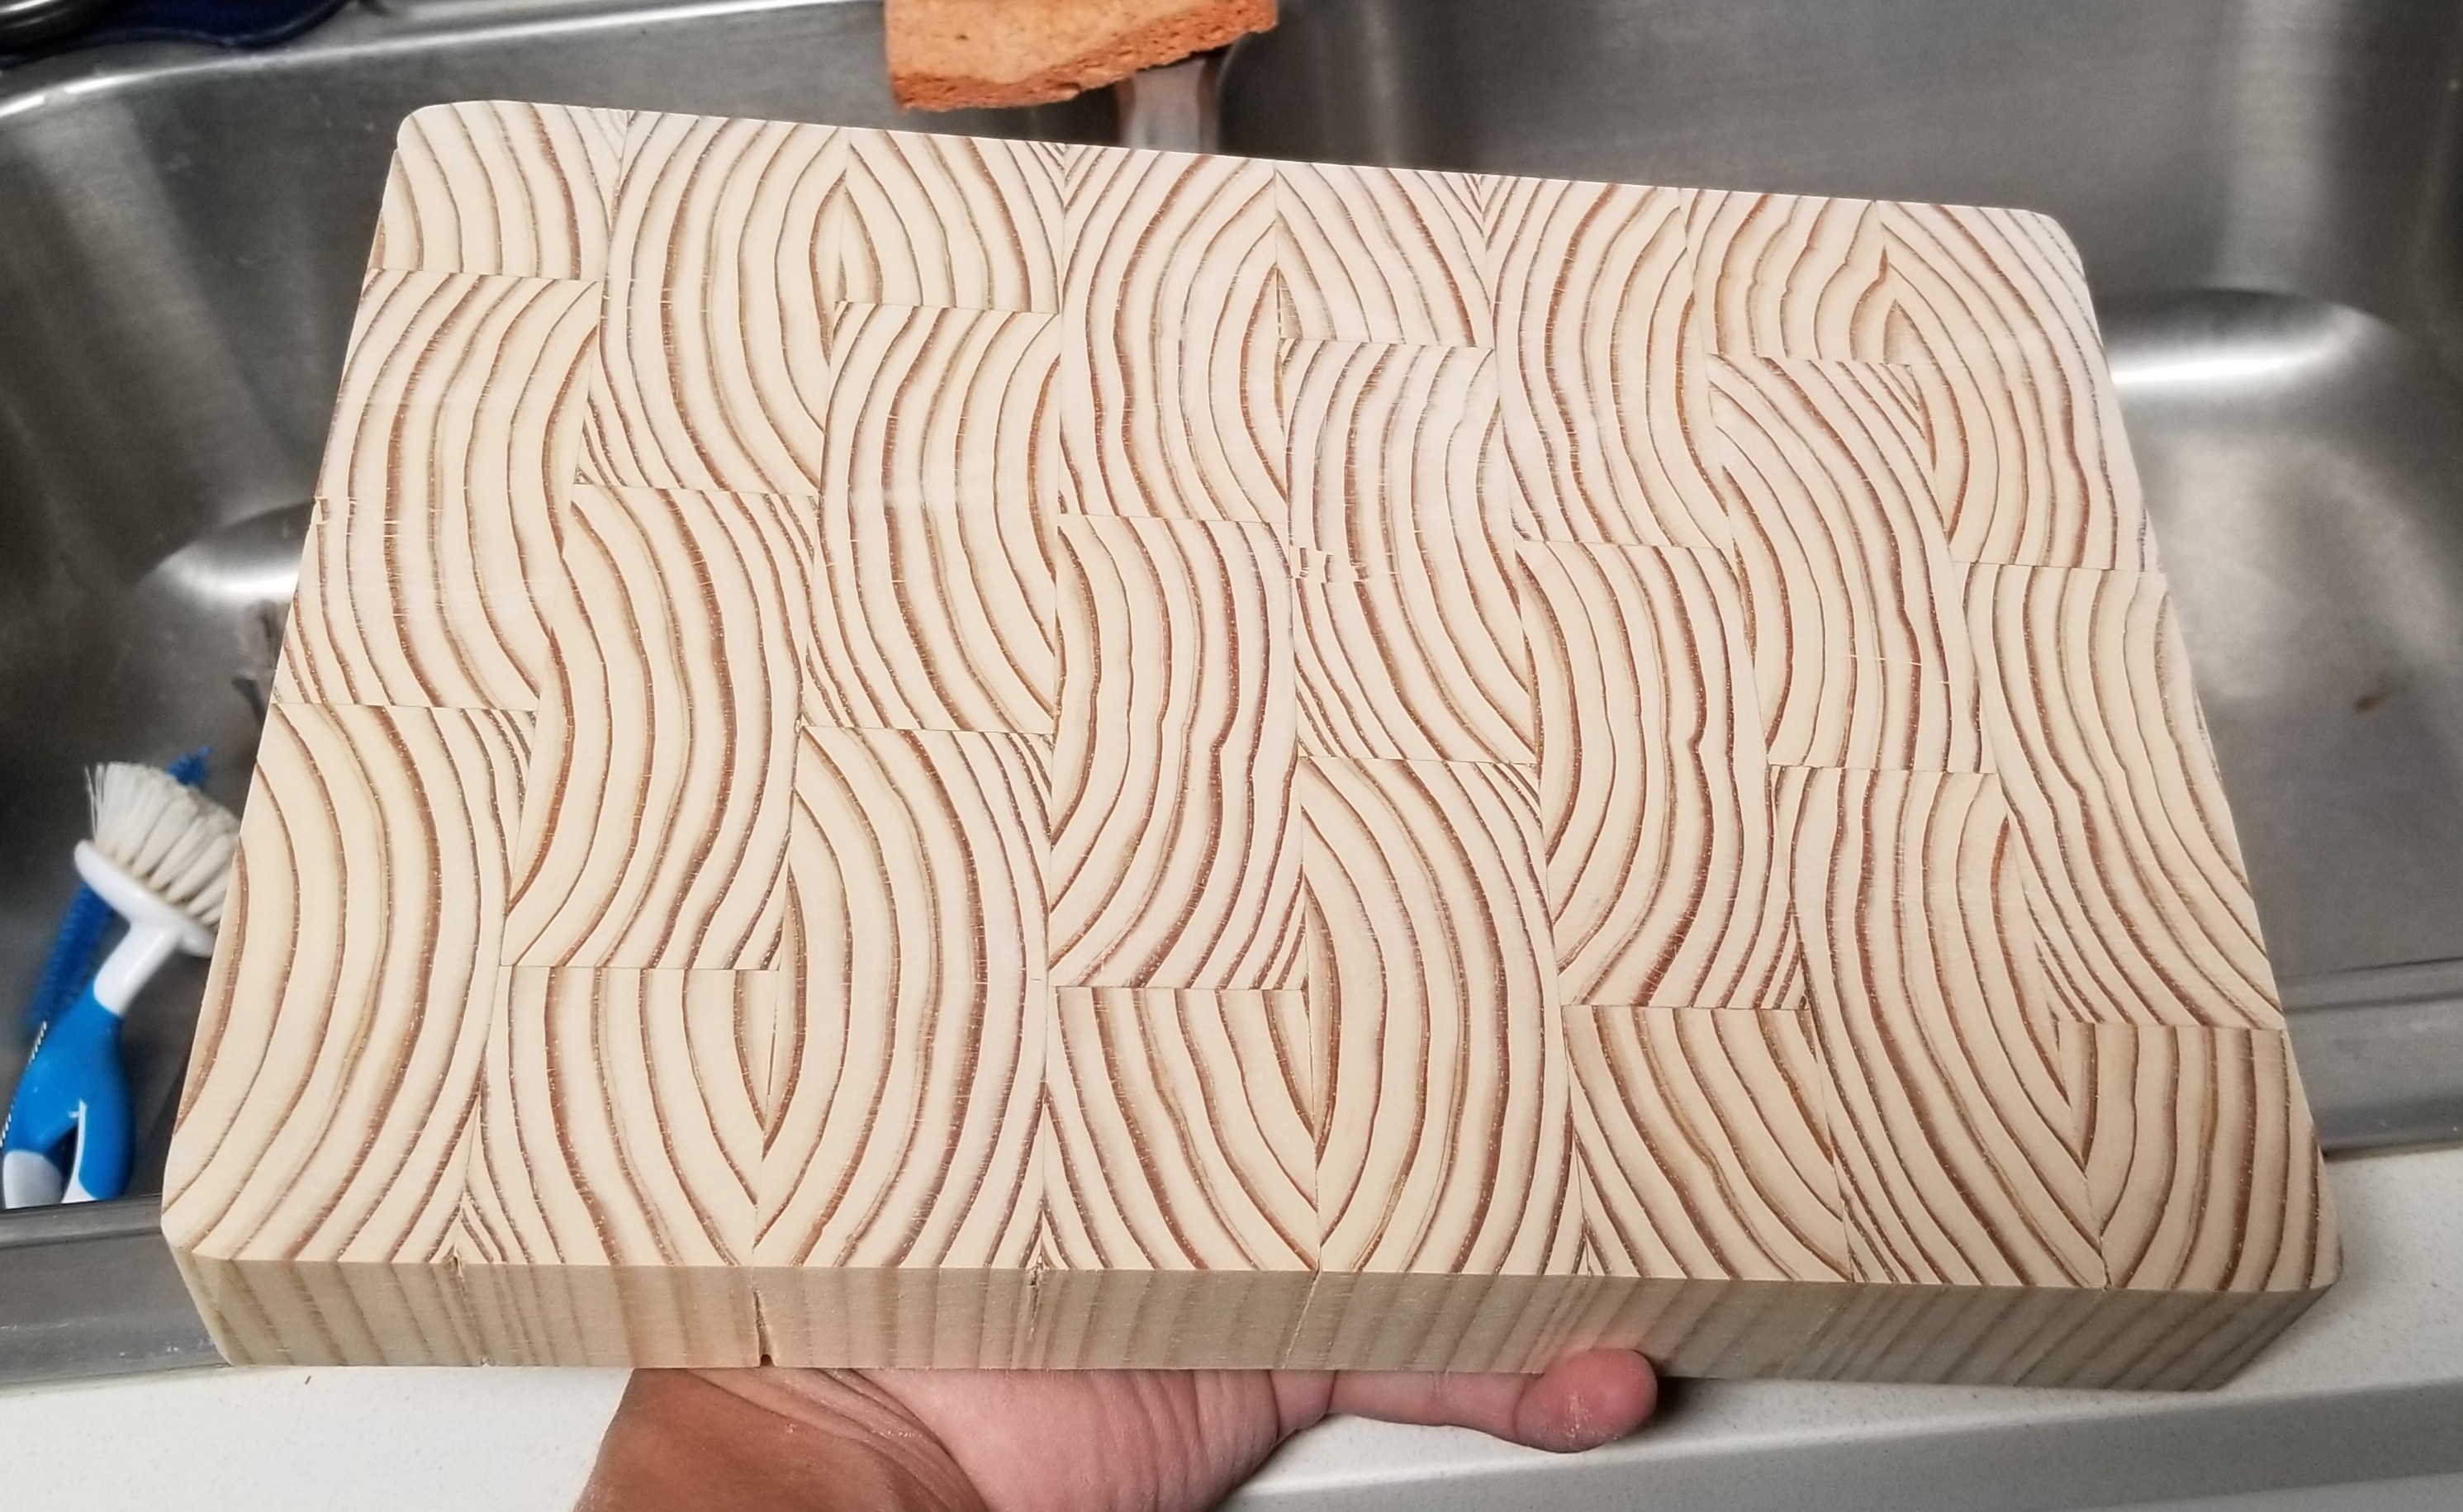
You inspired me to do cutting boards again and I am happy with this except for one thing: I am having a hell of a time getting this flat after the last glue-up. I don’t have a drum sander and I’m trying my handheld belt sander and it is great and terrible. It removes material fast and the result is uneven.
Any ideas on how to get it flat without a drum sander? I’m about to give up and put it on the cnc and surface it and hope the end grain doesn’t get messed up. Last time I found a small bit is less prone to “crushing” the grain sideways compared to the 1" surfacing bit, but boy does it take a long time.
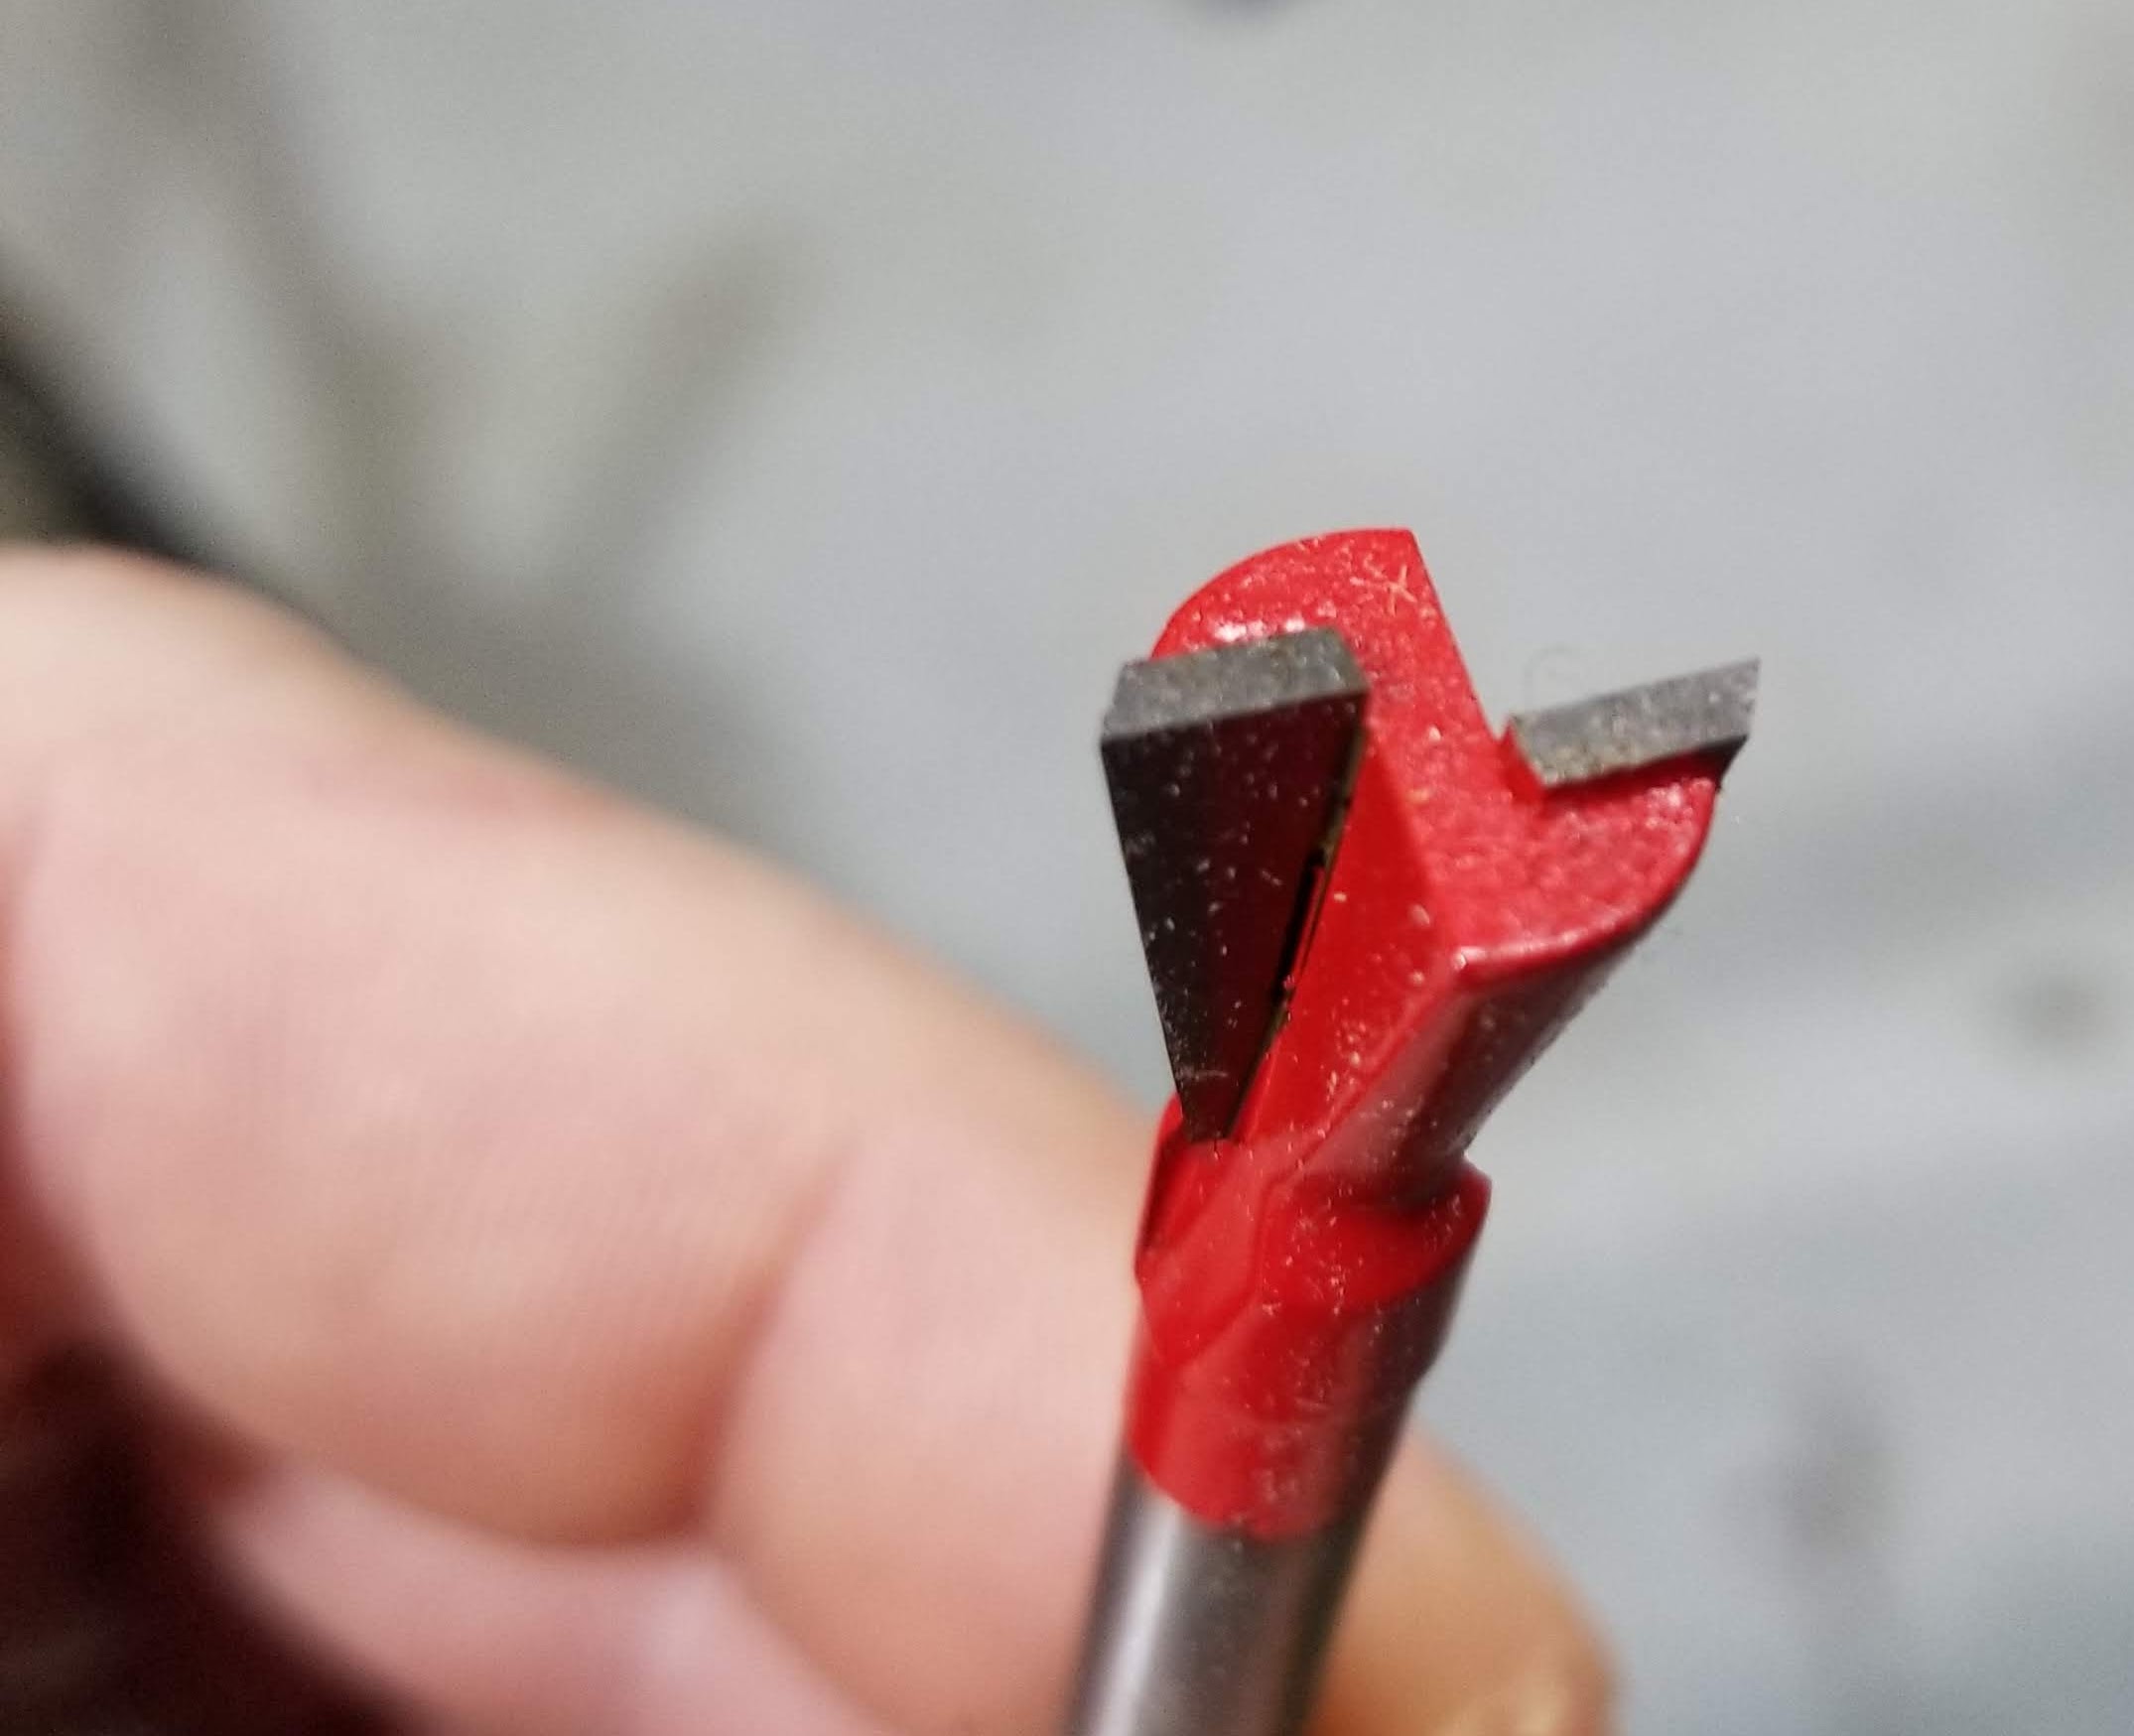
This may sound like an odd choice, but my go-to bit when surfacing smaller items like this is a 1/2" dovetail. It’s a good balance of time and accuracy, being more forgiving than a 1" bit if your machine isn’t trammed to the nth degree.
Ooh brilliant! I was complaining a while ago that an endgrain cutter should try to cut the fibers at the base first and then remove the material above it. This looks like a perfect way to achieve that.
I use a 1" bit but I only take a 1mm cut at a fairly high feed rate. Takes more than one pass to fully level the board, but it seems to leave a good finish.
The inlays look amazing. I did only a few before and I will attempt one on a cutting board too. Have you had issues using a V-bit? From what I have seen most people seem to use a straight bit for cutting board and pound that inlay in. With a V-bit, there could be the danger that when a knife runs over it, that it could chip out an edge of an inlay as it is so thin. Just wondering… a V-bit would make it easier to have a good inlay, if there is no disadvantage or danger of chipping while using it later.
I have seen it done both ways. Personally, I have not had any issues with chipping out, nor have any of the boards I’ve made ever given me the impression that this would be an issue. That’s not to say that the other way isn’t stronger or longer lasting in a cutting board setting — it probably is.
One of the main advantages of a V-bit is the ability to make sharp, tight corners and fine details, like in the sailboat above. If you are using a straight bit, you are limited by the radius of the bit in corners, and the diameter of the bit in tight areas. This makes a straight bit less desirable for intricate design choices.
I do not claim to be an expert. The thoughts here are a result of my own experience. But if you are planning to use a V-bit inlay on a cutting board, I would make the following two recommendations:
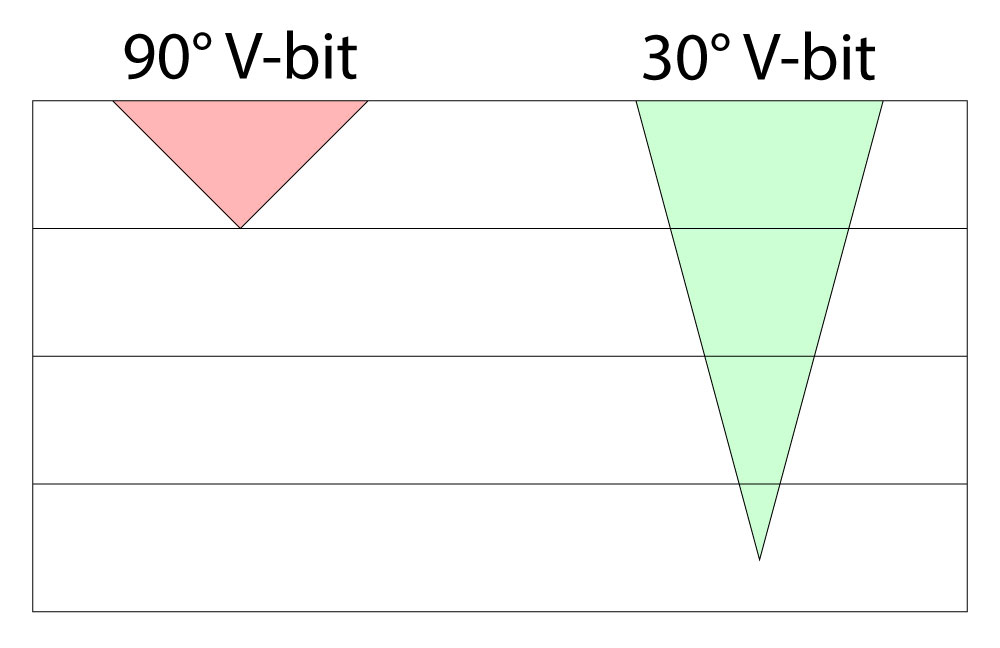
Use a bit with a low angle (60° or less) so the inlay walls are more vertical than horizontal. This allows for a much deeper socket, and therefore a much larger gluing surface area. As seen here, a 30° V-bit reaches to more than 3 times the depth of a 90° V-bit when positioned at the same surface width.
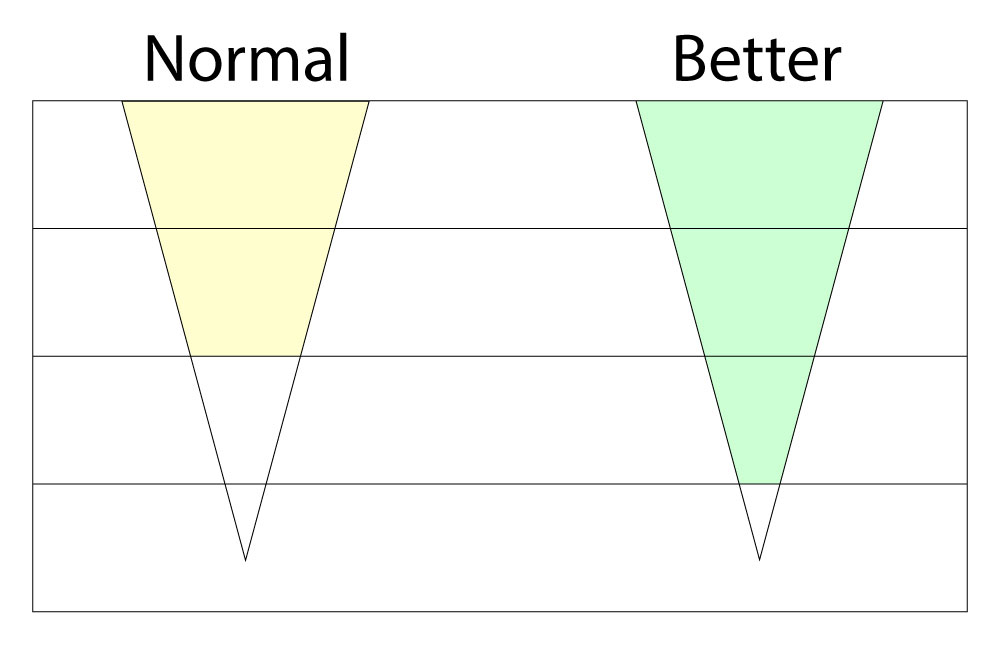
Many guides instruct you to leave a sizeable gap beneath the plug when creating a V-bit inlay, but this is not ideal for a cutting board. Since this is a functional piece, not decorative, I feel it is best to maximize the depth of the plug. However, this can also make it more difficult to set the inlay as there is very little room for error, and significant pressure may be required.
Okay, I got that bit and I think I am about to try a large surfacing project. I will get pictures if it happens, good or bad. A friend of a friend does high-end epoxy and burl work, so we might try to do a couple projects.