Hello again! I’ve got another fun project to share that will be taking its spot next to the recently completed pinball machine.
A legitimate game room is something I’ve been dreaming of for a very long time and I’m super excited to finally see it coming together. If it were not for communities like this, I would never have developed and honed the skills required to complete such amazing projects and I just want to thank everyone here, especially those of you who have encouraged me along the way.
I remembered to take a few pictures this time — more than usual, at least — so I’ll do some progress shots before the reveal.
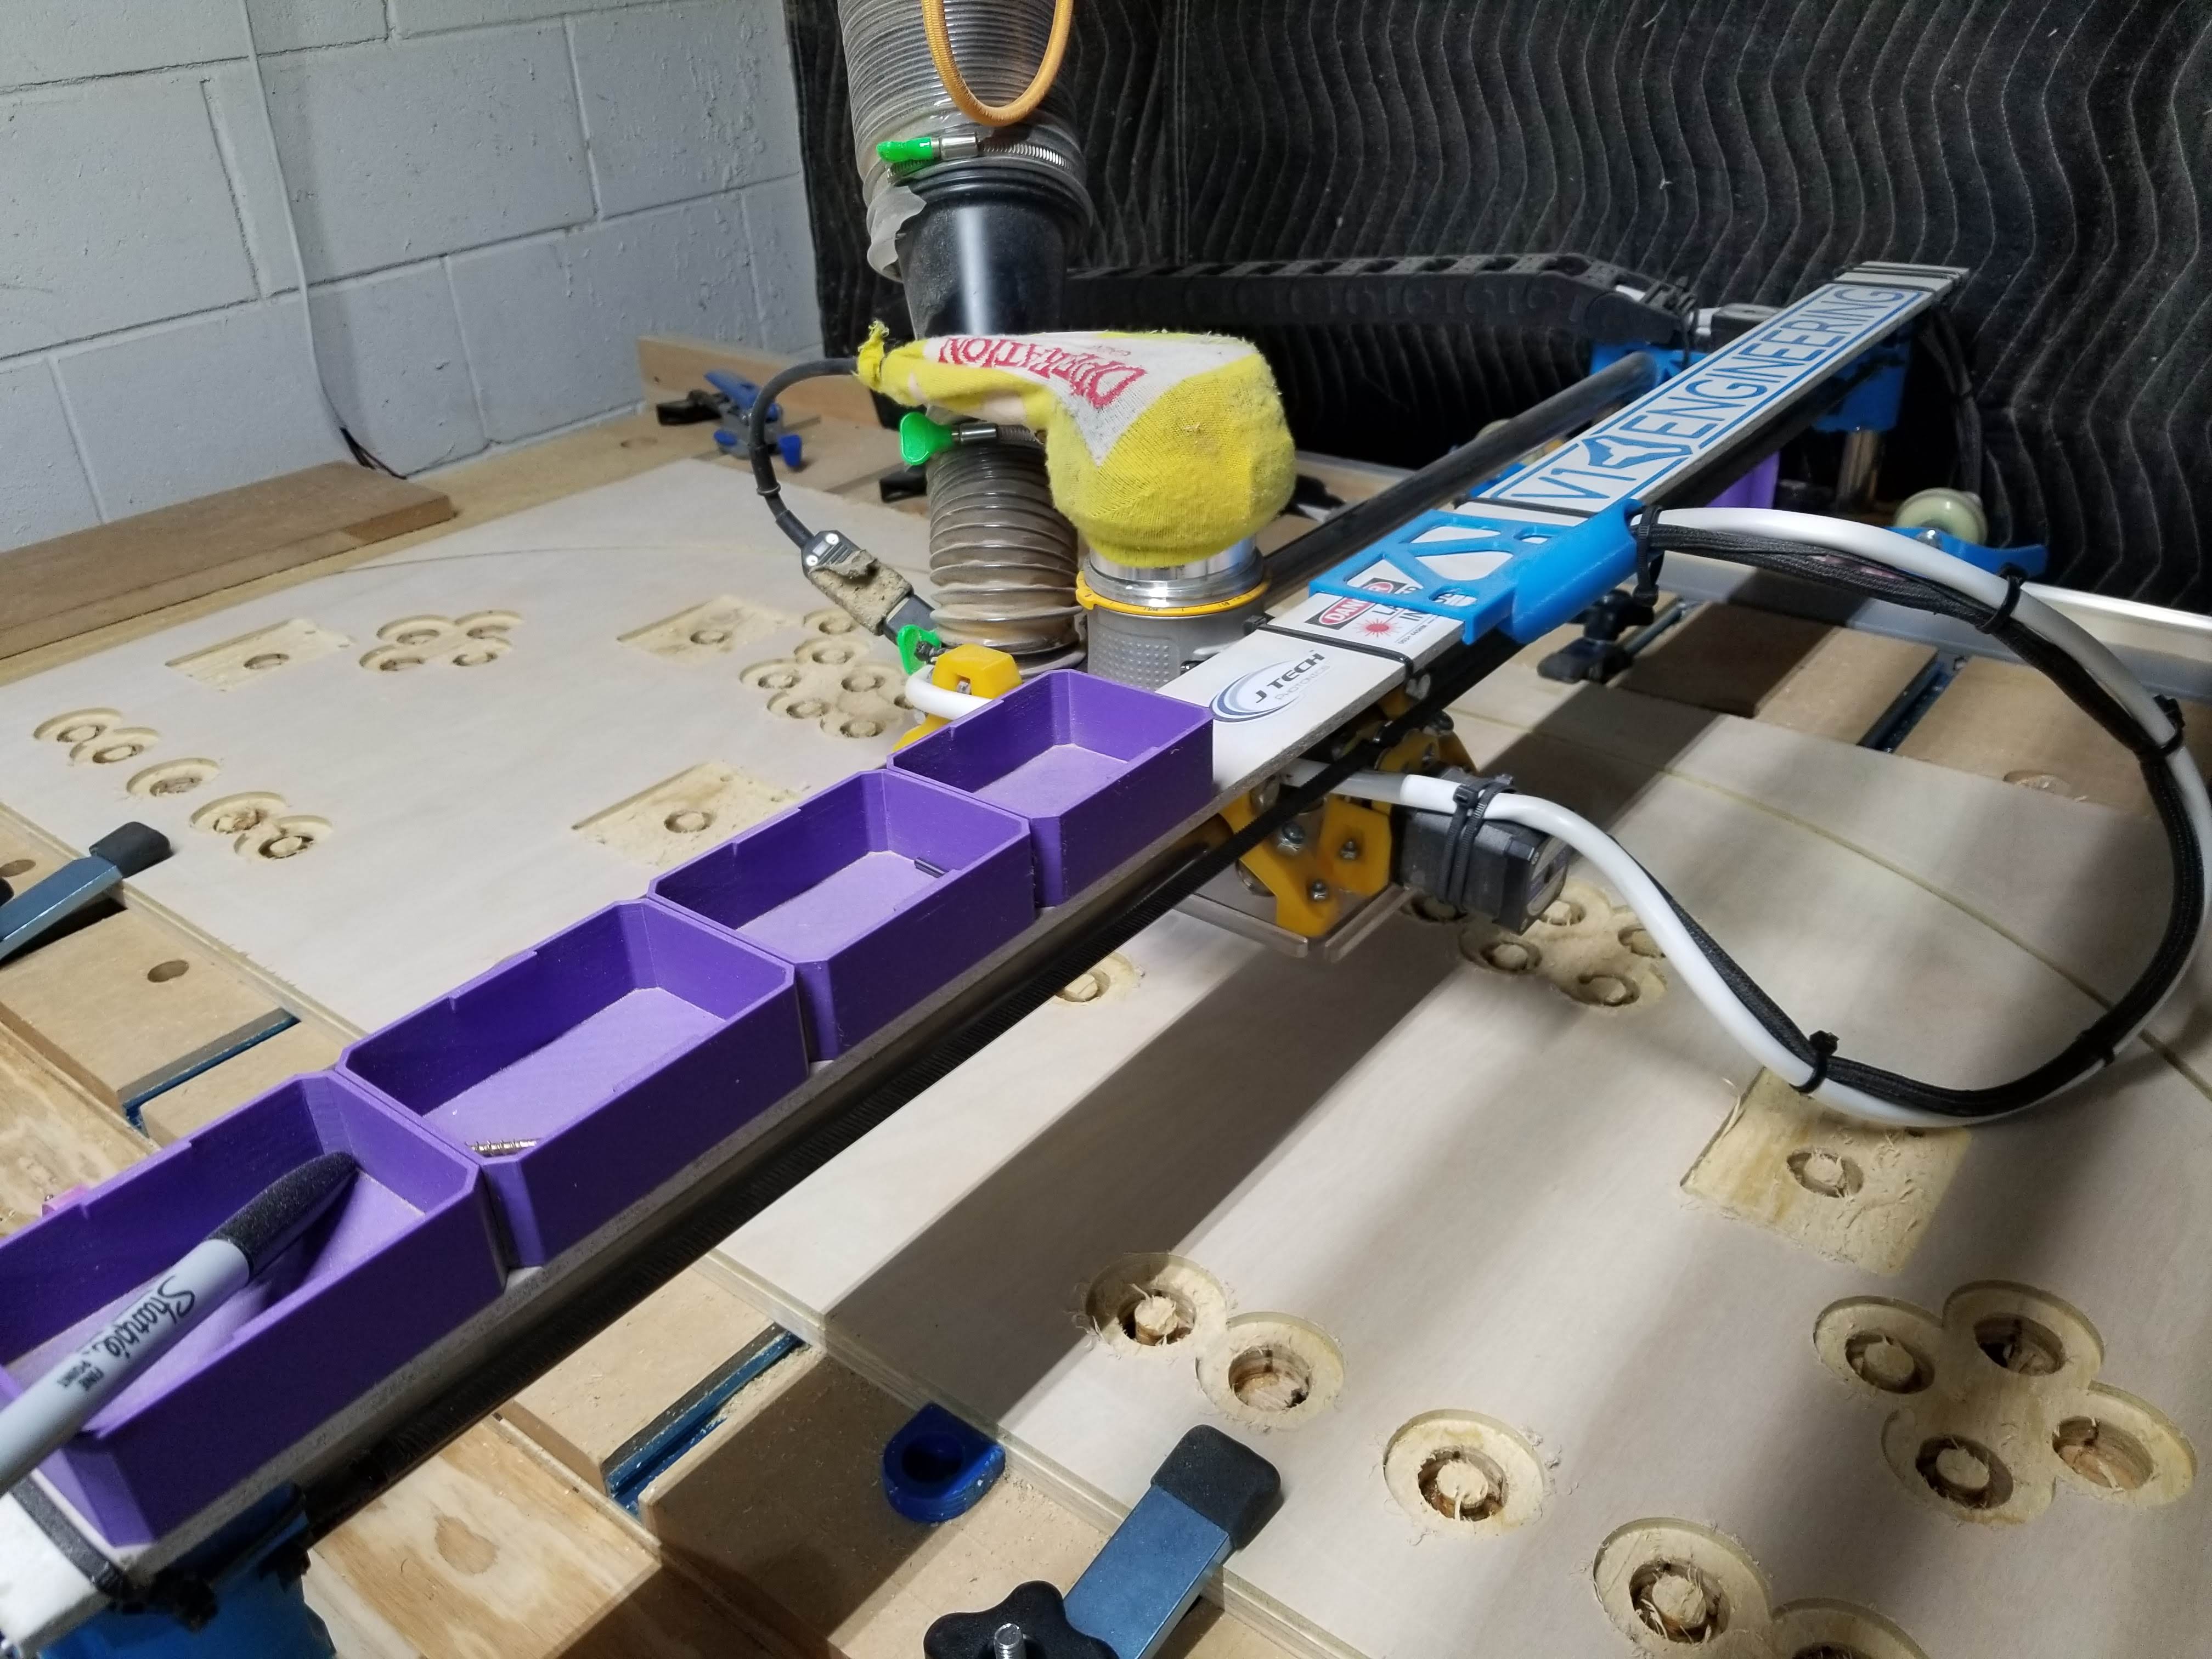
Setting up toolpaths
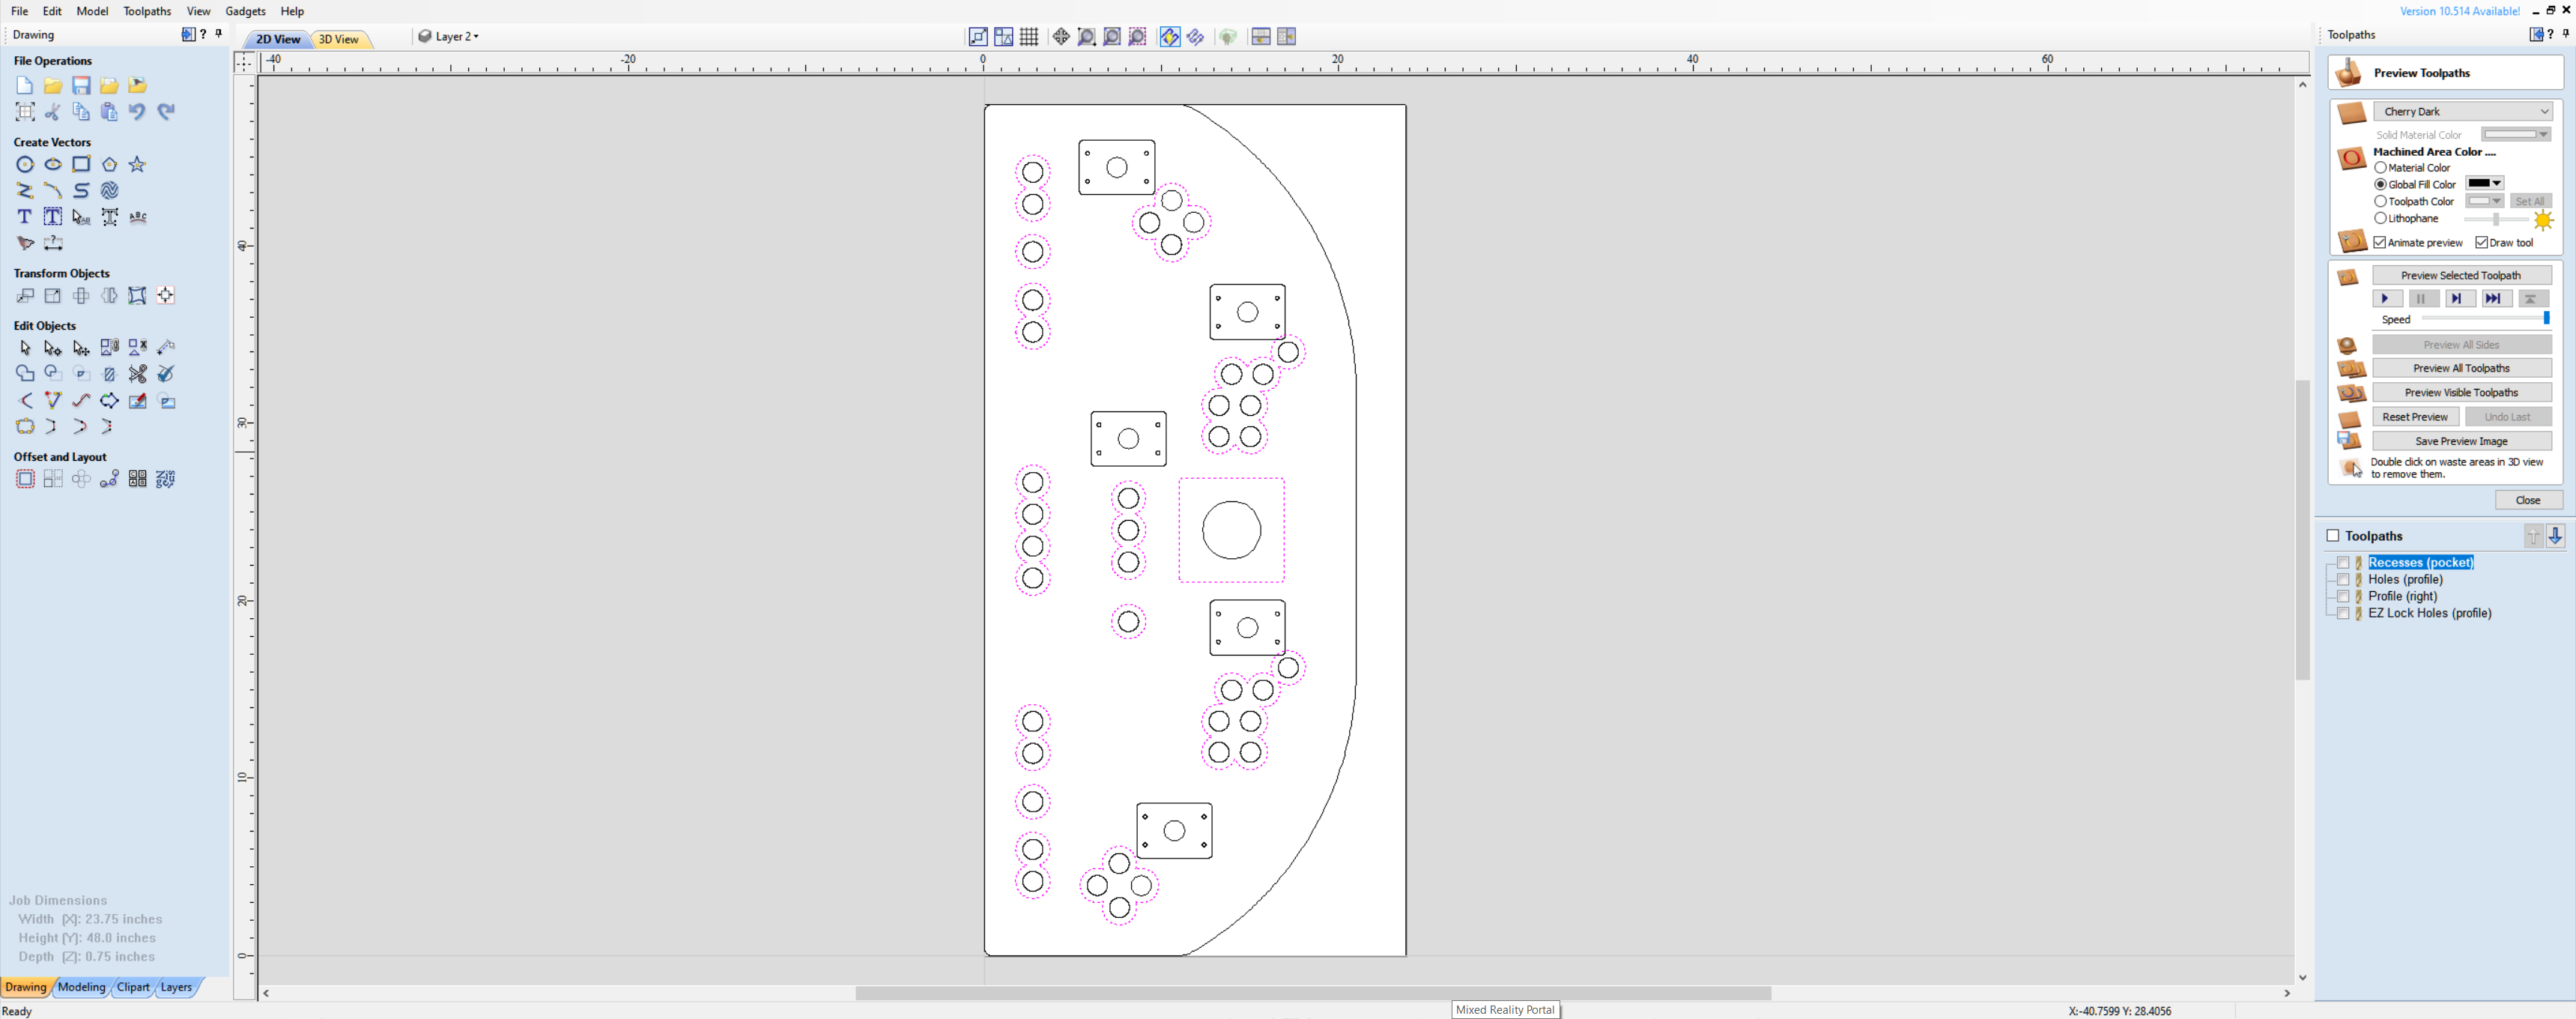
On the Lowrider
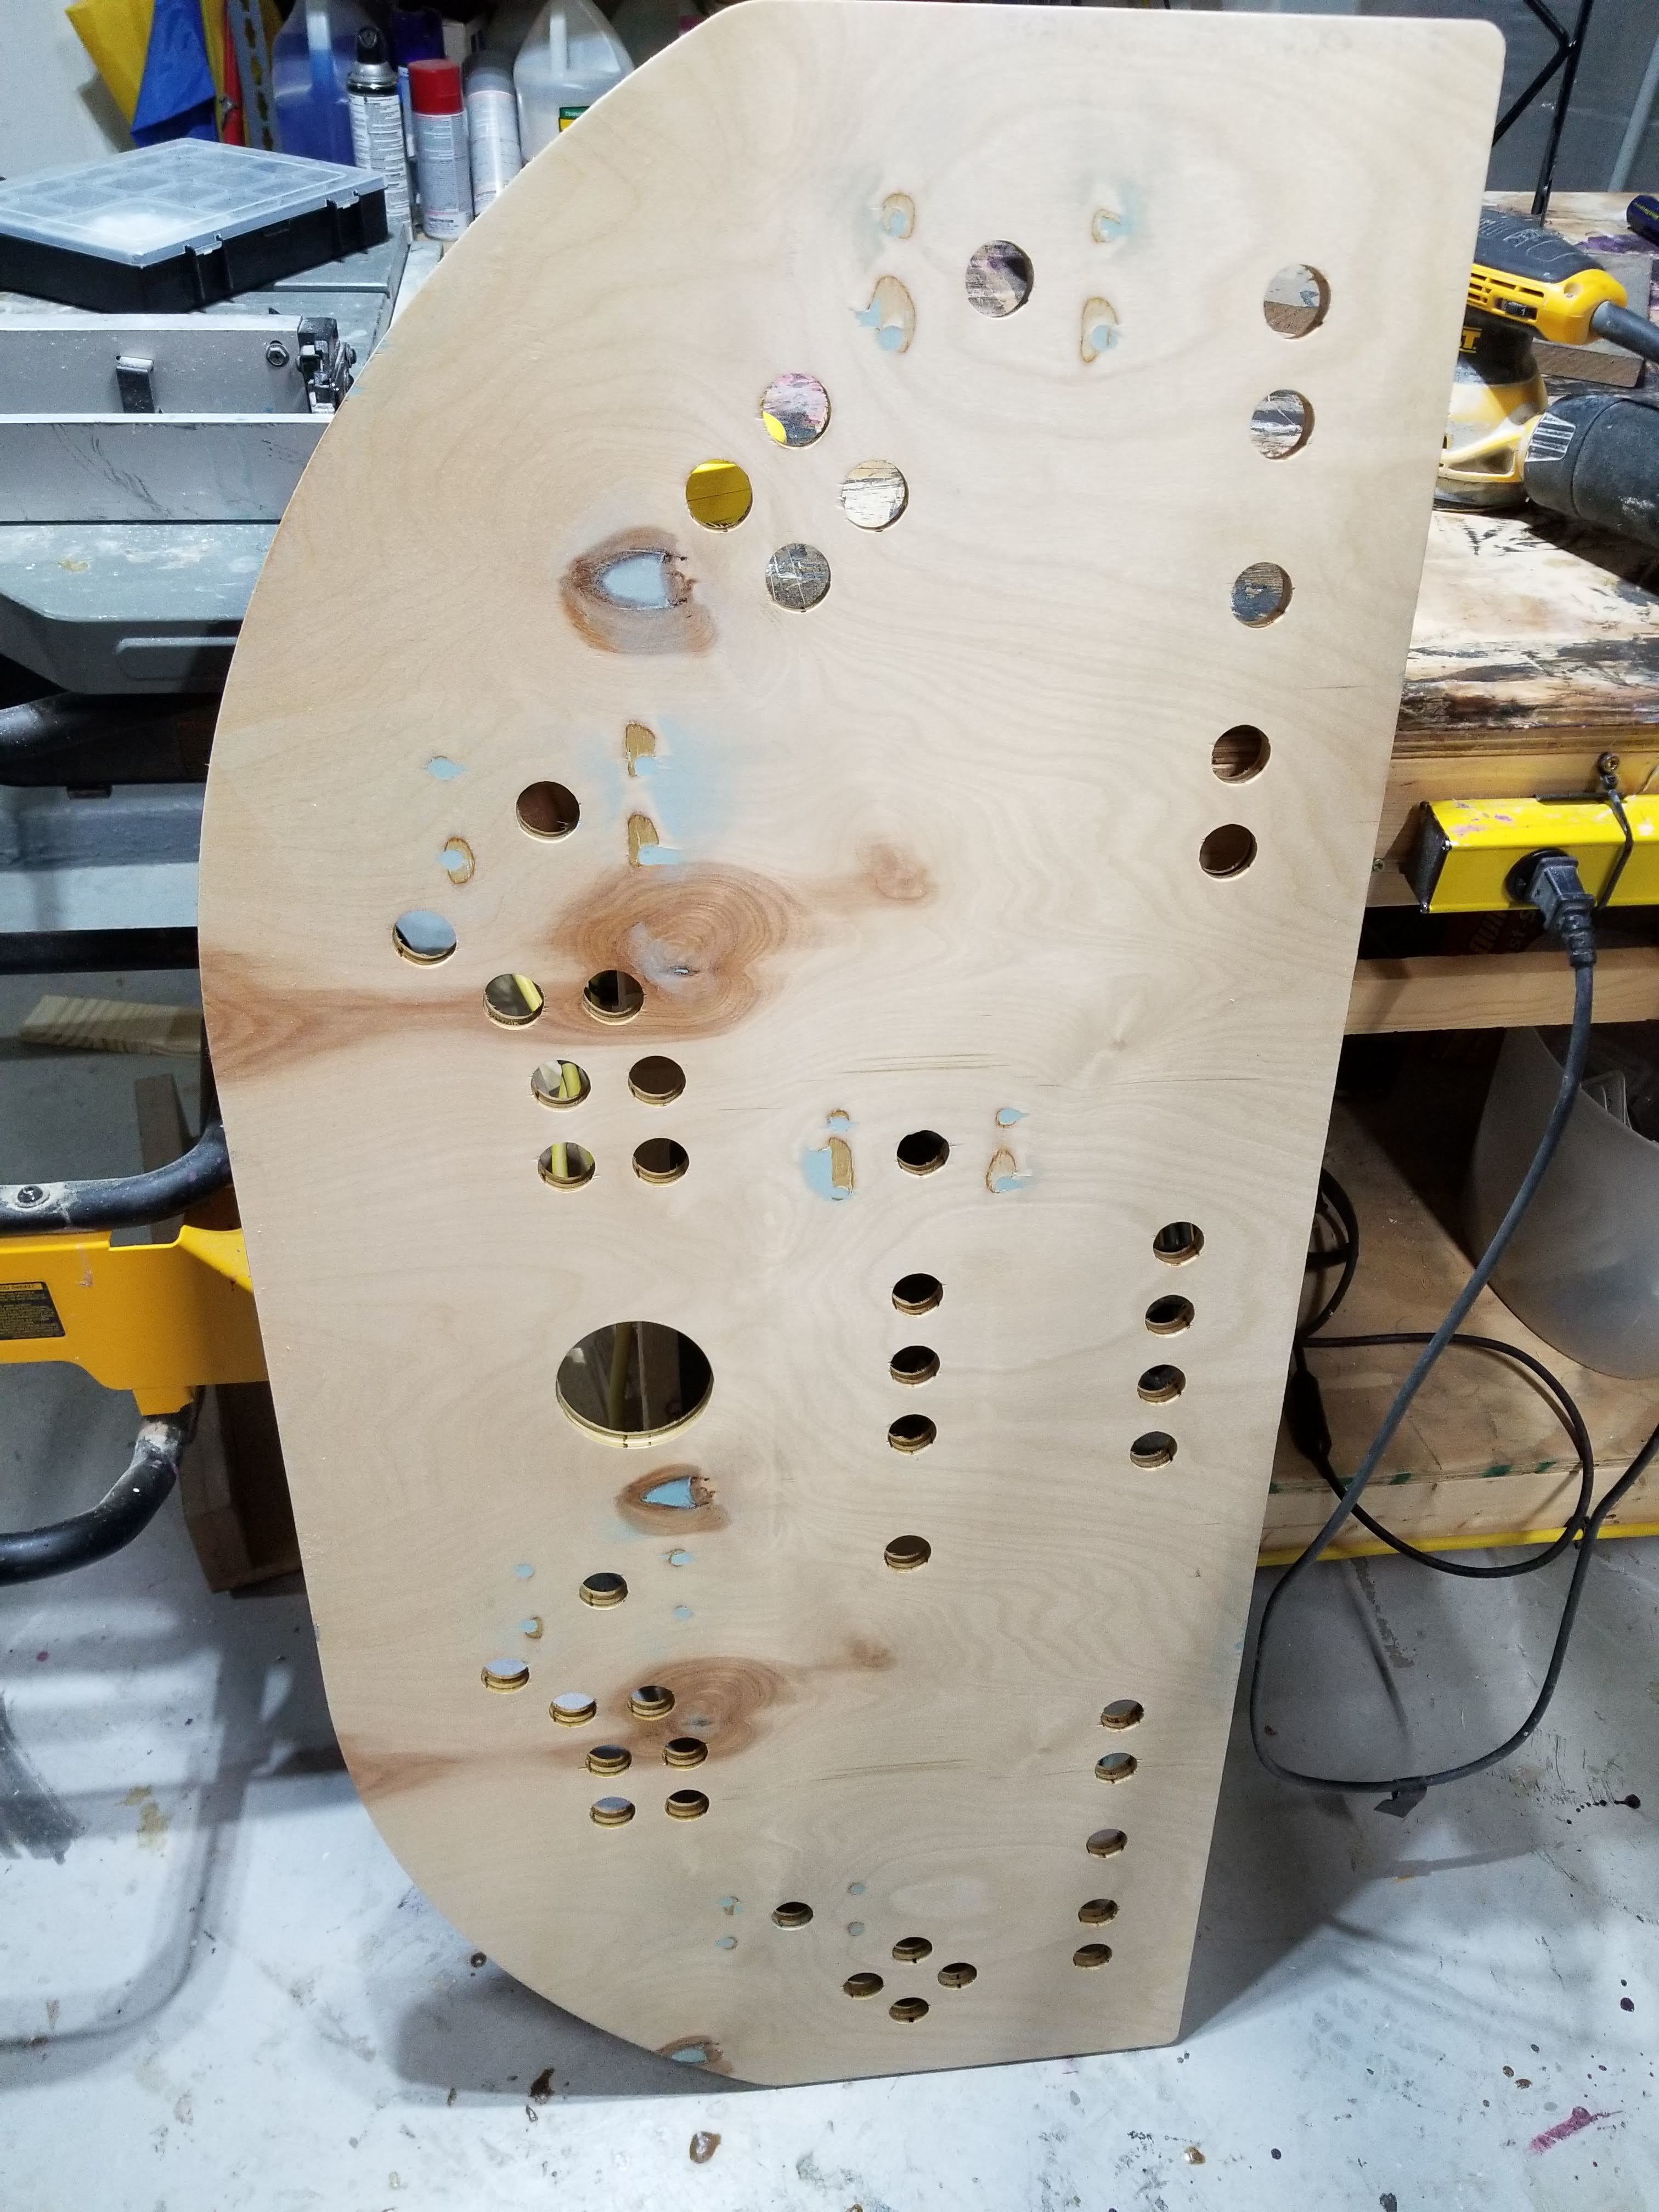
I cut out recesses behind all of the buttons and joysticks as I knew I was going to be adding a 1/8" protective layer over the artwork. This plywood is a bit hairy…
Milling the “glass” (polycarbonate)

Some prep work (body filler and sanding sealer)
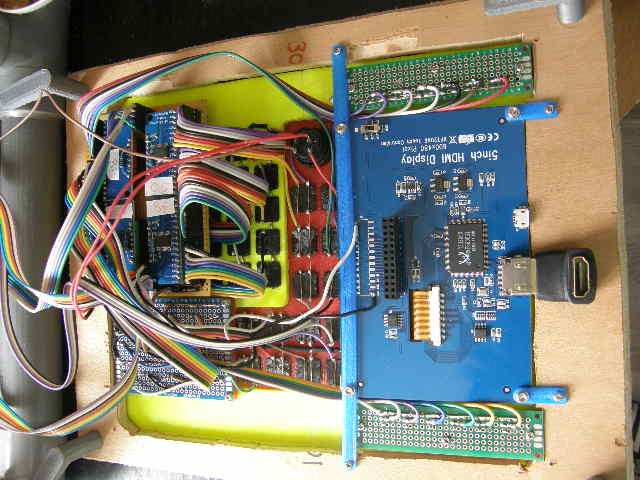
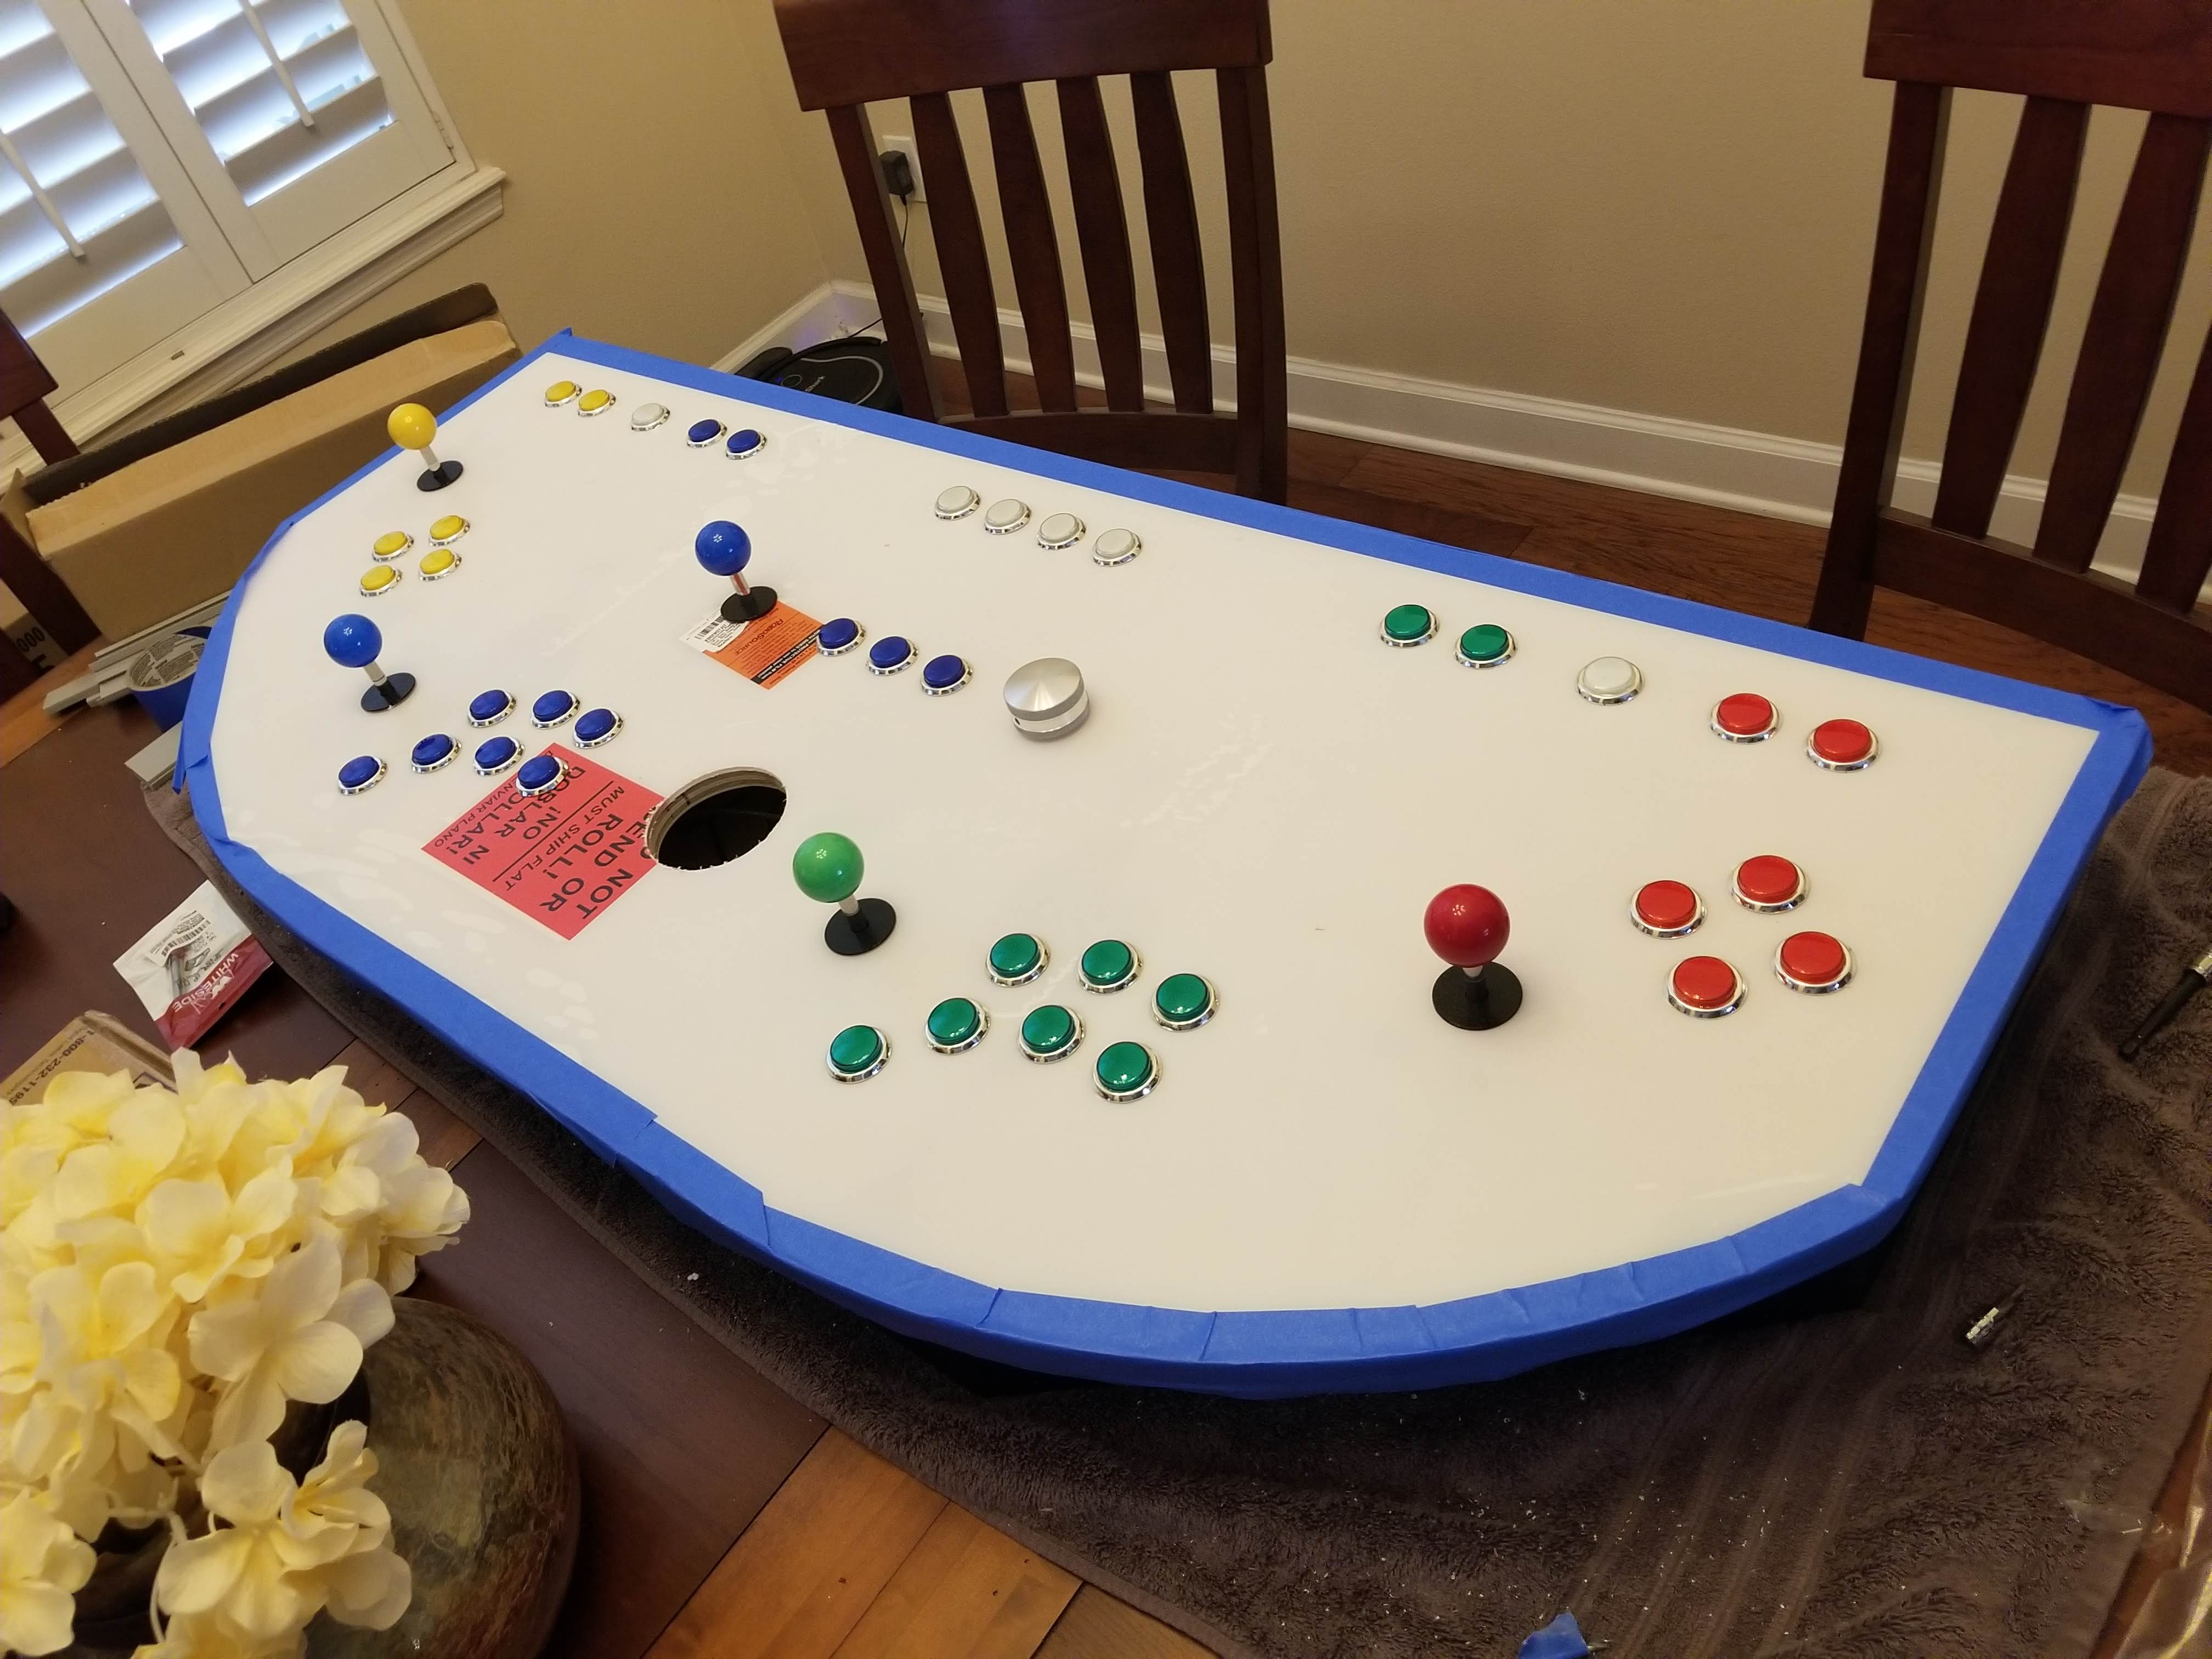
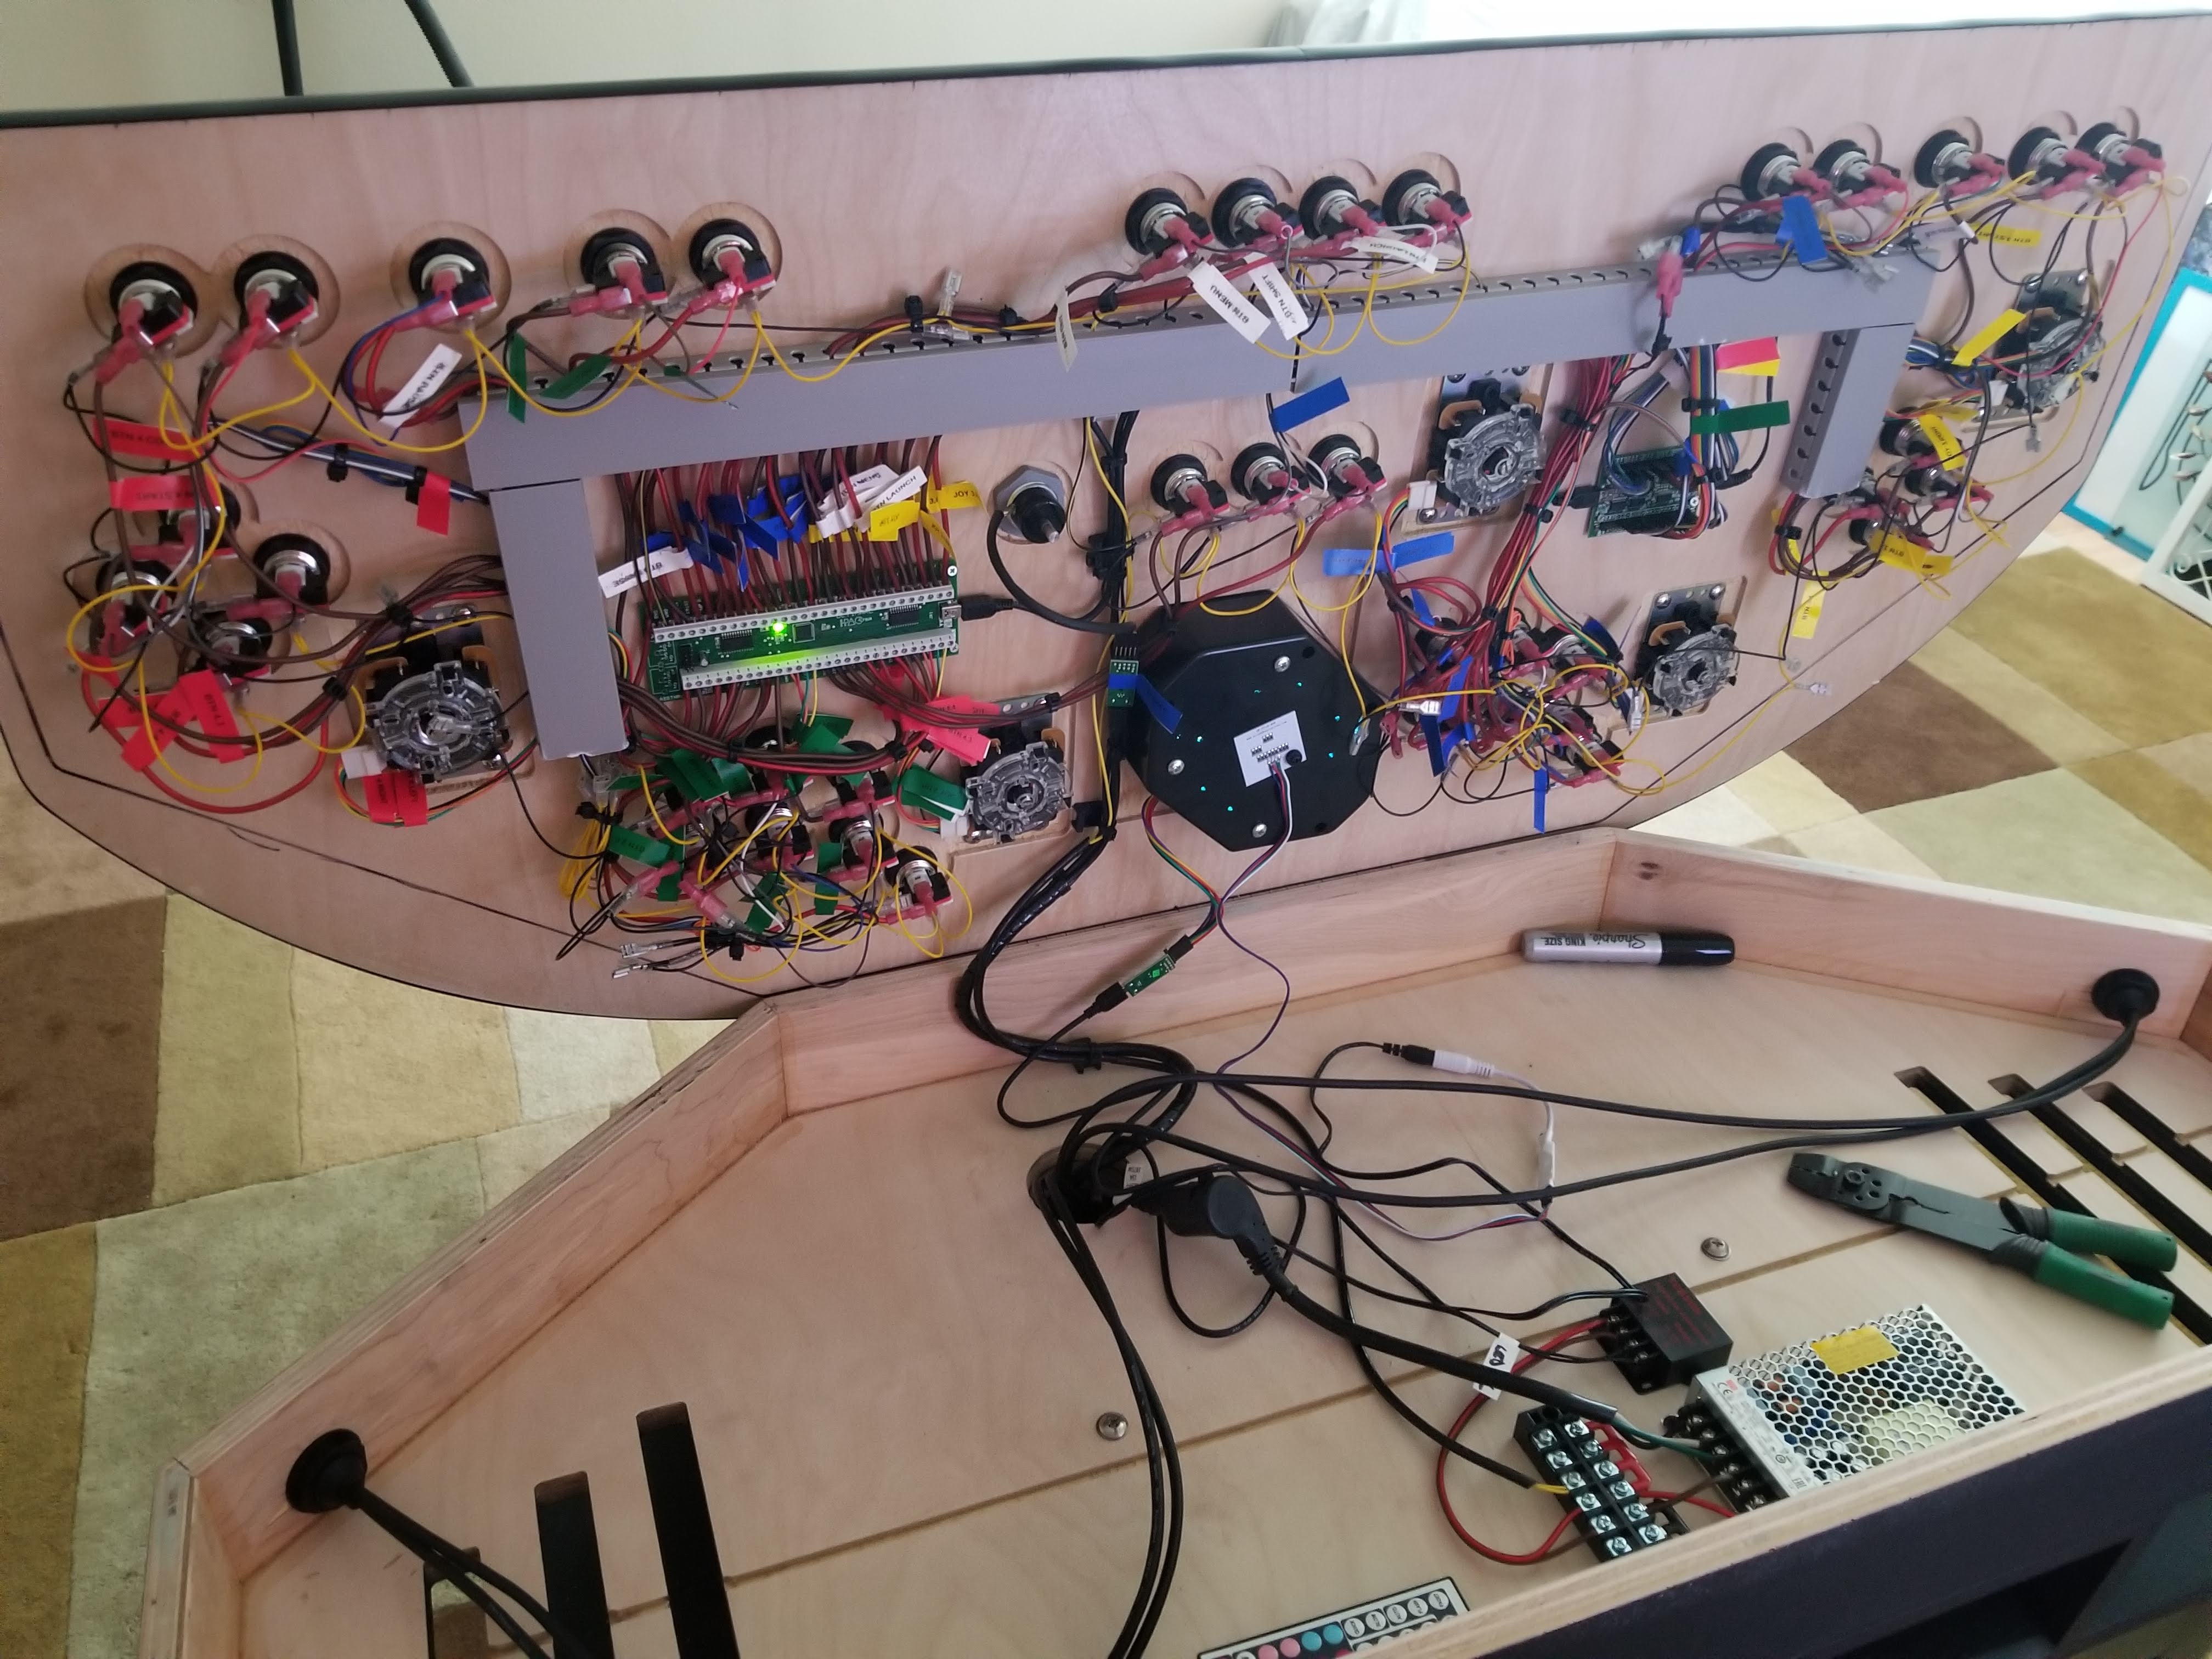
Completed box assembly + Fit test + Wiring up a hot mess
It gets worse as it goes. Each button has 4 wire connections, switch +/-, and LED +/-. The last wires are daisy-chained ground for the switches, and daisy-chained power for the LEDs.
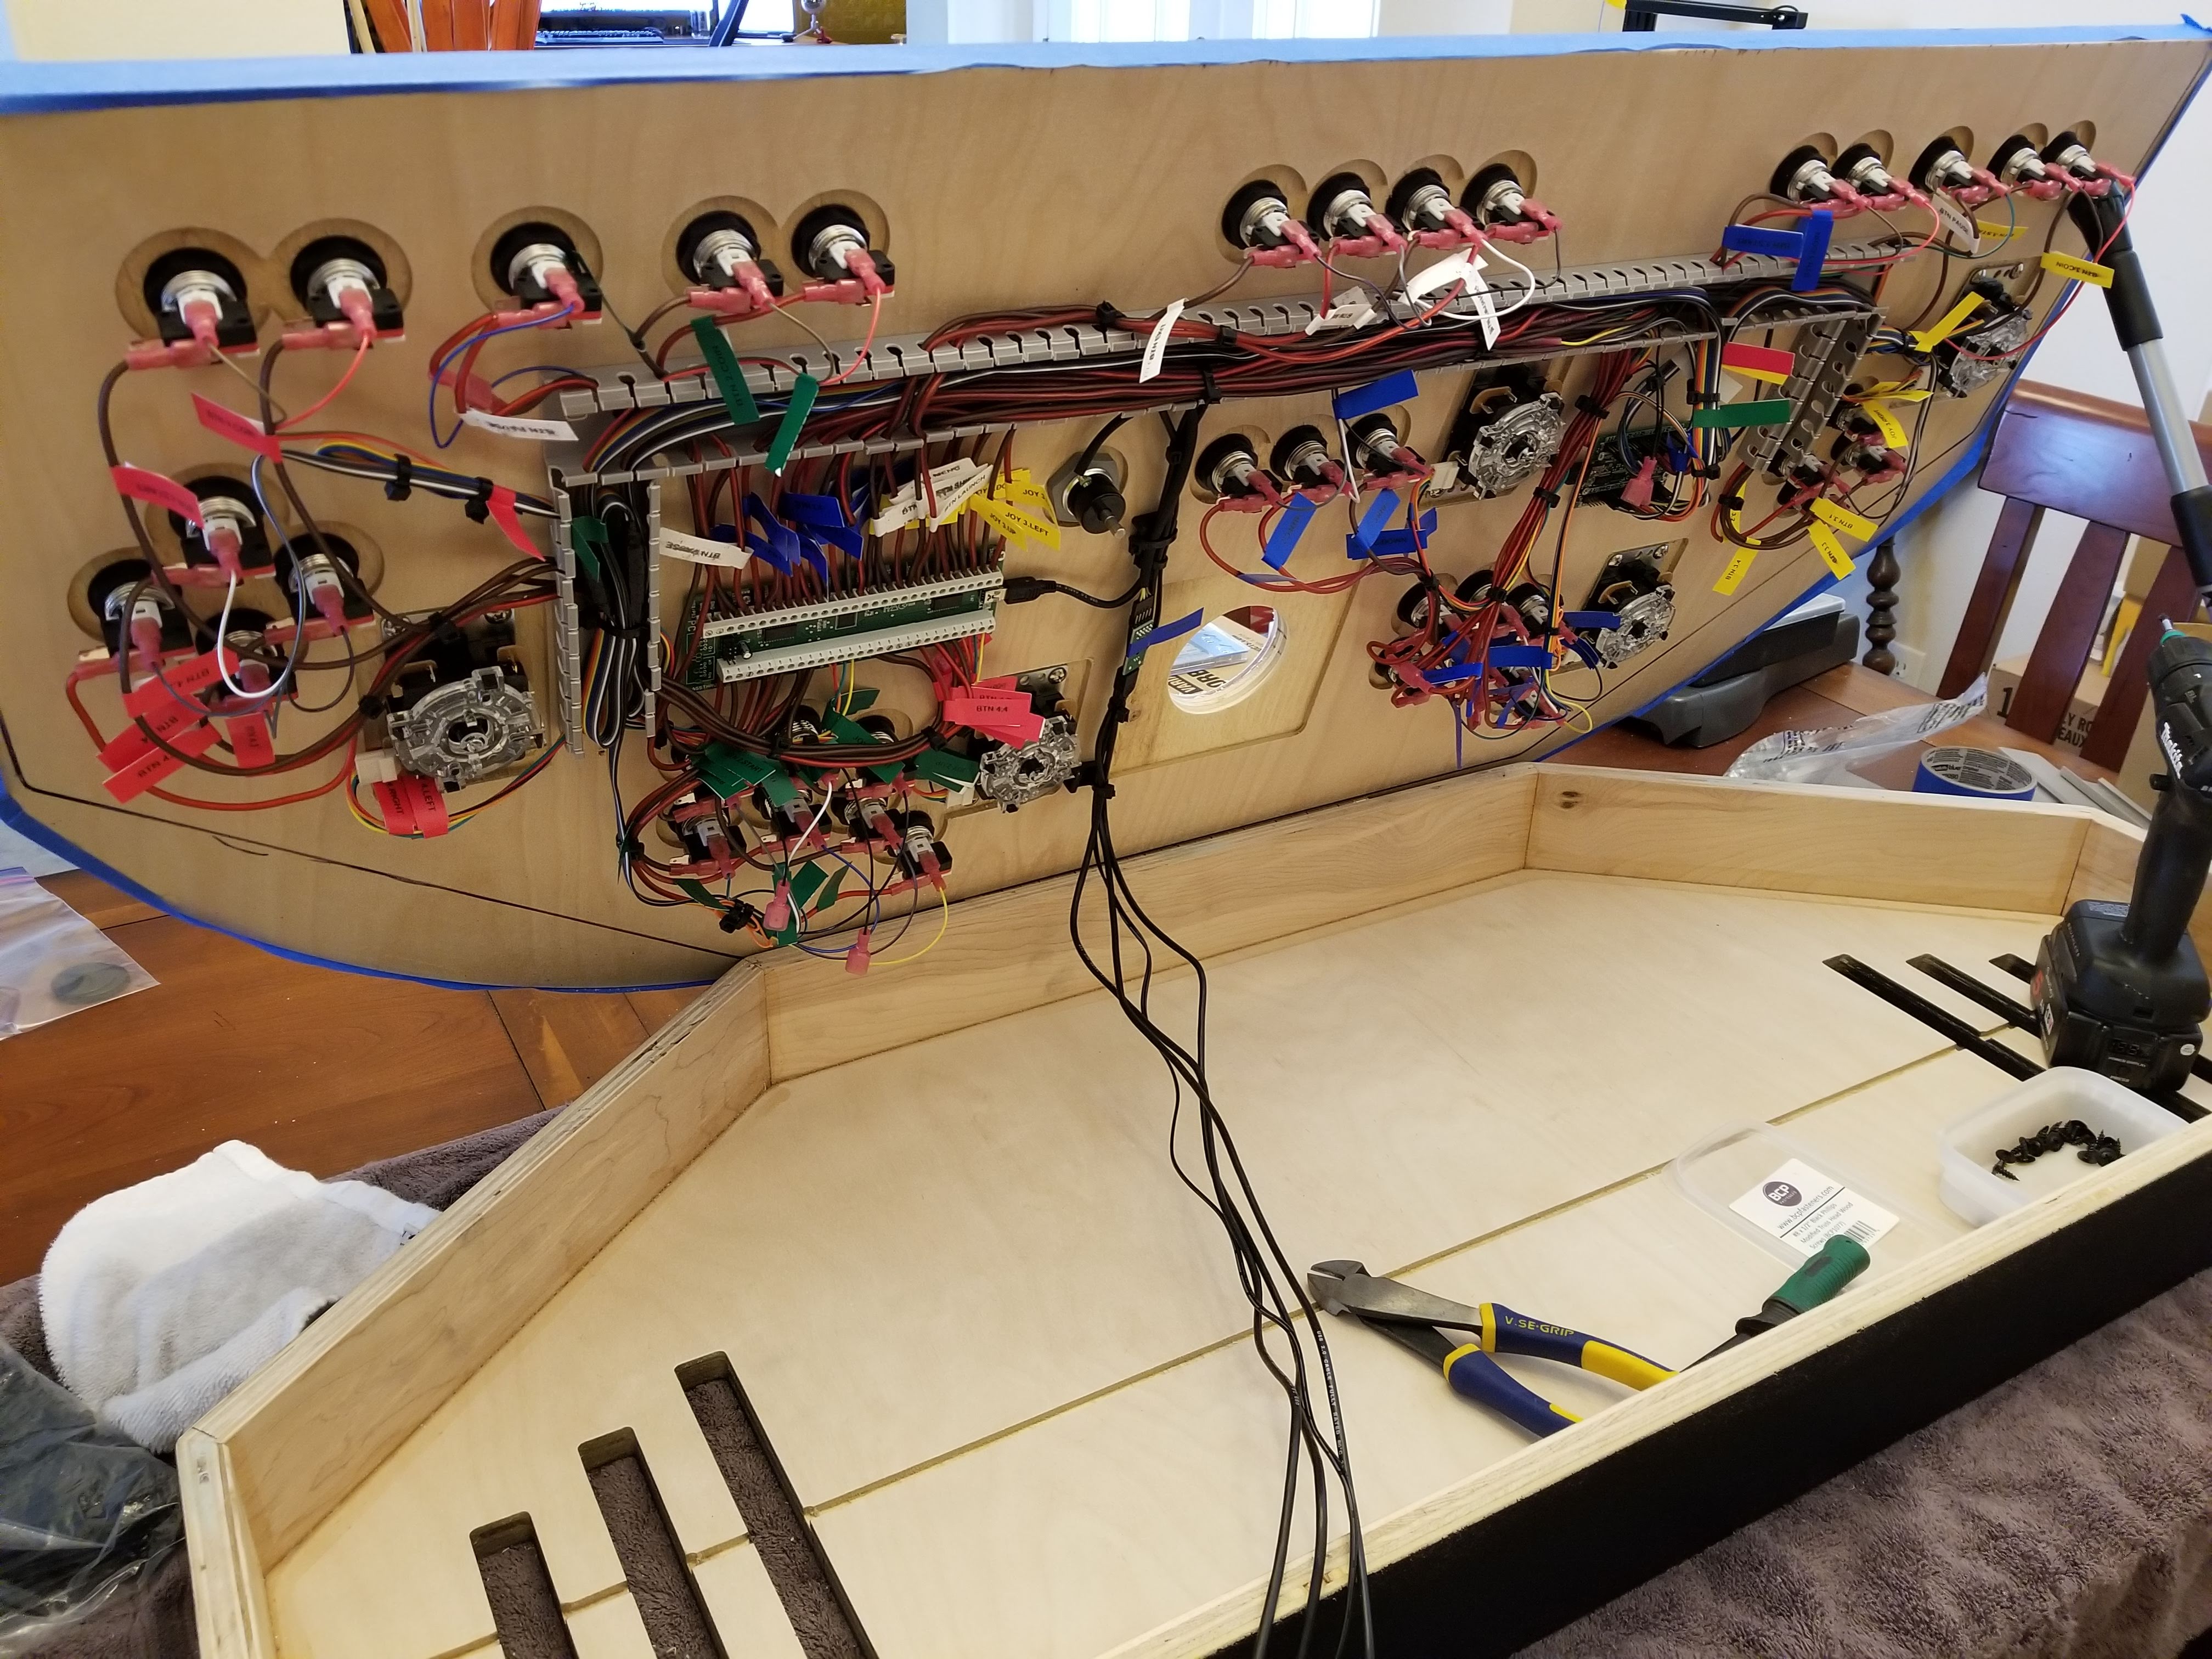
Gross…
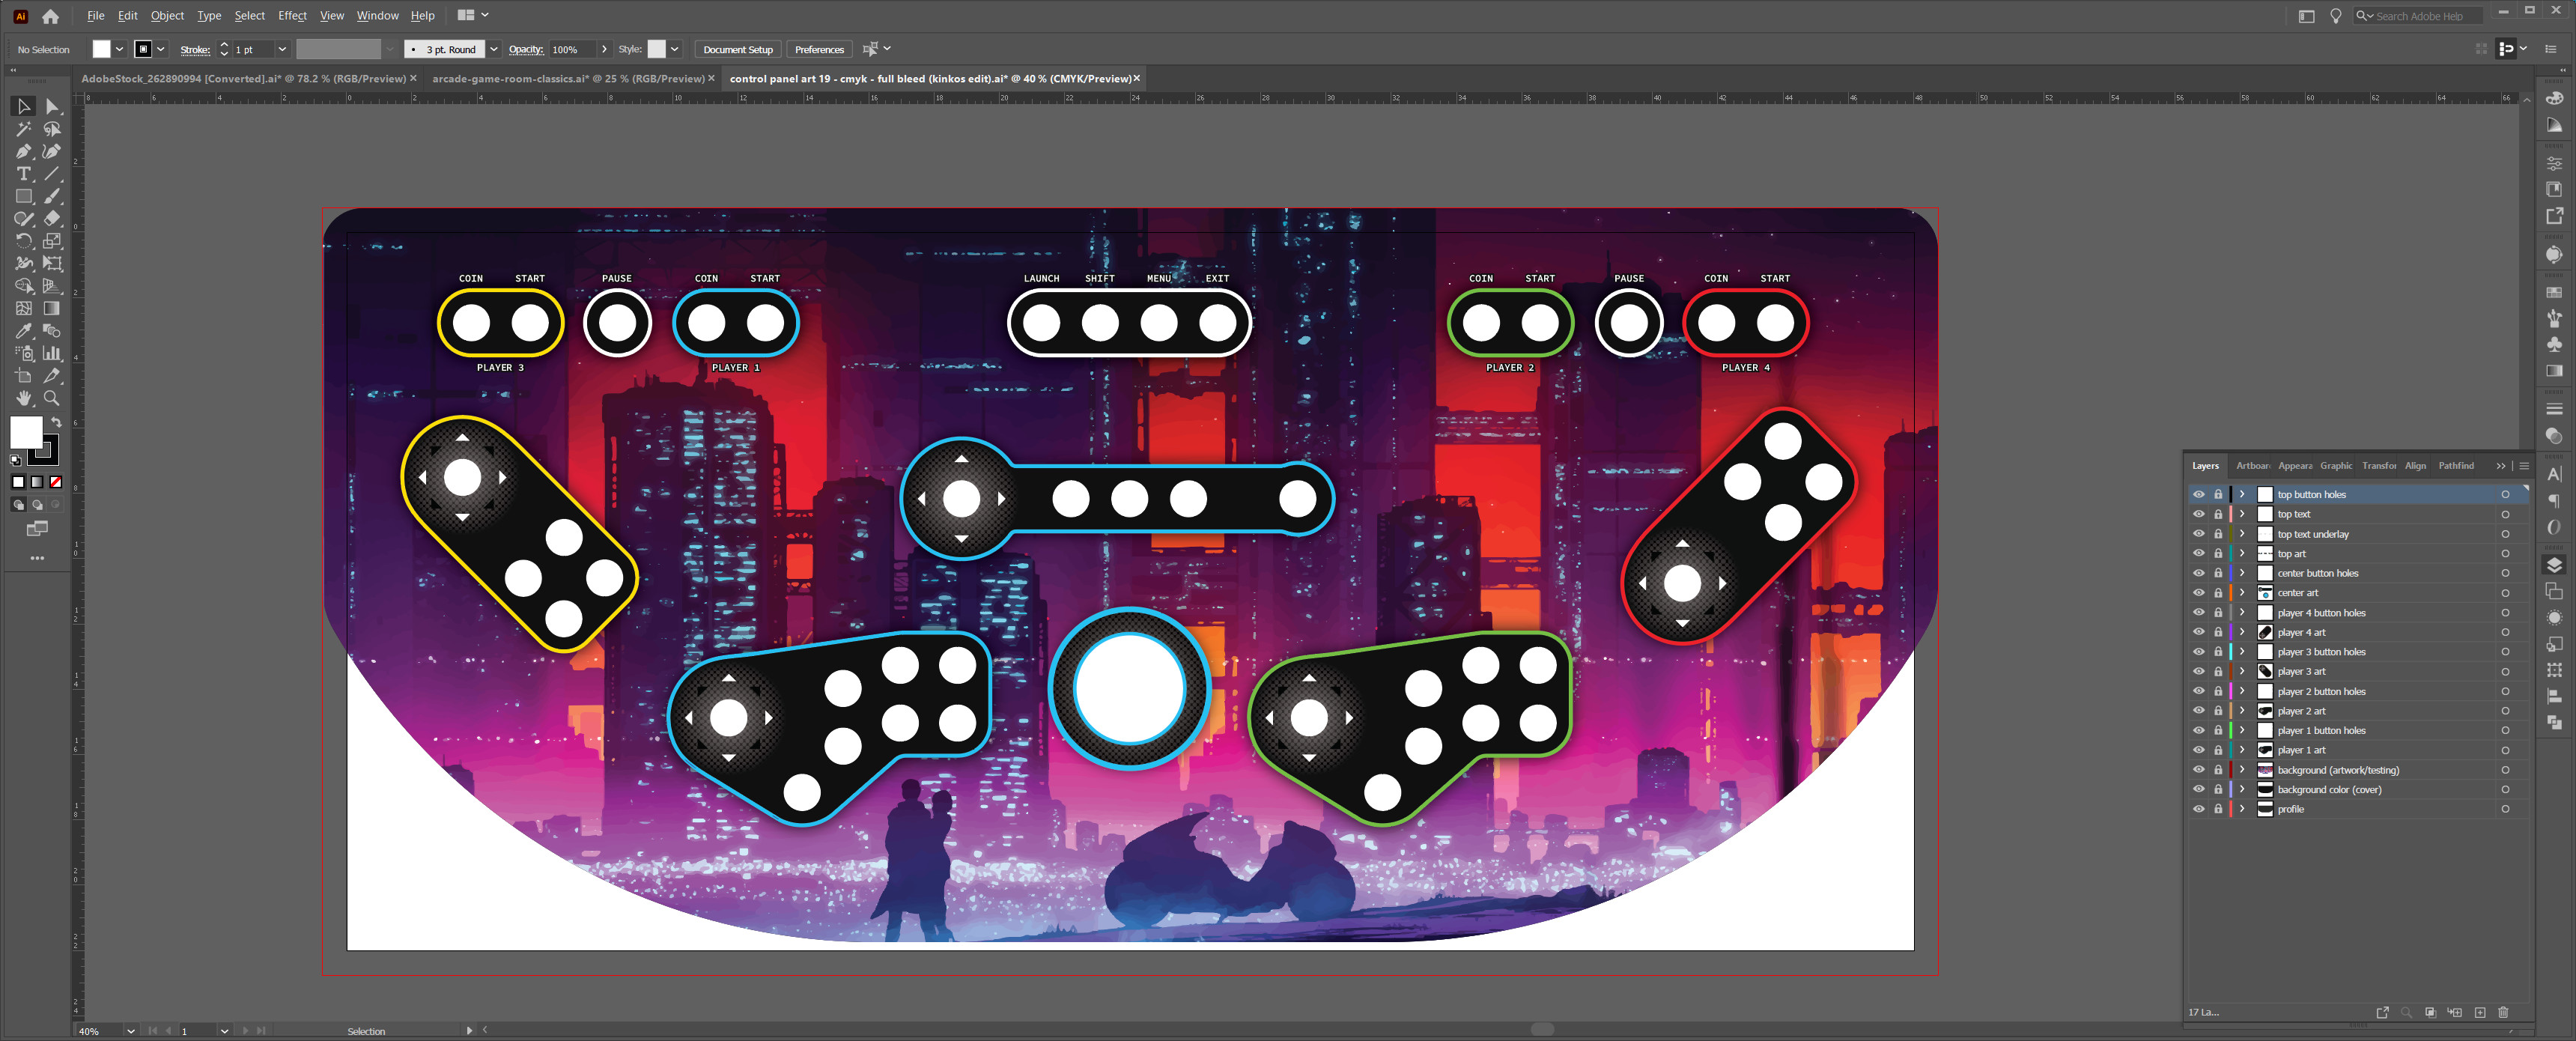
Designing the artwork
I designed the control surfaces myself, but must give credit to artist Michal Kváč for the background image found in Synthwave Dream 4Pack.
…
…
…
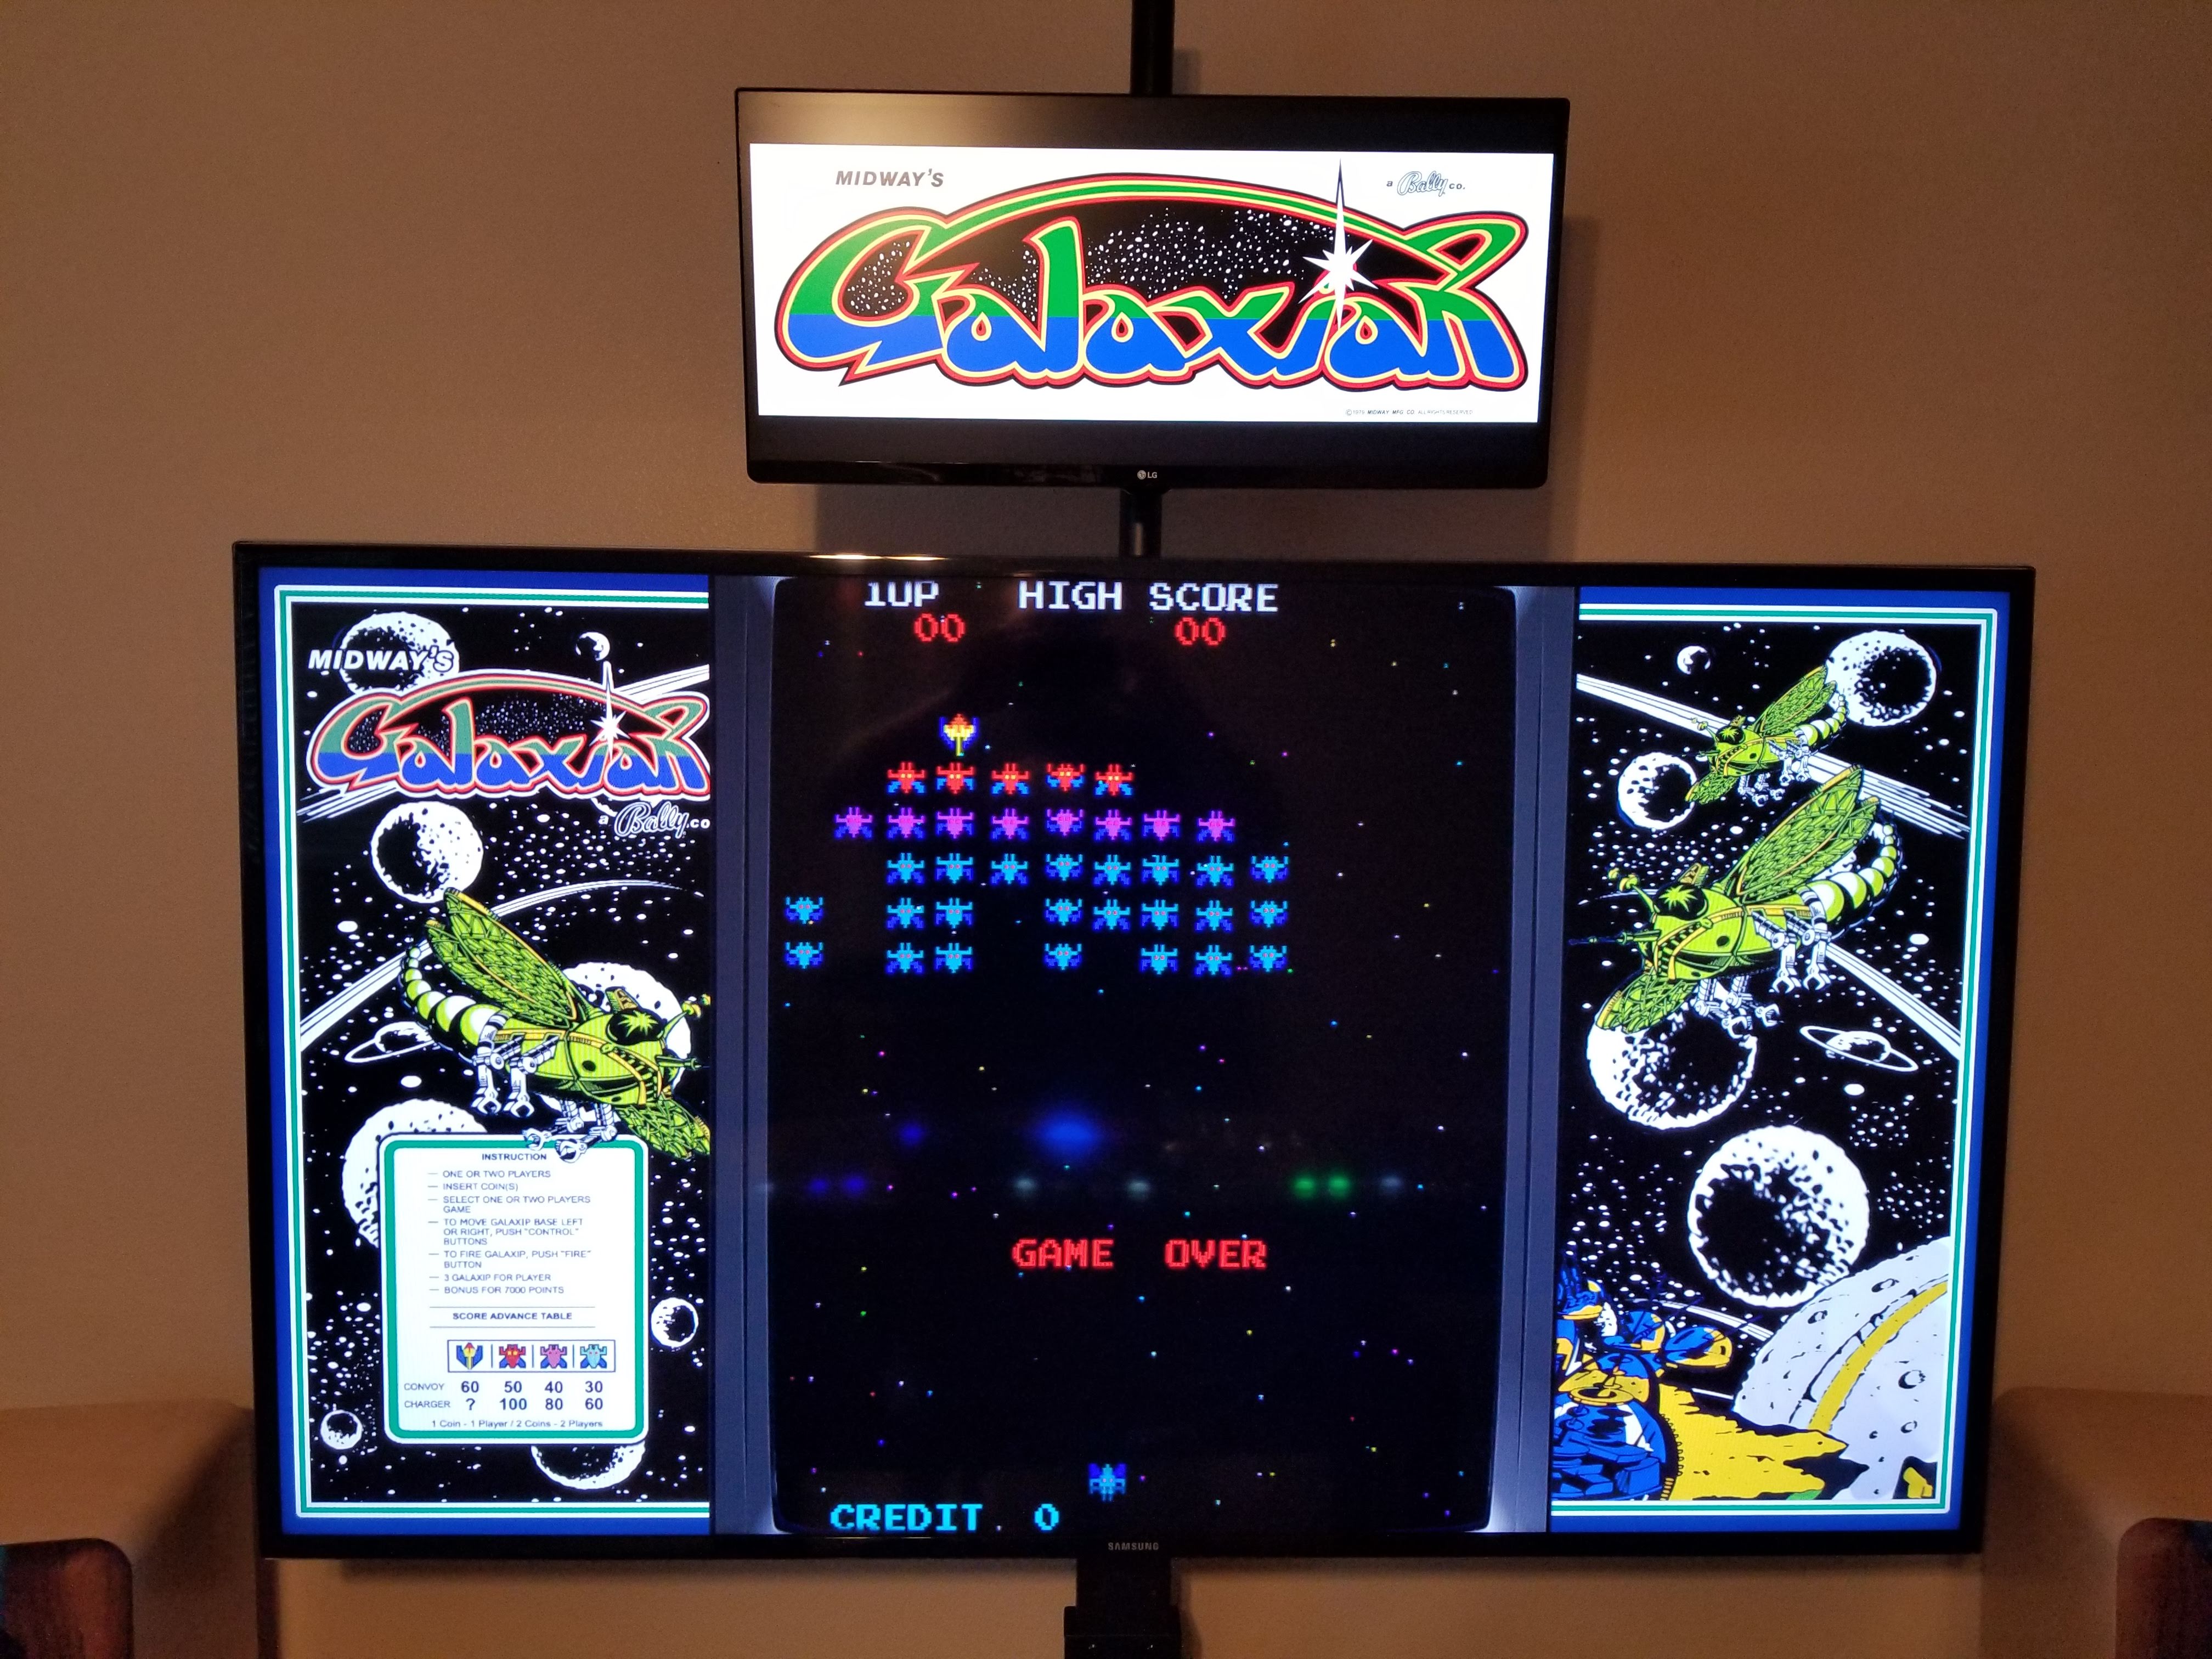
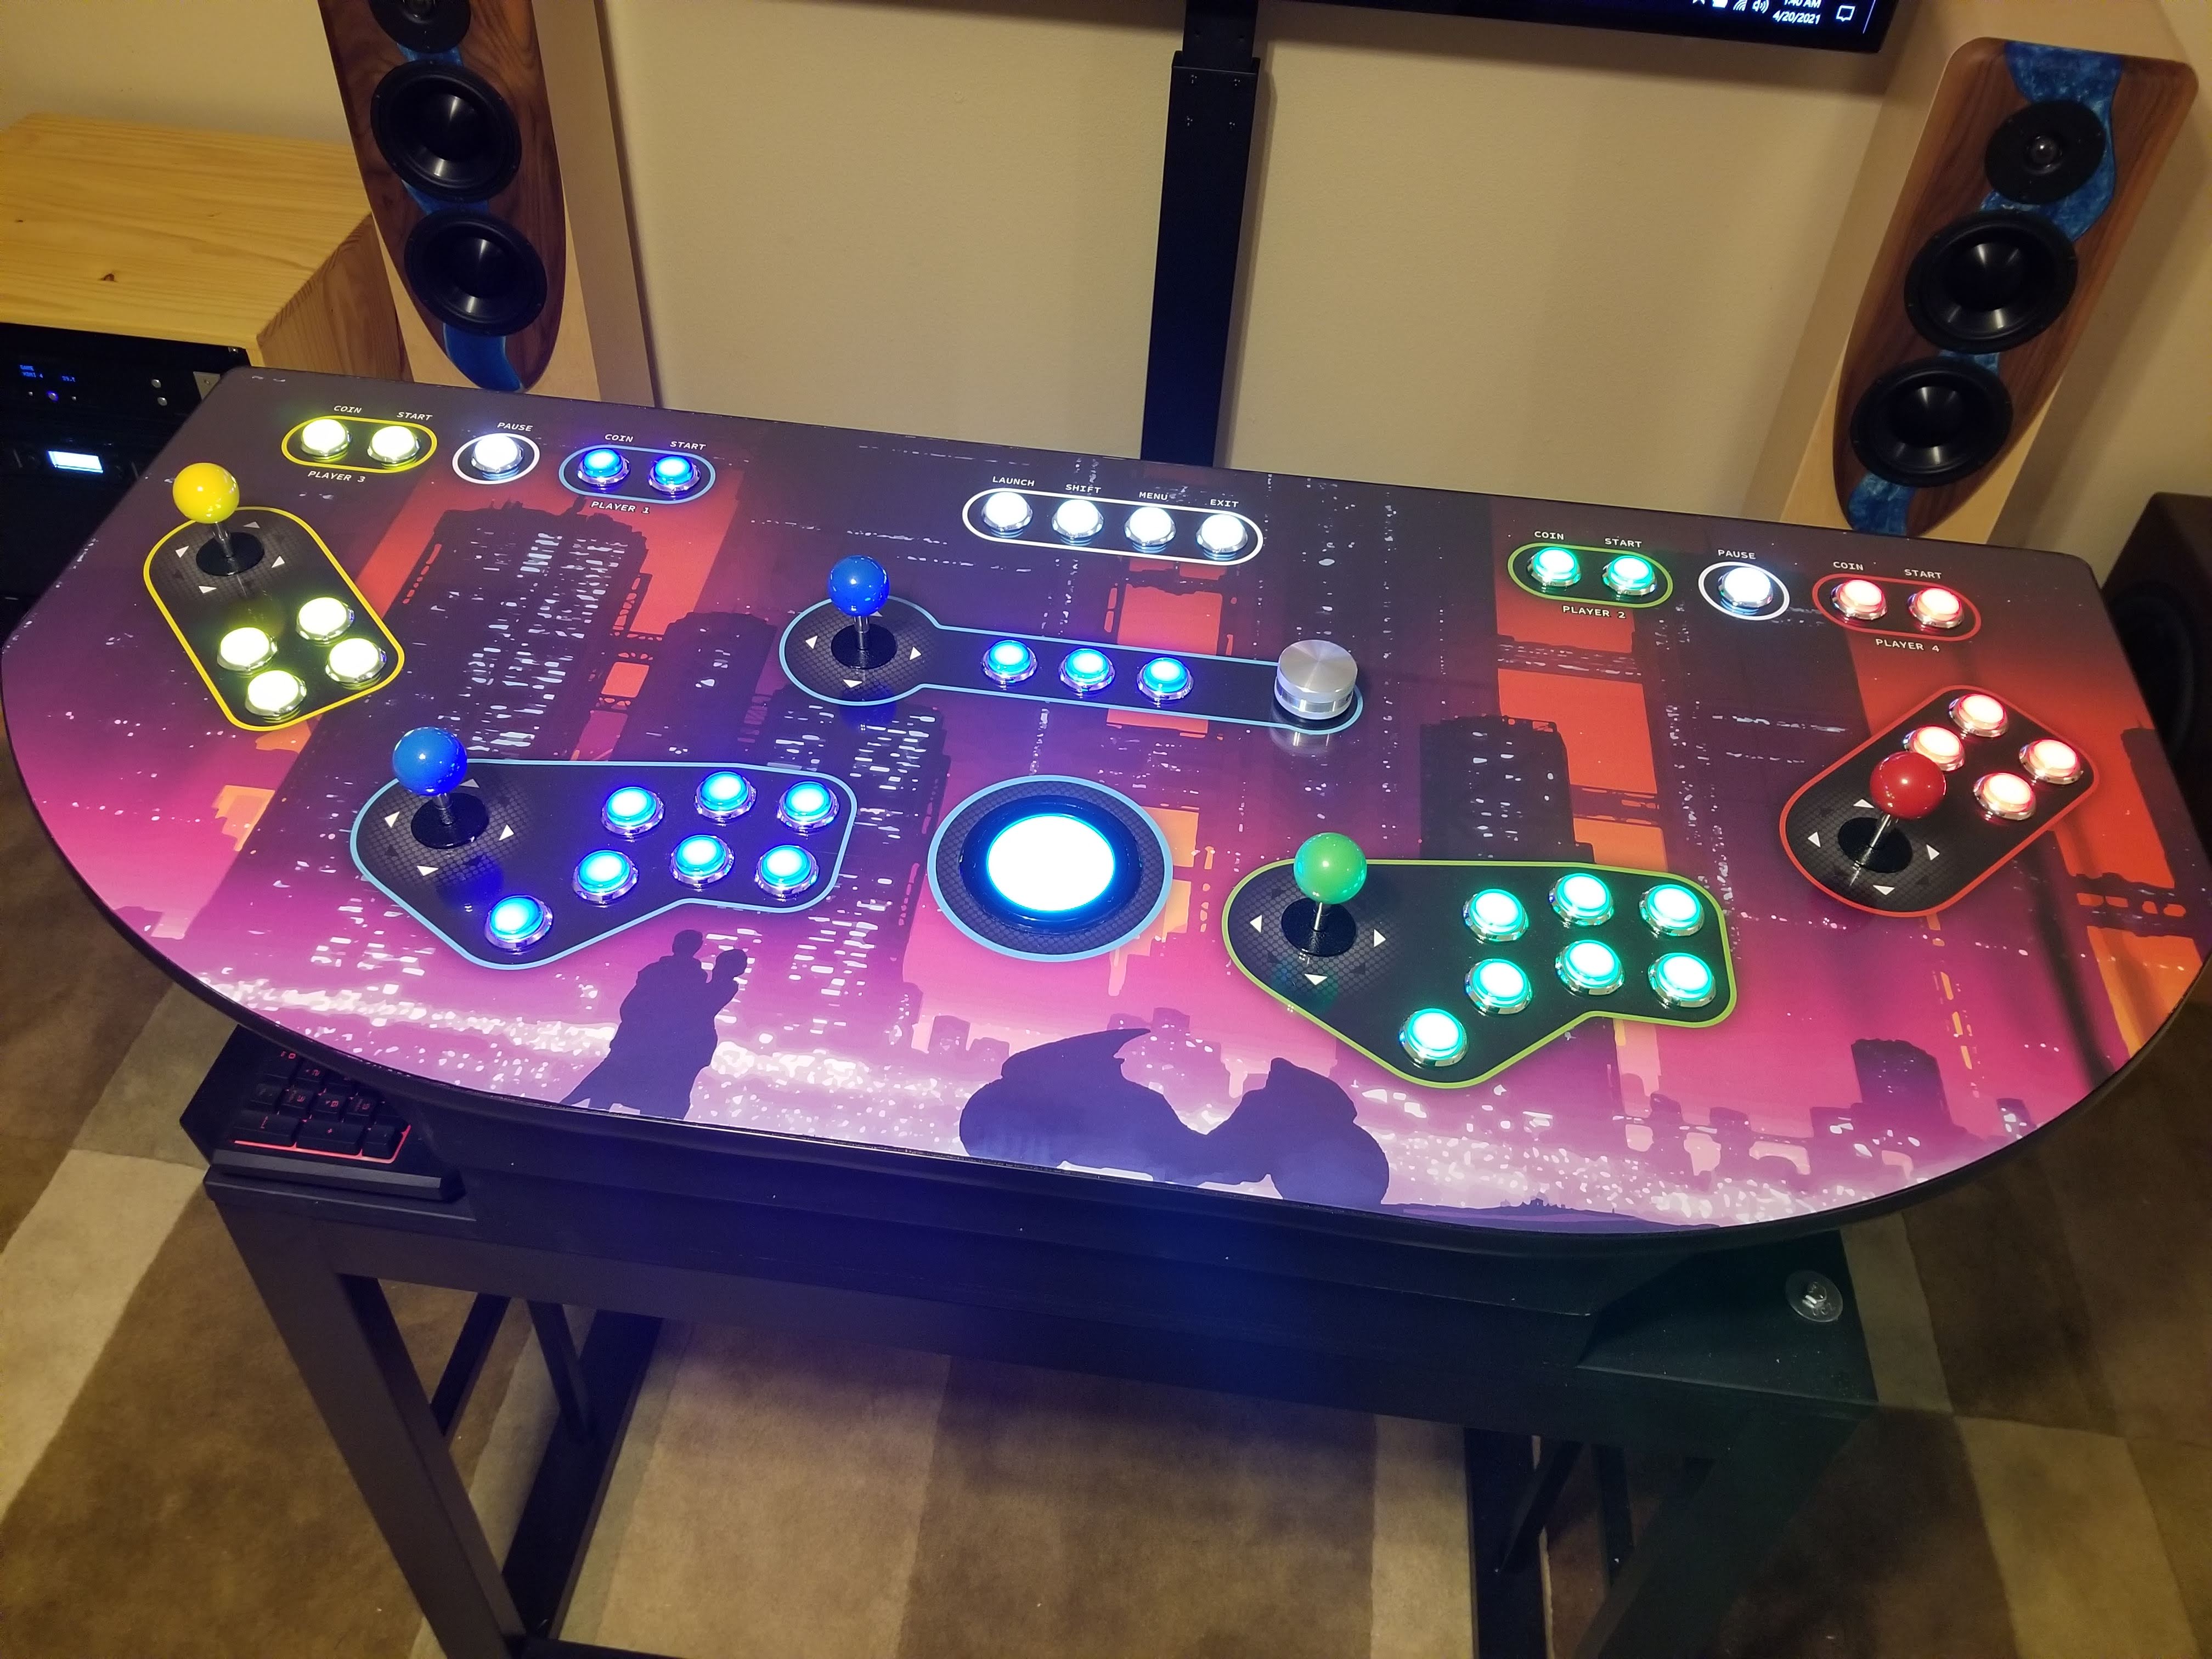
And finally, finished and trimmed…
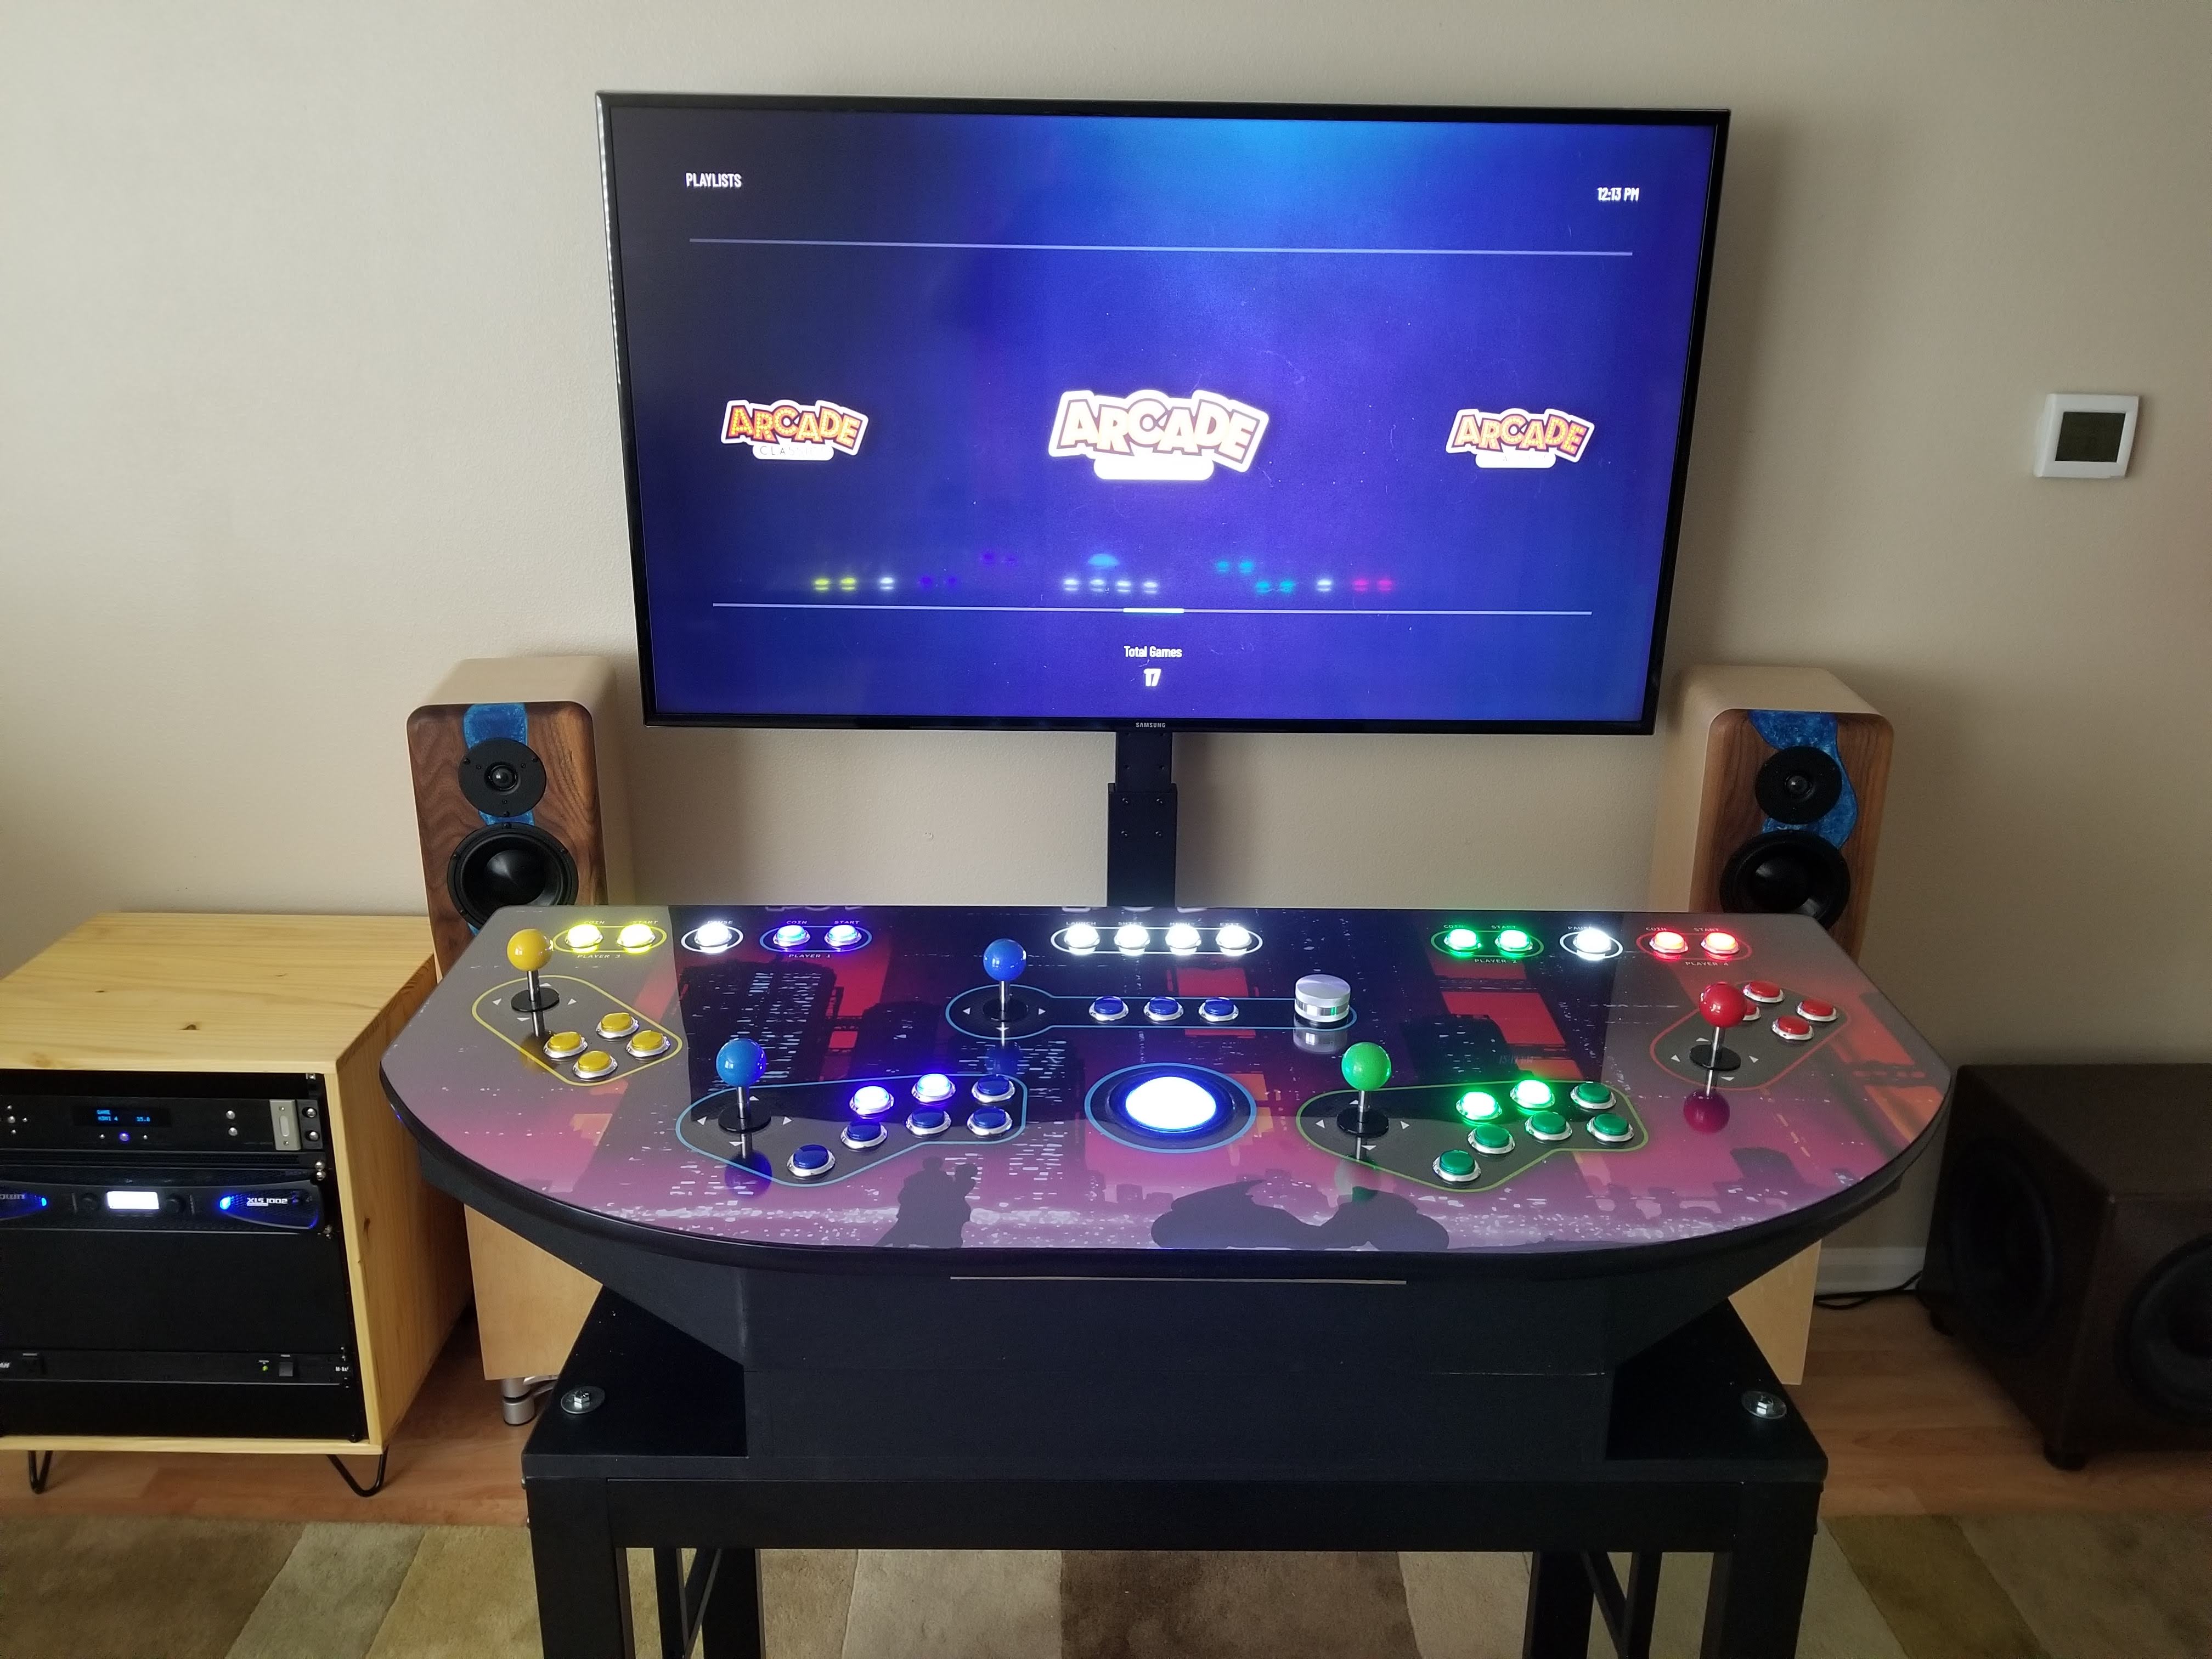
But perhaps the coolest thing of all…IT TALKS!
I had no idea this feature existed when I picked up the PacLED64. I knew that it could manage individual LEDs to only light up game-specific controls. But I did not know that it would announce those controls to you at the start of the game!

Links
These lists are not conclusive. I also used a 12V power supply, buck coverter, USB hub, and various other devices to make everything work. Also, I just want to be clear that I don’t get anything from posting these links here. I simply know that I spent a lot of time researching this project and hope these might help someone else looking to build an arcade control panel.
Parts:
- Spare laptop with GTX 1050 (defective keyboard)
- Main controls (buttons and joysticks)
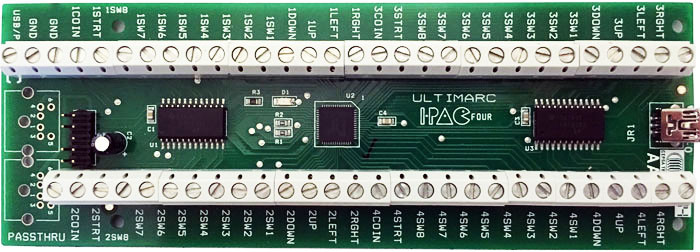
- IPAC-4 (4-player keyboard interface)
- PacLED64
- Trackball
- Trackball LED
- Spinner Device
- Spinner Knob
- Spinner Flywheel
- Octagonal restrictor plate (for 8-way joysticks)
- 6-lb tension spring (for increased joystick resistance)
- Joystick length extenders
Software:
- LaunchBox/BigBox (front-end/launcher)
- MAME 0.230 (Multi-Arcade Machine Emulator)
- MAME 0.230 (no nag start-up patch)
- LEDBlinky
- RocketBlinky (fast multi-platform configuration for LEDBlinky)
- WinIPAC (input configuration)
- The Bezel Project (add bezel artwork to black side bars)
- Clrmamepro (scan/rebuild MAME sets)
- Speech SDK 5.1 (SAPI, TTS)
Final thoughts
This has been an amazing project and there is still so much to do. I have used console emulators before but never realized the added complexities of MAME — full sets, split sets, merged sets, CHDs, samples, and so on. There was a bigger learning curve than I expected, but I’m excited with the results. And LEDBlinky is way smarter than I expected, already able to parse out the control schemes for most games; however, there are still some games for which you will need to learn to manually configure controls. All in all, a totally worthwhile project.