I keep reading it the same way. I think your humor is more “natural” rather than “immature”.
I’ll post another video to show how much the magnet helps after I fiddle with it today. Will also take out a lot of BS (baking soda ). You can see how much I have pushed off to the side, there are mountains of BS.
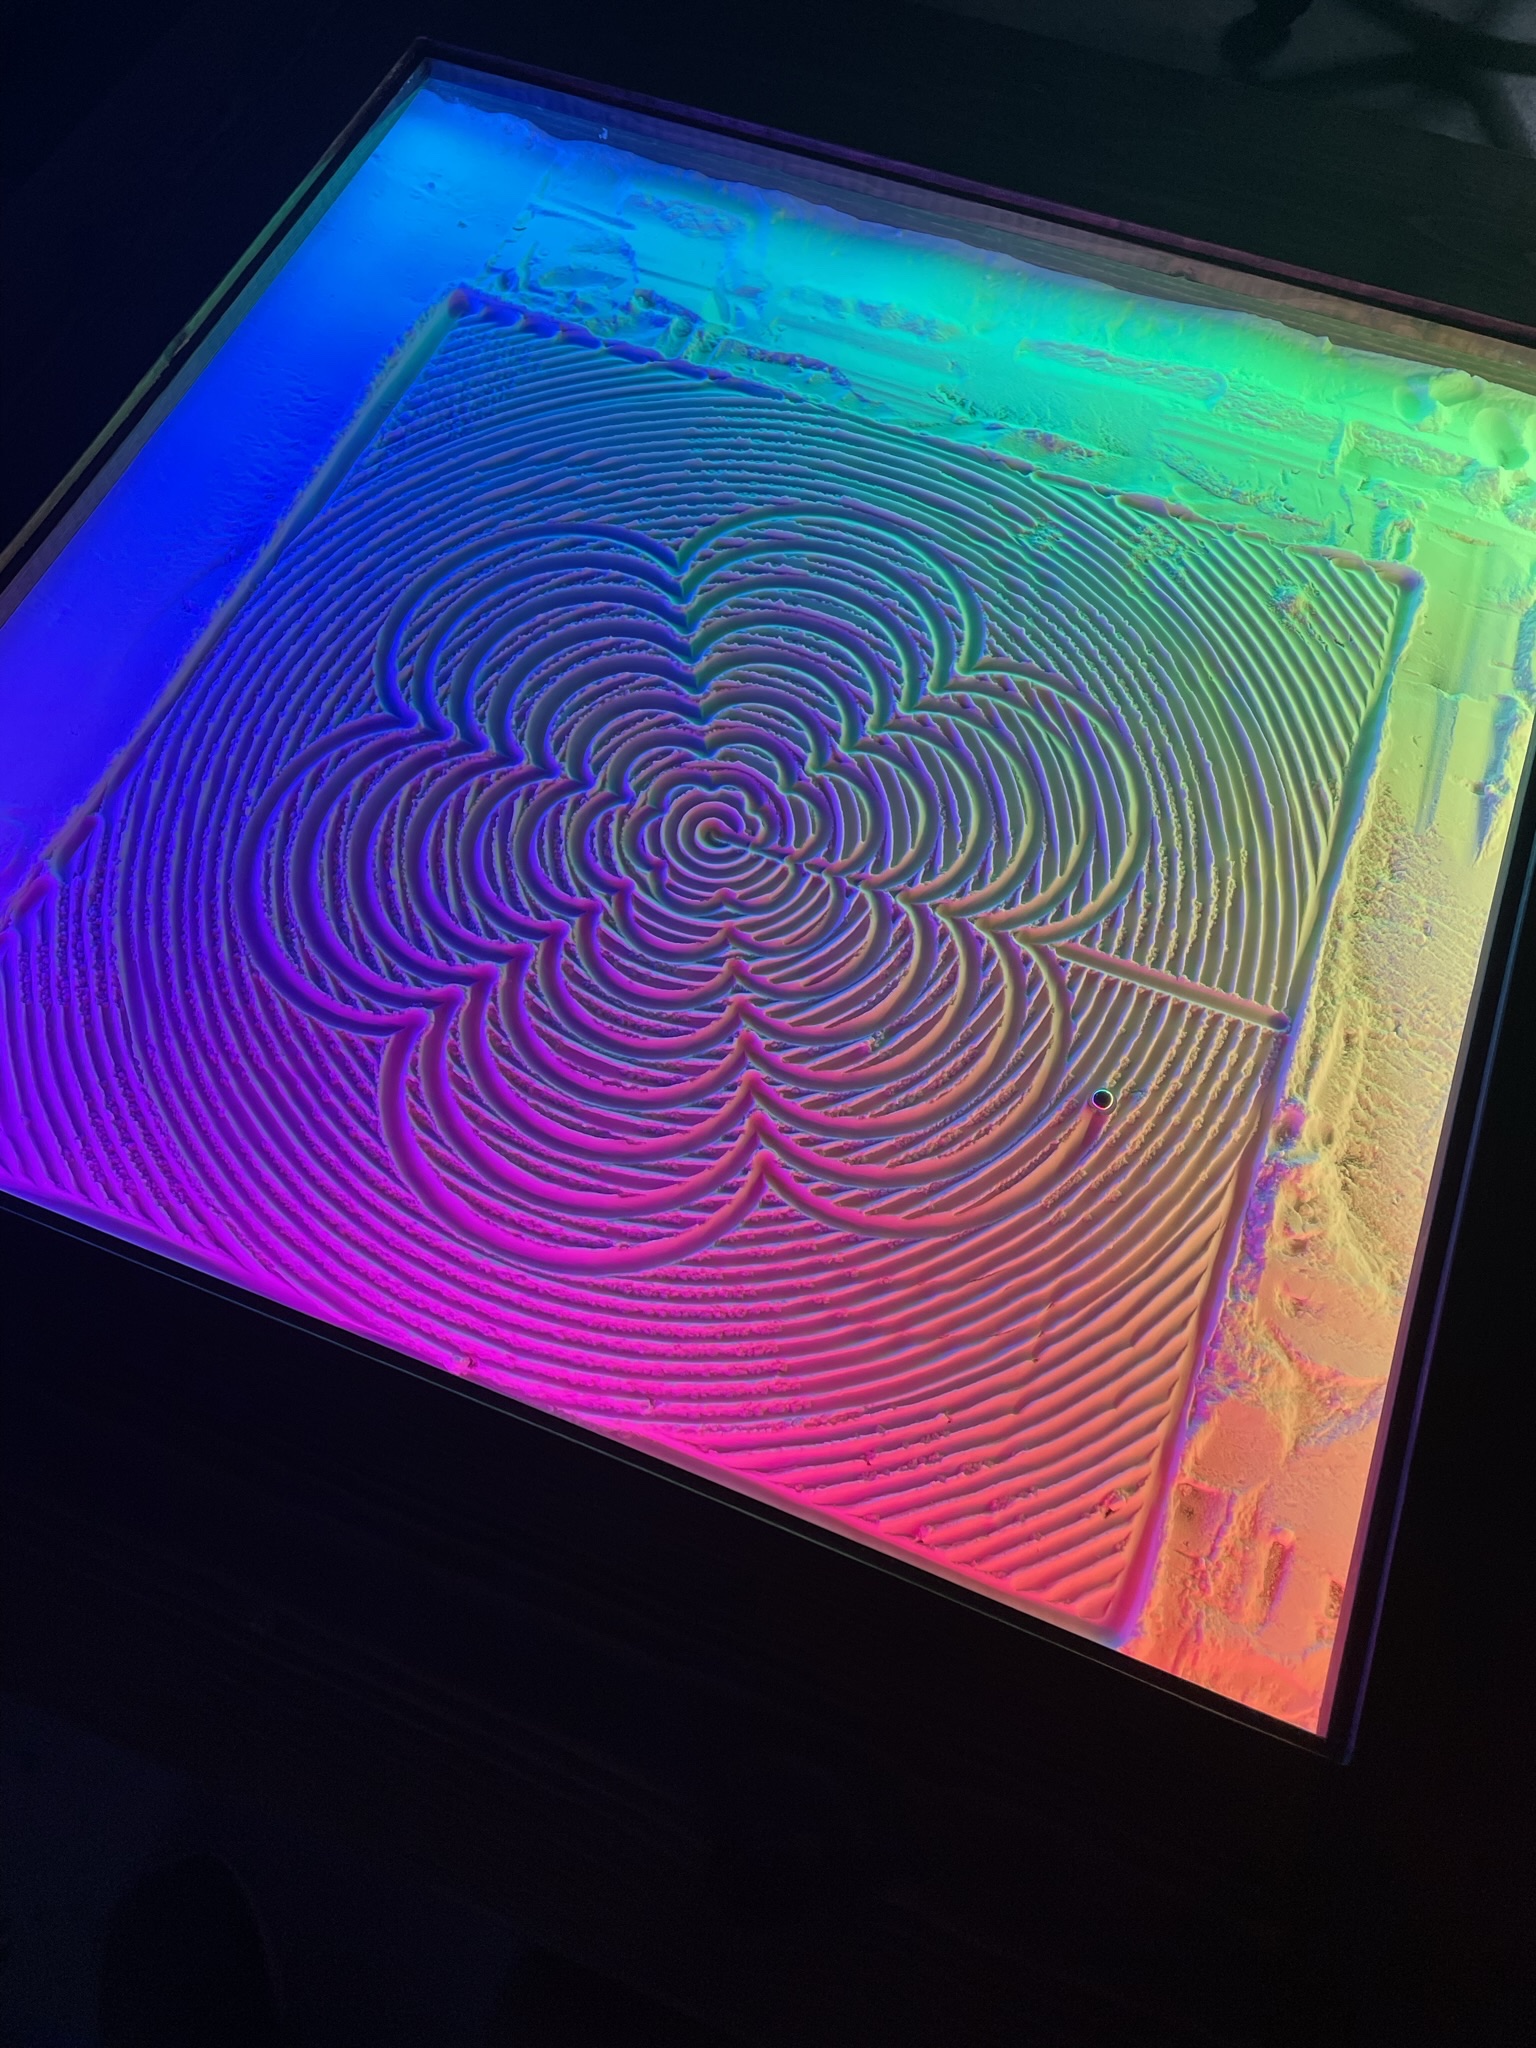
Other than finishing, its finished. And by finishing, I mean add a few coats of poly to the wood to protect it and give it a shine. The second magnet came in yesterday and as you can see in the video below, it made ALL the difference.
I love how this turned out! Huge shoutout to @vicious1 for the design of this ZenXY V2. It was a pretty seamless build all the way through and the final product is really something I will be able to enjoy for a long time to come. I already have friends and family who are interested, so go ahead a prepare a couple more kits to ship out
Thanks also to everyone who commented here with your experiences and advice, it all helps so much. If you notice anything else I should change (i.e thickness of baking soda), please let me know!
As far as this thread goes, I am considering this build done. I will post another picture or video after its been coated and put in the house where it will be living (temporarily until I move).
Onto the next project… (the new 3DP that Ryan has coming out soon)
That turned out great. I really like the table design. I have enough sand tables, but a simple BOM and some of the drawings you used to CNC would probably make someone coming along in a while happy. No need to bend over backward for it. But in case you were waiting for someone to ask
Thanks Jeff. That’s a great idea. I have zipped up some useful files for anyone who would like to replicate this table. This was built for 2ft x 2ft drawing area.
In the folder you can find a simple BOM of the materials I used, excluding the V1 kit and printed parts (I figured that is obvious), drawings of the leg profile and cutout profile of the LCD screen, and step files that show the cutout of the screen which can be used to get depth dimensions to cut out the screen pocket.
 ). You can see how much I have pushed off to the side, there are mountains of BS.