And so the MPCNC Primo Build Journey begins. Good thing my Anet A8 does not mind printing through the night. I’m not sure how long I’ll be on this journey and I’m certain I’ll take some wrong paths but I hope there is a pot of man glitter Man Glitterwaiting for me at my final destination.


5 Likes
Any questions and this crew will be there for you
2 Likes
How do I time travel to the future to learn all my mistakes so I can come back to the present and avoid making them?
Easy. Check the grub screws on your pulleys.
10 Likes
THAT is the new answer for the question of “Life, the Universe and Everything”…
“Check your grub screws”
3 Likes
Just wate @jeffeb3will be there yesterday and answer everything  he knows his stuff.
3 Likes
You already did that and realized it was a mistake. Learning is the best part!
3 Likes
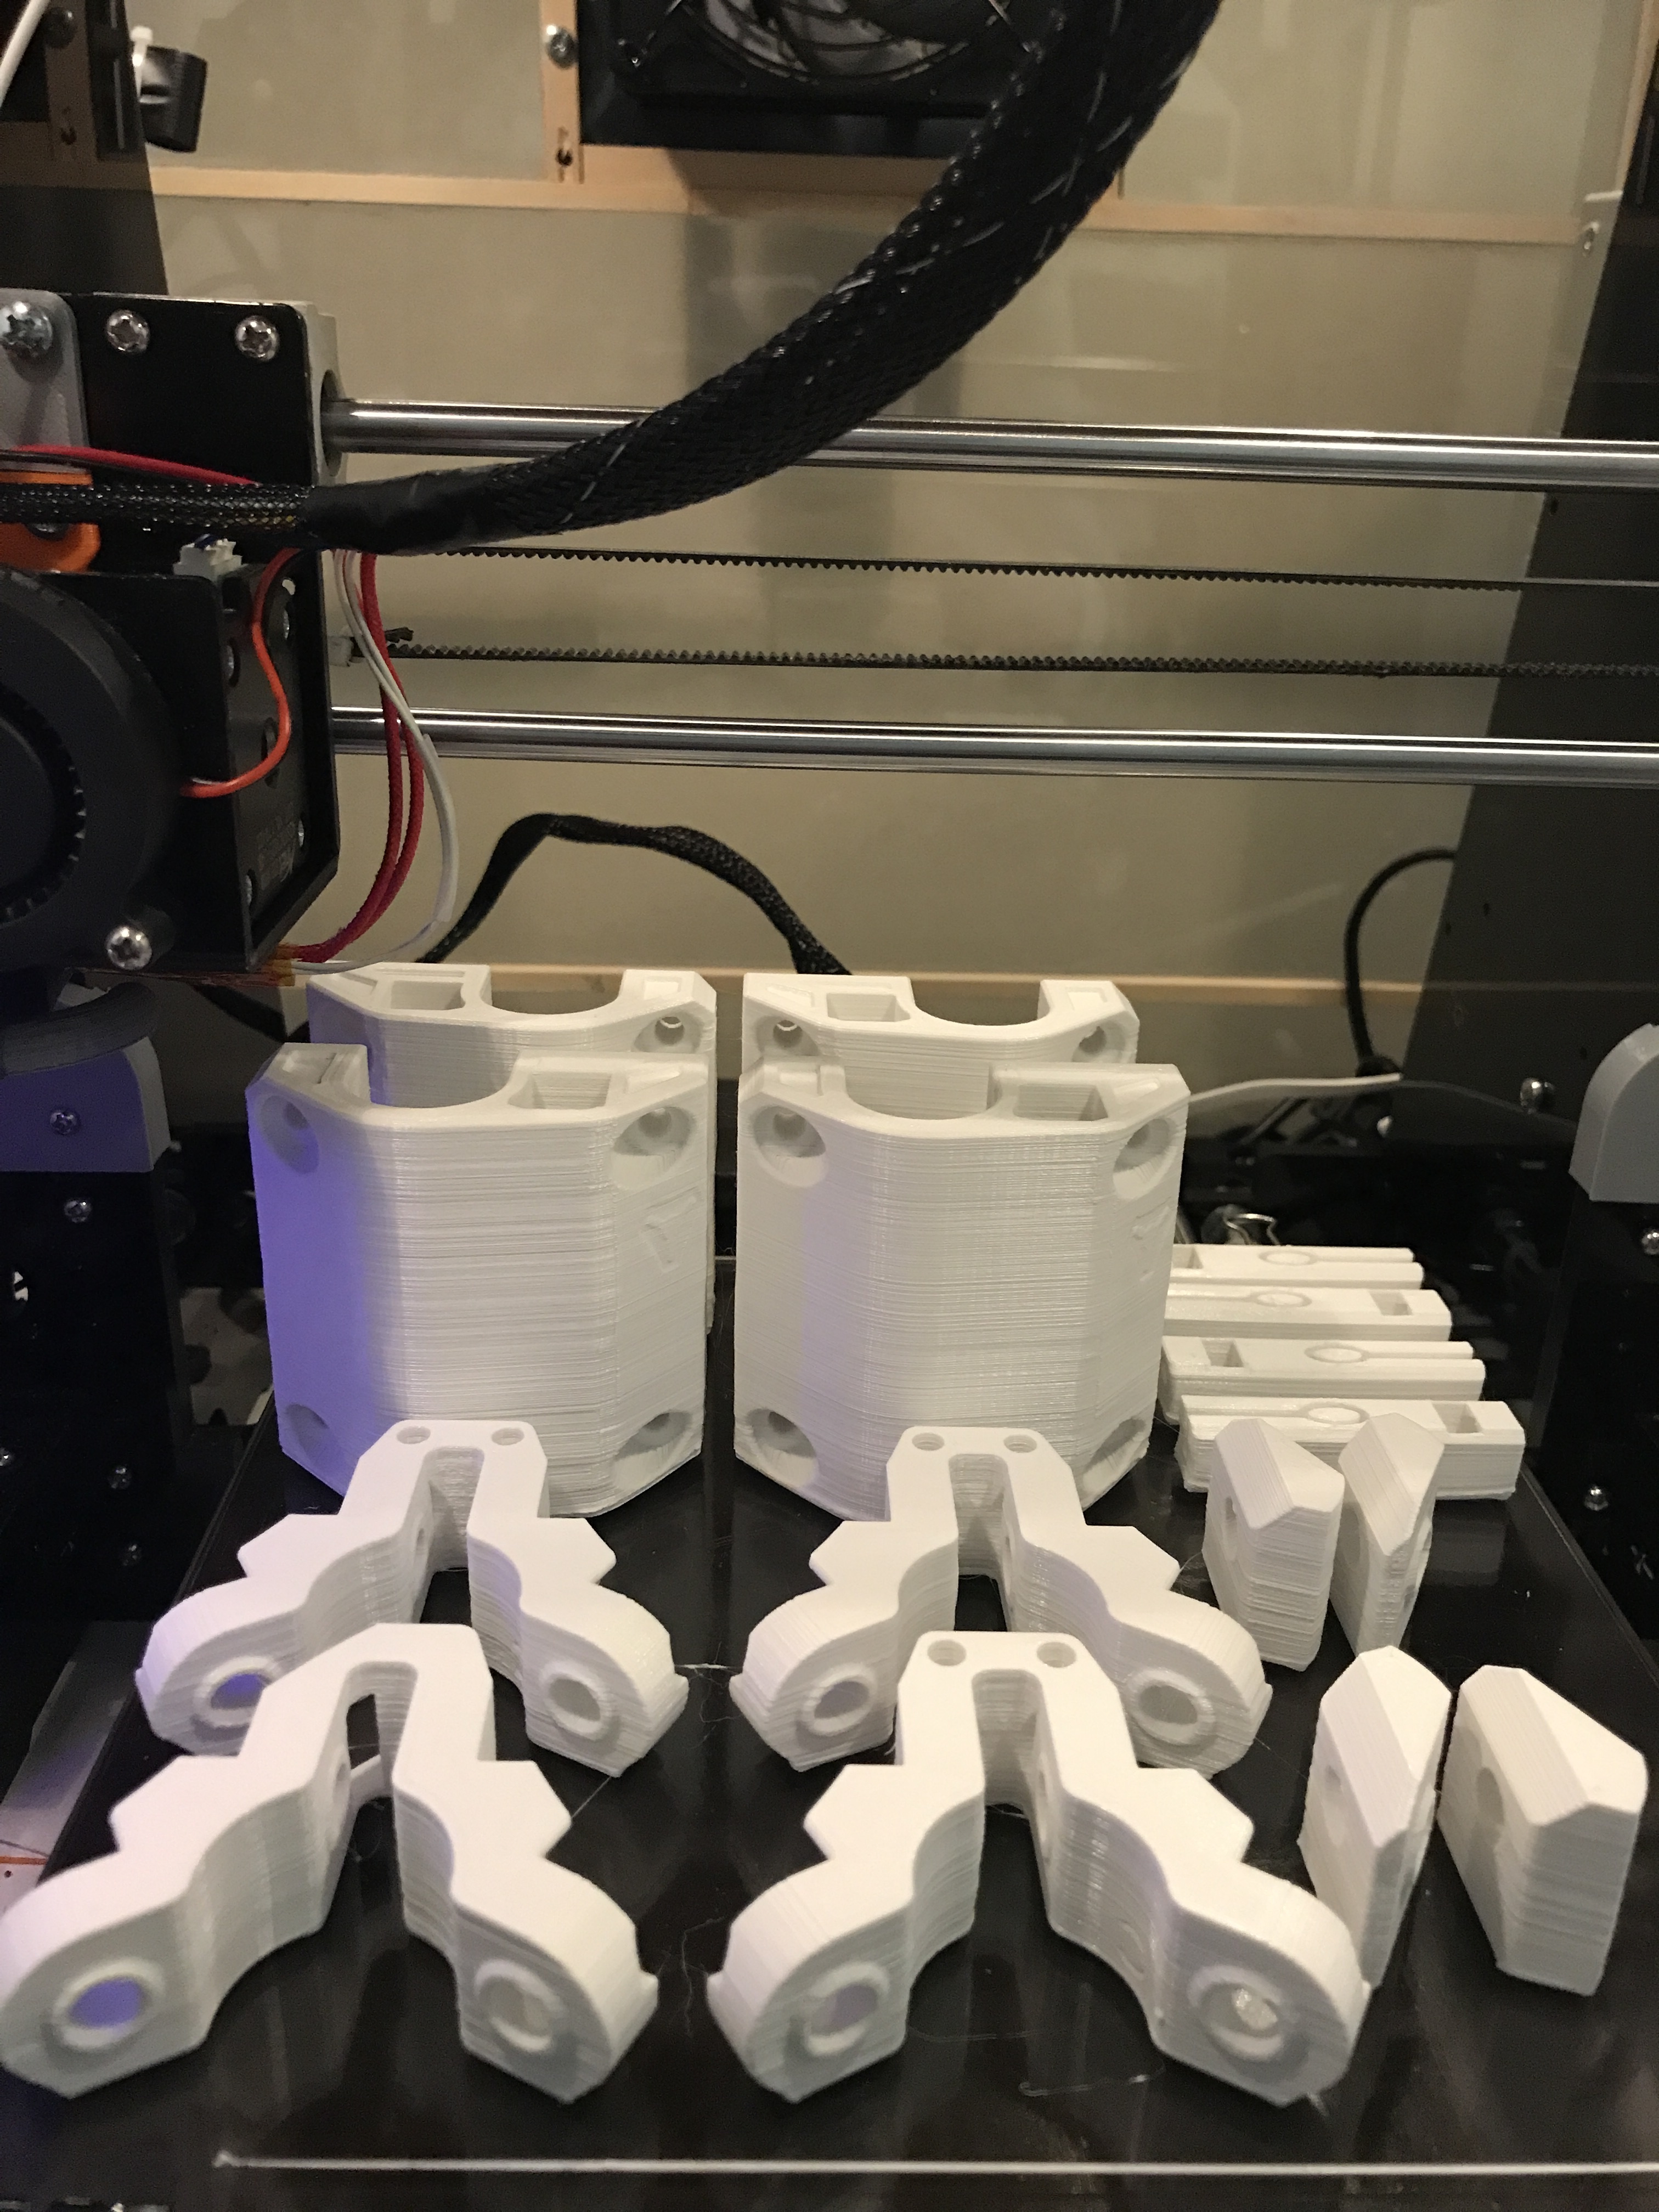

First Batch of prints completed, now on to the second batch. I hope I have enough filament on the roll. It’s going to be close. (fingers crossed)
2 Likes
Losing a hair off the tops of the feet is probably no big deal as long as the nut and bolt still works.
1 Like
The logical side of my brain agrees with you, however the perfectionist in me will forever regret it if I don’t reprint it. (let’s hope the filament gods are shining down on me tonight and grant me an extra few inches of filament.)
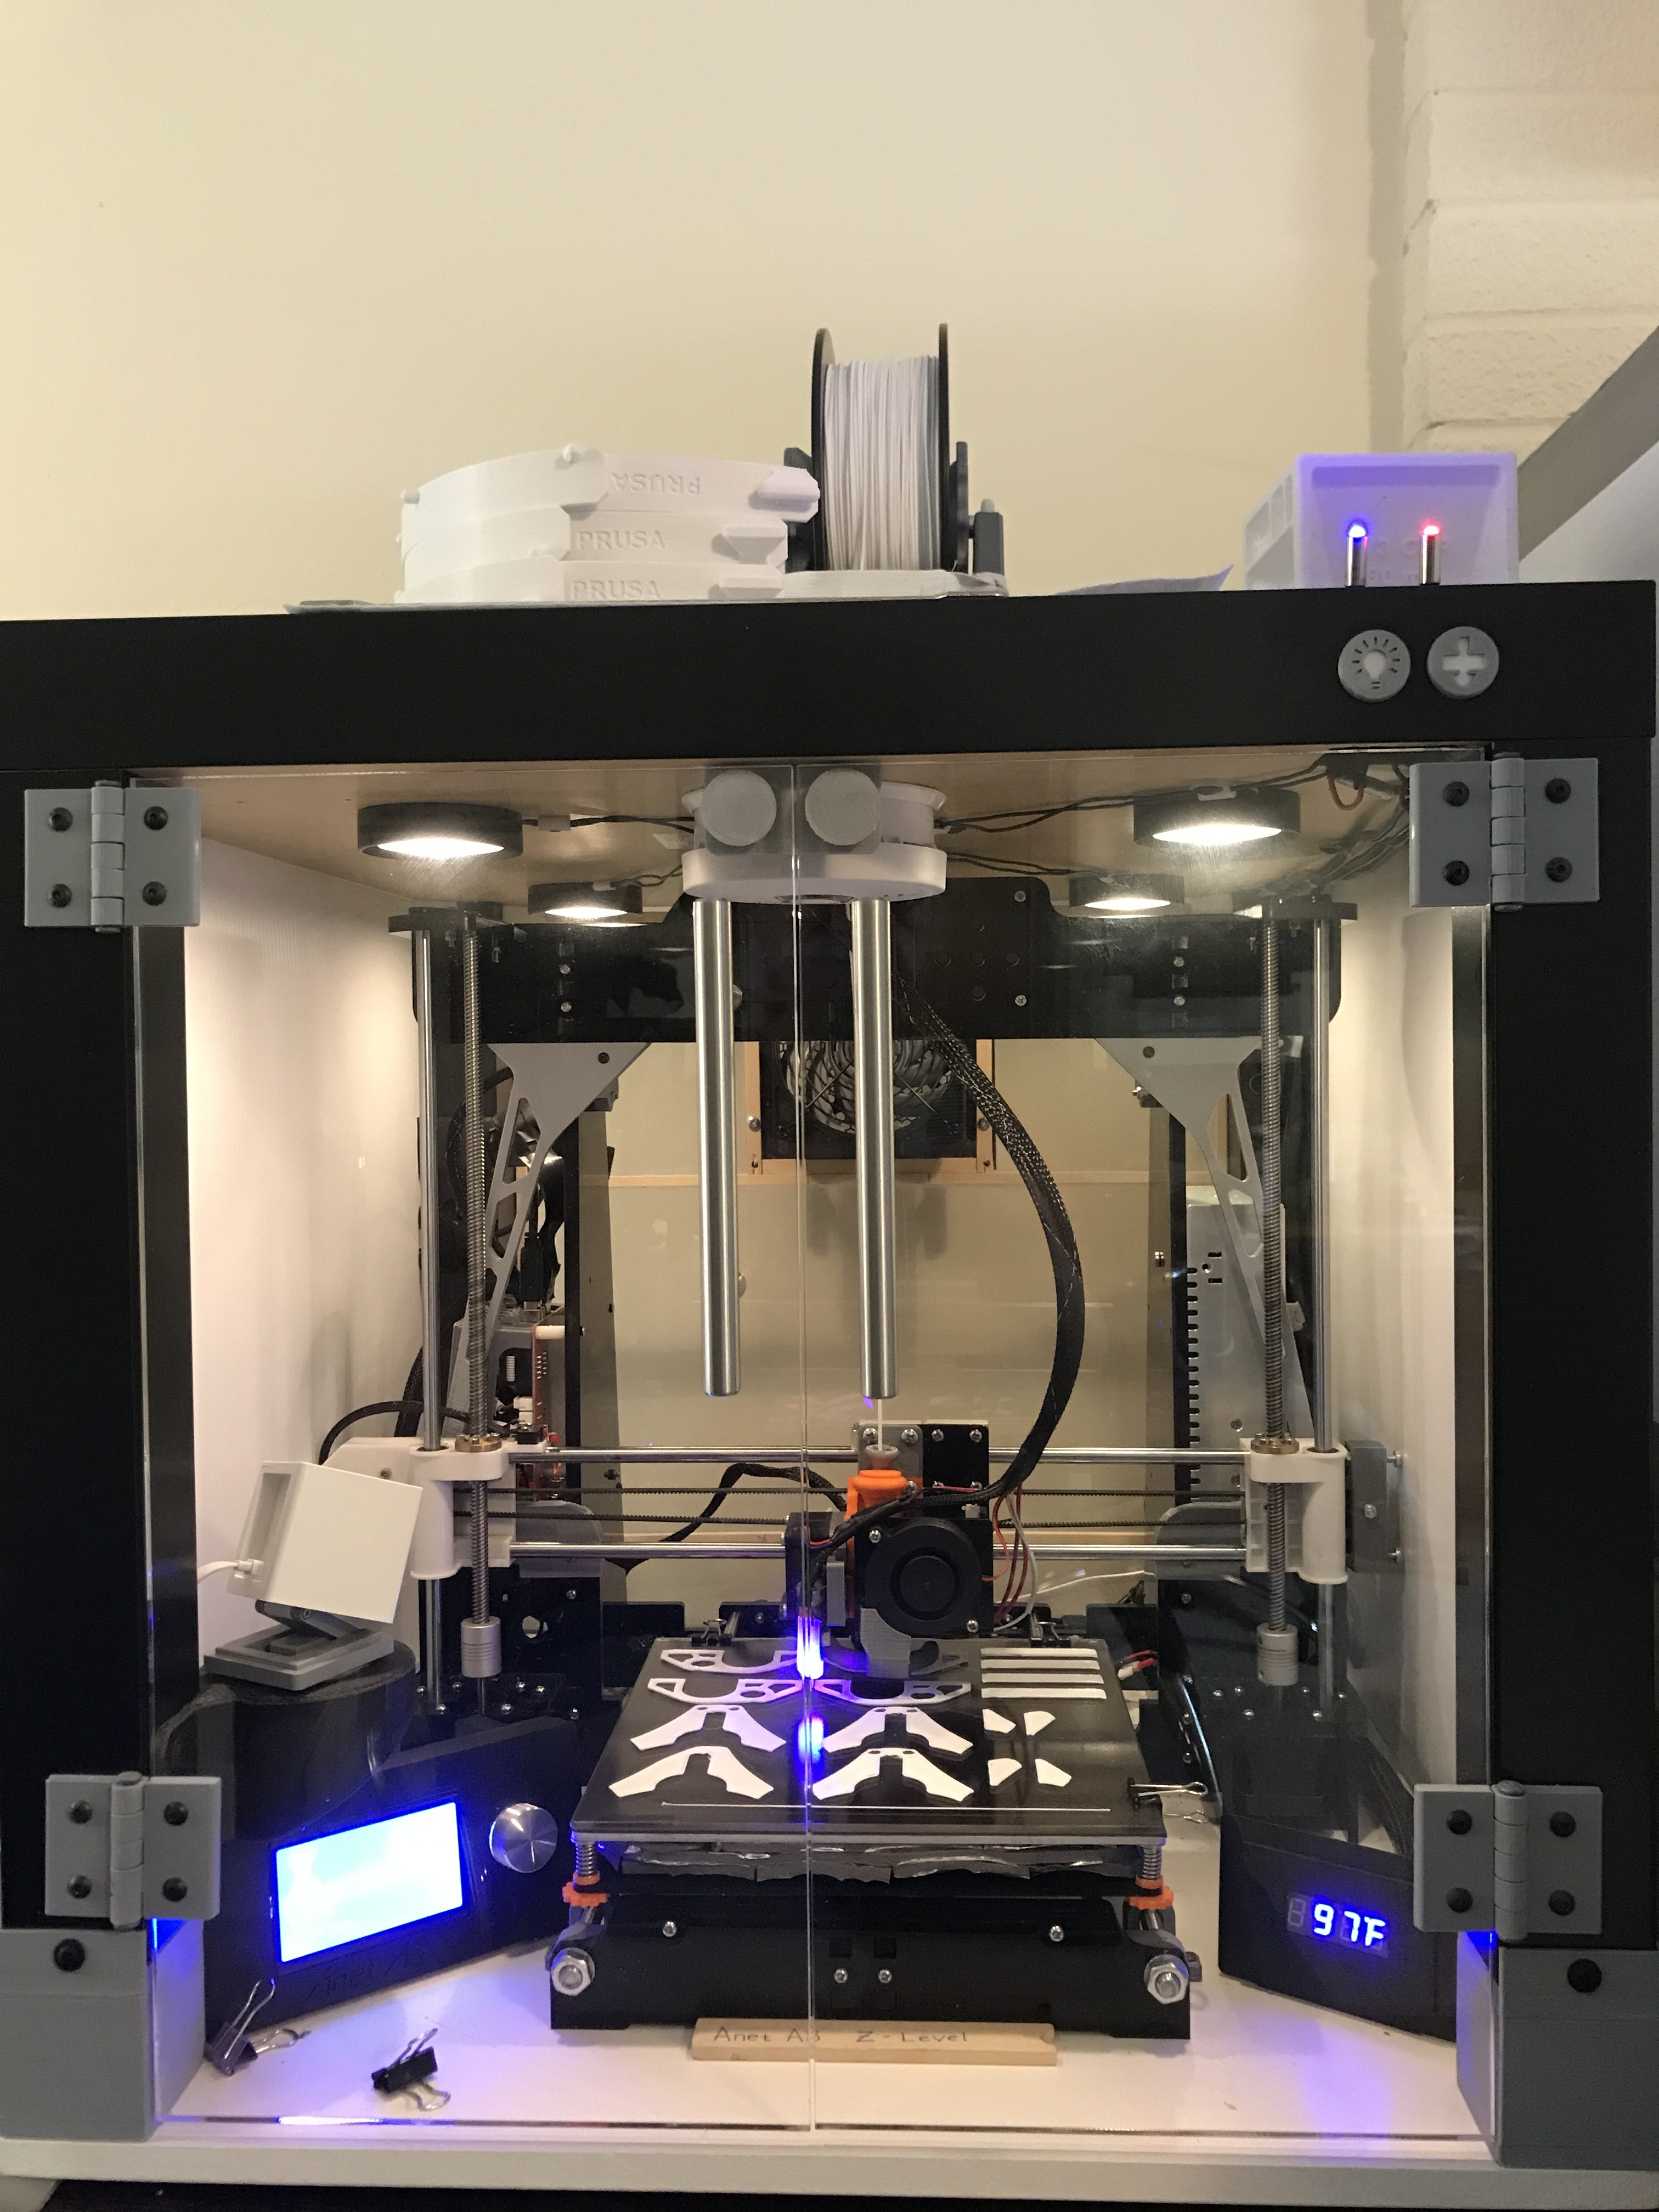
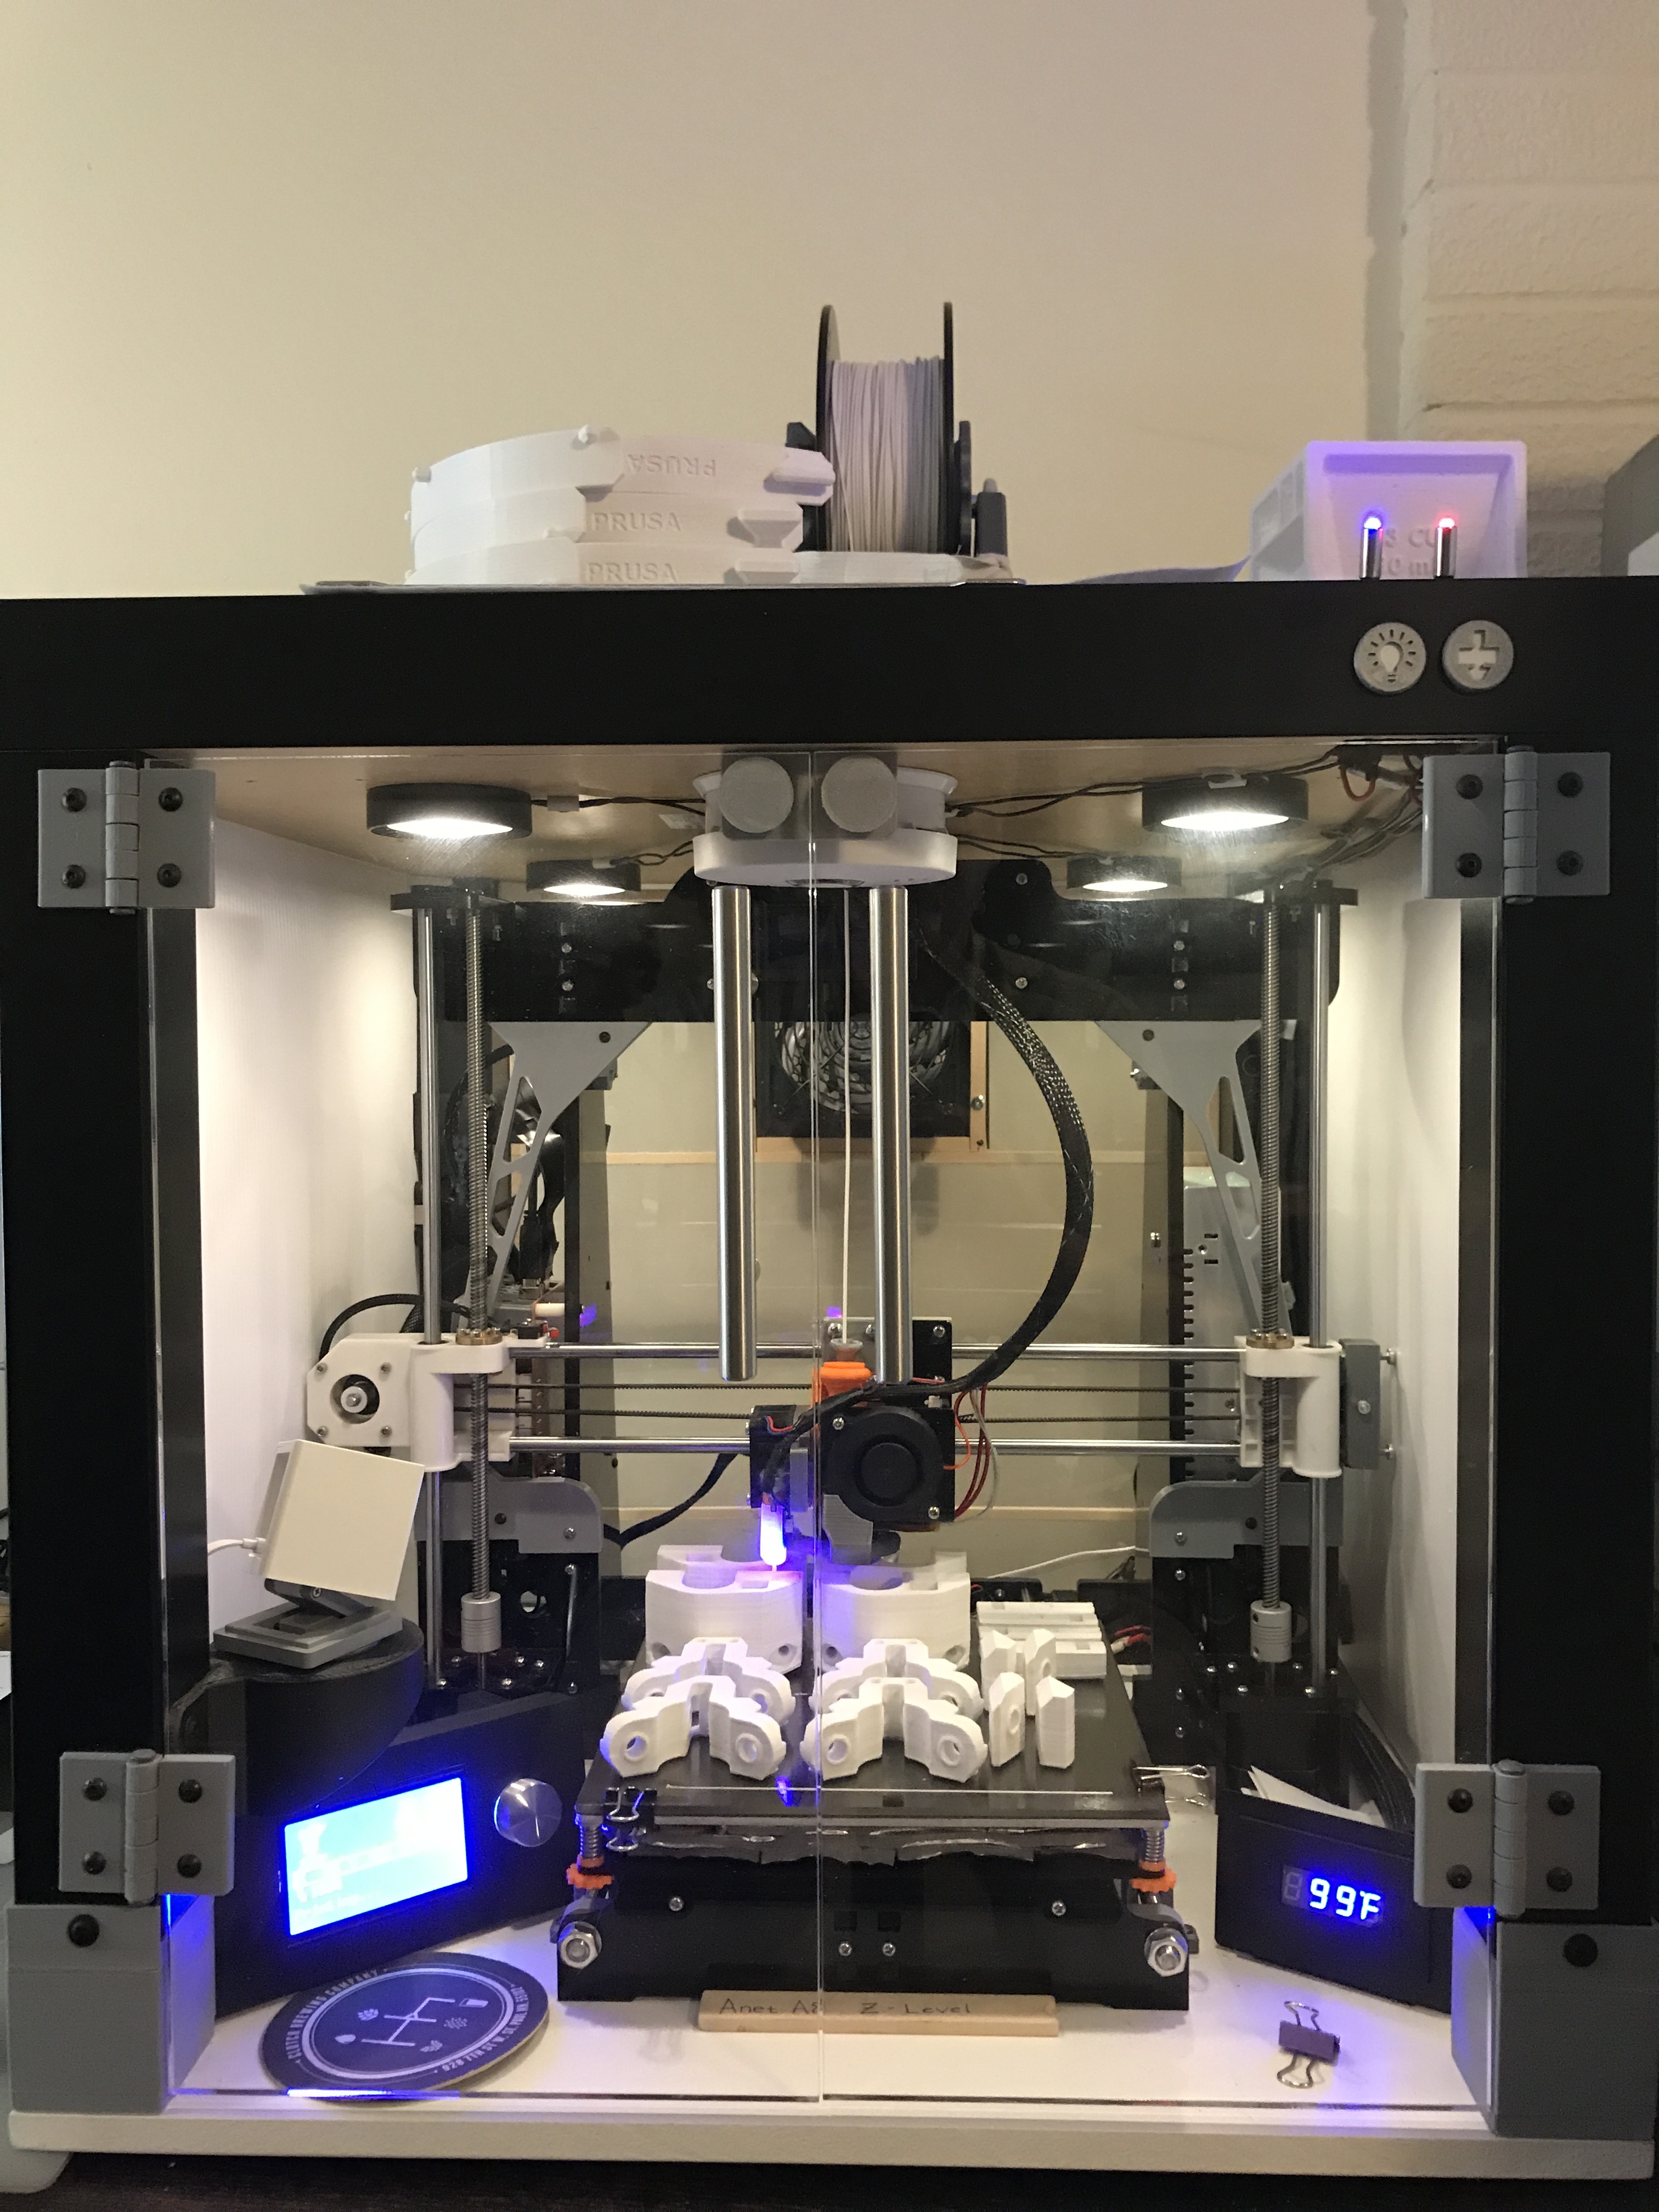
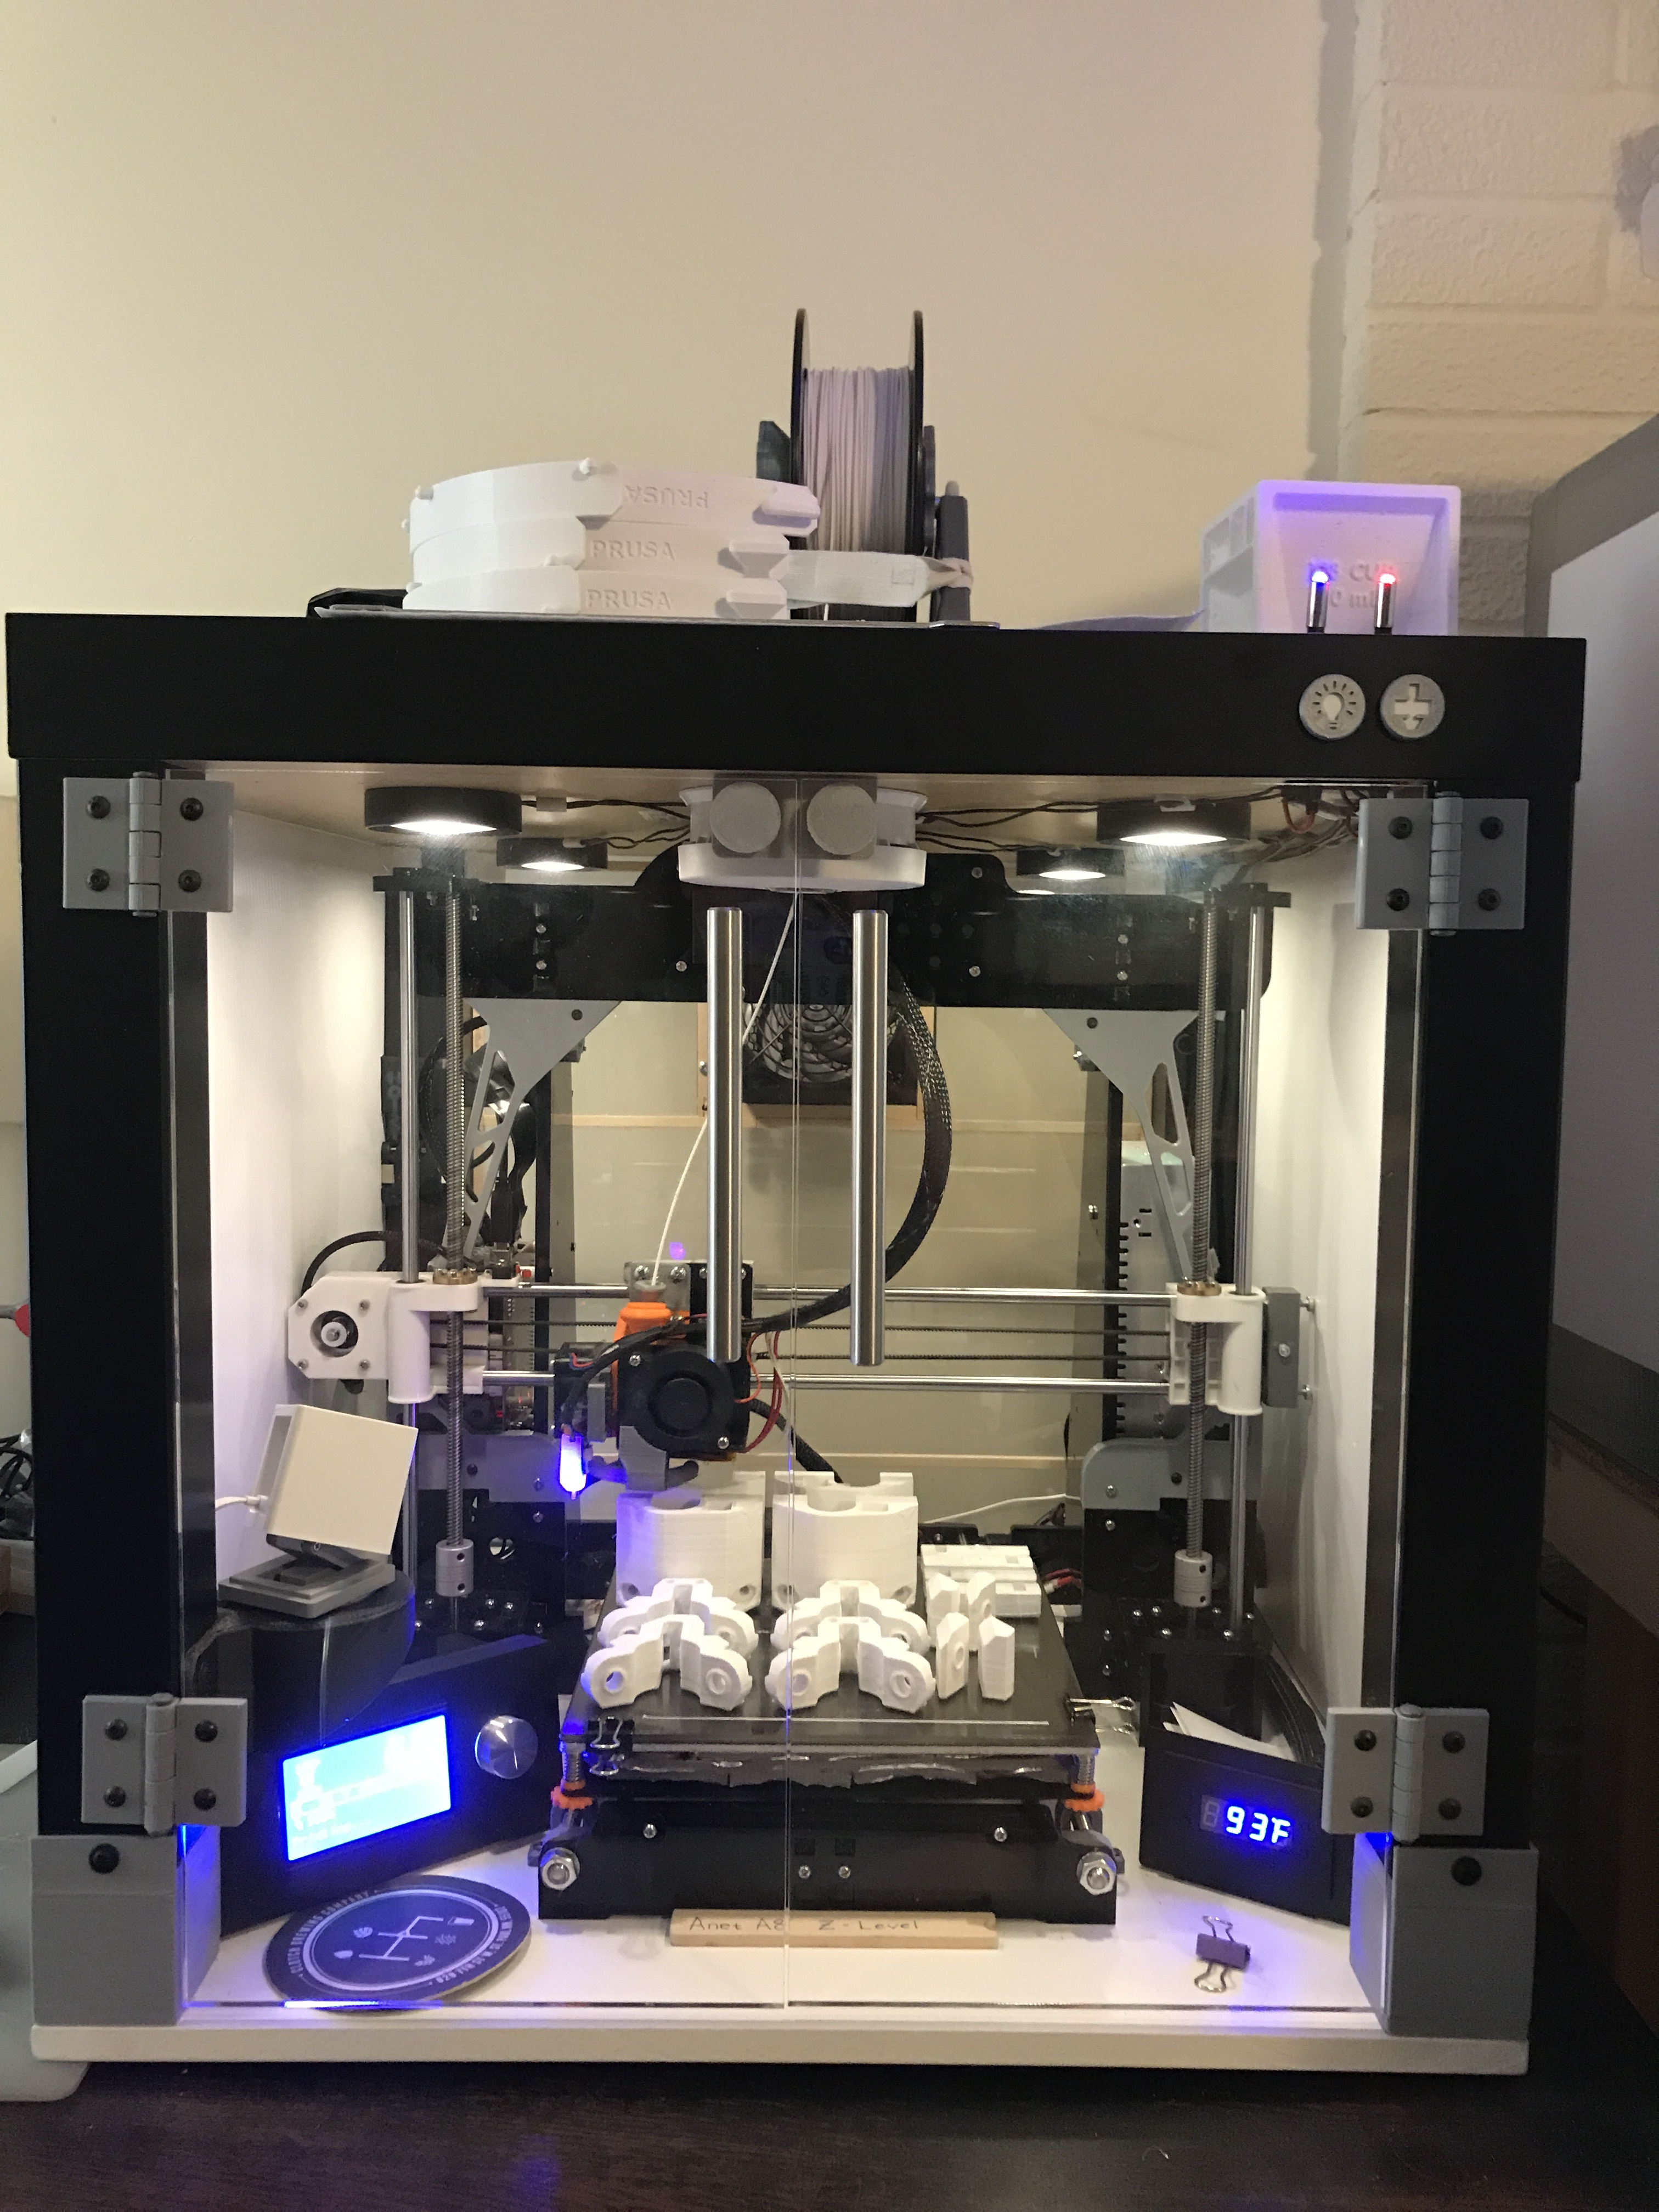
You have any build info on your printer? That’s a beauty
It’s a heavily modified Anet A8.
I’ve added a lot of stabilization components (everything inside that is silver) I’ve replaced the Y-Carriage with a milled aluminum one: https://www.amazon.com/gp/product/B07R295GRY/ref=ppx_yo_dt_b_asin_title_o00_s03?ie=UTF8&psc=1
I built the enclosure using an IKEA Lack table and printed leg supports. I printed the door hinges and had 1/4" plexiglass doors cutout to size. I wired up the (4) LED puck lights and the two on/off toggle switches on top one that is blue to turn the lights on/off and one that is Red to turn on the printer. I added a temperature controlled 120mm fan from Cooler Guys: https://www.coolerguys.com/collections/standard-temperature-controlled/products/coolerguys-single-120mm-fan-cooling-kit-with-thermal-controller-gt-series
All of this was in an effort to be able to print ABS in a temperature-controlled enclosure. It also cuts down on the noise.
The enclosure is removable to access the printer for repairs etc. I also added a MOSFET to wiring for the heat bed to prevent overheating and fire. I designed all the components to attach the 3D-Touch sensor and switched to the Anet A-6 LCD controller.
Thanks for noticing, It was a lot of work but anything worth doing is worth doing right.
1 Like
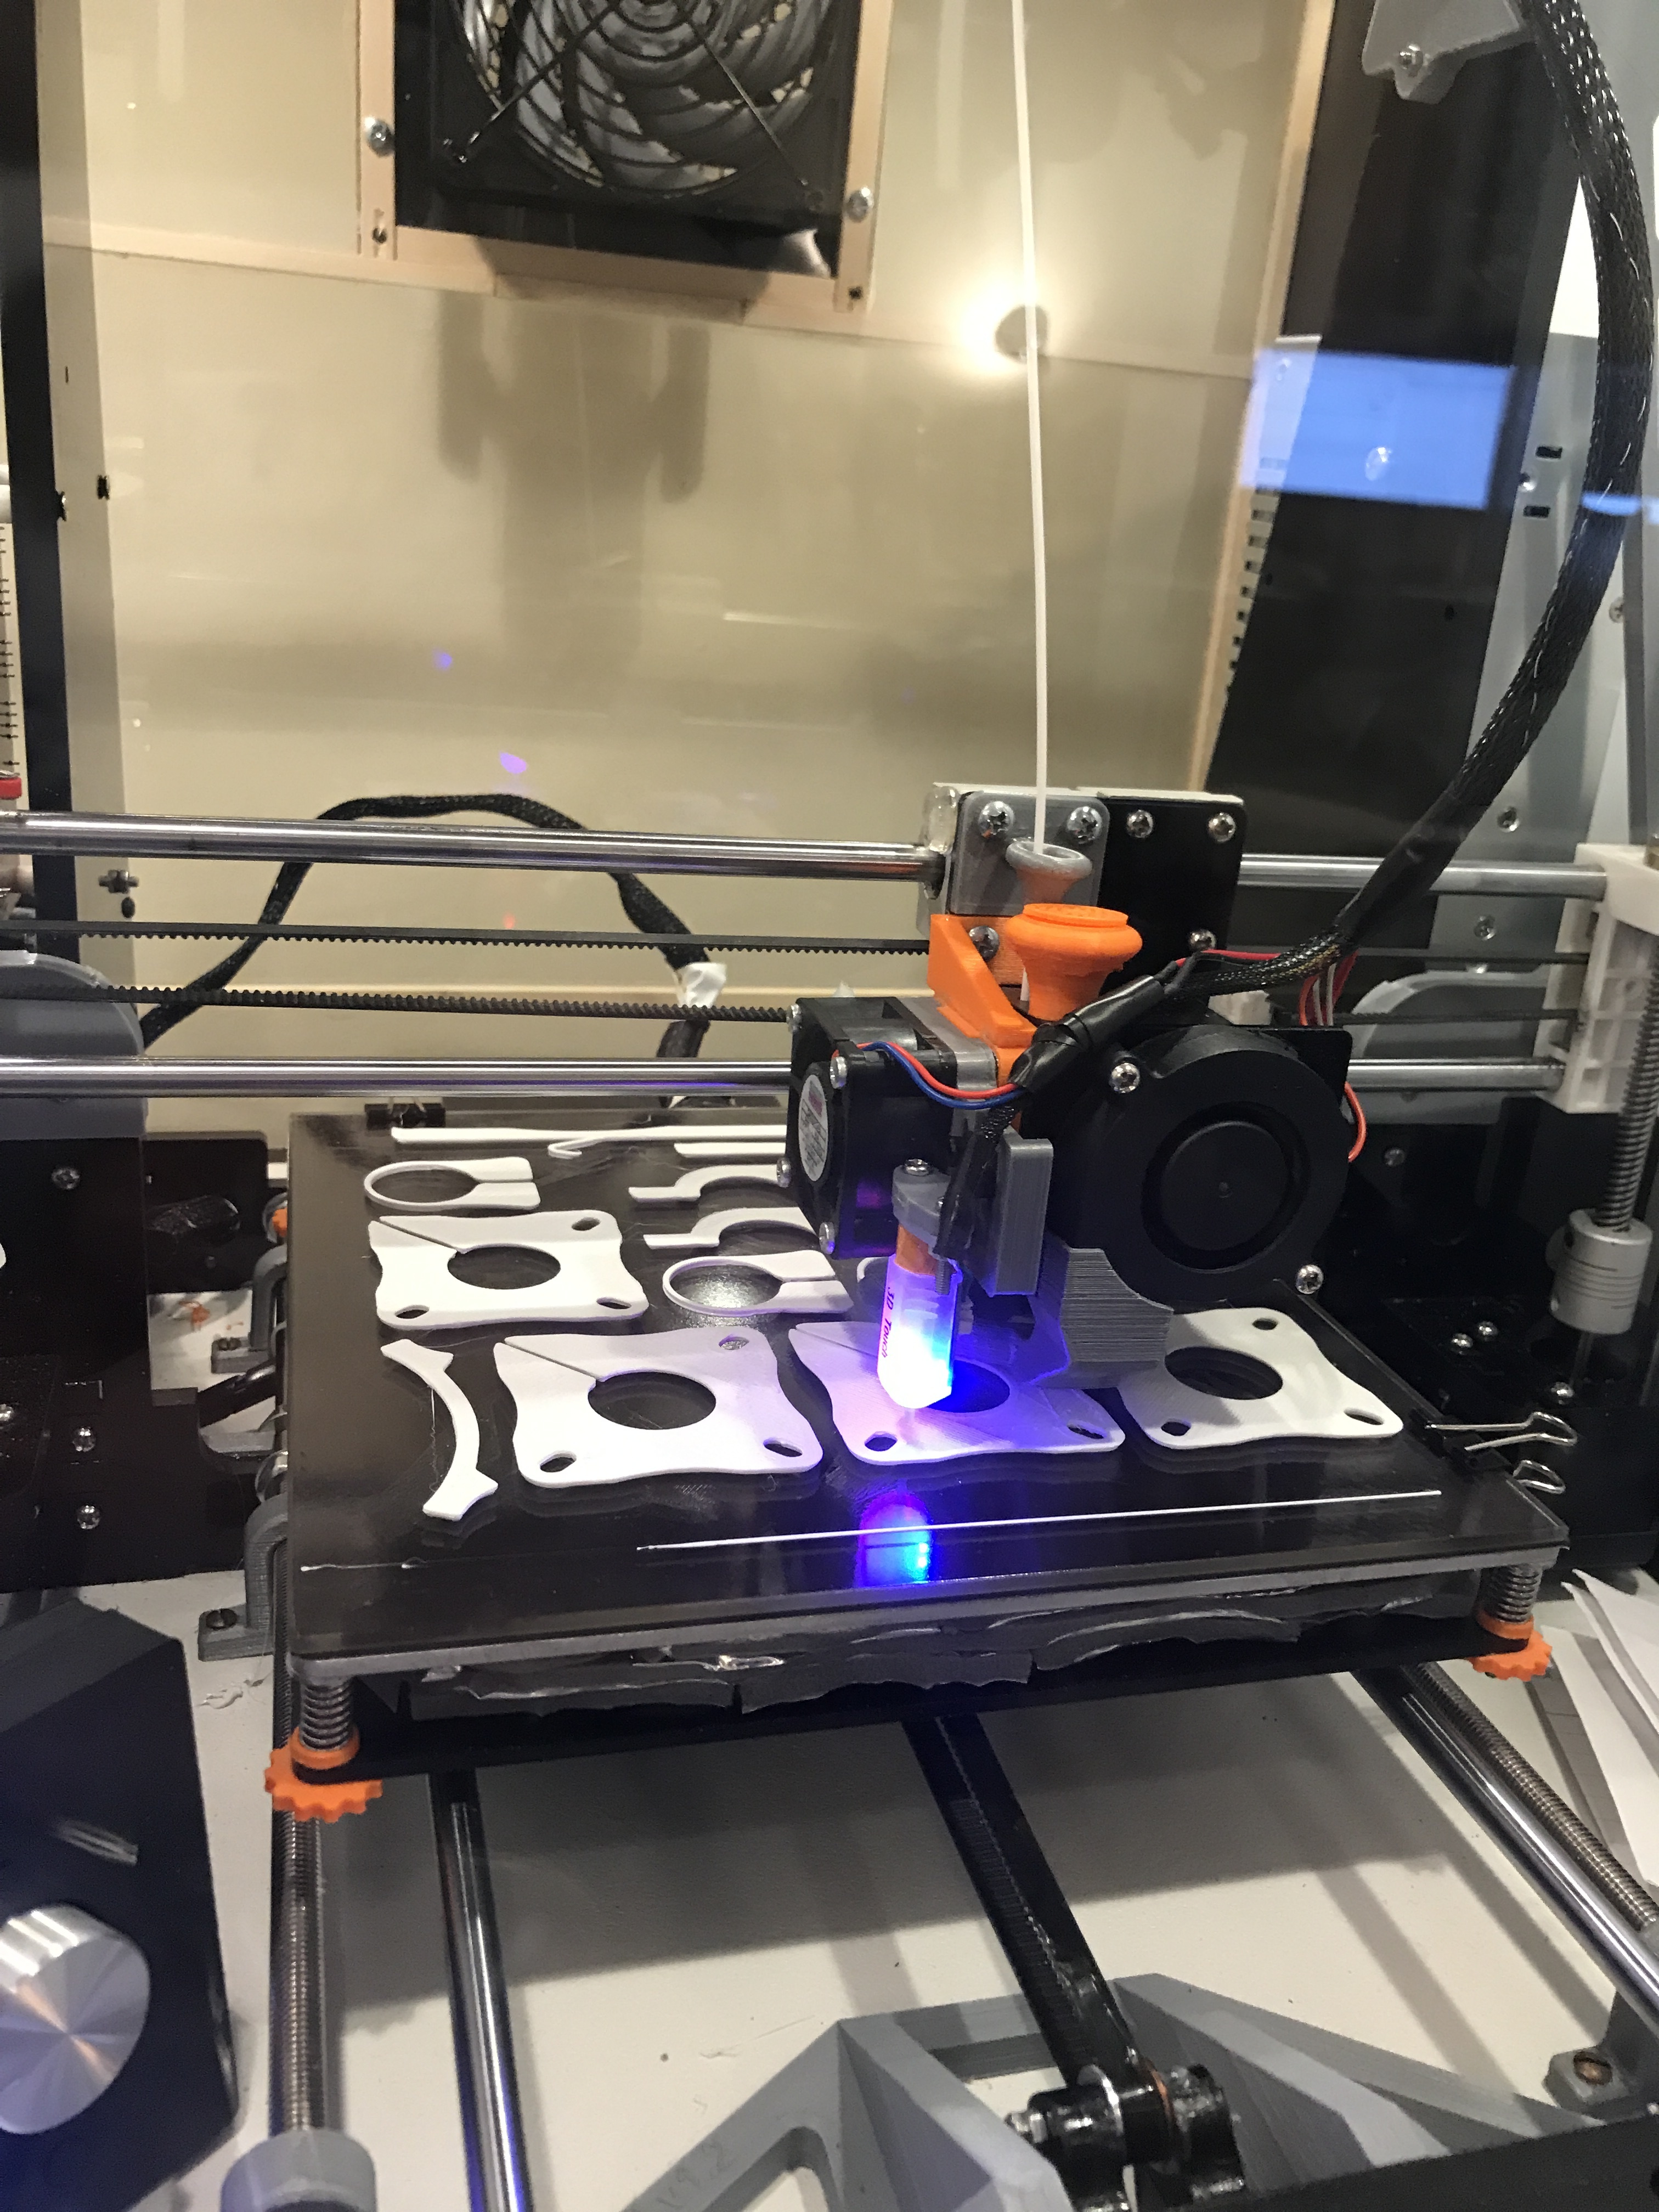
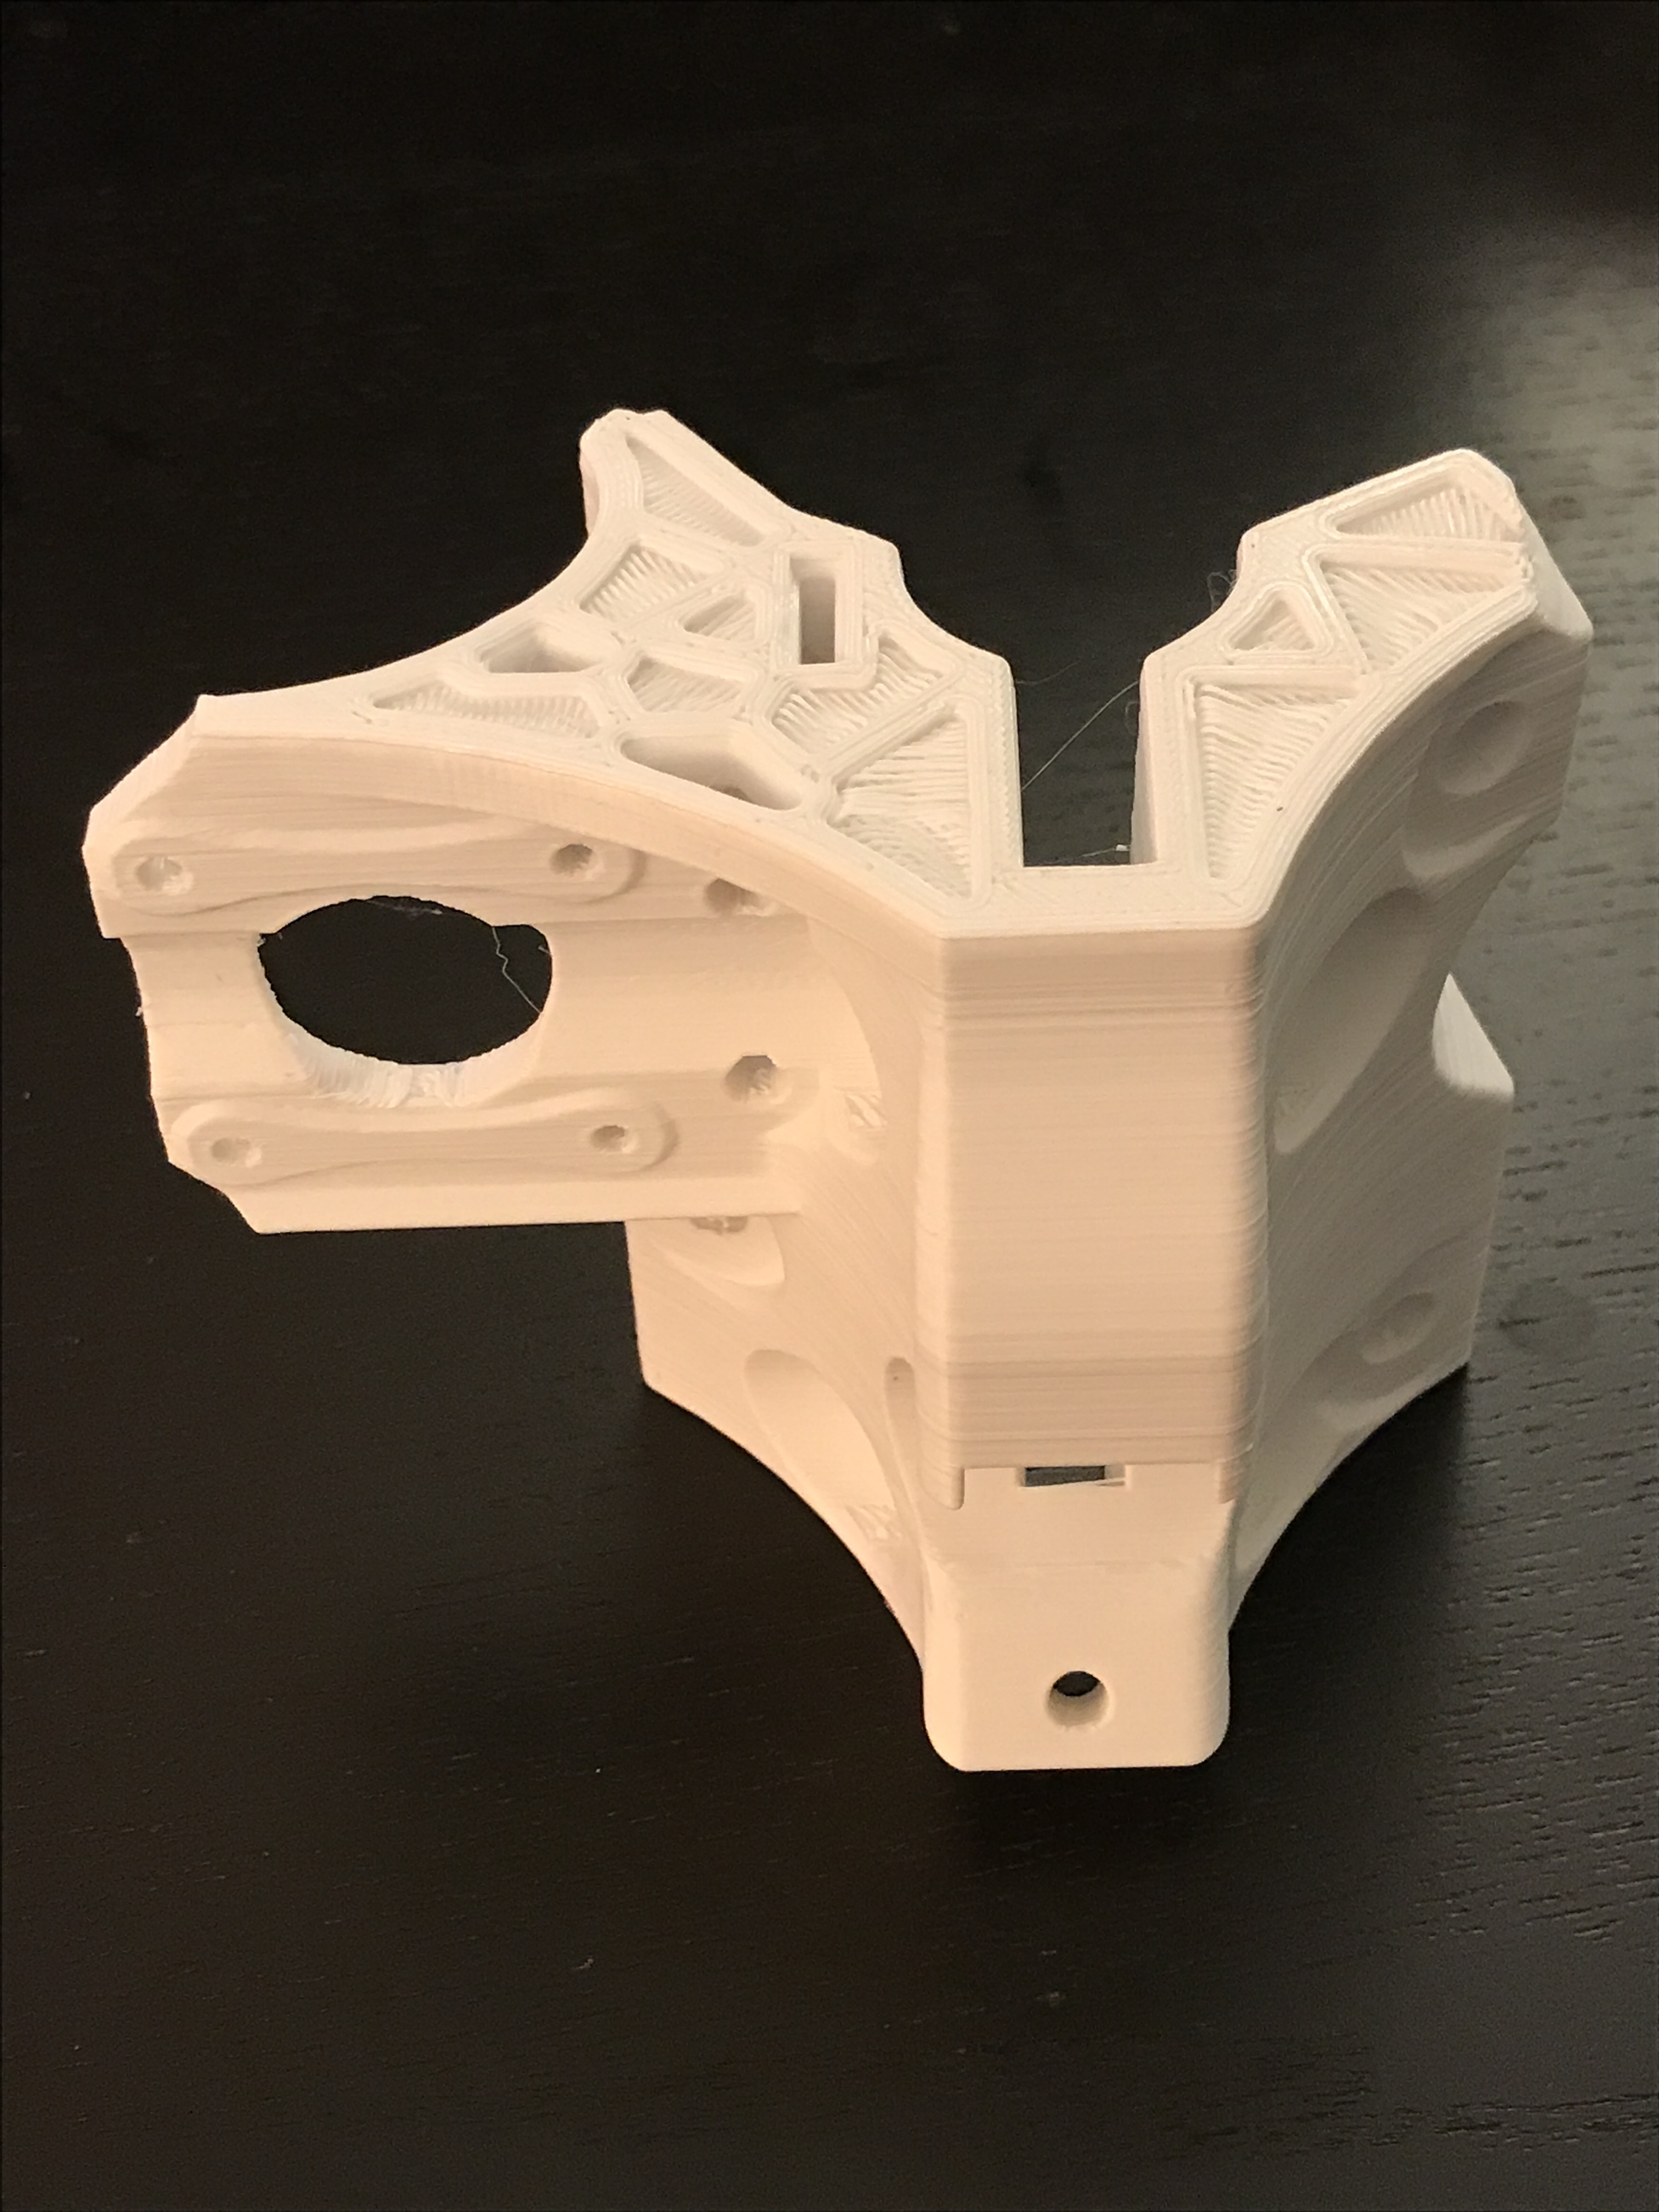
23.5 “C” version of the MPCNC parts Anet a8 printer with .4mm nozzle, .3mm layer height, Matter Hacker white PLA 200 degree hot end, 70-degree heat bead, 3600 mm/min print speed, 75% part cooling fan speed
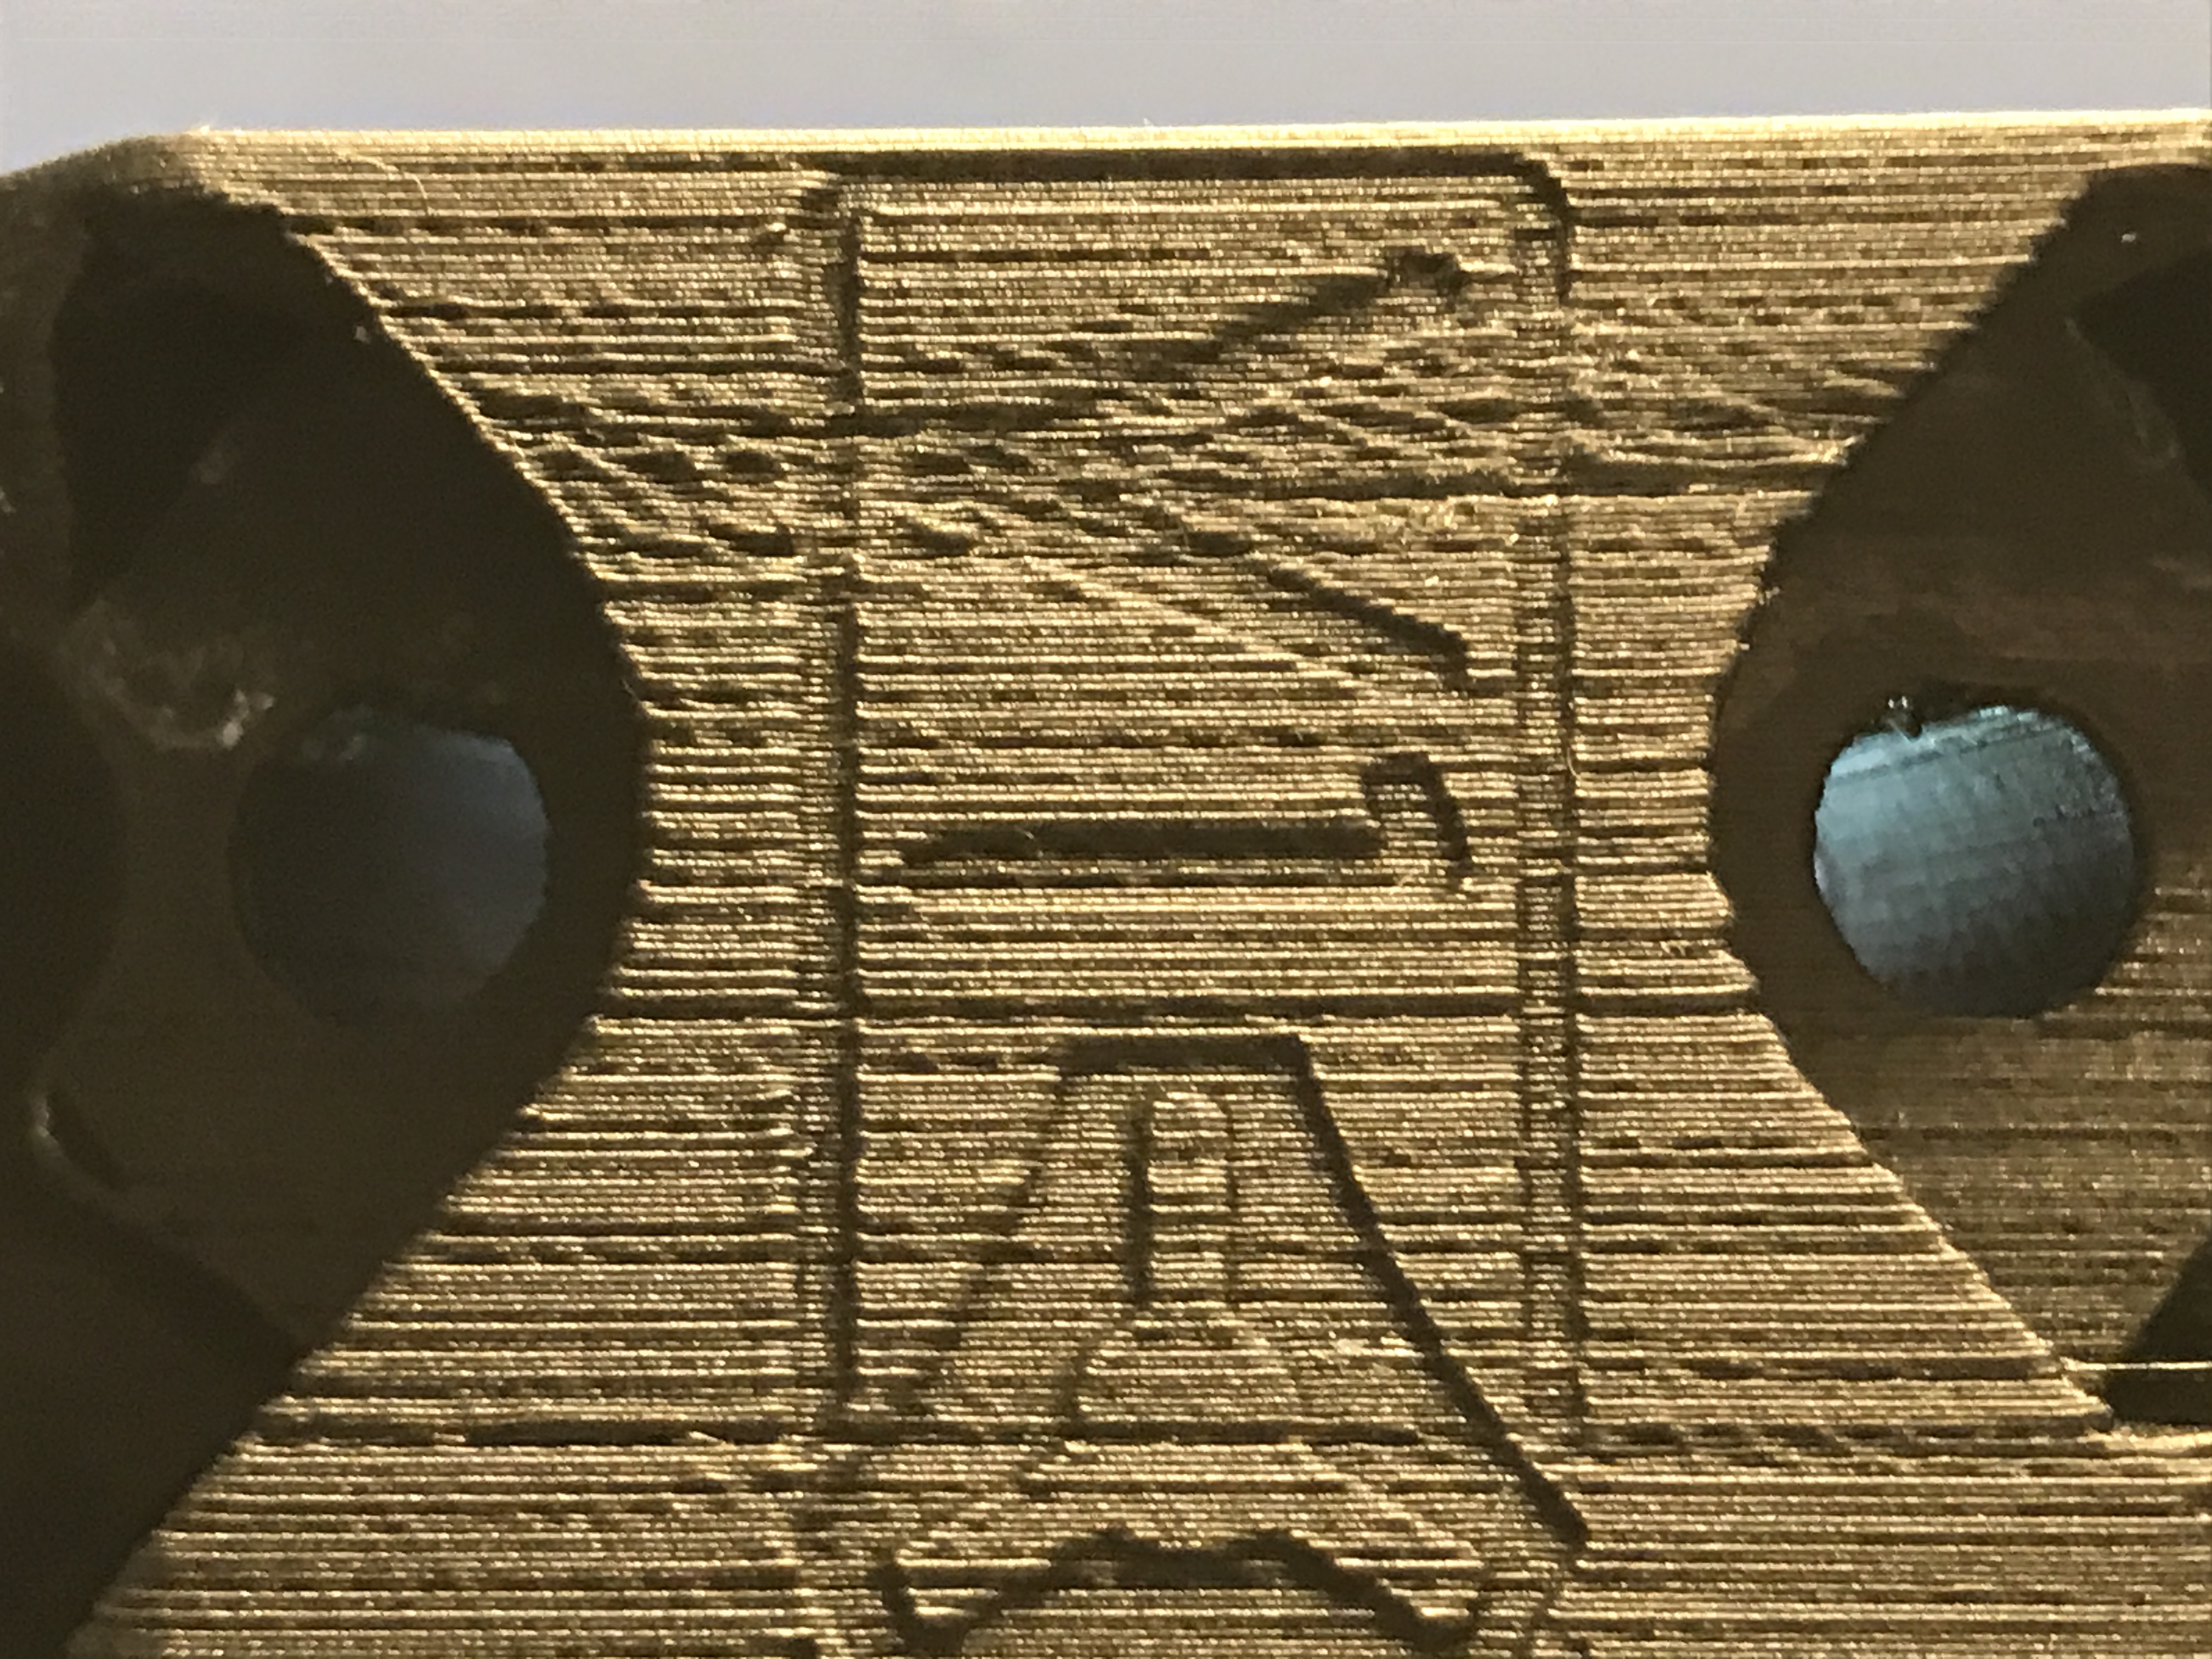
First 3d Print Failure on the Truck!
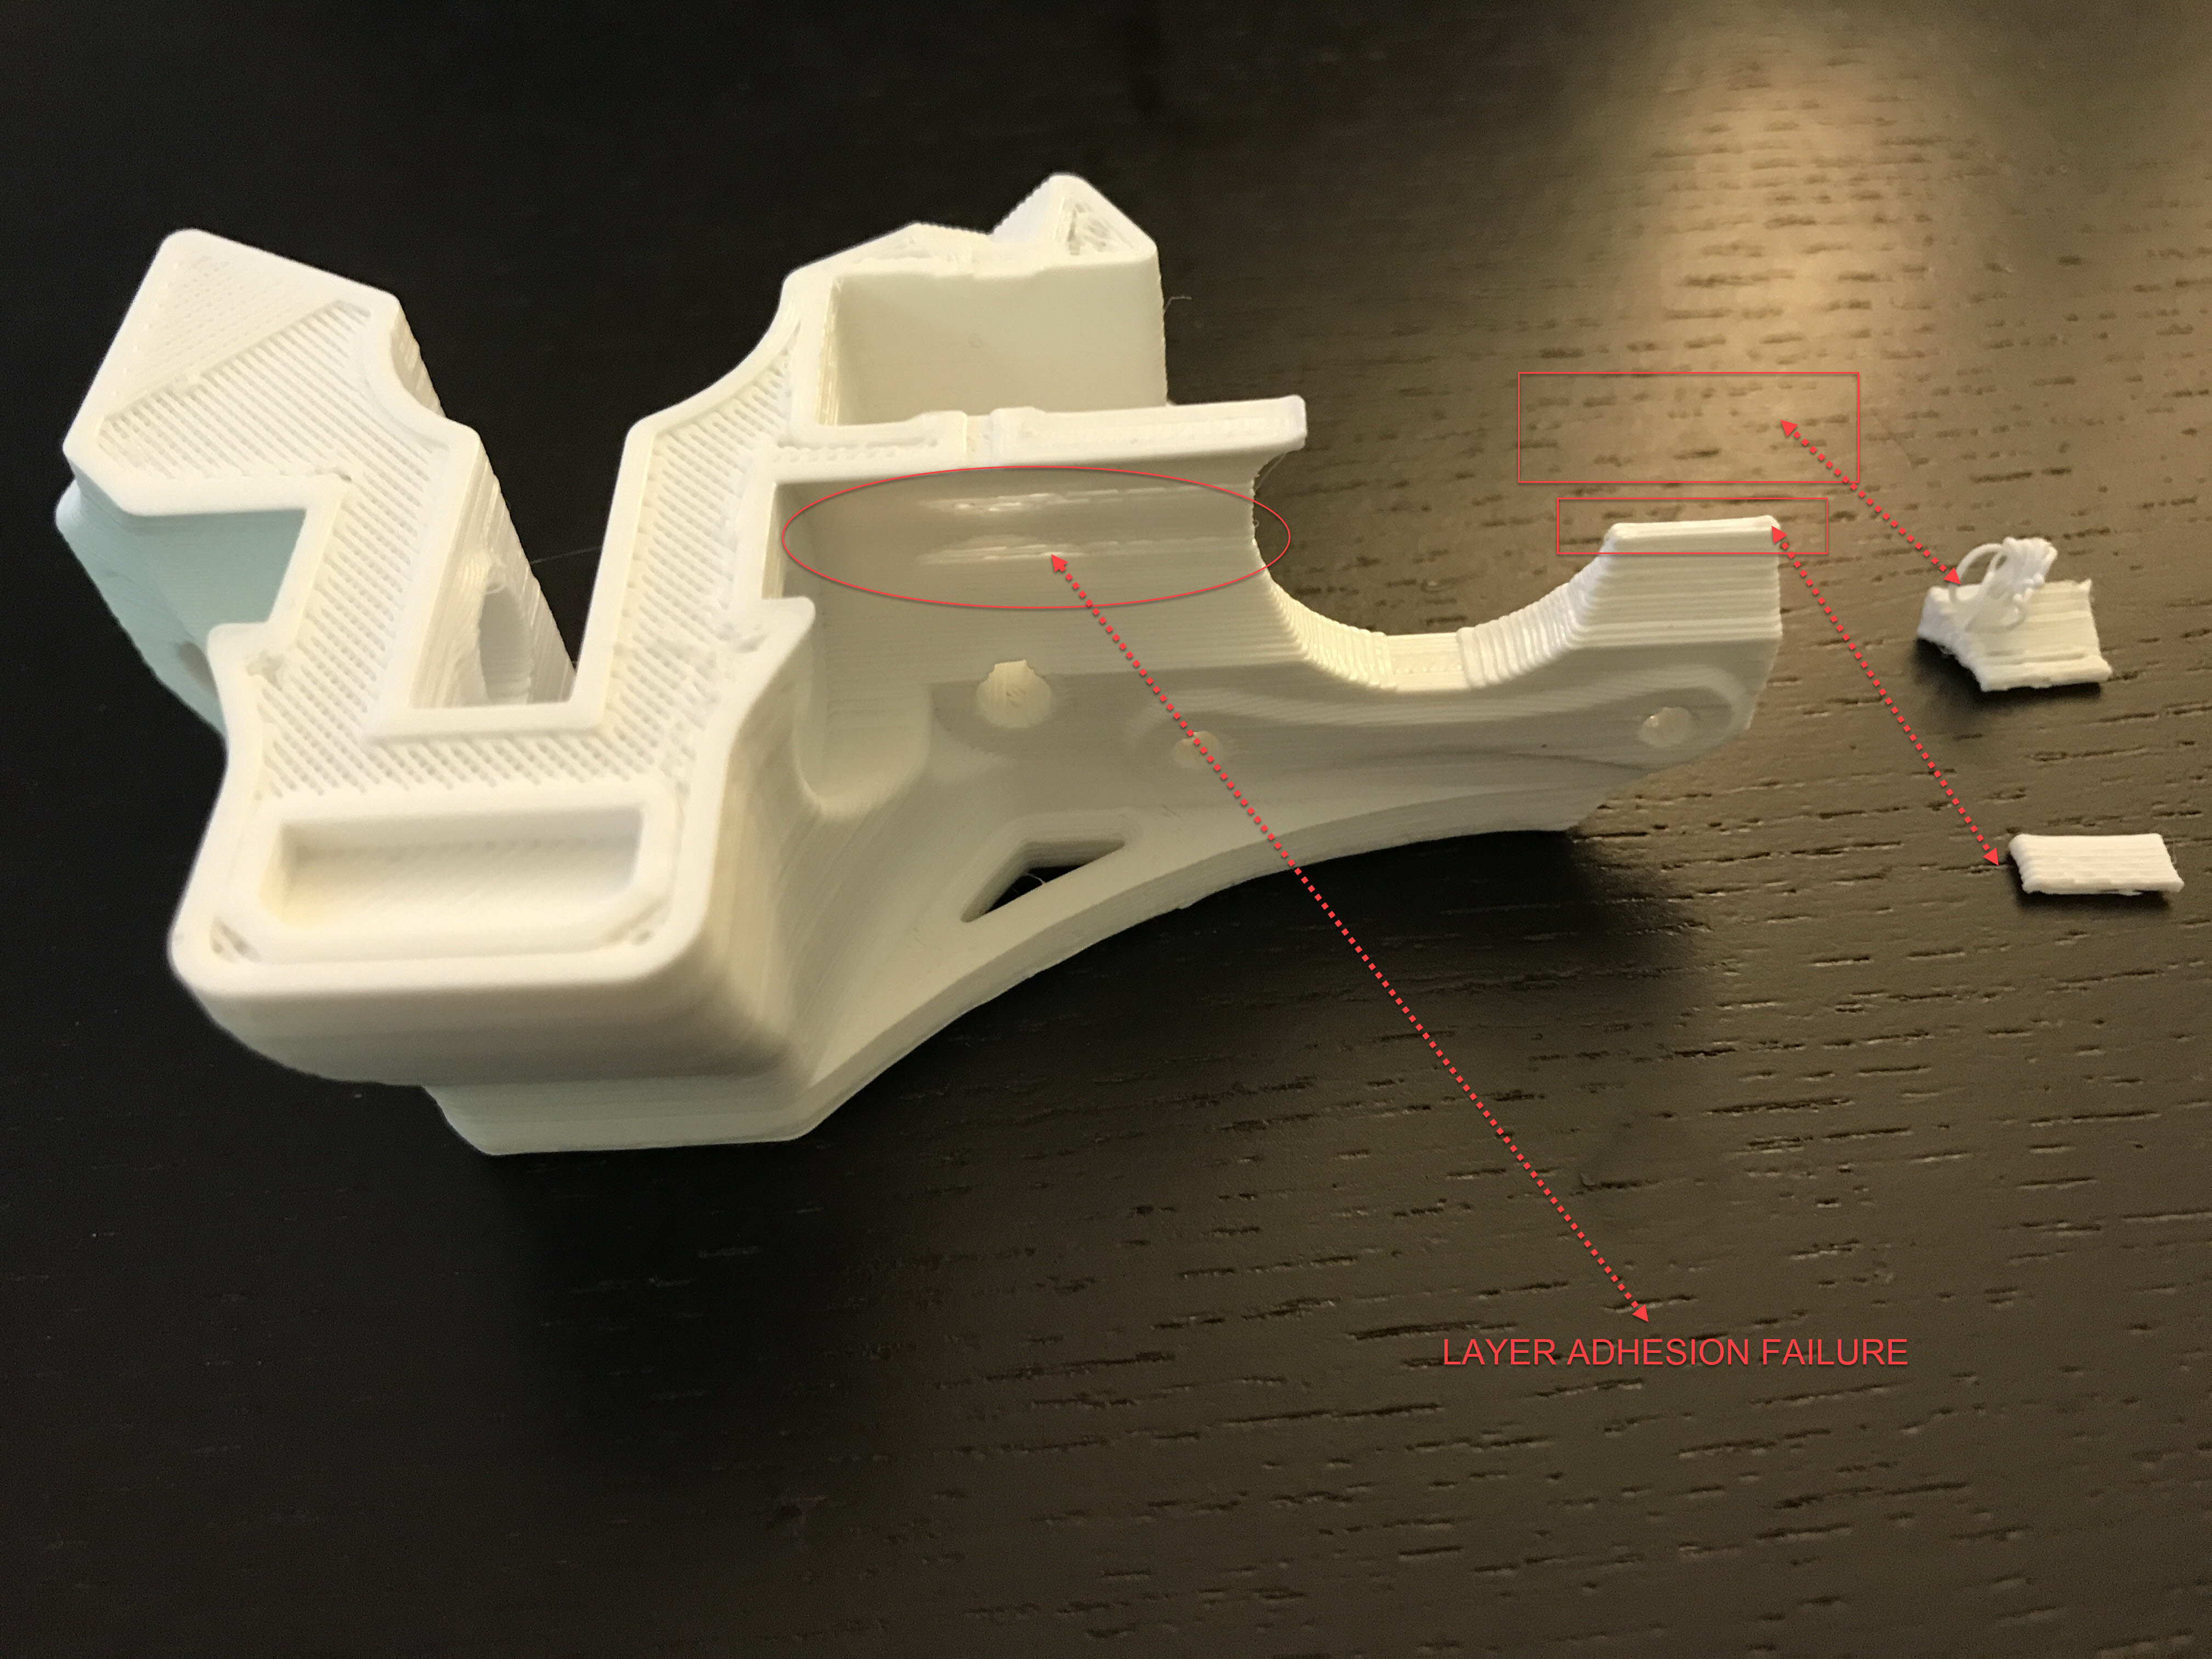
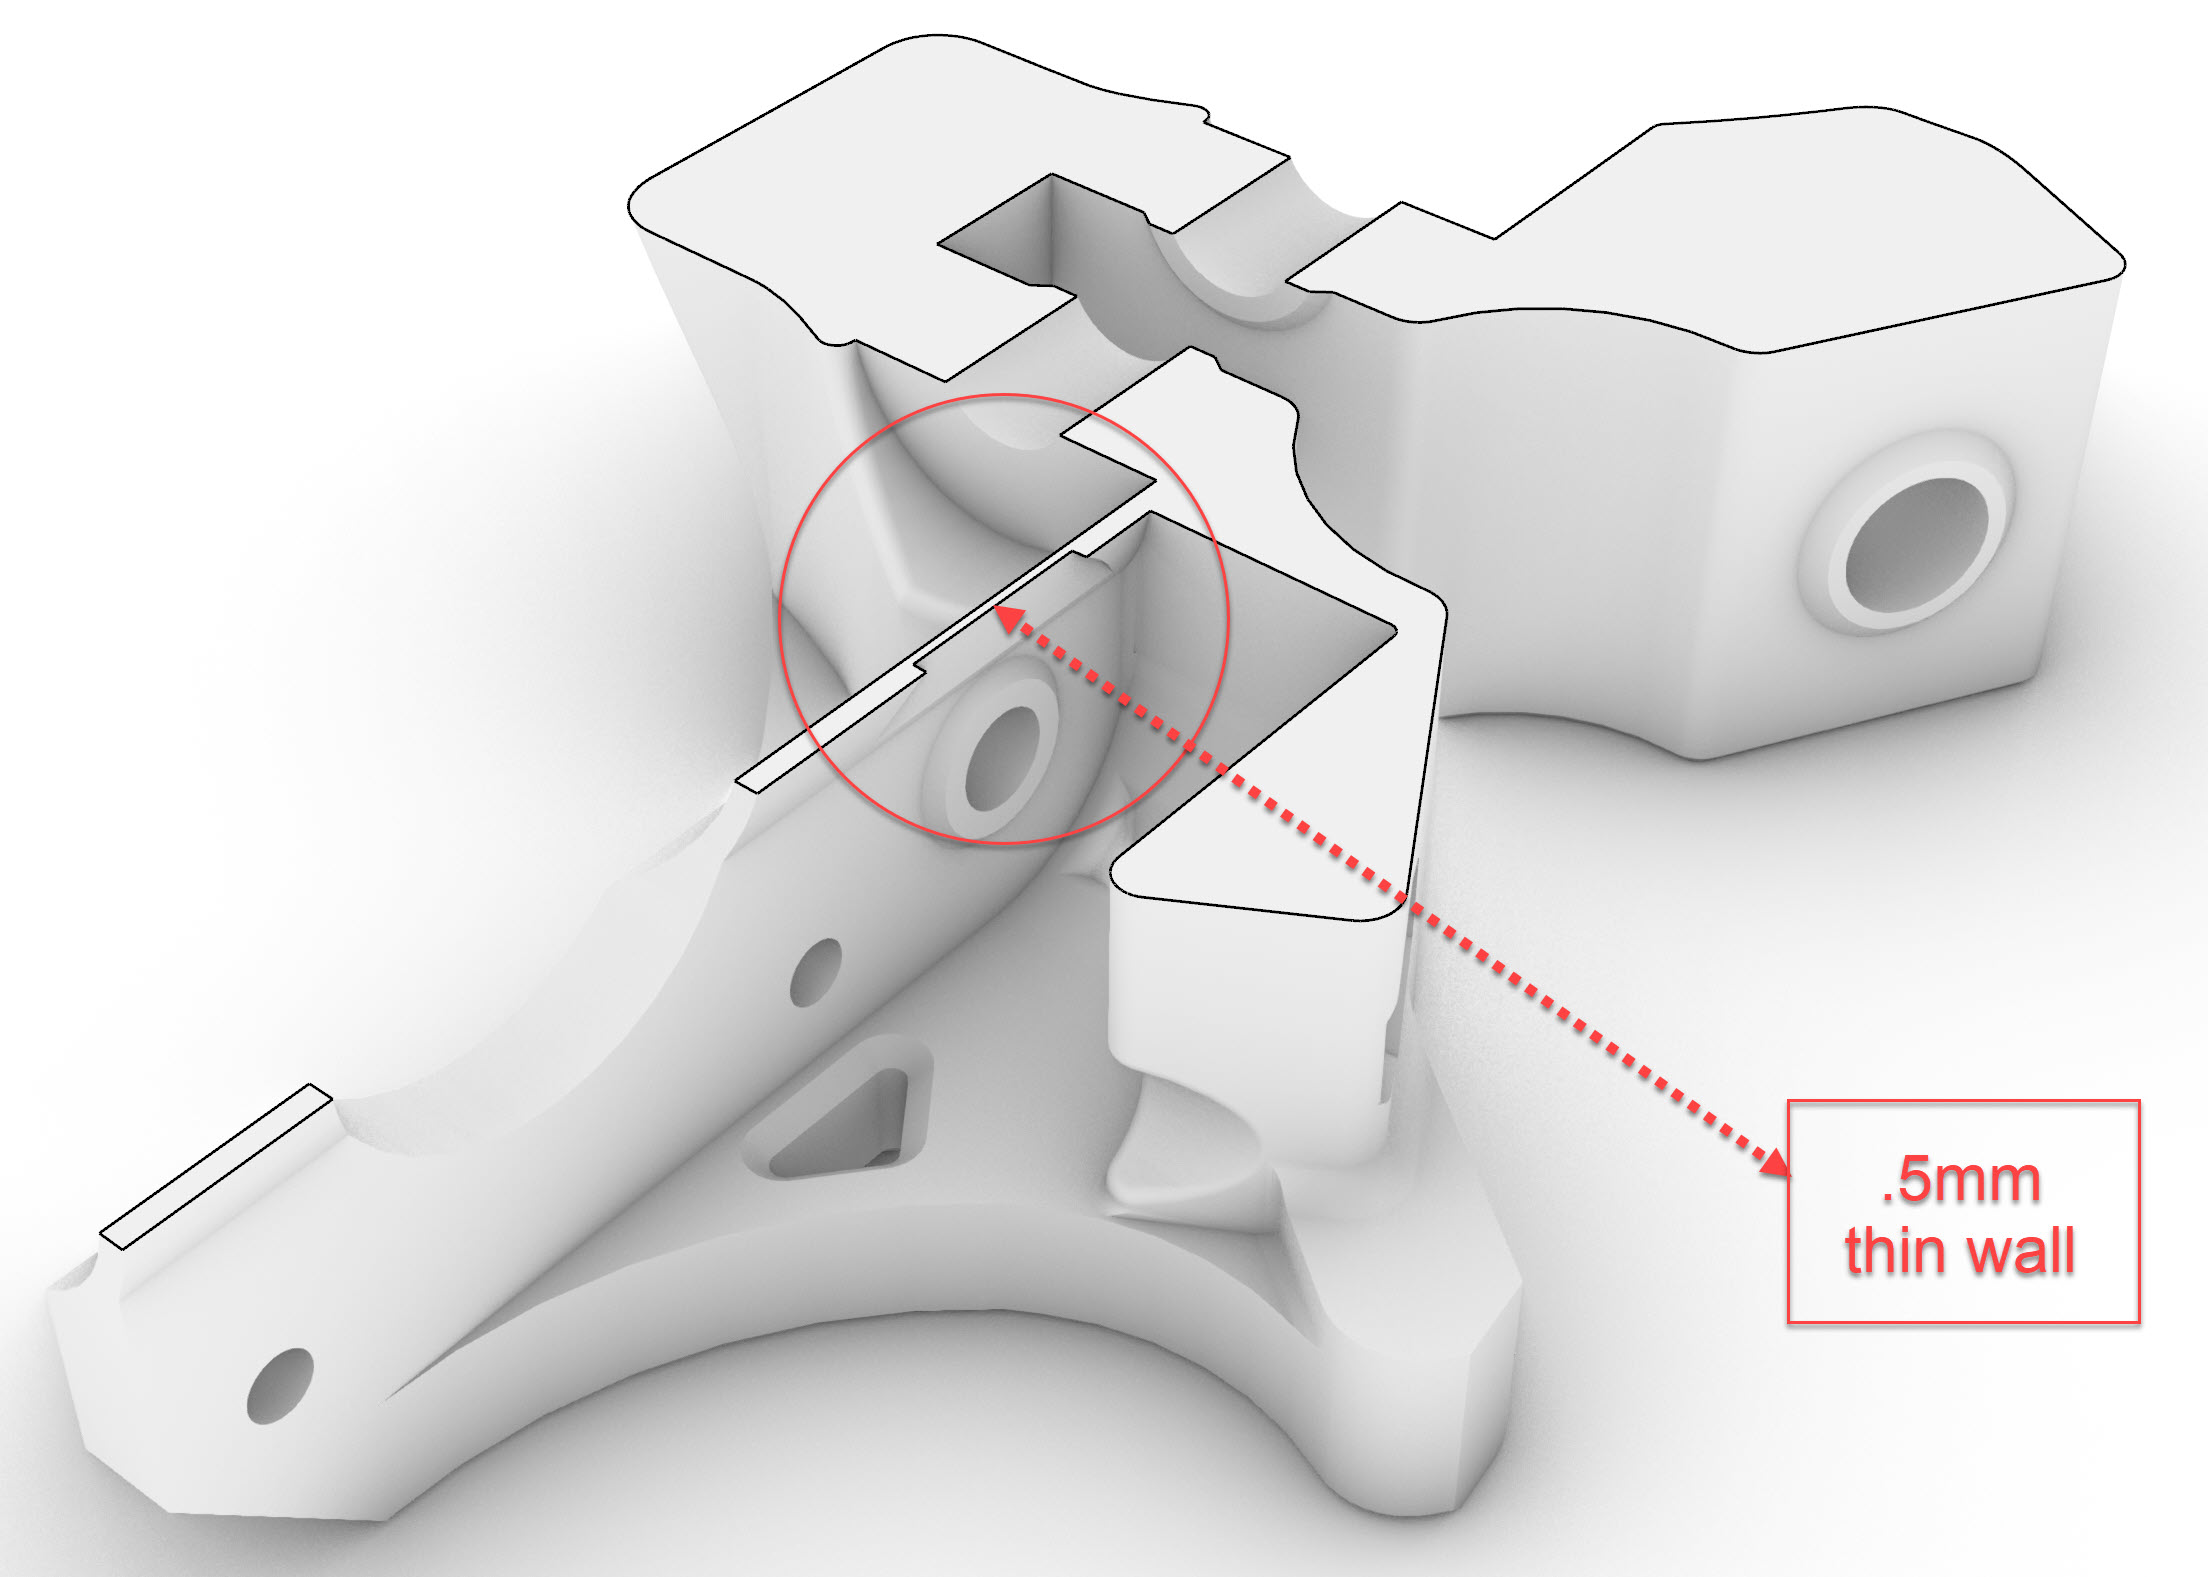
The truck has an area with fairly thin walls (.5mm) thin walls
This happens first at layers 109,110,111 and up to layer 120 when using .2mm layer heights with a .6mm first layer.
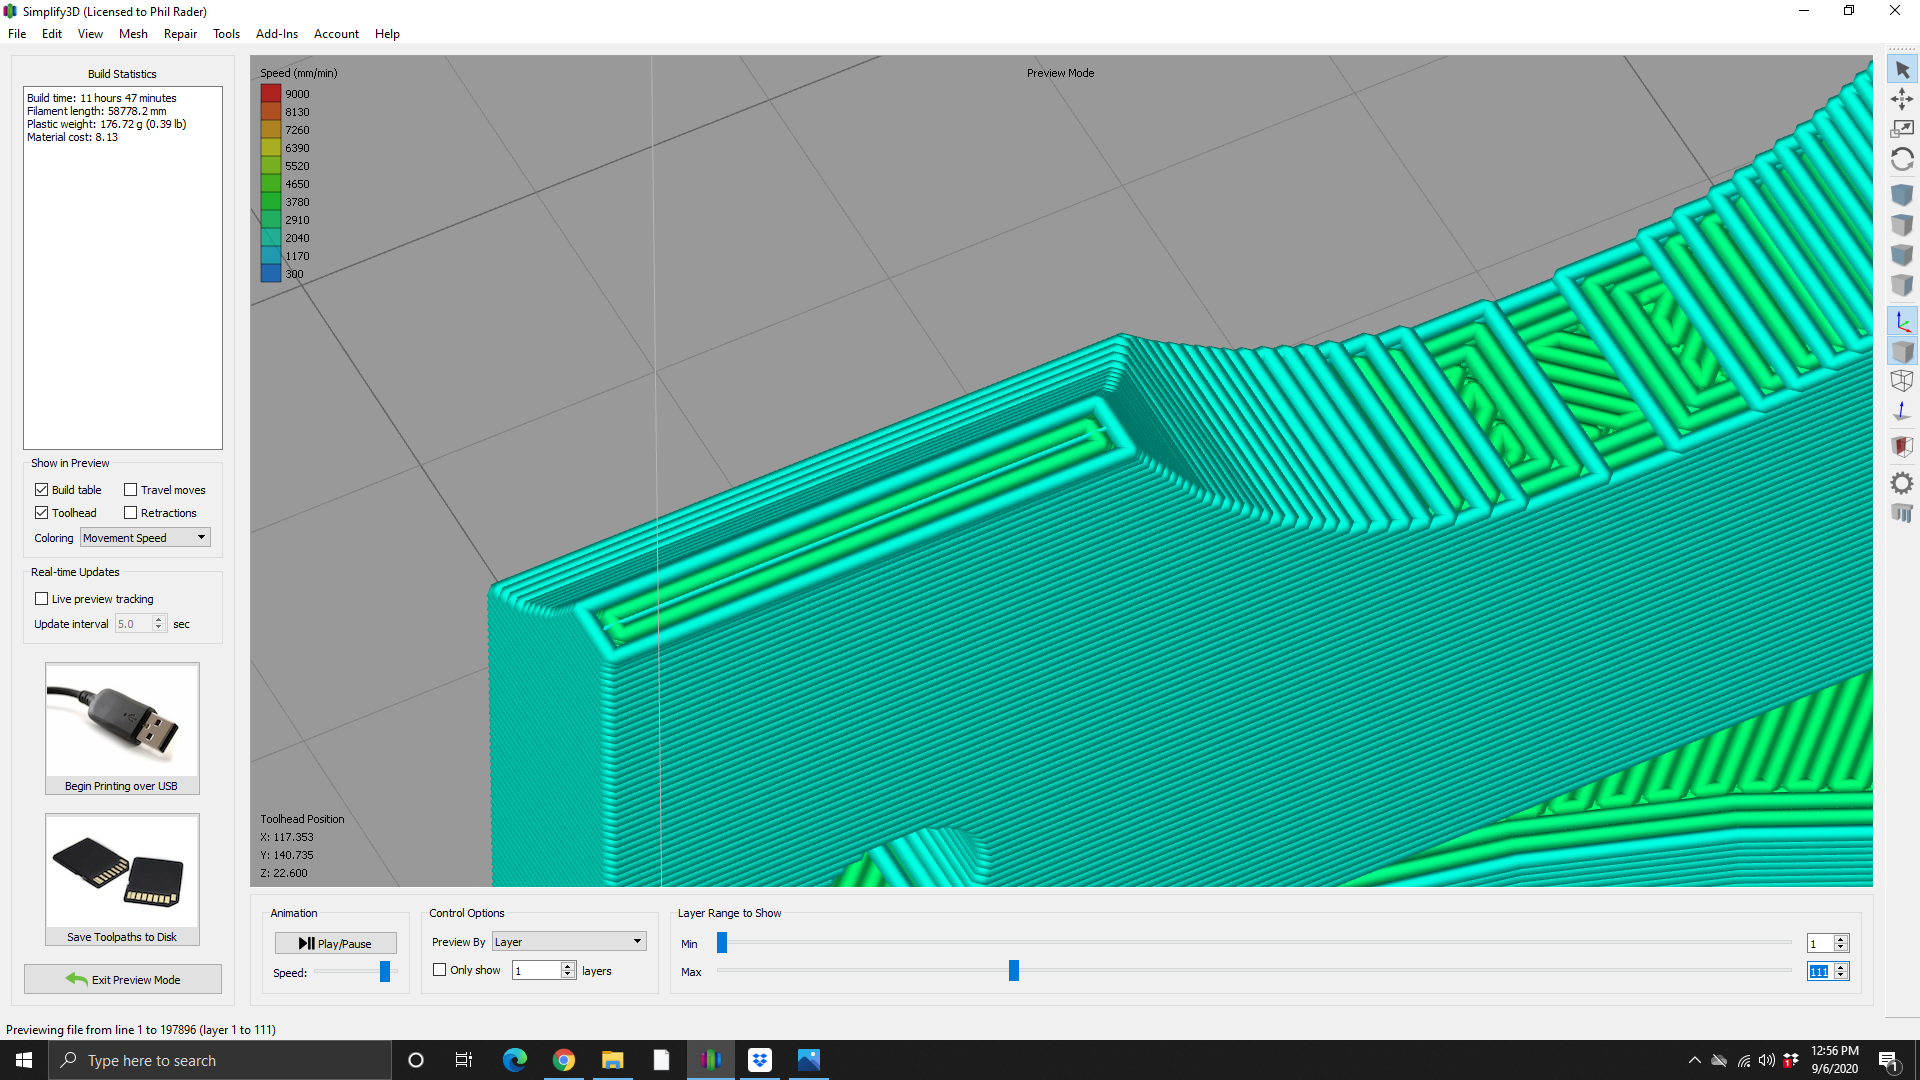
I was able to change some thin wall settings in Simplify3d to overcome this issue:

Essentially you want to be able to have the printer lay down a bead of filament in the thin wall area even though the normal infill would exclude it. and you want to let the filament bead overlap the outer wall if necessary. In general the more filament you can get to flow in this thin wall the better layer adhesion.
my second print turned out great: I switched to .2mm layer height, switched to a brand new heat tempered .4mm nozzle, and bumped the extruder up to 210 degrees I also slowed the print speed down to 60% between layers 100-150

On the parts list page on the main V1 engineering website, it might not be a bad idea to review the thin-wall settings for printing the Trucks, Maybe it’s already there and I just missed it.
I’m just printing my first truck now - so hopefully won’t have the same issues. I’m printing with .1mm layer height and eSun PLA+ filament. Other than some nozzle issues (and a replacement), so far so good - I have the trucks and a few more “A” parts to go. Building for a FRC Robotics team.
My co-mentor of the team is printing the “B” parts. Different printer, but same settings. Hoping I won’t have dimensional accuracy issues 
1 Like
Good luck Rich I think there are a lot of variables that contribute to the issue. The quality of the PLA, THe moisture content of the PLA, Hot Ent Temp, Bed Temp, Fan Cooling, Enclosed versus open printer, etc.
My son was on the Minnetonka FRC team 3042 Chicken Bot Pie when he was in high school.
I hope your trucks turn out fine.
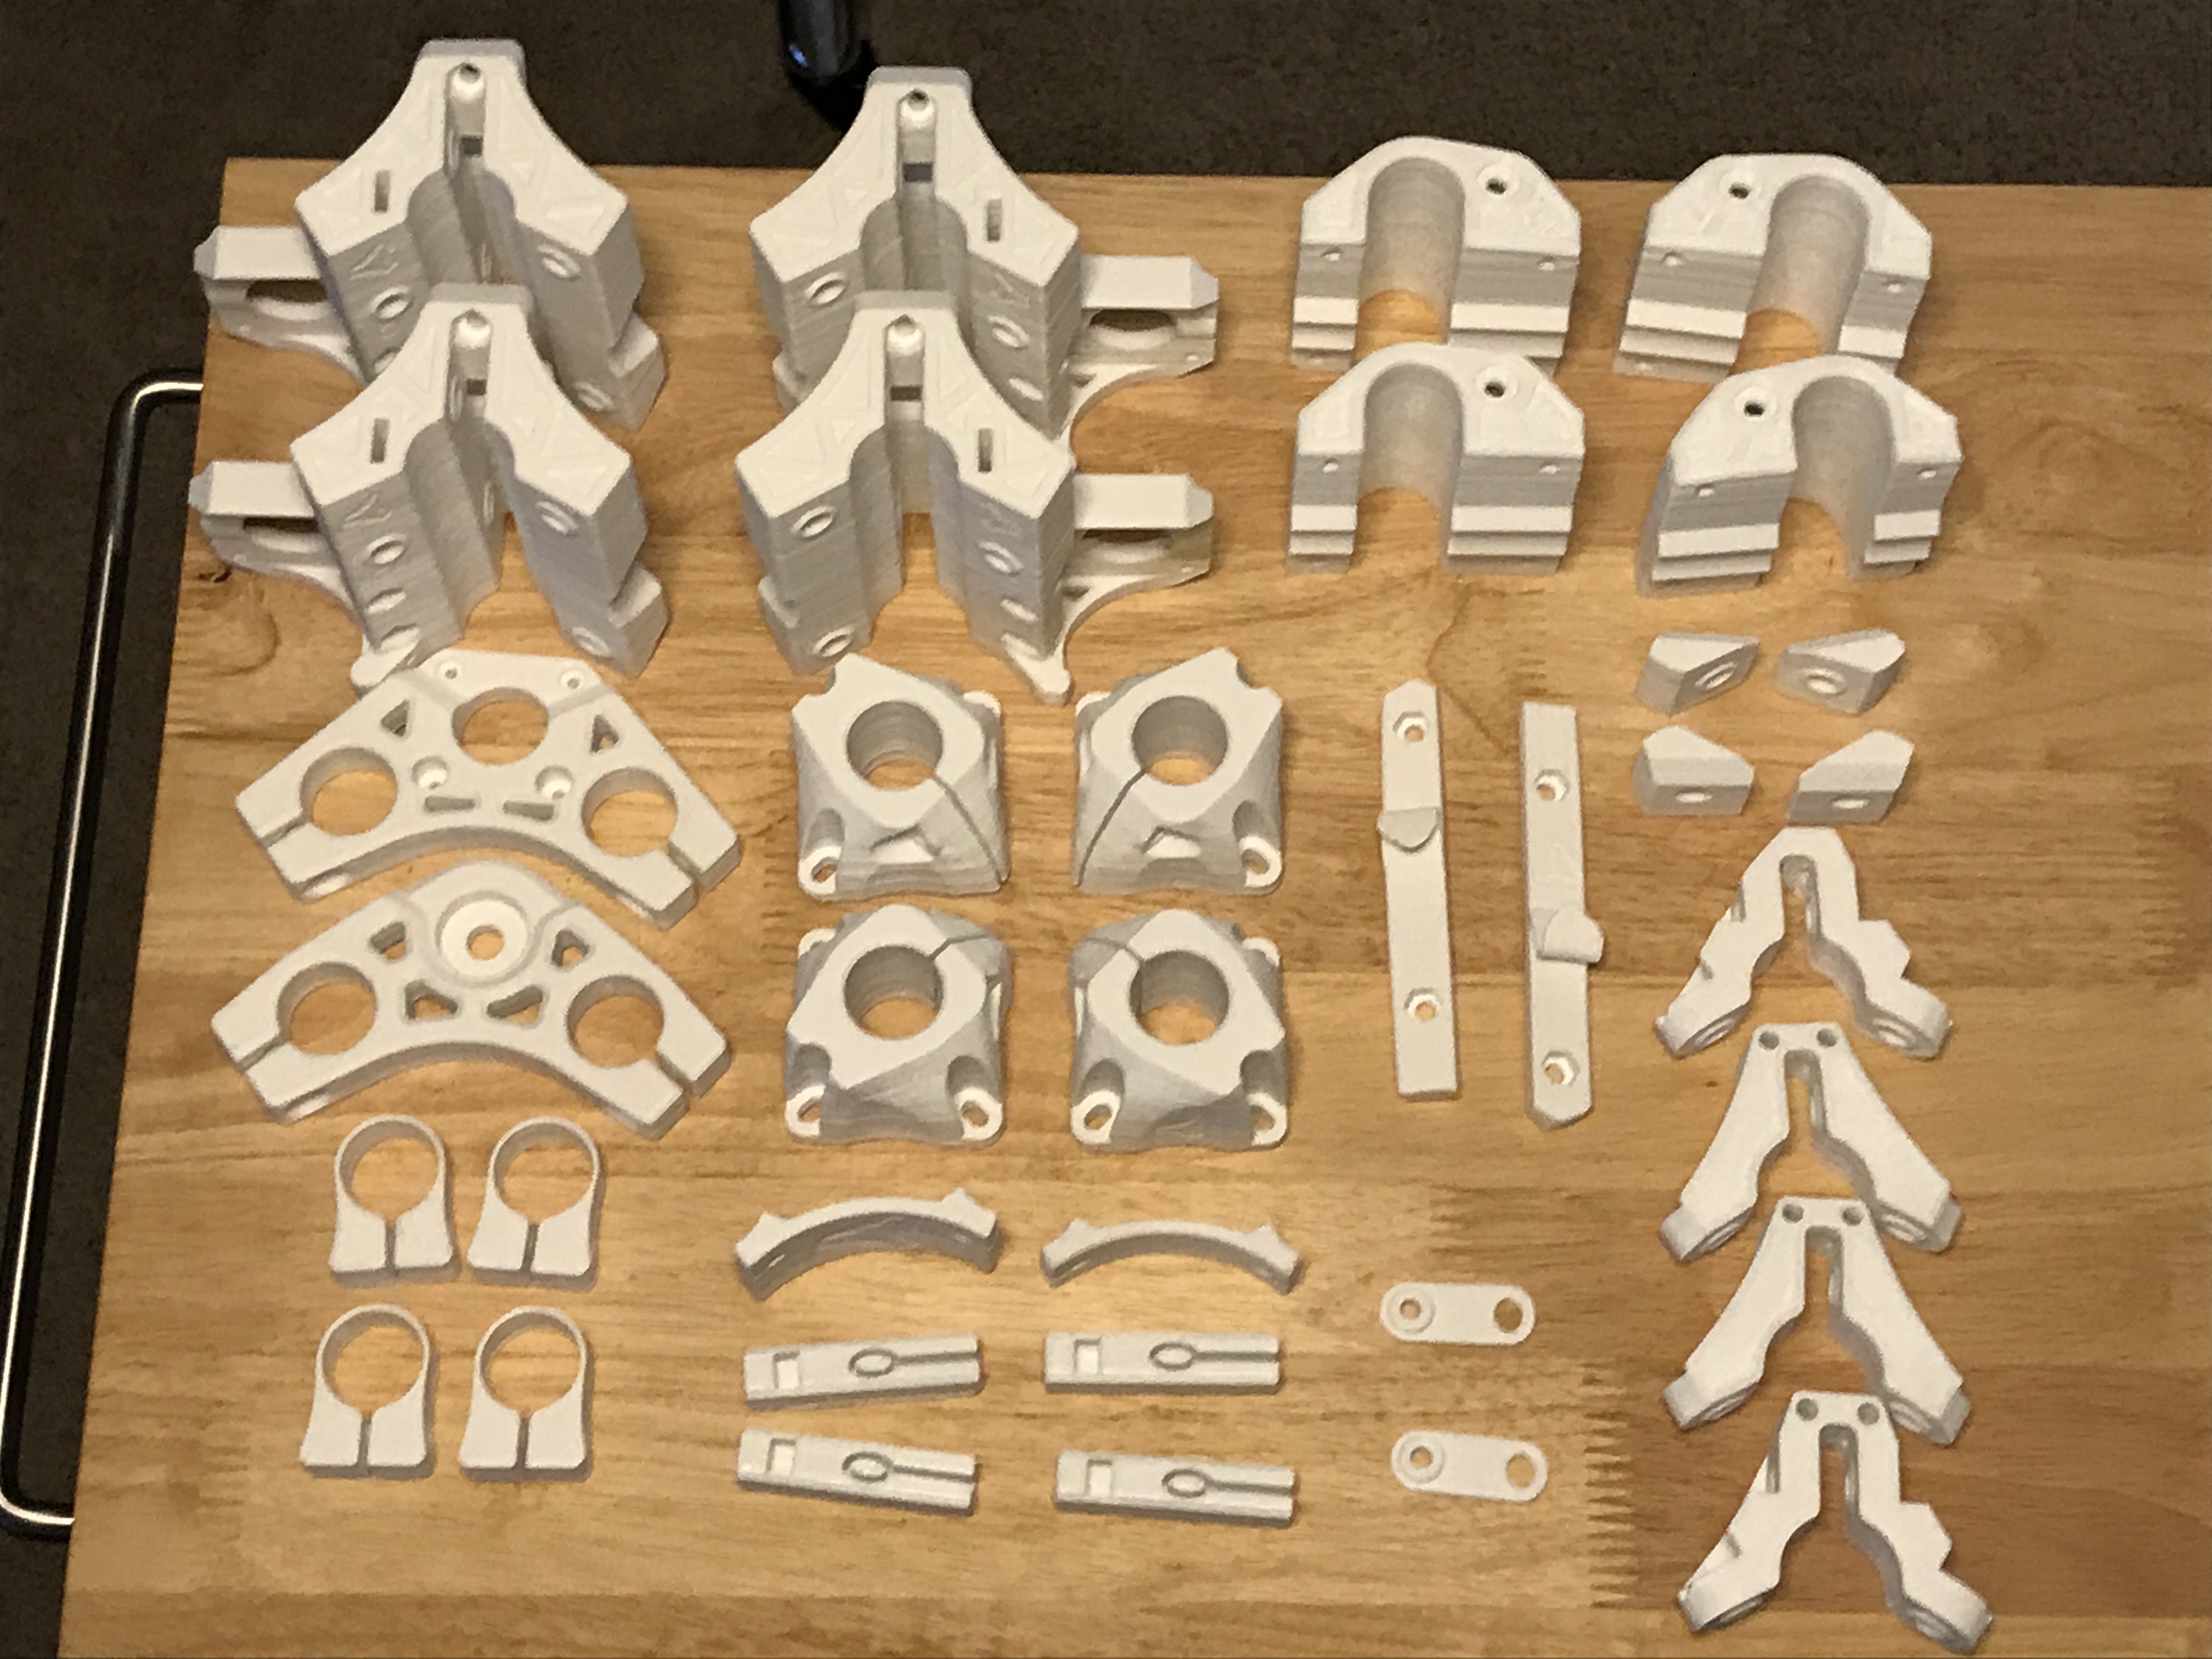

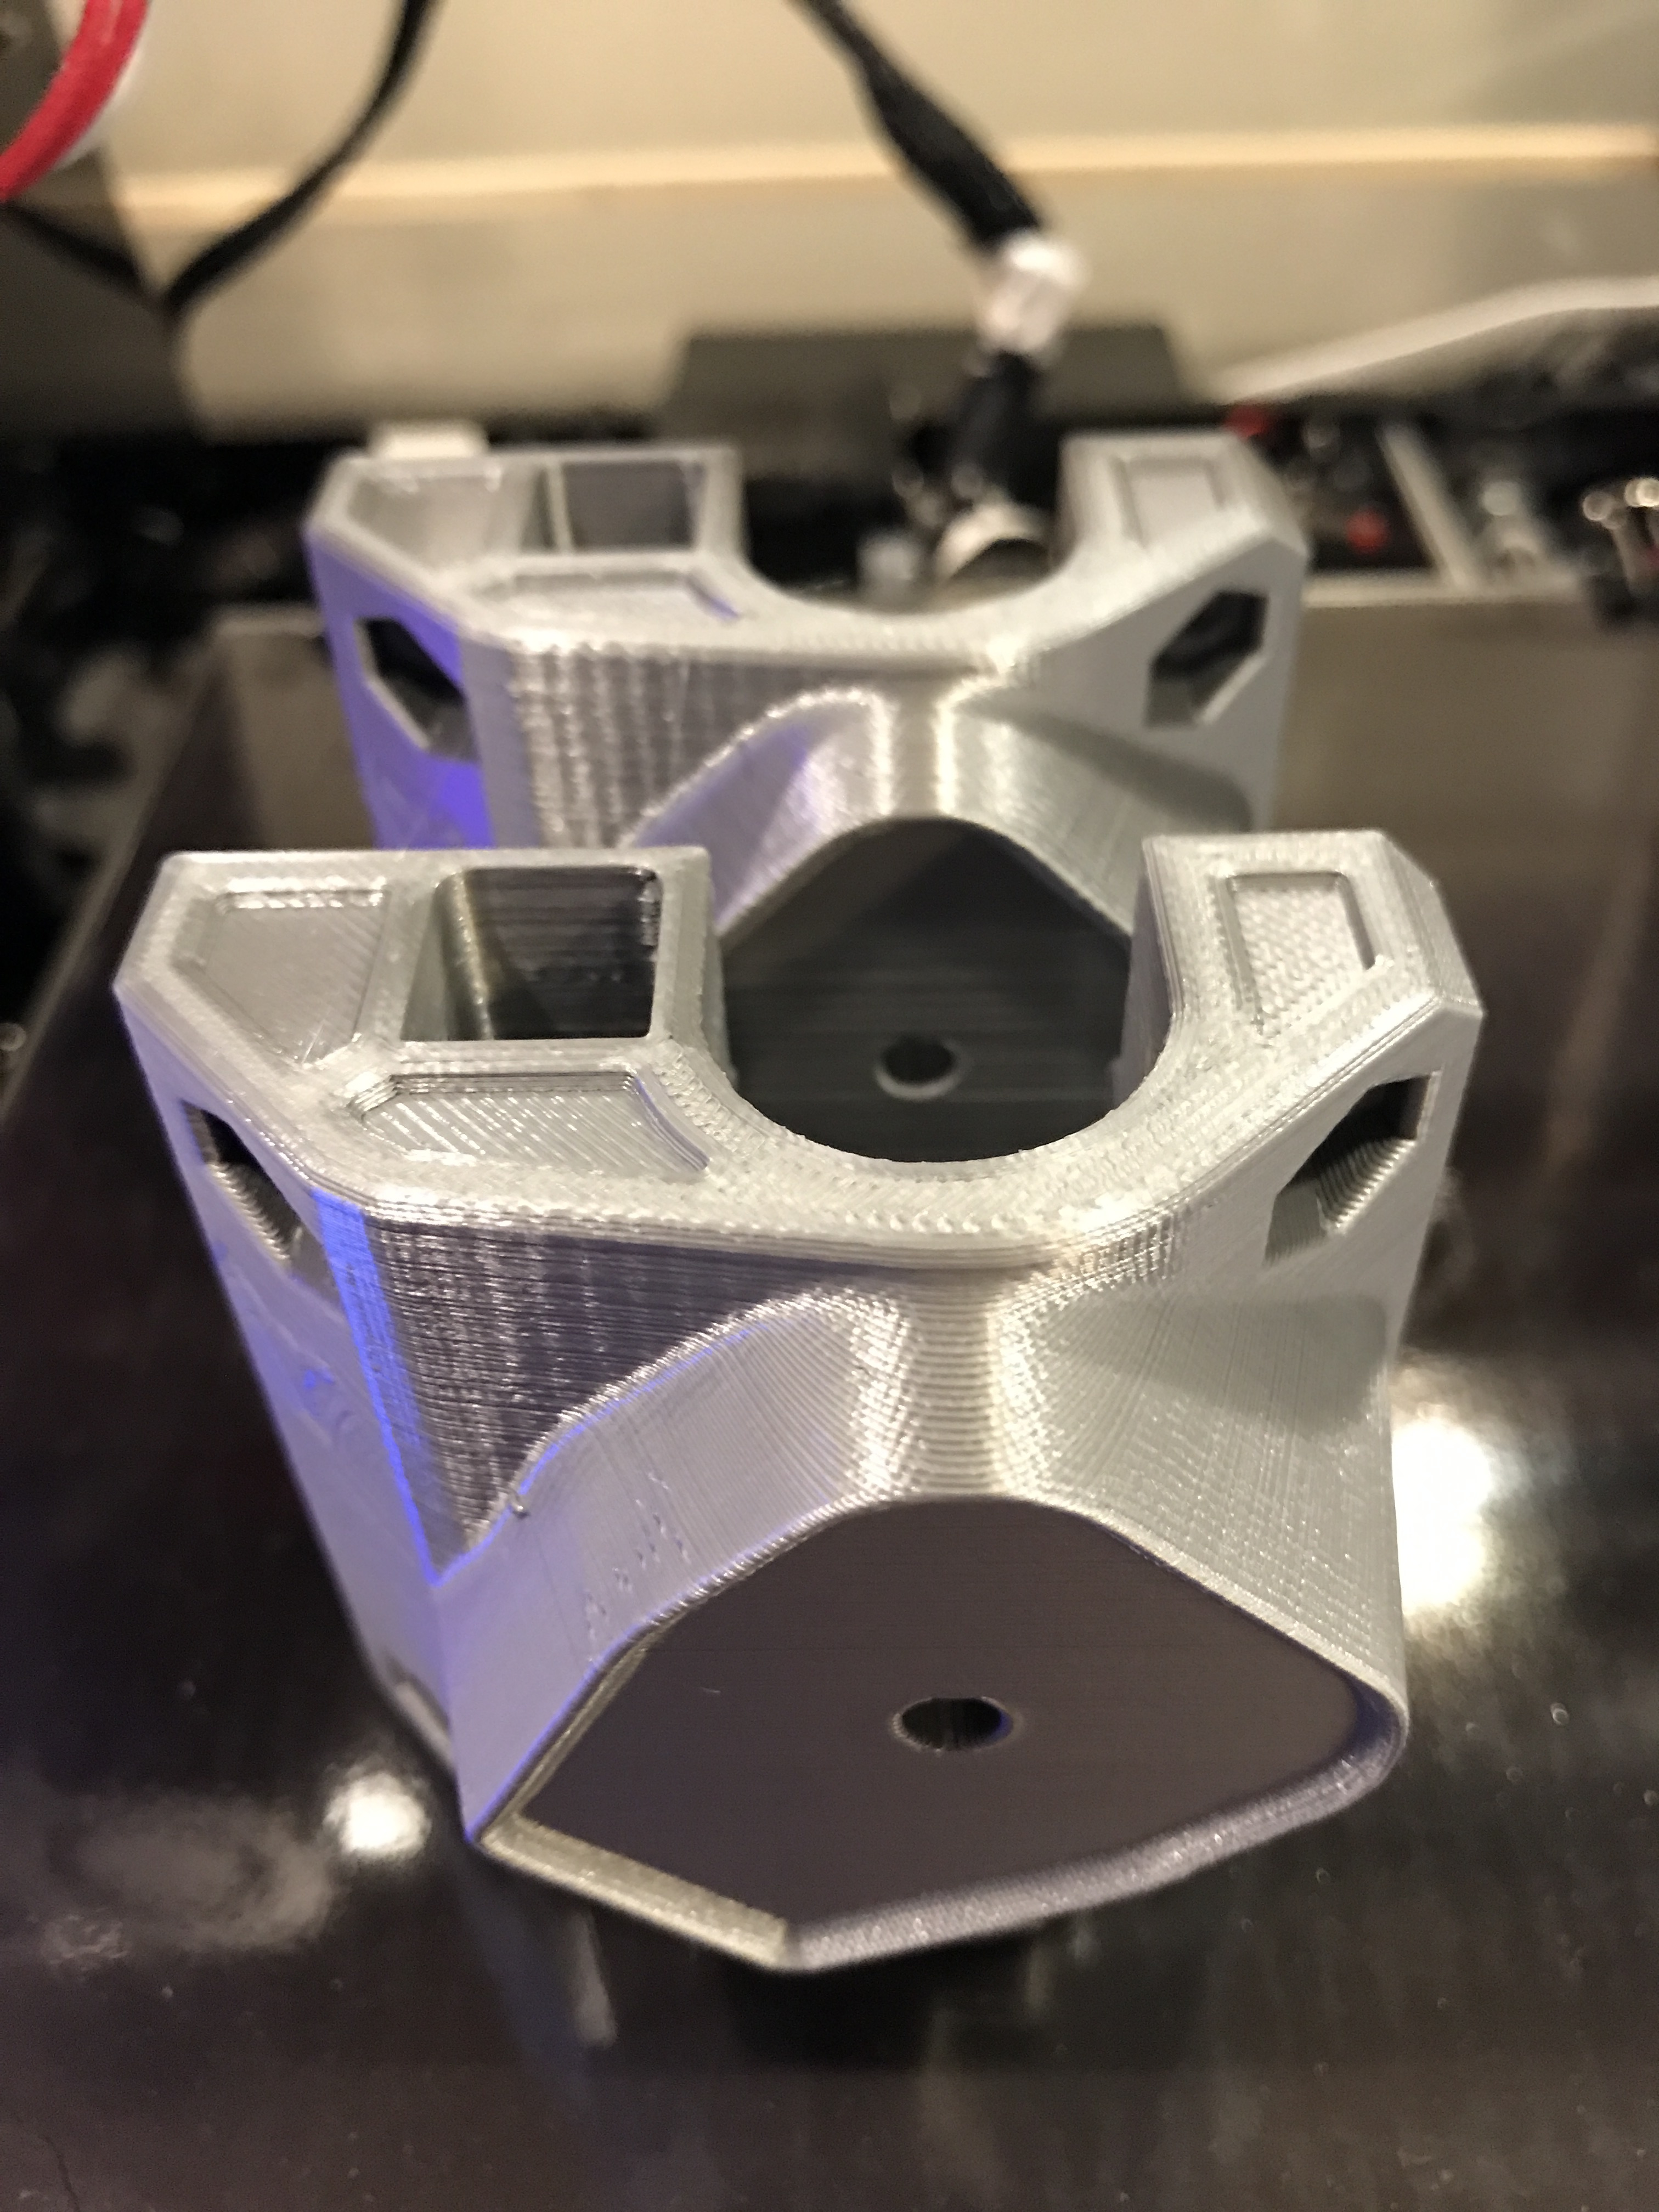
I seem to be going much slower than others…but slow and steady and eventually the Primo will be ready. All of the color A (White) parts are now printed. Now I can move on to the Color B Parts. I’ll be using a carbon fiber PLA for Color B.
1 Like
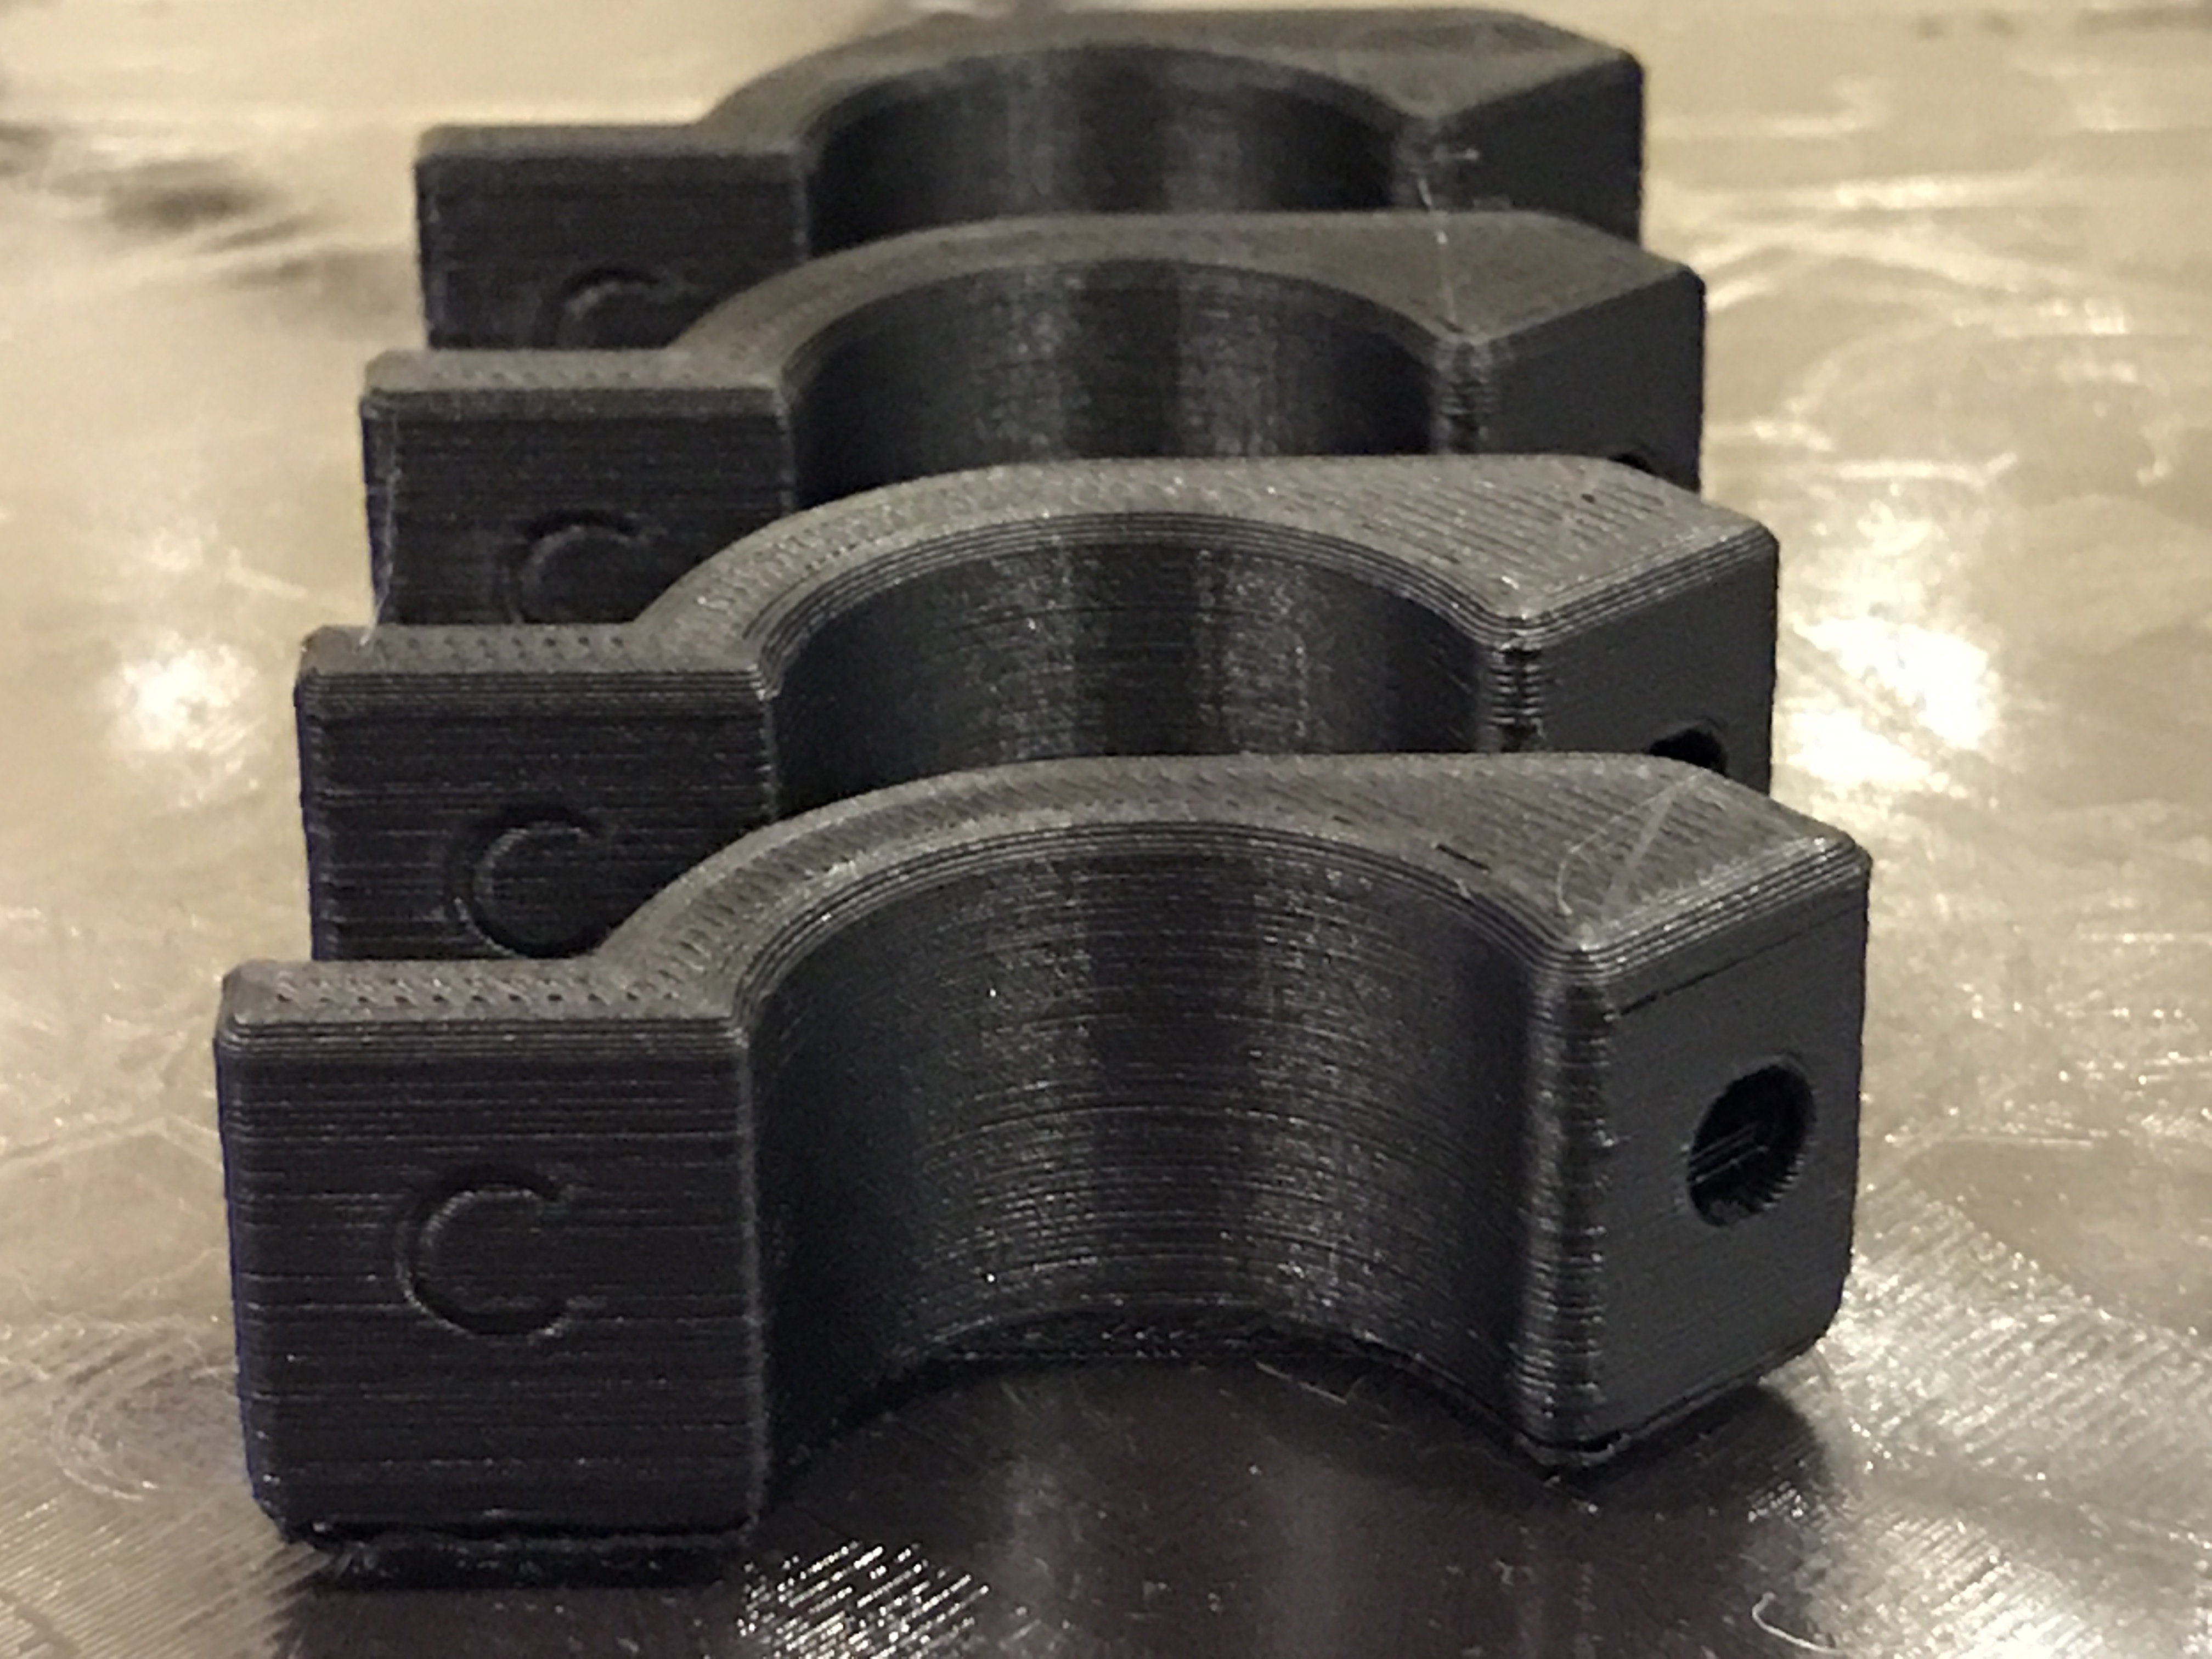
The first Color B parts came out nice. Can’t wait to hit print on the core in the Carbon Fiber PLA. I’ve got a lot of work ahead of me but it gets cold here in Minnesota so I plan to spend a lot of time indoors playing with the Primo this winter.
2 Likes
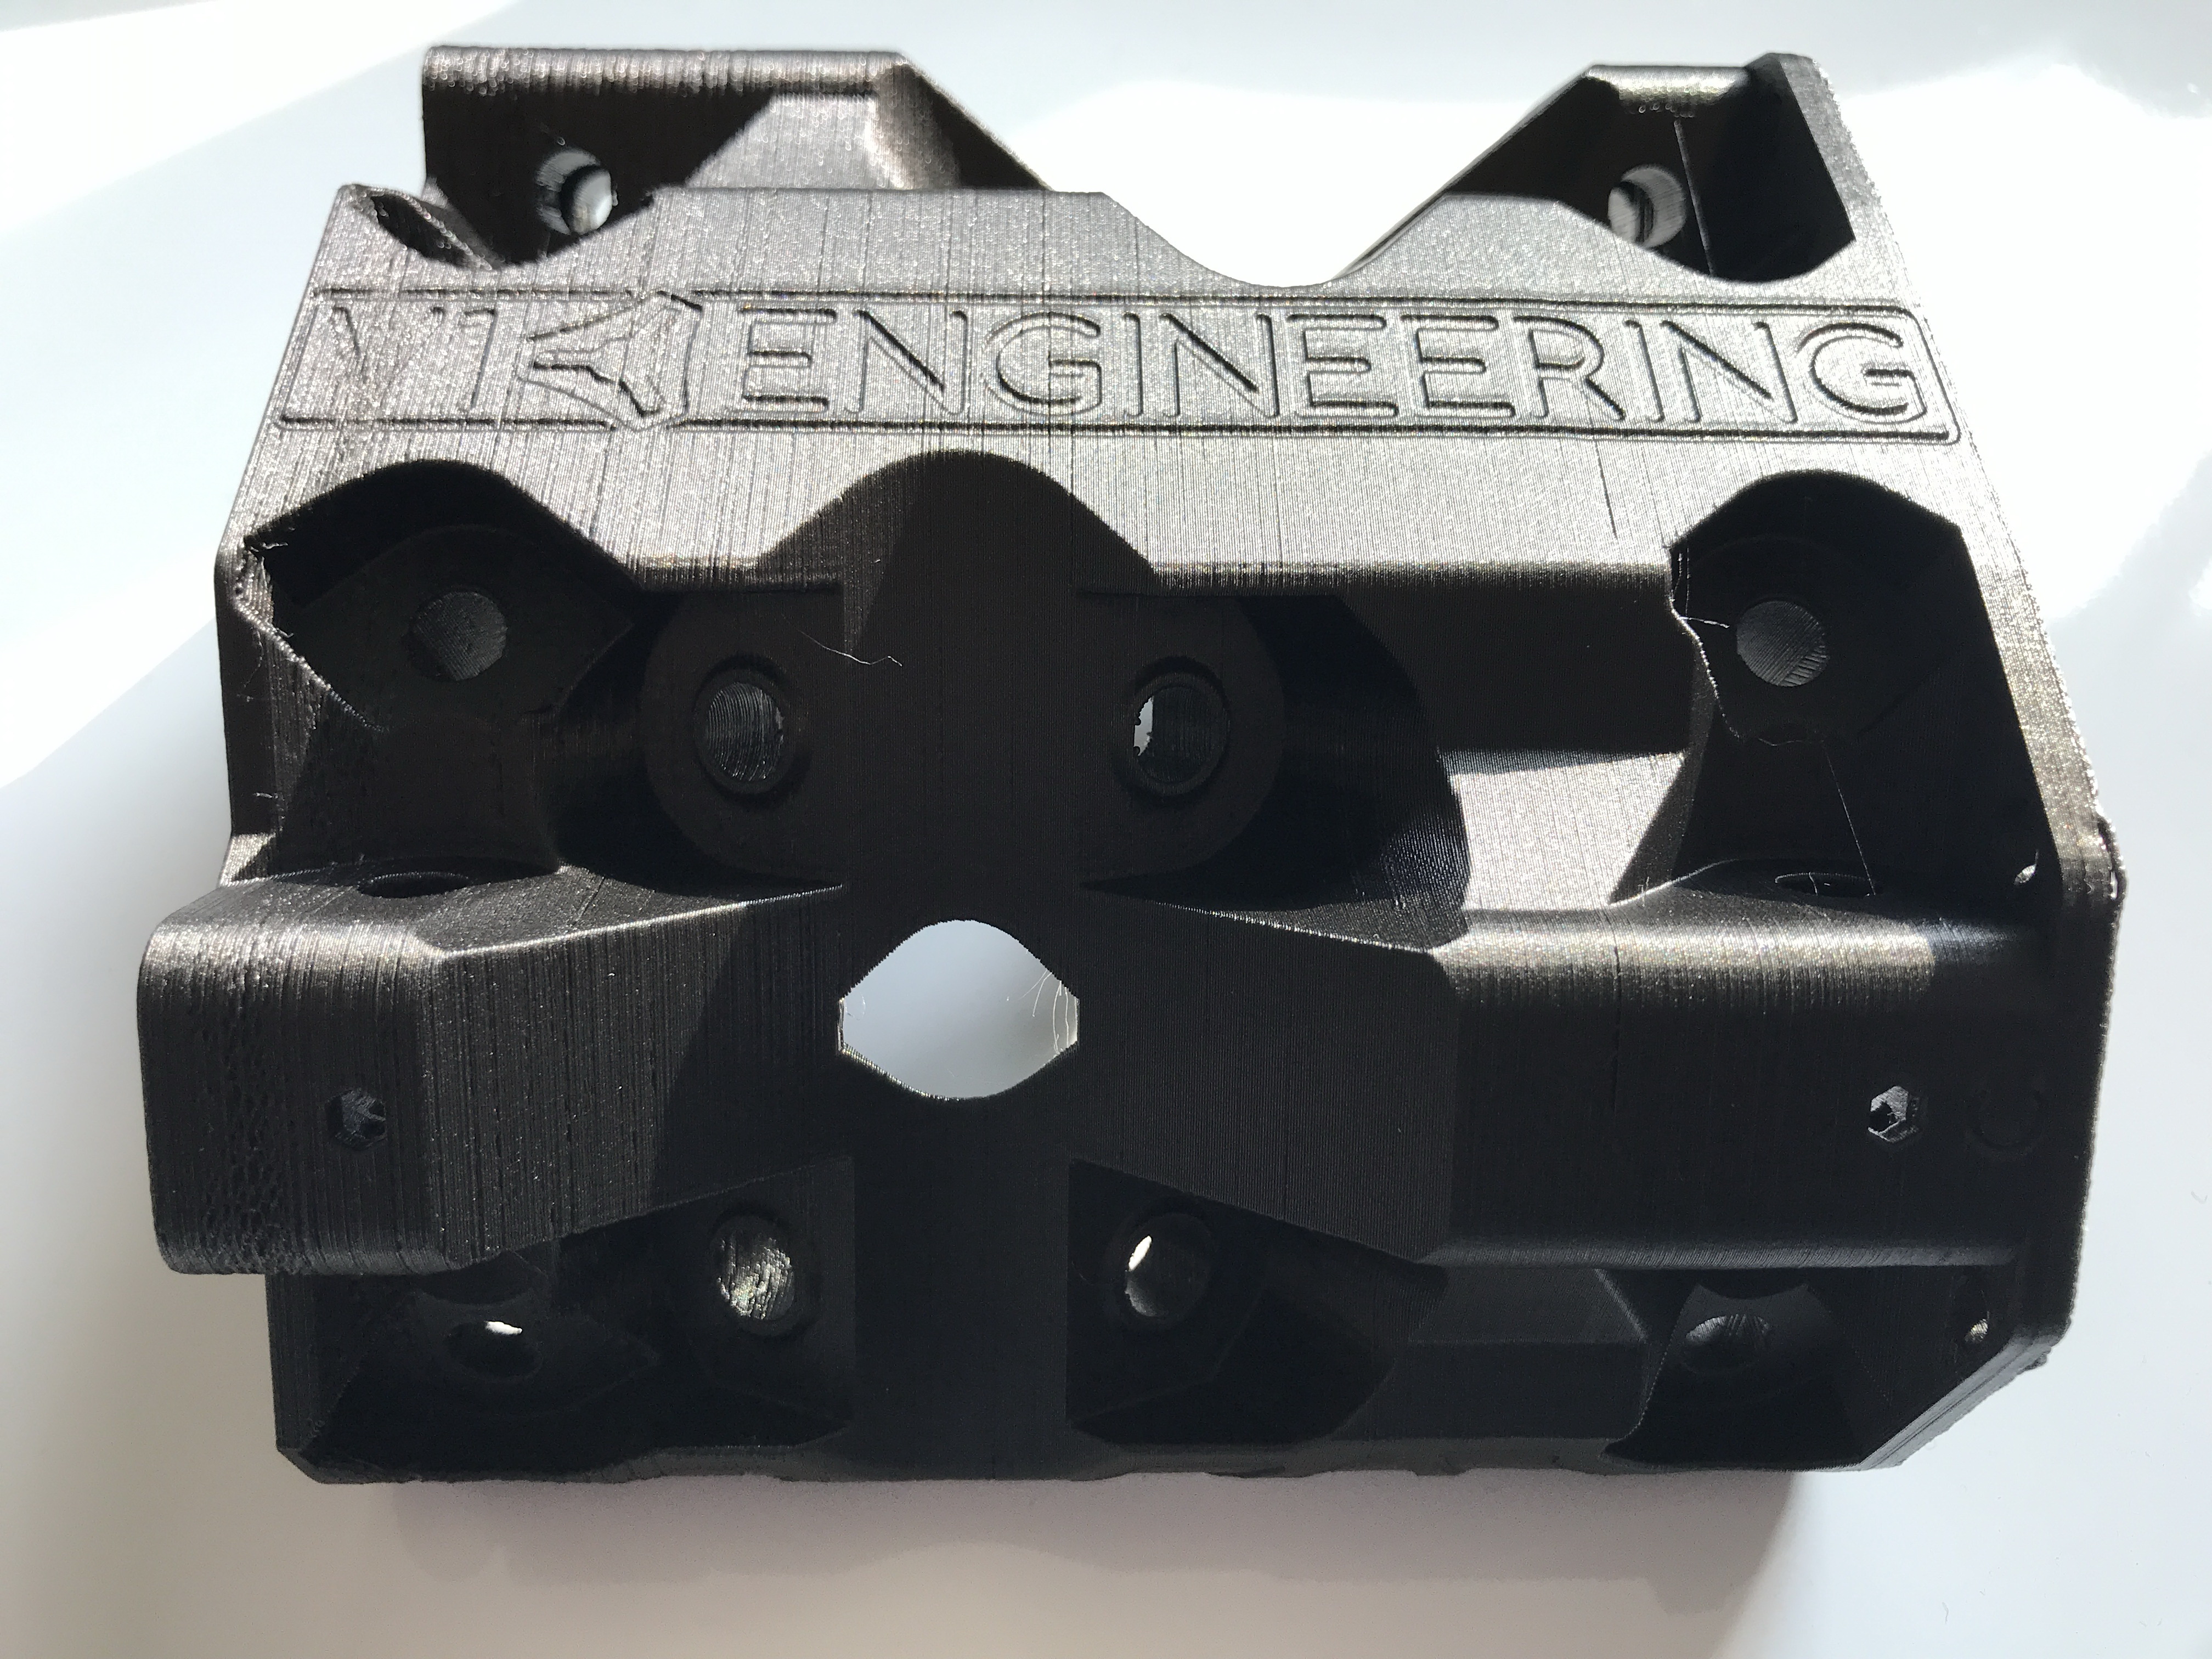
Well, There has been a setback: The thermistor on the ANET had a loose wire that failed while printing the core, I thought it was just something to do with the height of the print. the Core came out (mostly OK) so I just adjusted the print temperature and tried printing some other parts. They failed miserably…so I replace all of the hot end parts and soldered the thermistor wire back together. Sadly though I no longer have enough Carbon Fiber PLA so I’ve had to switch color B to silver.

1 Like
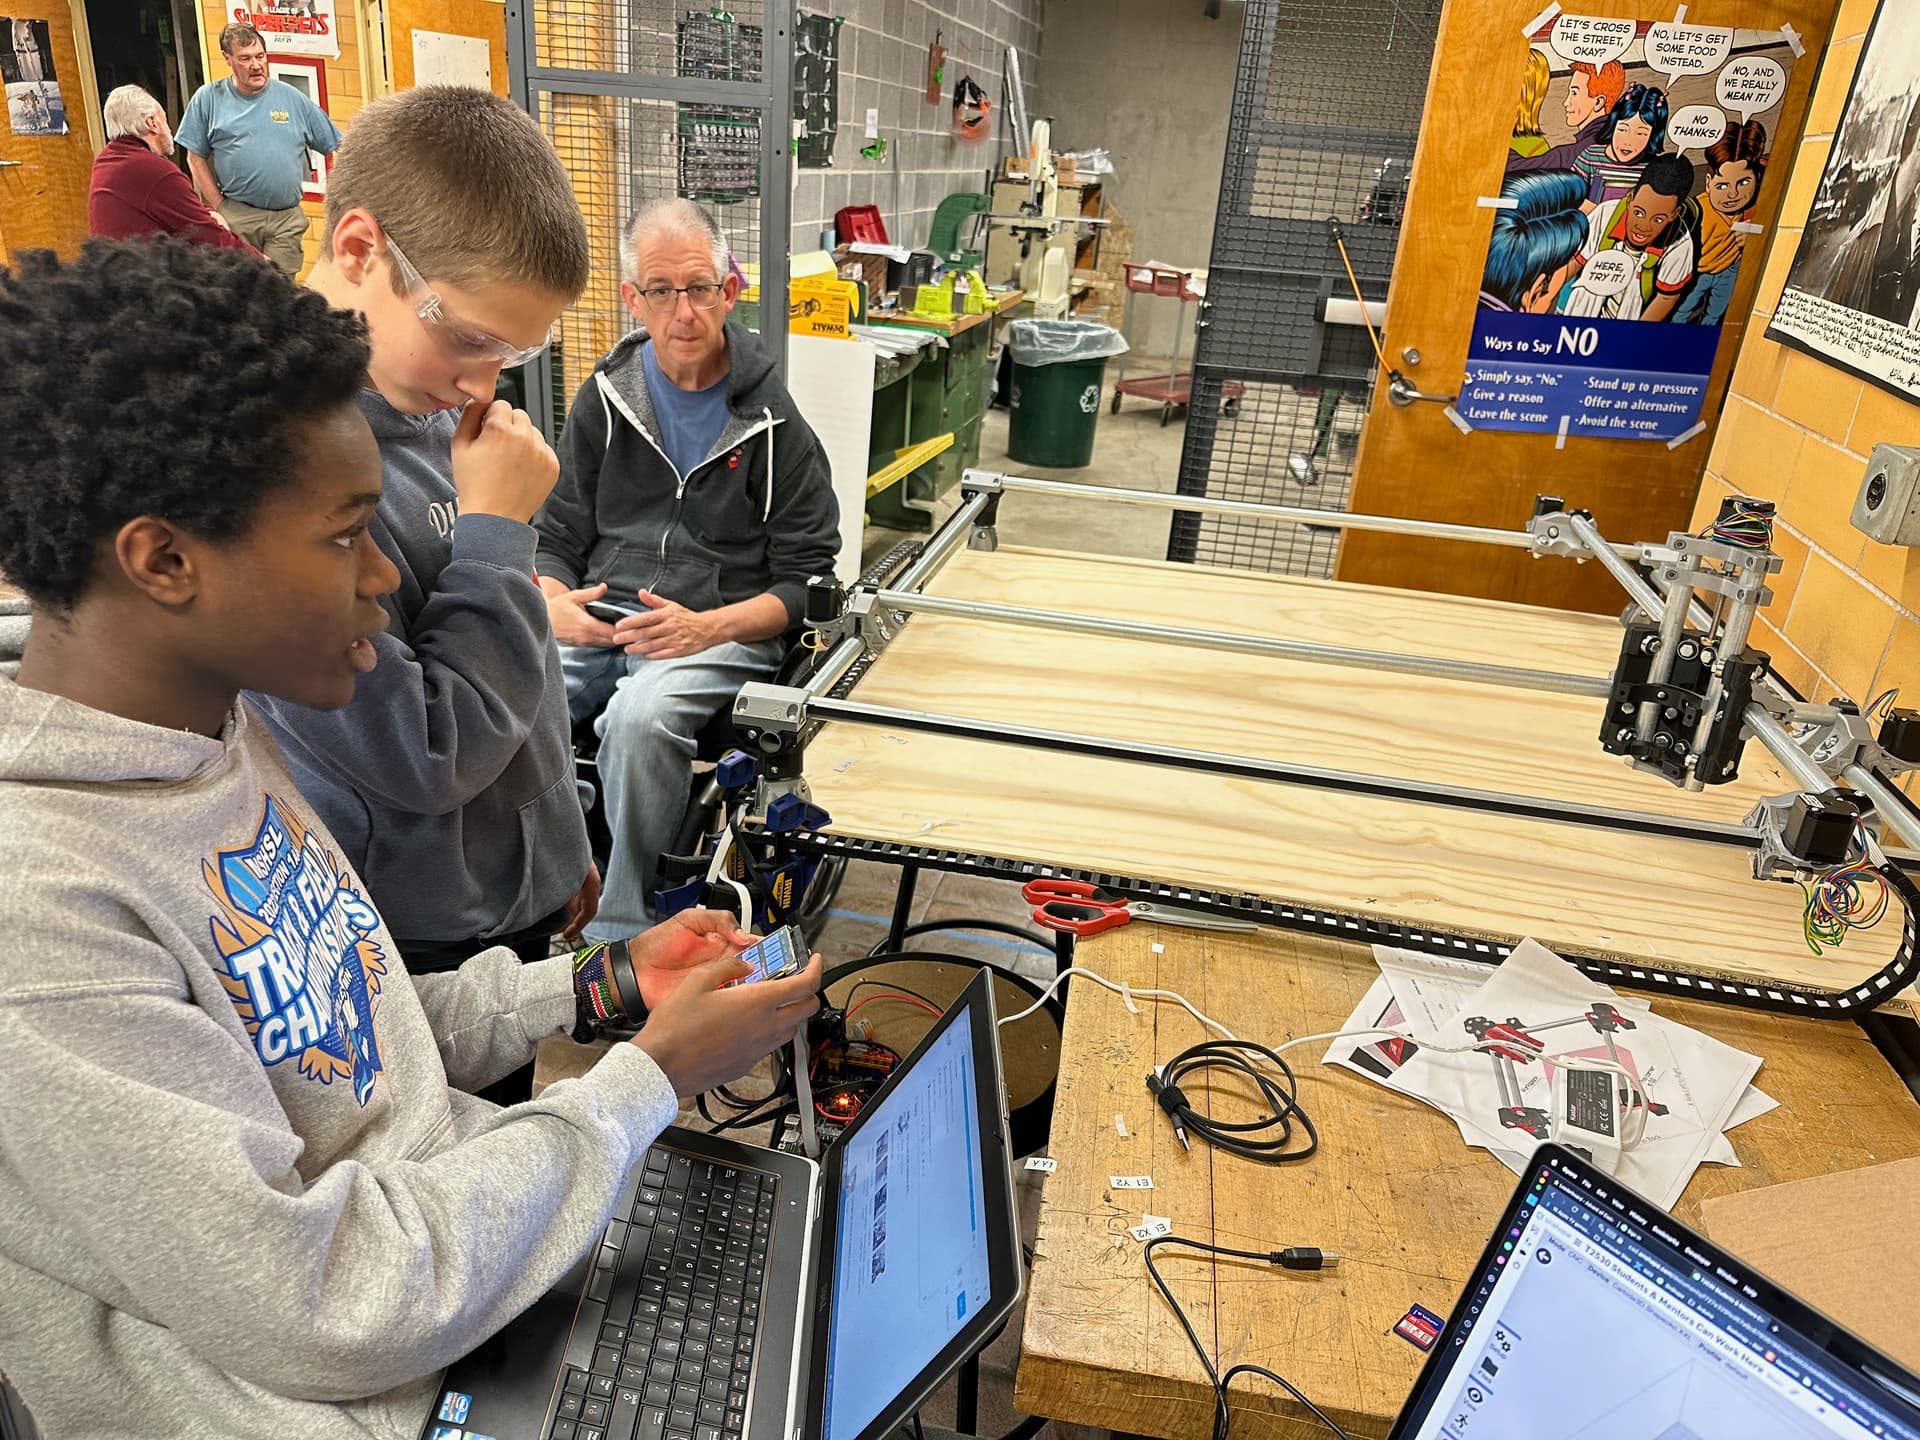
Did you get your CNC completed and have it running for your FRC team? We are just completing a Primo 36” build for FRC 2530 as an off-season project. Lots of new students learning how to assemble a complex machine, how to translate an ideas into CAD and what a CNC can do. If you have some good examples of robotics related projects or student level educational materials I’d love some tips.
2 Likes
We completed the build and demonstrated we could control but now need to actually move it to a more flat surface than plywood and something that will flip 90 degrees to fit through a doorway.
We are building a mobile tool cart + CNC. Probably put the controls in the upper drawer. Will post design if anyone else wants to go crazy and try to build a 3’ CNC that isn’t a lowrider…
Need advice on a 3D printed case for the screen and electronics.
2 Likes