Hi, I’m Miguel, I work in the Brazilian Air Force as an airport firefighter and I 'm a hobby maker.
Here is a “summary” of my history with MPCNC so far.
A long time ago, when I got to know the manufacturing processes with CNC machines, I was delighted and was sure I wanted to be able to do cool things with it.
Searching through the internet, I saw what today I believe to be the first version of MPCNC and I remember being very excited about the idea of having a CNC that I could build myself at home. At the time, there was only one problem, I didn’t have access to a printer and 3D printing was still something new here in Brazil. So I decided to buy/build a 3d printer to be able to print the parts for the MPCNC. But life happened and that plan needed to be put on hold.
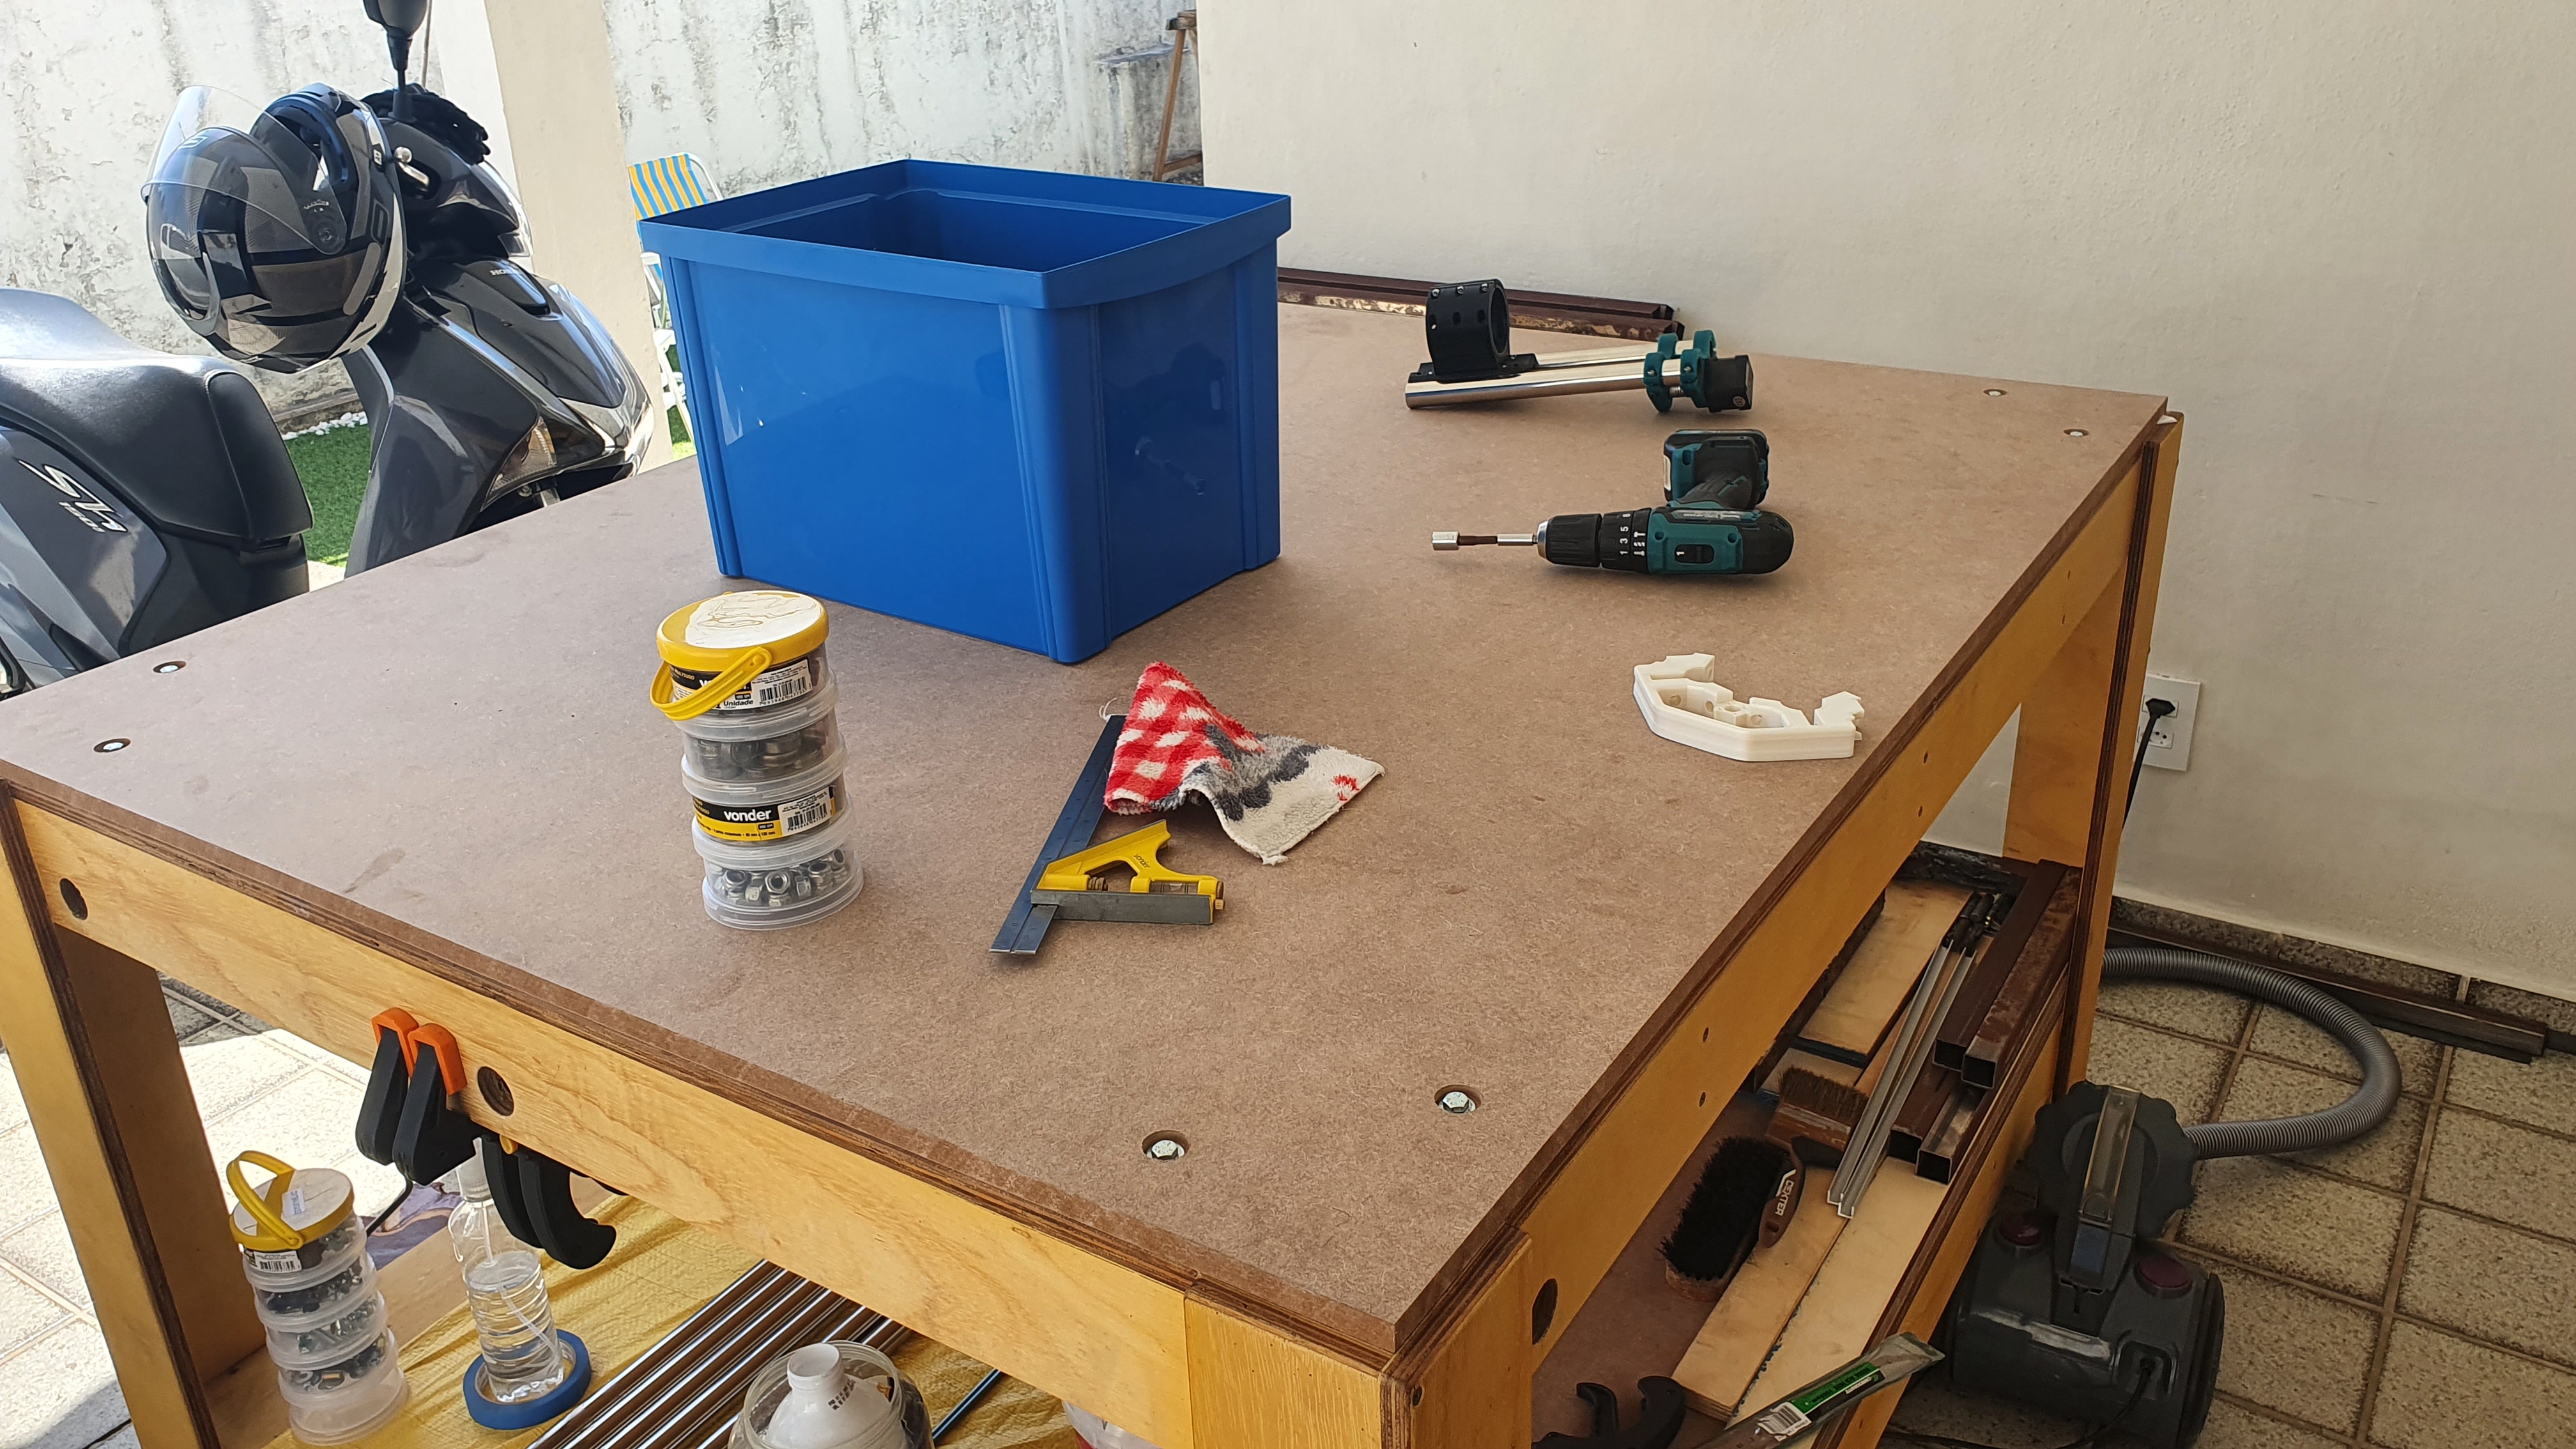
Last year, when I finally had no more limiting factors involved, I decided that I would no longer leave this dream waiting. I started printing the parts on a second printer I bought, I used the electronics of my first printer, built a bench, bought and cut the stainless steel tubes, and started assembling the machine.
I confess that in the first attempt I was not very careful with the assembly and I skipped some steps here and there. In the end, I didn’t get the results I expected and the frustration took over. Adding to the fact that the job started to demand a little more attention, I ended up leaving the machine a little aside.
At the end/beginning of the year, I decided that I would try again. I completely disassembled the machine and reassembled it following the instruction steps more carefully. Some things came out much better than the first attempt, others came out relatively the same, but now I believe that it is time to dedicate myself to fix things that aren’t perfect yet and learn how to use the machine to its limits.
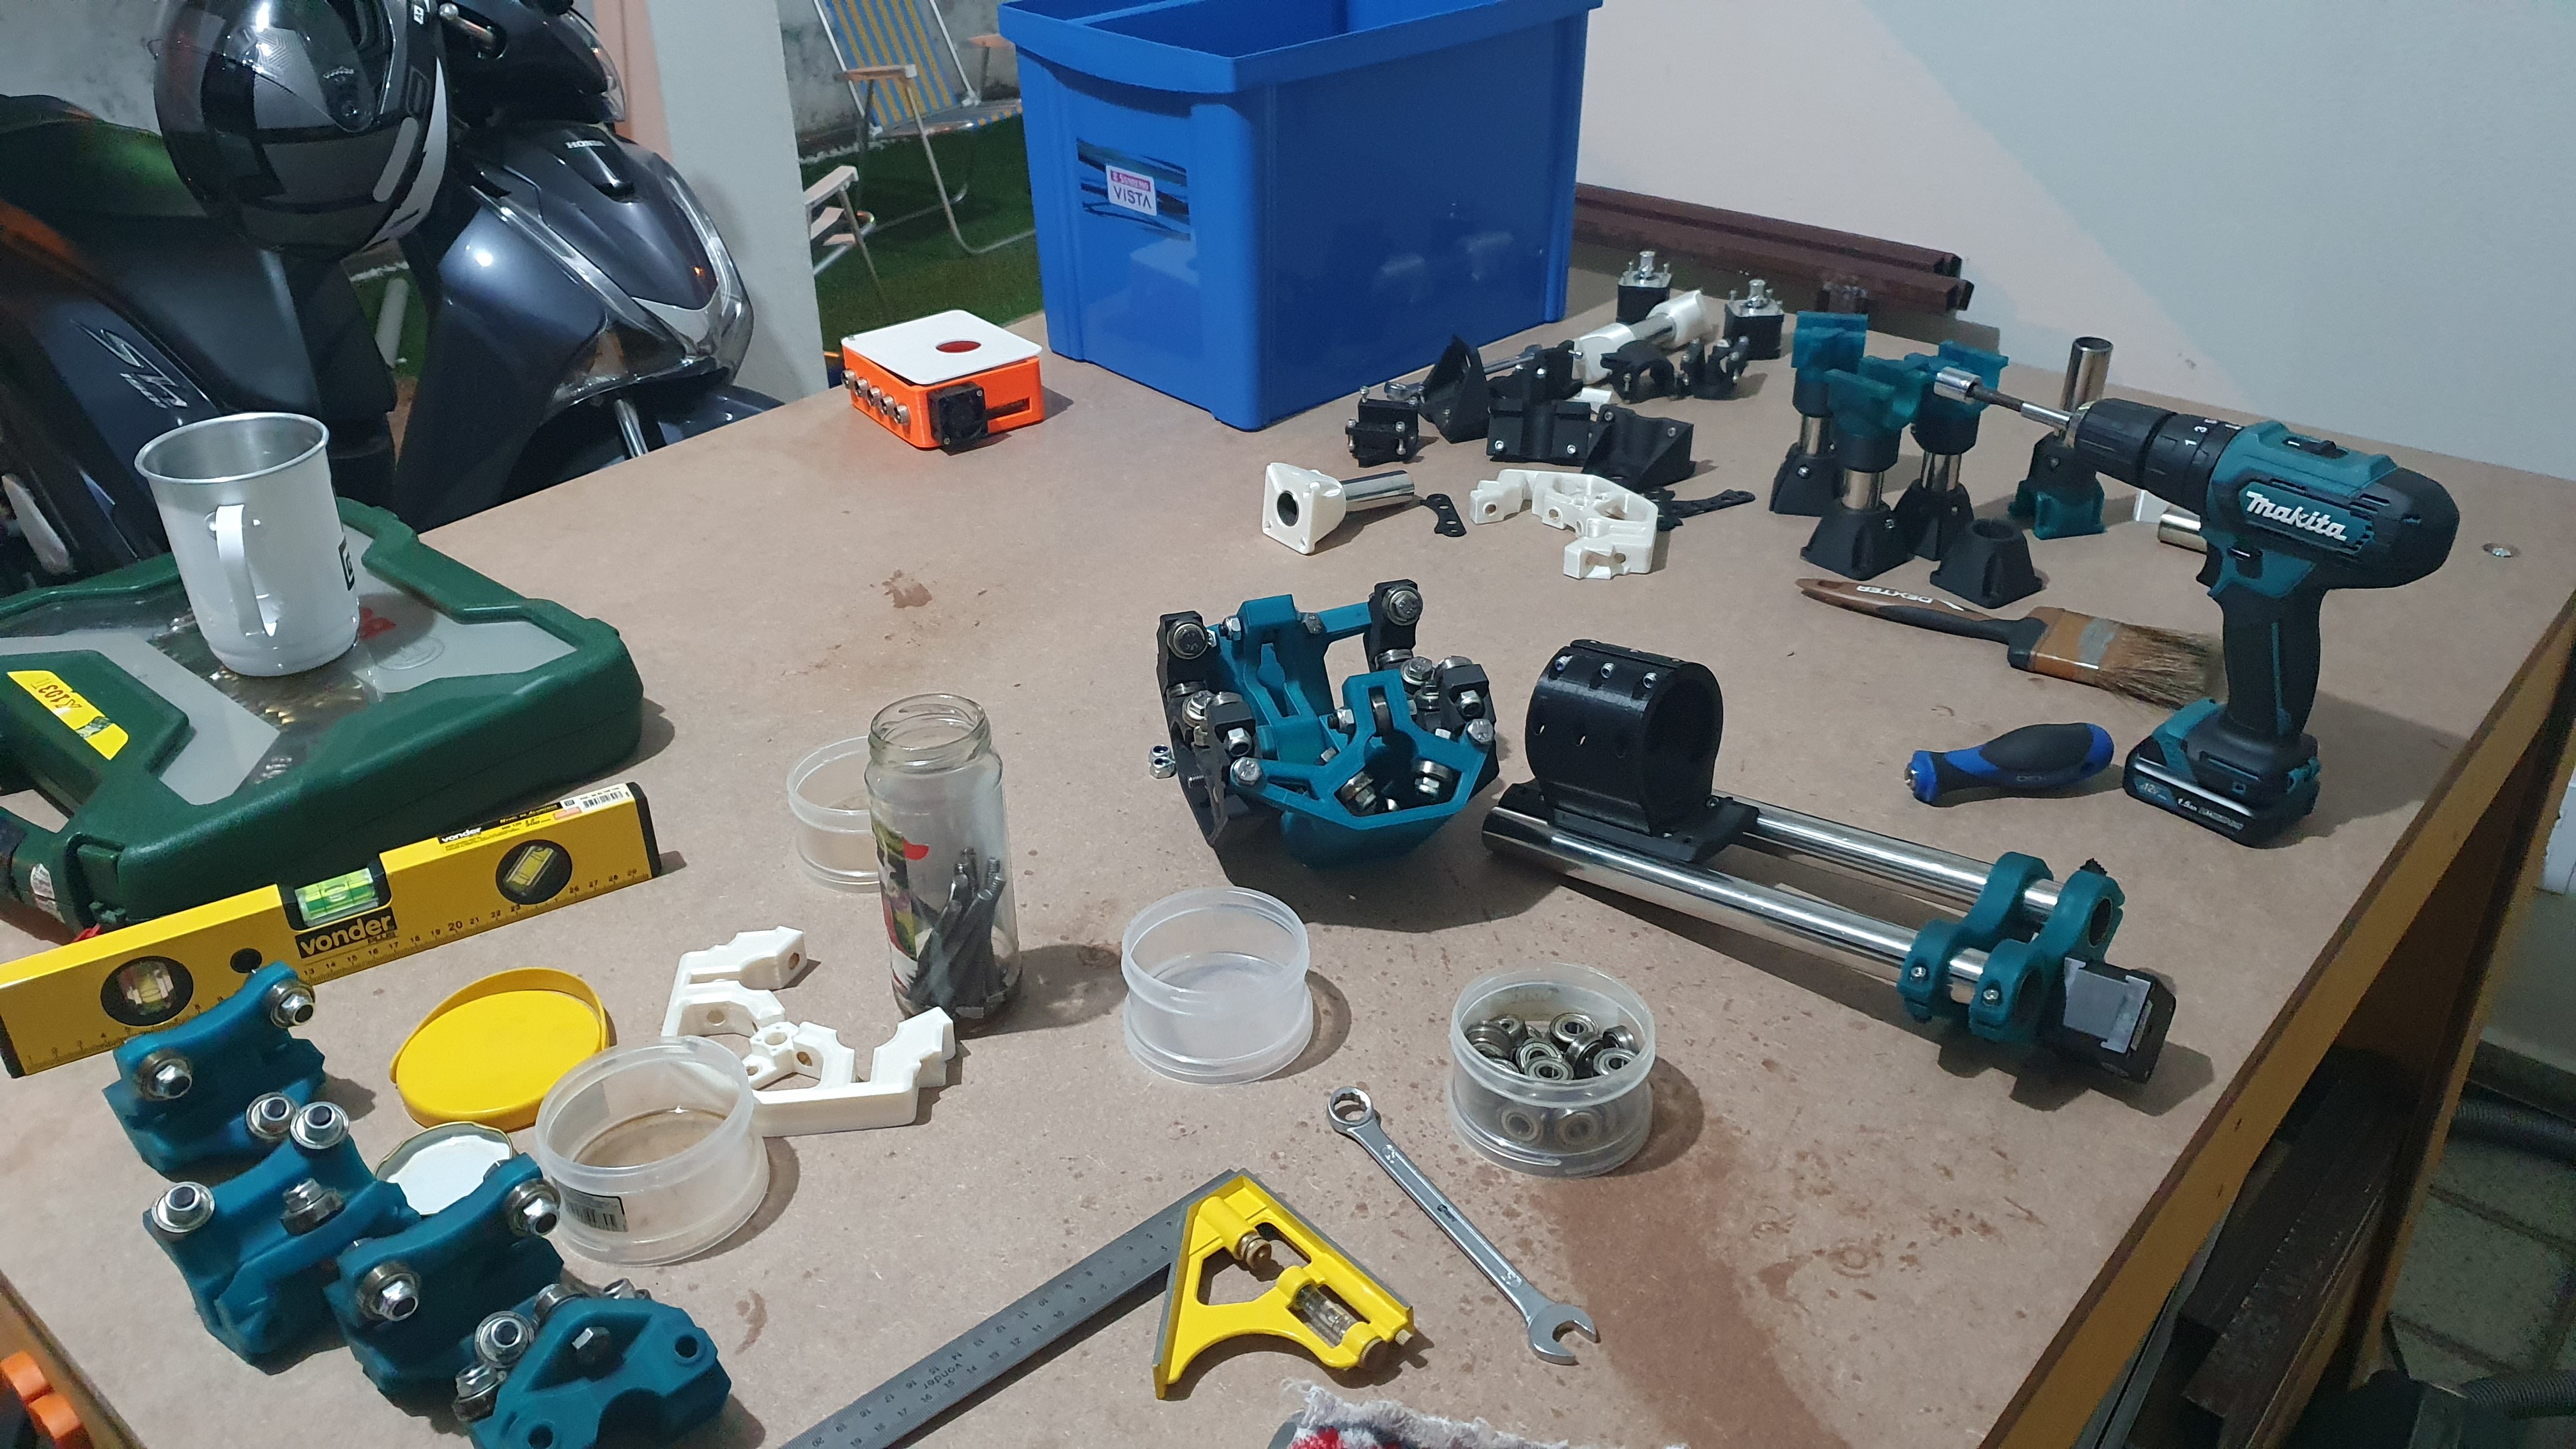
Some details of my build:
Useful area: 1100 x 800 (I would like to be able to machine ¼ sheet of plywood sold here in Brazil that measures 2200 x 1600mm);
Tubes: 1”(25.4mm) OD stainless steel;
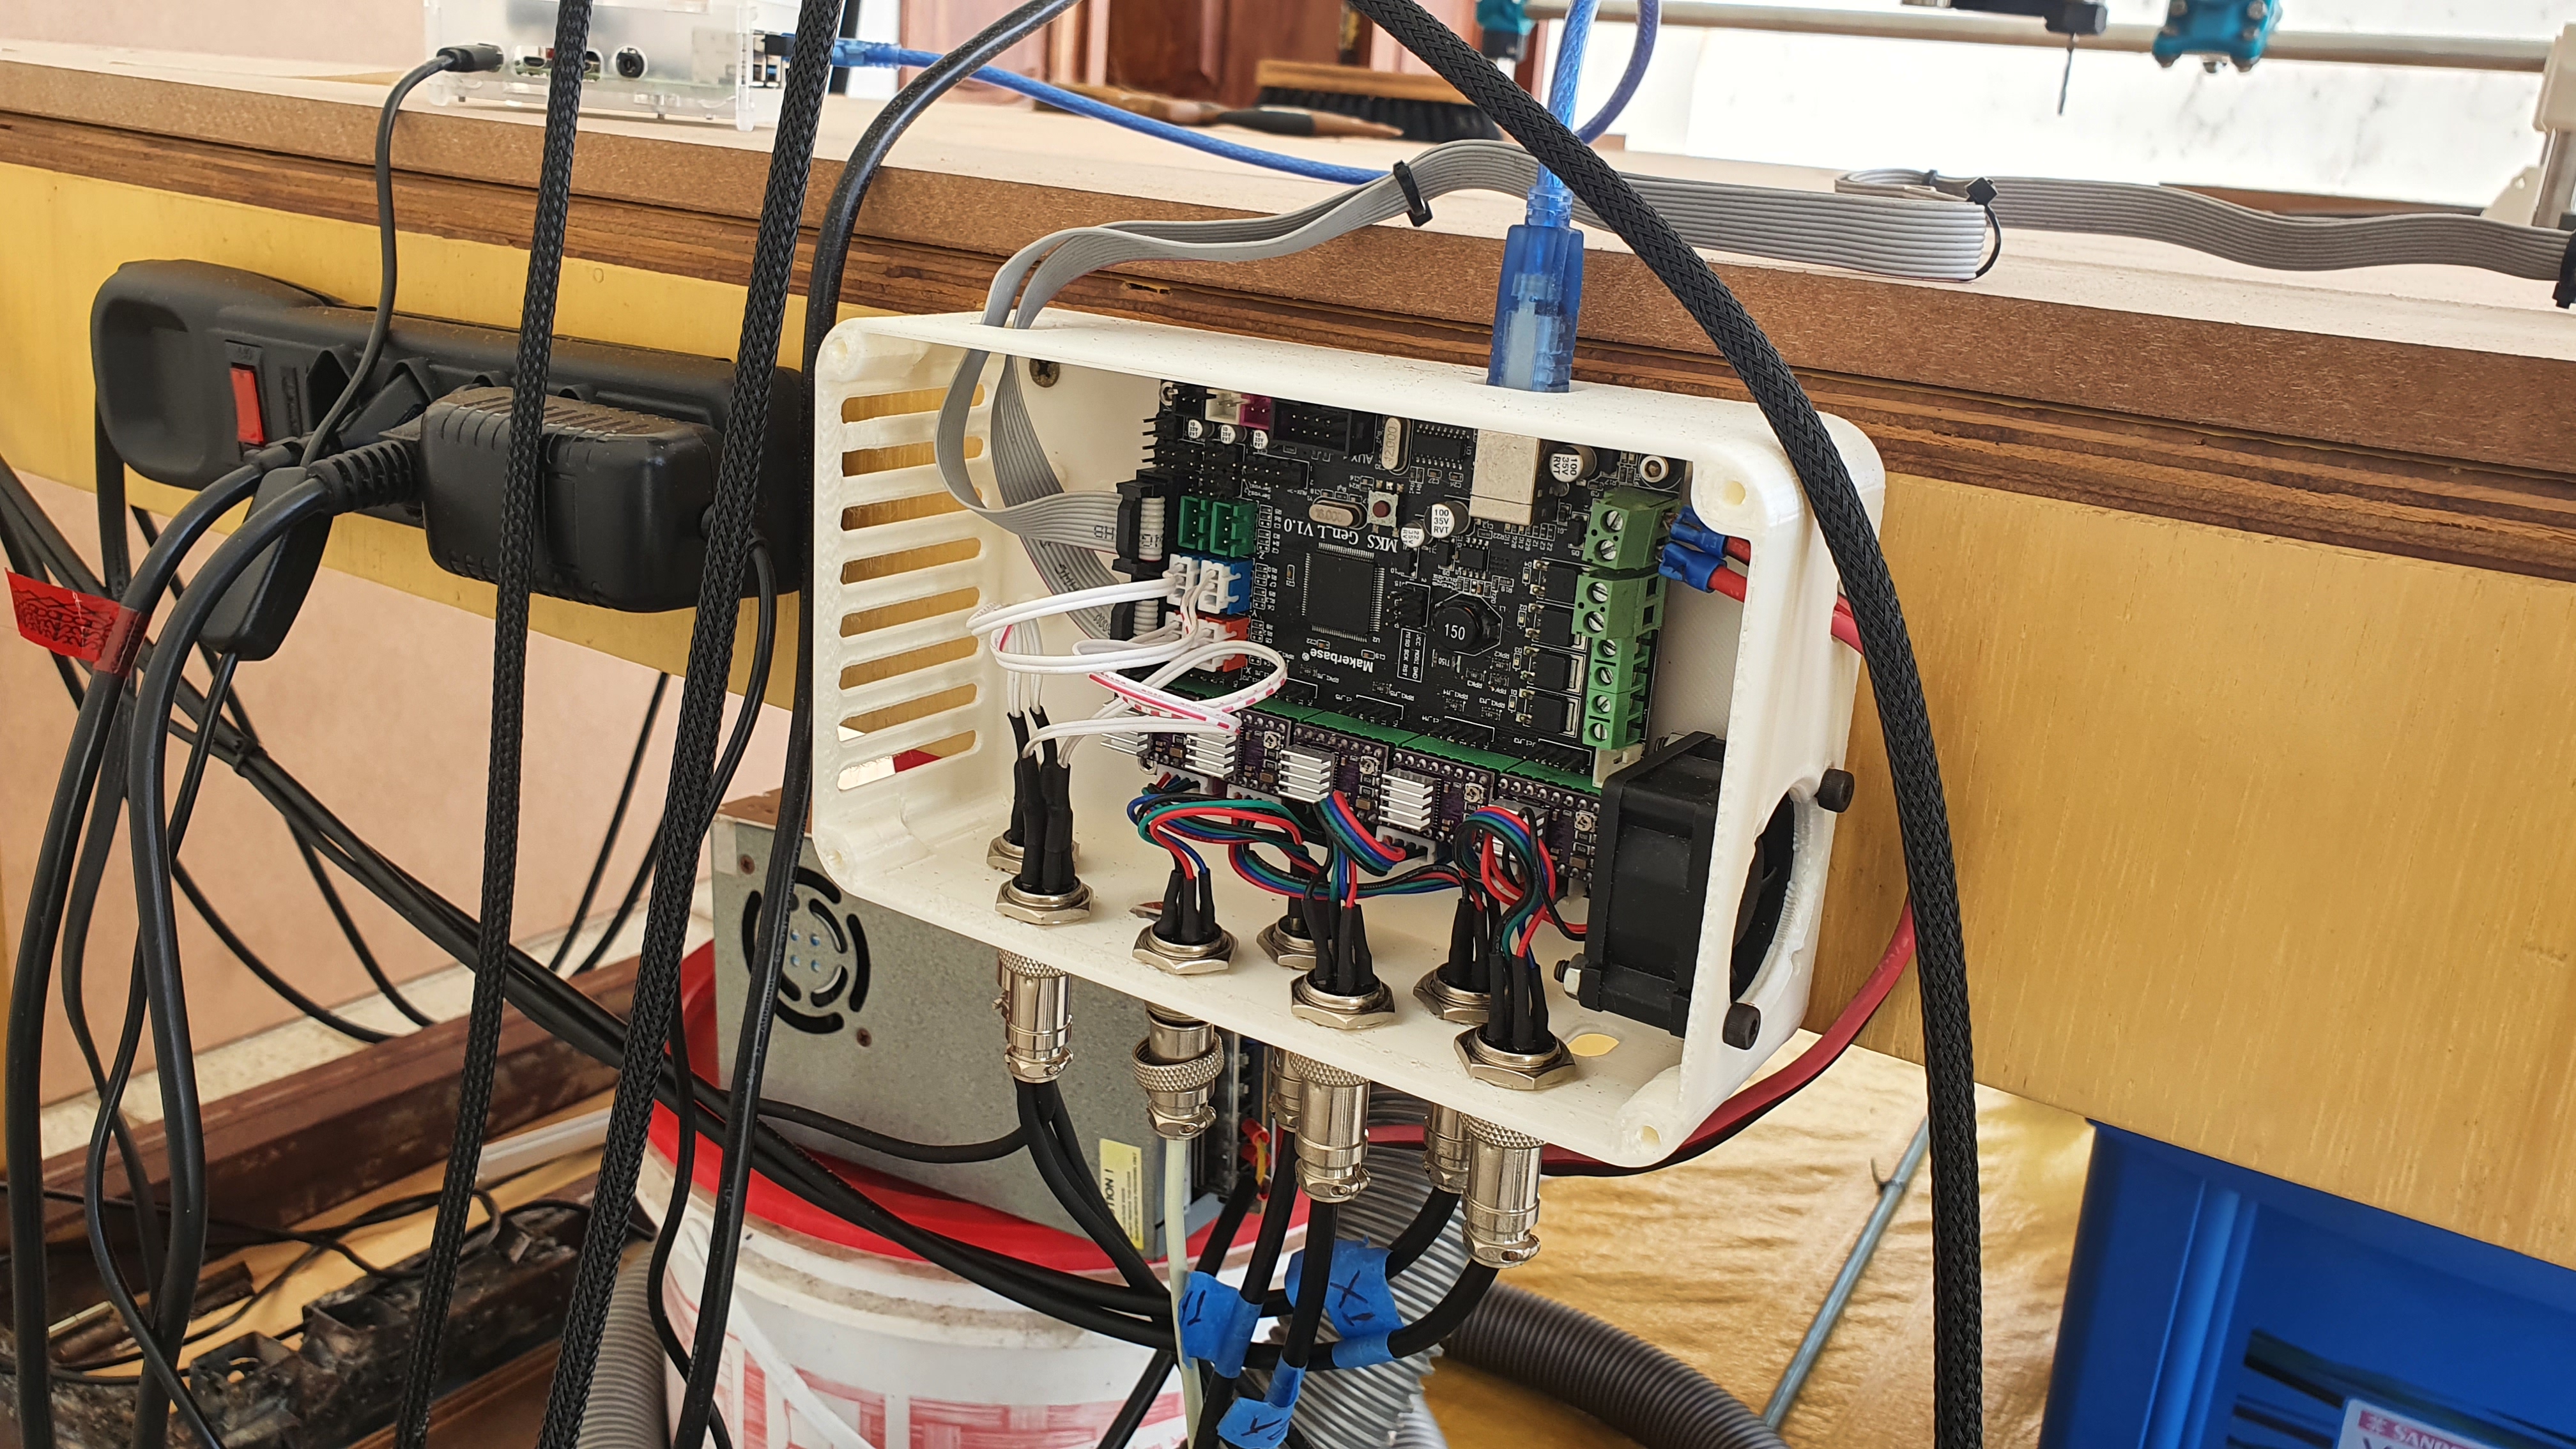
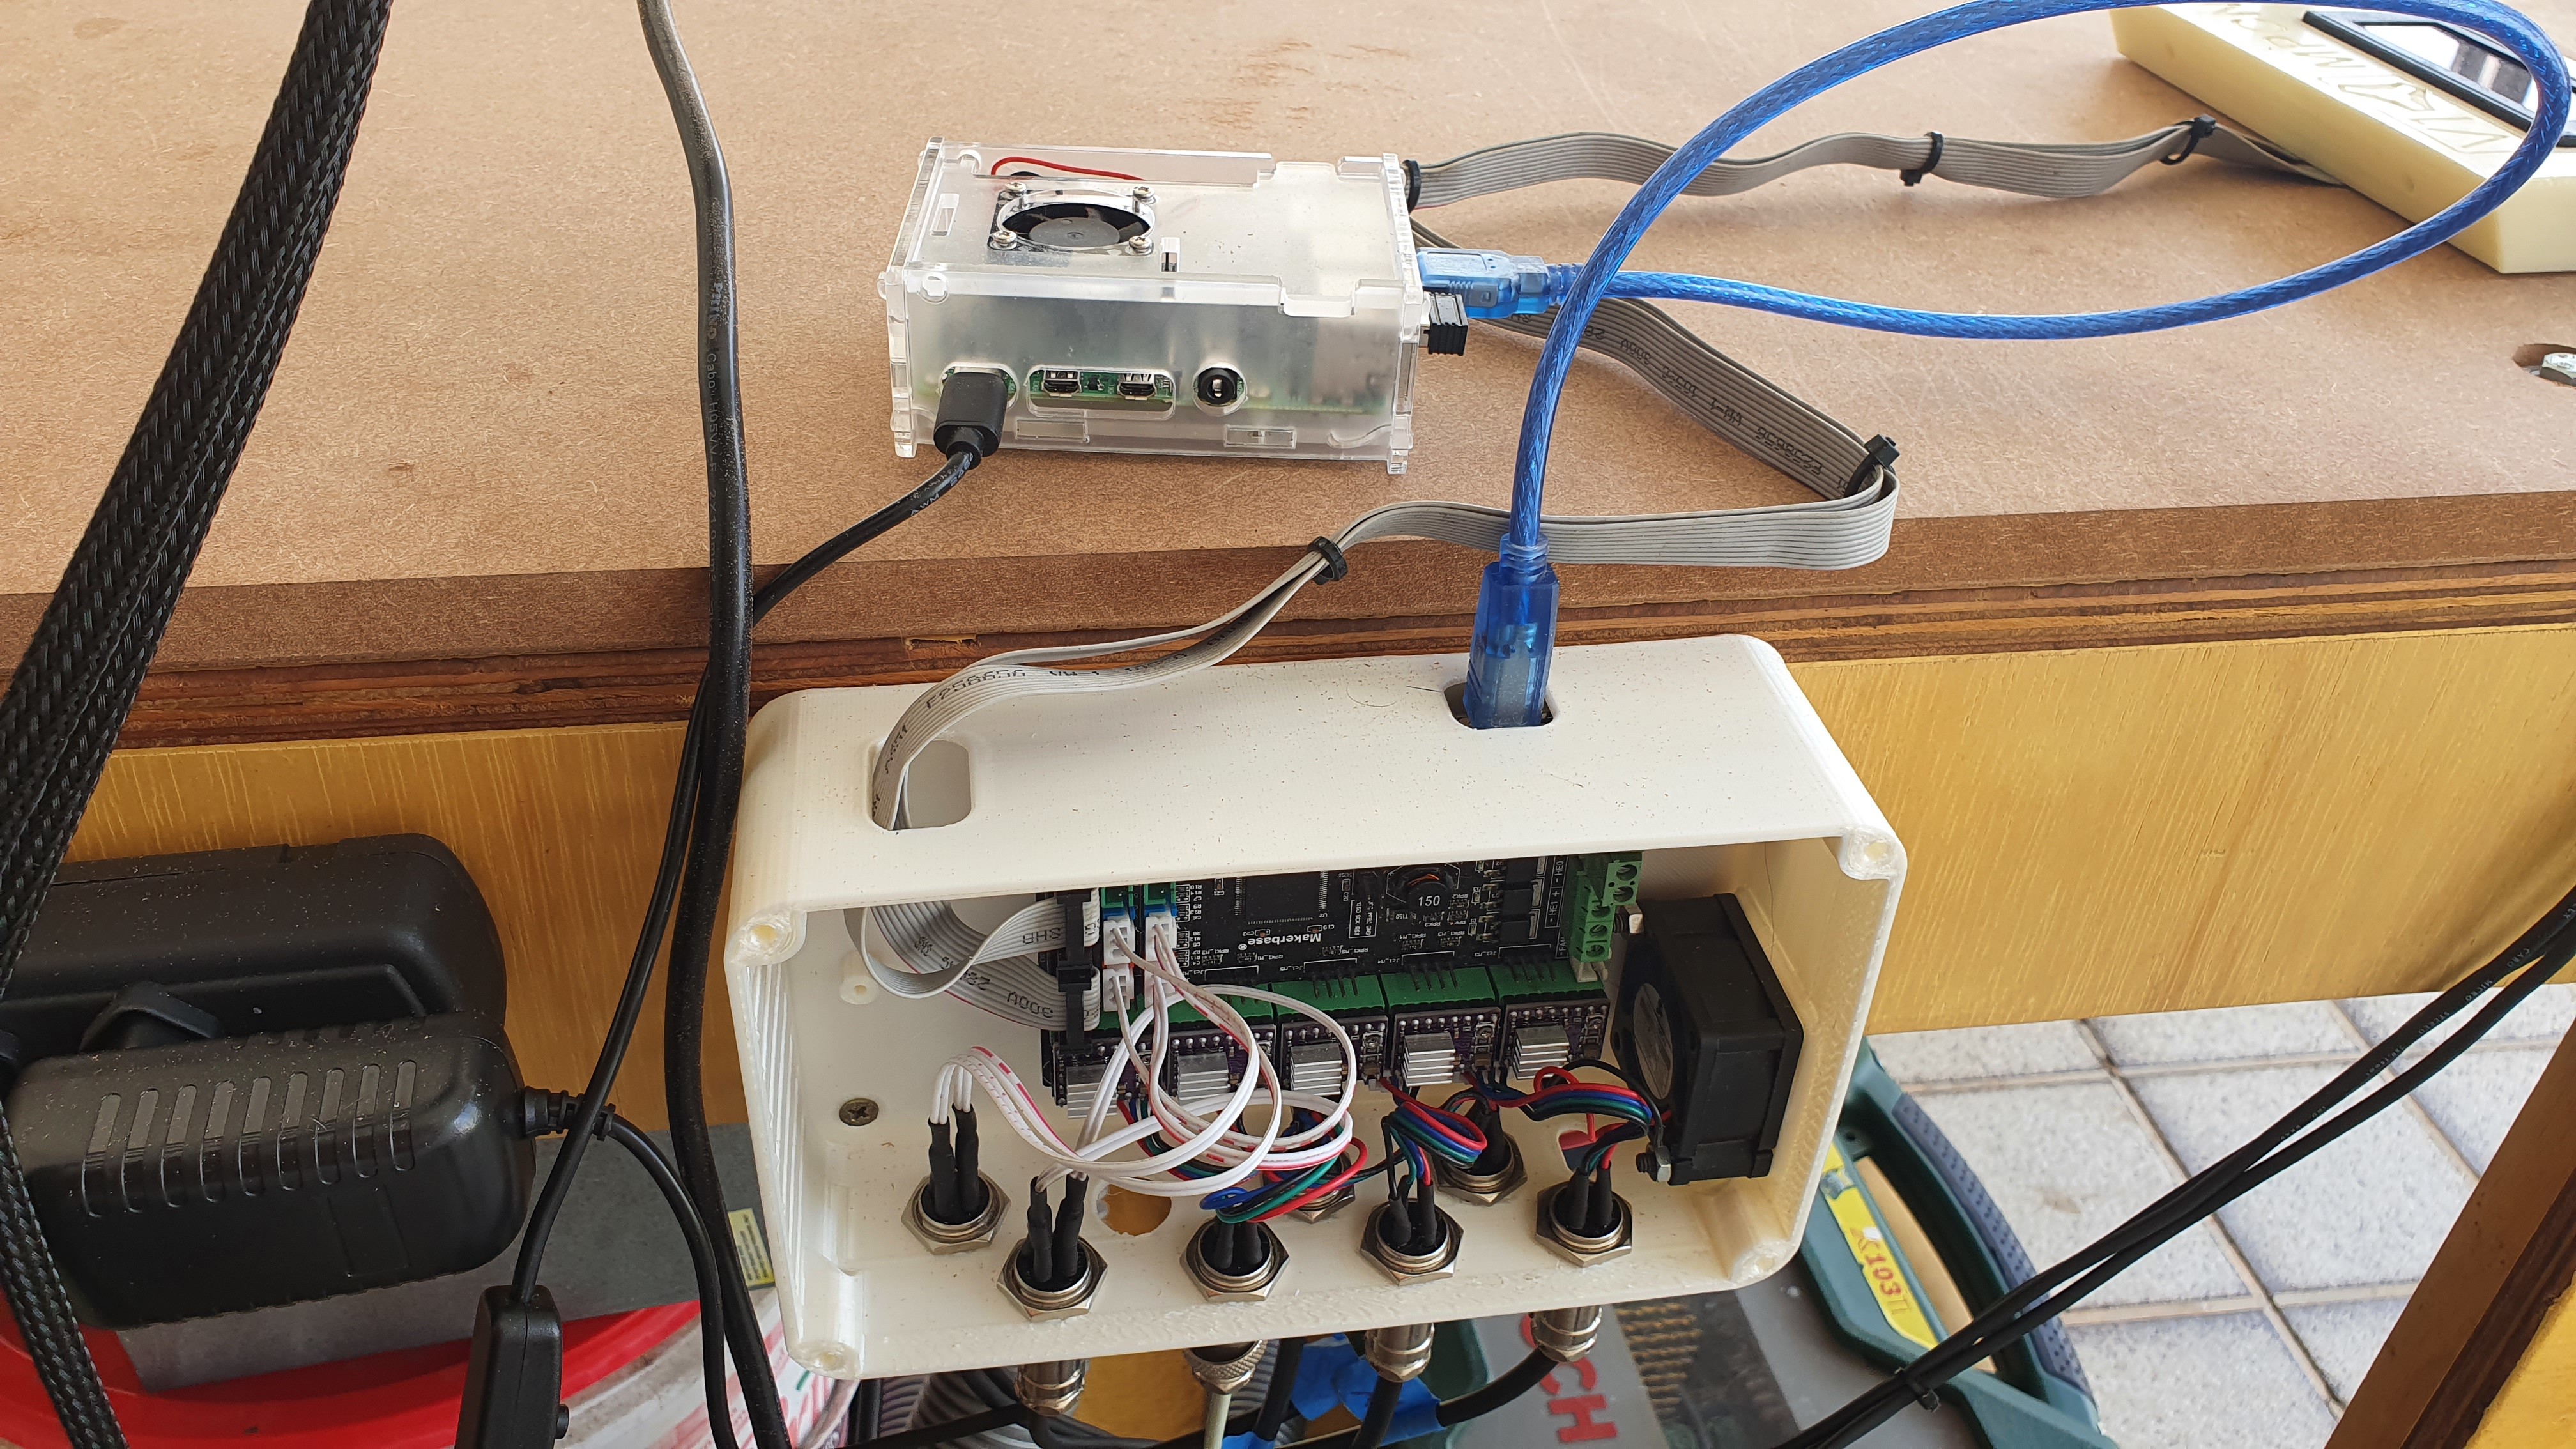
Control board: MKS GEN L;
Drivers: DRV8825;
Spindle: Makita RT700C;
Using a Raspberry Pi 4 with the V1Pi image installed.
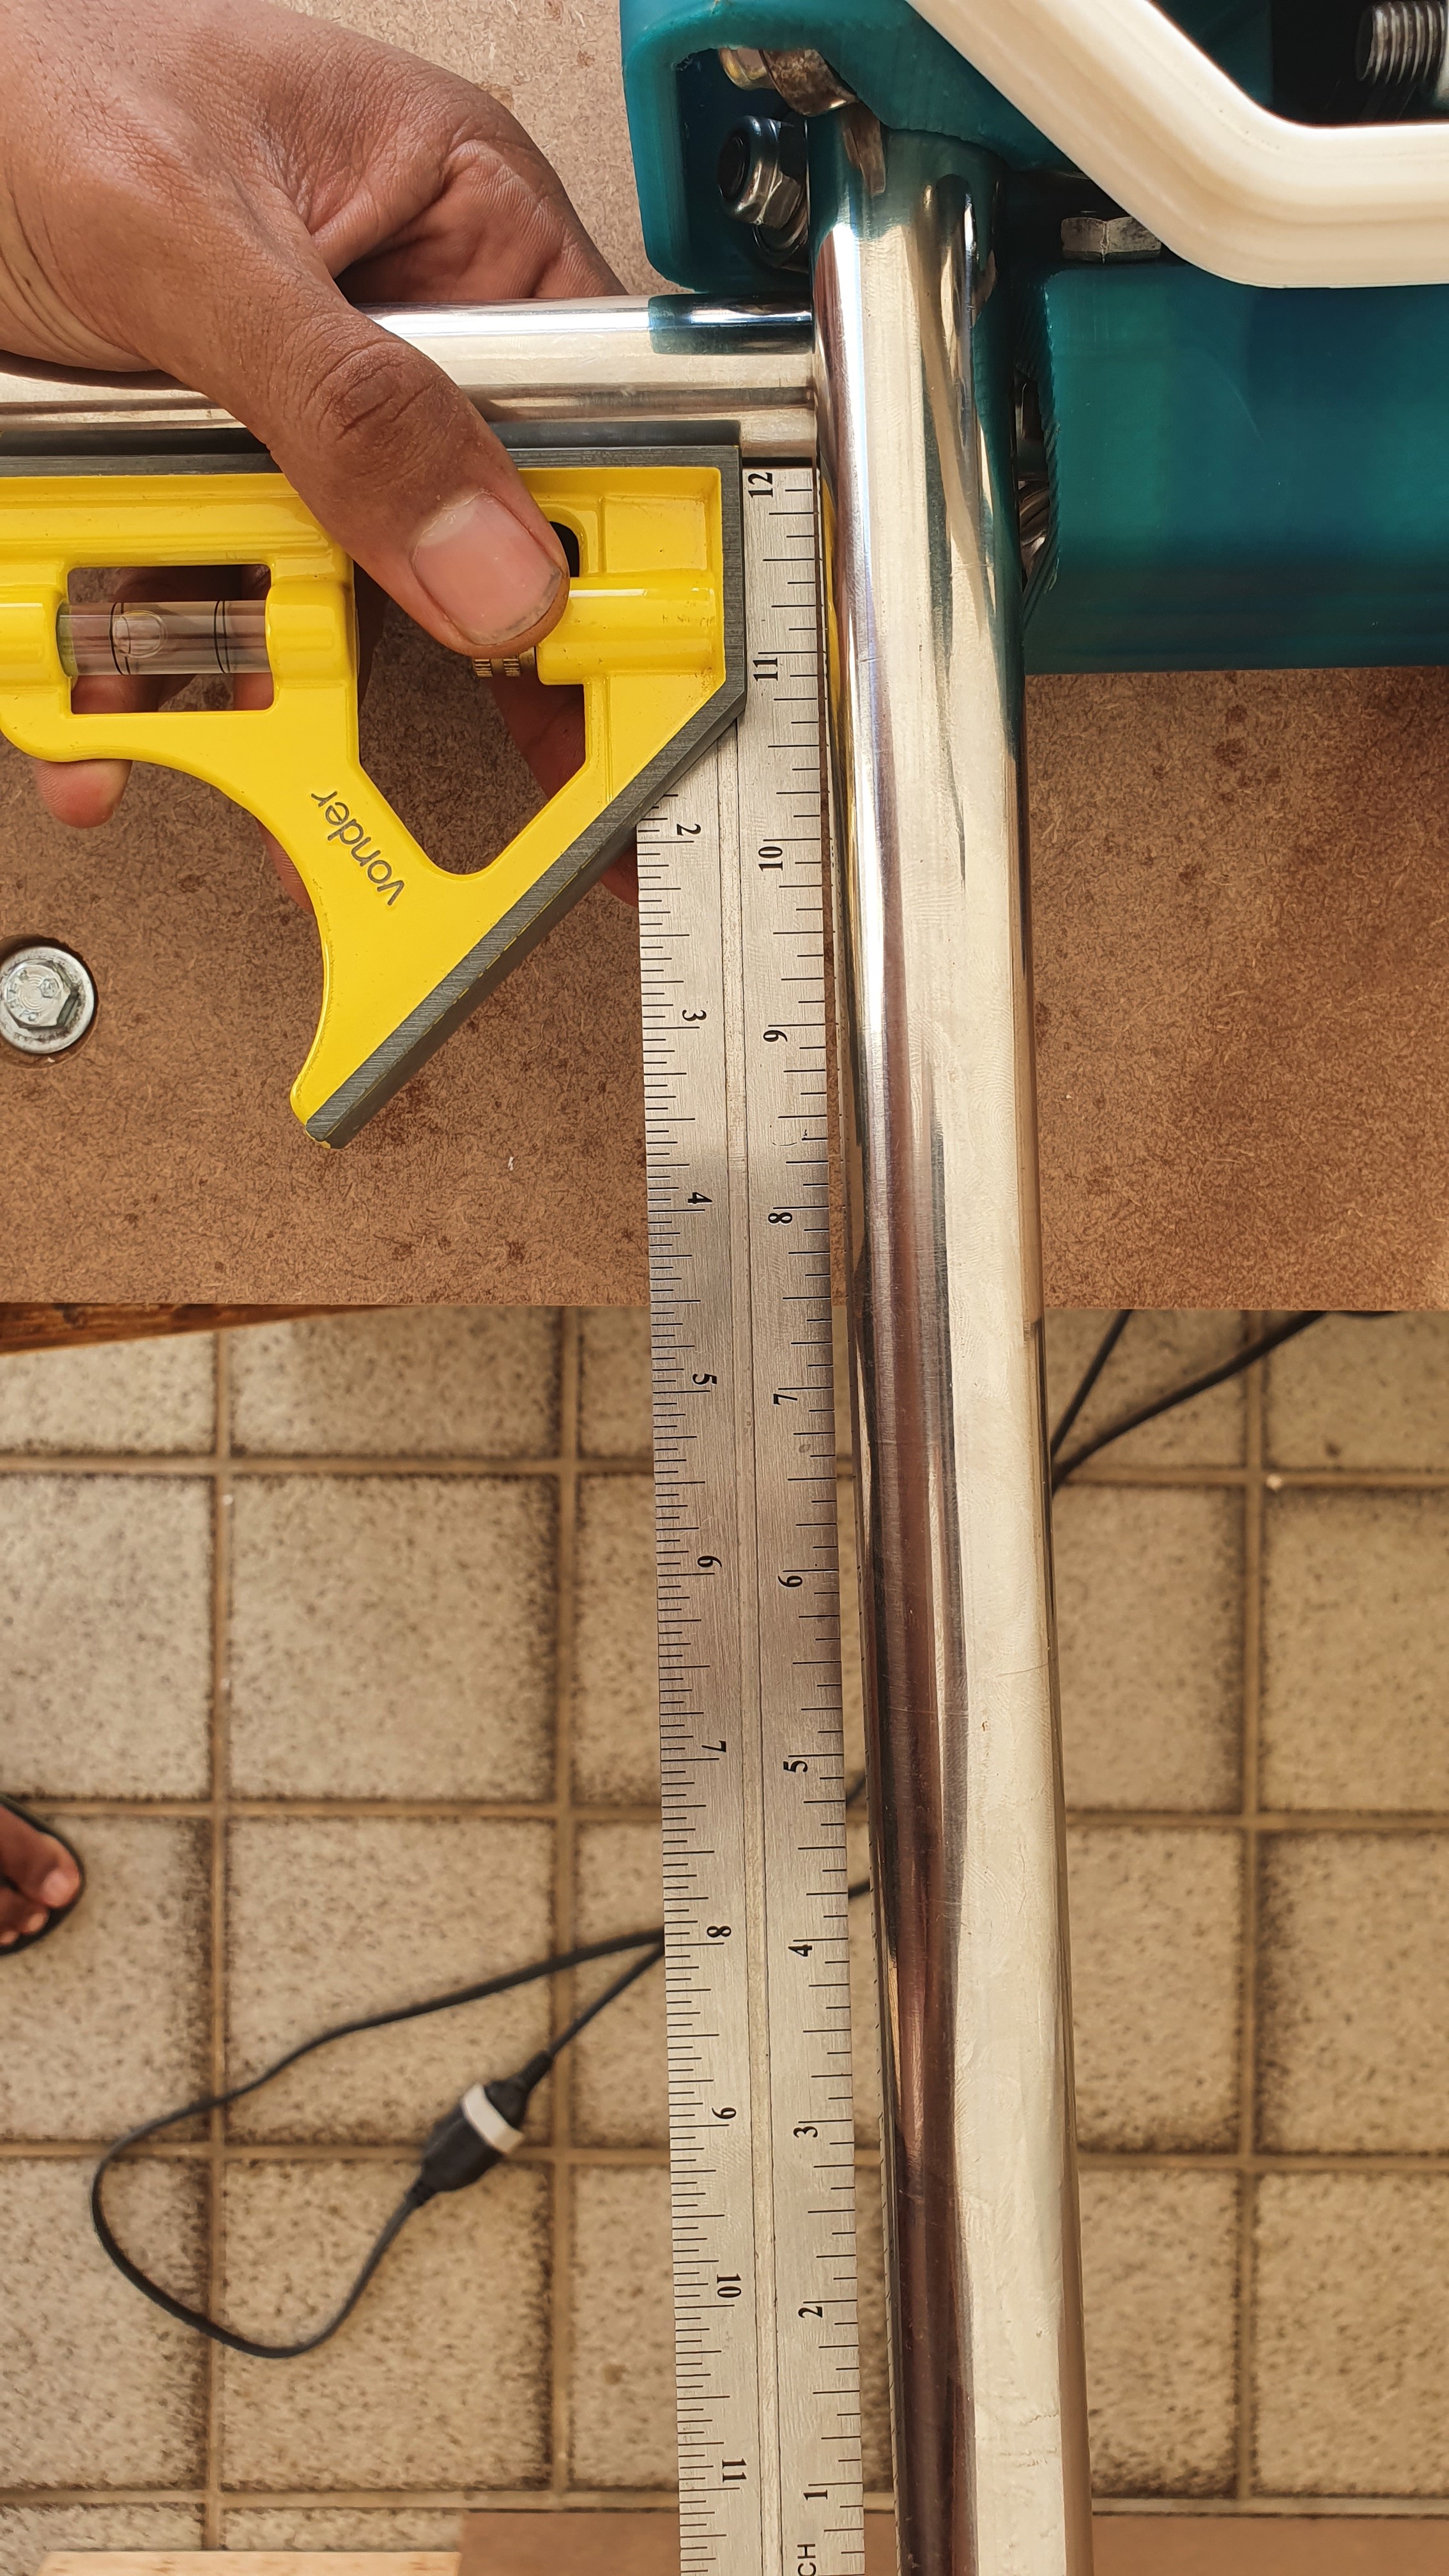
In the first attempt I realized that the tubes of the X and Y axes were not perfectly square but I set up the machine anyway. Then I found that my printer wasn’t perfectly square. After resolving that I decided to print the XYZ parts again (white parts), but the X and Y axis tubes remained out of square. So finally I decided to reassemble the machine with the XYZ parts that I had previously printed (black parts) just for aesthetics.
I installed a version of grbl-Mega-5X that @johnboiles did a great job making the necessary changes to the firmware be compatible with MPCNC using a RAMBO or RAMPS board, which is kind of my case since I’m using an MKS GEN L, that is basically an Arduino Mega with an integrated RAMPS with a few extra pins.
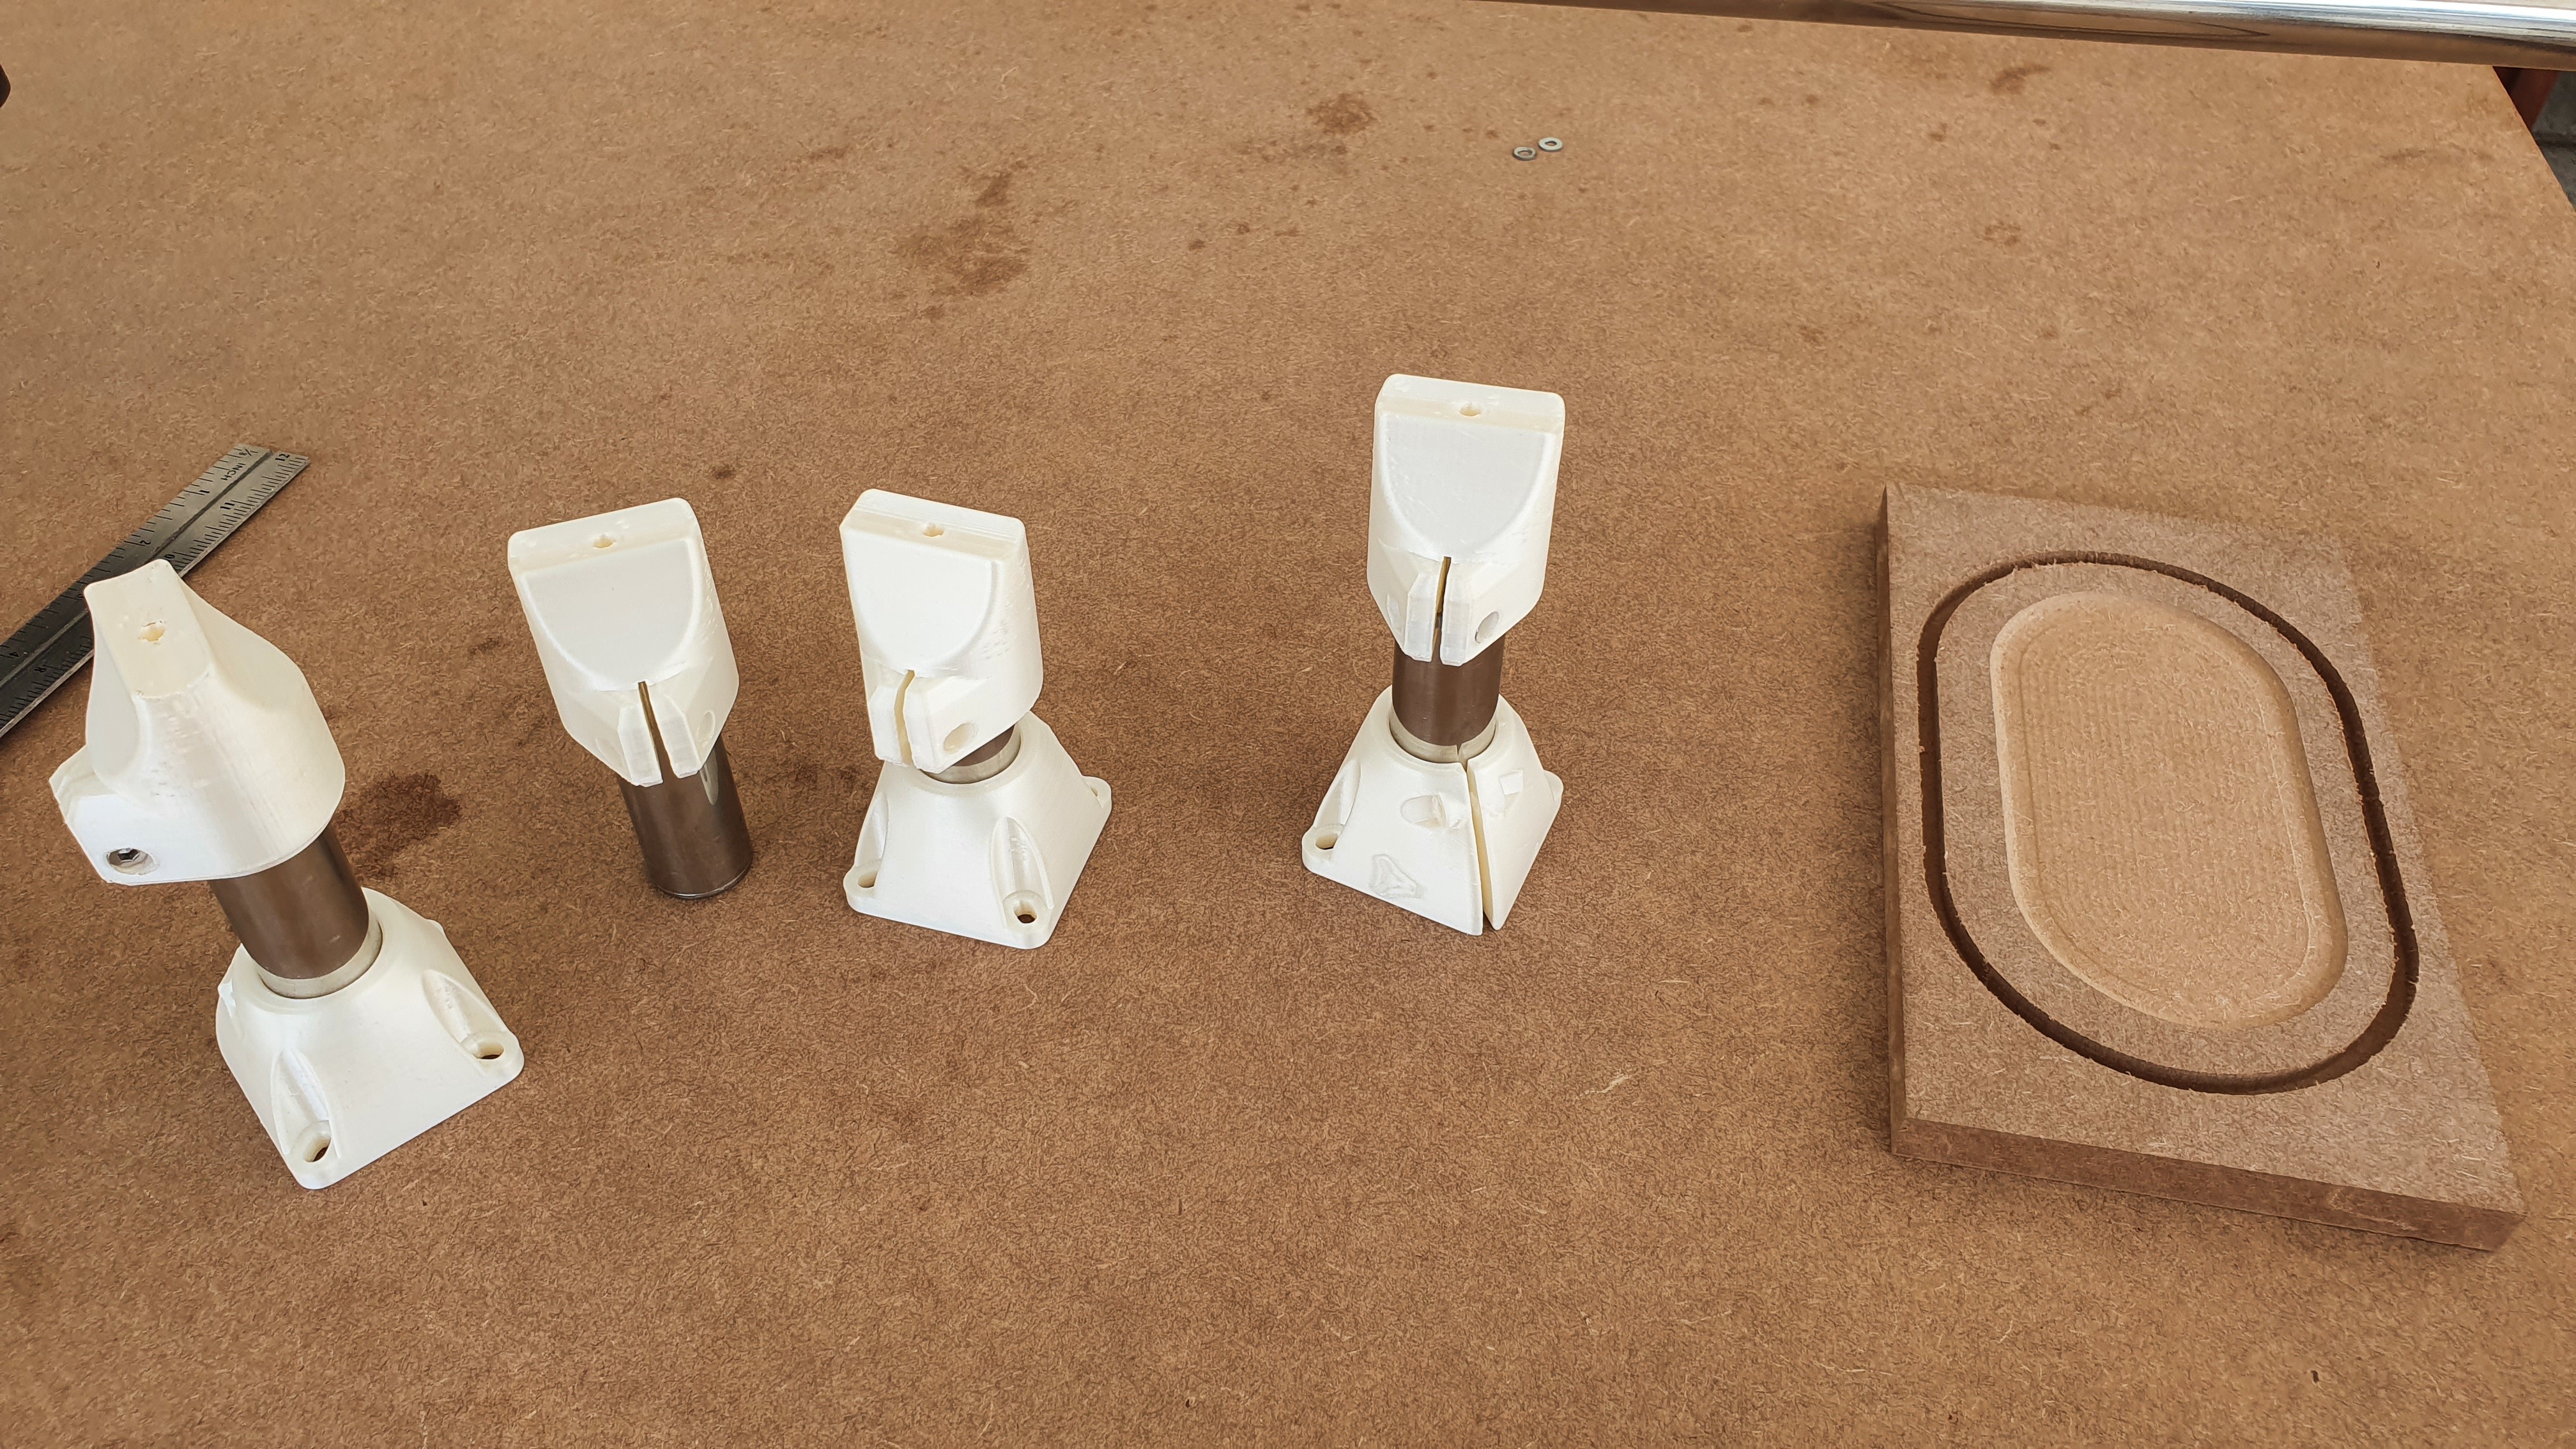
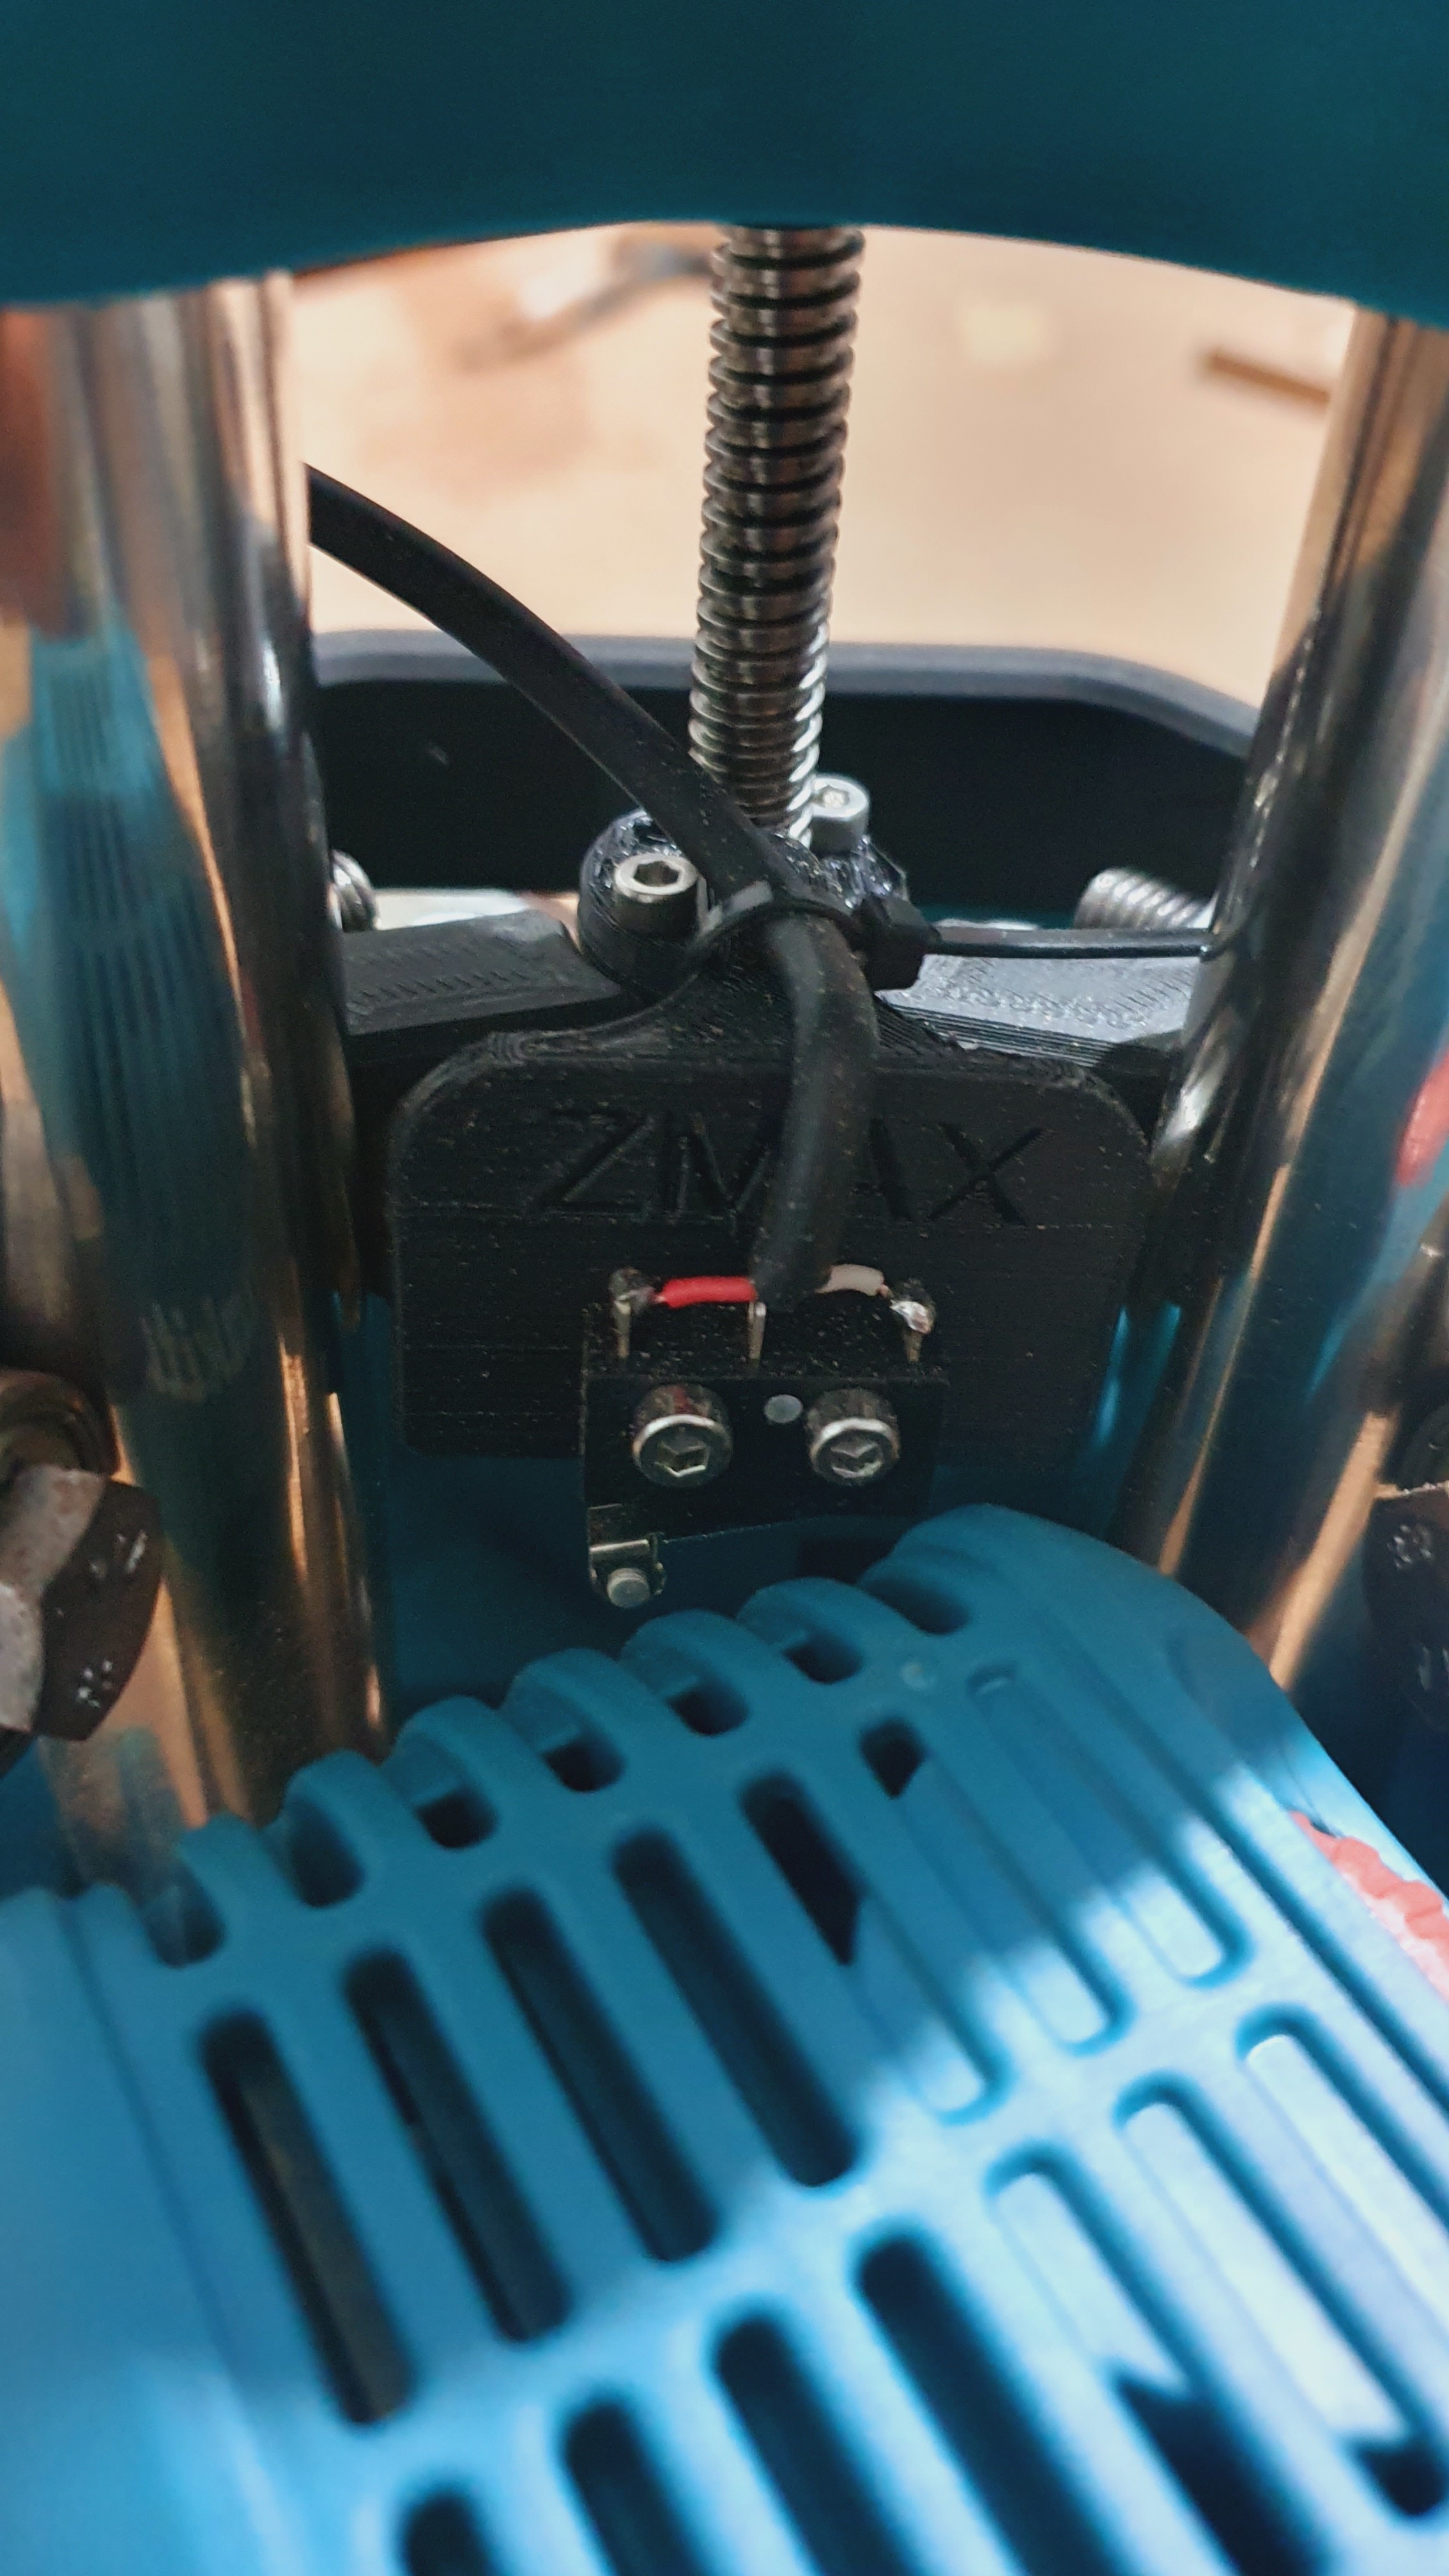
I liked the idea of the grbl homing sequence, including the Z-axis, so I printed a mount to install a limit switch for the Z-Max. With this configuration, I was able to generate some toolpaths using Fusion 360 and the post-processor for grbl. I uploaded the gcode files using CNS.js and everything went smoothly. The machine and work coordinates were being updated in “real-time” and when I pressed the button to pause the work, the machine would stop instantly, unlike Marlin.
Since I am using grbl, the LCD display I used to use doesn’t work anymore, which for me is not a big deal, cause I have been using CNS.js in my iPad through the v1pi image installed on my Raspberry Pi 4.
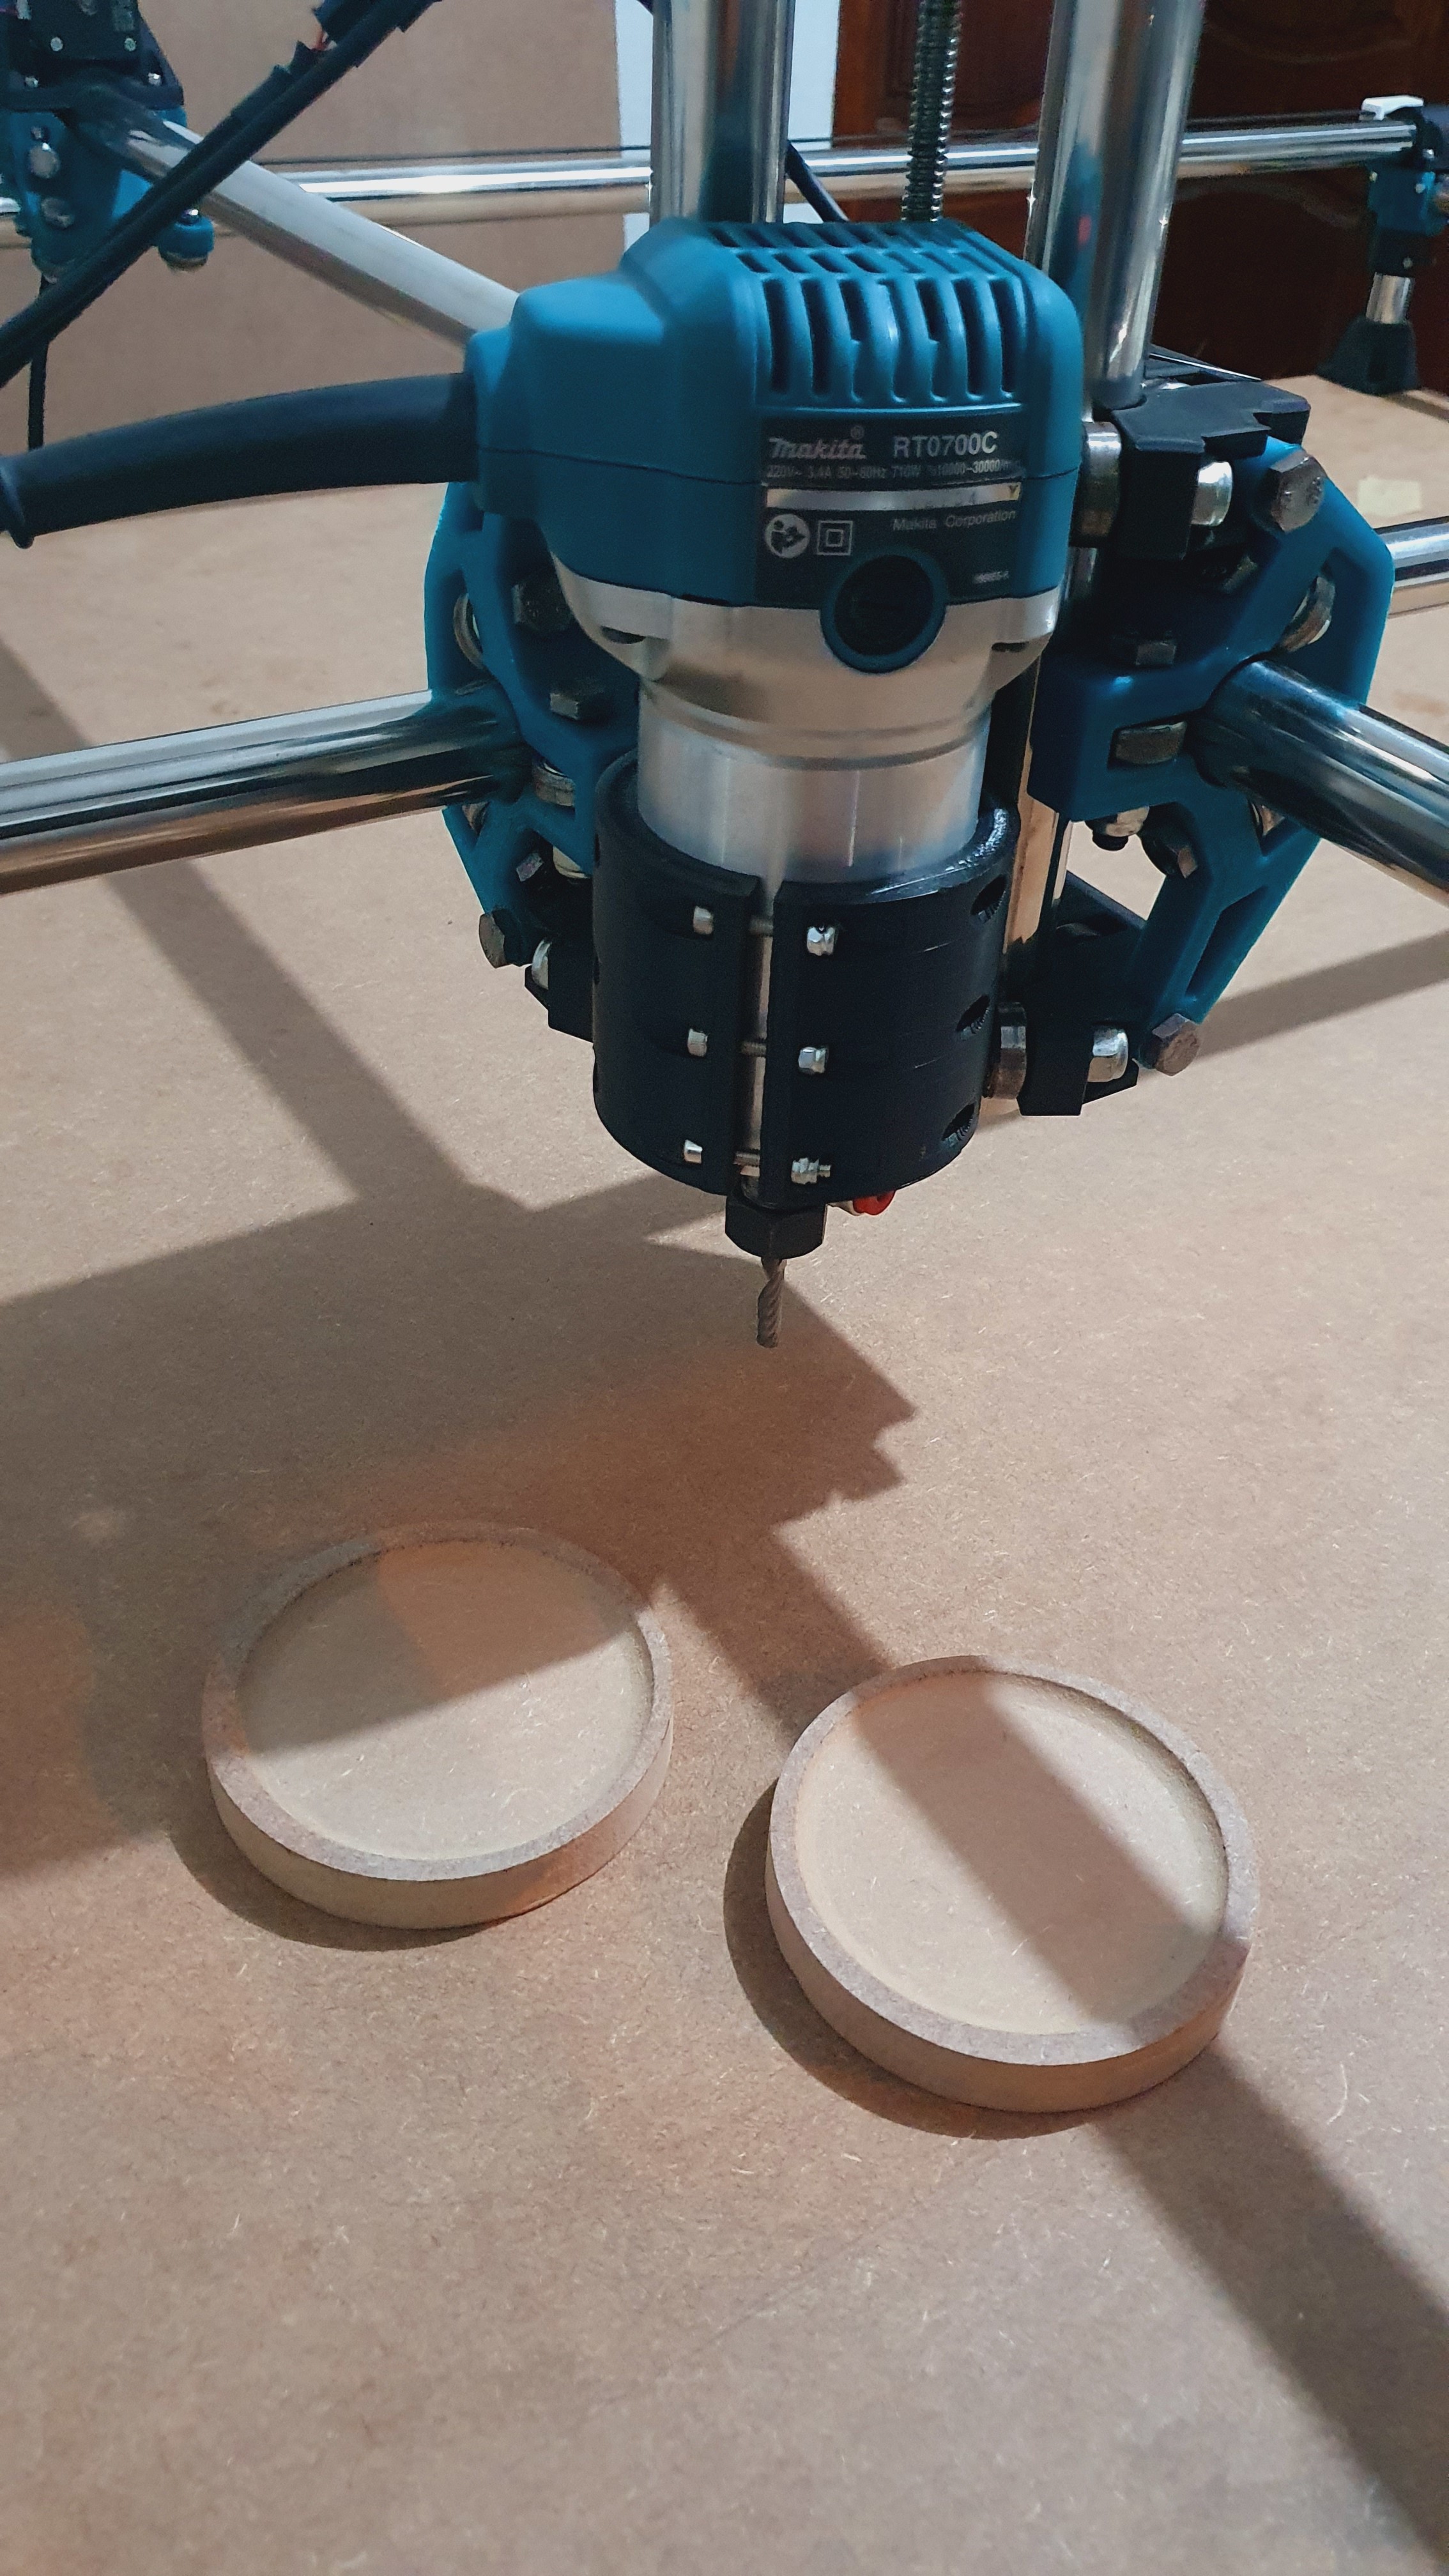
After making those changes to the machine and firmware I managed to cut my first “useful” objects, two 15 mm MDF coasters. I know that MDF is not the most suitable material to put something moist on top, but for me, this was a good test. The result was satisfactory but I know that there is still a lot of room for improvement.
Here are some pics of the Z-max mount and the coasters:
Opa GP, muito obrigado pelas boas vindas, estou nesse momento imprimindo algumas melhorias para a máquina. Finalizar parece algo impossível, sempre tem algo para melhorar.