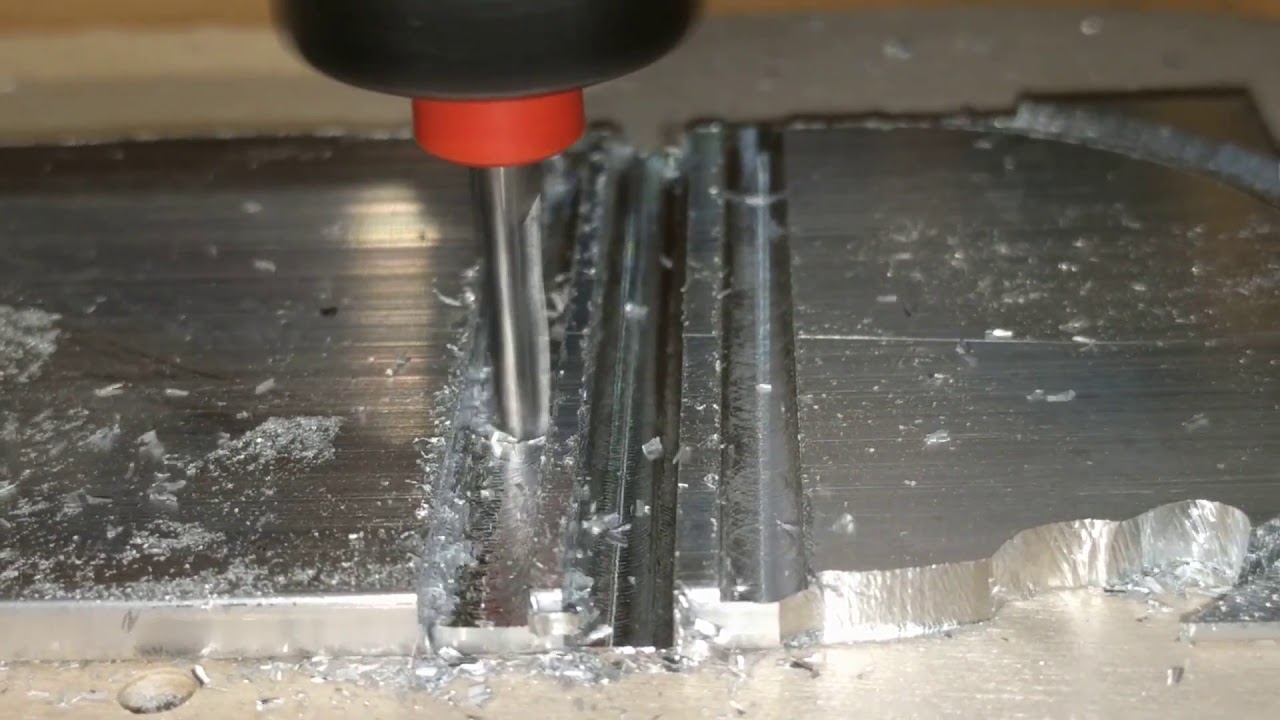
What feeds/speeds are you guys using to mill out an engine block?
That is the weirdest bunk bed I’ve ever seen!
Hmm Thats mean that is Good 
You doing a 4th axis in the deep part, or just so you can engrave on tall stuff?
lower part will be for extras like u say 4 axis, 3d printing if I want or just bigger material. On top of that it will be table with normal hight. then legs of the machine I can go almost all the way down.
Now question to u guys how you are mounting your material to table, I was thinking to use 20mm hols but then I need to fix something to get ride of dust from under the table.
Blue painters tape and superglue, or just screw the board to the waste board.
I have the top covered with 3/4" plywood, which is screwed in where the machine can’t reach. Then I use screws to attach the work, in areas that I know aren’t part of the final product. If I can’t screw it down, like if I’m engraving on an otherwise finished workpiece, I have some 1/4" plywood that is about 2"x12". I put it on the edge of the work, and put a screw in the middle of the plywood to pull it down.
When making through cuts, I add a few mm to make sure it makes it all the way through the work everywhere, so I am trashing the spoil board anyway. A few extra screw holes don’t bother me.
Sry my frend but i don’t like temporary staff.
Thats make quite solid hold i Think.
You’d be surprised at how well it holds. Sometimes there’s no other way to hold something down. I wouldn’t do this with a full sheet of wood, but for something I can’t have extra holes in, this works really really well. The way is works is blue tape on the spoil board and on the piece of aluminum. Run a squiggly line of glue on one piece of tape and spray glue kicker on the other piece. Push them together and taa daa! You can see one of my alignment holes in the spoil board. I run the router across the board and drill a couple holes and put a couple broken end mills in as a guide. Keeps the aluminum parallel with the axis.
Then i will give it a try.?
Dude, that looks sweet!
Very professional looking. You’ll have to carve a sign for it.
Wow! All our mpcncs are going to be jealous that they don’t get to live in such fine conditions. If you’re 3d printing that will be a great enclosure. If you’re milling then prepare to get it dirty fast!
Okay, stop it, now I am getting jealous. I have been trying to work on my ZenXY and have been stuck with emails, accounting, and the forums for almost 5 hours already…There is a hotrod show 1/4mile from me next to the coffee shop. If you don’t here from me again I traded the company for a hotrod, I will start a TV show touring the globe in it visiting all the cnc builds … peace out.
I need small help. My MPCNC will be self squaring or I say it wrong I don’t won to square it each time. i won to desine some rigid end sop holder (bouncer). And I need this to dimension when you move your gentry all the way in corner. what space we have between corner and sliders
[attachment file=41164]
I printed a part from thingiverse that clipped over the tube, so it was easily removable. It was on the other side though, the side with the DeWalt tool. I just spent a few minutes looking for it and I can’t find it. I can take a pic of the ones I have and give you a length if you want.
That was probably my favorite mpcnc upgrade. Very easy to use and had an immediate impact on quality.


