Here we go. My first ever CNC machine will be the MPCNC Primo! I started printing parts on my Prusa i3 MK2.5s. Purchased and received the Primo Kit w Dual steppers and the Rambo 1.4 board. Ordered some 1" OD X .065" wall X .870" ID 304 Stainless Round Tube from MetalsDepot.com.
This will be a slow build as I’m working from home full-time and helping my kindergartener with distance learning… at the end of the day I’m wiped but this project has given me something to be excited about!!! Also, THANK YOU to the awesome community.
I’m debating on a workspace of 24x24x3 and 24x20x3.5. Not sure if a Z height of 3 or 3.5 inches for milling 2" stock hardwood but I’ll mainly be doing thinner boards for boxes and puzzles. Any inputs on this welcome. I’m also future planning for having this enclosed in some manner to keep a shared garage clean. I don’t have a dust collection system as I’m mainly a handtool woodworker but I do have a small shop-vac that might get connected somehow.
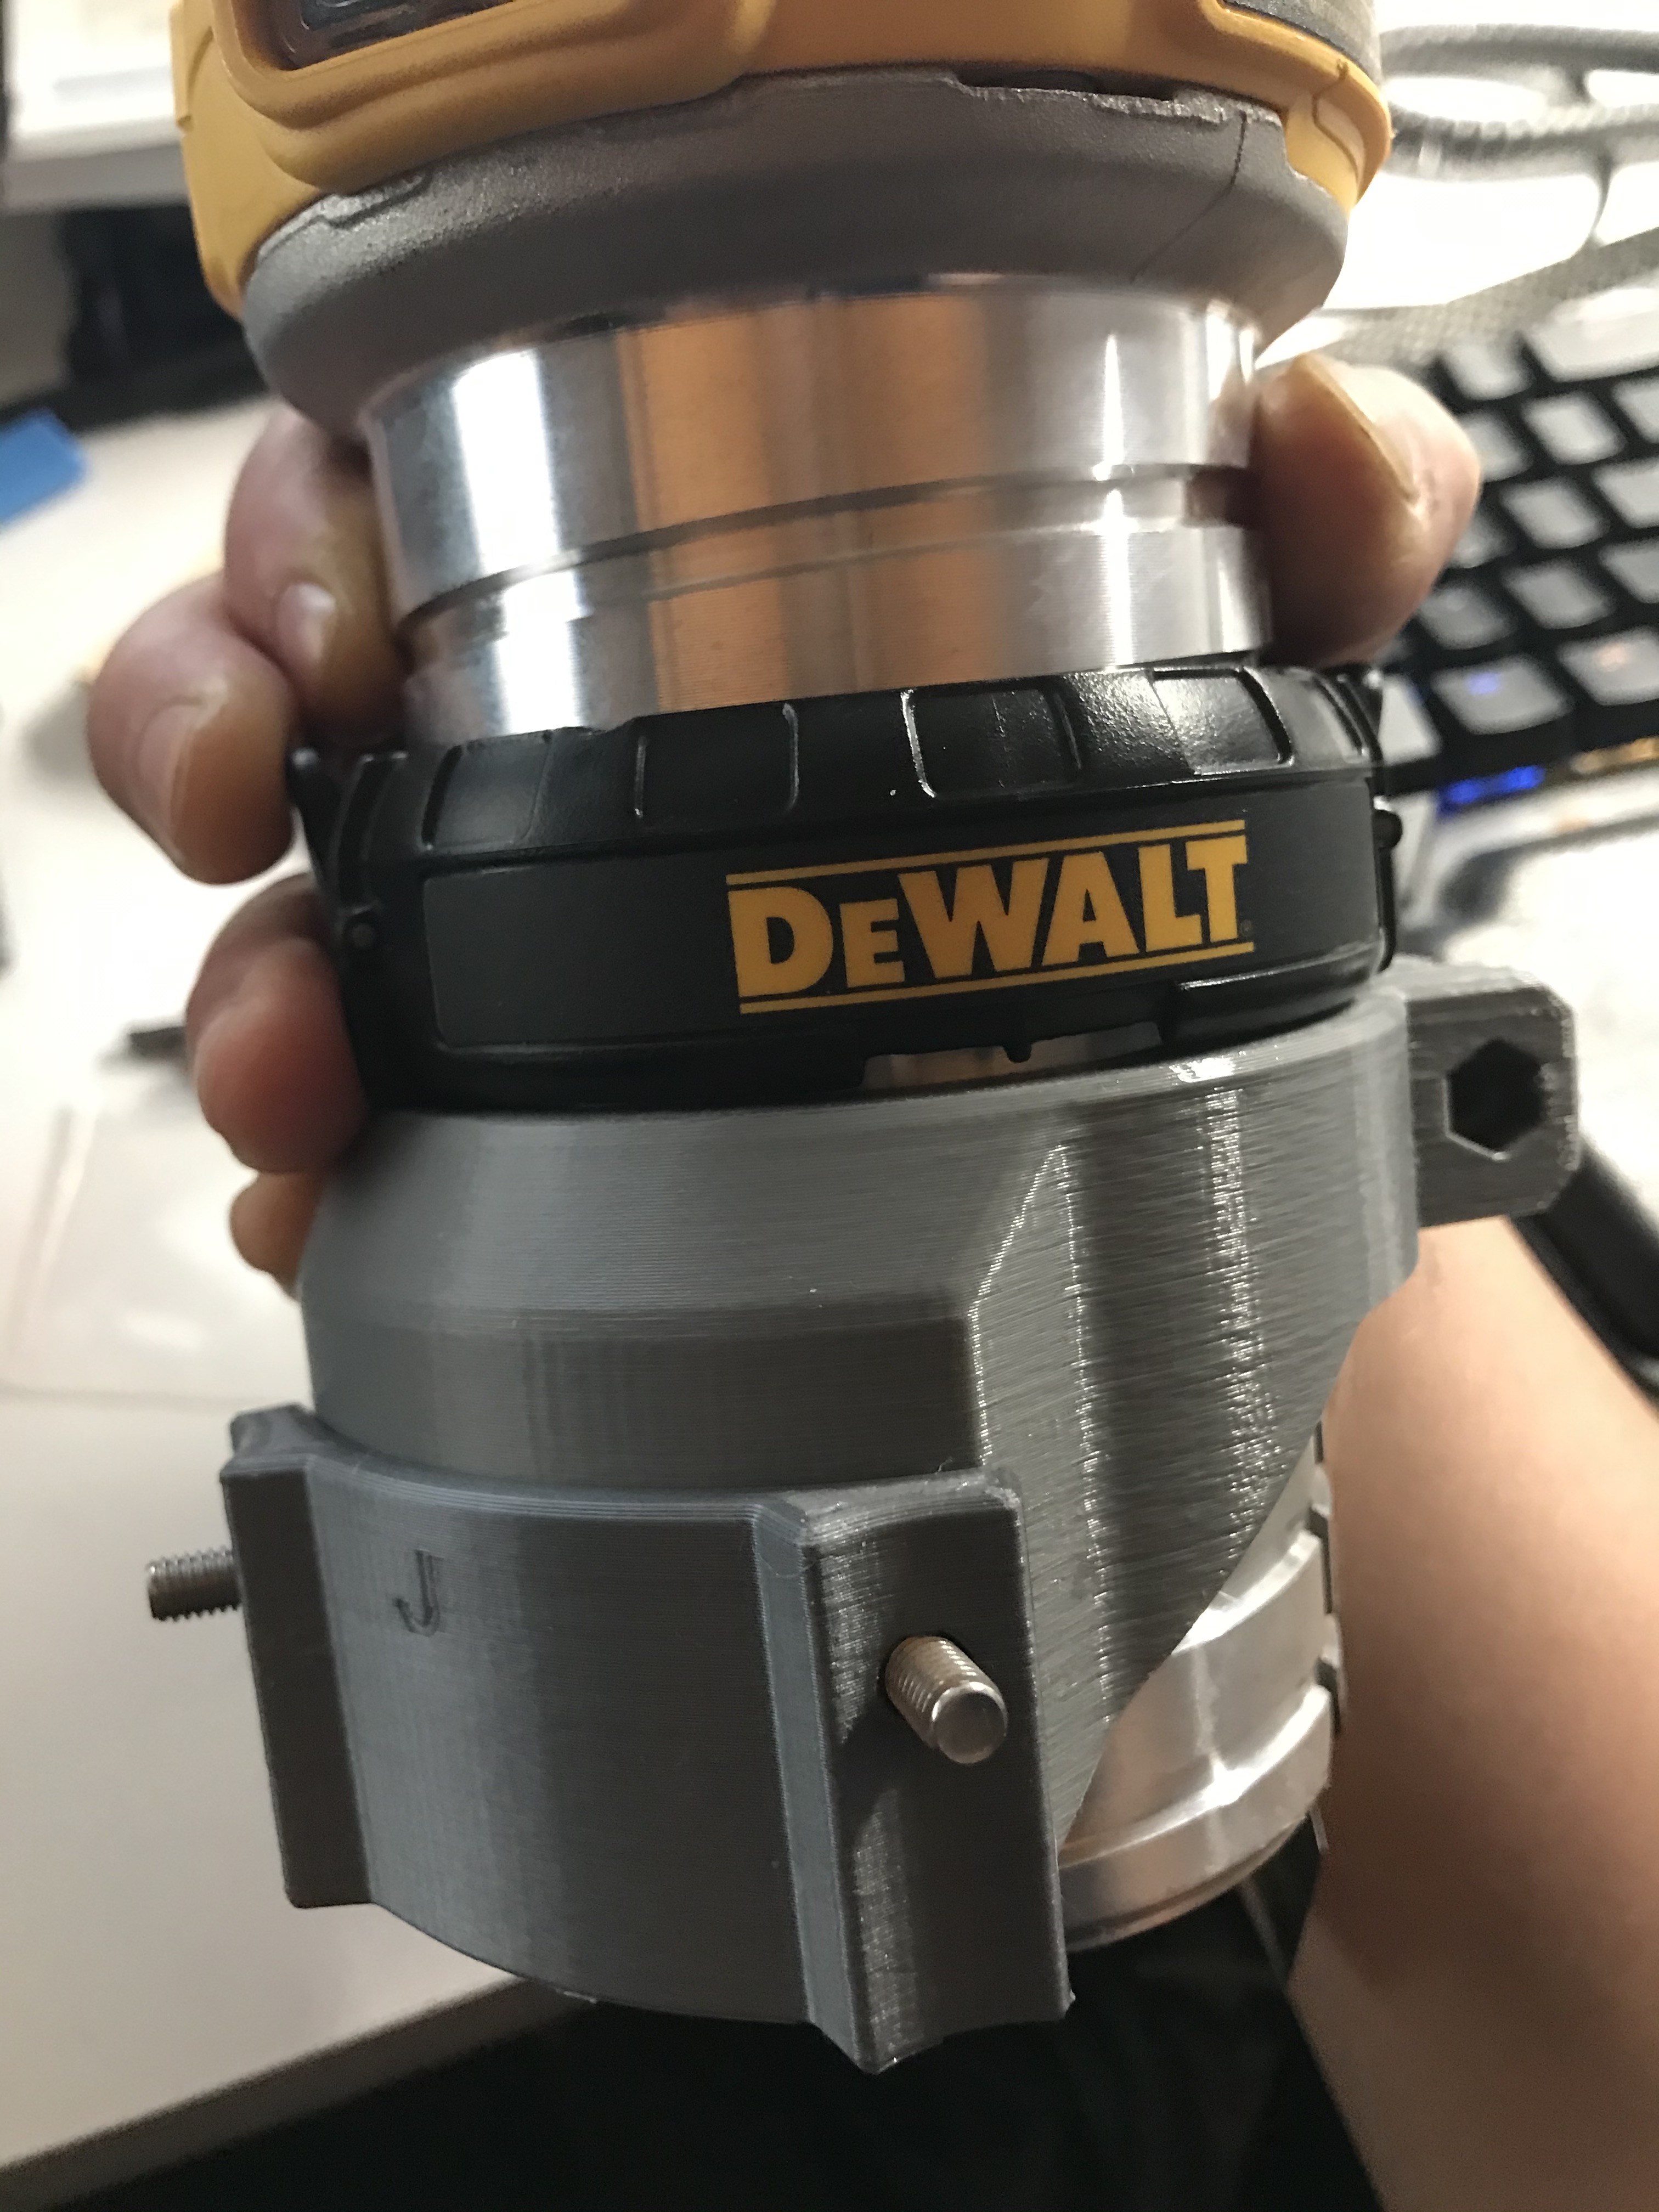
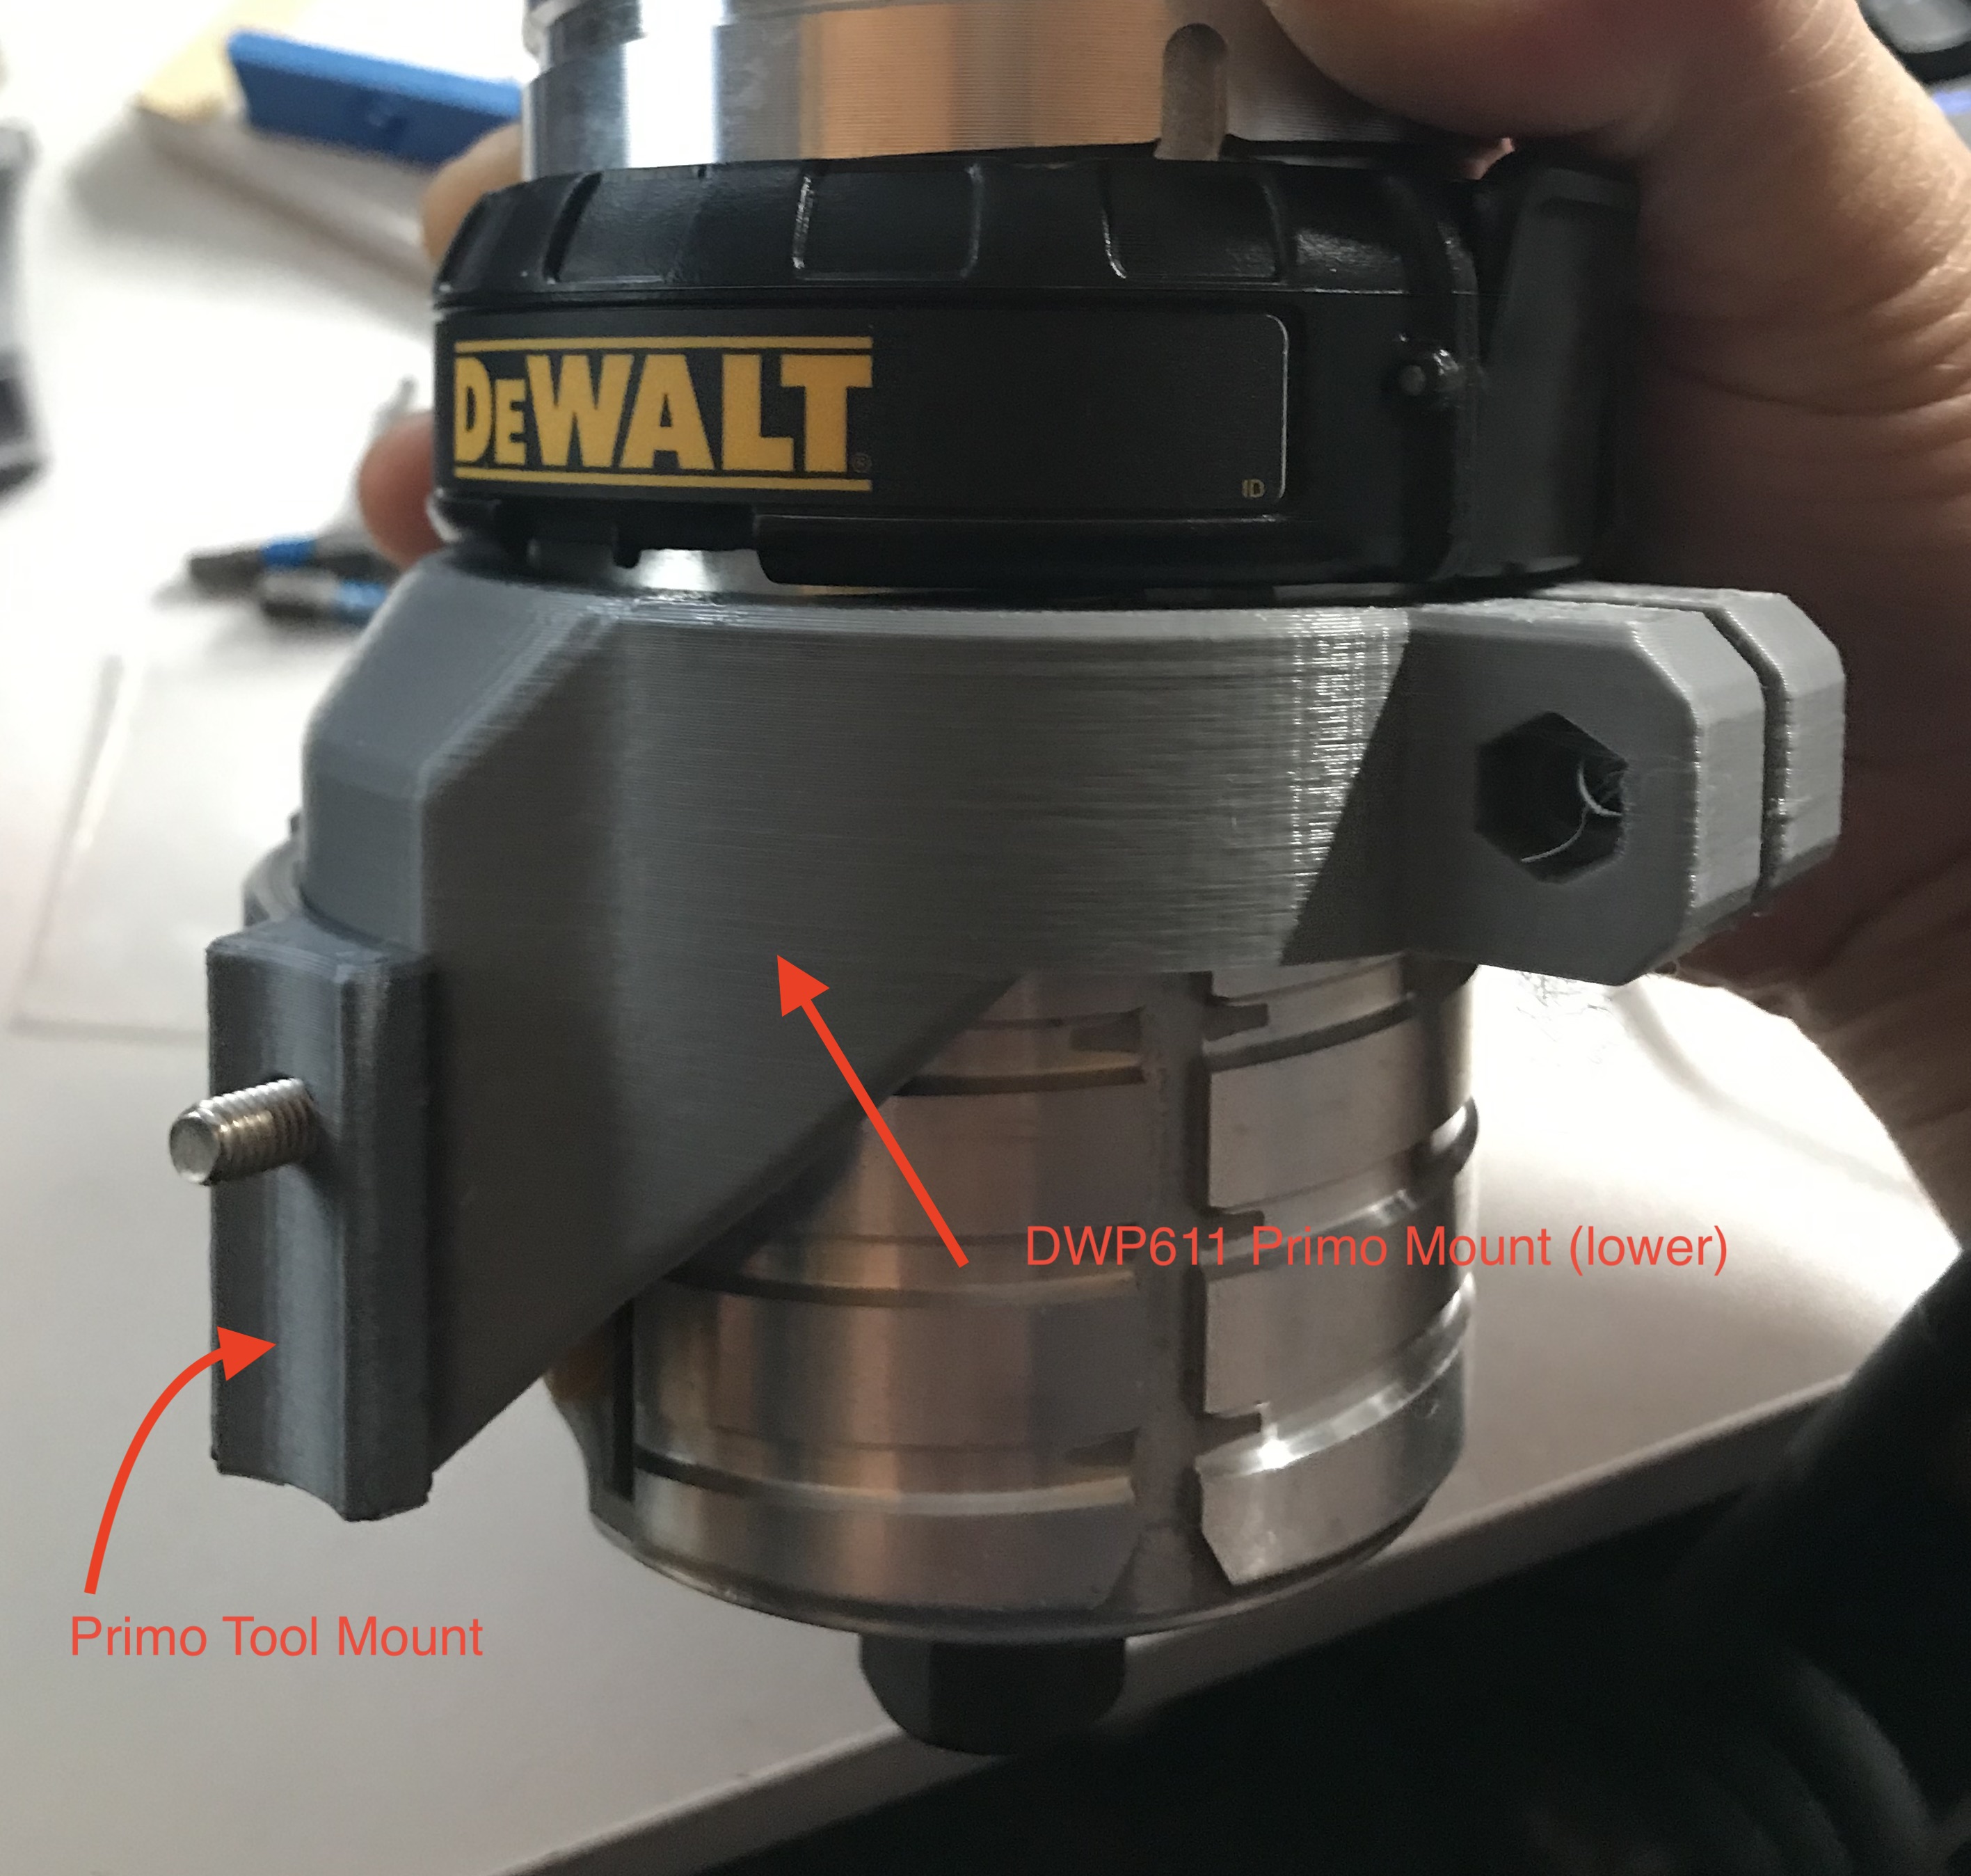
I already have a DWP611 so I’ll be using that. I’m still trying to figure out the tool mount for the Primo but have heard the Burly mount will work… I may give it a go to design a Primo DWP611 mount.
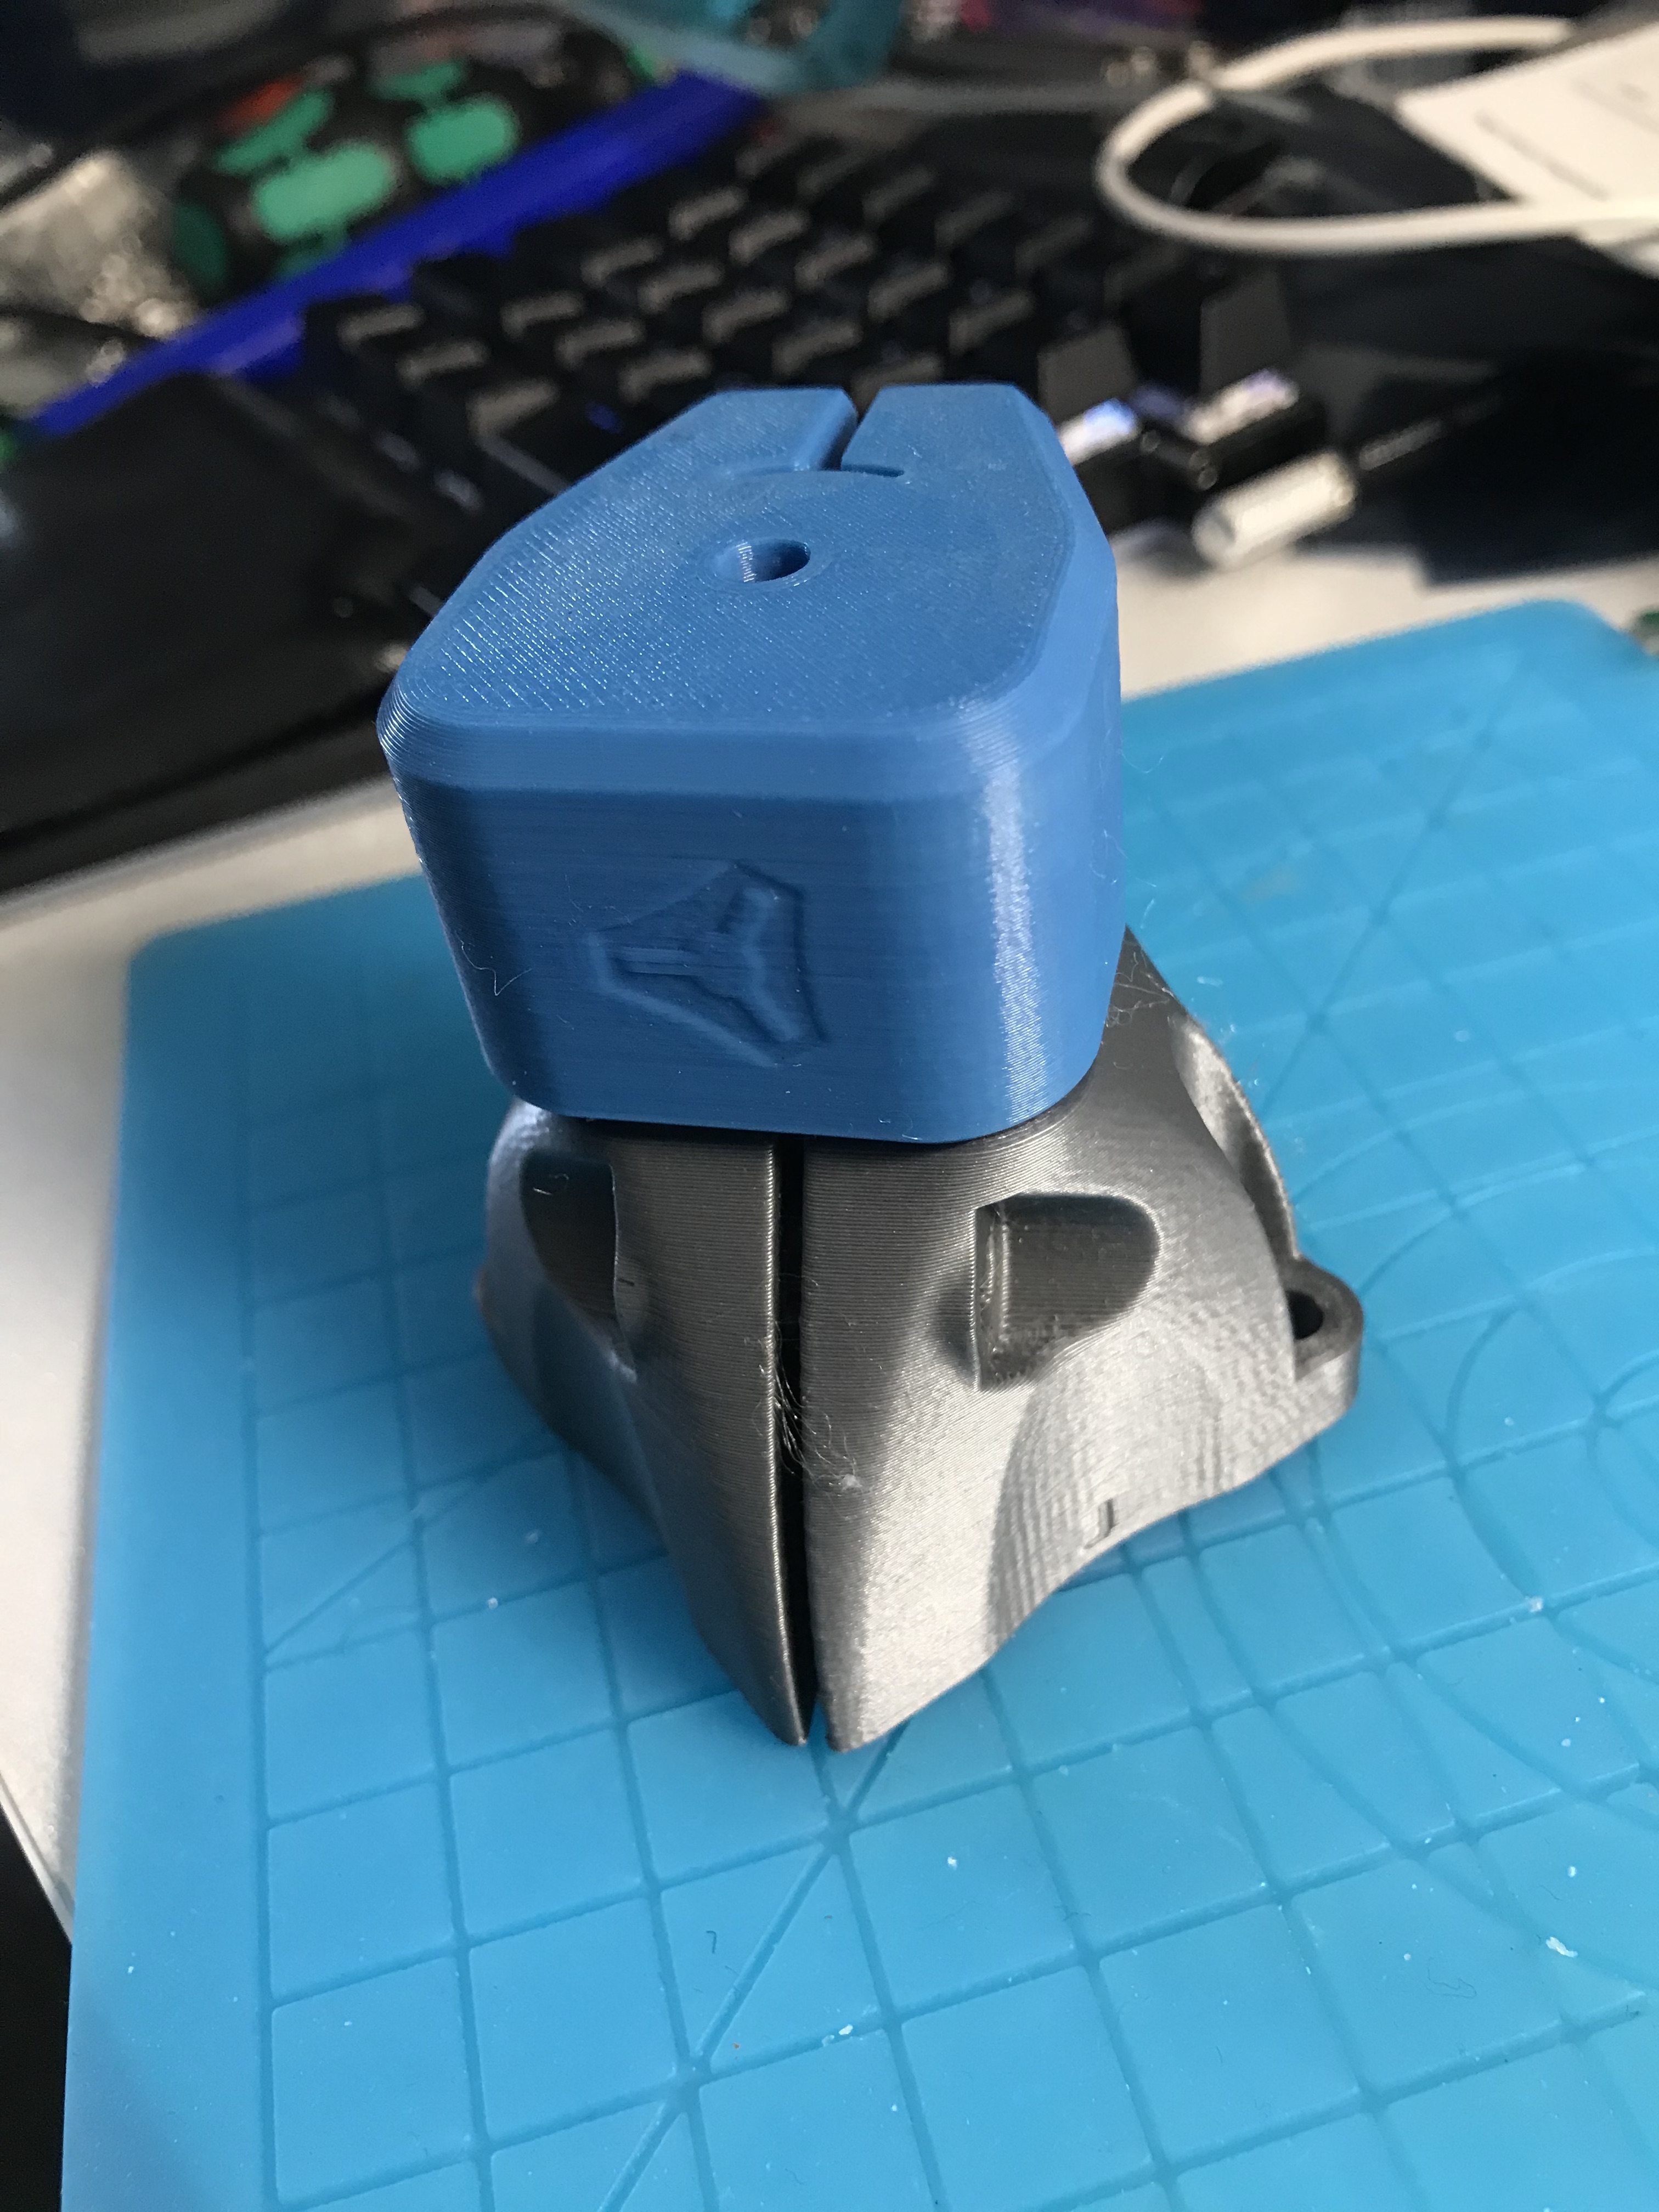
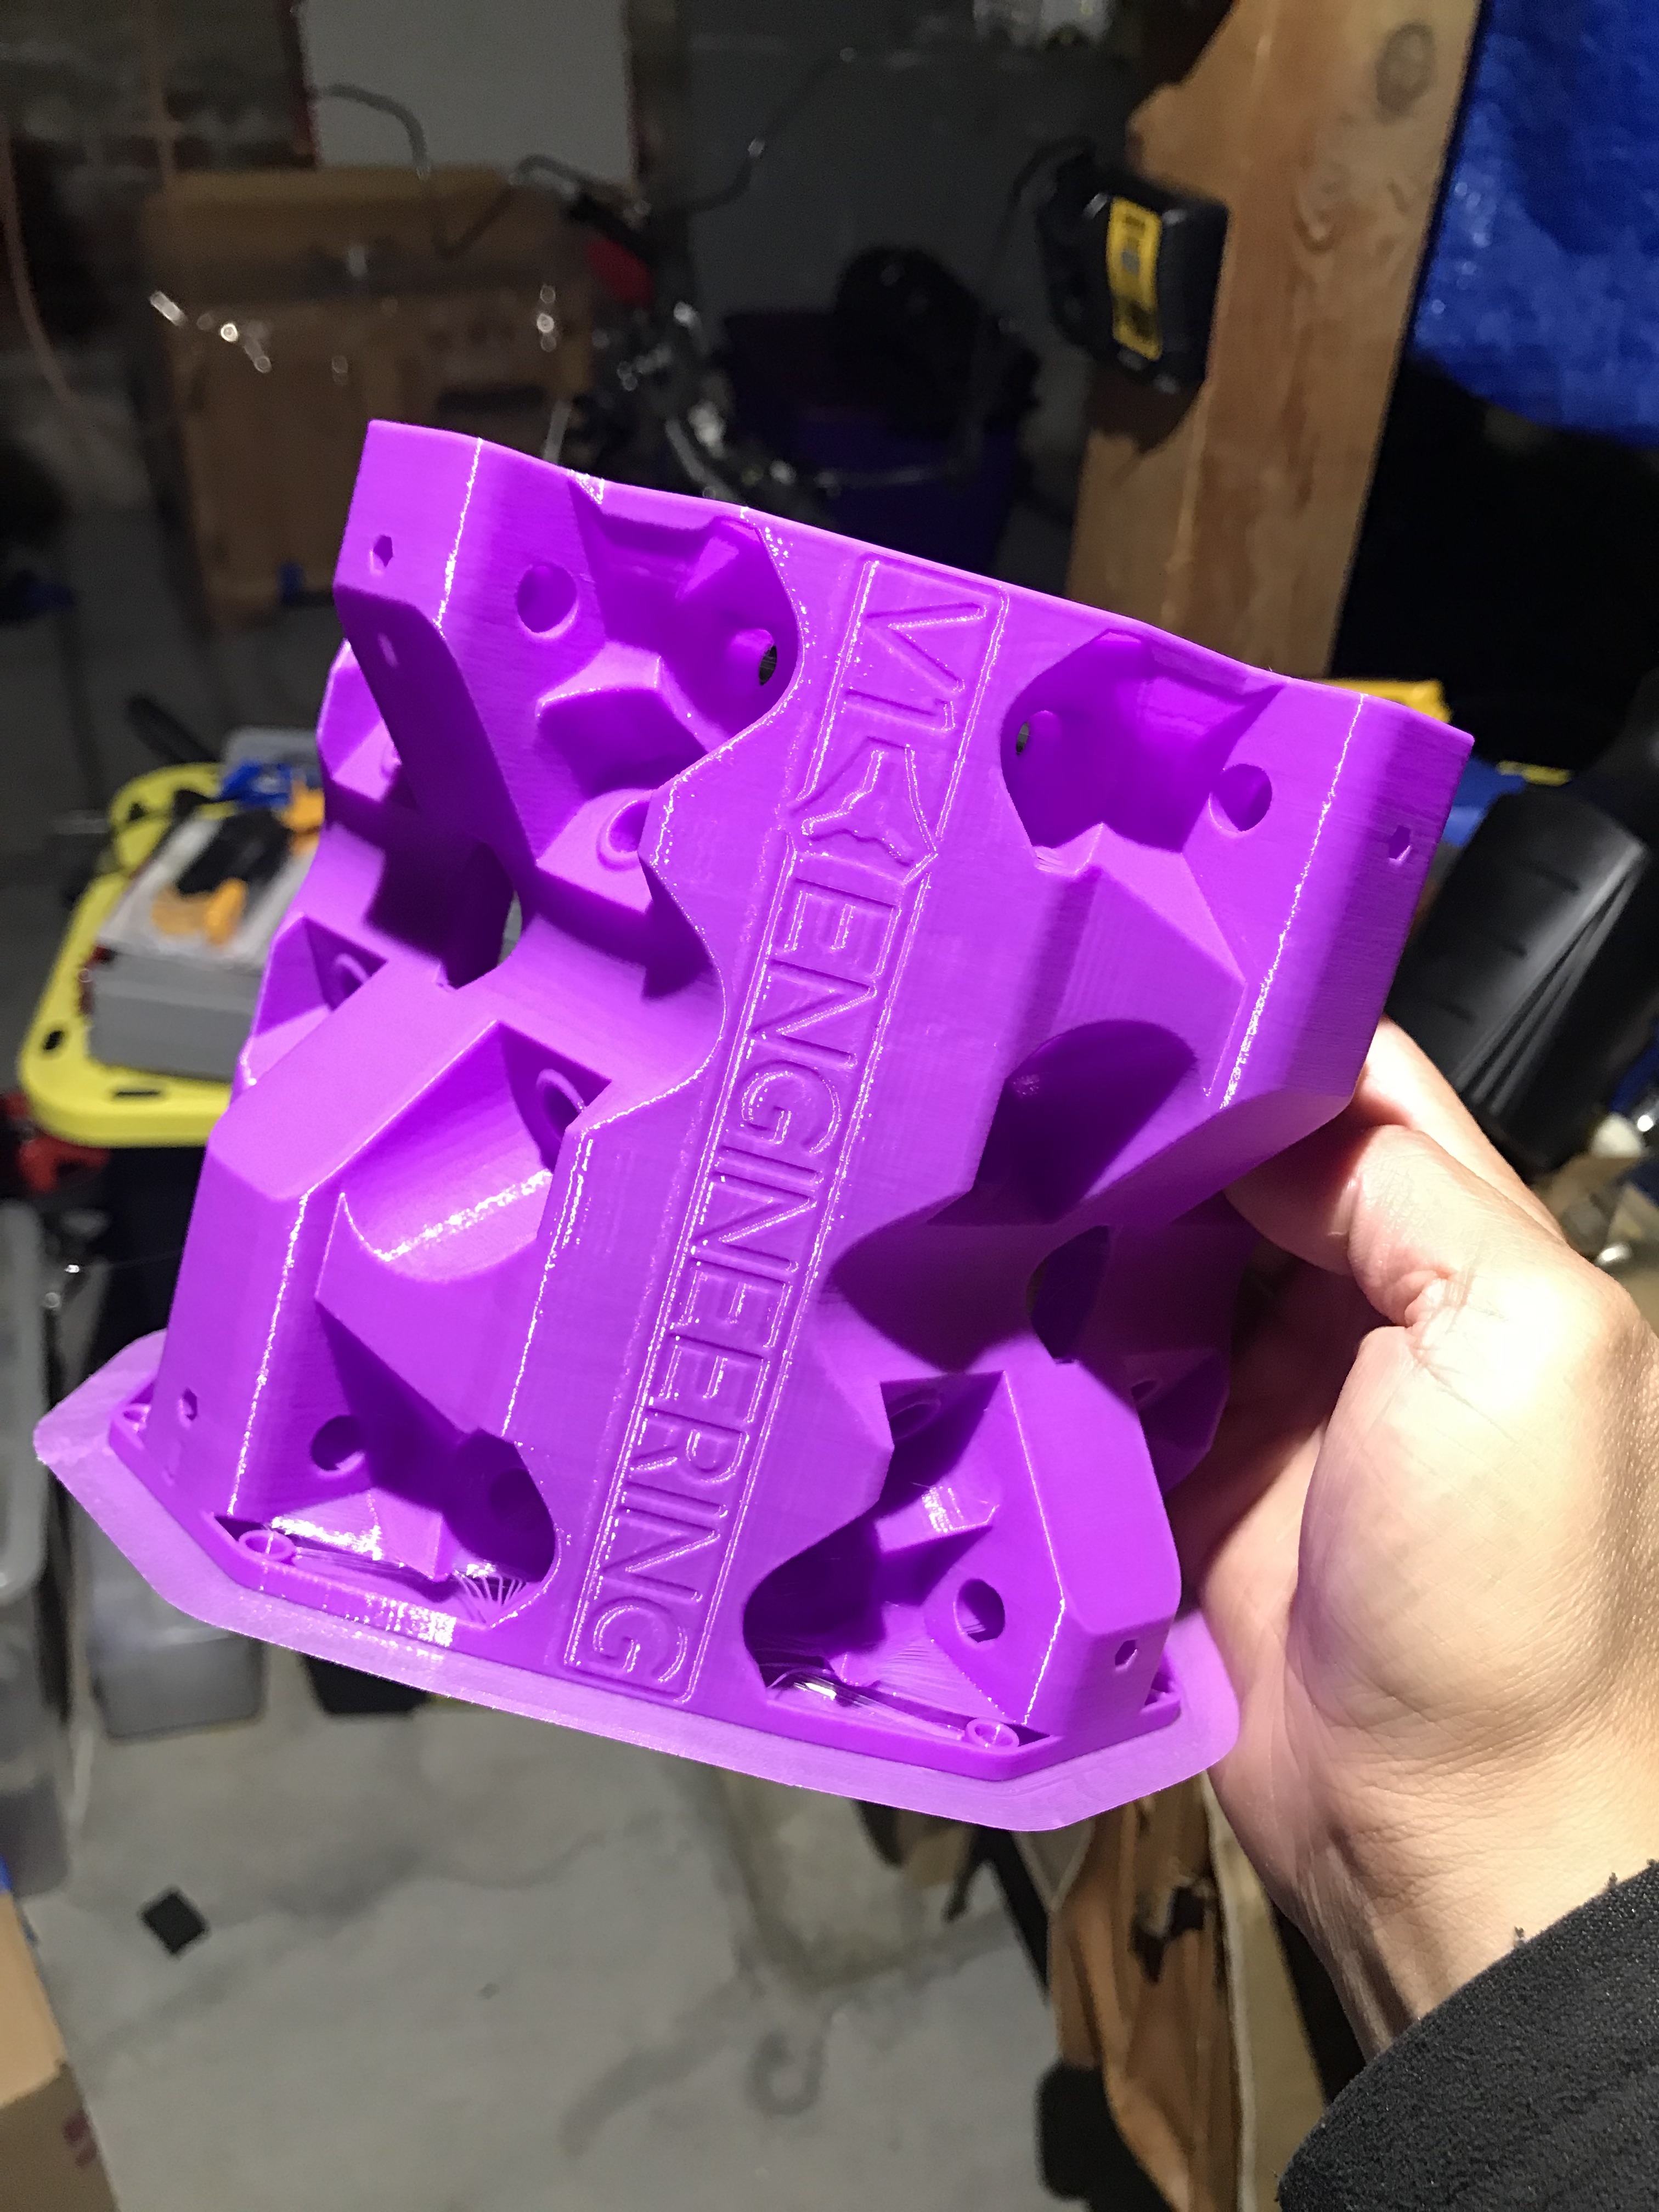
I’m using 3DSolutech Silver Metal and AmazonBasics Blue. I’m waiting for another spool of the Silver to finish the last 2 Trucks and the tool mount and then I’m on to the CORE… omg. Lots of questions regarding printing this. I have a sliced file already uploaded w .4 nozzle .2 layer height 3 perimeters and the 70%-30%-30% infill (cubic) as suggested by Ryan. In reading other posts, I’m temped to try using a .6 nozzle (I’ve never printed w anything other that .4 but I have a .6 so why not). I was thinking of .6 nozzle .35 layer height 2 perimeters and still doing the 70%-30%-30% infill. Since I’ve never printed with .6 nozzles before, I thought I’d print the control box with those settings at 20% infill to see how it goes. Again, your inputs/thoughts are welcome here
Unless you’re in a big hurry I would print the core with your .4 nozzle. Sure, it will take longer but you already know that one works! Then you can teach your Kindergartener about how grass grows and paint dries and how good things come… all that good stuff!
For a typical build, working space is the space from the bottom of the nut on the router to the waste board. In this space must fit the exposed portion of the bit, the stock, and any clamp clearance. Plus the common method of doing two-sided milling is to use pegs in holes that are cut through the stock and into the waste board (requiring a bit longer than the stock is thick). So you won’t be doing contour cuts through the boards on true 2" stock with 3.5" of working space. Assuming you can get just the right sized bit, you can work barely work with 1.5" stock. And you can engrave on top and do other operations shorter operations on the 2" stock. If you increase your working height to accommodate 2" stock, you will pay a speed and/or accuracy penalty. Choices.
Thank you… its rare that I would try to mill 2" stock. was just thinking for the future but I think speed/accuracy for what I need now will be going with 3" z height.
yeah… that’s kinda what I was thinking. And as for grass growing… we literally have been growing cucumbers, tomatoes, etc and doing lots of painting so yes… all good stuff!!!
My “formula” (not acknowledge by anyone) is: max_thickness * 2 + 25mm. The “+25mm” is to compensate for clamp clearance, allow for drilling through the stock for two-side milling and to acknowledge that bits don’t come in the exact length you need. Surfaced 2" hardwood is around 46mm which calculates out to a working height of 117mm or about 4.6" using my calculation. When I upgraded to the Primo, I chose a working height of 130mm since I do some cutting with 2" foam. I compensate somewhat for this large height by having a second, thicker spoil board that lifts the thinner work closer to the core.
It’s not very common to cut deeper than 3/4" or so in wood. The bits aren’t often long enough to go deeper. But it is a common ask to cut into a thicker board. So. You could surface a 2" rough slab with 3.5", but you can’t easily cut out something that is 2" thick with any Z height. Not that it’s impossible, but you better be a cnc ninja.
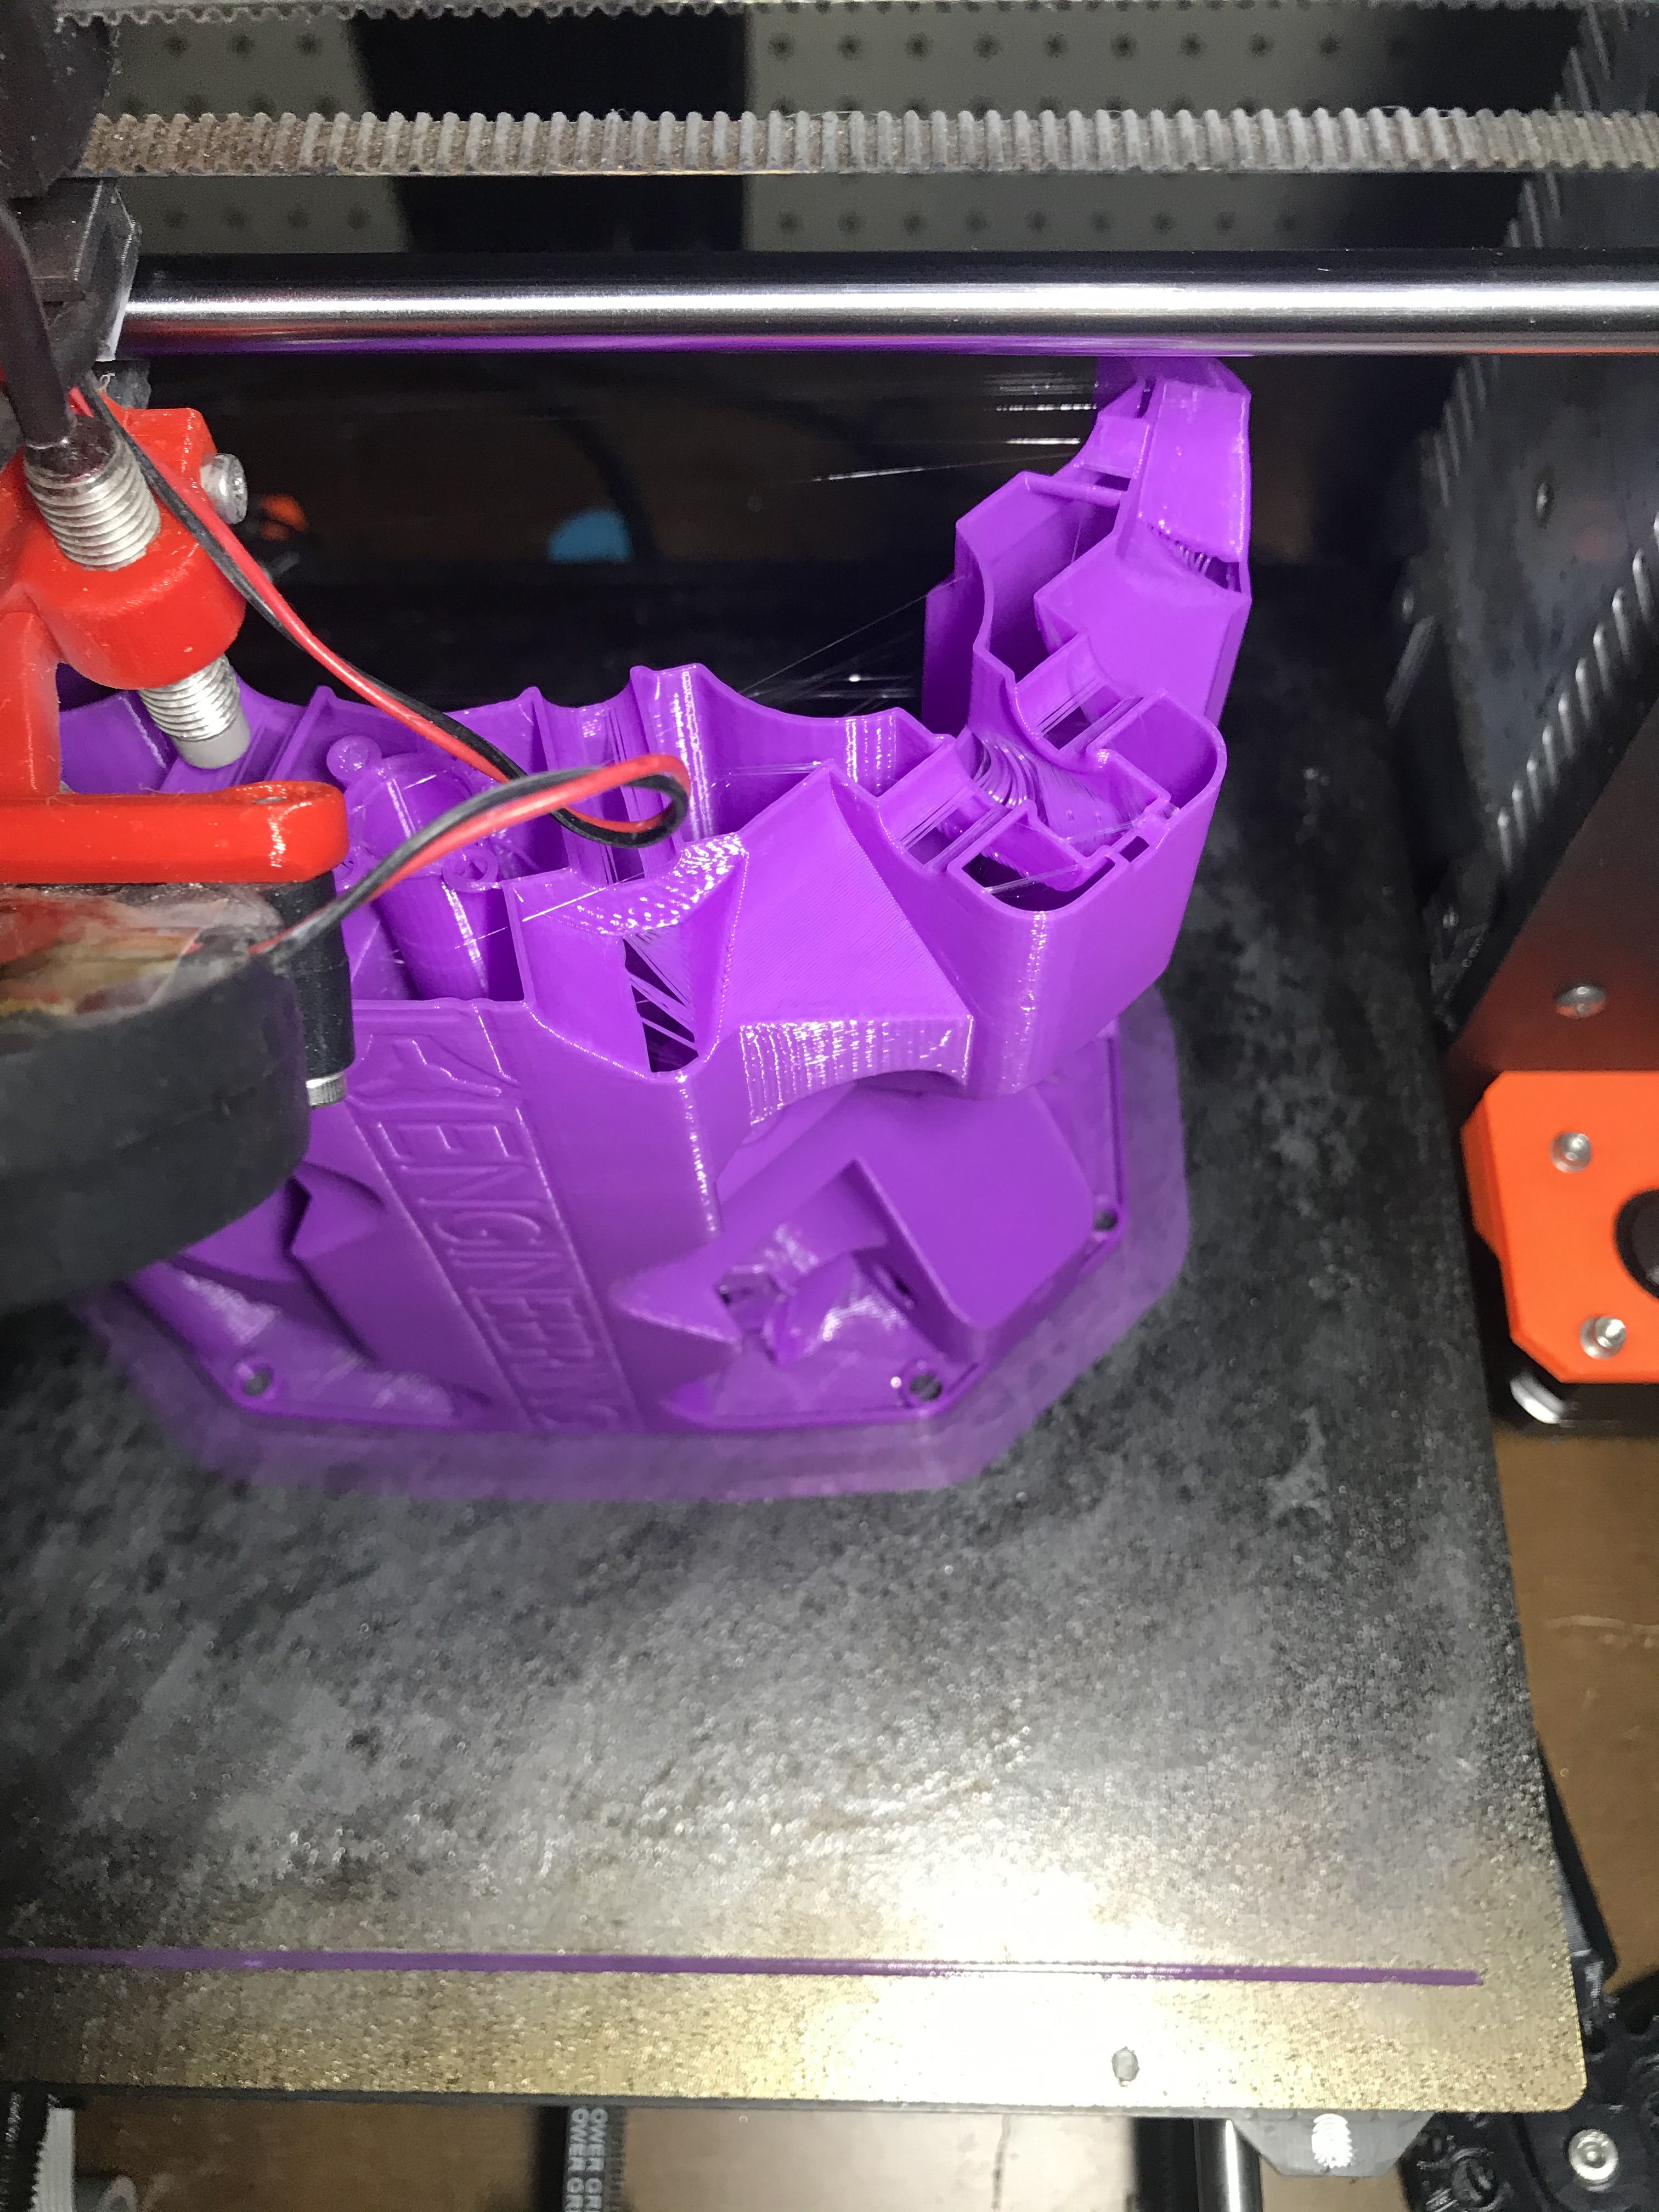
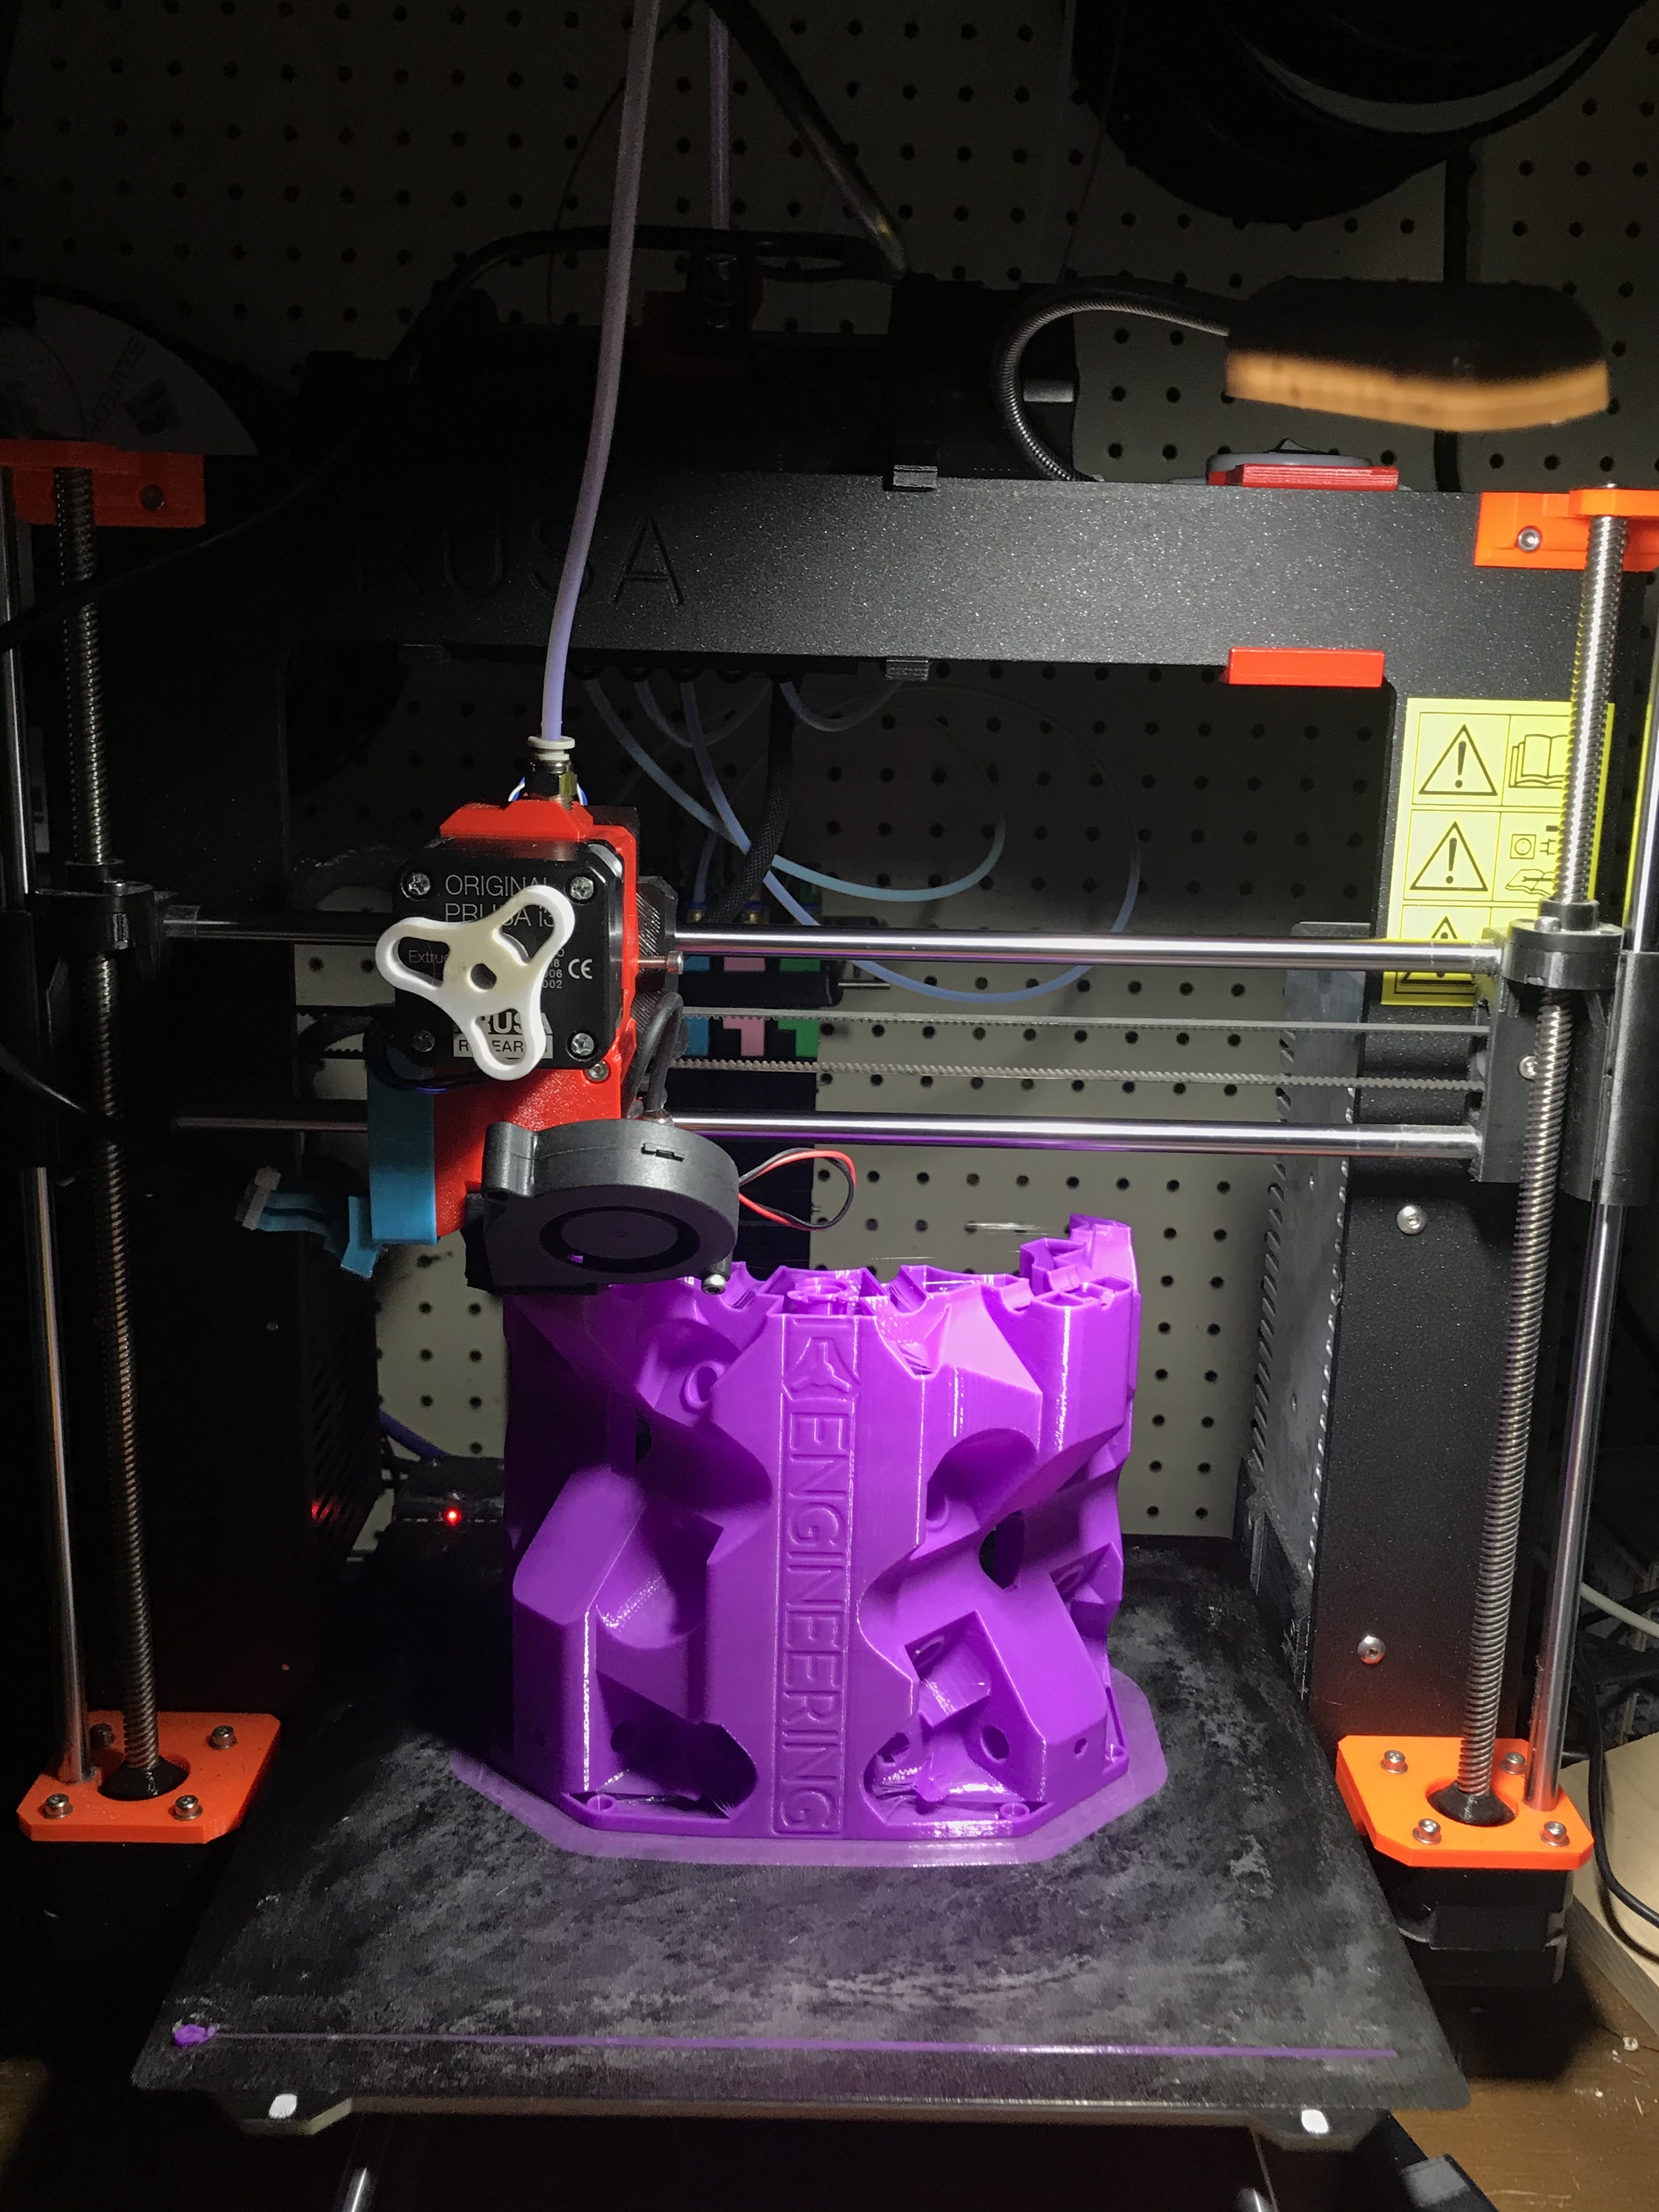
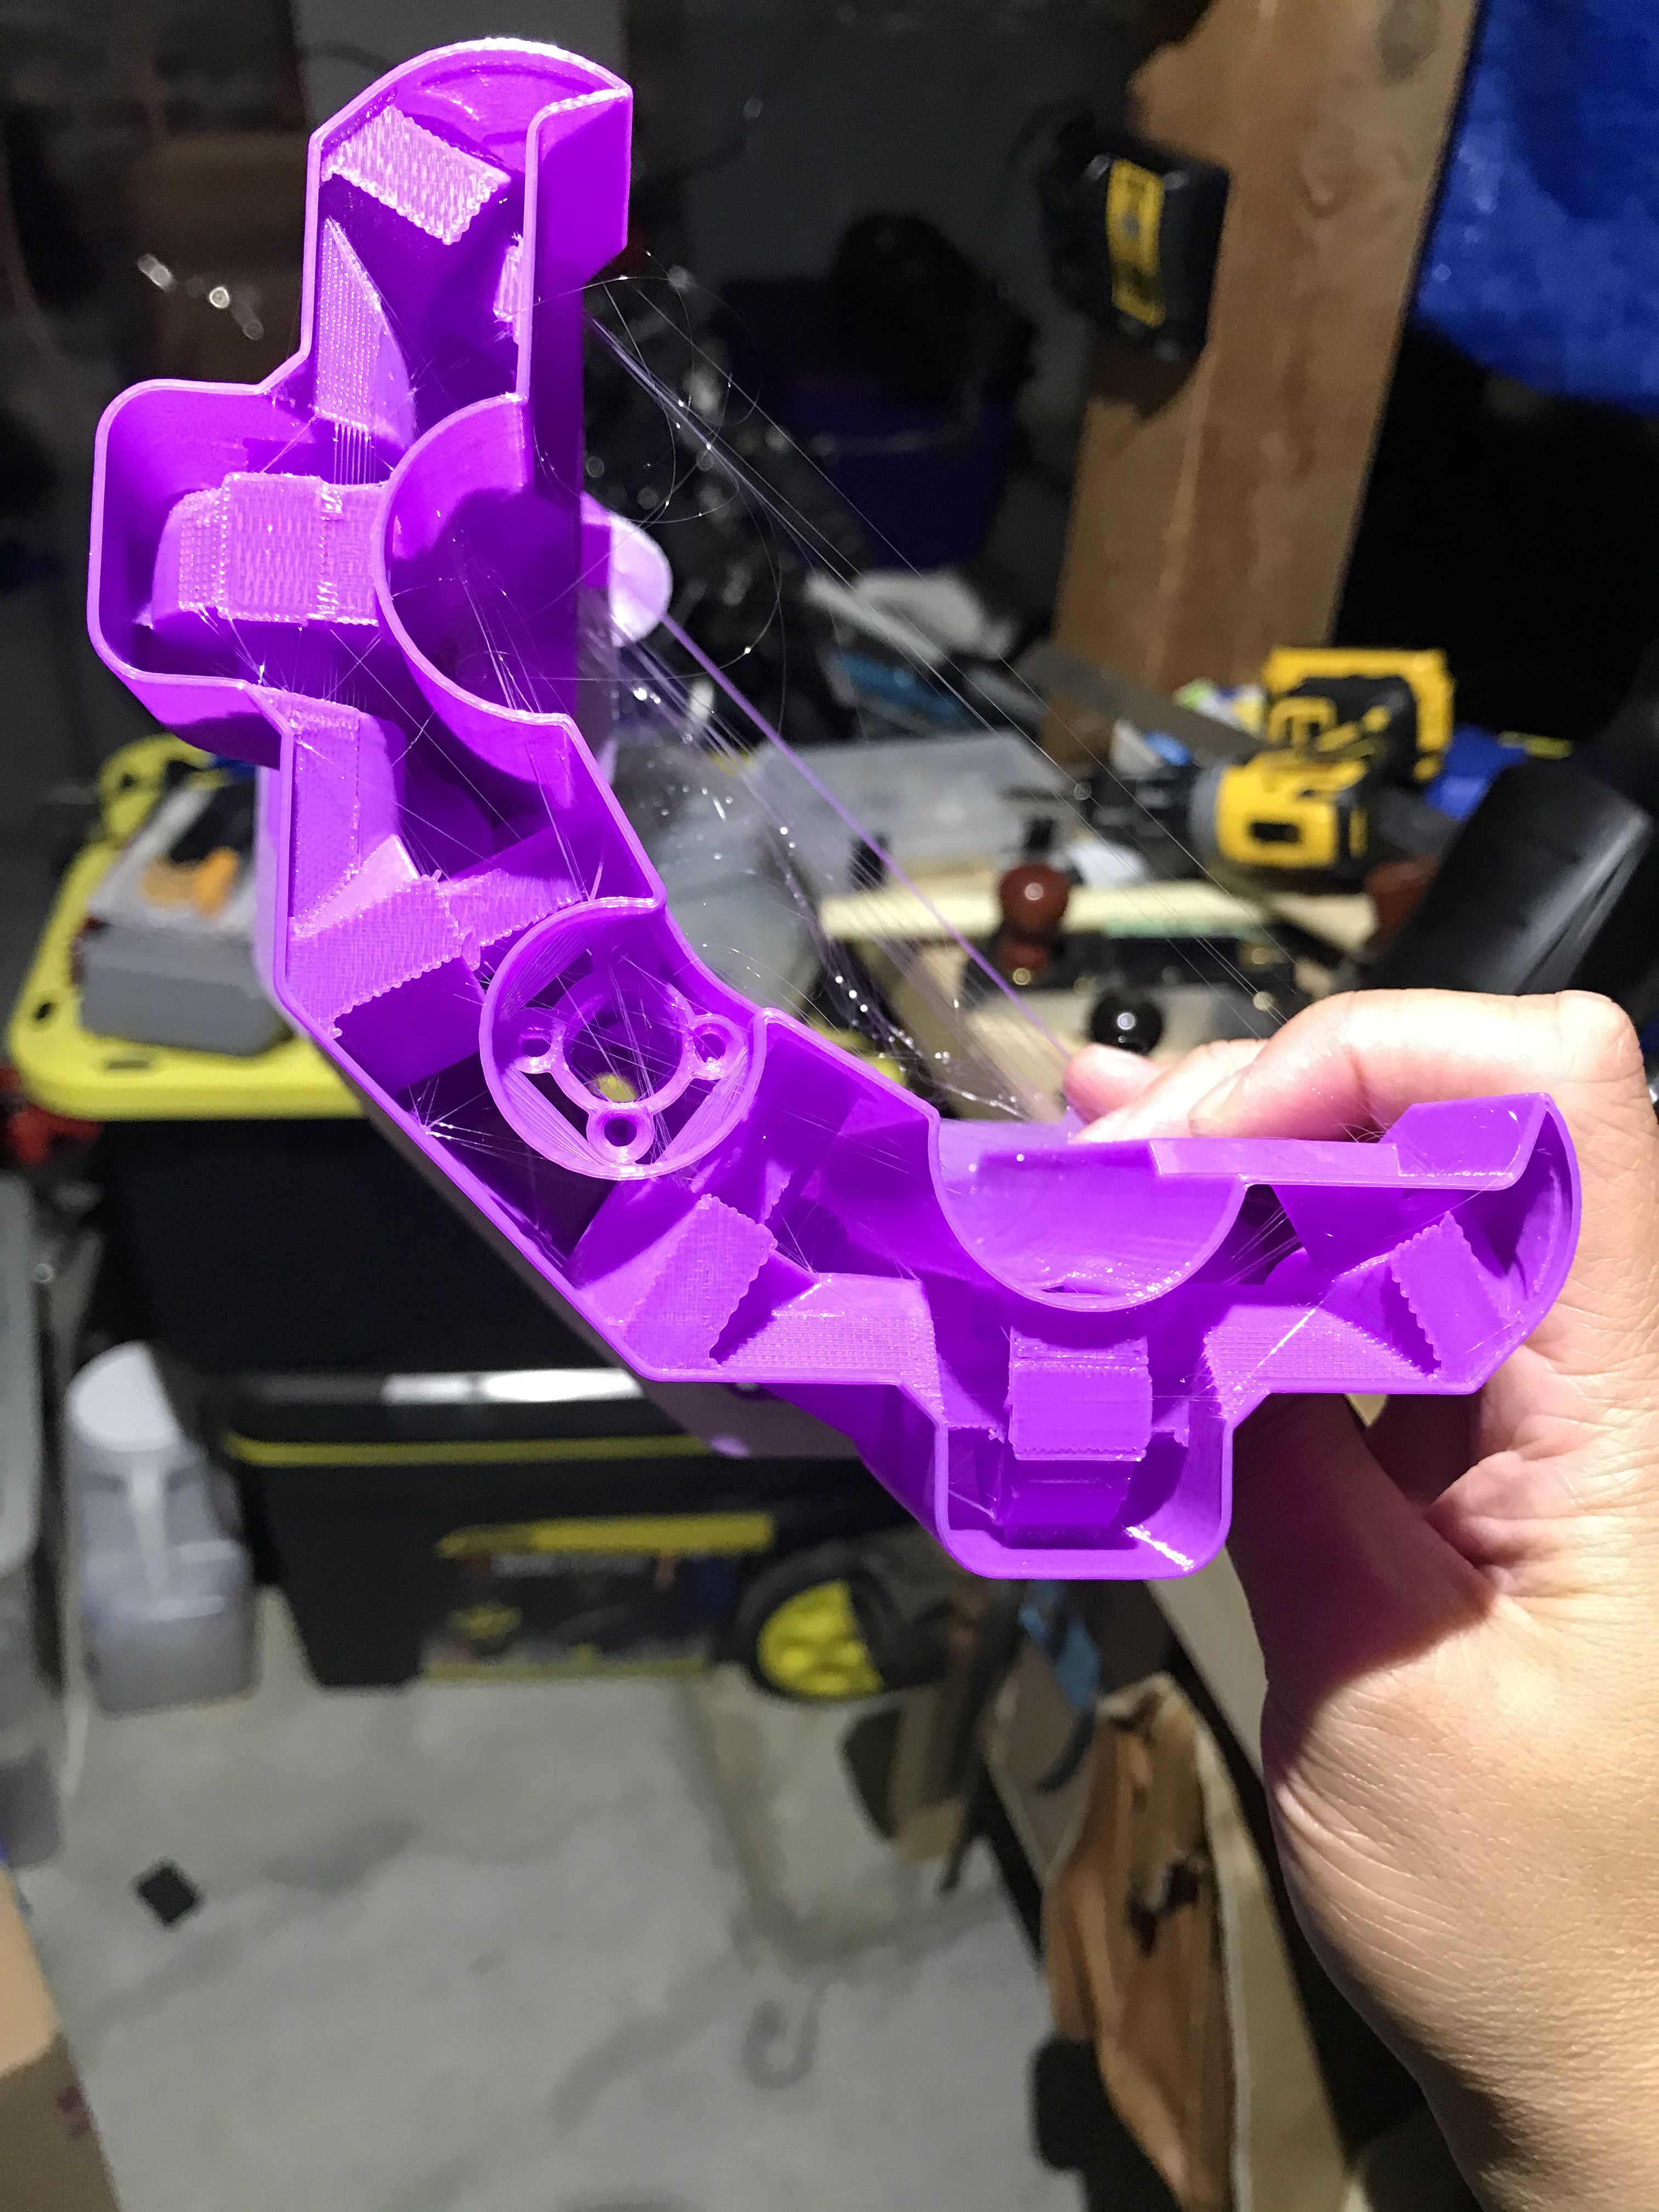
To test my printer’s capability of printing the Core… I sliced it w 0 infill 2 perimeters 0 top layers and 3 bottoms layers using a .4 nozzle .2 layer height and a 10mm brim. PrusaSlicer estimated 7h7m and 32.92m used.
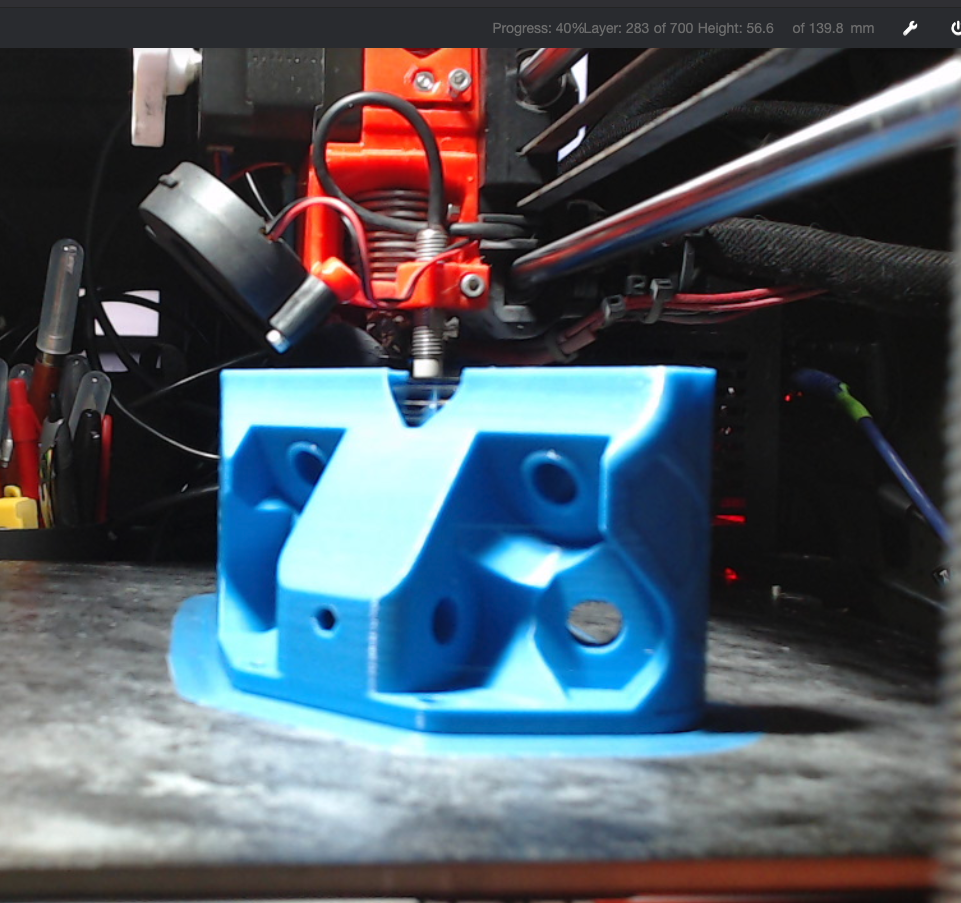
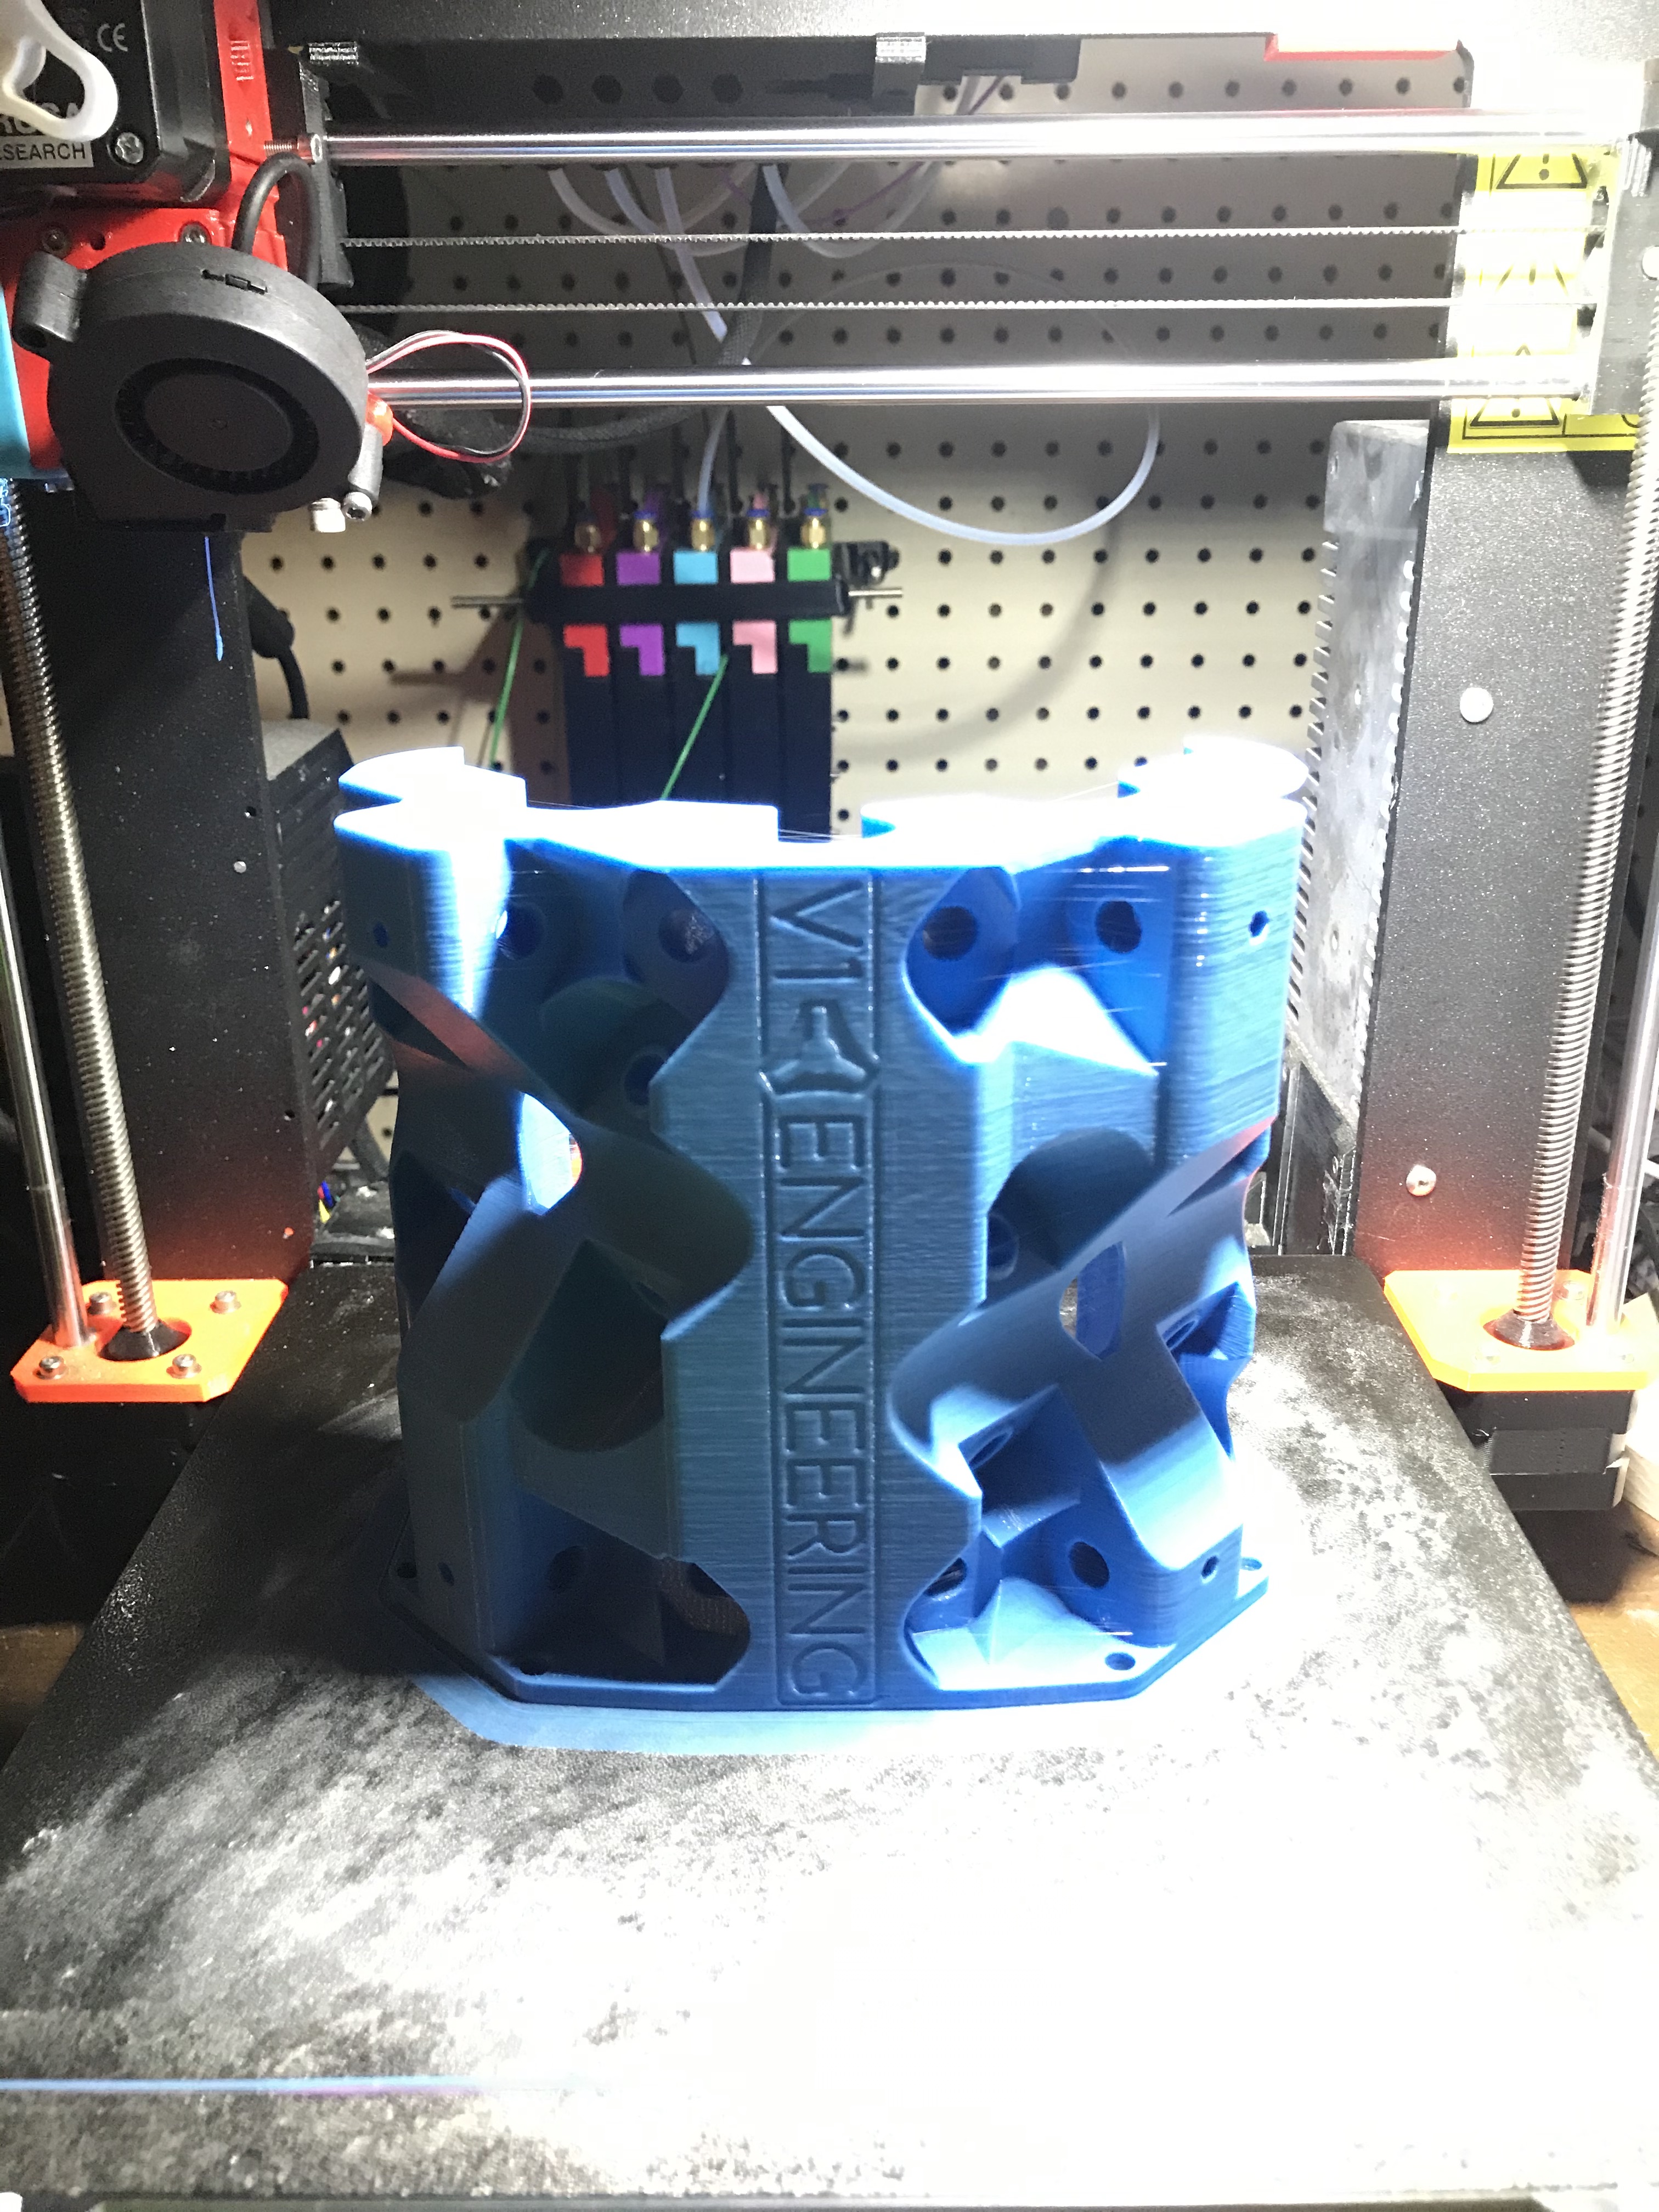
Its been printing now for 4h 50m and its almost done. Octoprint estimated 5.5 hrs of printing… it has about 38mm height left to print. Will post results when its done. As of now, I’m feeling confident that my printer is calibrated well enough to print the Core fully. I used some PLA that I could spare for the test.
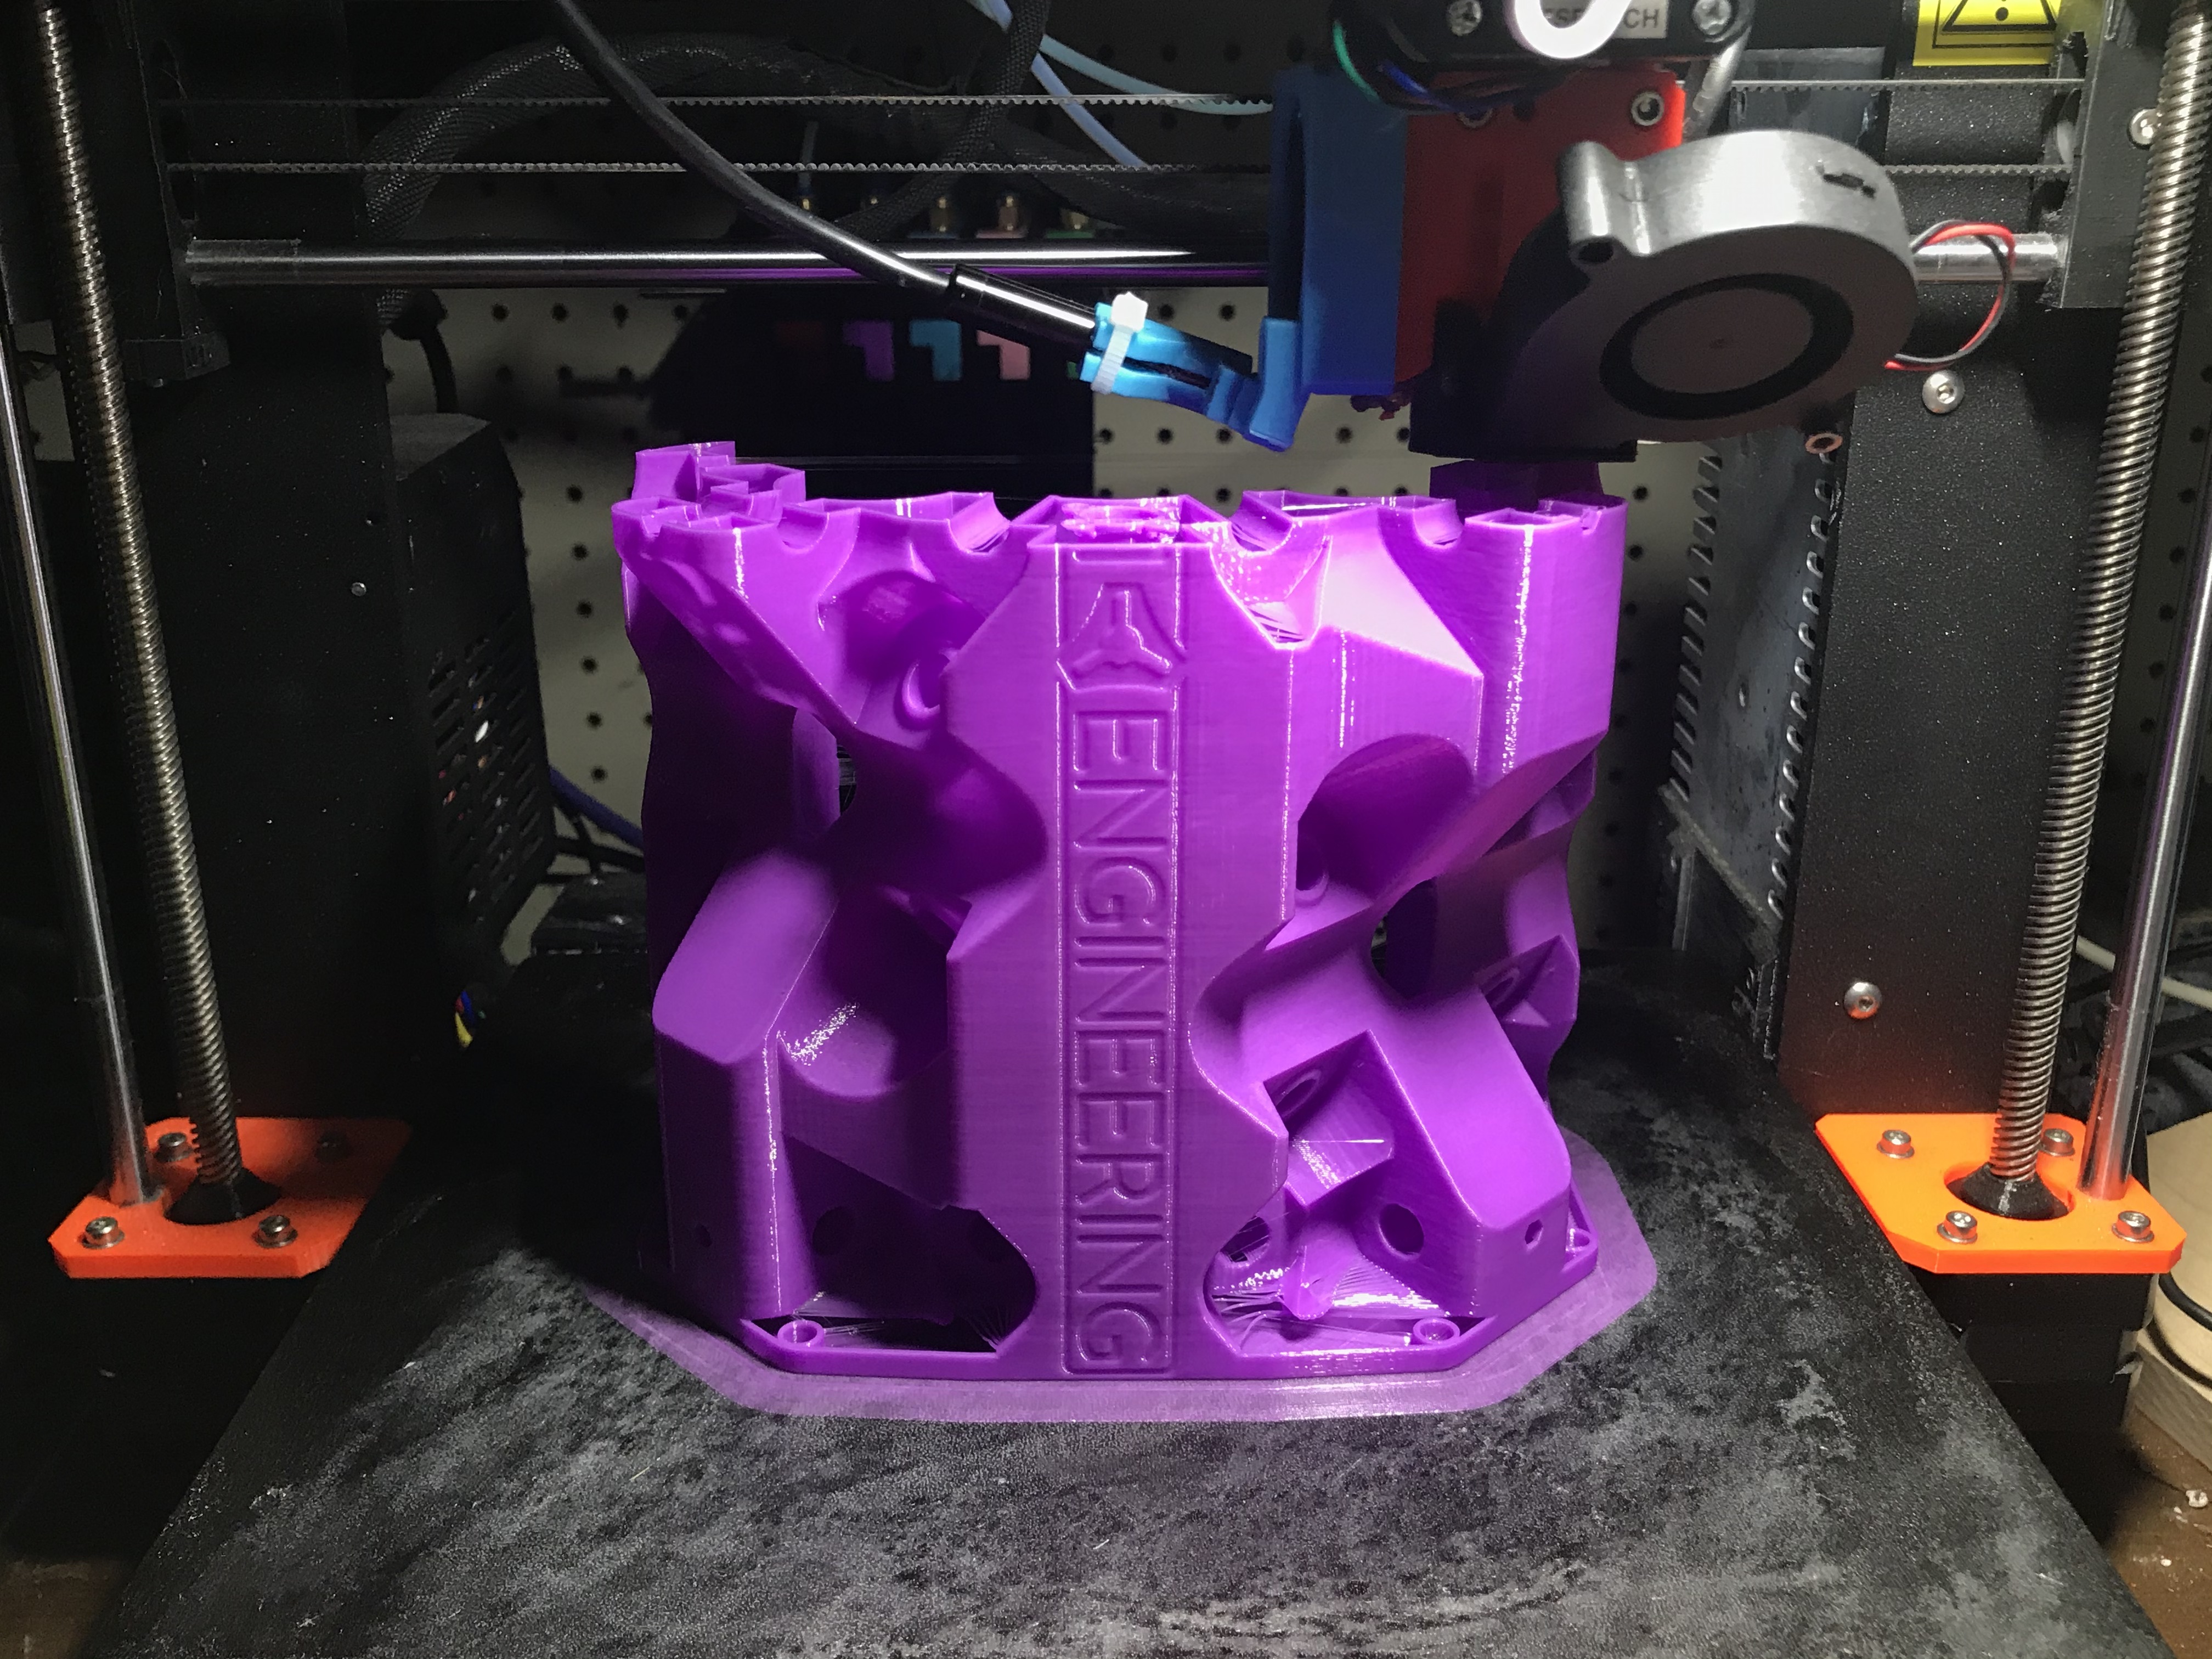
I’m starting the Core in a few mins using .4 nozzle .2 layer height 3 perimeters and the 70%-30%-30% infill (cubic) as suggested by Ryan. I’m sure only 2 perimeters are needed but hey… why not 3?
I’m using 2 cameras to monitor my 3d printer. 1 webcam the other an endoscope to check layers. To make the .gif, I captured 10 seconds of the endoscope and converted the .mov to a .gif so I could upload it here.
I had issues streaming 2 cameras using a Raspberry Pi 3b+… I decided to reimage a Lenovo mini pc to a Linux Mint server running Octoprint… haven’t had any issues so far. It’s been over a year.
sorry for washed out images. Will take more tomorrow.
Received more silver filament today though had to get eSun PLA+ Silver instead of the 3DSolutech Silver Metal since Amazon was out of stock. Close enough match I think… we will see. At least I can finish printing the 2 final Trucks and i’m done with printing the Primo parts. I’m in the middle of reworking various DWP611 mounts to fit the Primo. Will post once that complete.
So while waiting for my SS tubes to come in… I went ahead and remixed Ryan’s Makita RT700 series (65mm) mount for the MPCNC Primo to fit my DWP611. I haven’t been able to fully test it, but it fits the Primo tool plates.
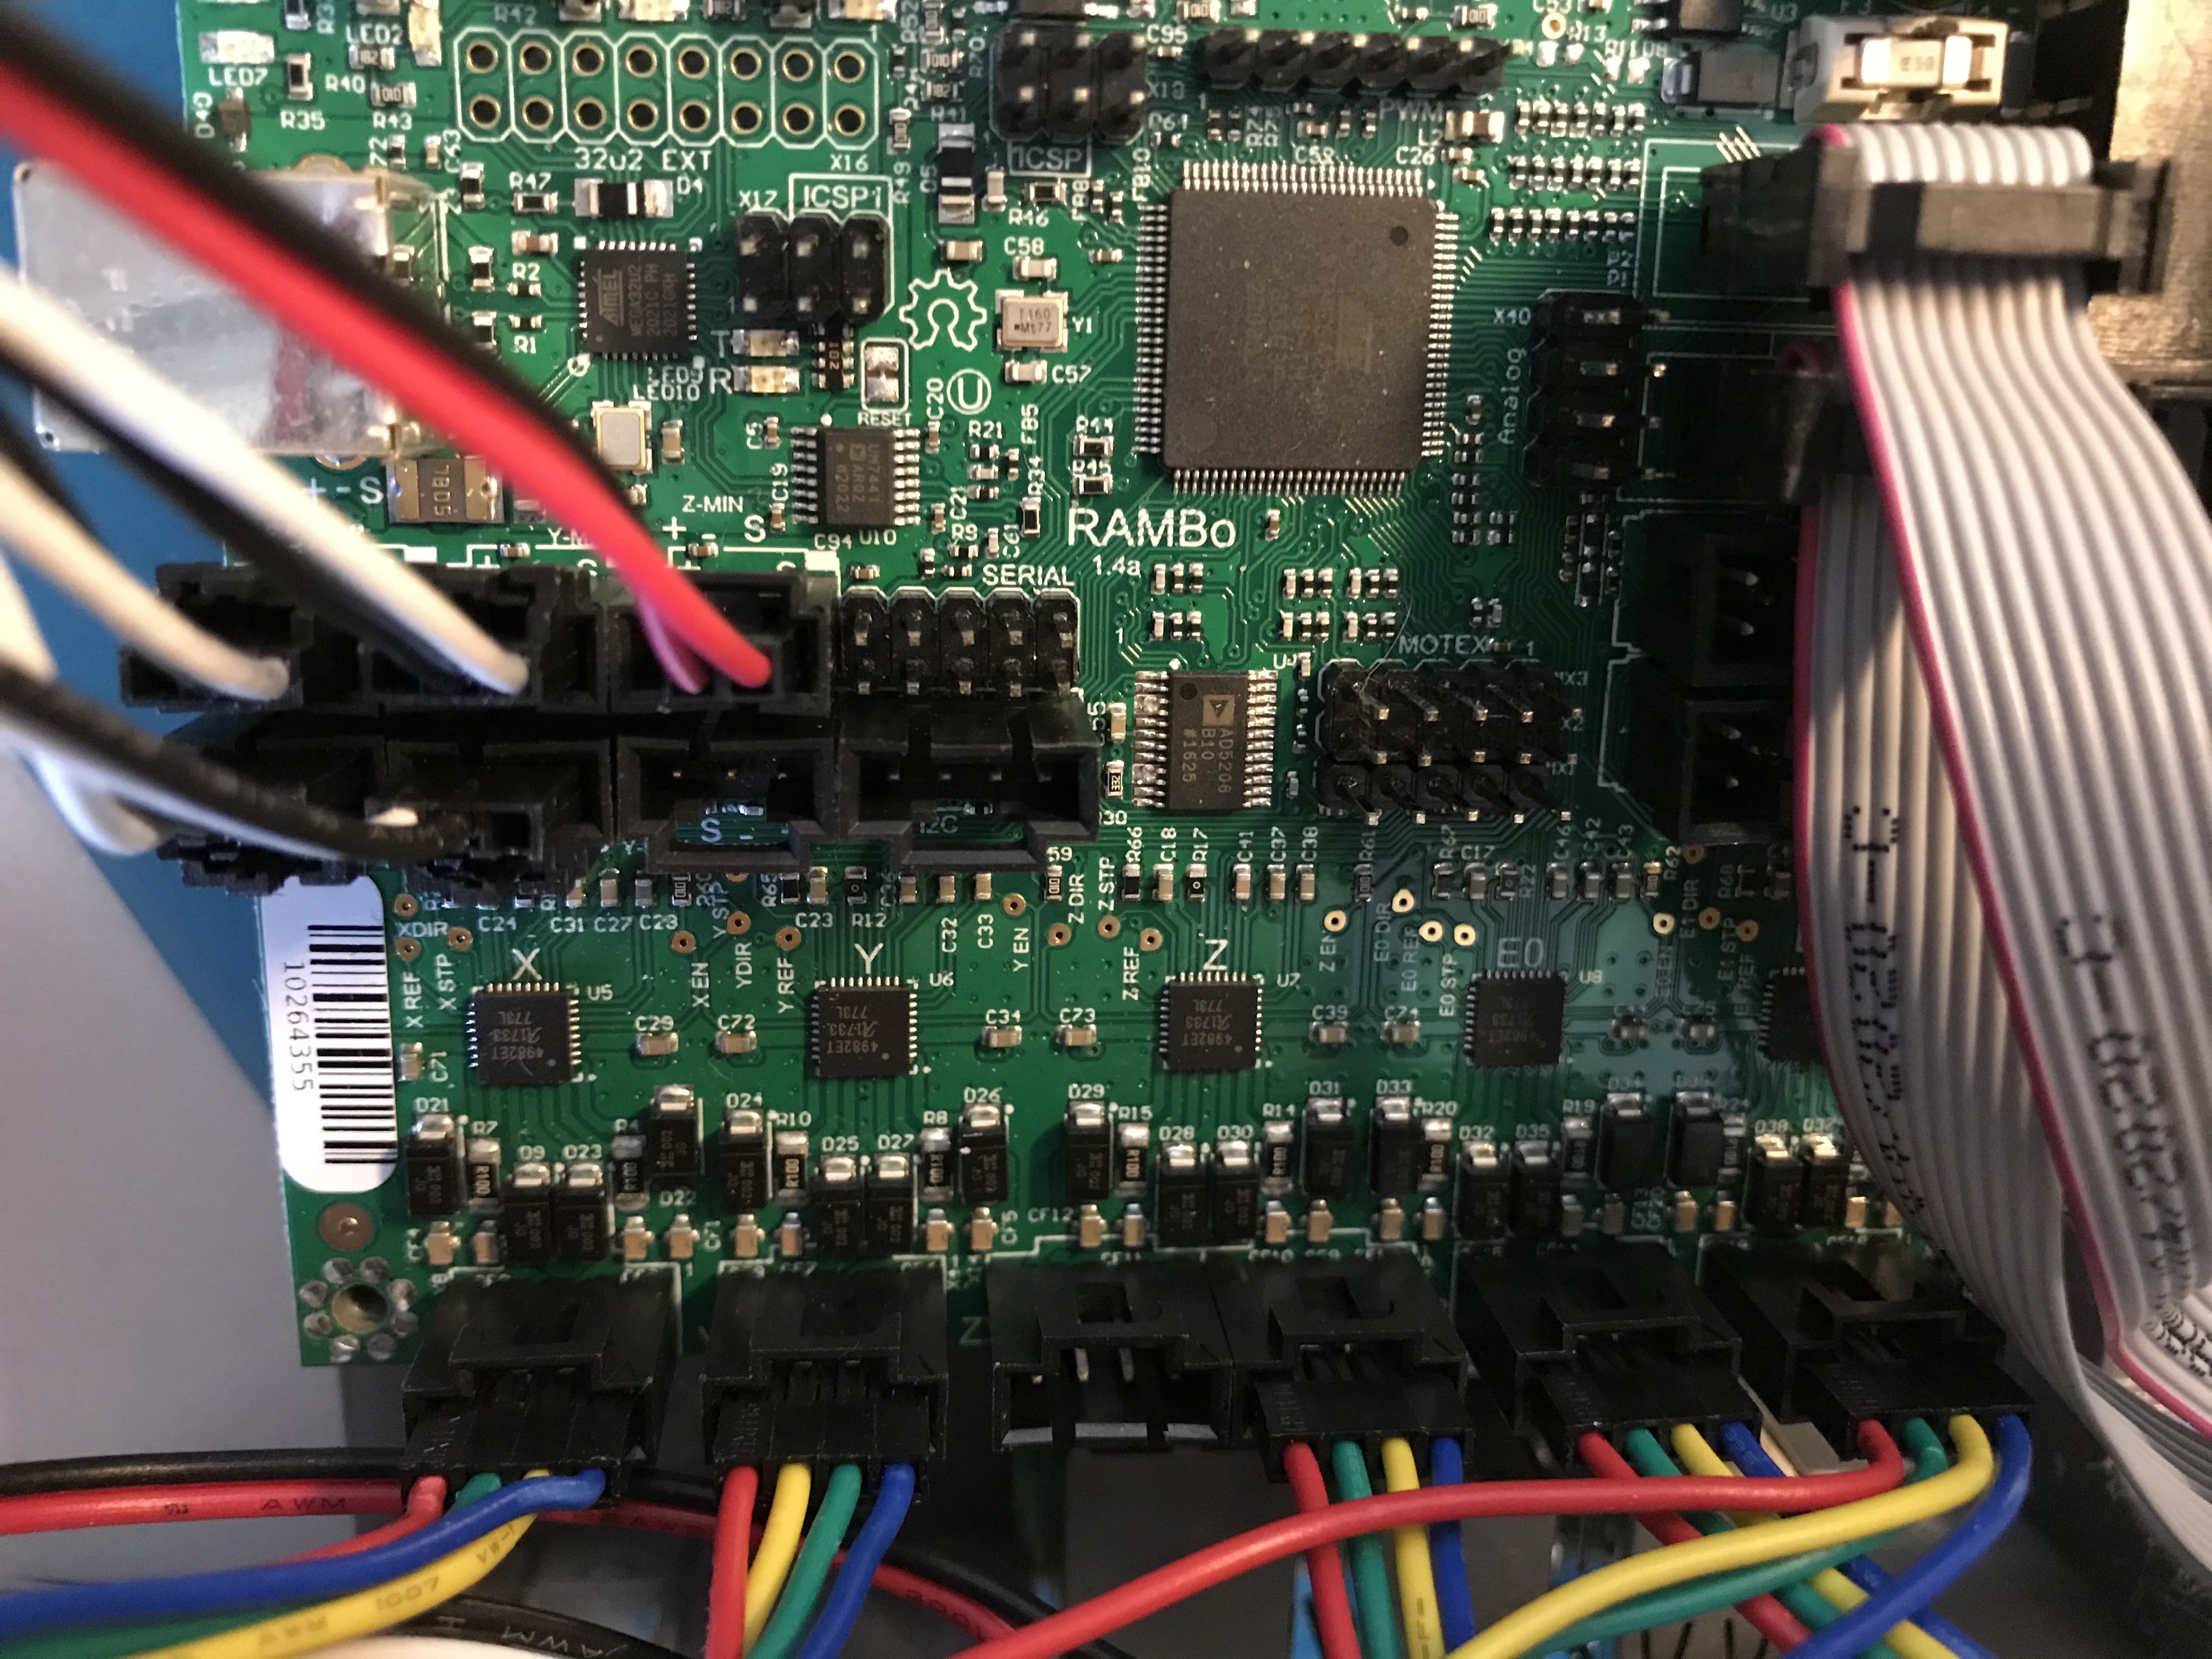
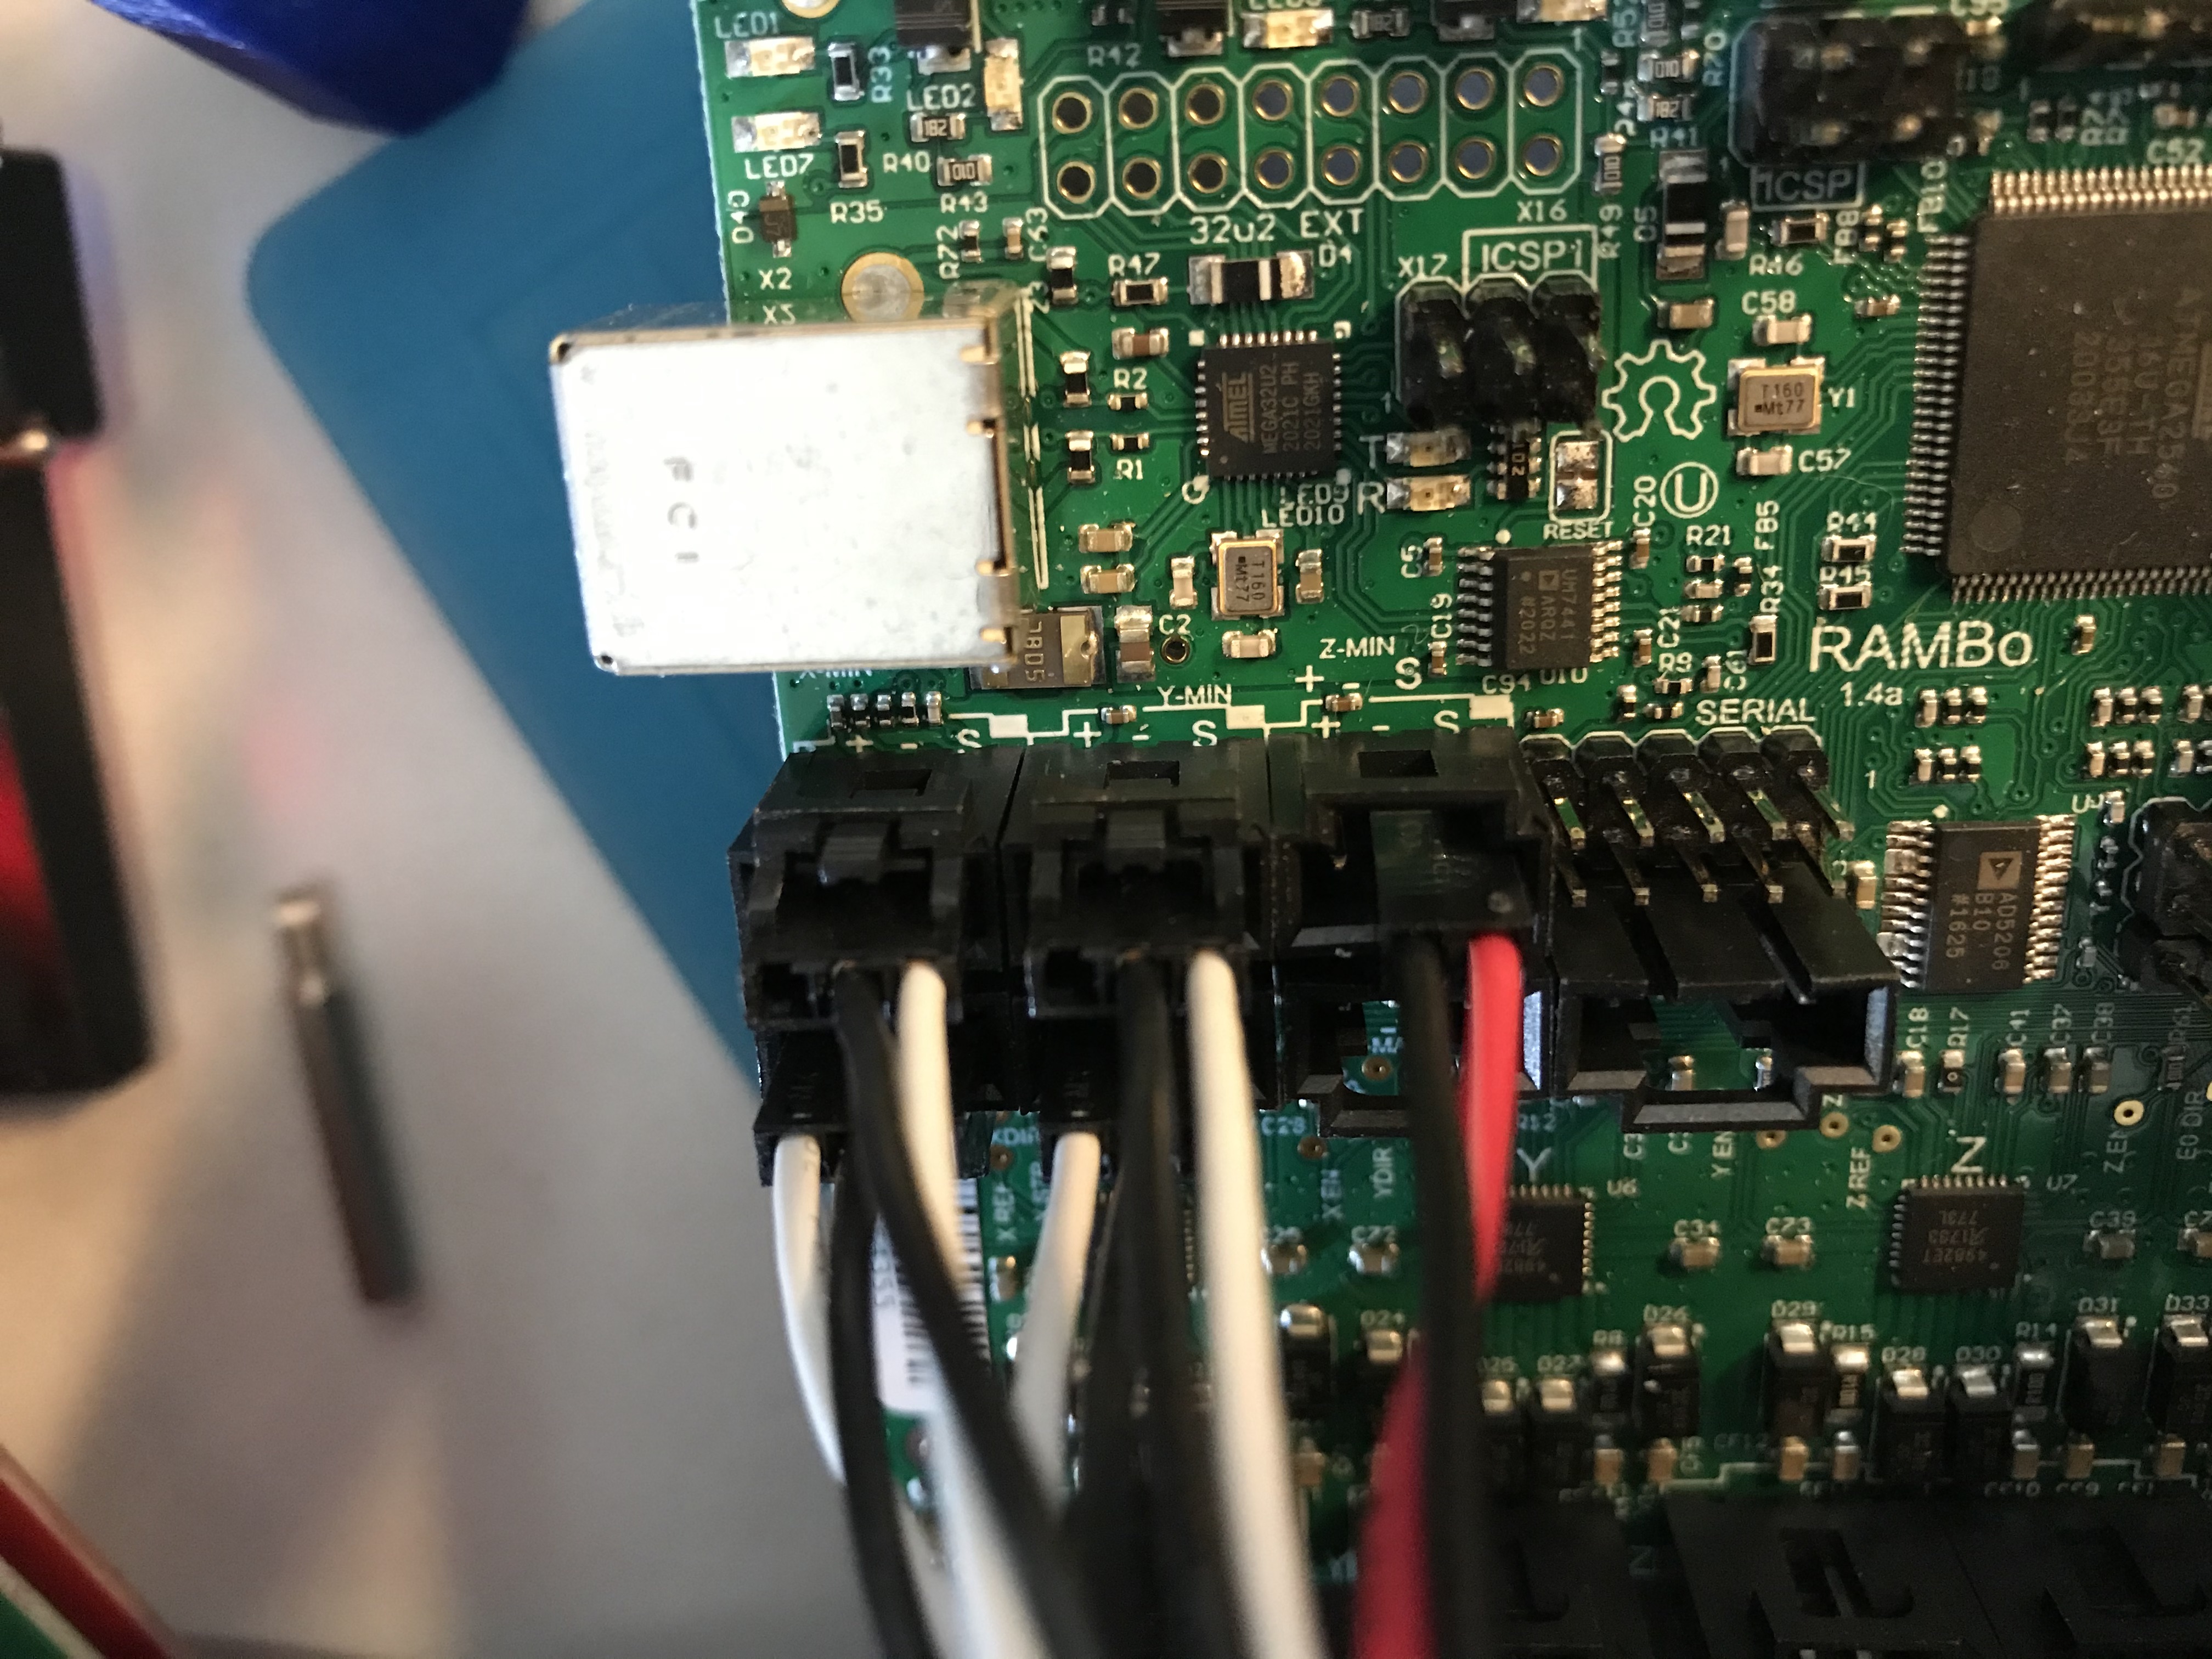
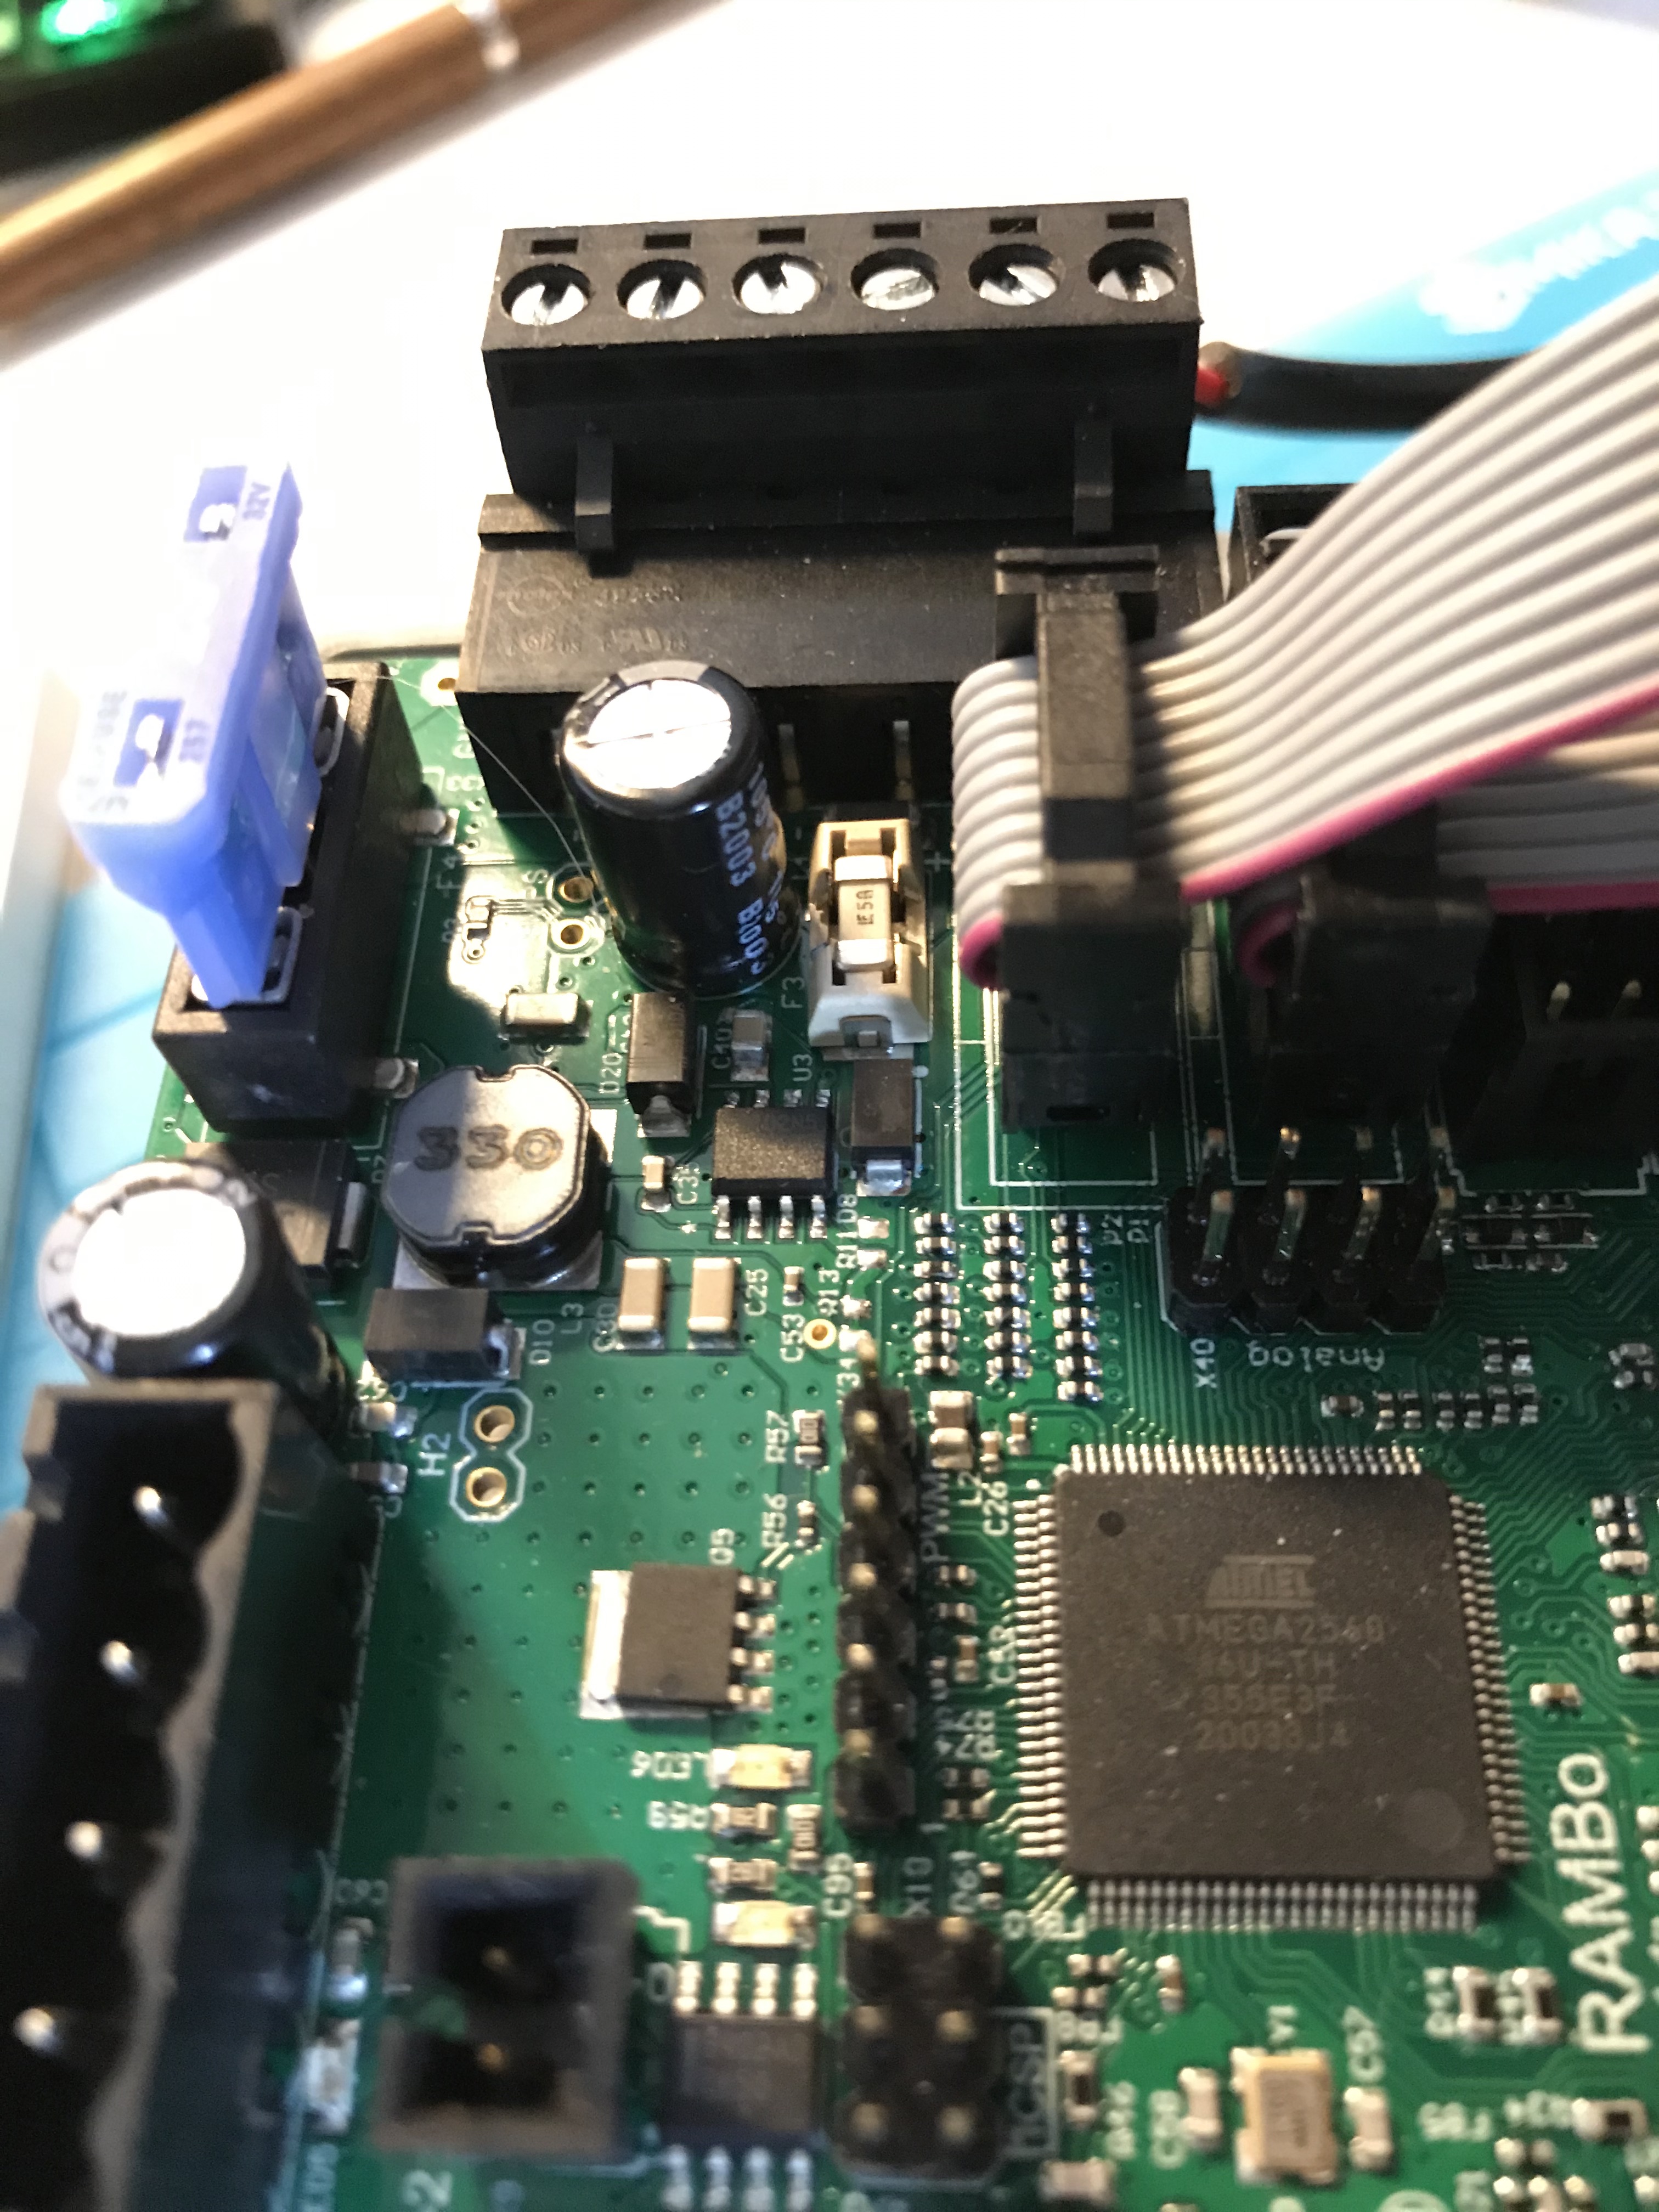
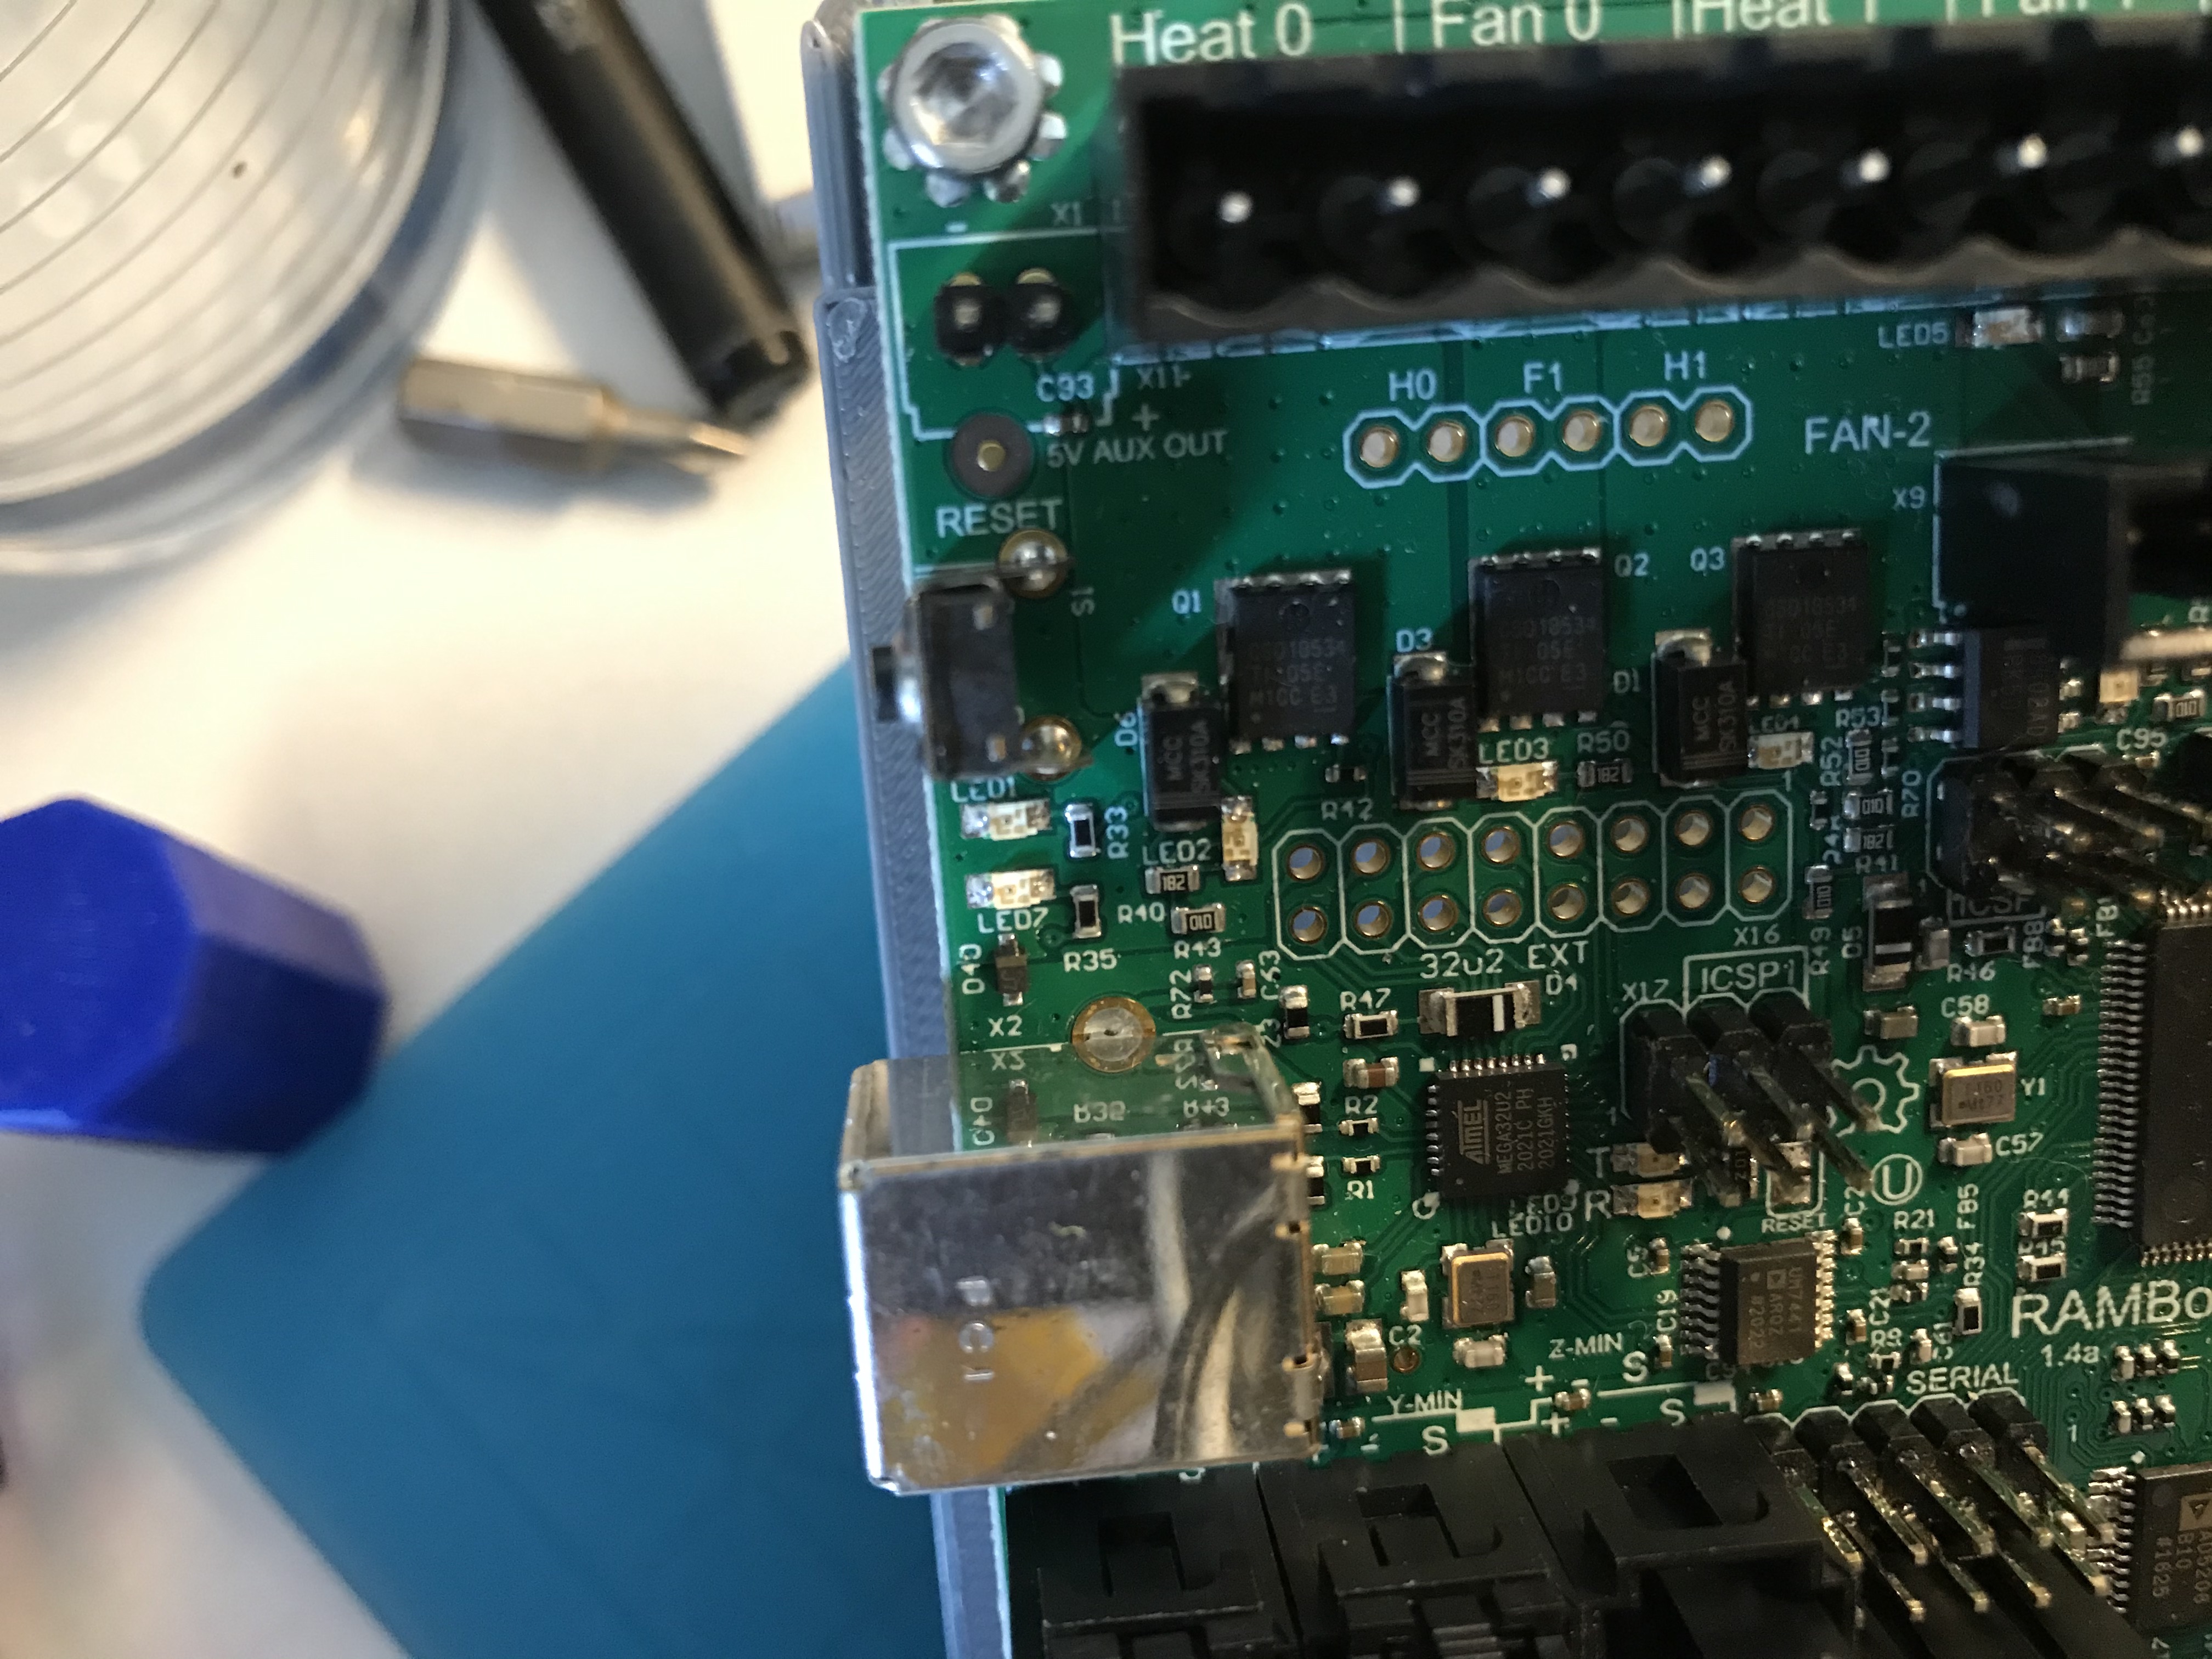
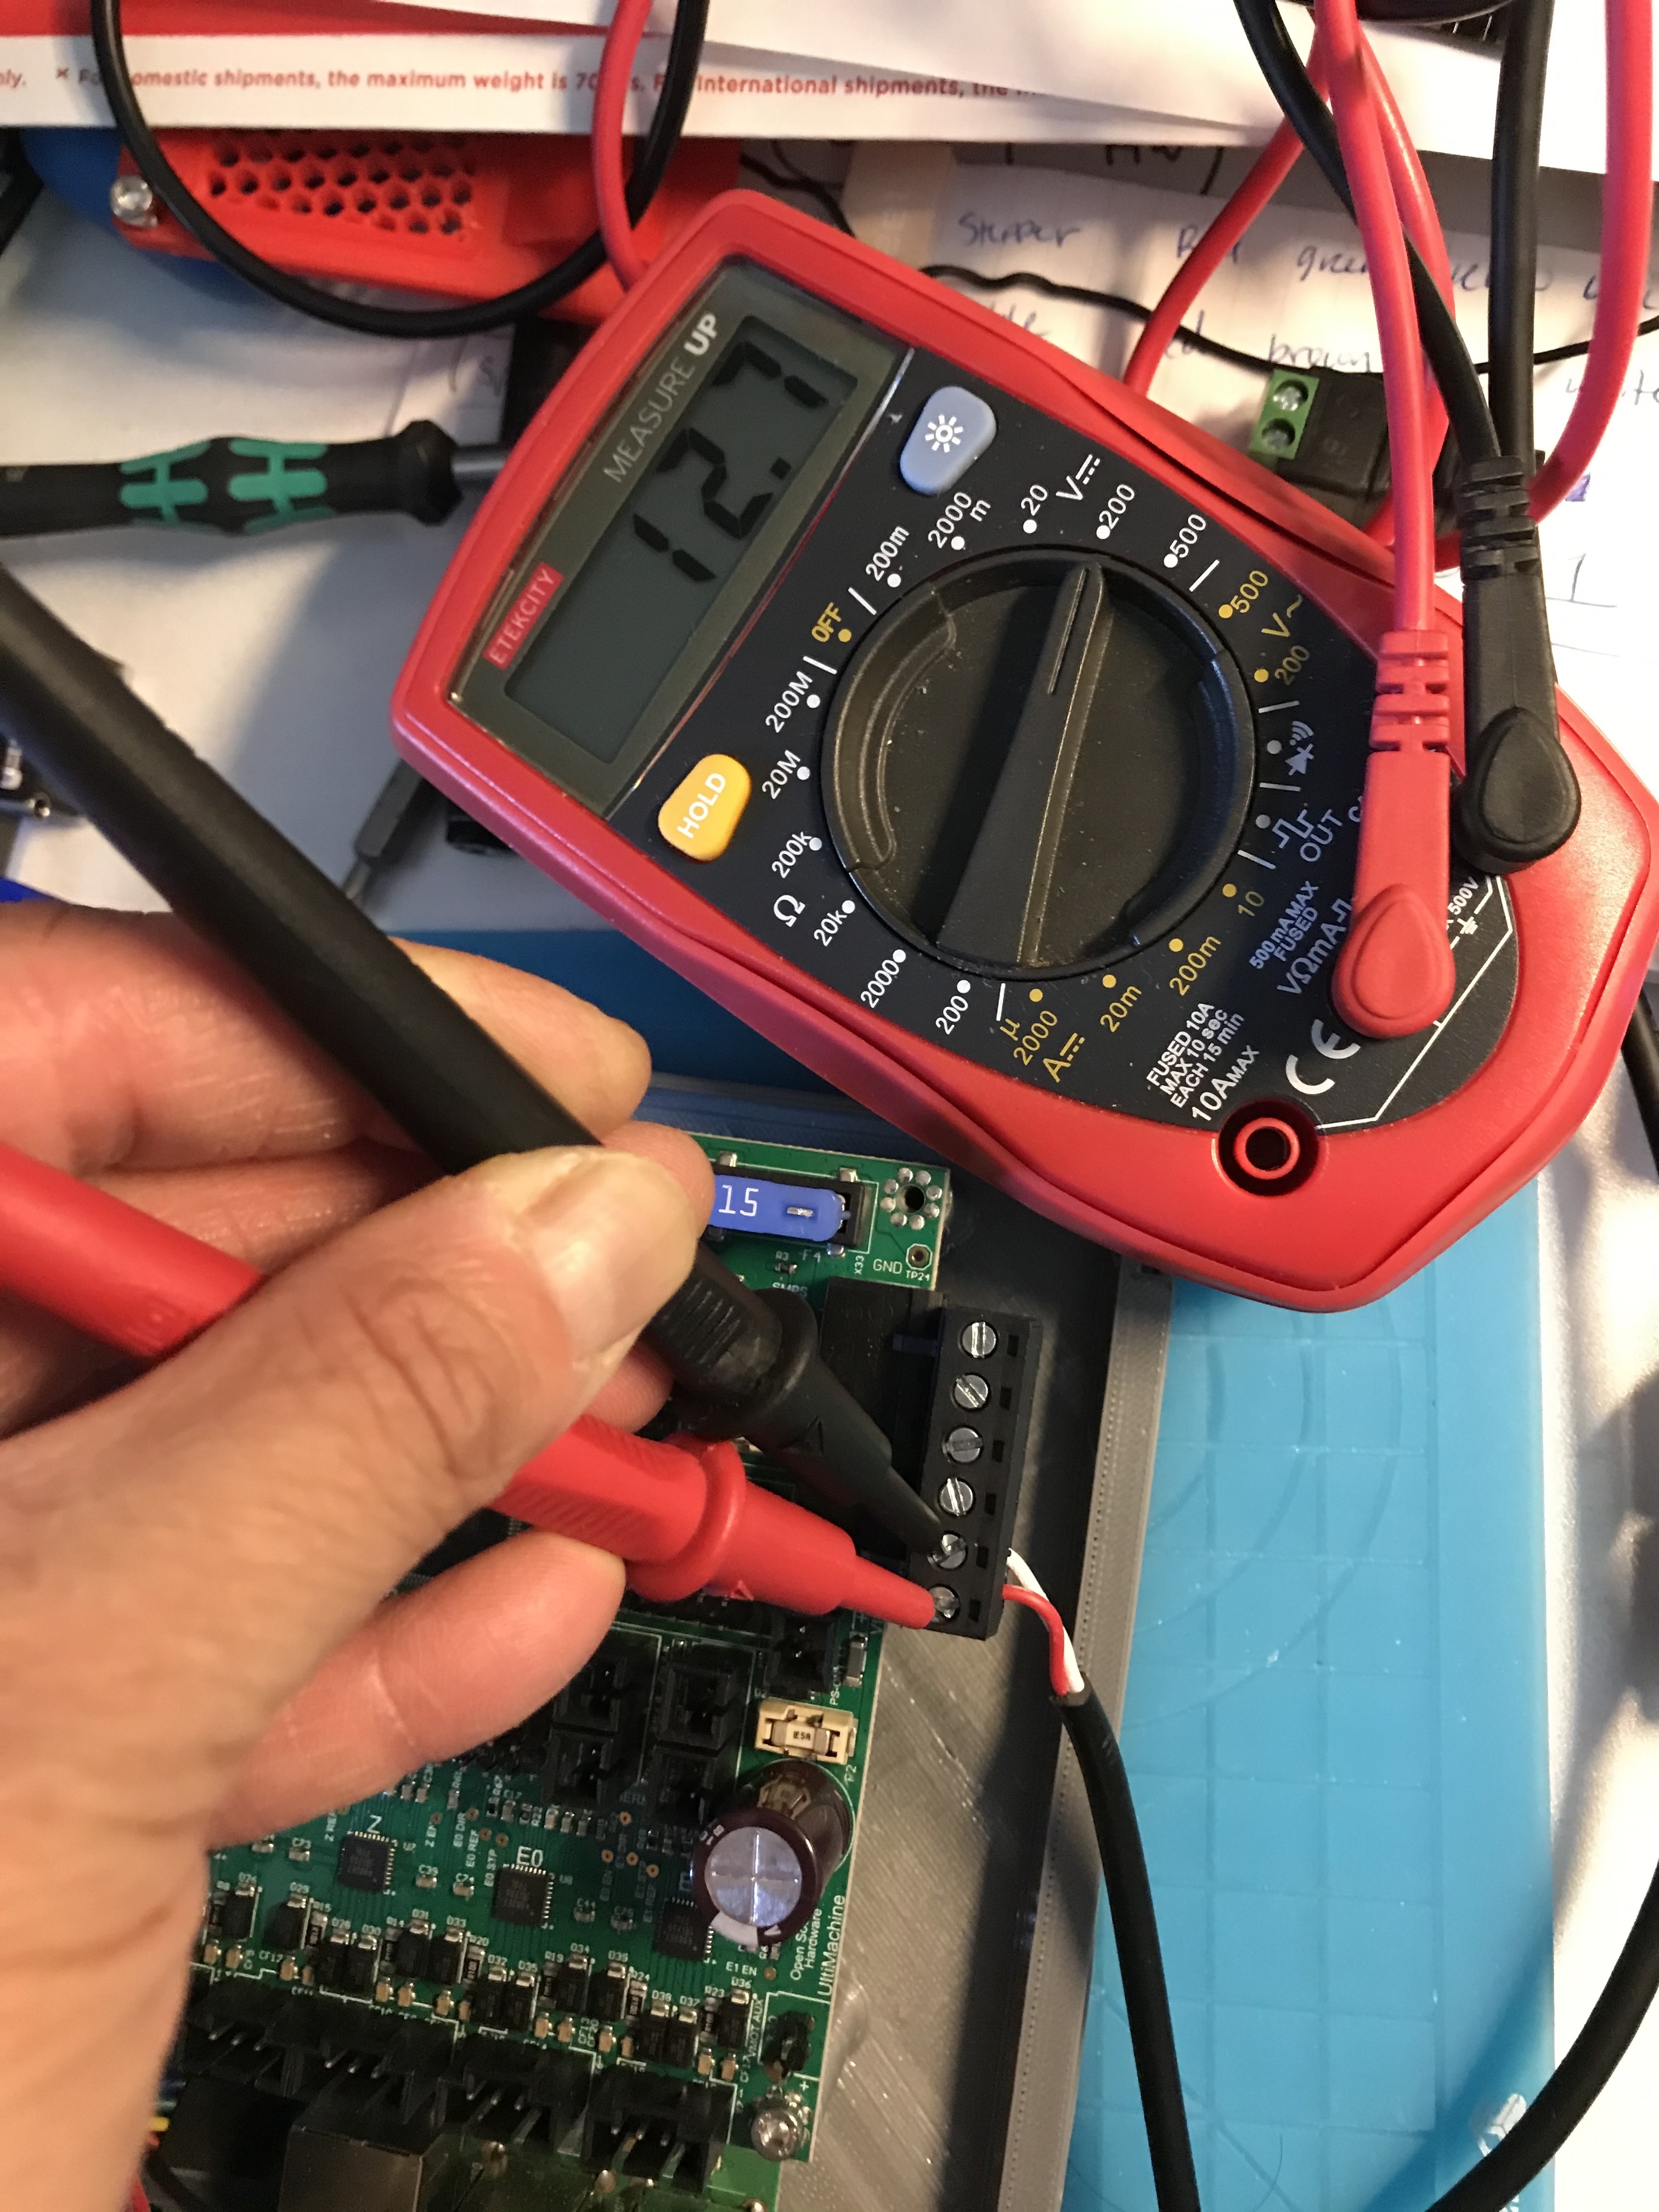
I’ve run into some power problems. I have everything wired and was doing a test to see if everything was working before I mount the motors but nothing powers on!!! I’m receiving 12.7 v at the power connection to the board but nothing lights up.
I disconnected everything except power and still nothing. Anyone see anything wrong?