You’re going to spend a fortune in time and probably parts and get basically no benefit.
Steppers are open loop, but it isn’t like an open loop DC motor. The open loop nema 17 motors are accurate to within 0.1mm at least, if not 0.01mm. Any error in the final parts is from other sources, lile belt stretch or bit deflection or pipe deflection. I am guessing you haven’t built an MPCNC before. If you had, you would realize that the dw660 is more than powerful enough and unless you bury the bit and take enormous bites, the nema17 will not skip and you’ll get amazing results.
Bigger isn’t better. You really will save a ton of effort and money just building it to spec and then trying to find where you’d like more performance
But, this is a community of tinkerers, so I would love it if you tried it and shared the results.
Yes, that is what I’ve read here mostly, but my line of thought was - if the MPCNC doesn’t satisfy my requirements in terms of the materials I plan on milling / cutting (aluminium and hard plastics mostly), I can use the servo steppers for a bigger, stronger, more rigid machine… whereas the NEMA17 steppers will not be that useful for such a build.
You are right, this is my fist CNC build, but I have a considerable experience with building 3D printers . I’ve read a lot about the benefit of servo-steppers and in 3D printers they are pretty much a total overkill, but in a CNC’s where there is a lot of resistance of the material I think It could benefit from such a system, especially when working with harder materials at higher speeds, but maybe I’m wrong, this is just the theory - and opinions I’ve heard. I don’t have any personal experience on this matter, so that is why I am asking…
If you cruise CNC forums, you’ll find a ton of people who say you need enormous machines and perfectly rigid setups capable of moving with so much strength it can take your arm off. That’s the environment this project started in 5 years ago and the sights were set low. Wood, plastic, small build size, but made from commodity parts to open the doors for a bunch of people who would never have been able to risk the money on a traditional CNC machine.
But people kept poking at the border, making bigger machines and trying new materials. At some point, we learned enough to do aluminum and then recently, there has been successes in steel. In every case, the load is managed so it doesn’t exceed the strength of the build. It may be slower, and it may be hard to do, but it works.
Changing the motors and the spindle are not going to have the impact you want, I’m afraid. I think you should seriously consider trying it as spec’ed, except for your desire for a grbl smoothie board thing. You will be able to reuse most of it and you will gain a lot of experience and be able to better judge what upgrades matter, and where you can spend your effort and money.
Thanks again for a good insight and tips.
Maybe you are right… Nema 17 steppers are dirt cheap and even if I end up tossing them, it won’t be such a big loss… I will probably listen to your advice and build it as close to stock first and then see from there.
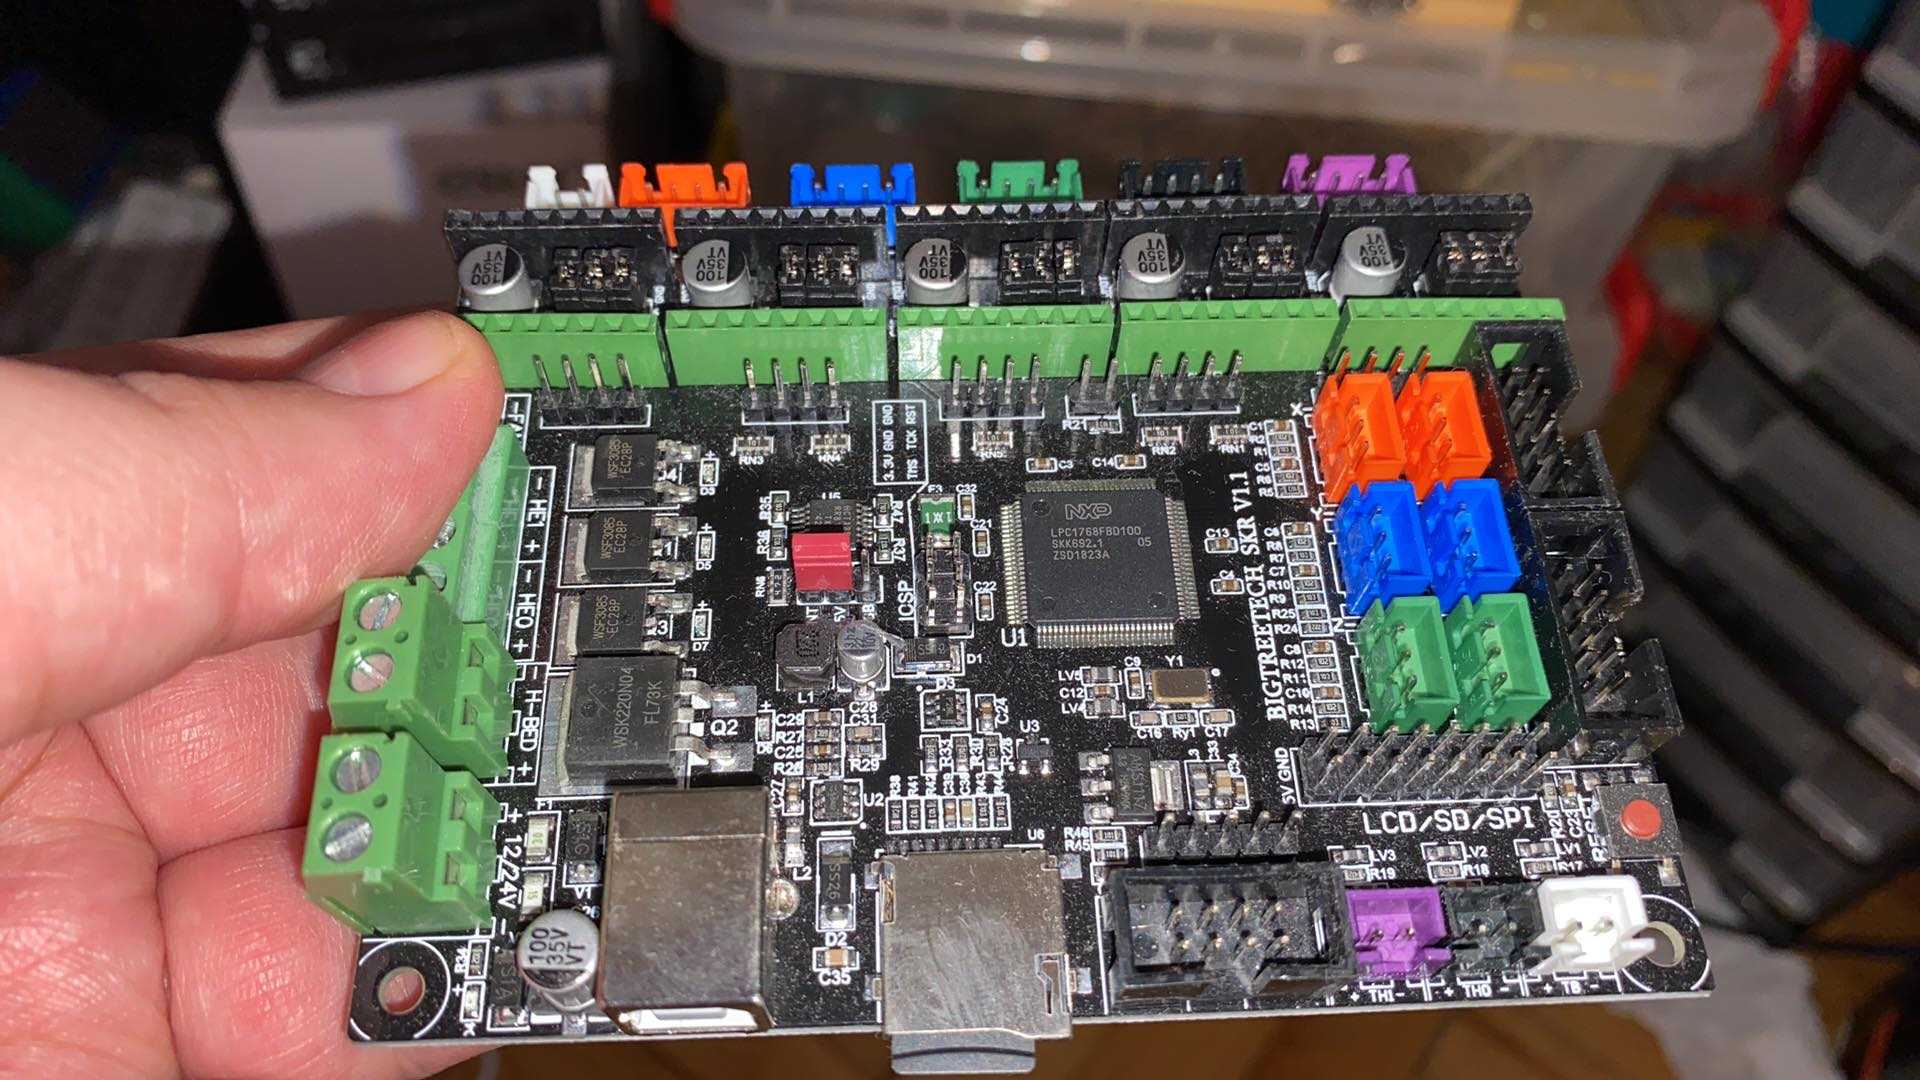
As for the SKR board, it isn’t actually something I’ve chosen specifically for this project - I just got it from a friend who also builds 3D printers like me, so why not use it… it’s a 32bit board and it can run GRBL, so I thought I might try it… But maybe I’ll go with something else, we’ll se…
Any suggestion on the NEMA 17 steppers / pullies / idlers… should everything be stock recommended and is it reasonable to upgrade something in that department?
Closed loop for Nema 17 was brought up recently and is possibly interesting
I’ll add to what Jeff said in that the system is an integrated whole, where each part is not over-built compared to the others. Larger tubes reduce some deflection but there is minimal benefit because the belts and plastic contribute comparable amounts of deflection which would soon dominate. Size also has a big influence and there is an envelope where everything is more or less balanced.
Having said that, Primo is somewhat new territory. The belts are larger, the Z axis is stiffer, (and 23.5 is not out yet), so it is conceivable that enlarging the steppers might not run into other issues quite as quickly.
I would say build it as intended to start with (including DW660) and if you are serious about improvements, you have to take measurements or you will be “upgrading” the wrong thing. This approach is low cost and you can draw from the experience here in the forum up until you venture into the frontier.
I would say Ryan is open to improvements (if they fit his design philosophy), so anything reasonable is either already implemented, doesn’t fit the MPCNC design philosophy (cost, sourcing, ease of use etc.) or is not suggested/tested yet (you could go ahead and change that).
I dont think you will replace a 10000$ machine with a MPCNC yet but you can try. It’s fun to see the limits pushed but some of them have already been done to a burley but not the primo . Then what are you expecting to get at the end?
The recommended ones are very common and because of that, they are cheap. They do a great job and they really aren’t special. Just send some current through them and they will do the job.
I am also curious about the skr grbl solution. Maybe you could share a link to the exact board and the fork of grbl for it?
First to answer the question about the board - It’s a BIGTREETECH SKR V1.1 that my good friend had lying around, so he will give it to me for this build. For my 3D printer of the similar format (500x500x500) I used a Duet 2 ethernet board and it works beautifully, but for CNC I was looking for something more CNC oriented that has features specifically for that purpose and he said it could run GRBL but I am not yet sure what version, I have to get back to you on that since it was his idea and he has more experience in that segment than I do.
As for the rest of my build, I am of course completely aware that the whole machine is supposed to be in the “same league” as far as every individual component is concerned, but since my requirements were a bit higher - and since I know from my 3D printer building experience - upgrading everything and trying to push the concept further - pays off in the long run, but it requires a lot of tuning and tweaking… With my 3D printer for example I came to I point where I upgraded eveything to highest specs and now I have a super reliable and super high quality large format machine that can print any FDM material with great results… it did cost me a lot of time and money, but you cannot buy a readily made machine with that kind of performance under 20k - and it cost me around 3k to build.
I’ll just add that I’ve never had an issue cutting aluminum with my dw. I like using carbide with a mister for coolant. I’ve gotten precision results that my caliper couldn’t read (< a thou). I cut with .25 in, 4 tooth, but looking for a carbide 2 or 3 tooth for better chip removal.
My goal was not to replace a 10k machine with MPCNC, but rather to have an alternative to ready made machines such as Stepcraft D-series which fully equipped here are around 3-4k. I think the MPCNC is a very capable concept and that it can go way over the “low cost” league if you spend enough time and money perfecting and upgrading certain aspects of it. The whole setup I was going to buy is less than 1500$ which is quite acceptable for a good quality cnc. I understand that people want to stay as low cost as possible and that is very legitimate approach, but in the end it comes down to requirements, budget and of course time you are willing to invest into tweaking everyting. With my 3D printer it was well worth the time and effort.
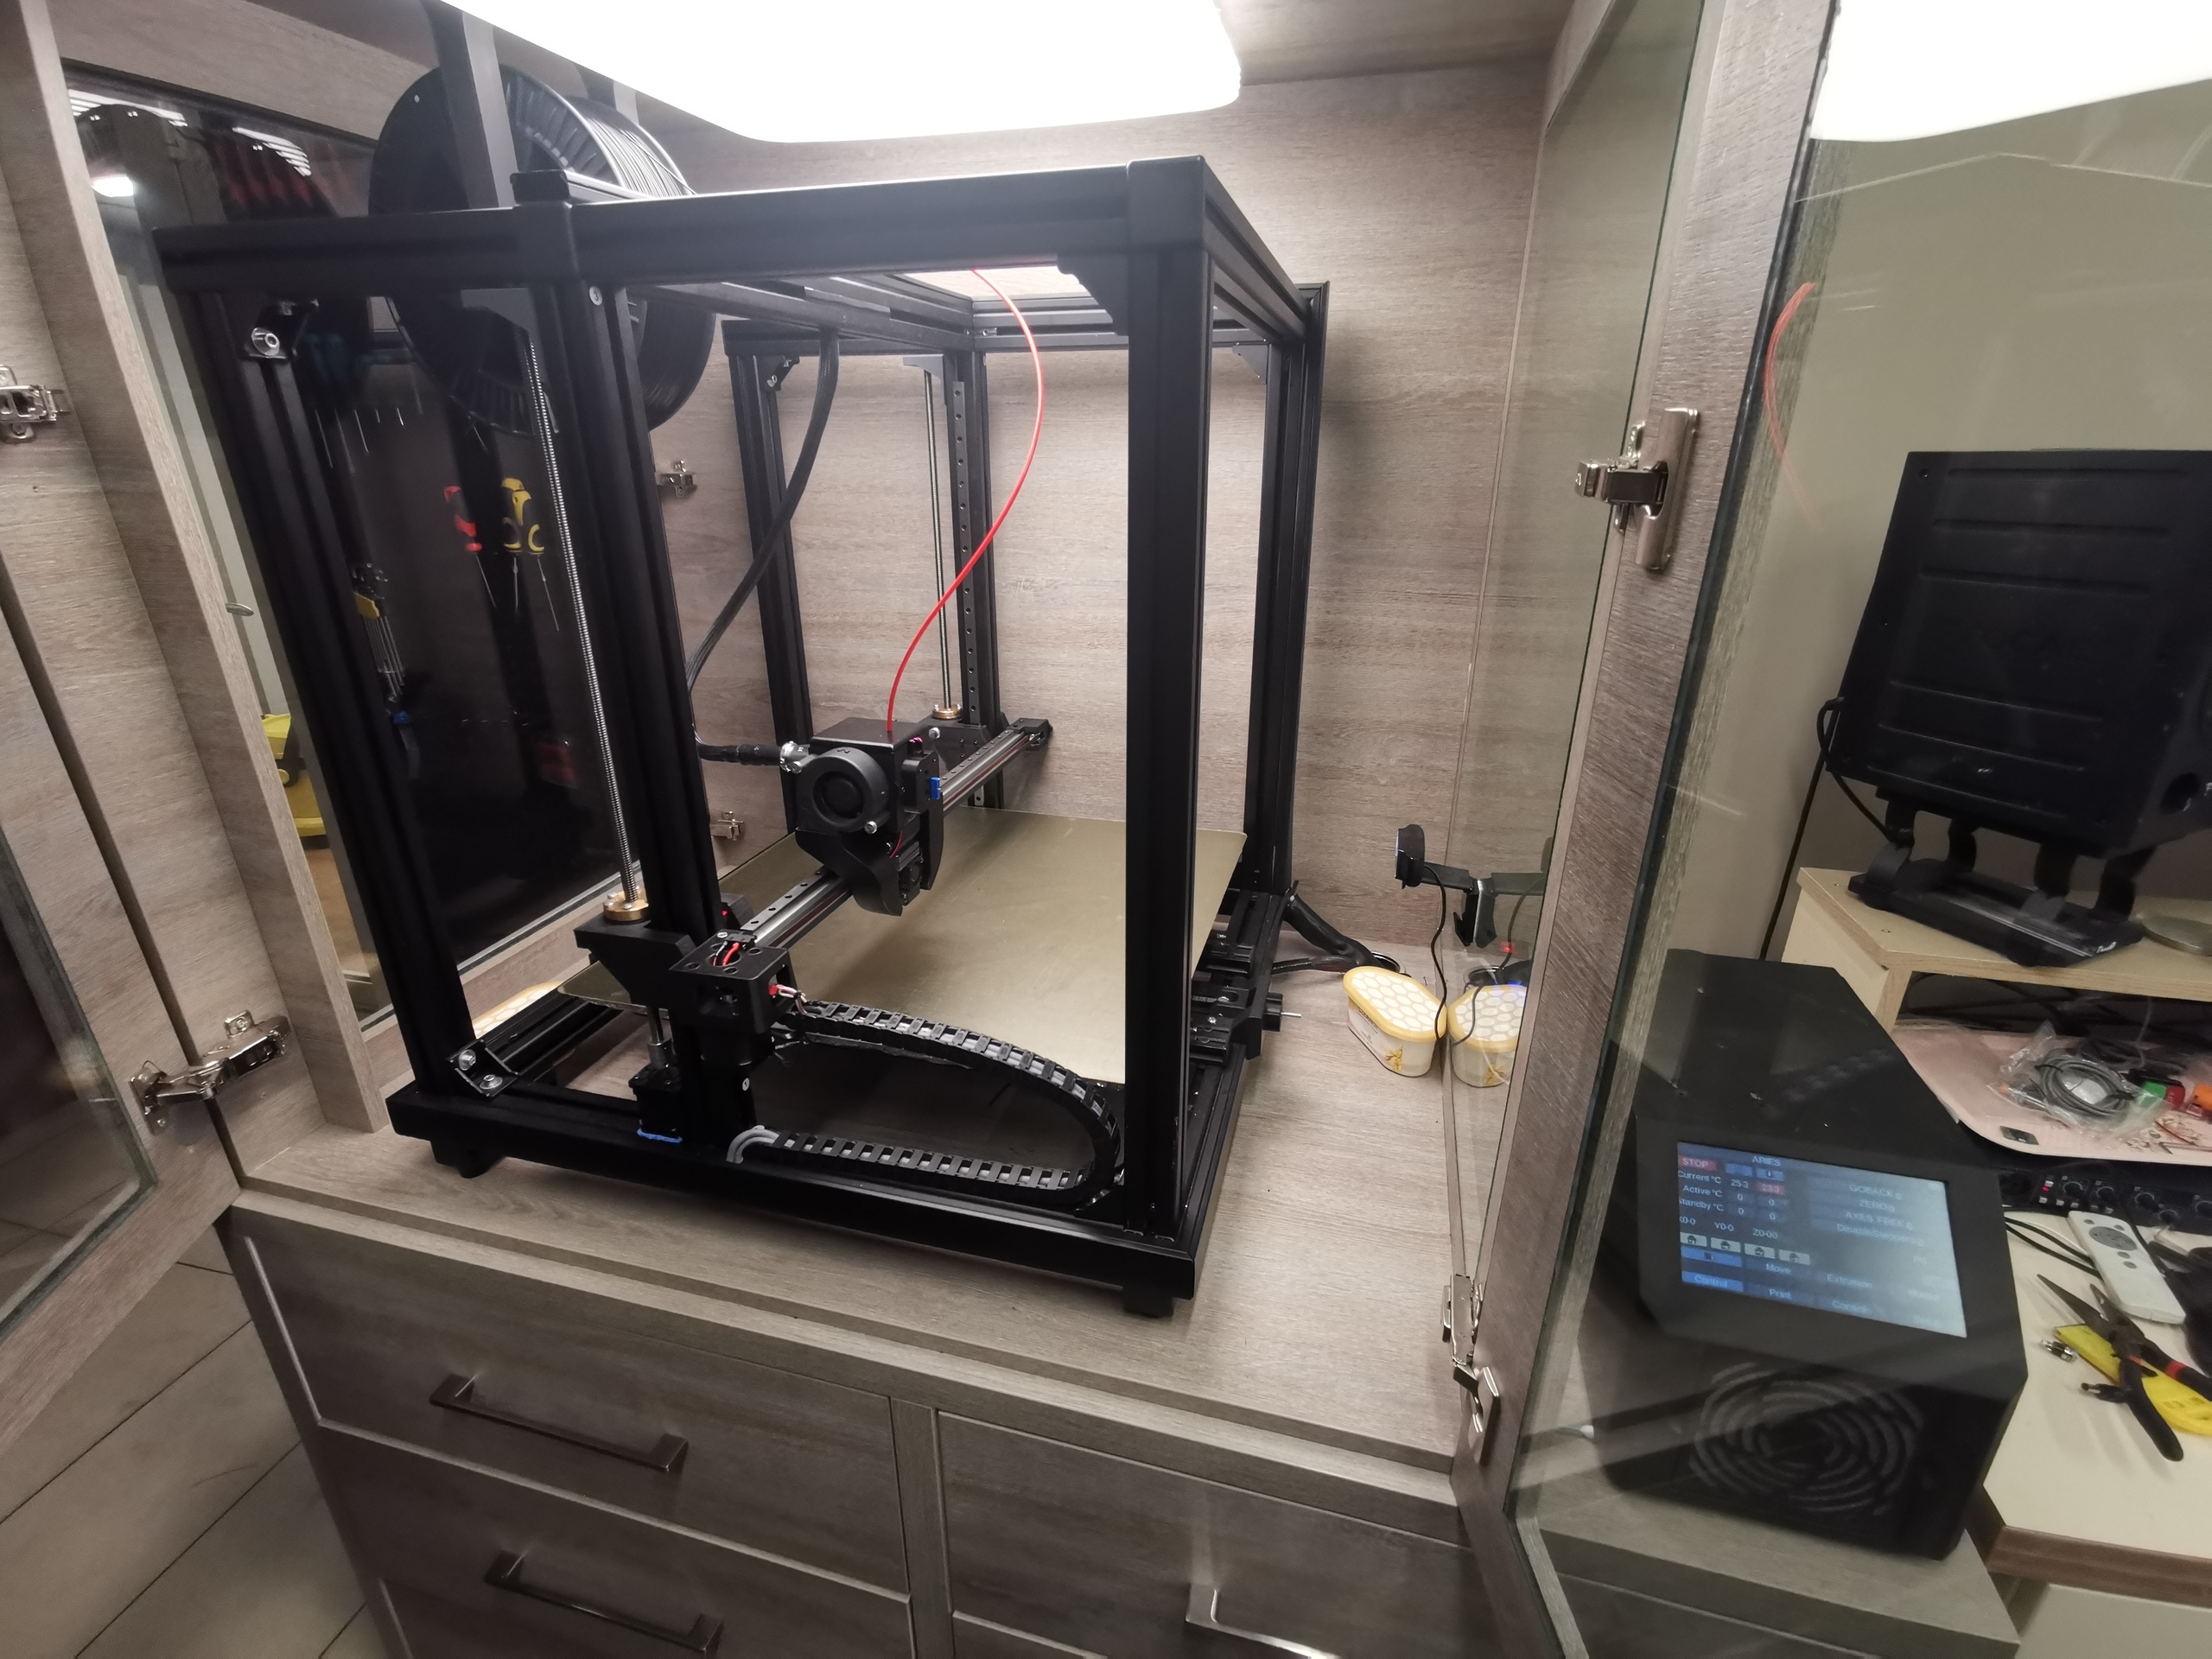
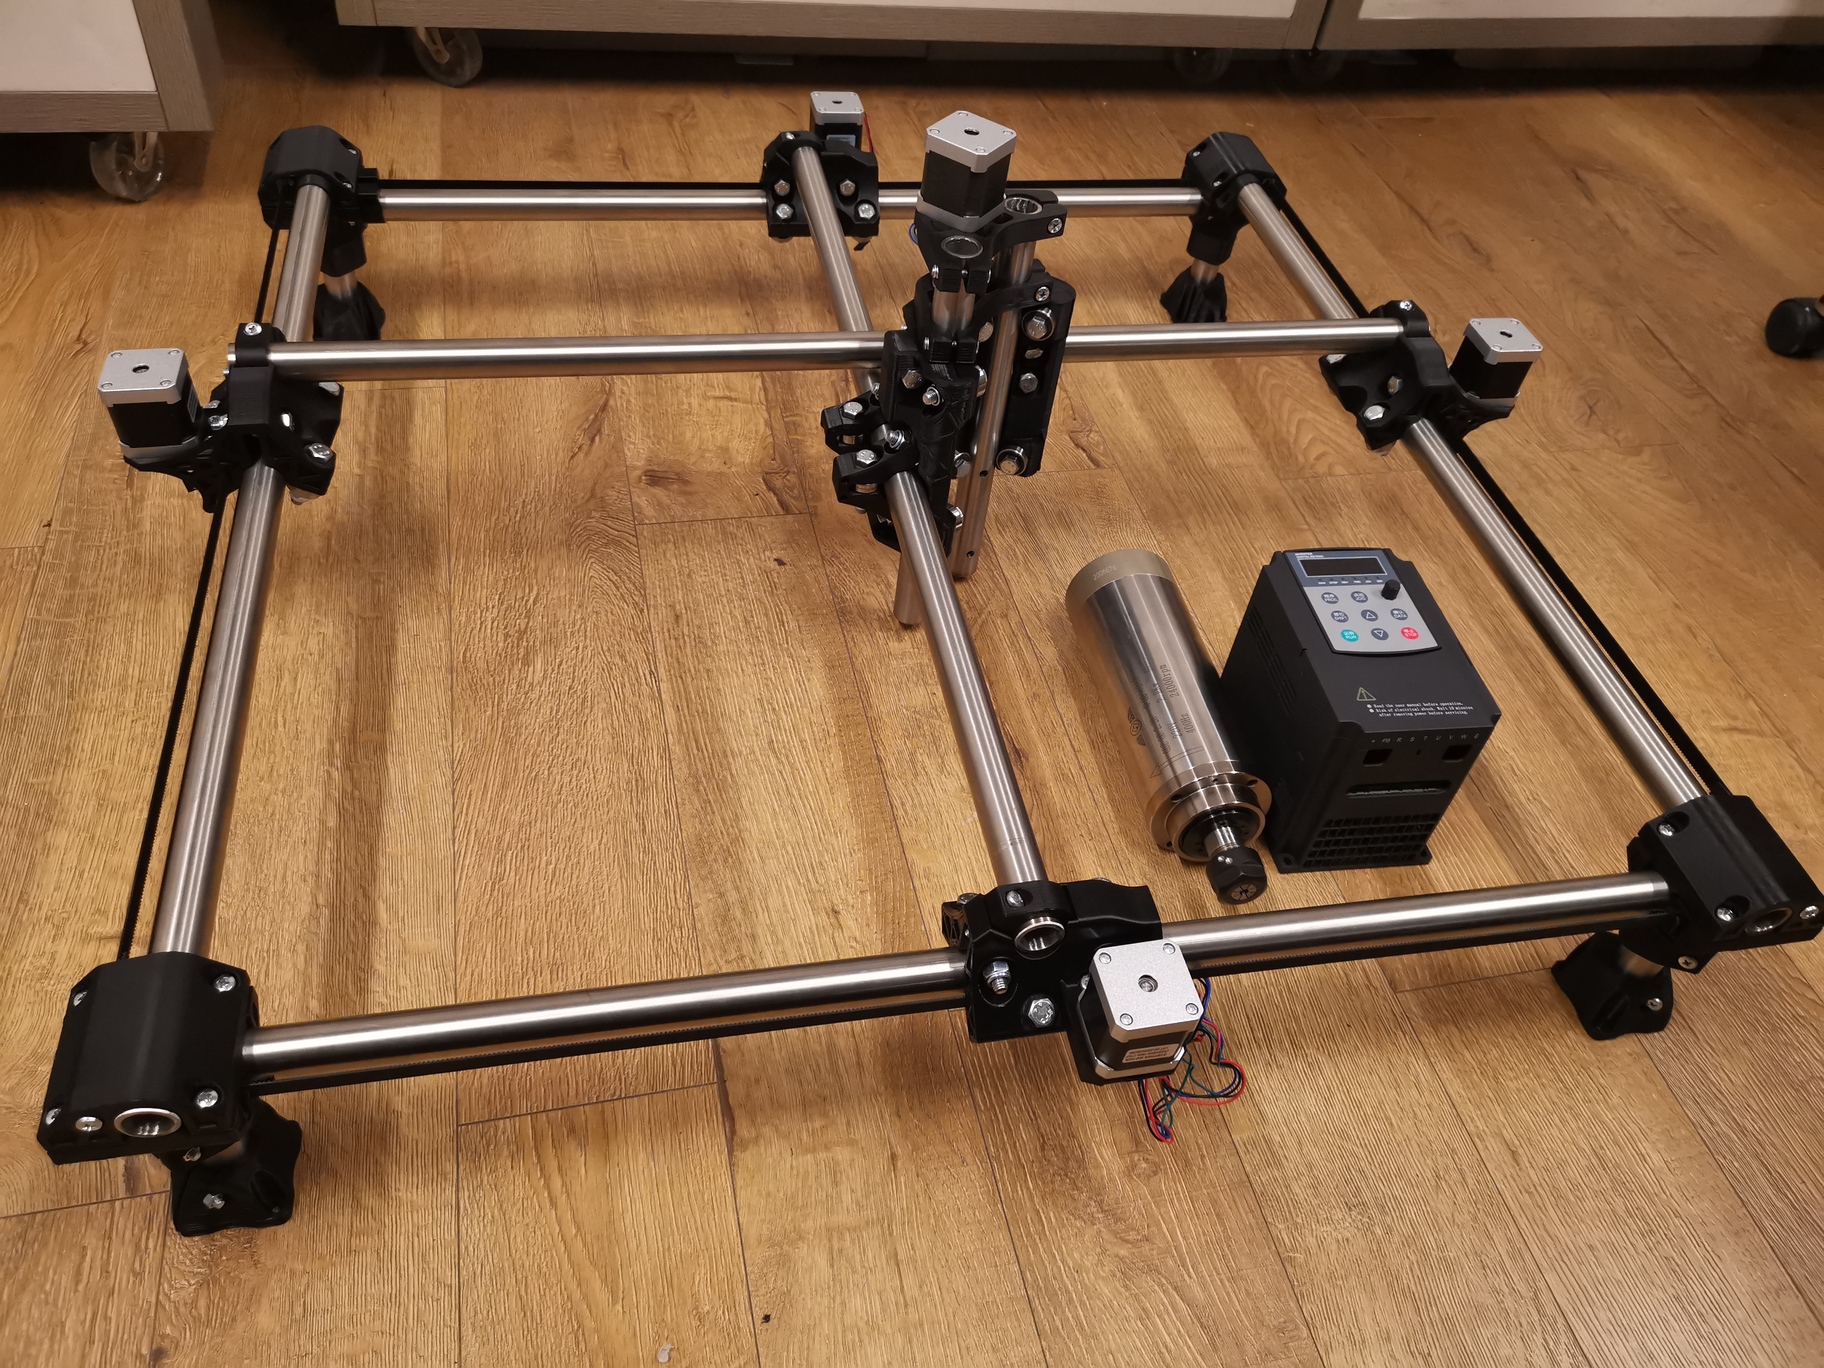
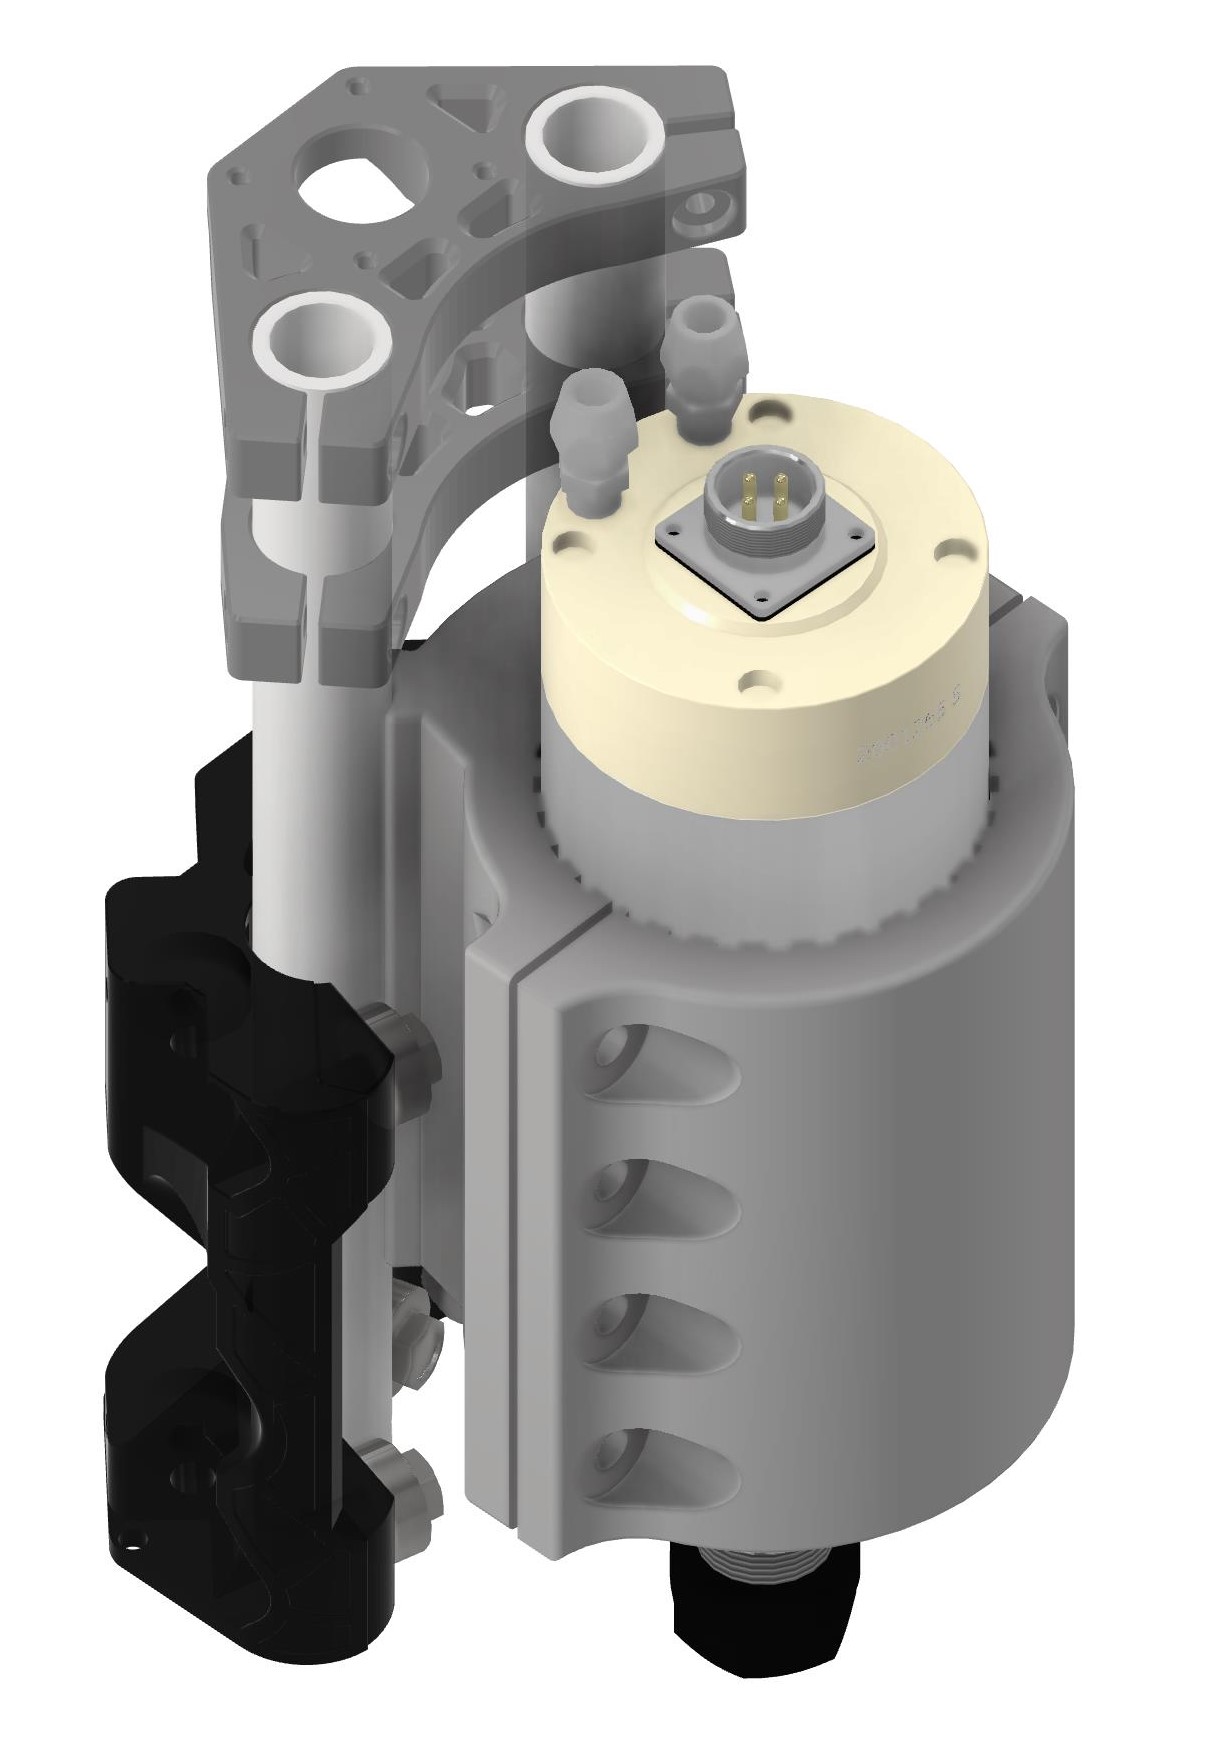
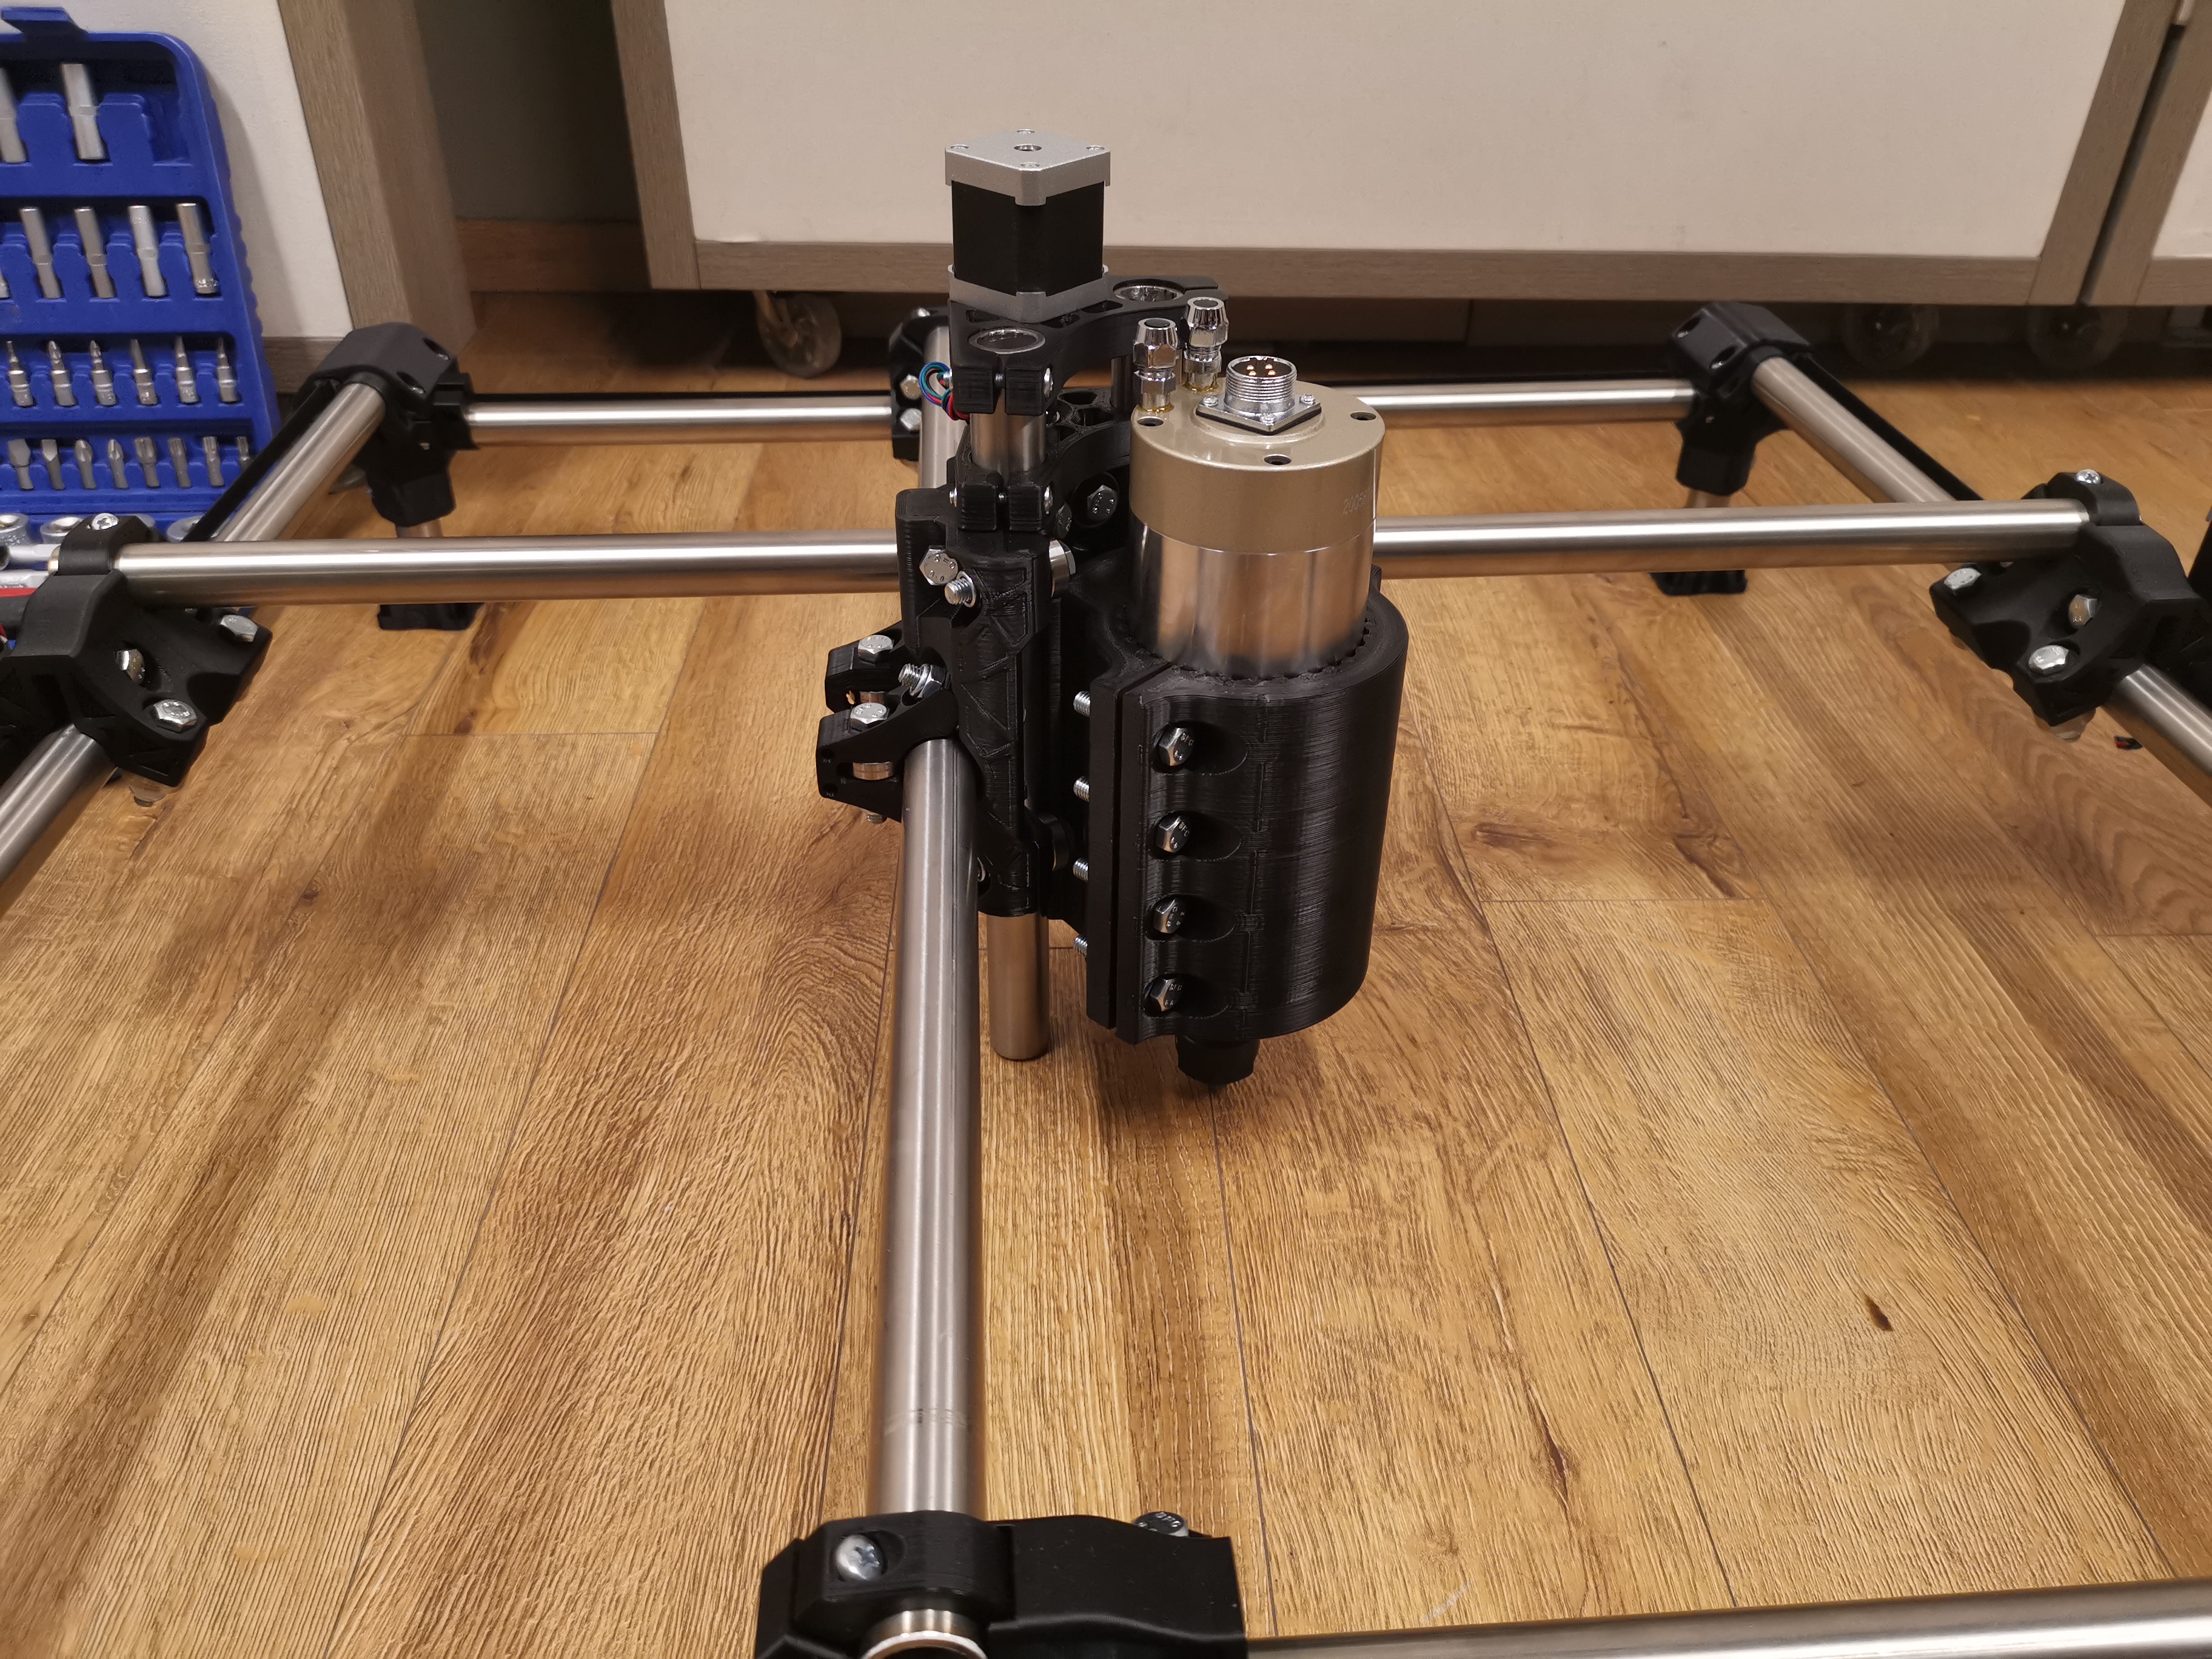
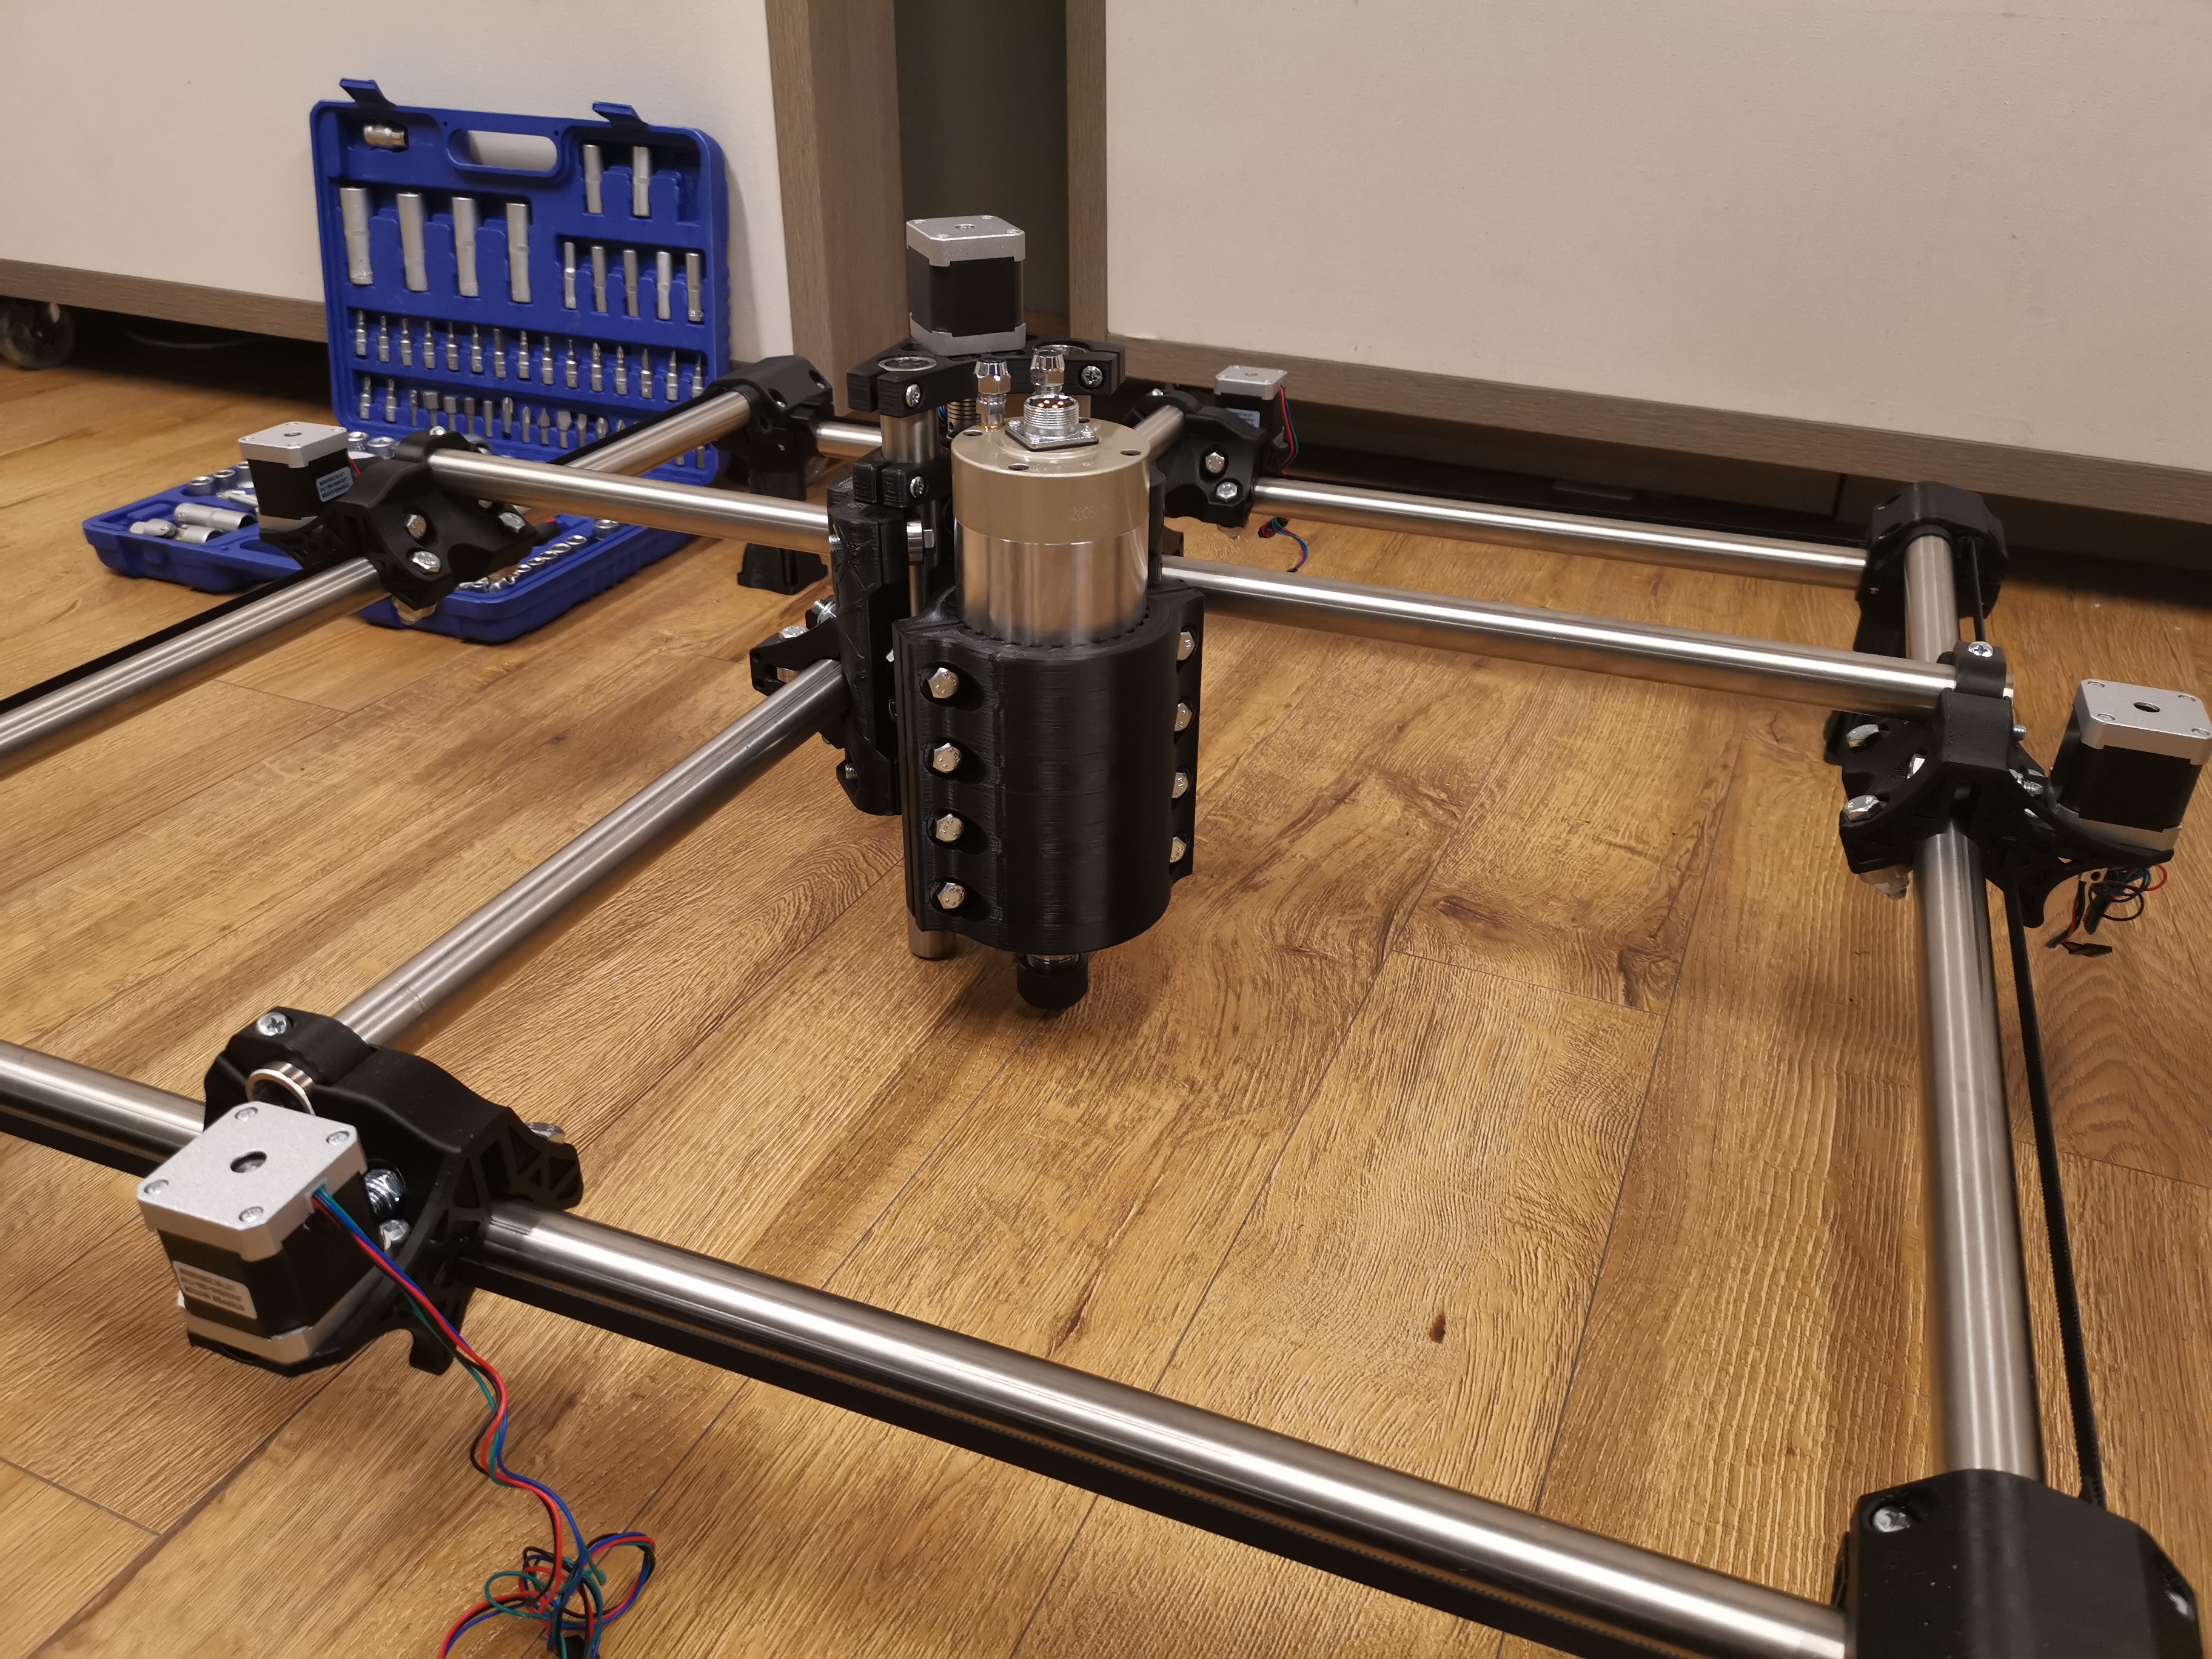
Here is my progress on the build so far… The only concern I am having is this big 2.2kW watercooled spindle since it’s 80mm in diameter and quite heavy (around 4.5kg). I haven’t found any mounts for 80mm spindle for PRIMO on Thingieverse, but I’ve seen that people have used this same spindle for BURLY. We will try to design and print a mount for it tomorrow, but if anyone has already tried making a mount for this spindle for the PRiMO - any input and/or models would be highly appreciated.
I’ve also used 0.9 angle stepper motors with solid torque (4.4kg/cm) for all axis and ordered the BIGTREETECH S42B closed-loop drivers for the steppers, so I’ll report on those once they arrive.
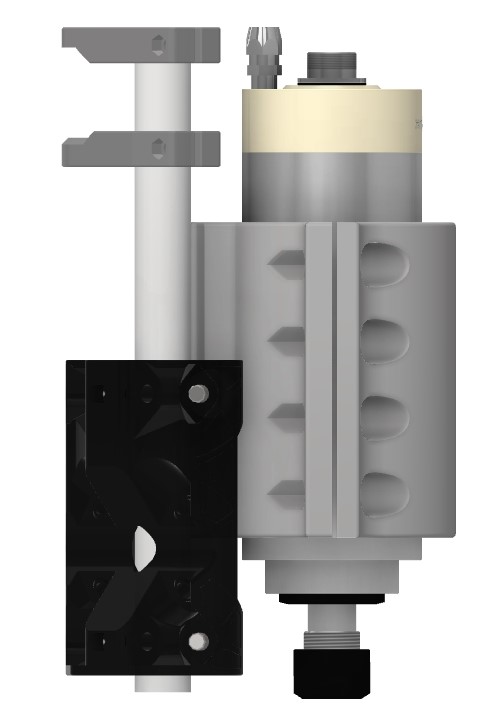
The burly tool mount can be used, but it has a lot of stick out, especially for something 80mm. You’d be happier if you made your own mount that snuggles in a bit closer, giving you more rigidity and more workspace.
Thanks for the input Jeff… The holes on the Burly mounts seemed quite off when I measured the existing STL’s that I could find on Thingieverse… But I will probably design a mount specifically for this and try it out and let you guys know how it went…
As for the spindle, I did want to get something smaller, but unfortunately my choices are quite limited here if I want to source it locally… I could either get a small Dremel or this… Here you cannot get the DW660, and I did not want to go through ordering it from abroad, since the air traffic is super slow here because of the virus + the customs procedures, etc etc… So I risked a bit with this beefy spindle but we will see… My construction is made out of very tough stainless steel tubes (3mm thick walls) and they are super sturdy, I am just worried about the printed parts… I also have a beefier stepper for Z, if this one cant keep up with this spindle.
I put the S42B driver on an old 3D printer with layer shift problems (yes, you are right, it’s a Geeetech).
The layer shift problems completely went away, but print quality suffers.
Previously it made quite nice surfaces but now it’s like it’s using full steps.
The S42B allows you to set the stepping on a little OLED screen, but curiously you have to use about 20% more steps/mm in your control firmware to get accurate real world dimensions.
This makes me think that the stepping the S42B offers isn’t real “stepping”, but some home brewed scheme.
My point - use S42B if you’re worried about missed steps, but be prepared to loose accuracy.