MPCNC Primo Schneewittchen Reanimated - Oldenburg, Germany

Once upon a time, on the 7th of April, I decided to finally buy a 3D printer. When looking around what to print when it arrived I found the MPCNC Burly. Always having wanted a CNC as well I bookmarked it, read the forums and started to buy everything I needed. Since the printer was scheduled for delivery in August I had a lot of time to prepare the electronics and learn everything I needed to know about them.

I decided to use the MPCNC with Estlcam, an Arduinoclub board and TB6600 drivers. The first working version was finished on the 14th of May.

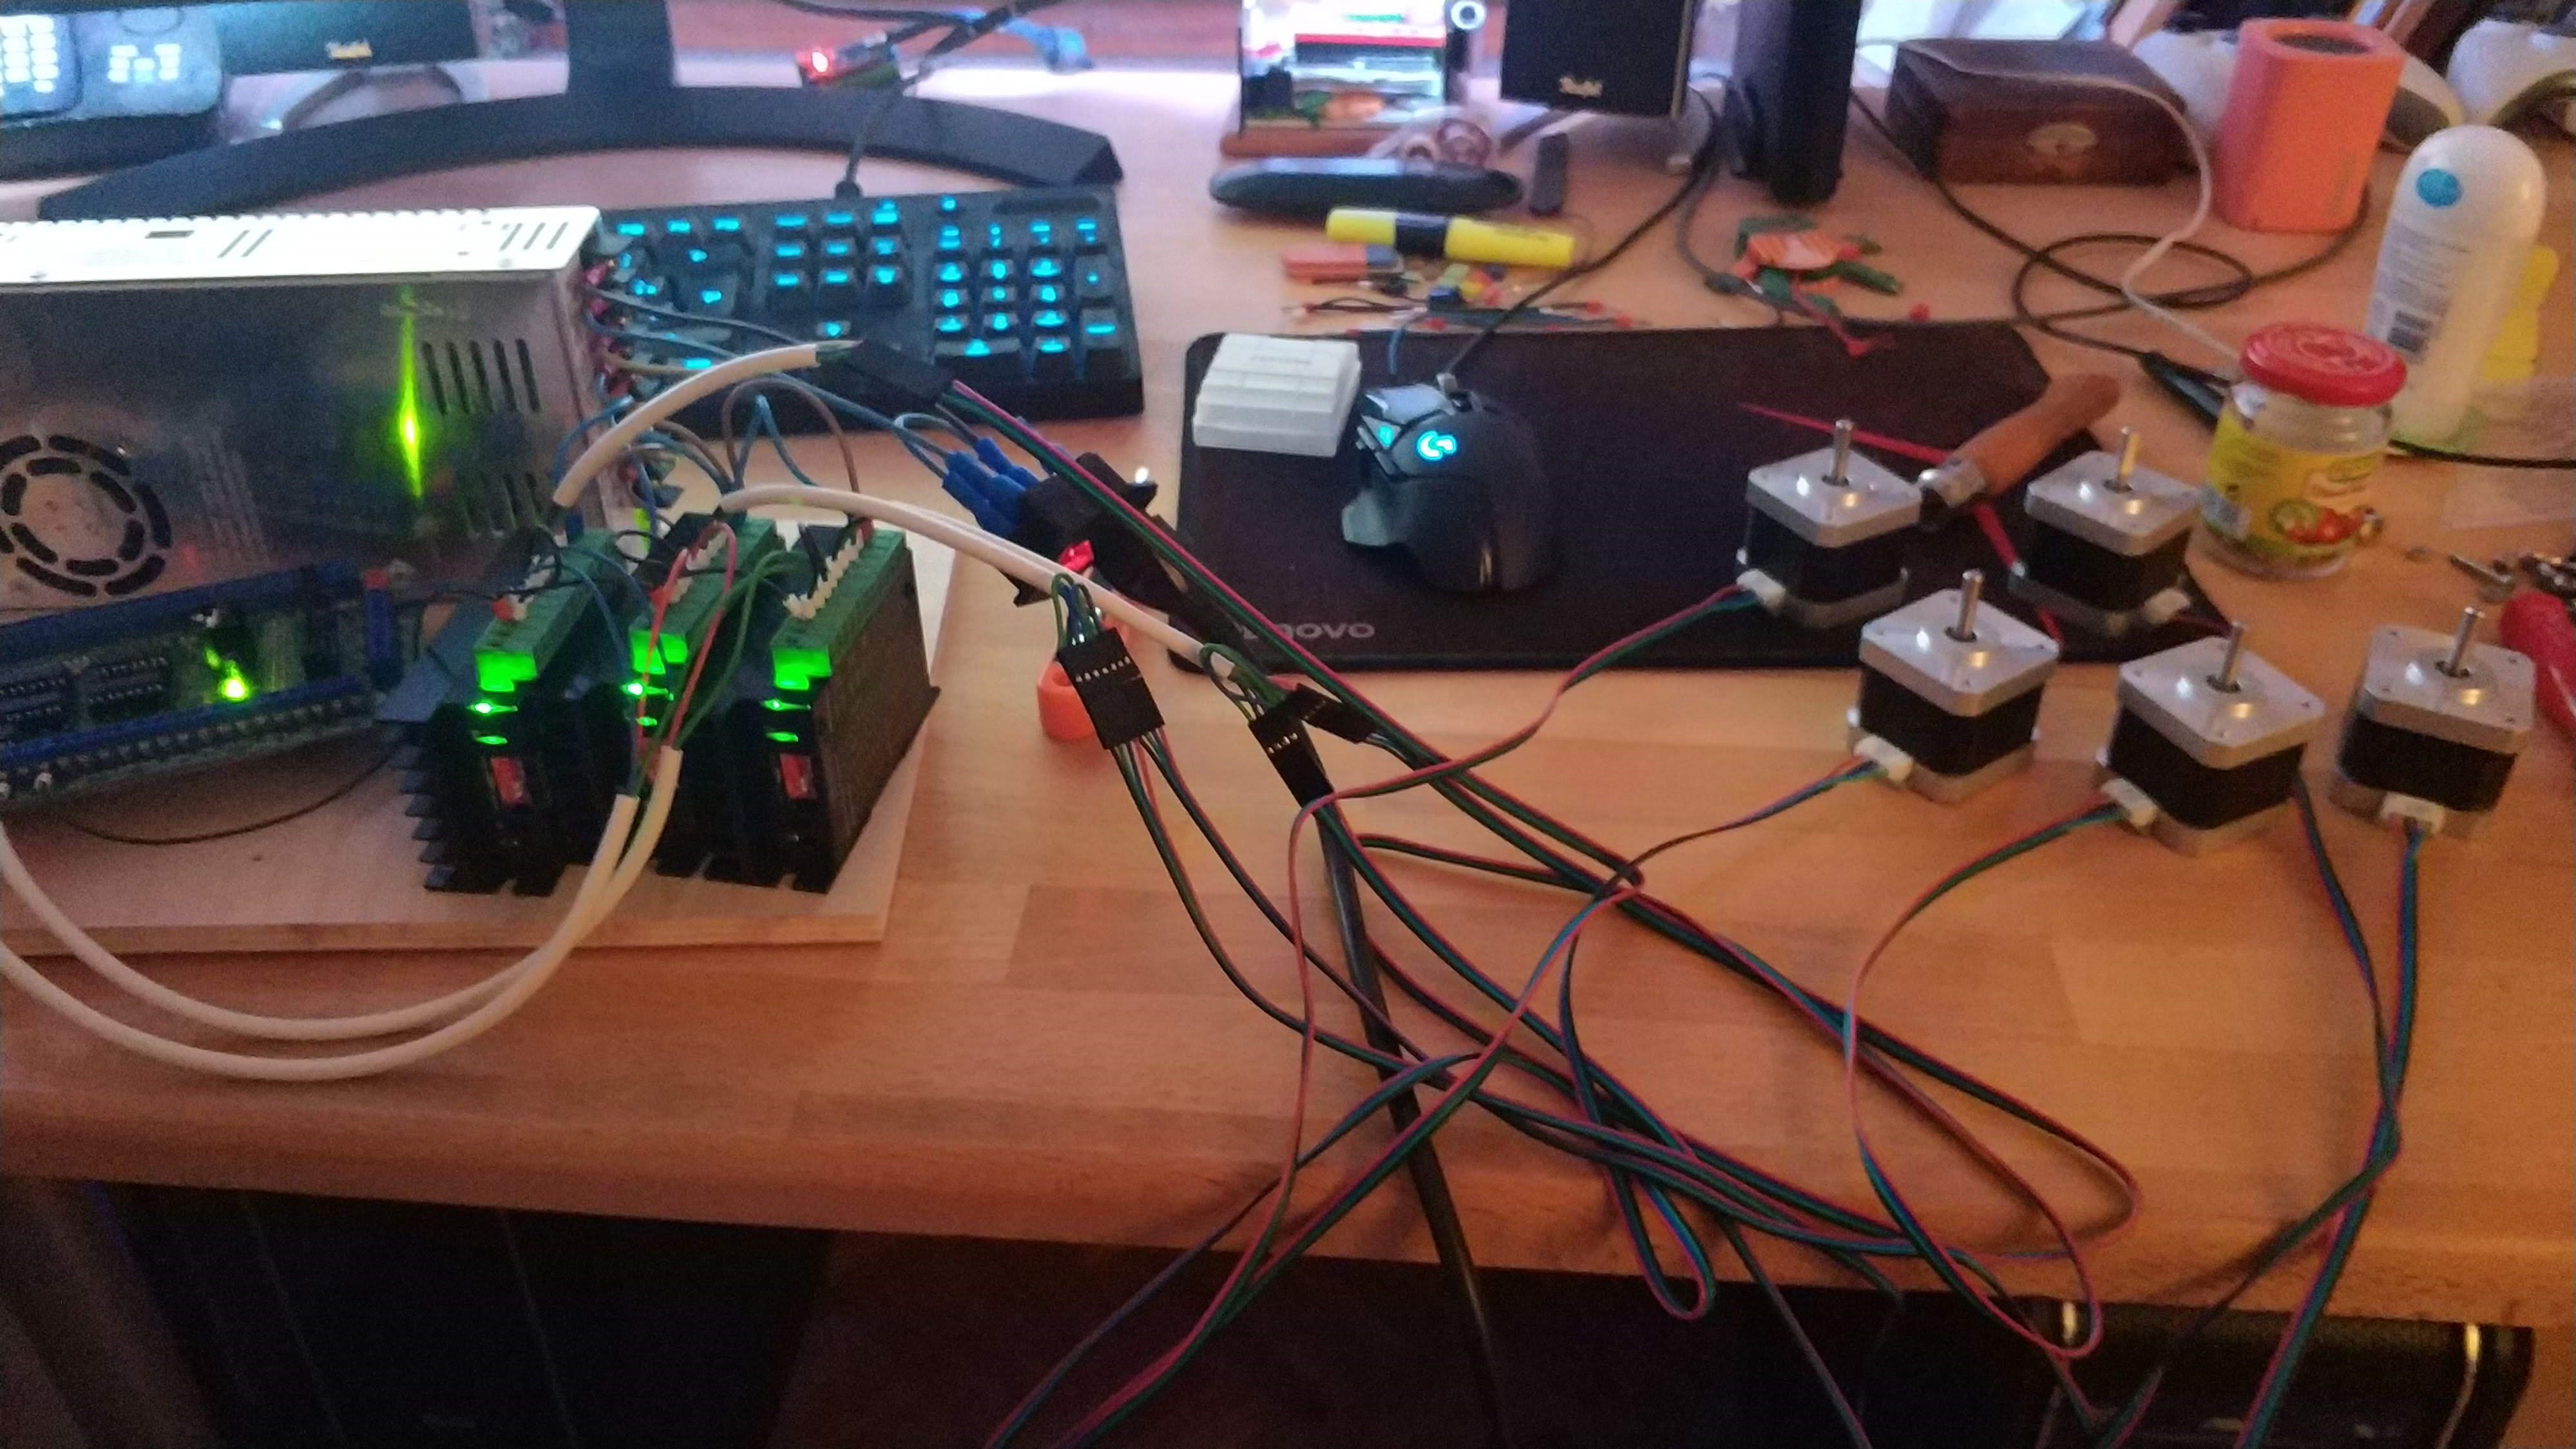
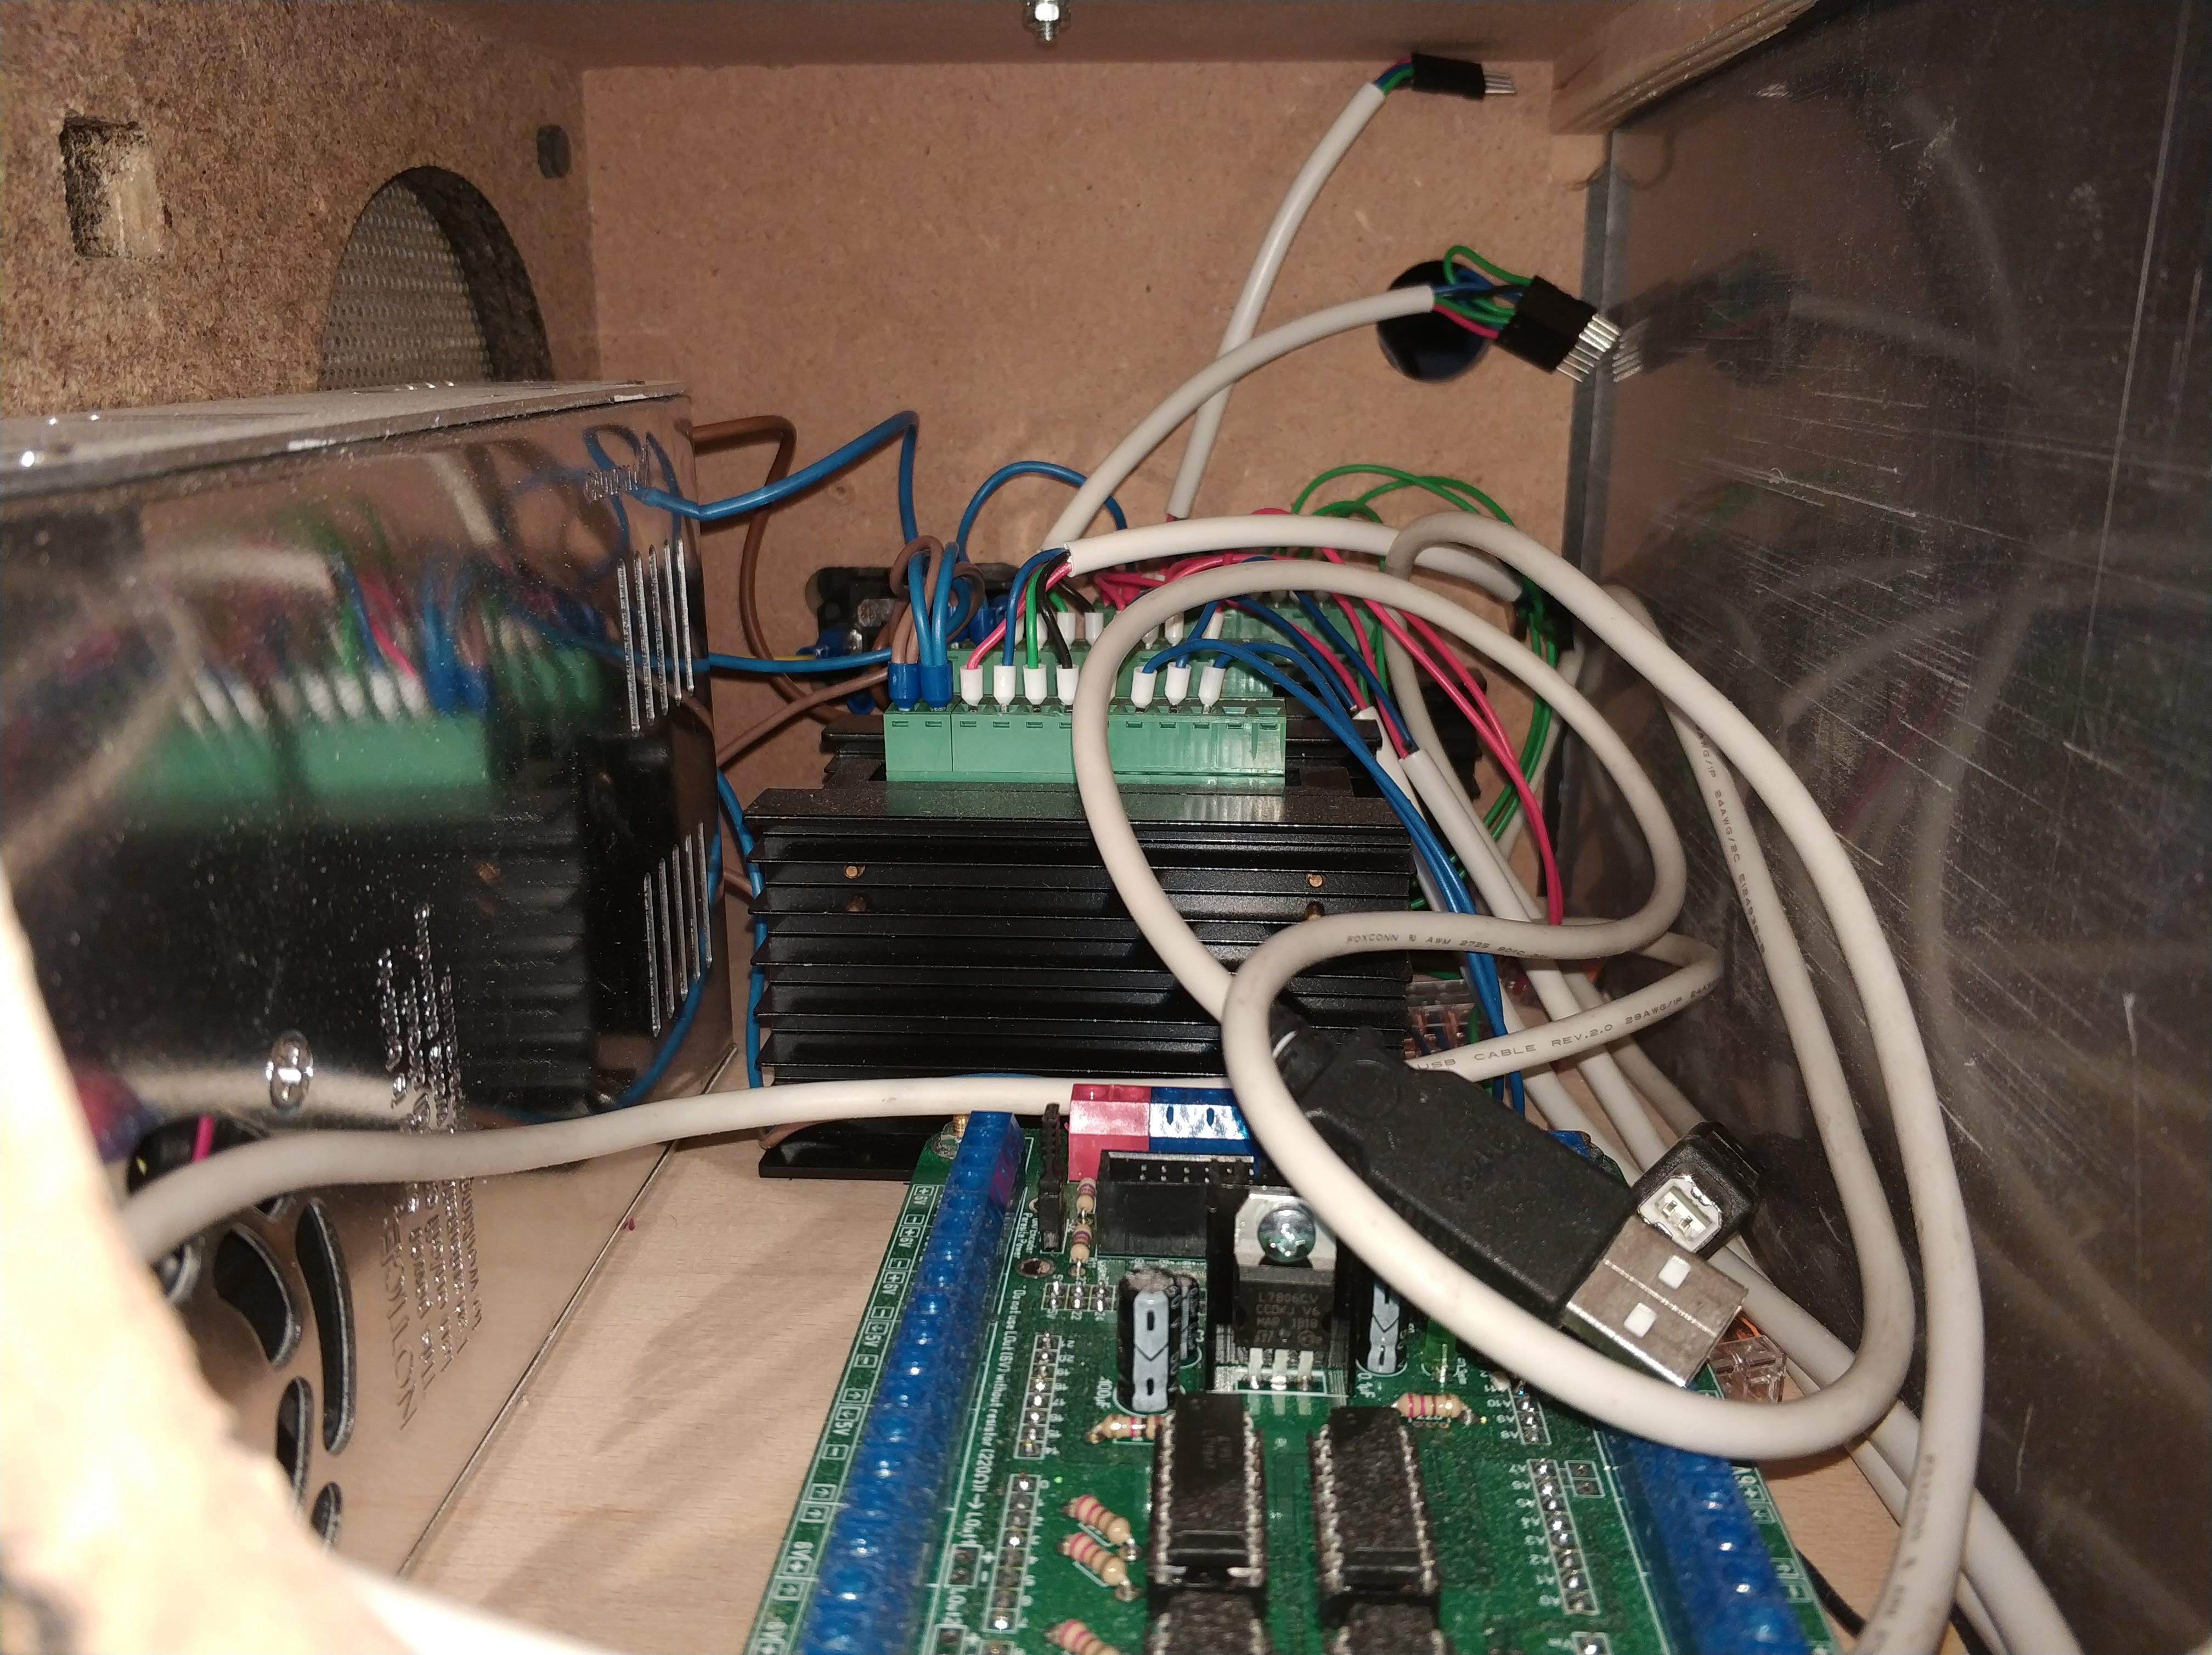
Electronics as of now, in a case, shot through the fan opening.

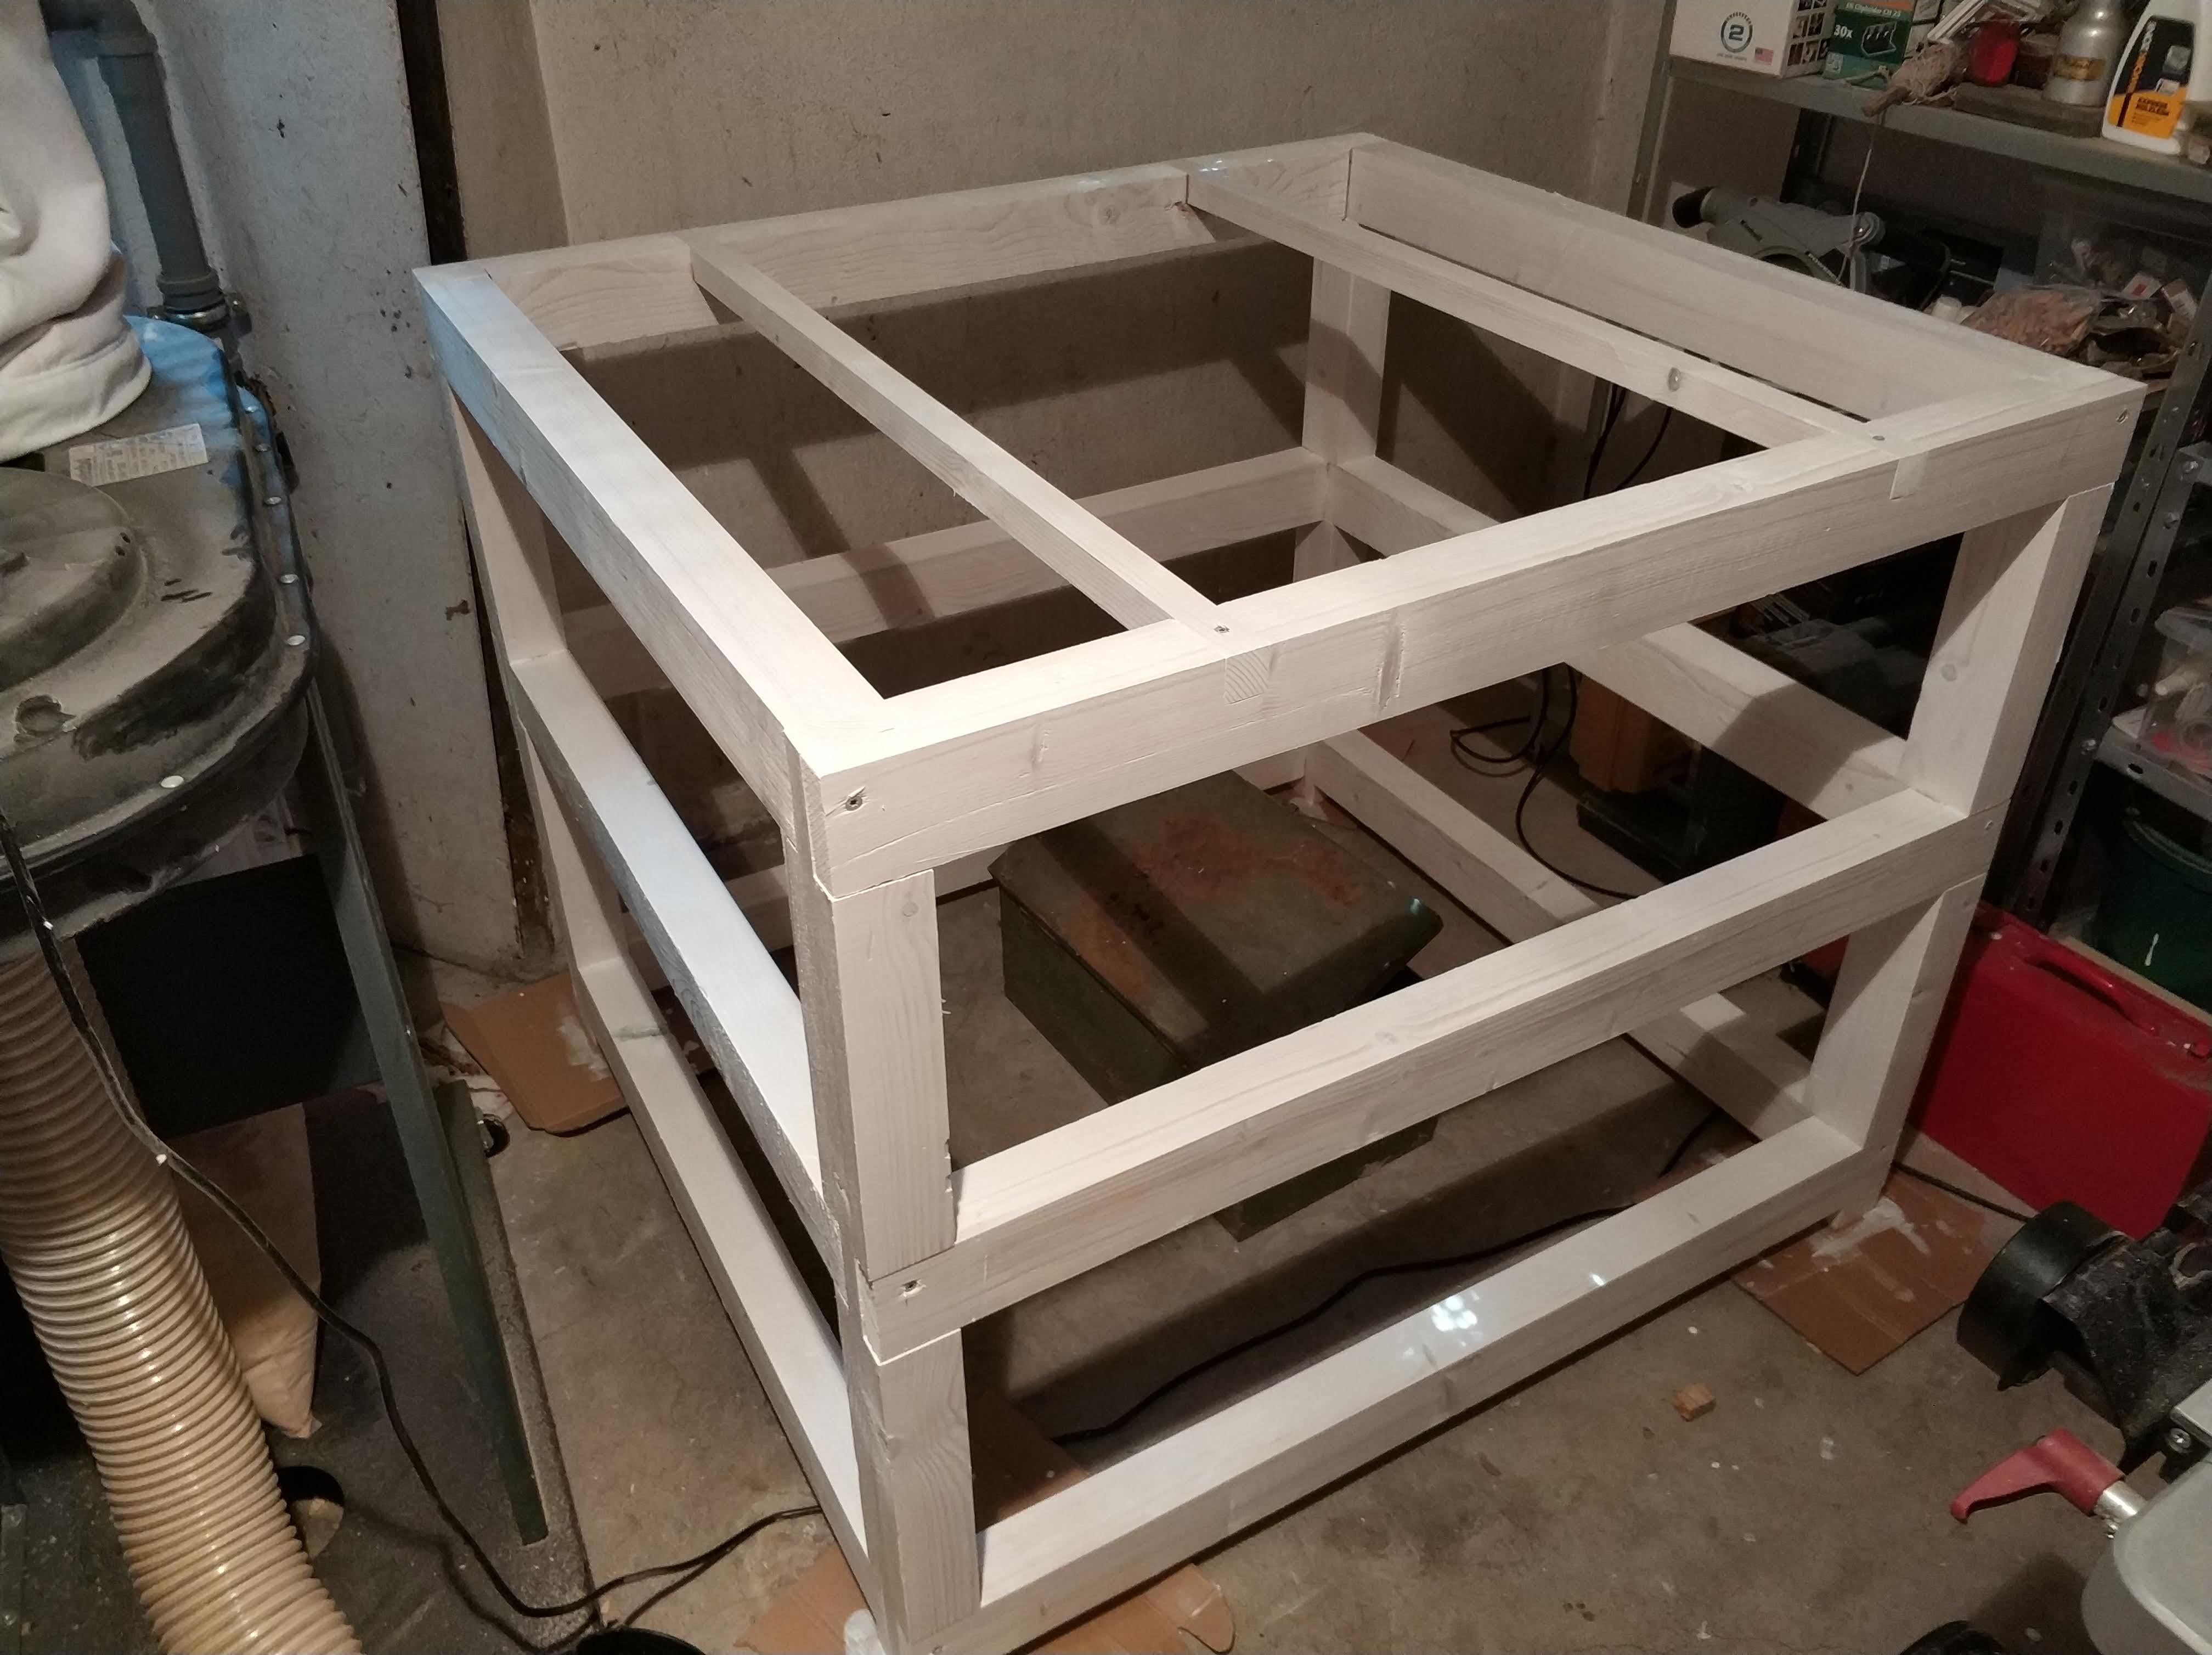
Then I started on the table, around June. This picture is from the 15th.

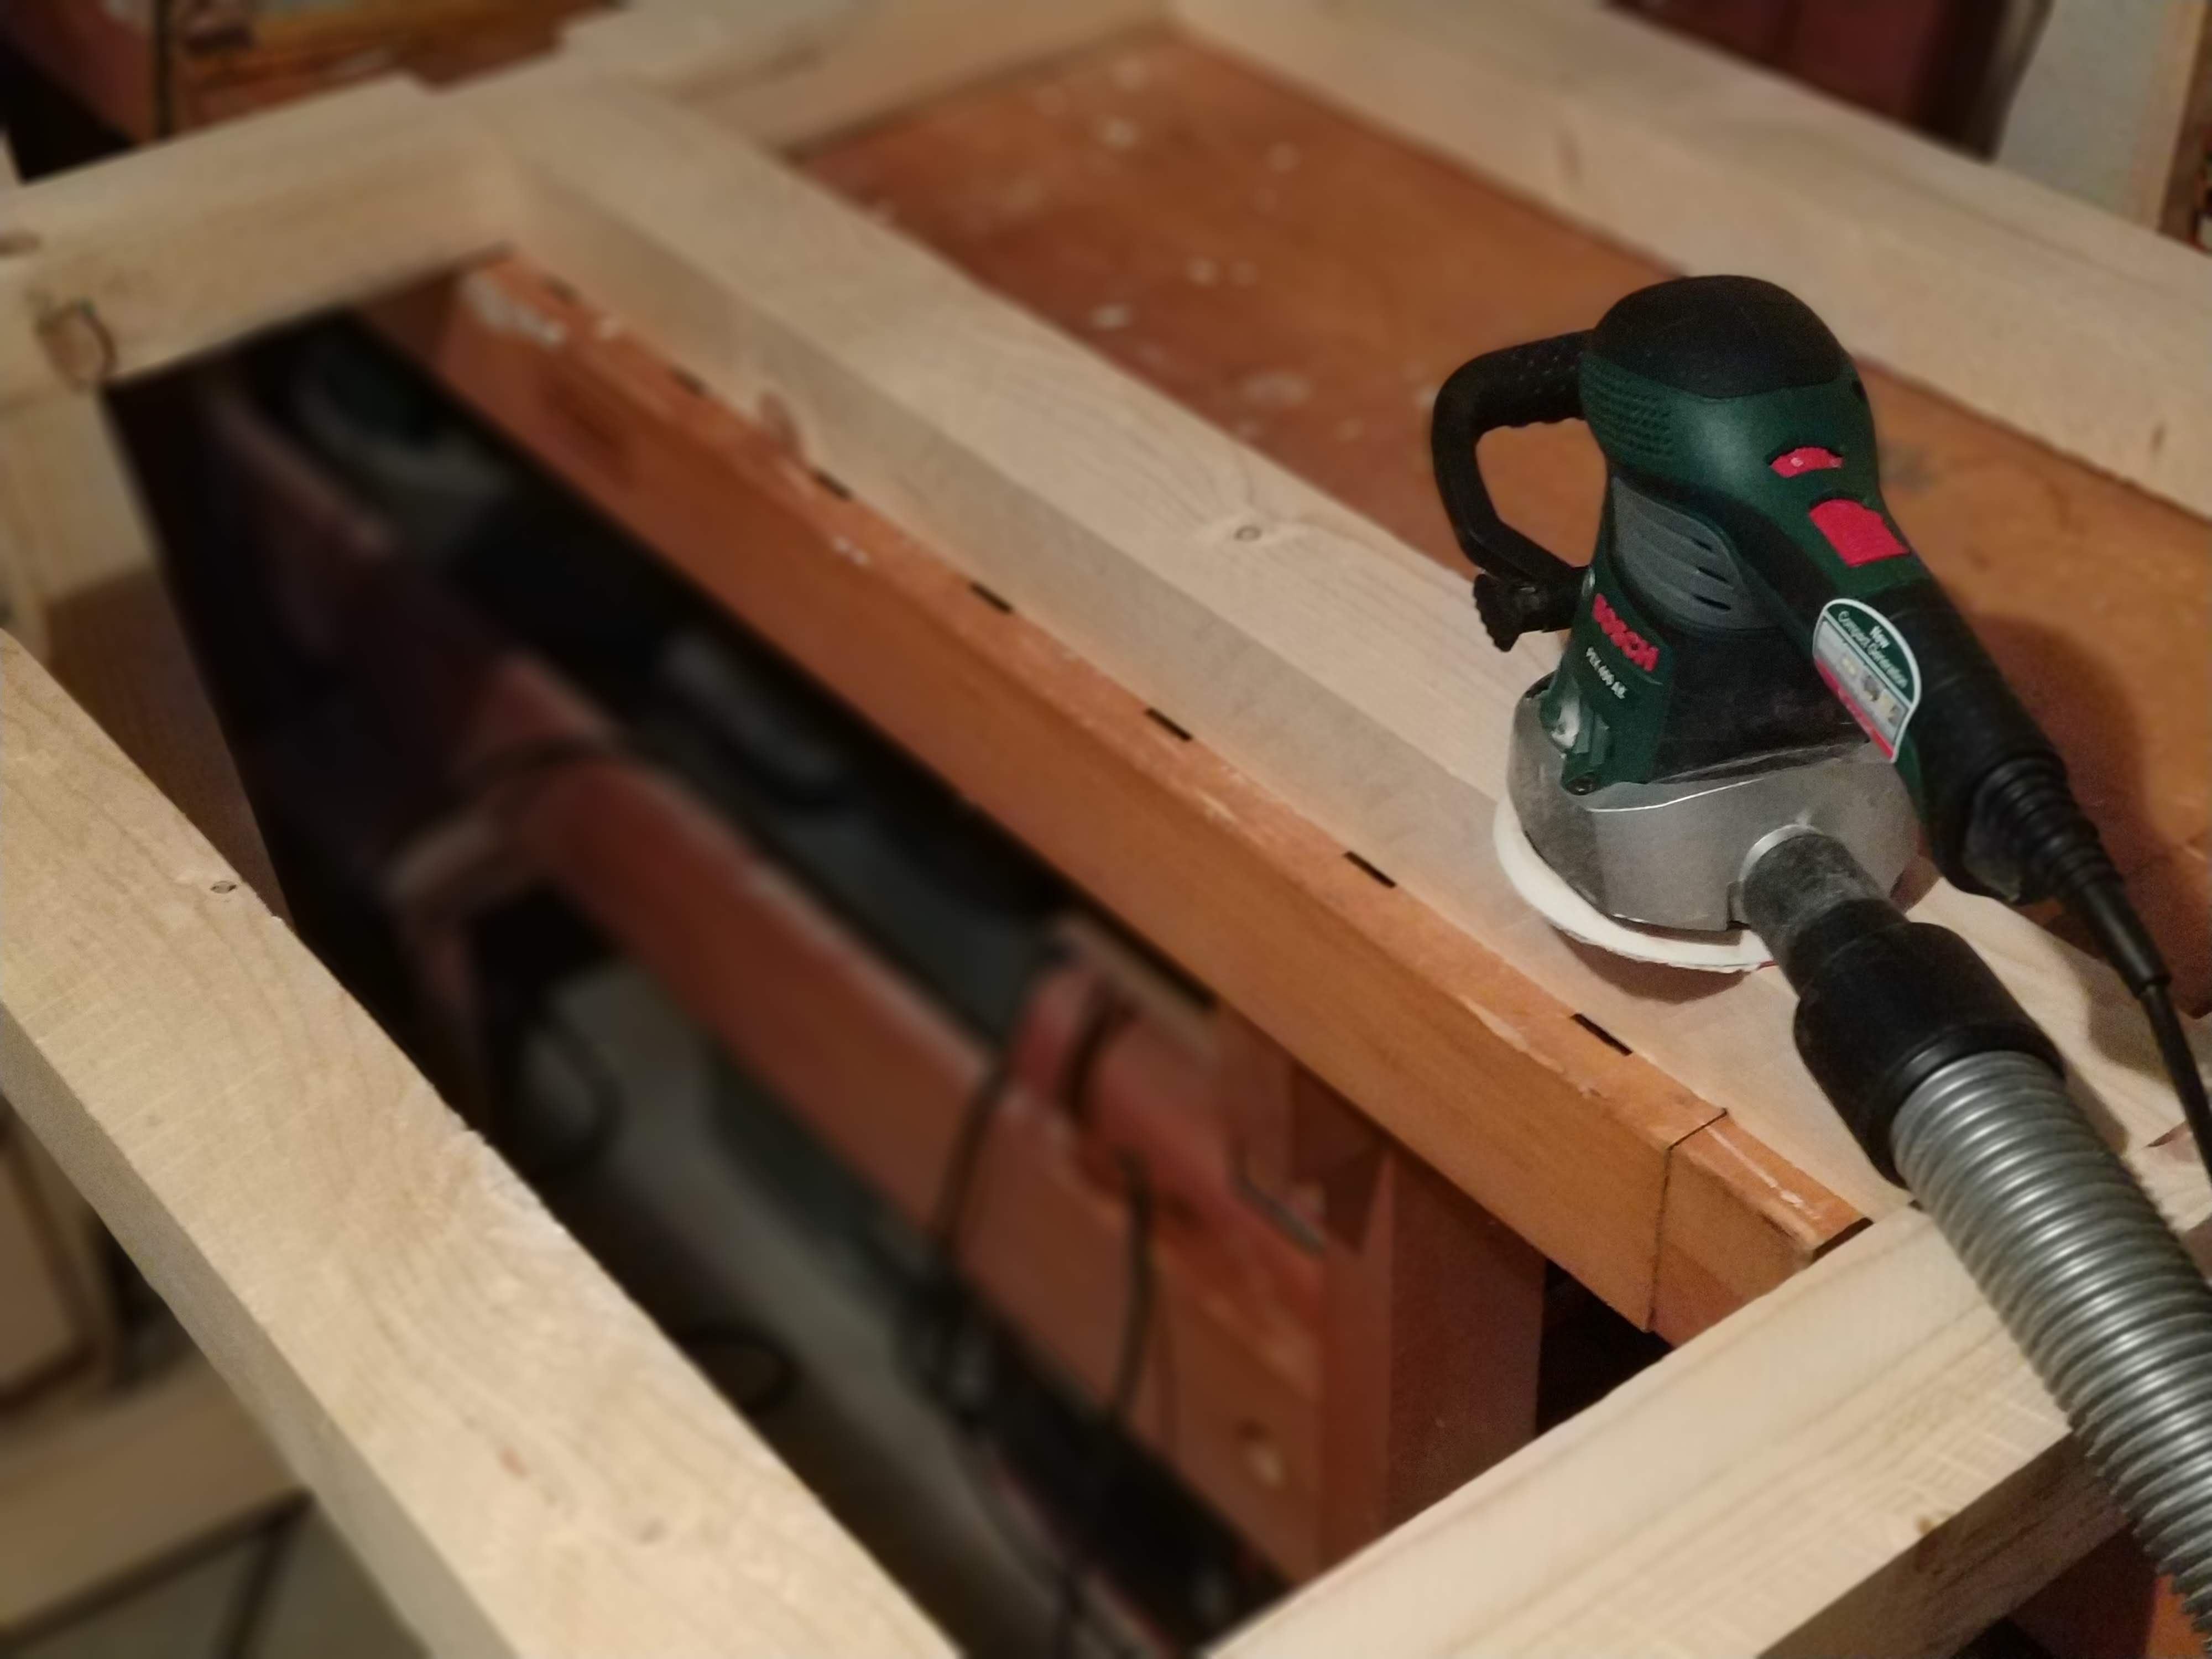
This one from the 25th. I used white paint because I had white paint. I had already ordered cherry red and sparkling black filament, so I decided to nake the whole thing Schneewittchen. Best thing about it is that it can be used in the future to go on rambling about to other people which project I did with Schneewittchen and they will all look at me like I am some kind of confused, old man. Quite a goal to have with 35. :stuck_out_tongue: The name stuck, my children complain about the time daddy is working on it: “Papa, du macht nur was mit deinem Drucker und Schneewittchen.” (Dad, you only do stuff with your printer and Schneewittchen.)

On July 30 the Mini arrived. My wife wasn’t happy as she knew she’d see less of me now.

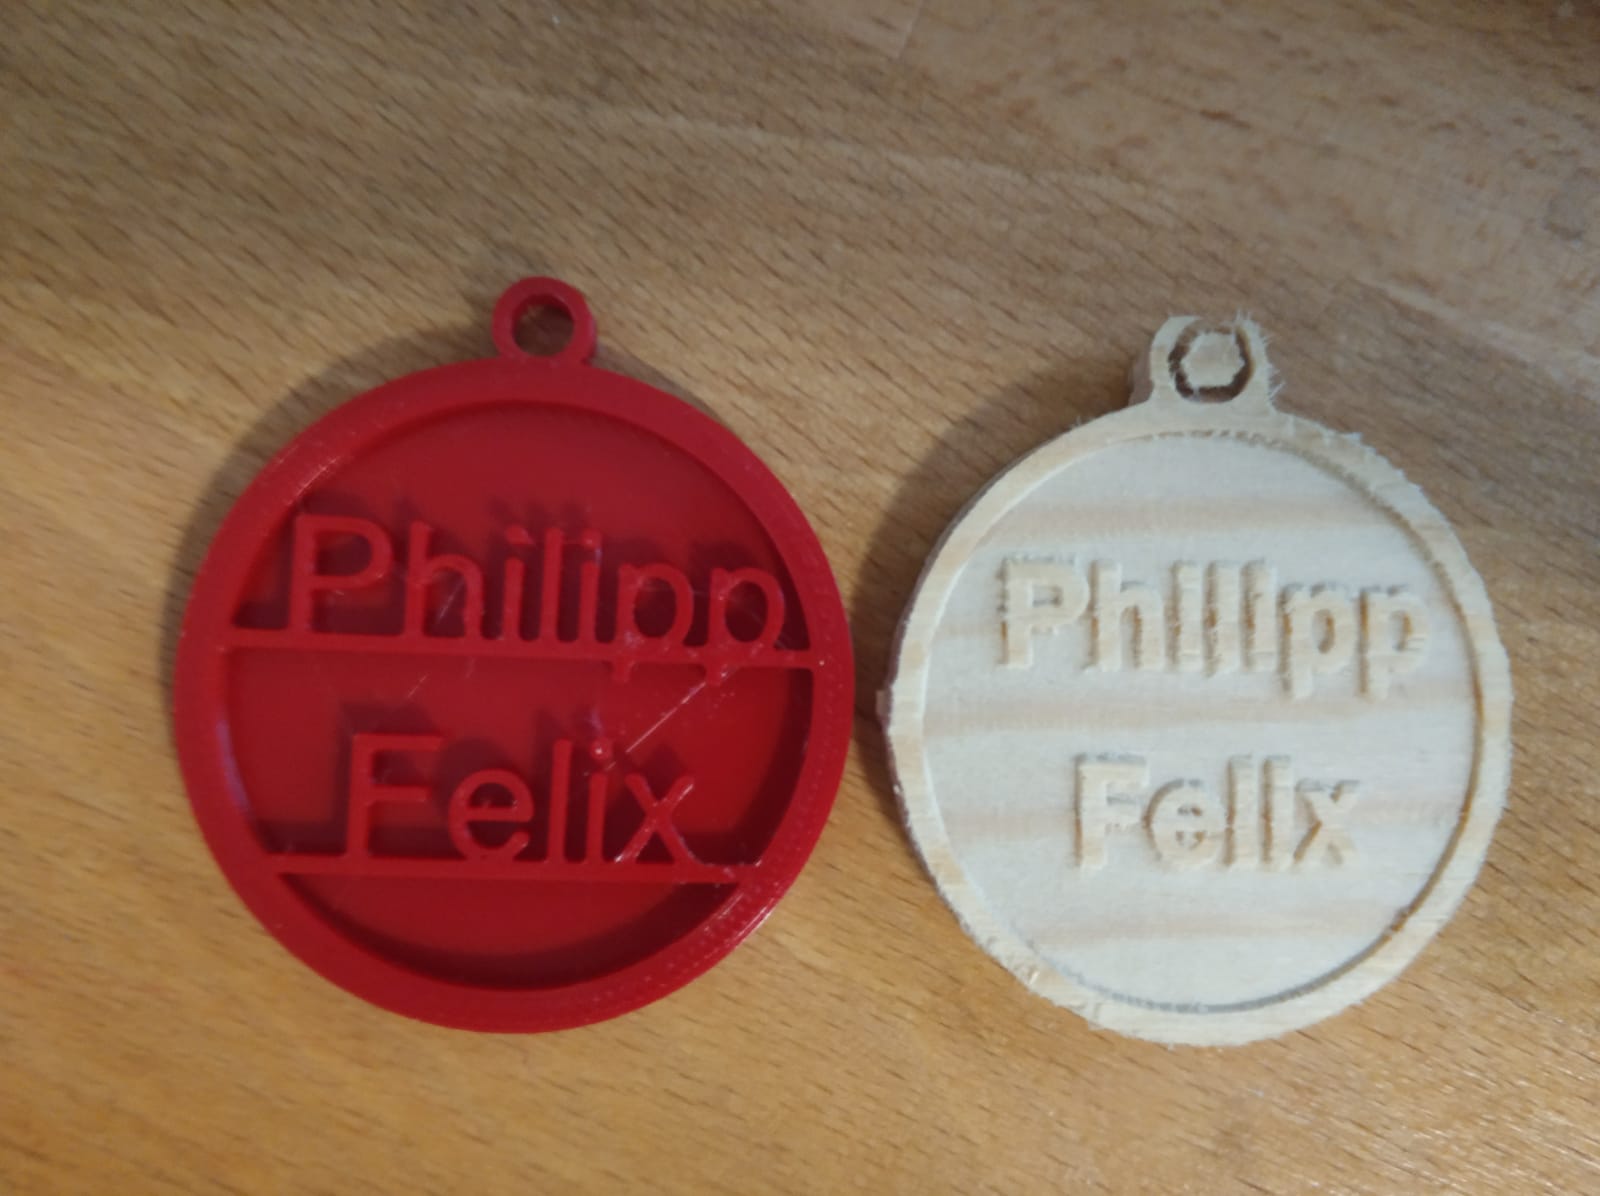
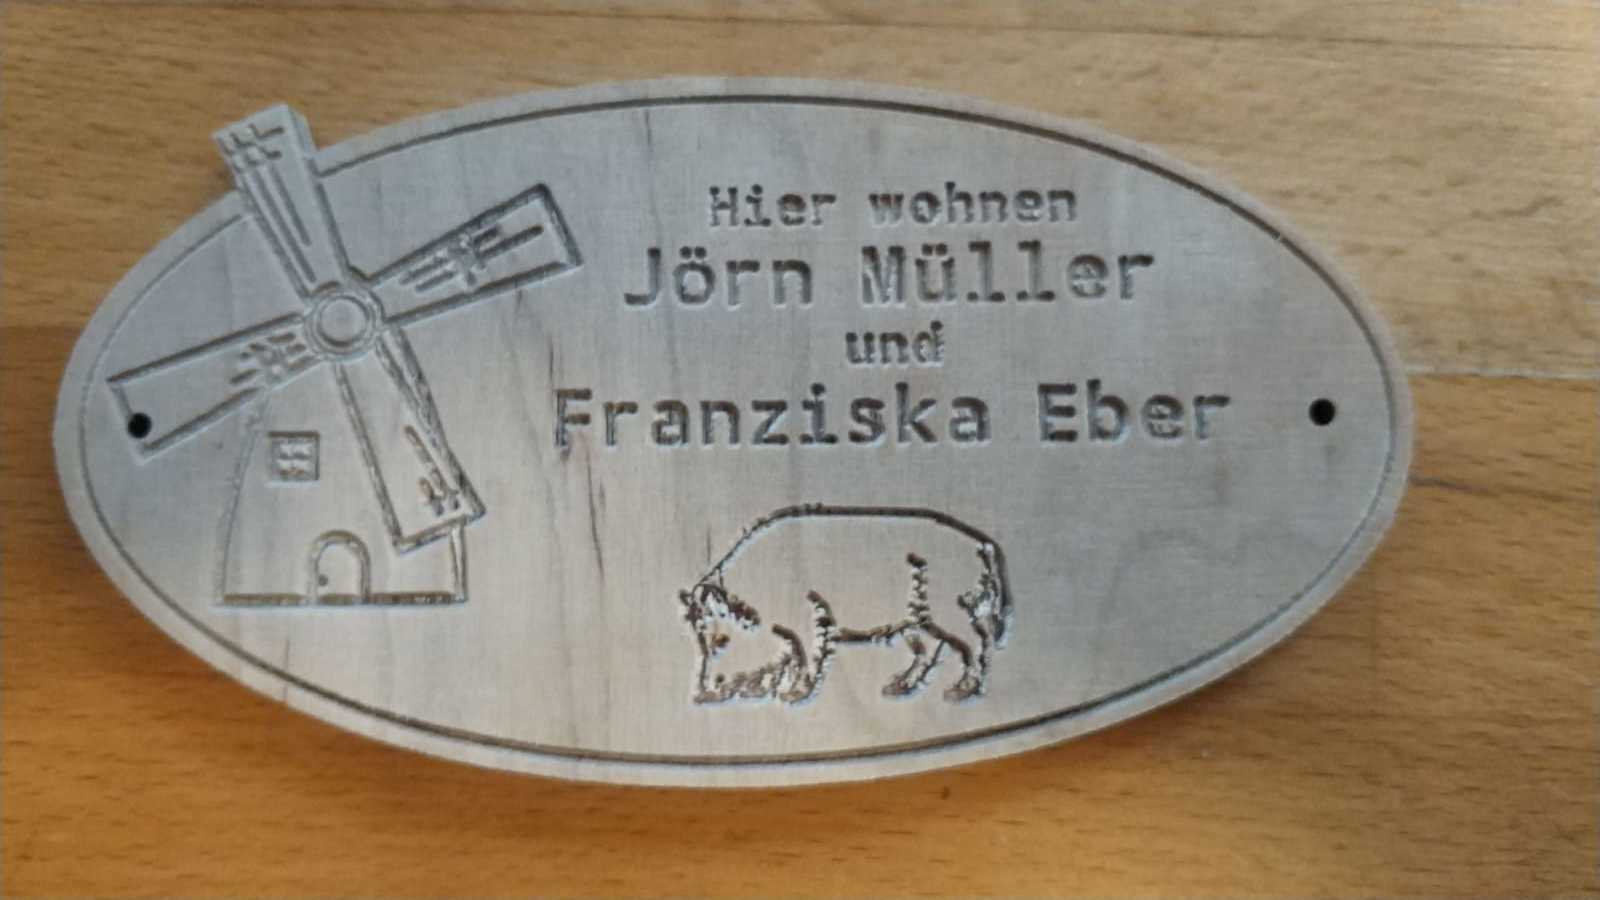
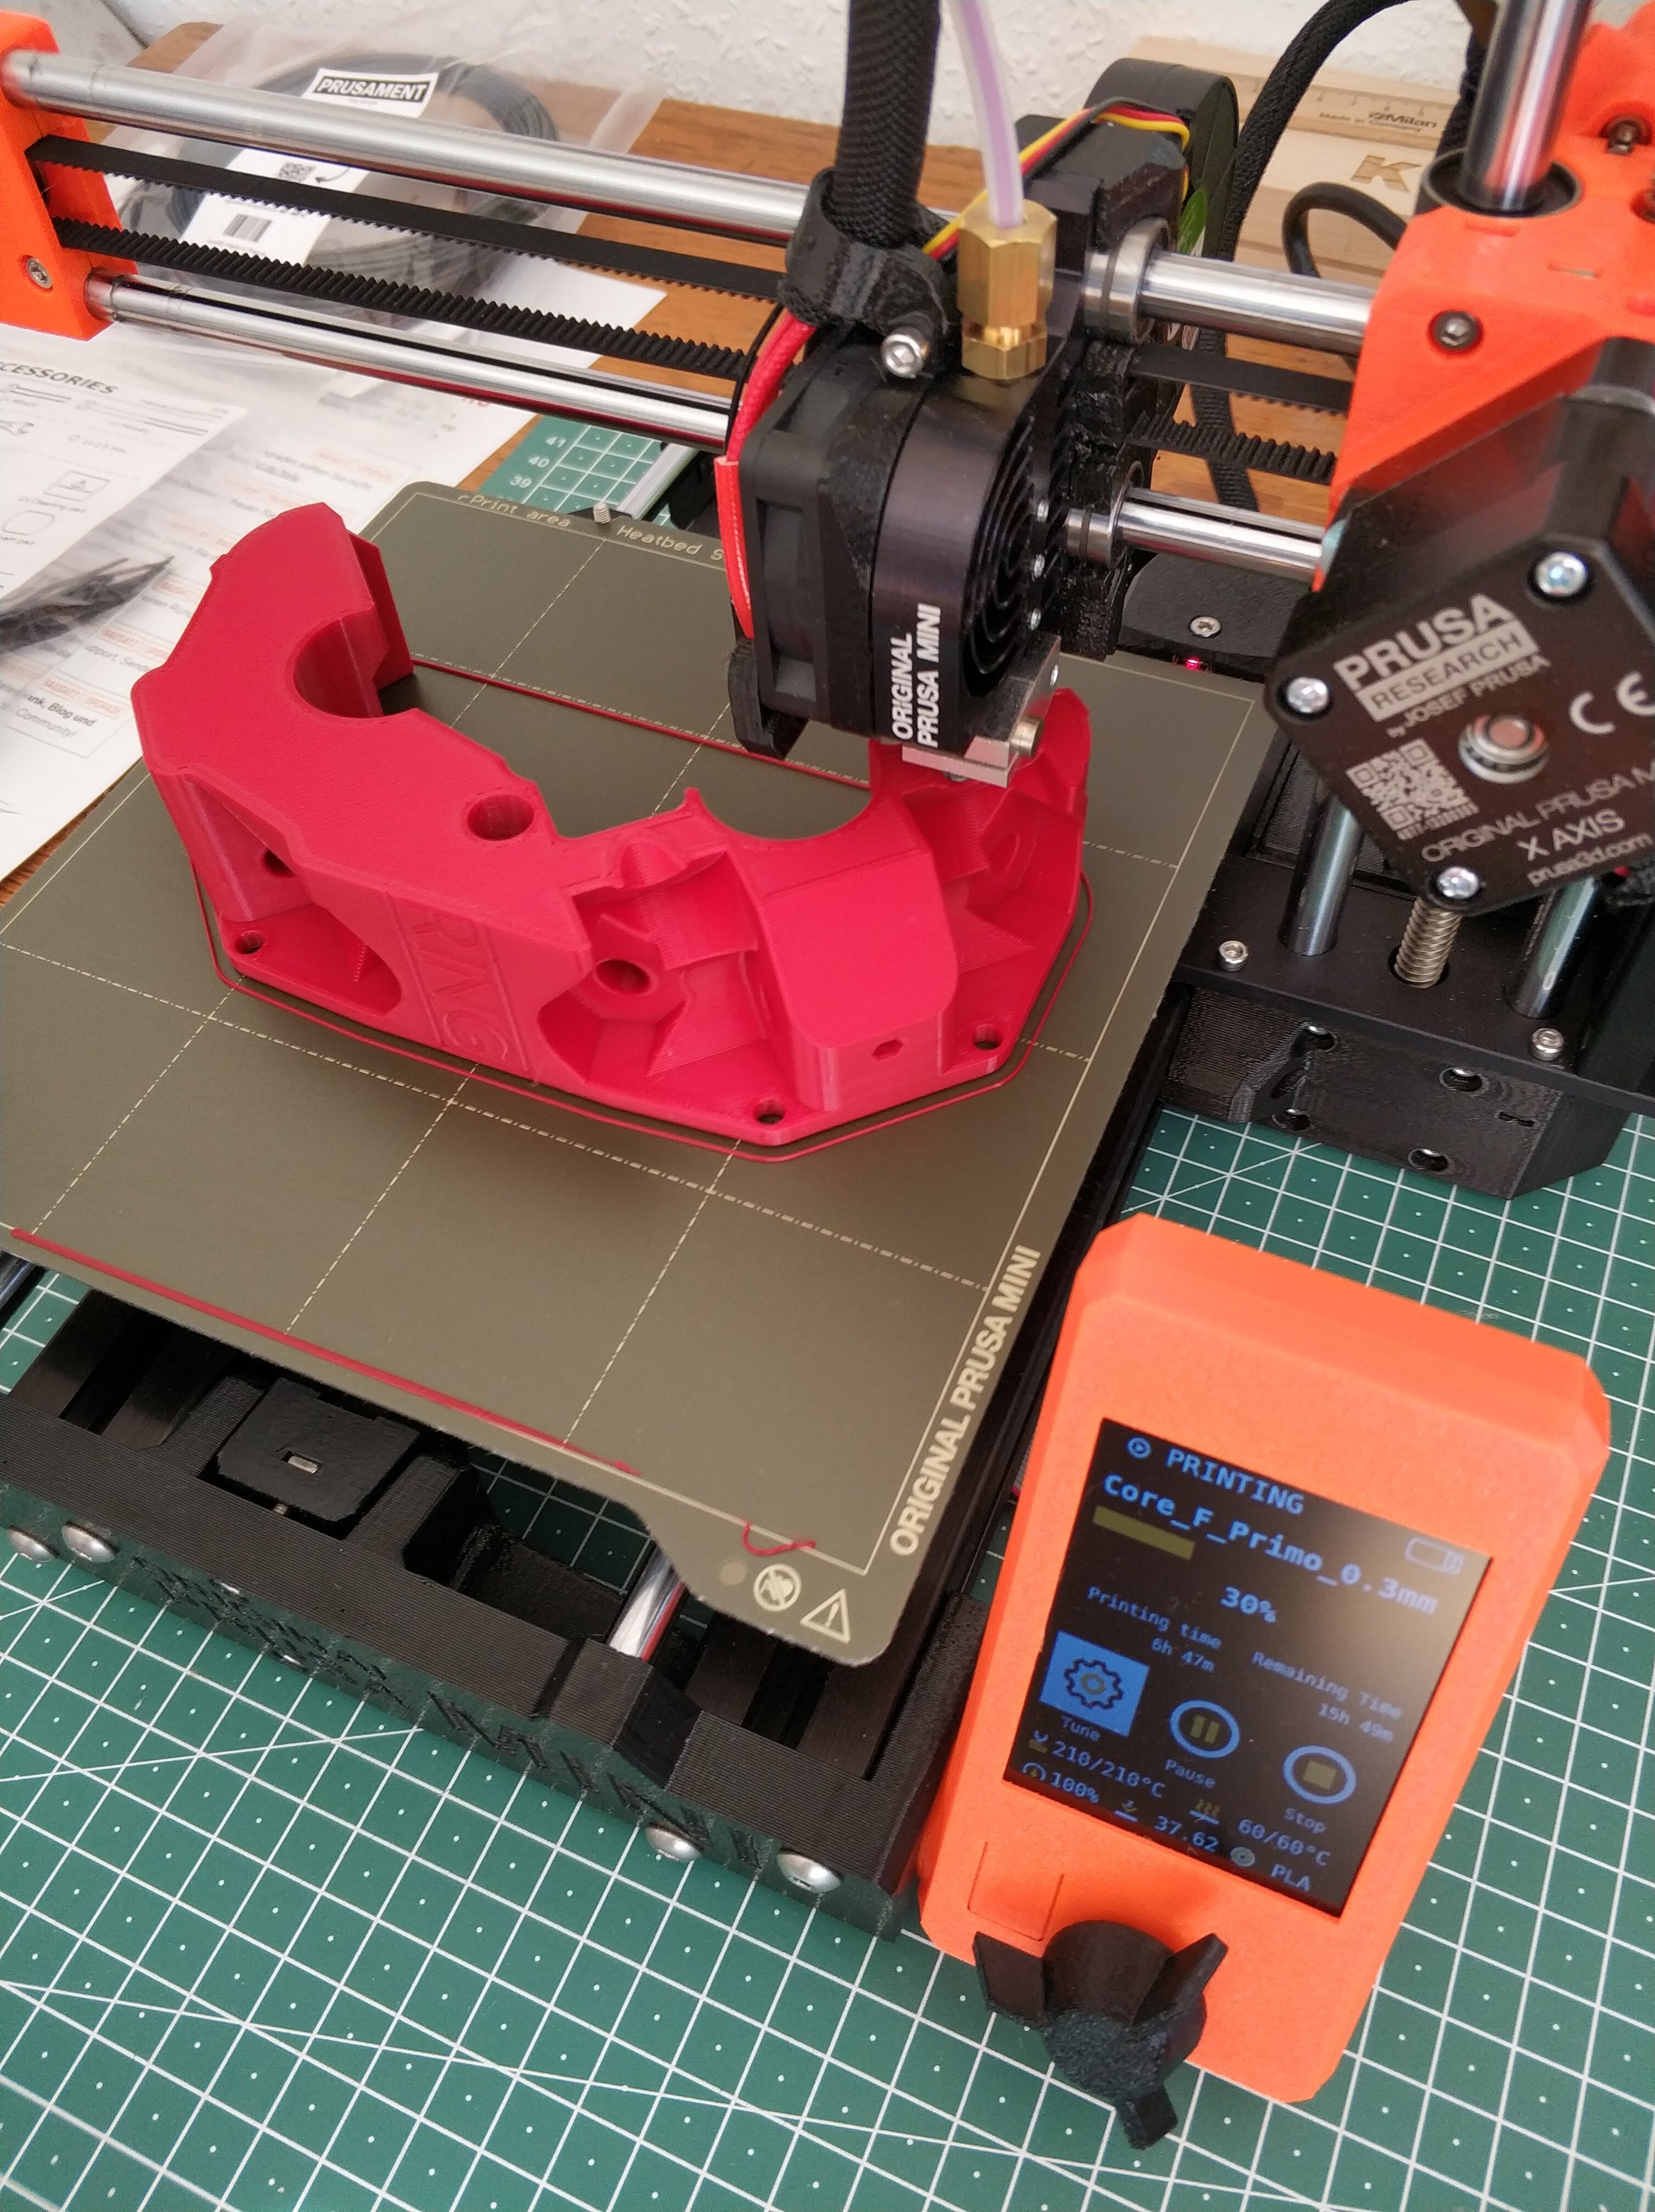
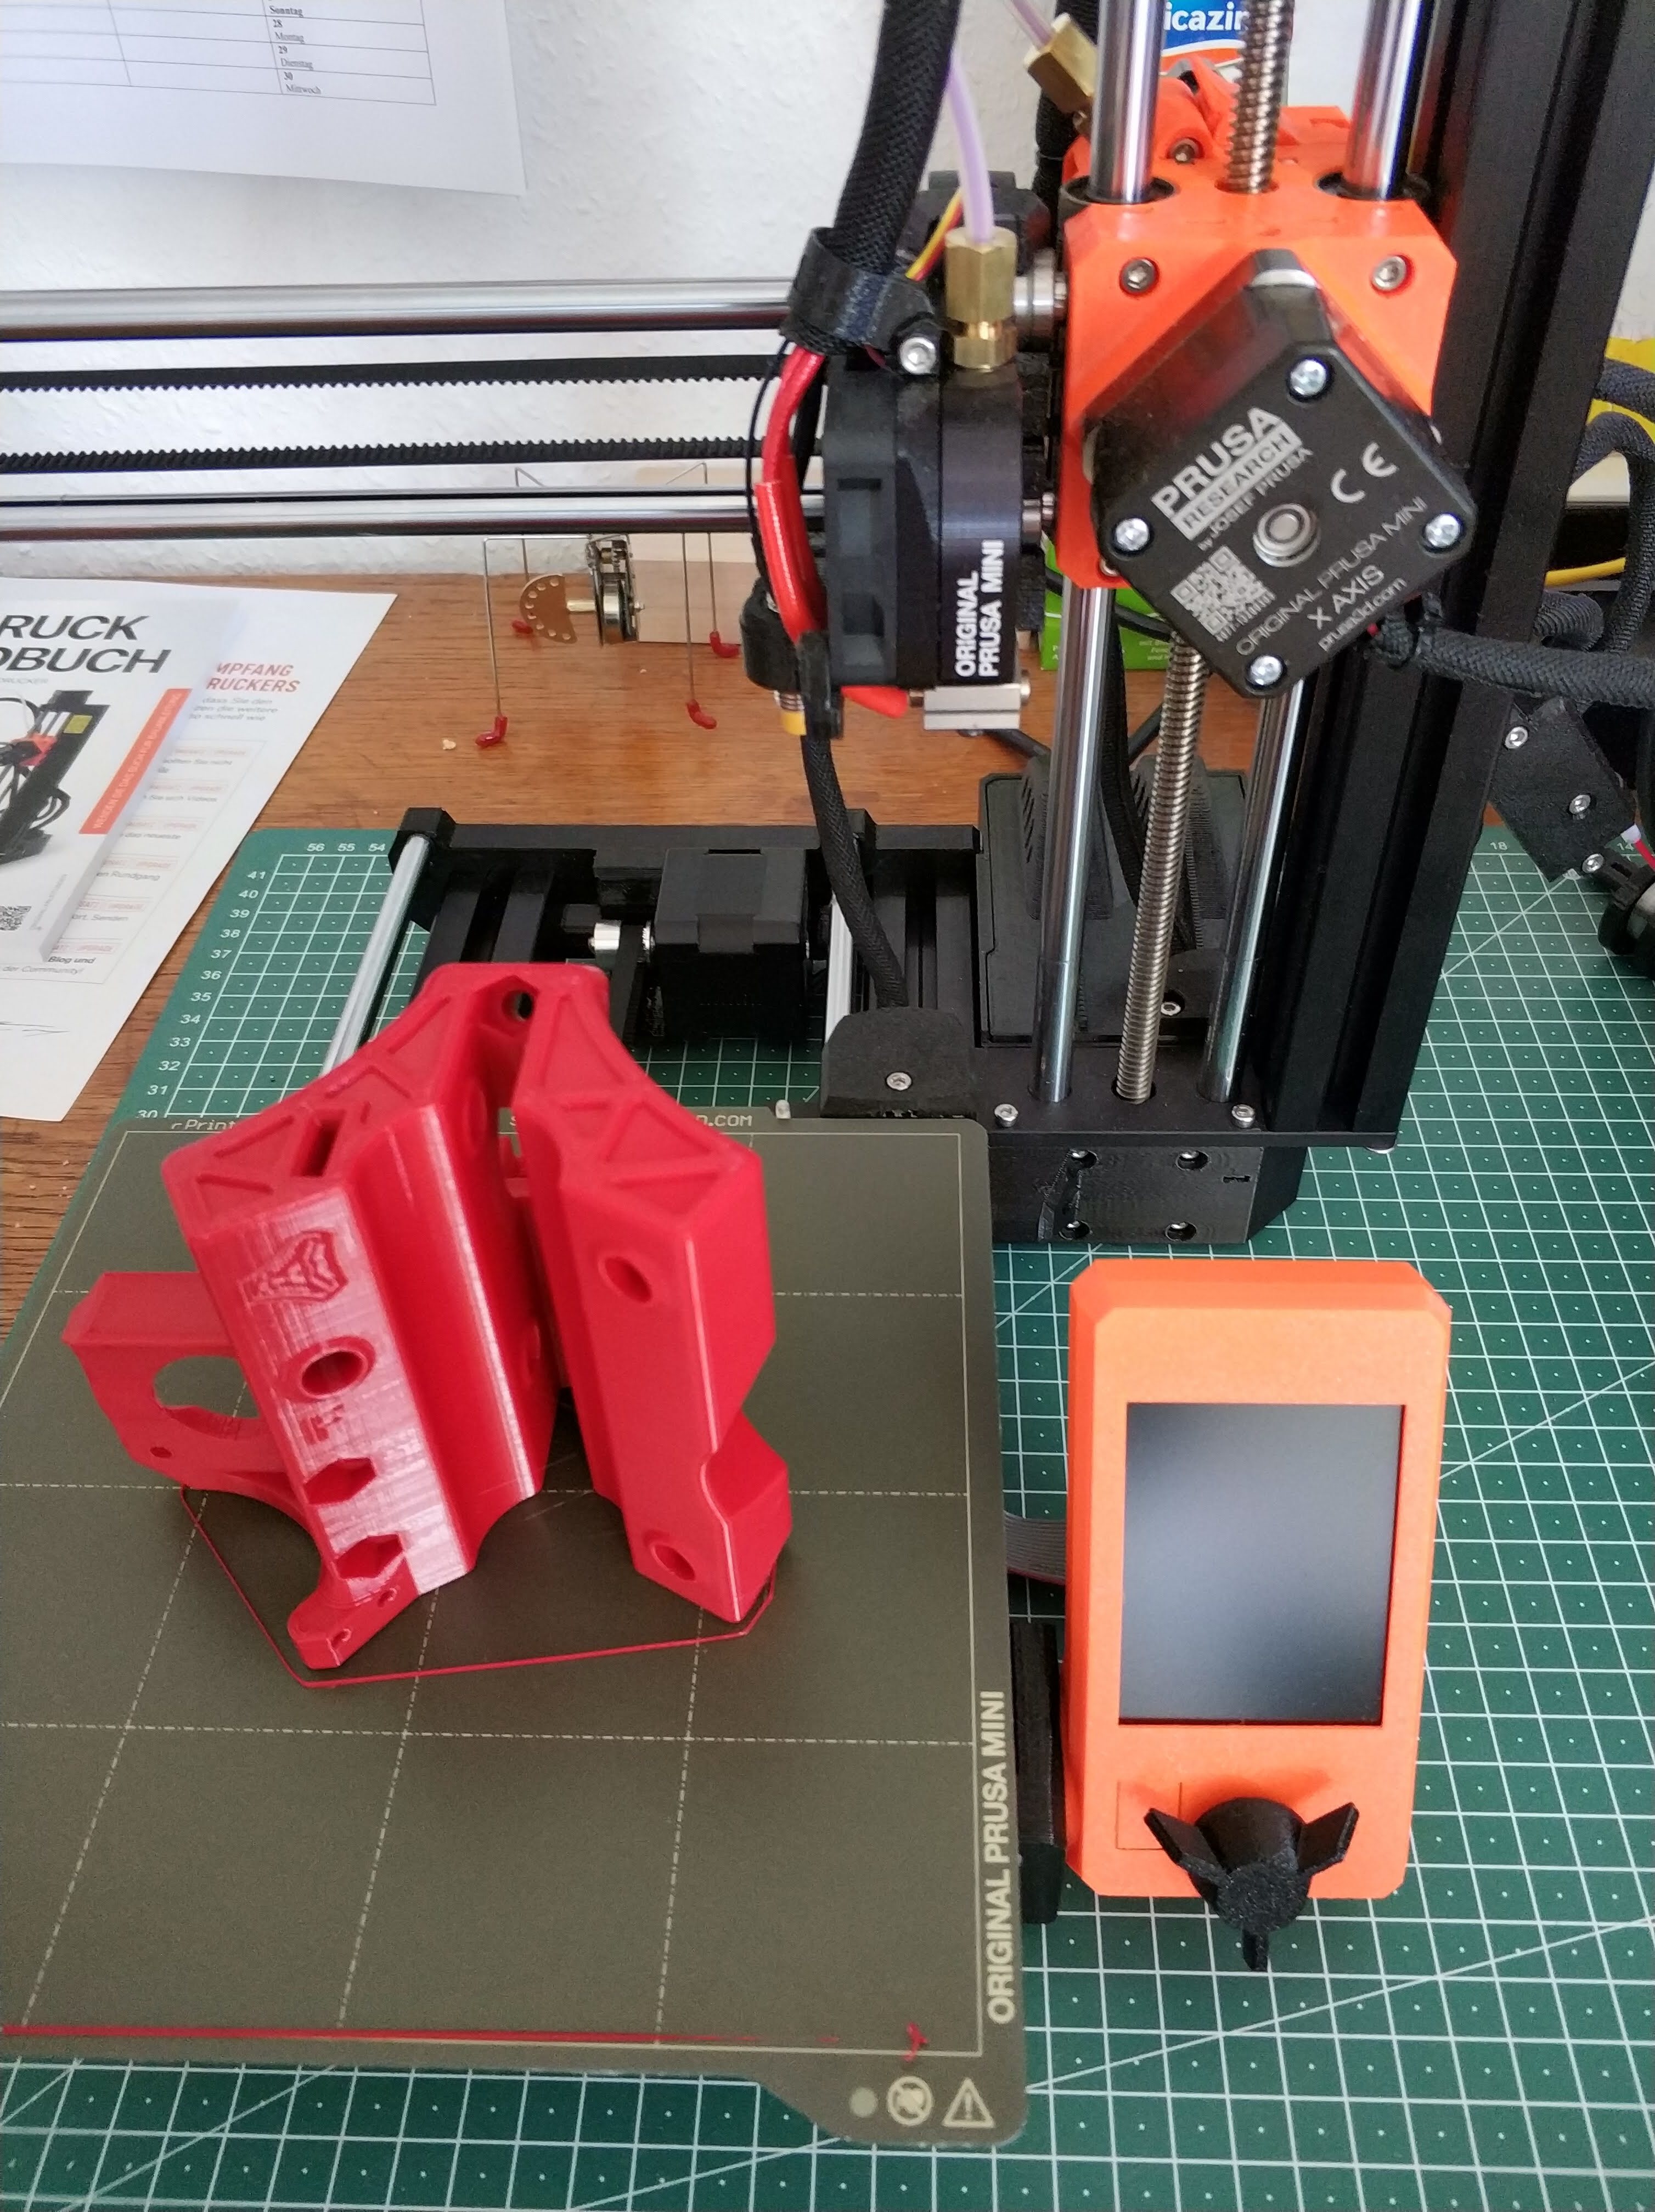
The first three projects were the Prusa sign, Benchy, then I went straight to the core since I wanted to have that behind me.

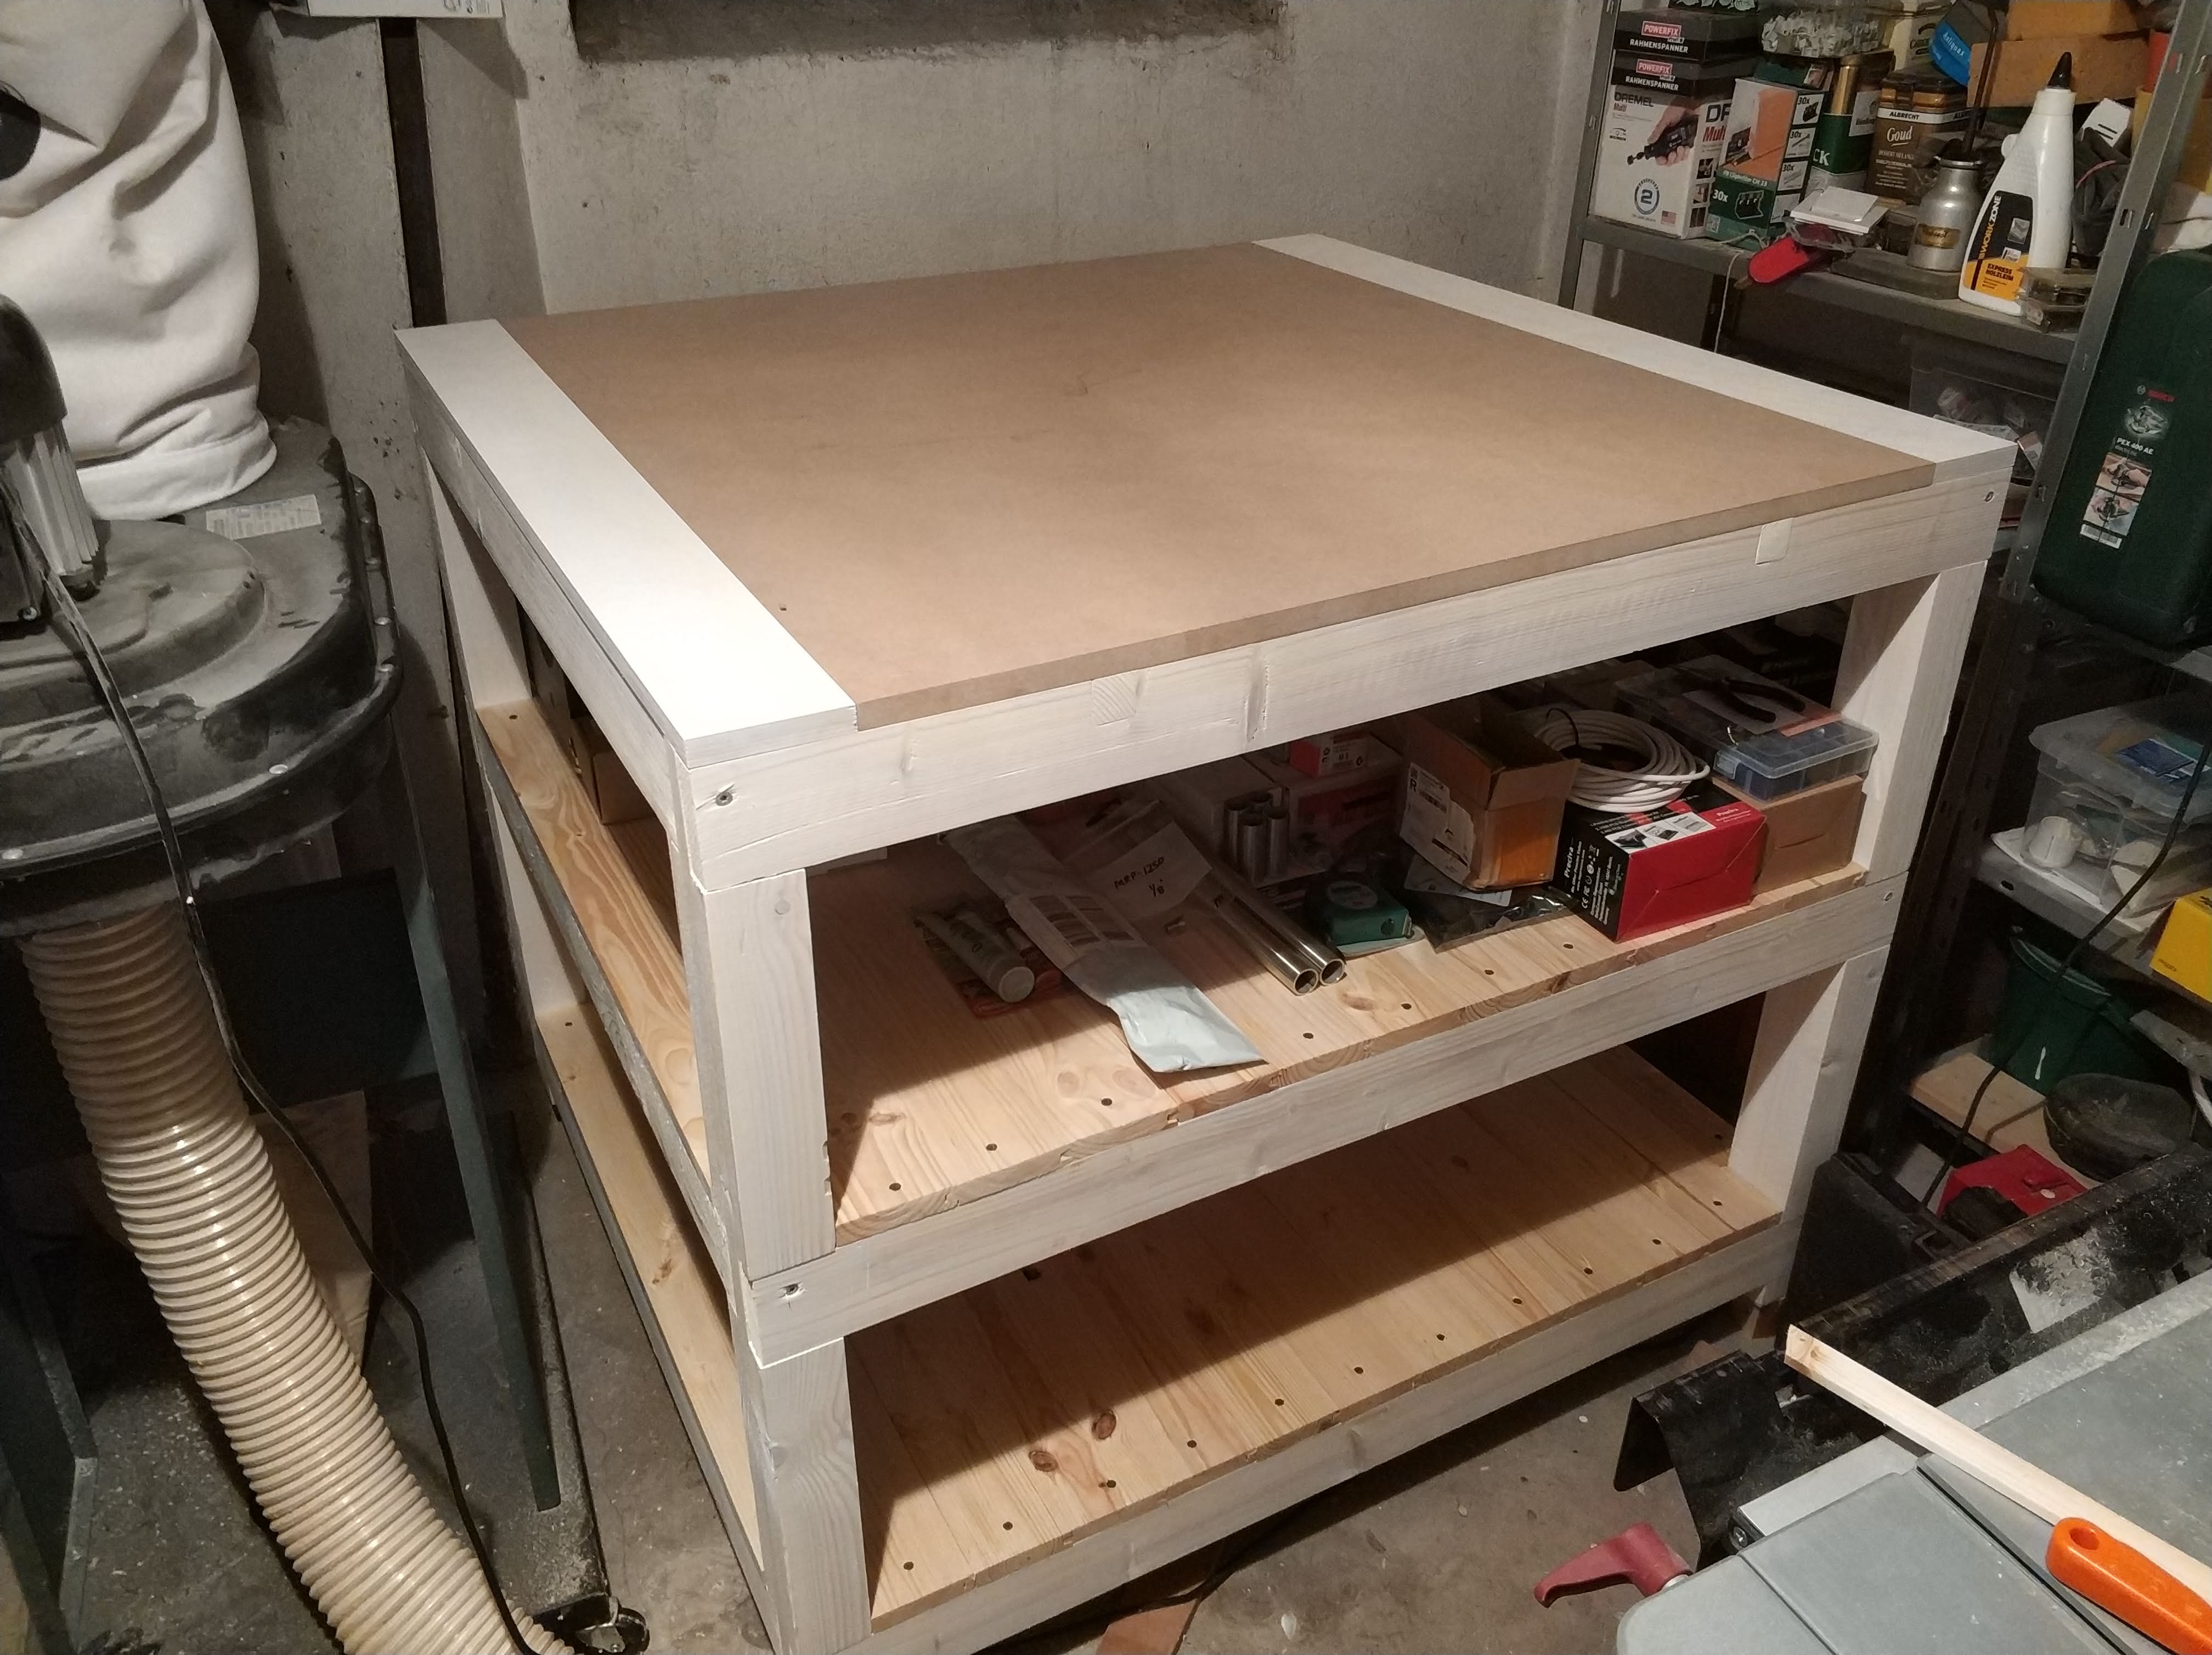
On August 3rd the table got finished.

Obligatory random pictures of my printing progress:

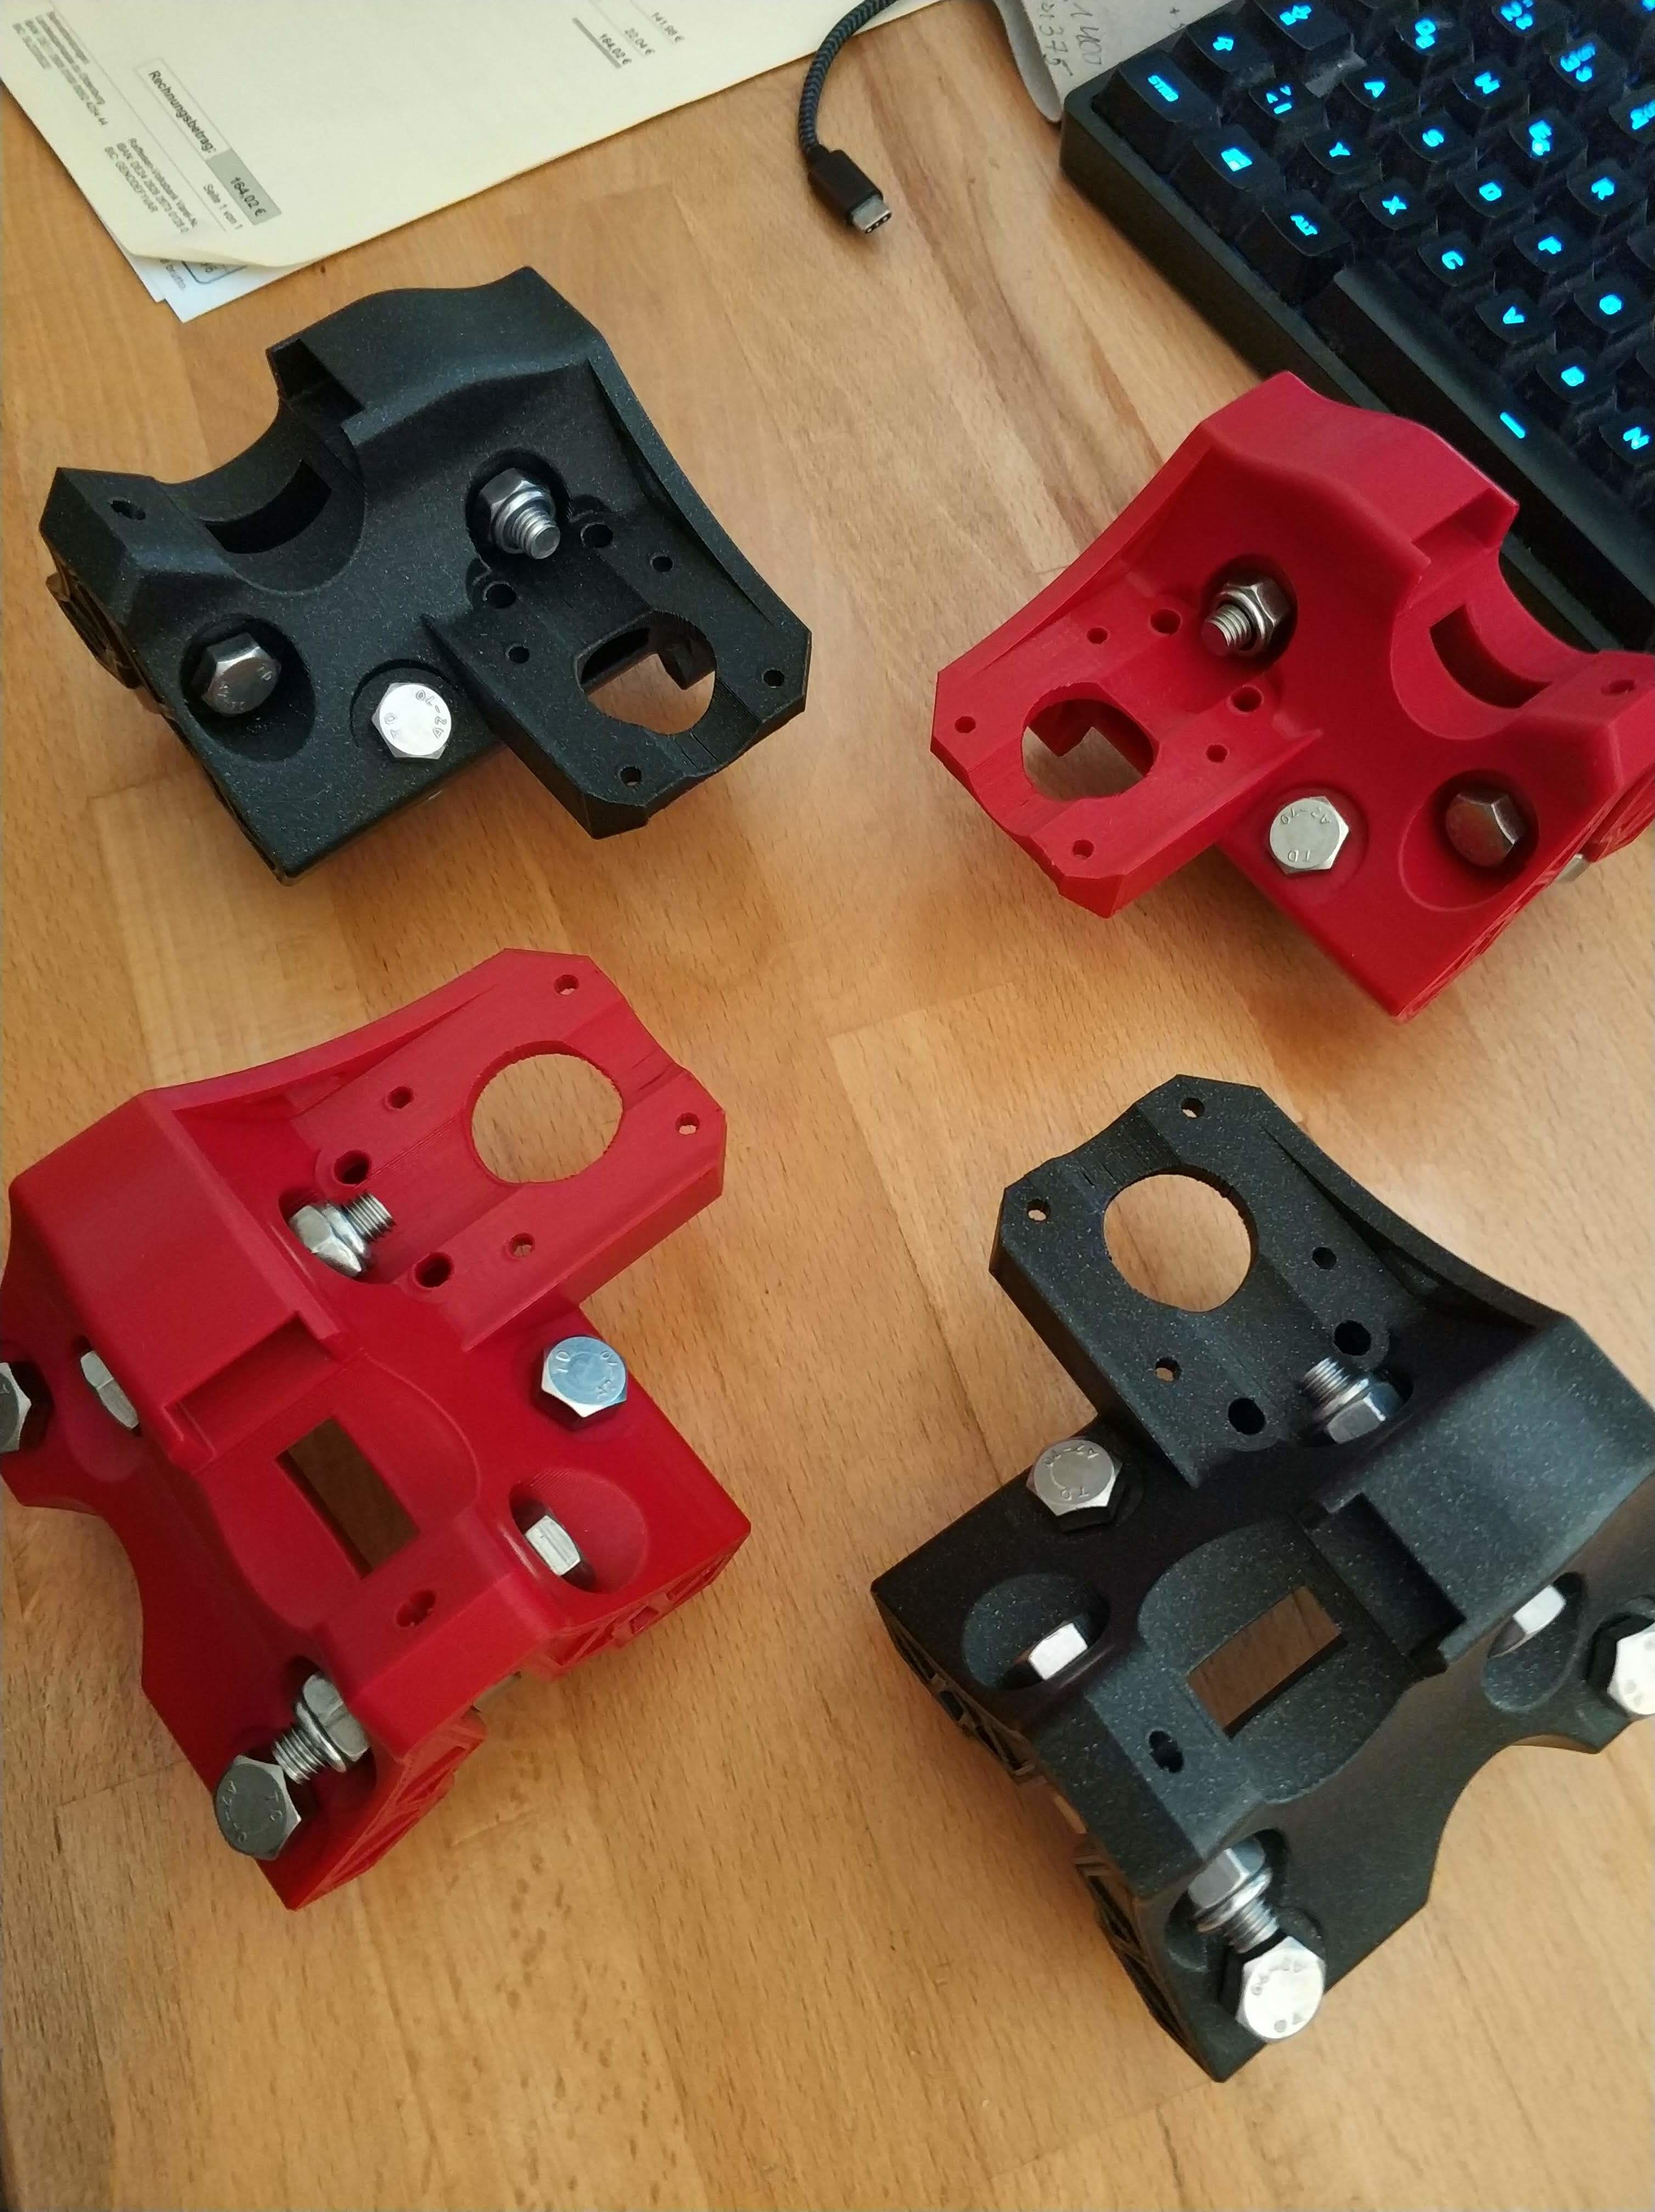
August 11: Start of the assembly.

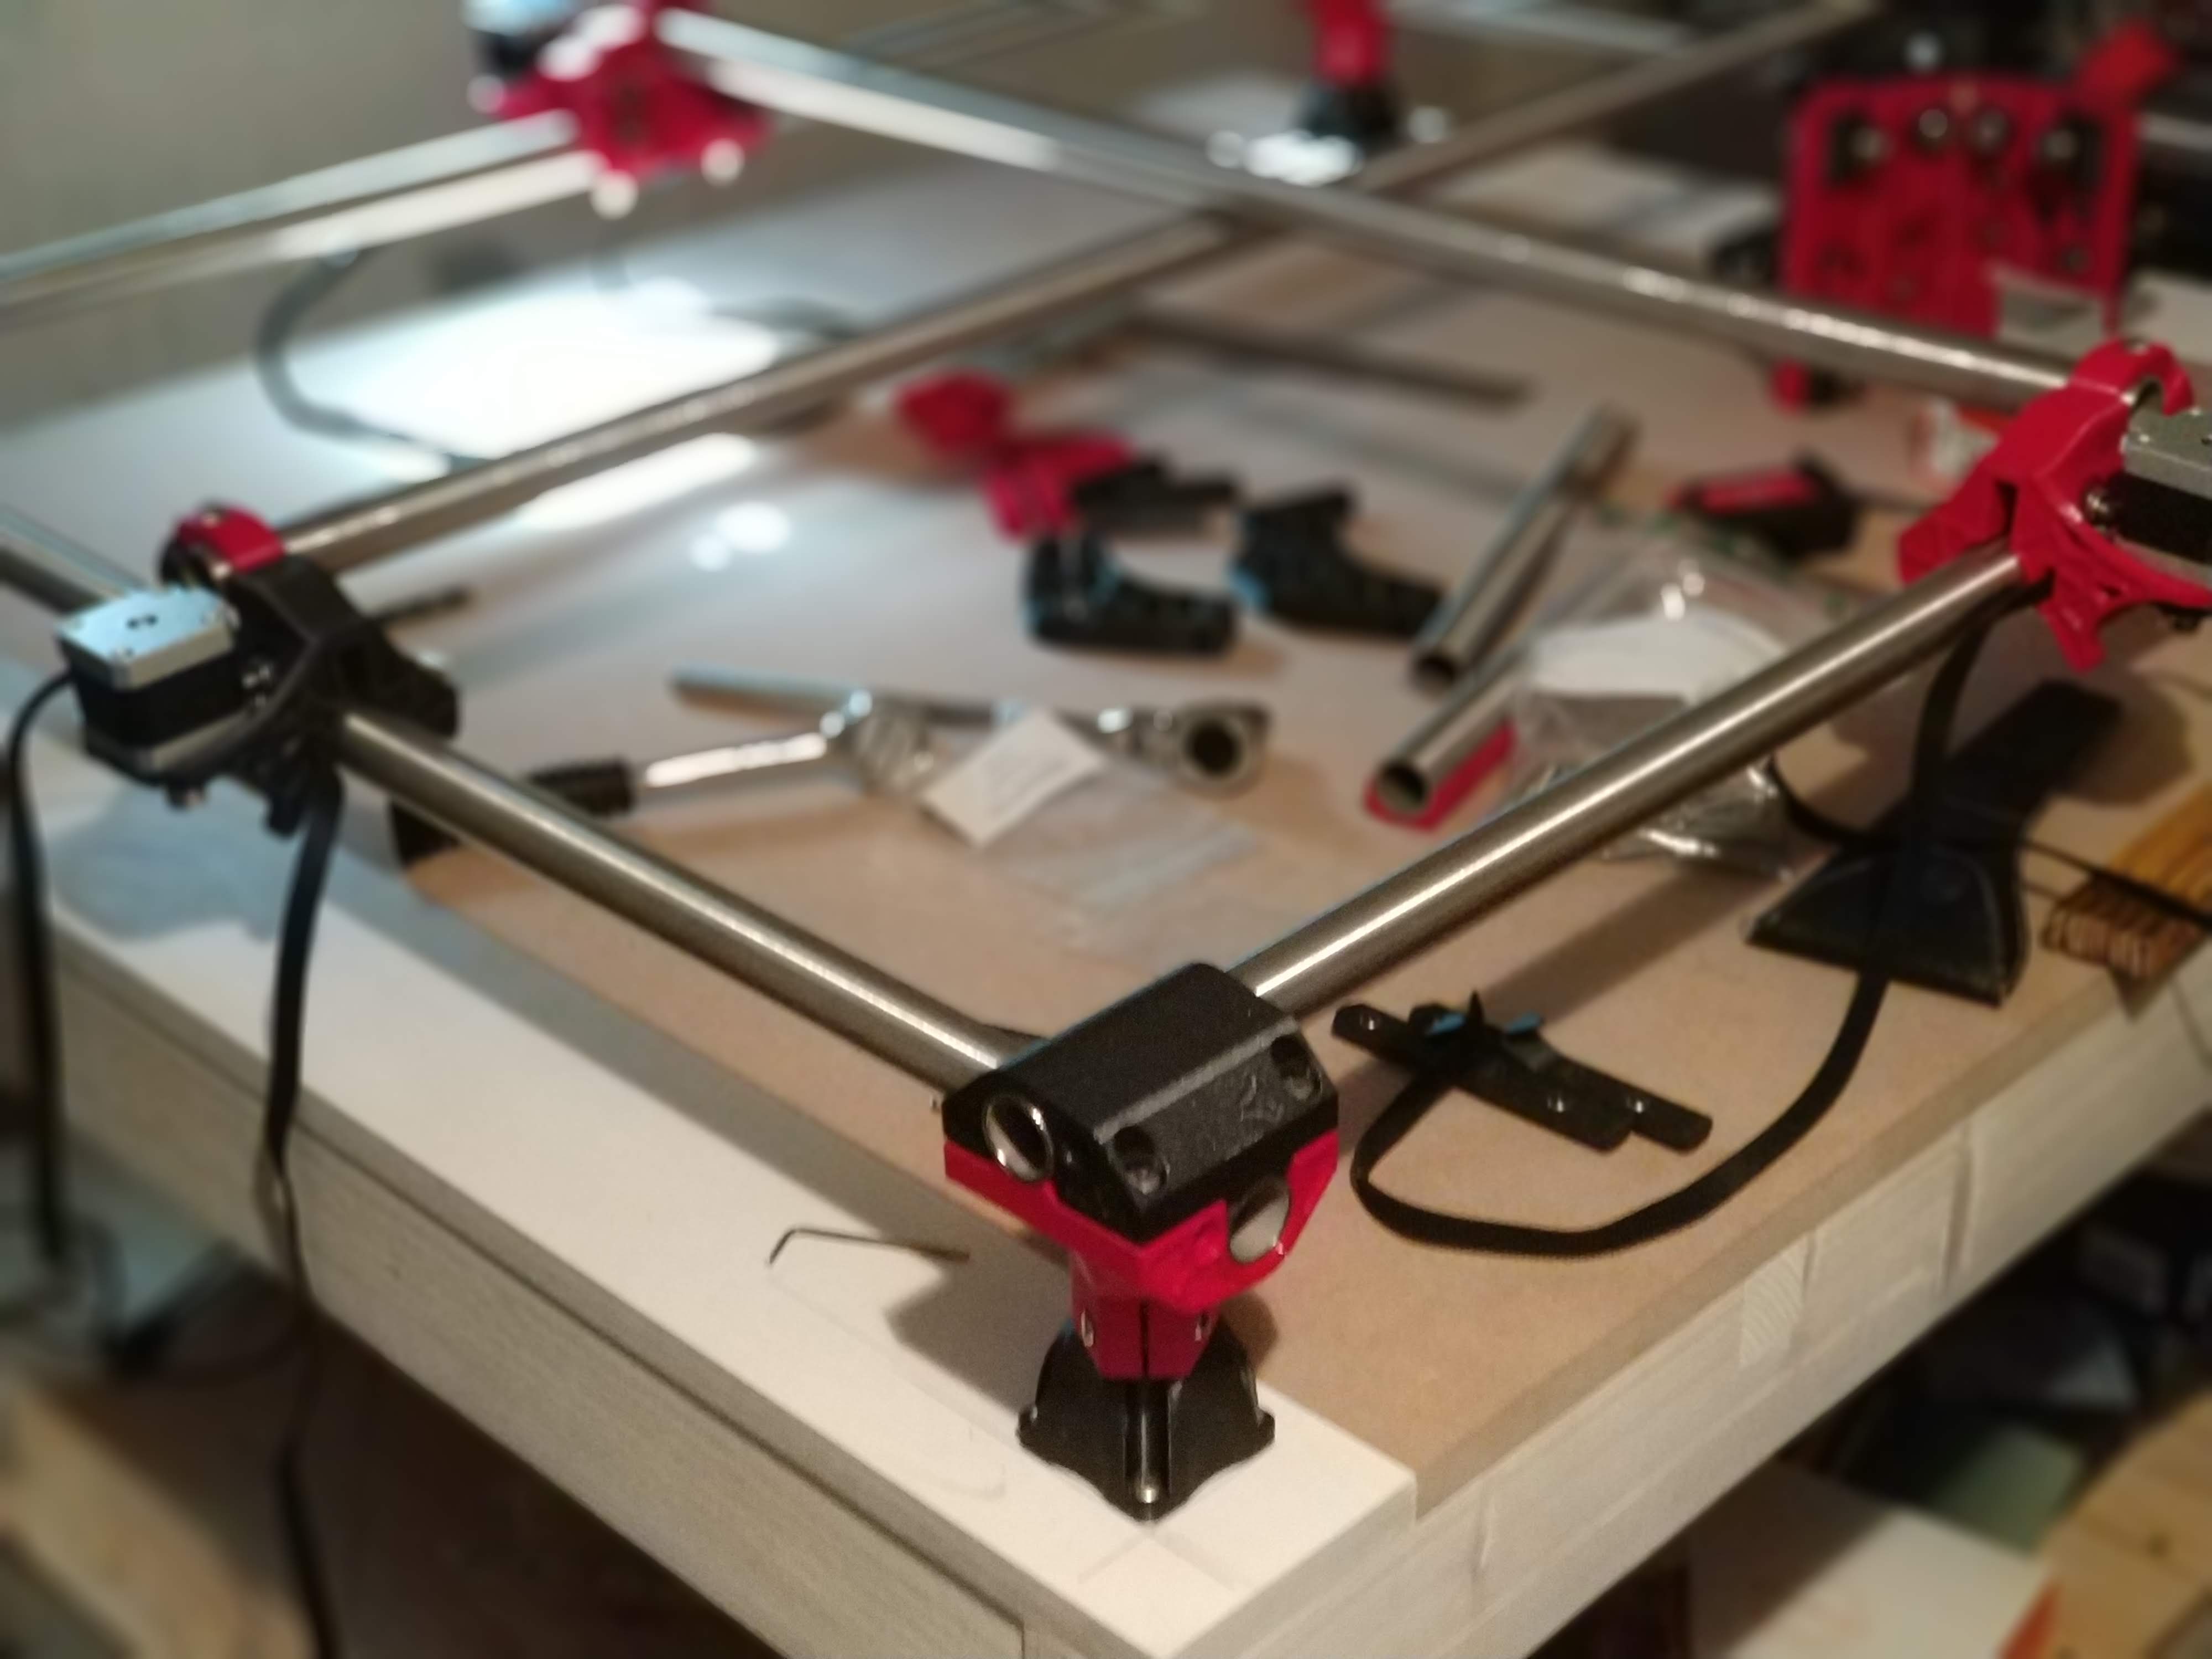
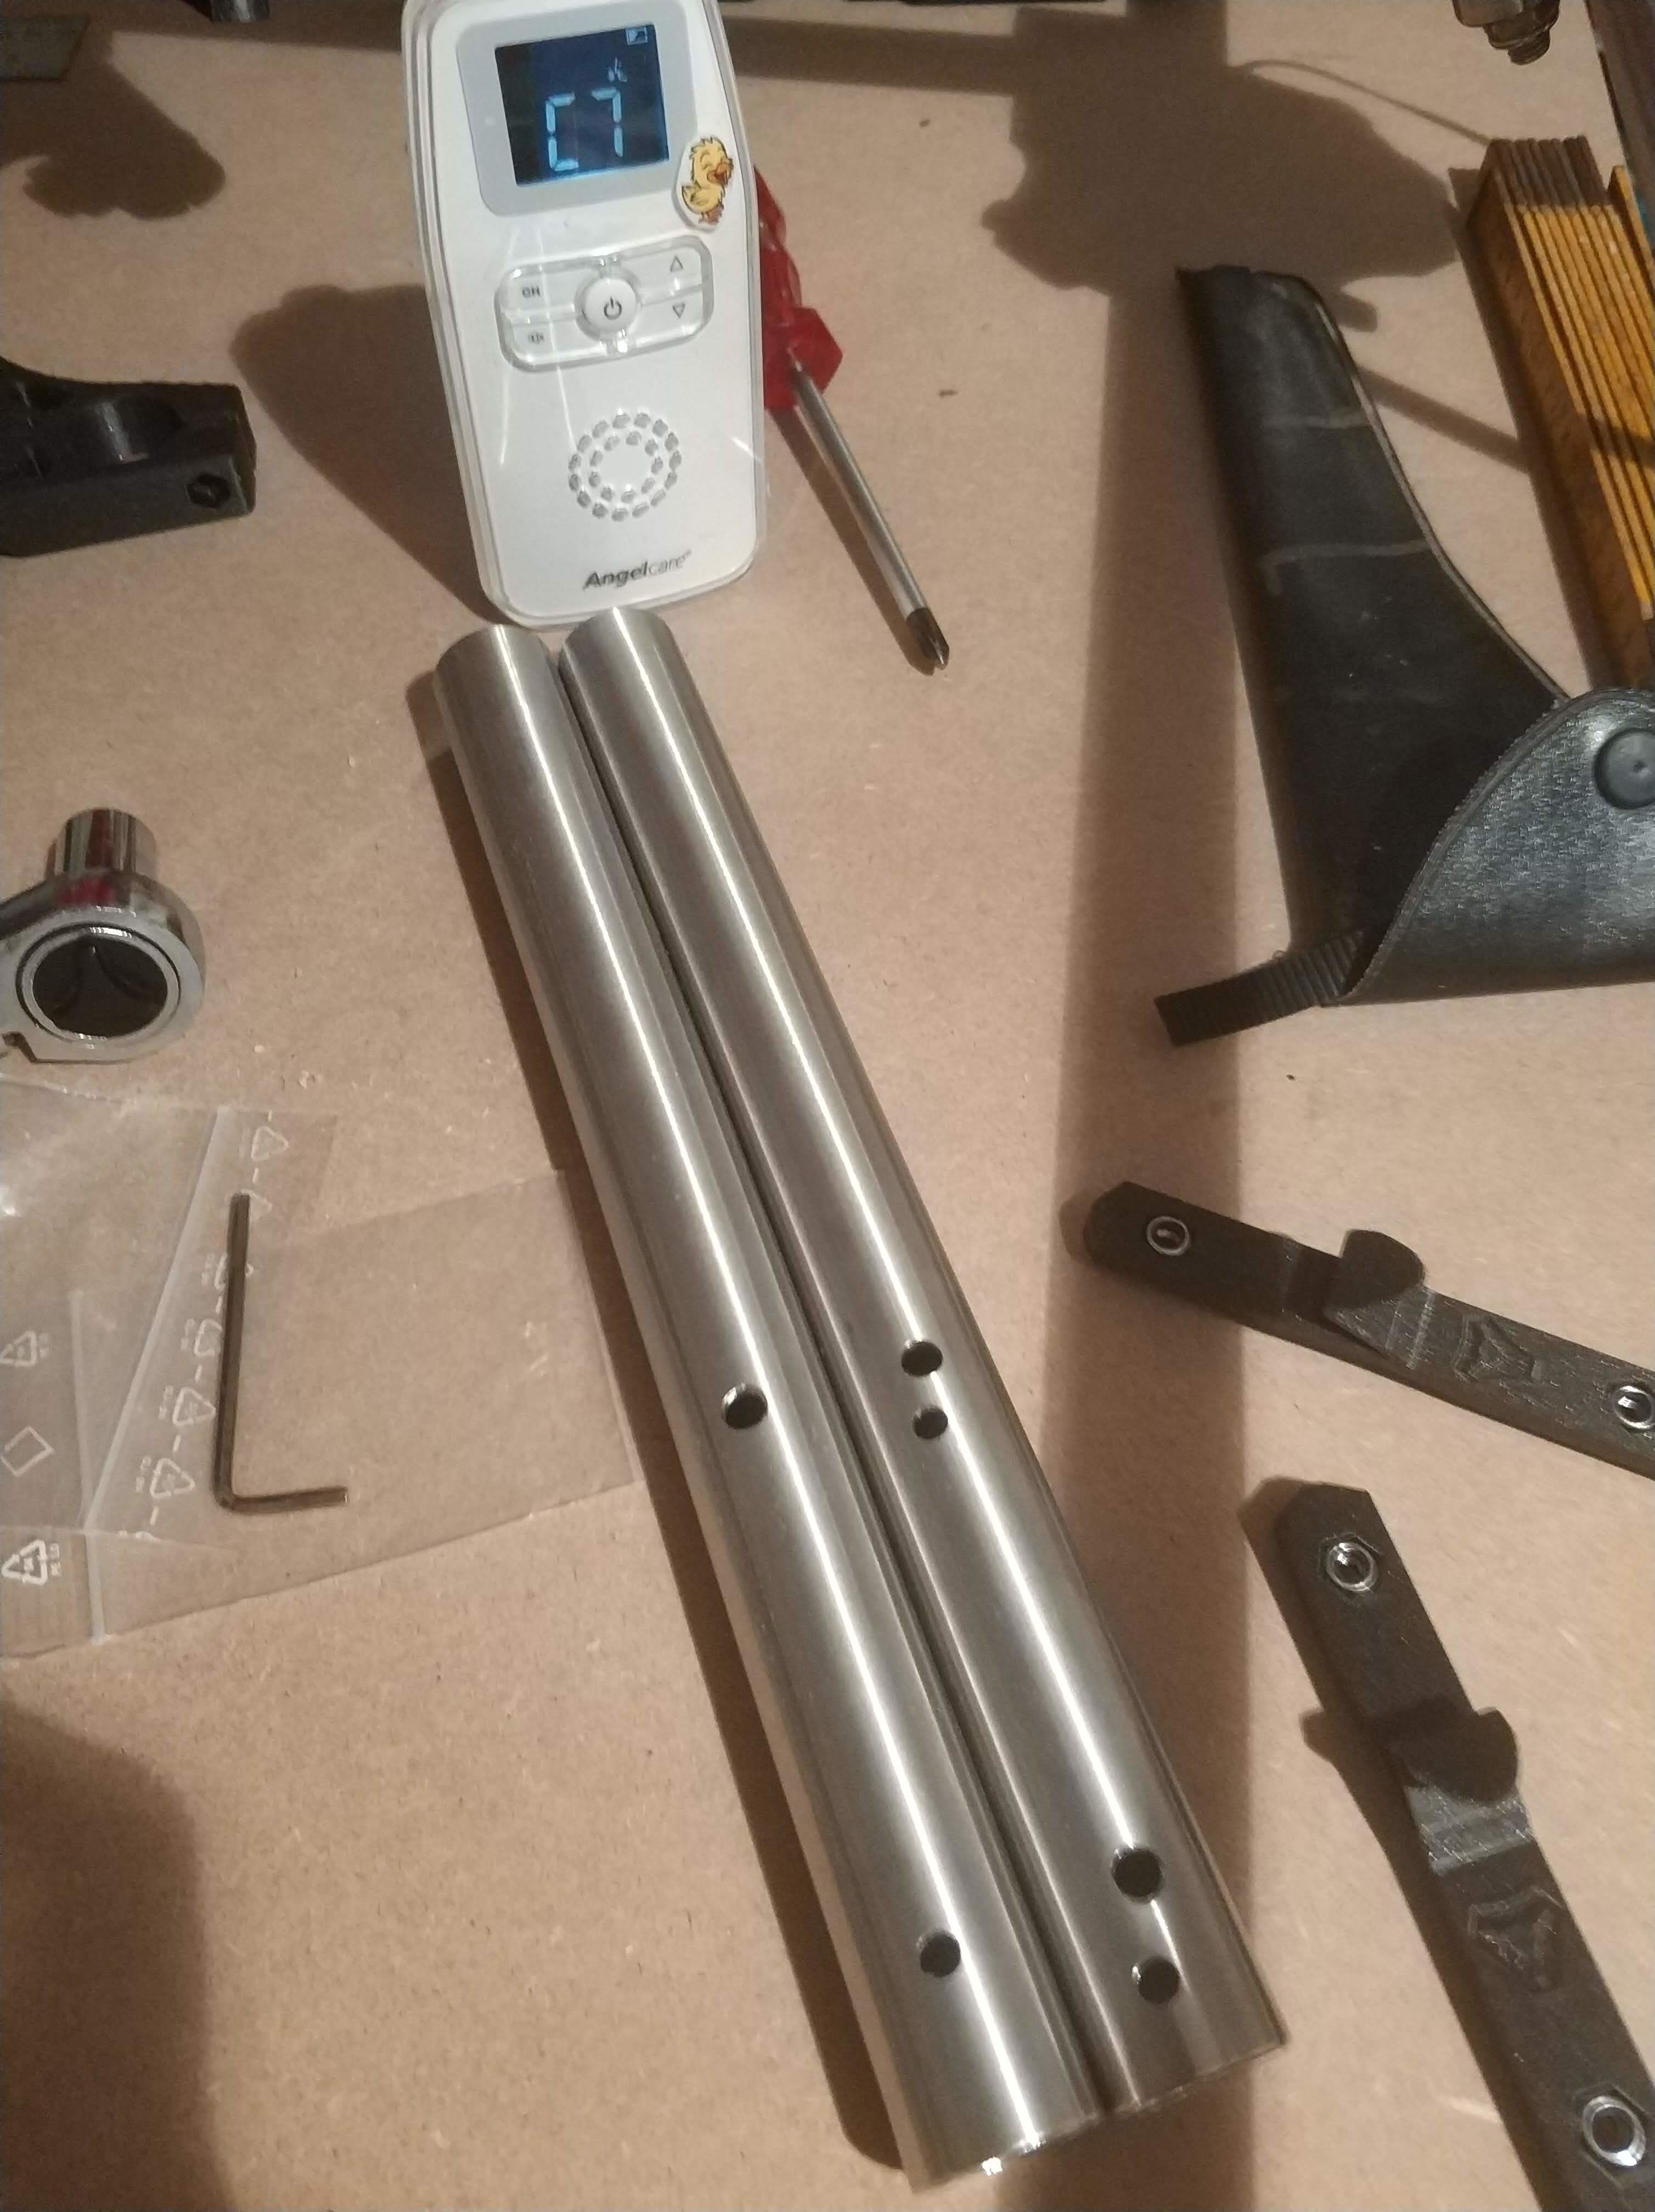
August 12: The Z-Axis. Behold: If you use the hole template the wrong way, you got the wrong holes.

All done, only thing to do is squaring.

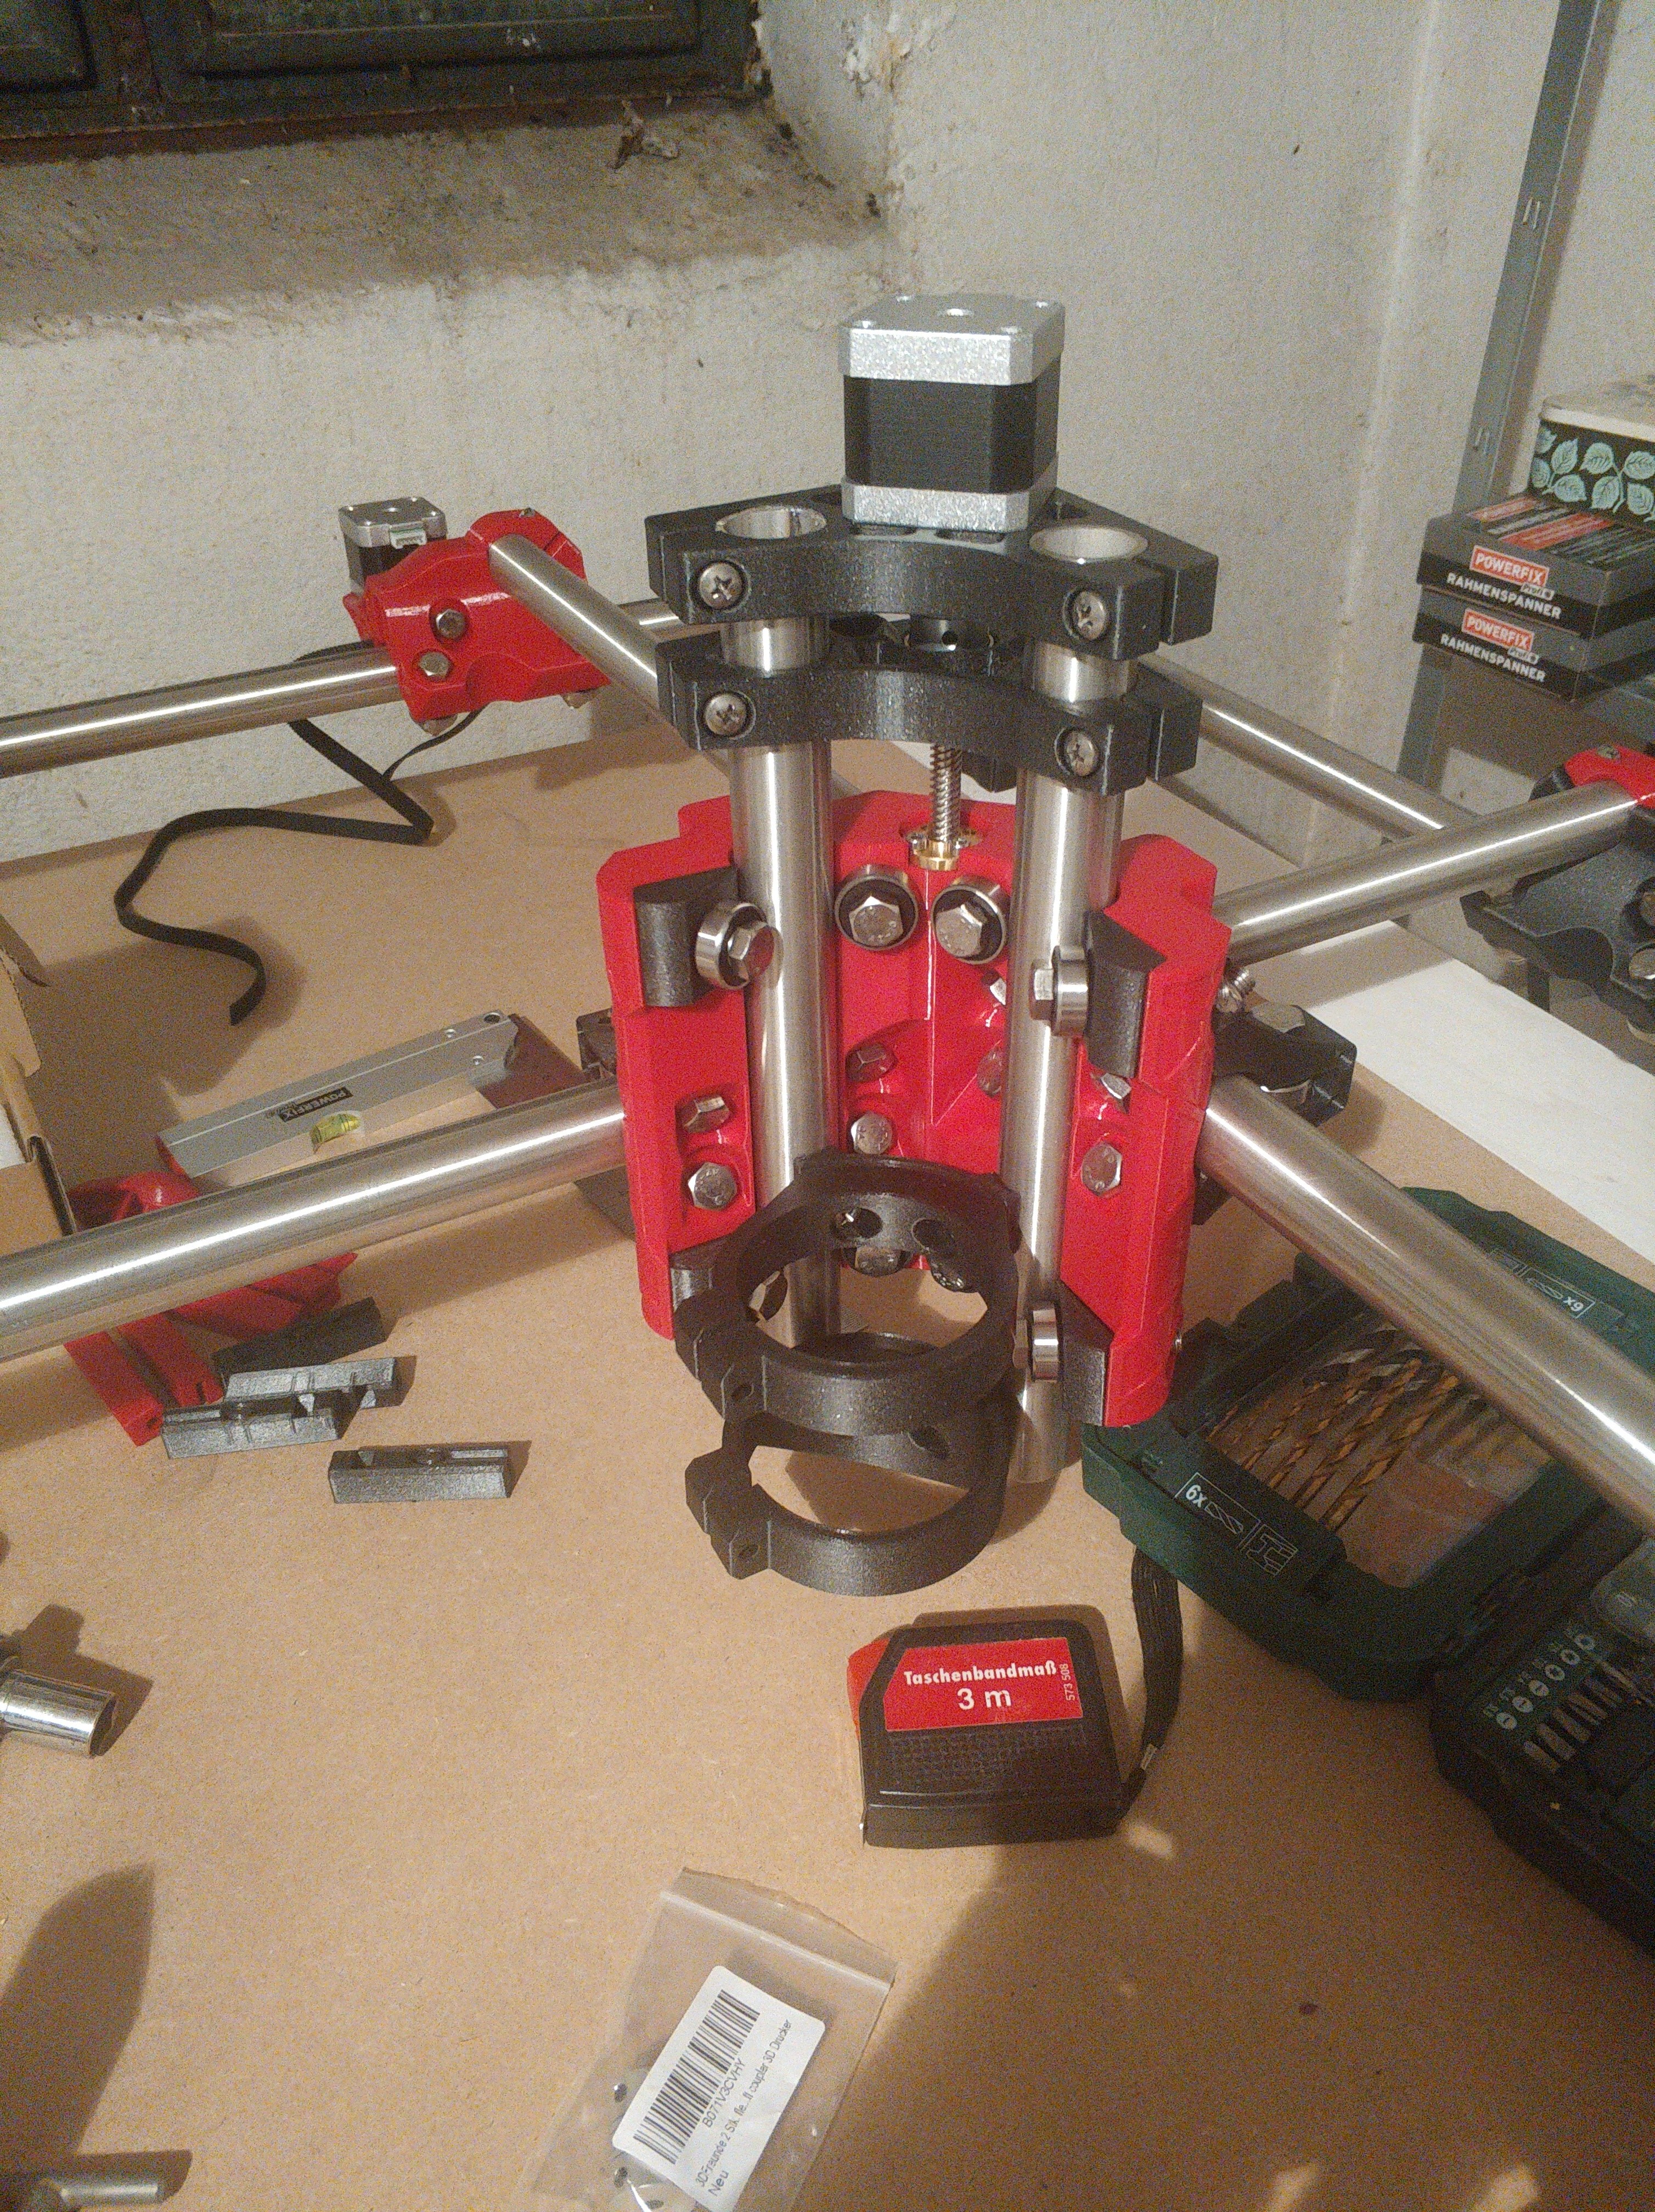
I am really excited to see how it turns out. Until now all the measurements are good, core squaring is the last big step.

19 Likes

Very nice they are only holes :shushing_face: everything else looks spot on !

1 Like

Be-holed!

2 Likes

Weight reduction. :grin: Looking really good!

2 Likes

55 minutes of turning two screws back and forth… one axis was right out of the box, basically. The other one was off 5mm. Then 1cm (I thought I had had it then, because I was only looking at the mm…), then to 2mm, then to 0.5 or sth. Now just belts and a few longer cables and she can run for the first time. <3

4 Likes

Belts: check.

/edit: Eh, basement too dark for portrait mode shots. :frowning:

6 Likes

Still looks good! :+1:

1 Like

Nice! The focus gives it a miniature photo look. :grin:

That’s where mine lives in the dungeon of doom :grinning:

Here are my first crowns. I don’t know yet why they are off in some measurements. I tried to loosen the belts a bit, but that seems to not have been it. Maybe the pen is wobbly, I just used zipties to zip it to the Makita mount.


The second one looks best, right (except for pen preassure)?

/edit: Fourth Crown came out great, just the Circle is off, it is an oval. -_-

3 Likes

The circle is an oval in the design.

Pen mounts can cause some slop, for sure. The second one looks very good to me.

Cool, thanks. The fourth one looks nearly spotless then. Thanks Jeff.

This evening I will tidy up the cables, then I will get it dirty. I still have 6 days until my wife’s birthday. I want to create customized earrings with our children’s names on them. :stuck_out_tongue:

2 Likes

First real cut. Turned out great.
Second cut was a 50mm square that turned out to be 49mm. Will try the fix with the different clamps for now I guess.

9 Likes

For our non-german speaking friends: Schneewittchen is the german name of the fairy tale figure Snow White (the one with the seven dwarfs). Her red lips and black hair refer to the corresponding filament colours.

Thanks Ulli. Forgot to mention that. And the table is white. :stuck_out_tongue: Will reprint the new clamps in white. :smiley:

First prototypes of my wife’s birthday present (earrings with the family’s names). Needs colour and a little adjusting. Left one is obviously 3D printed. And I all did this with an axis that is not squared (4mm off). :smiley:

1 Like

Sorry, I am not an expert for earrings. Just thinking anatomically, I guess you need some matching adapter, or?

SCNR, :slight_smile:

Cheers,
U.

1 Like

She’s getting earrings with the family’s names but hers. She is wearing them. :slight_smile:

First real project. Everything that looks bad is bad design on my part (too small, like framing the mill twice etc.). The rest is spot on, no skipping, no moving, just great.
My working area is 55x75cm and it is still really precise. Plague is 15cm wide.

8 Likes

Still looks damn good! :+1: The sail extending beyond the oval’s border is a nice touch.

3 Likes