Oooh, nice concept! Now you’re giving me ideas 
1 Like
Nice French cleat implementation. I like the tabbed boxes on them.
1 Like
It’s been a little over a year now, and Schneewittchen has been used a lot. One of the best things that I ever did was to build her. I learned about 3D printers, electronics, mechanics, and first and foremost a lot about CAD and CAM.

8 Likes
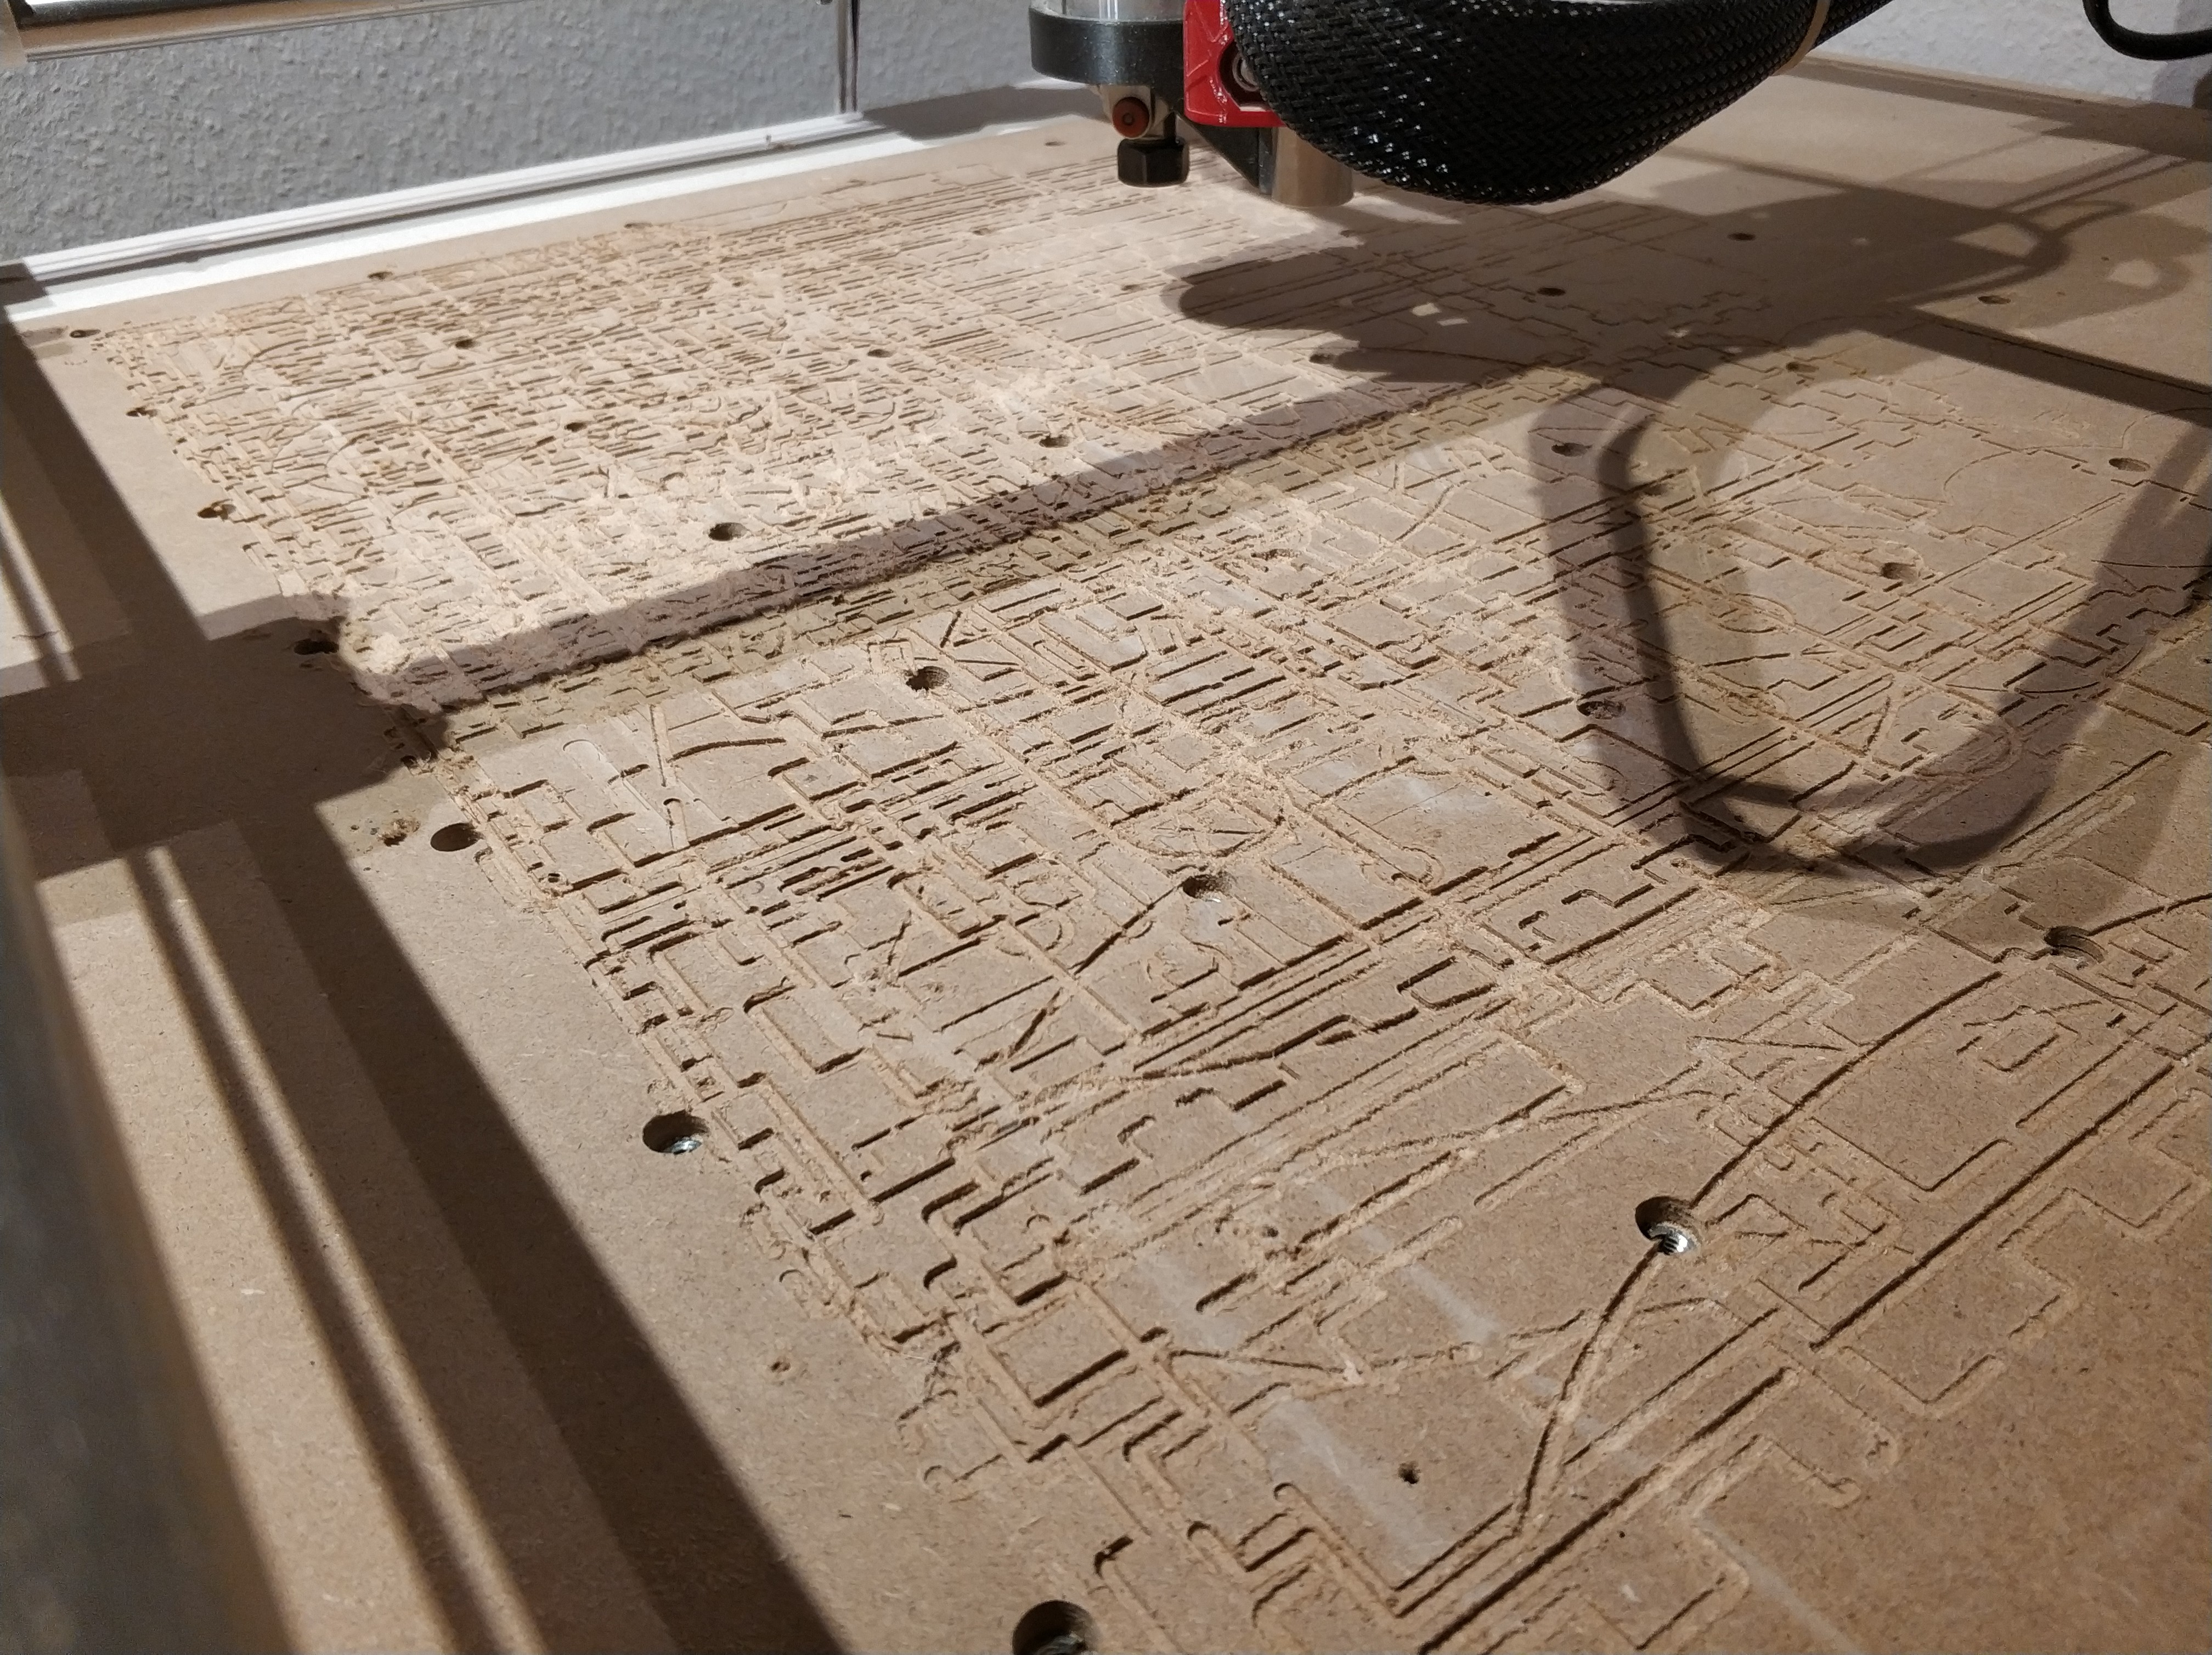
First real inlay work. I hope it is going to work. WIP pictures:
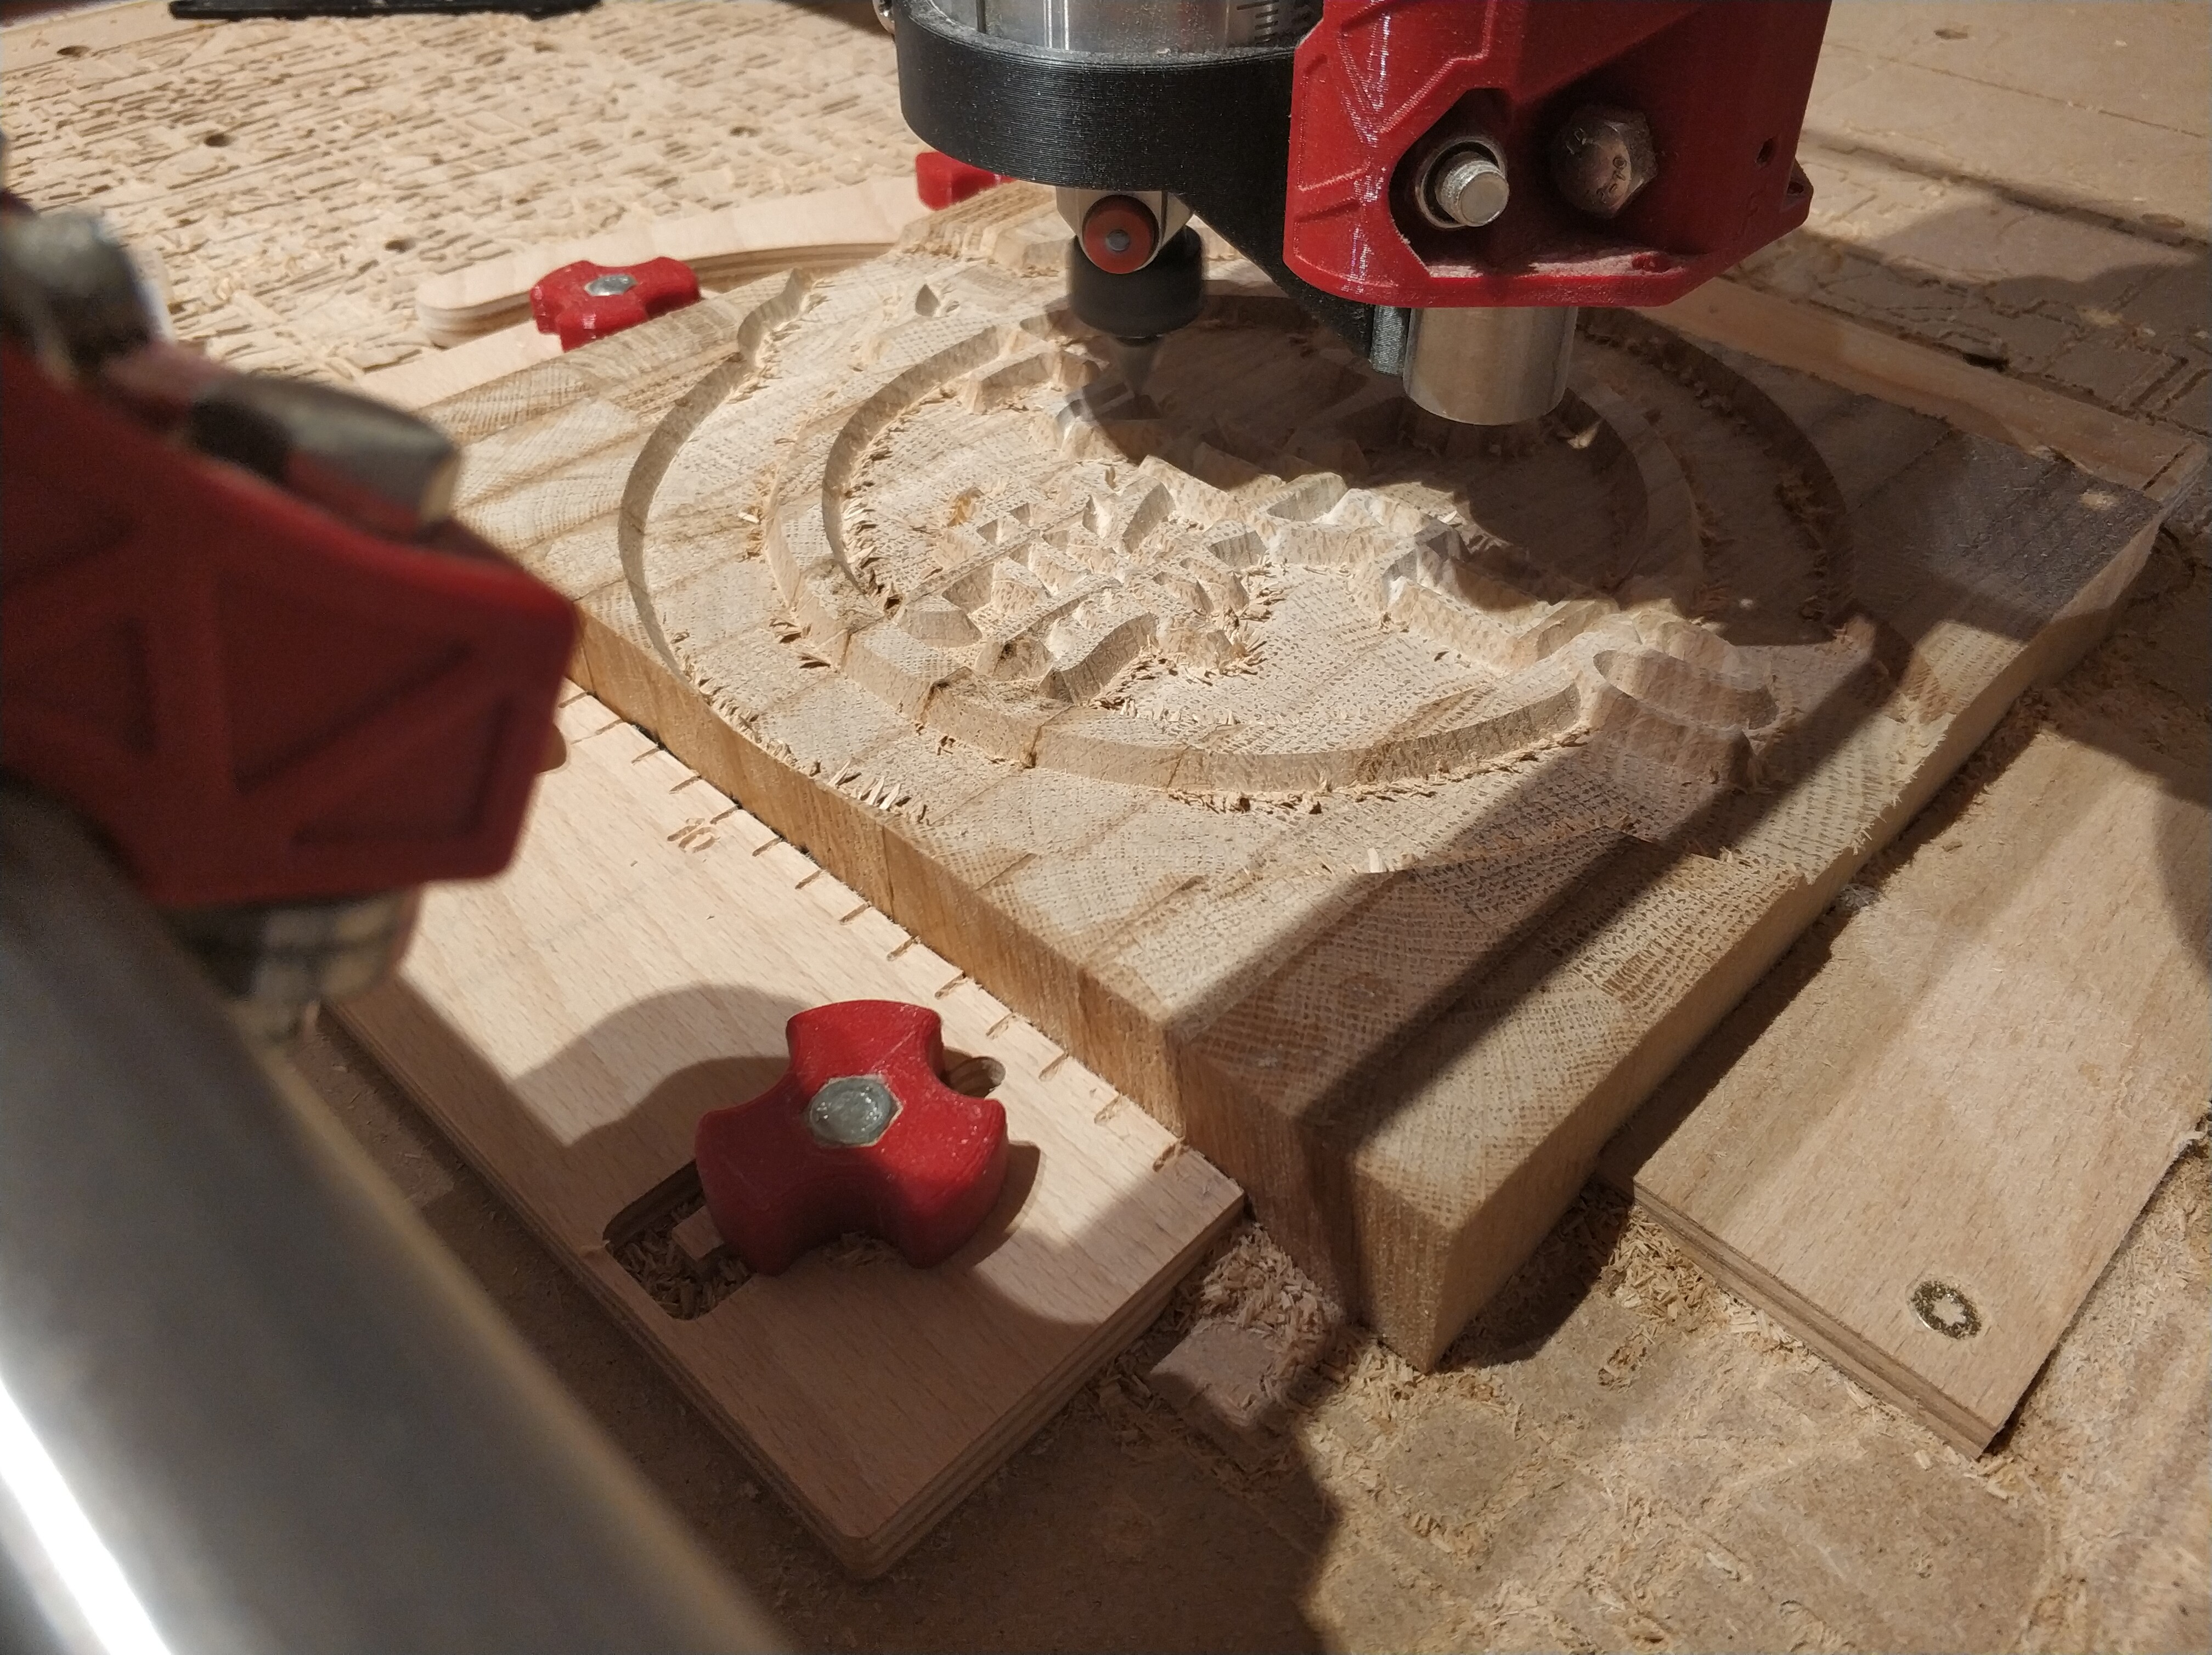
Who can guess what it is going to be? 
7 Likes
A circle!
1 Like

“Take my love, take my land, take me where I cannot stand. I don’t care, I’m still free! You can’t take the sky from me…”
2 Likes
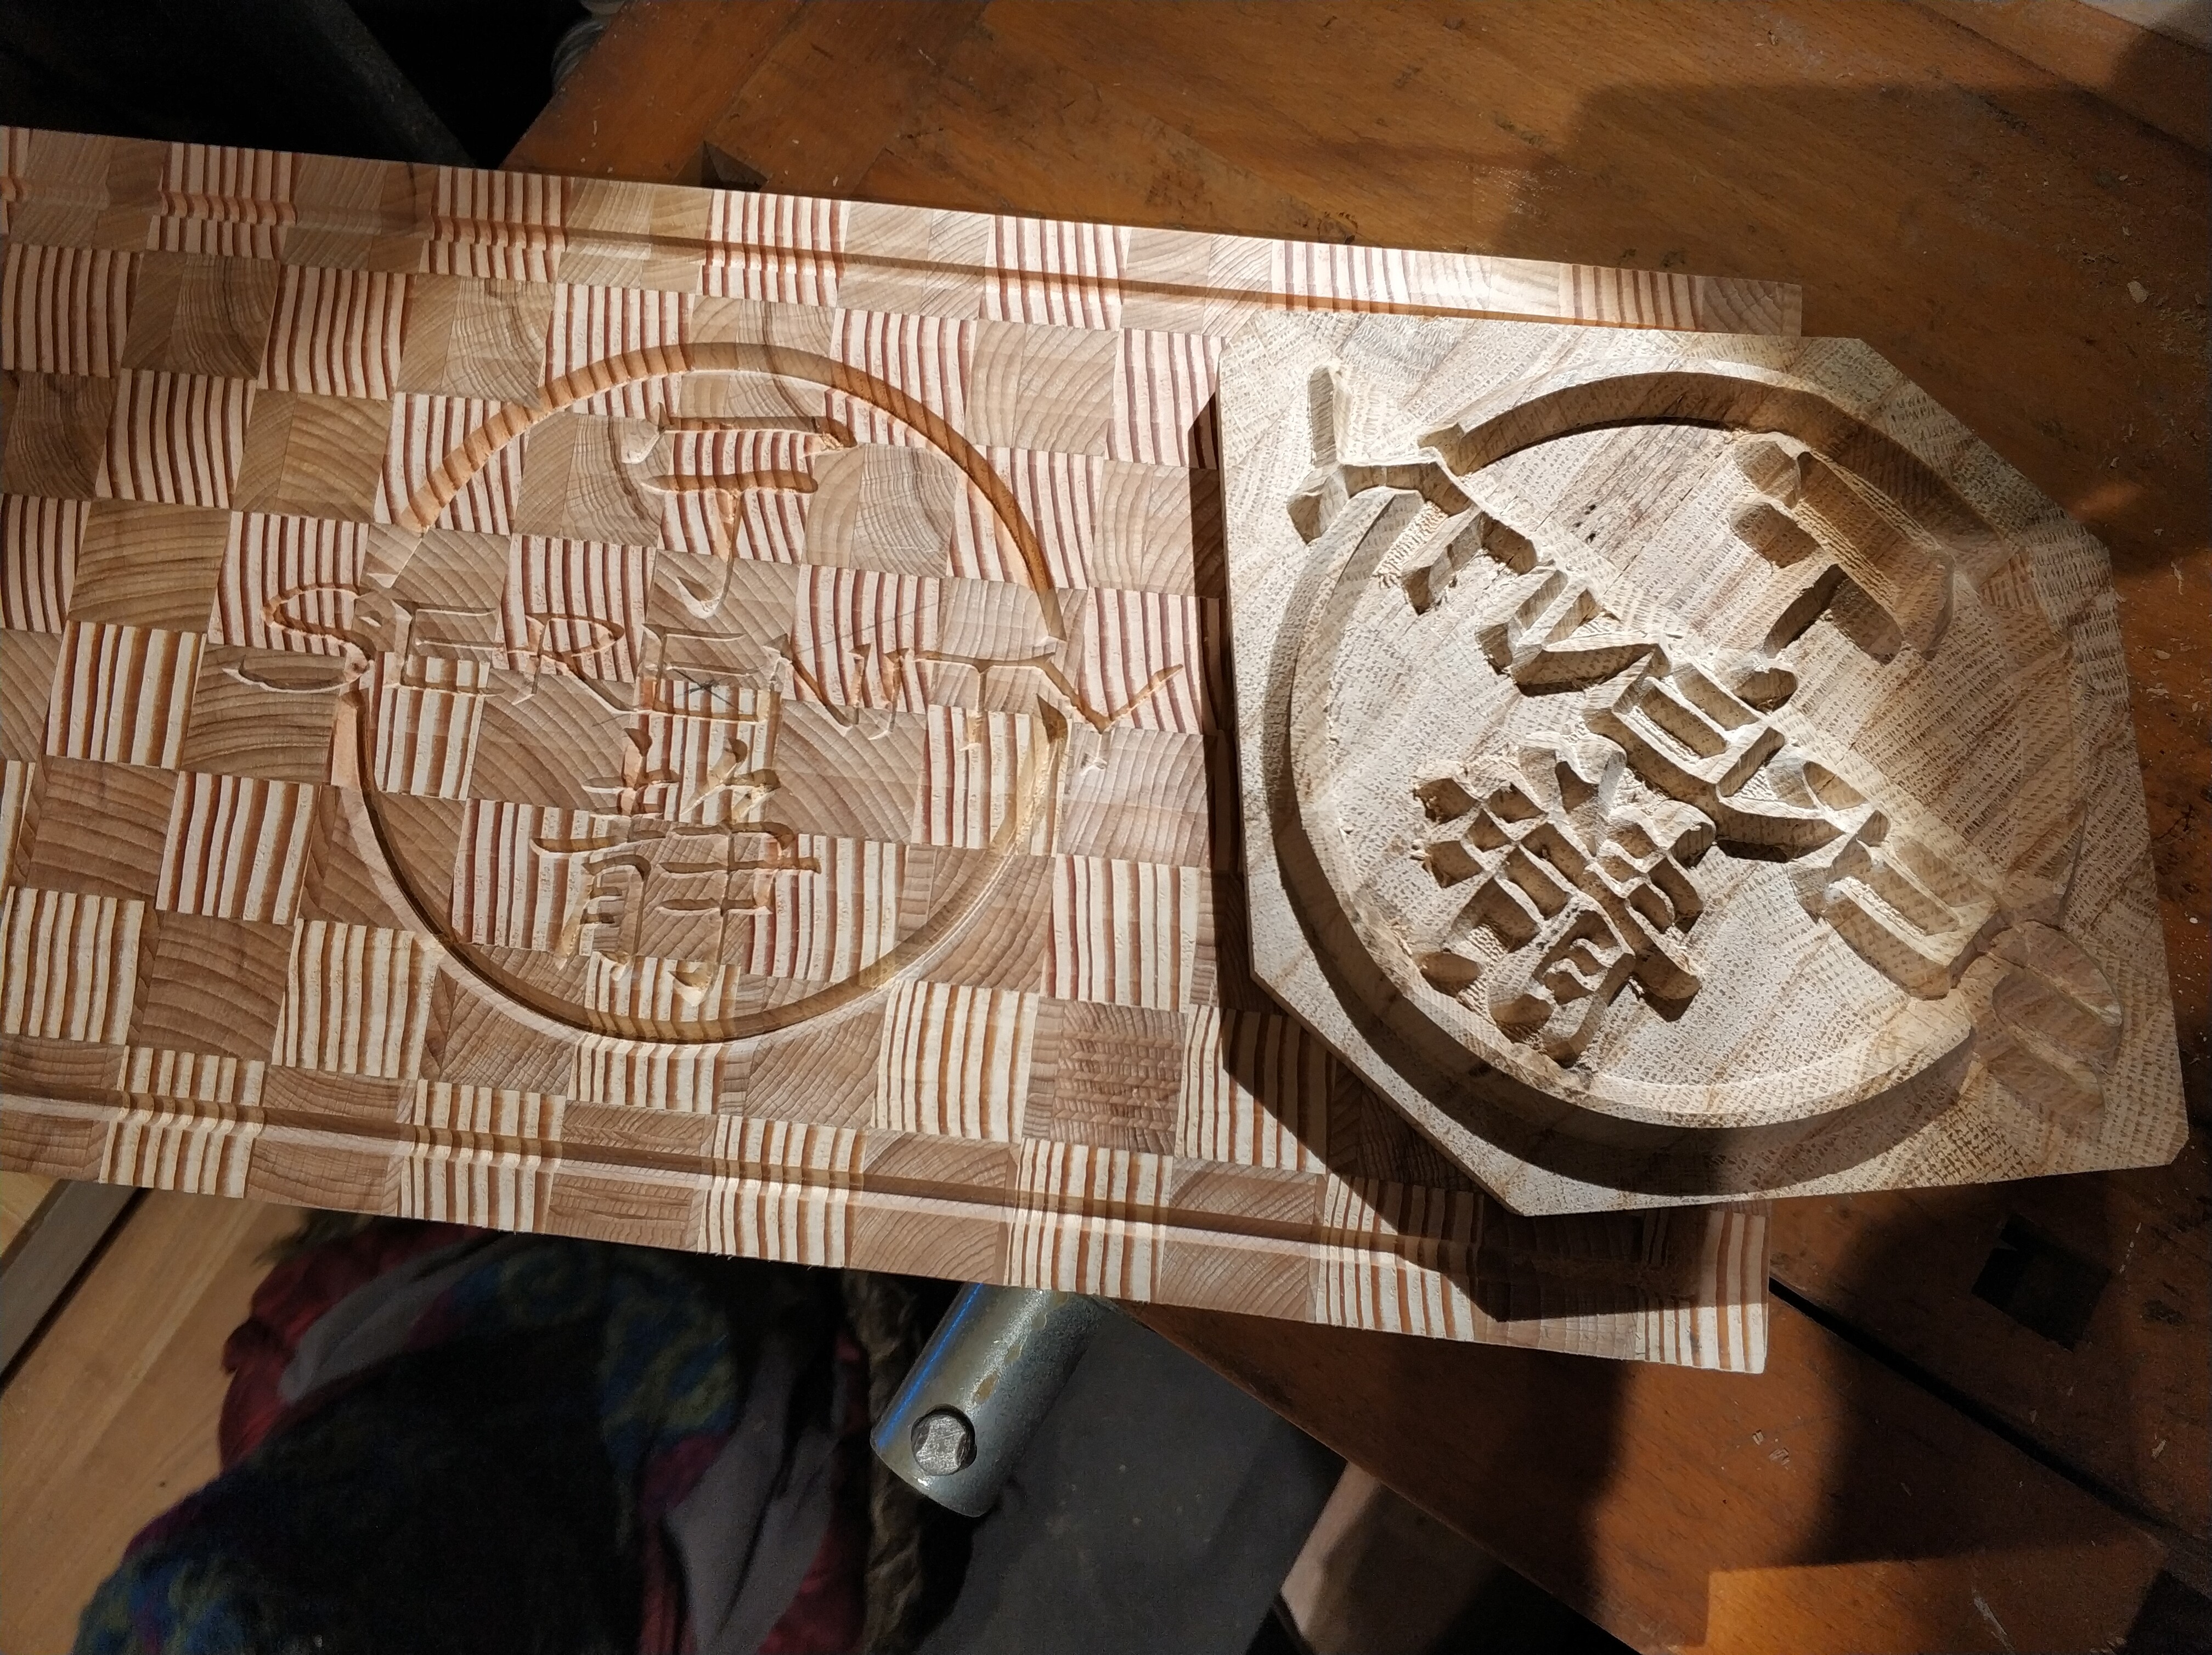
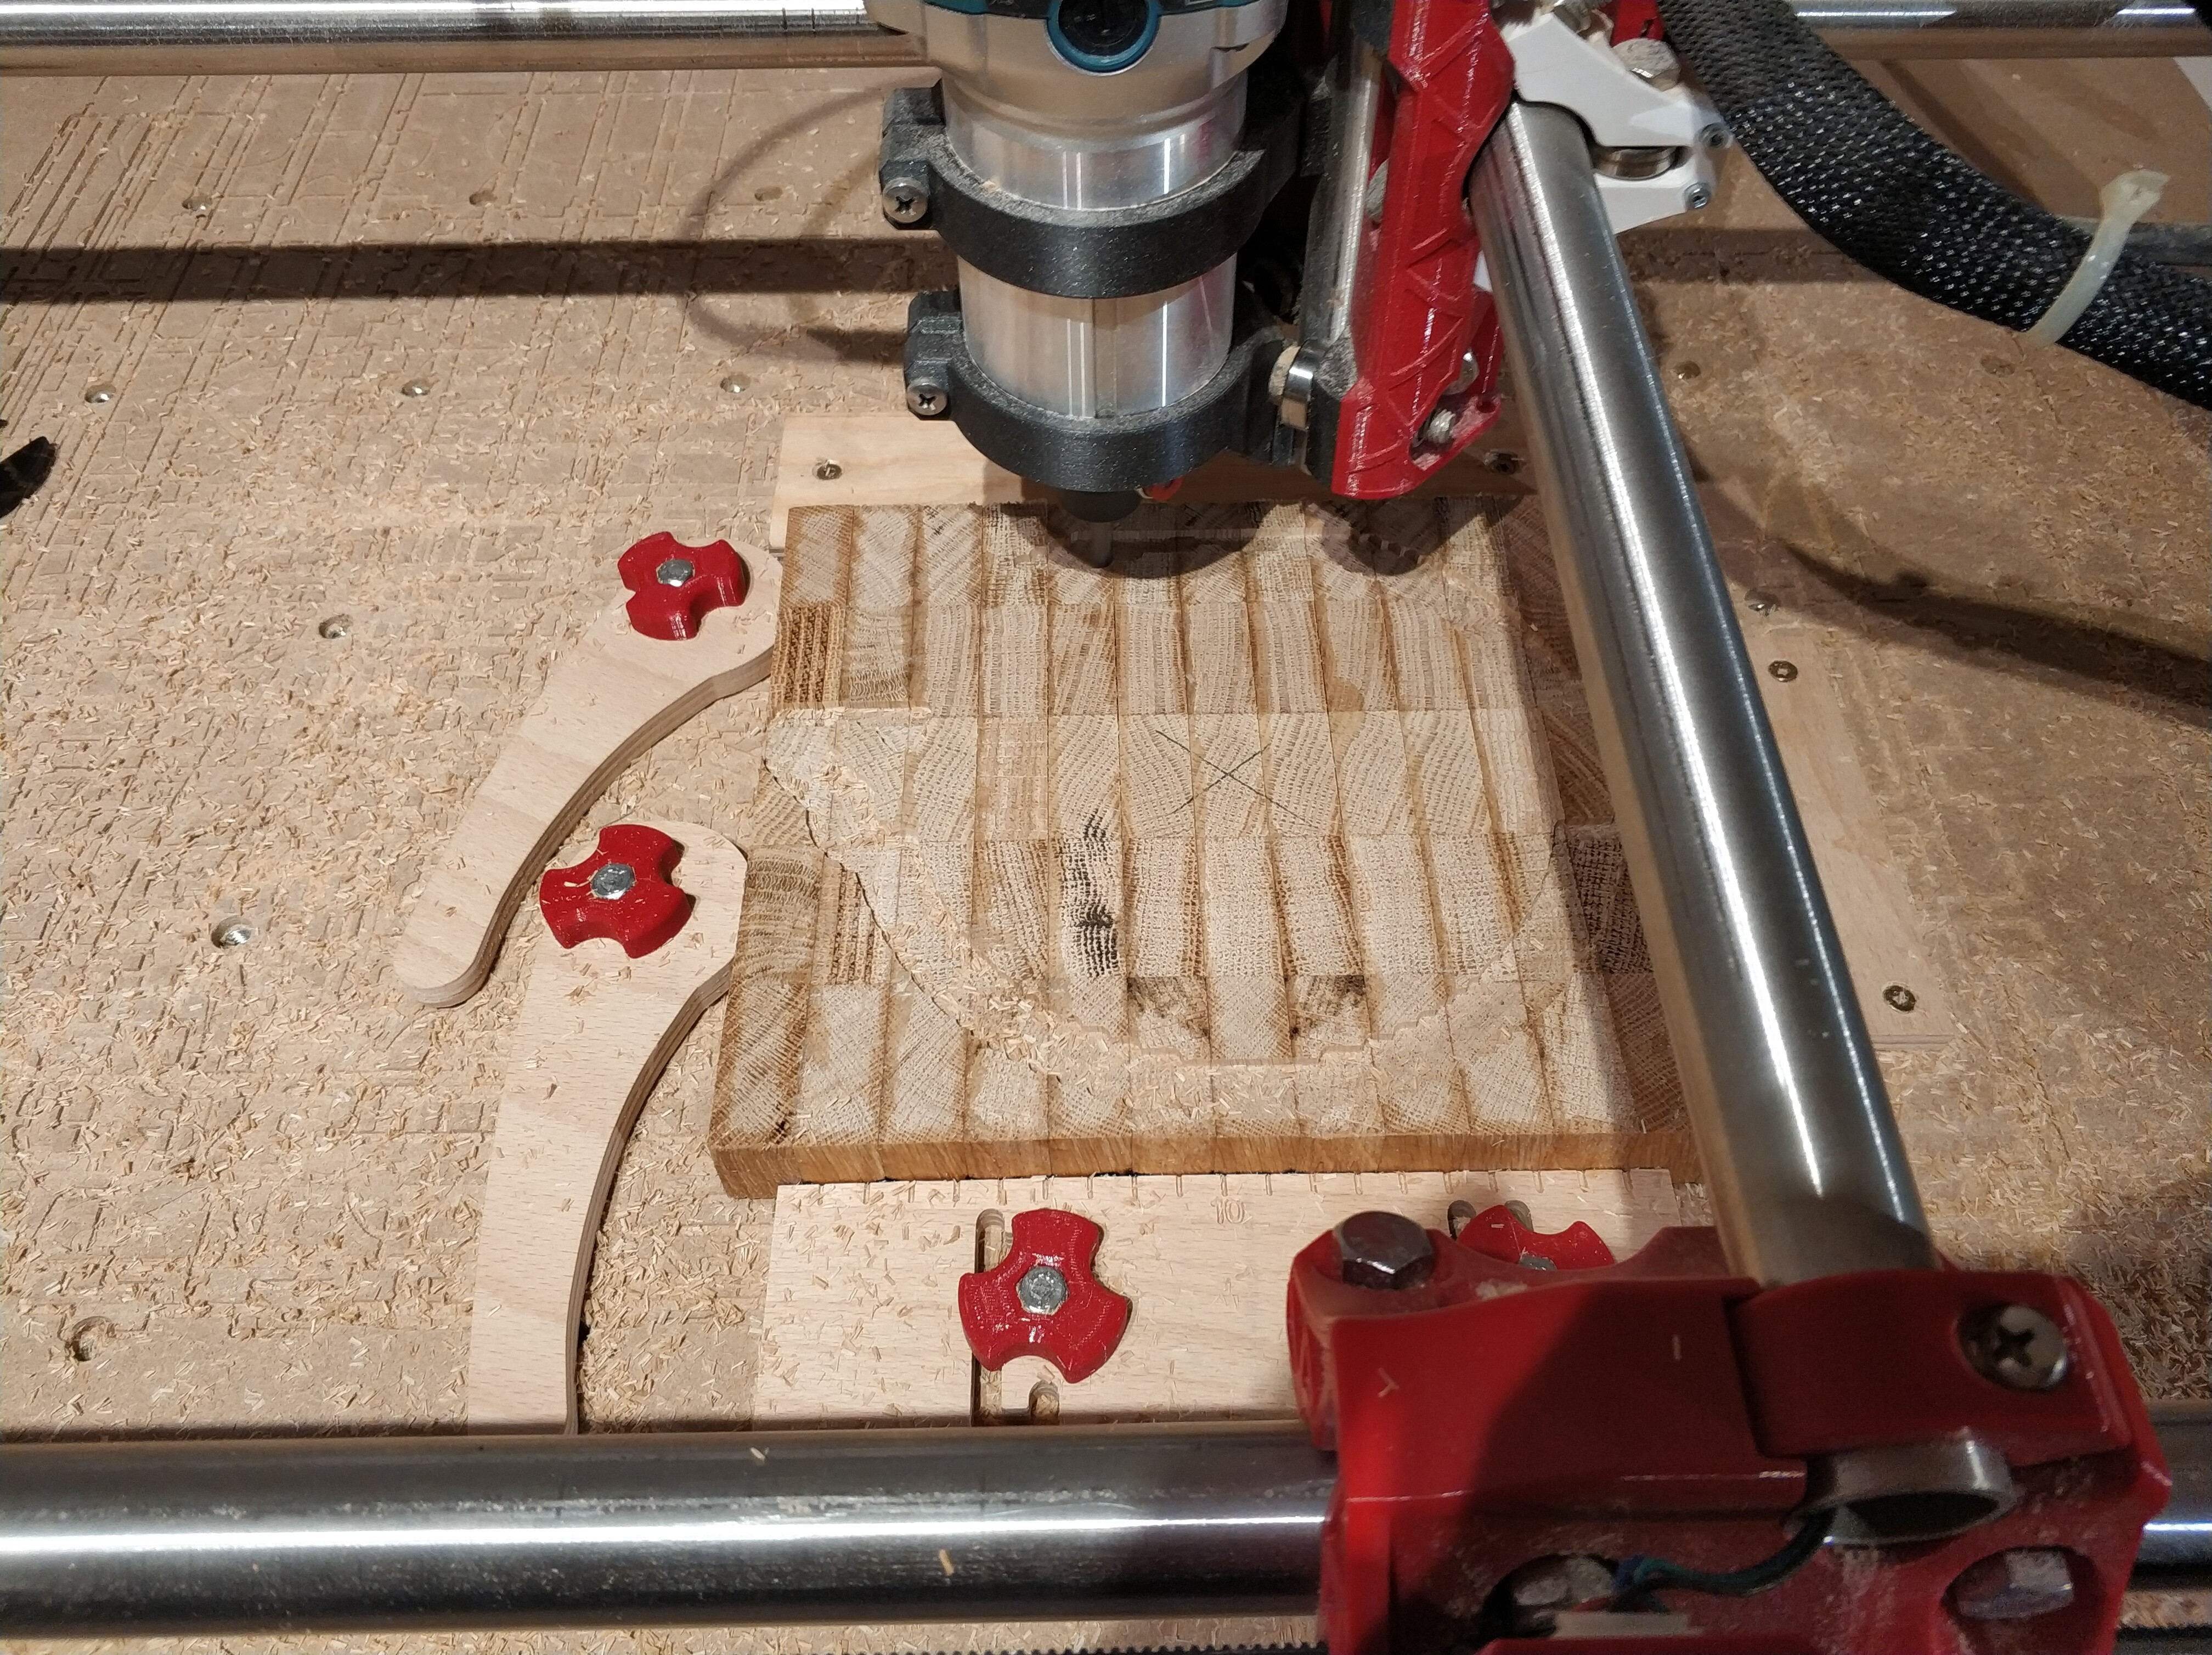
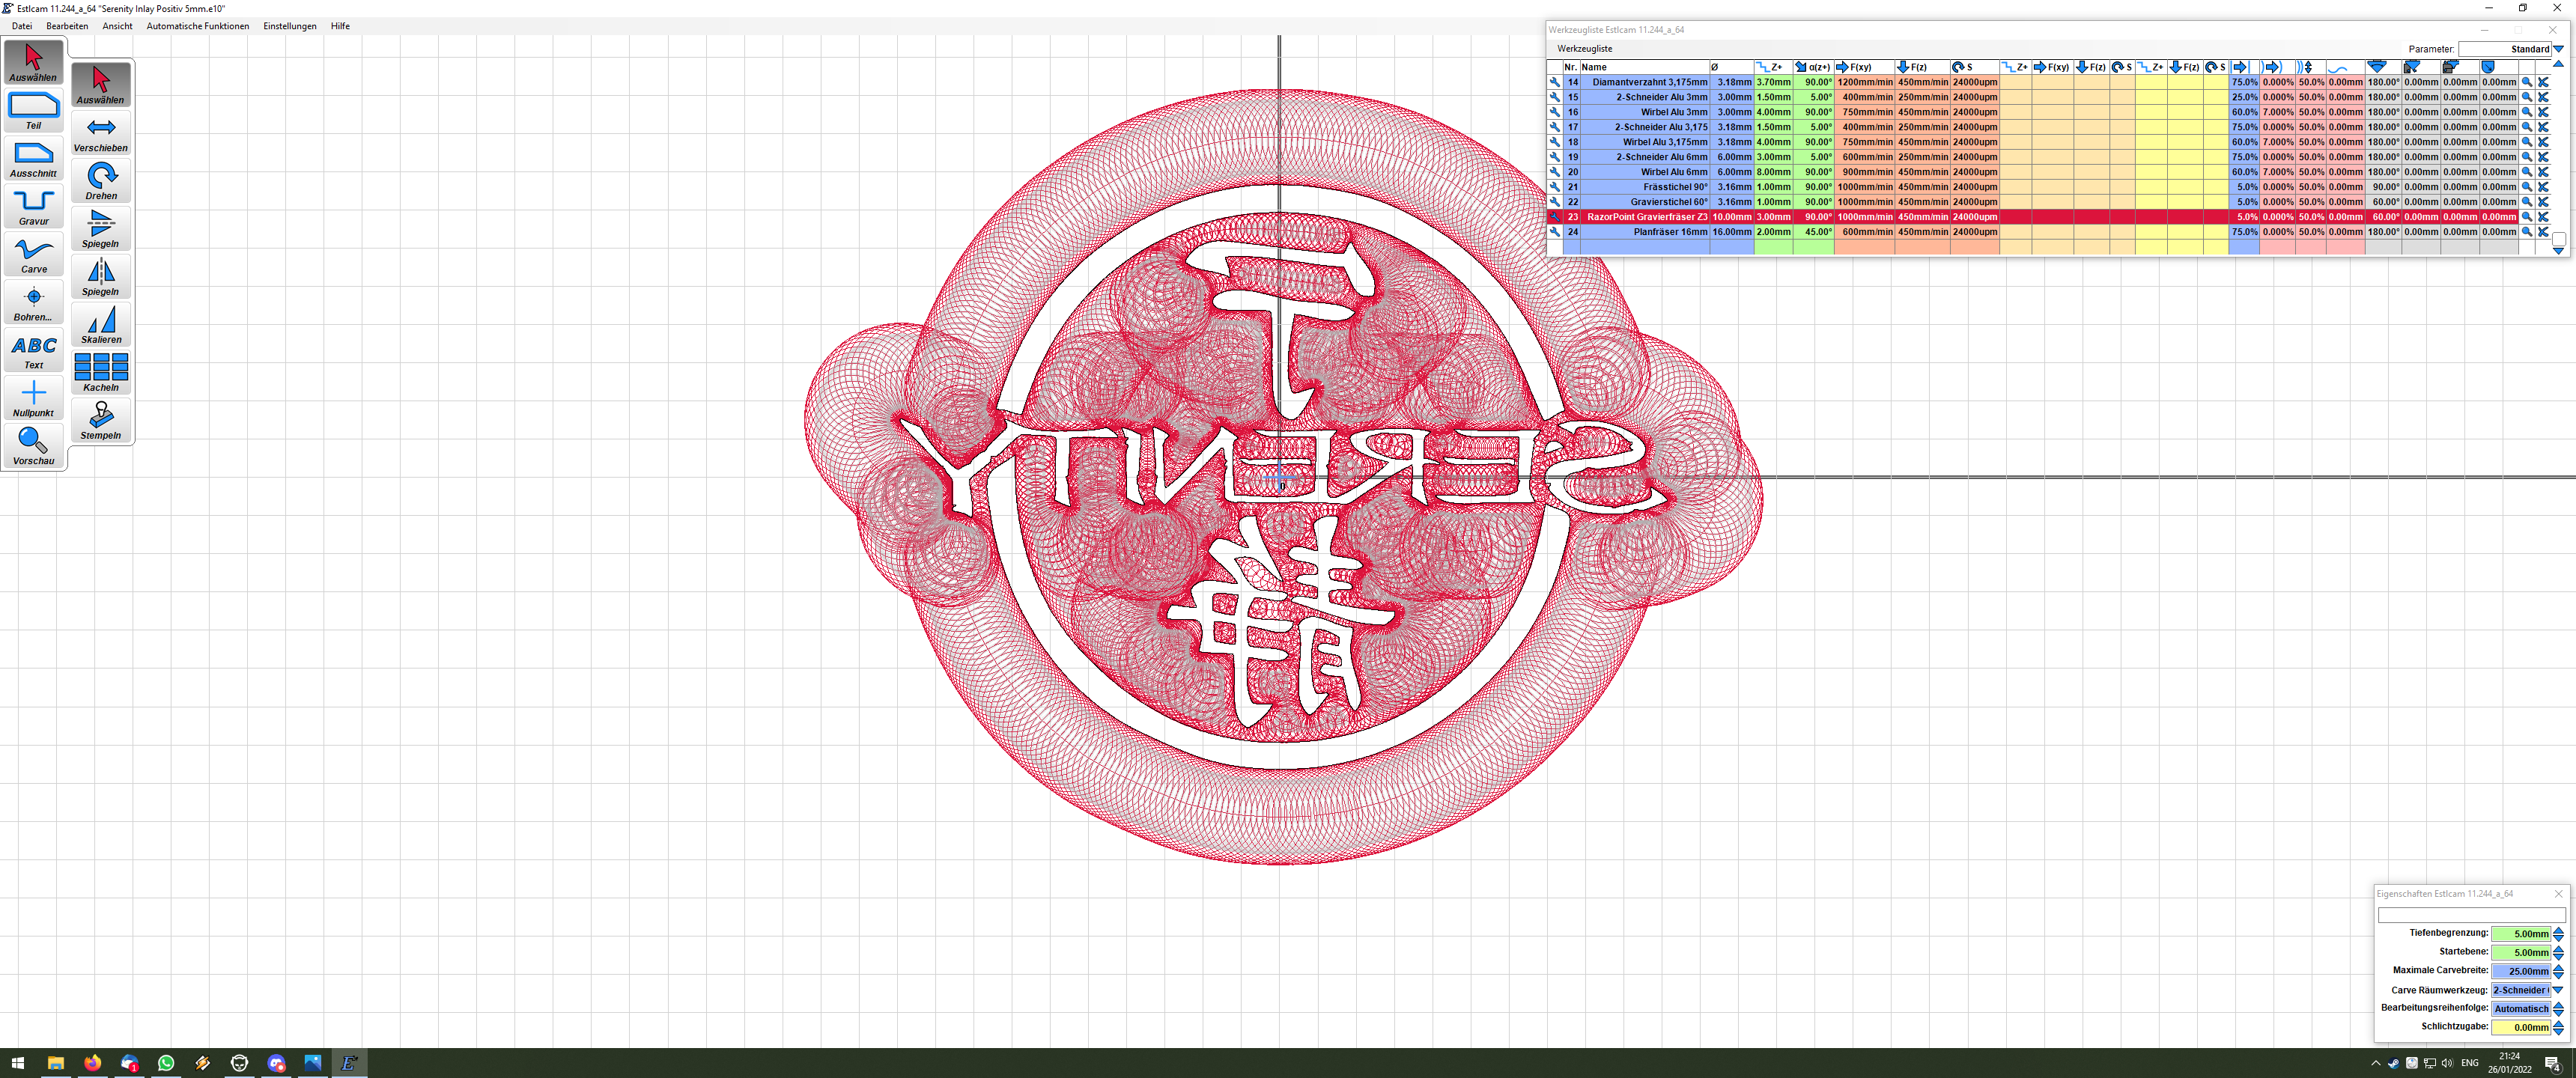
@RobP I created the “normal” inlay first, you can see it further up. If I now cut out where it is supposed to go it won’t fit.
I therefore ran the program a second time with 5mm as a starting depth (if I had just run it a second time by just setting 0 5mm lower, it would have destroyed the first cut since Z travel height is only 3mm). It then takes of 5mm more, so it will fit a dephts of 5mm. Sometimes it cuts through 10mm of material, but never with the whole endmill, so that was okay.
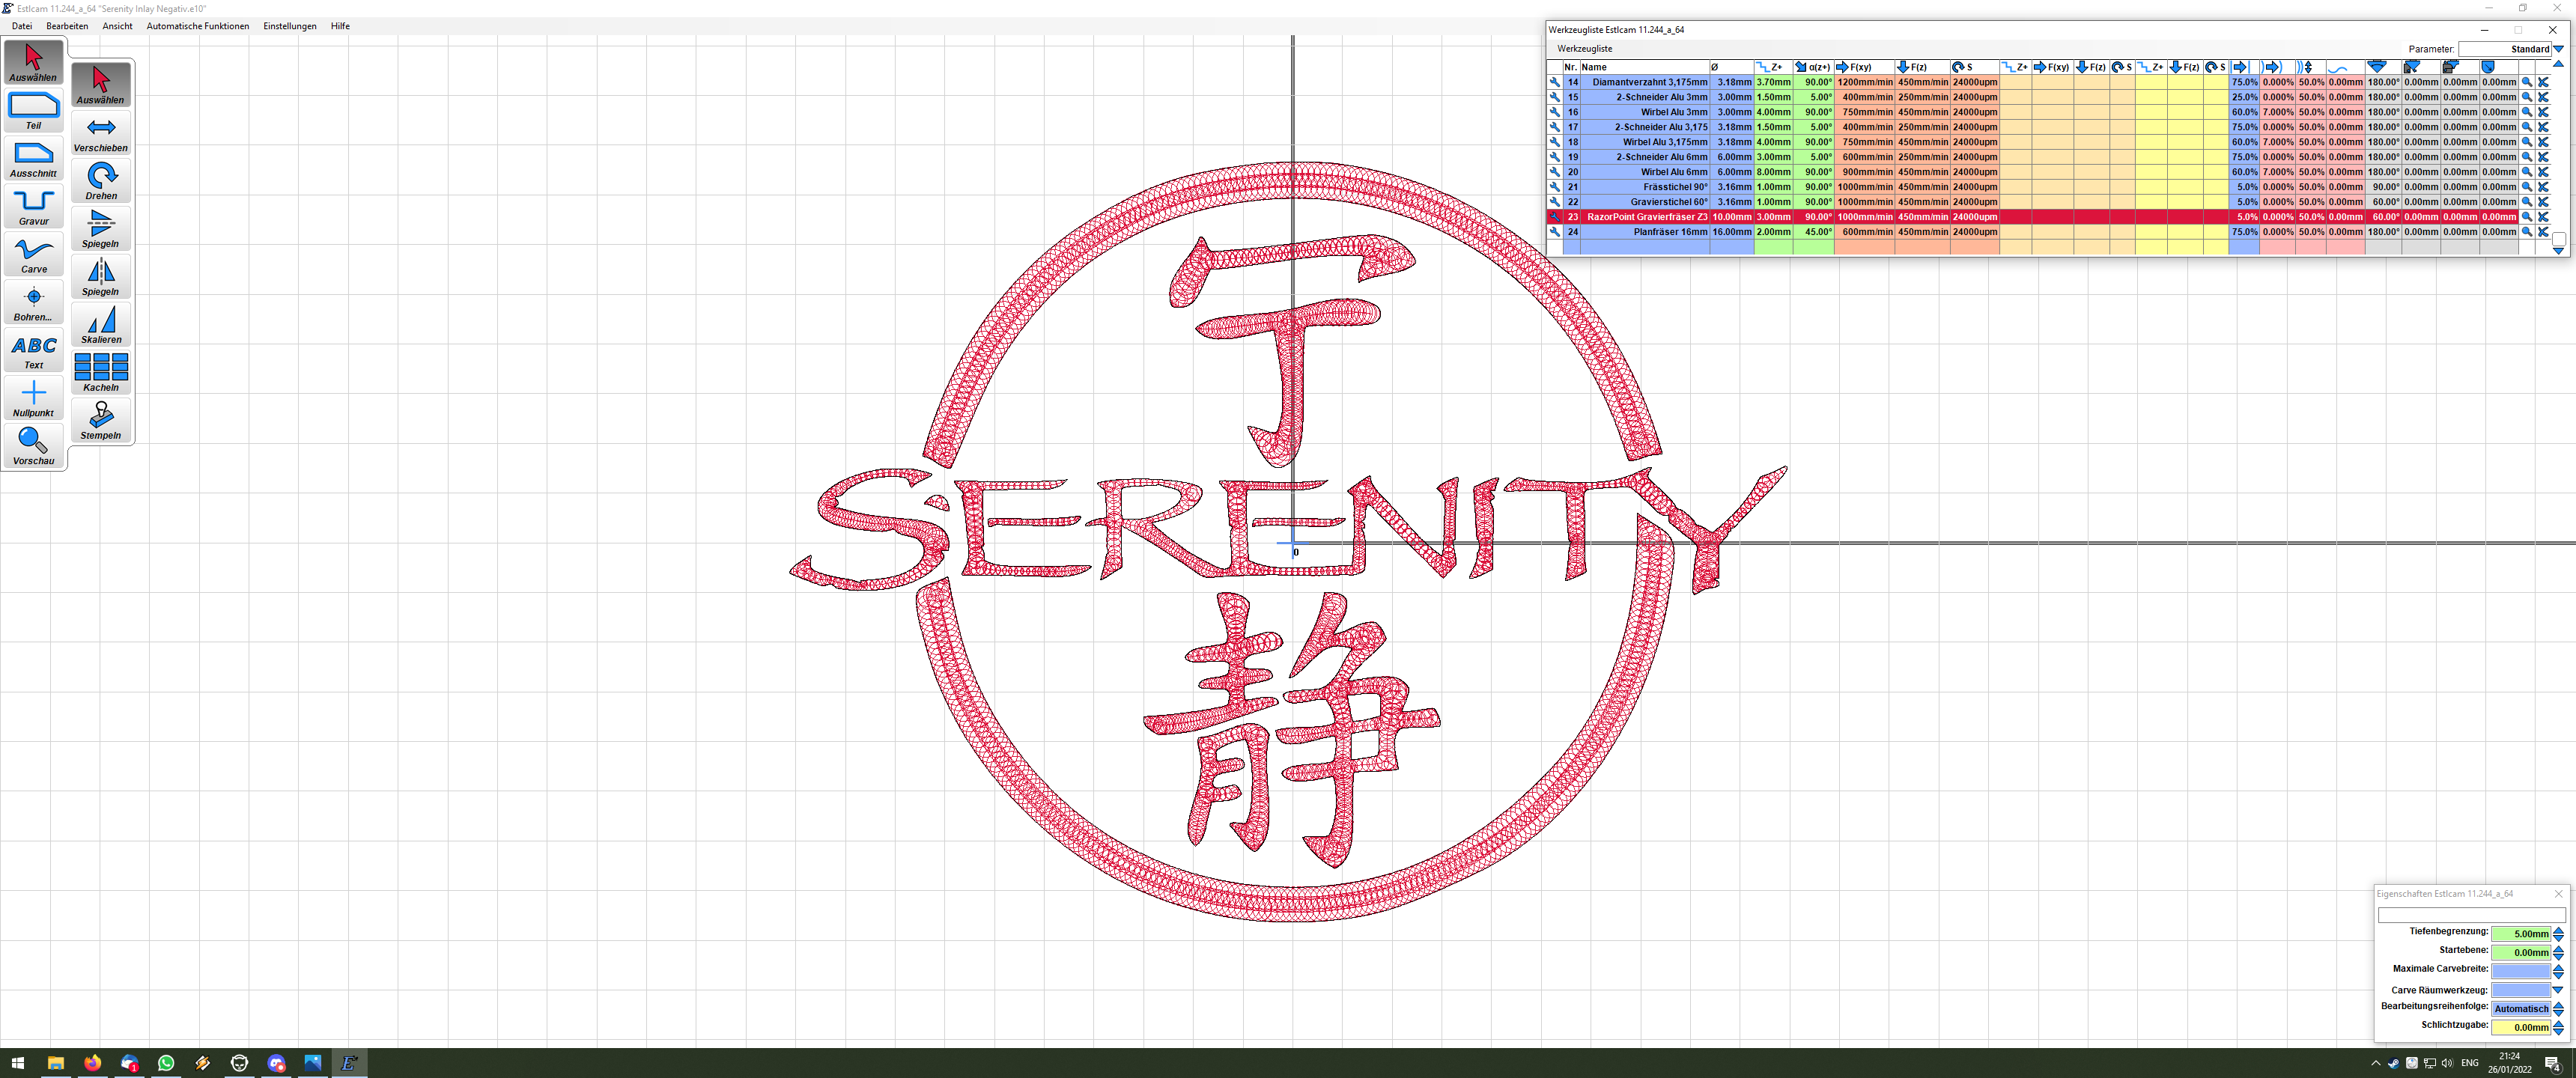
This is the cut in the board, 5mm deep, so for the inlay to fit it has to be double the depth.
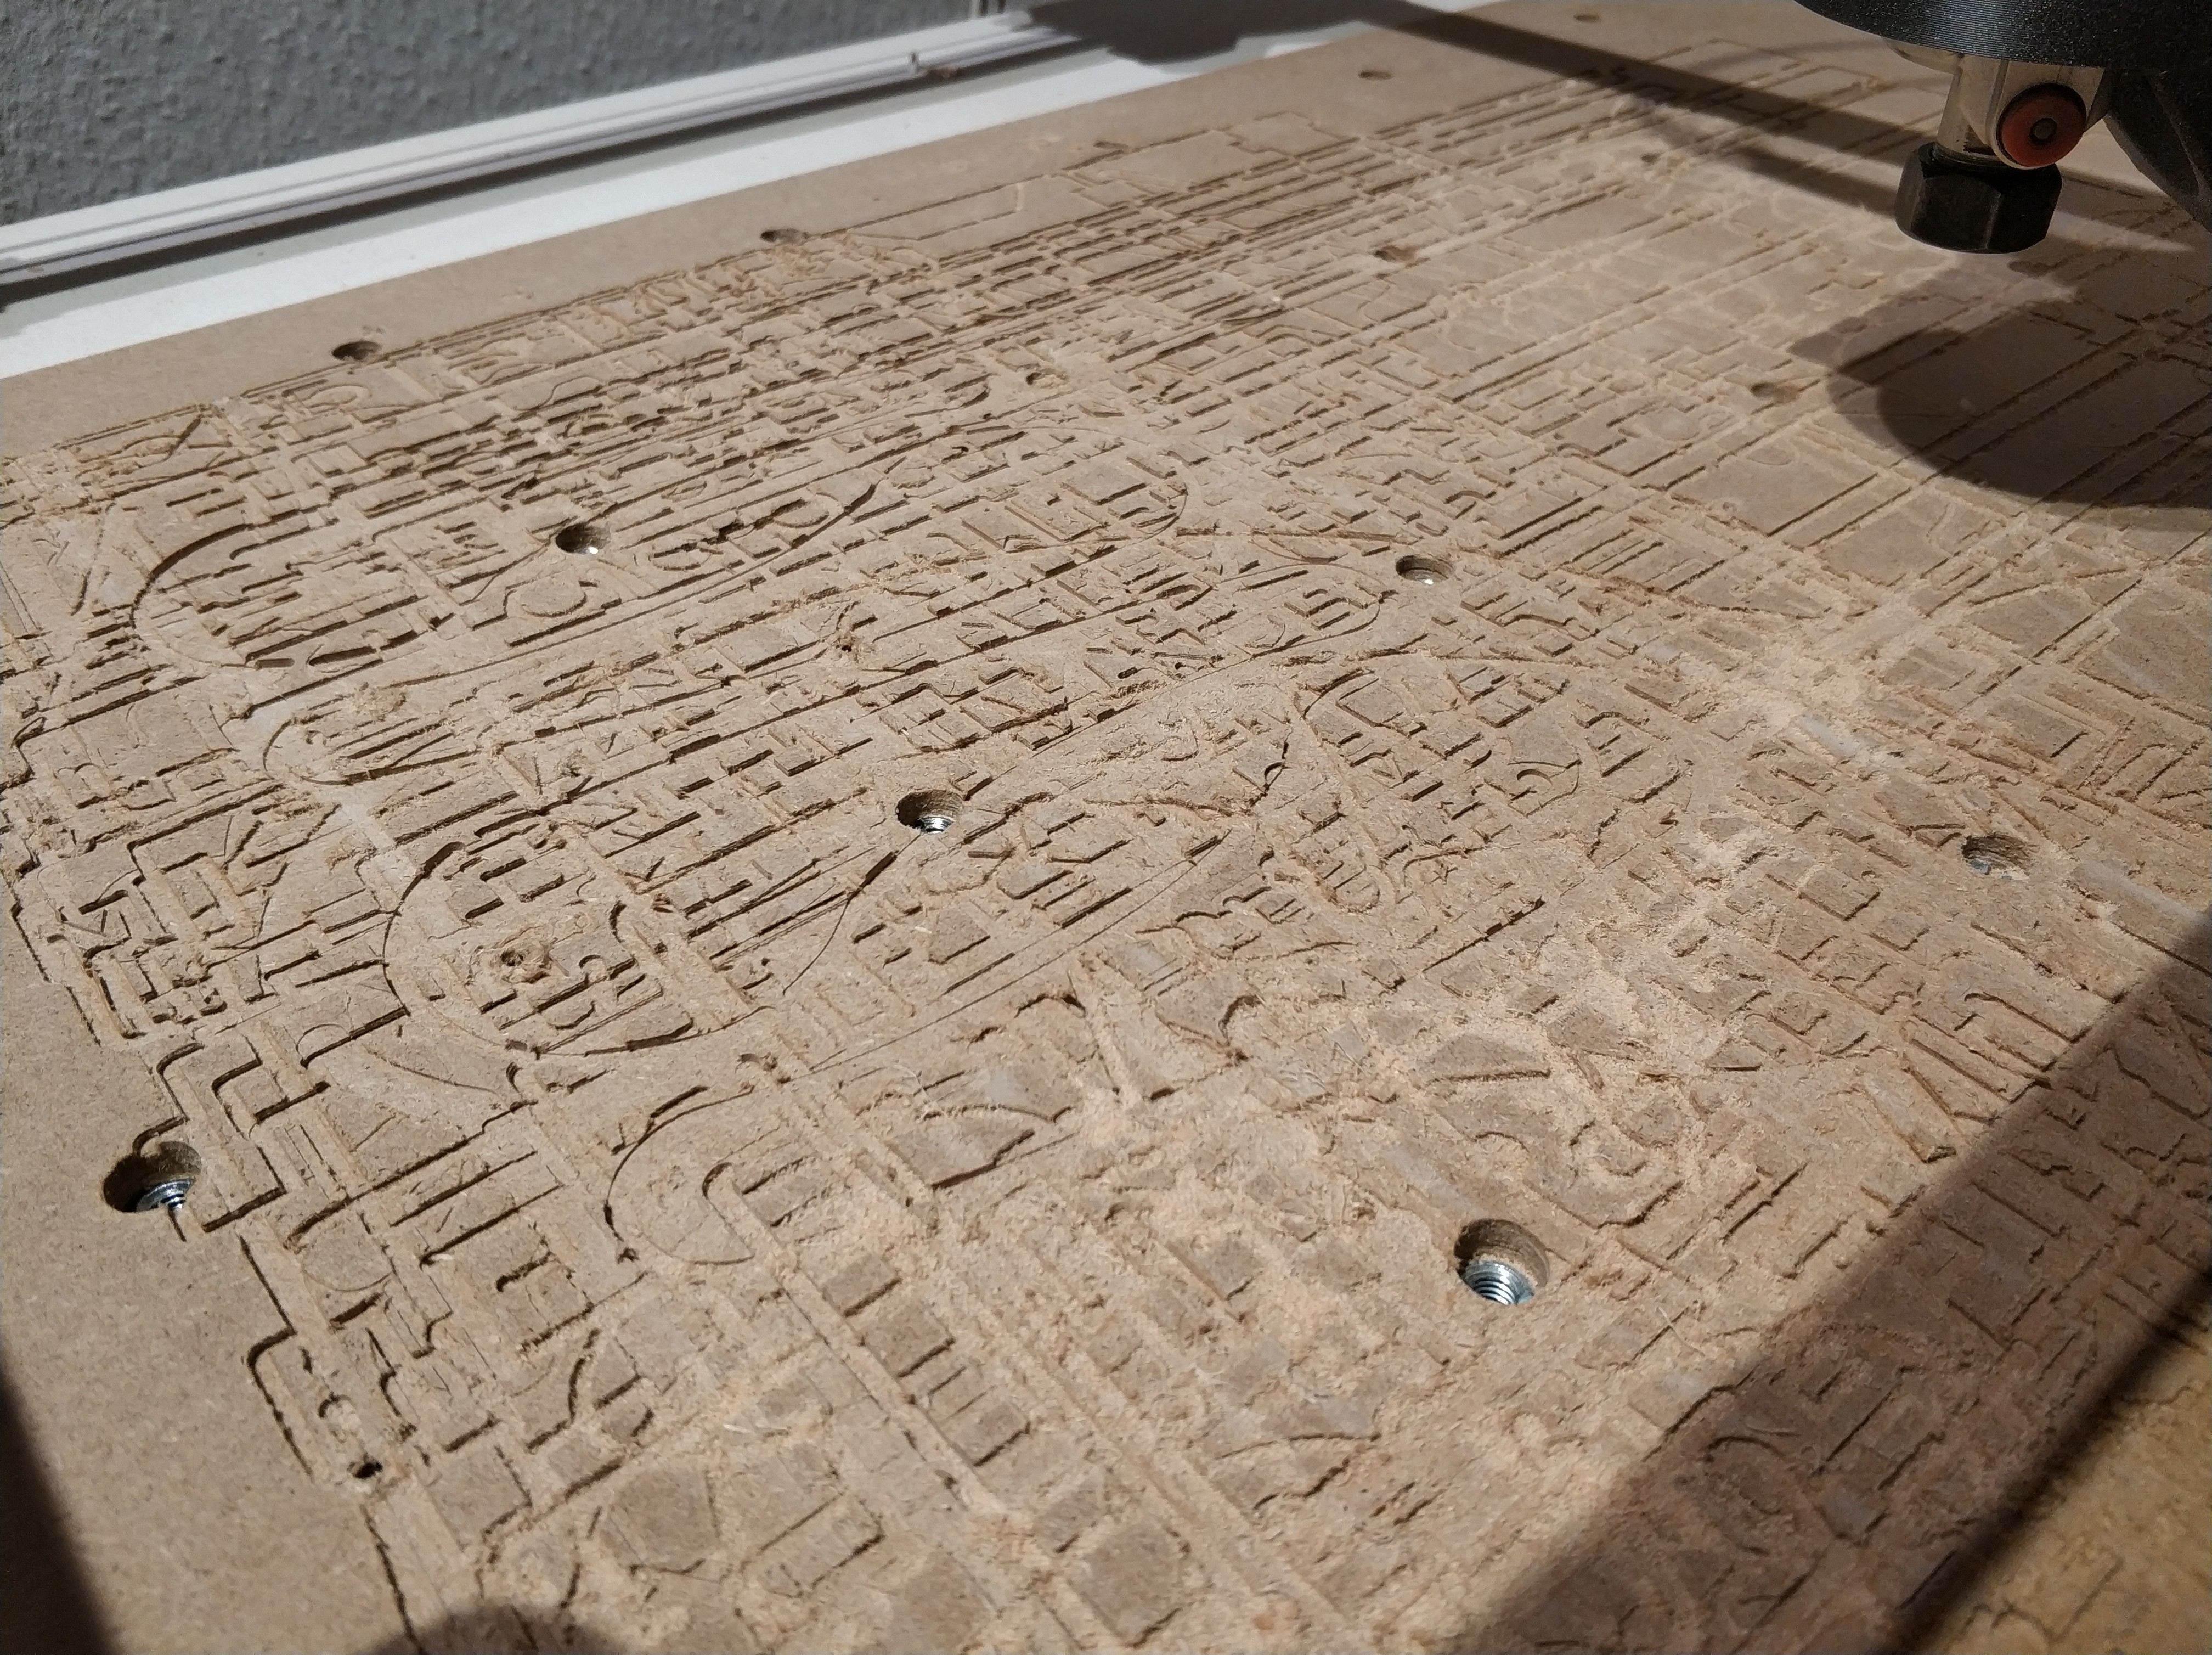
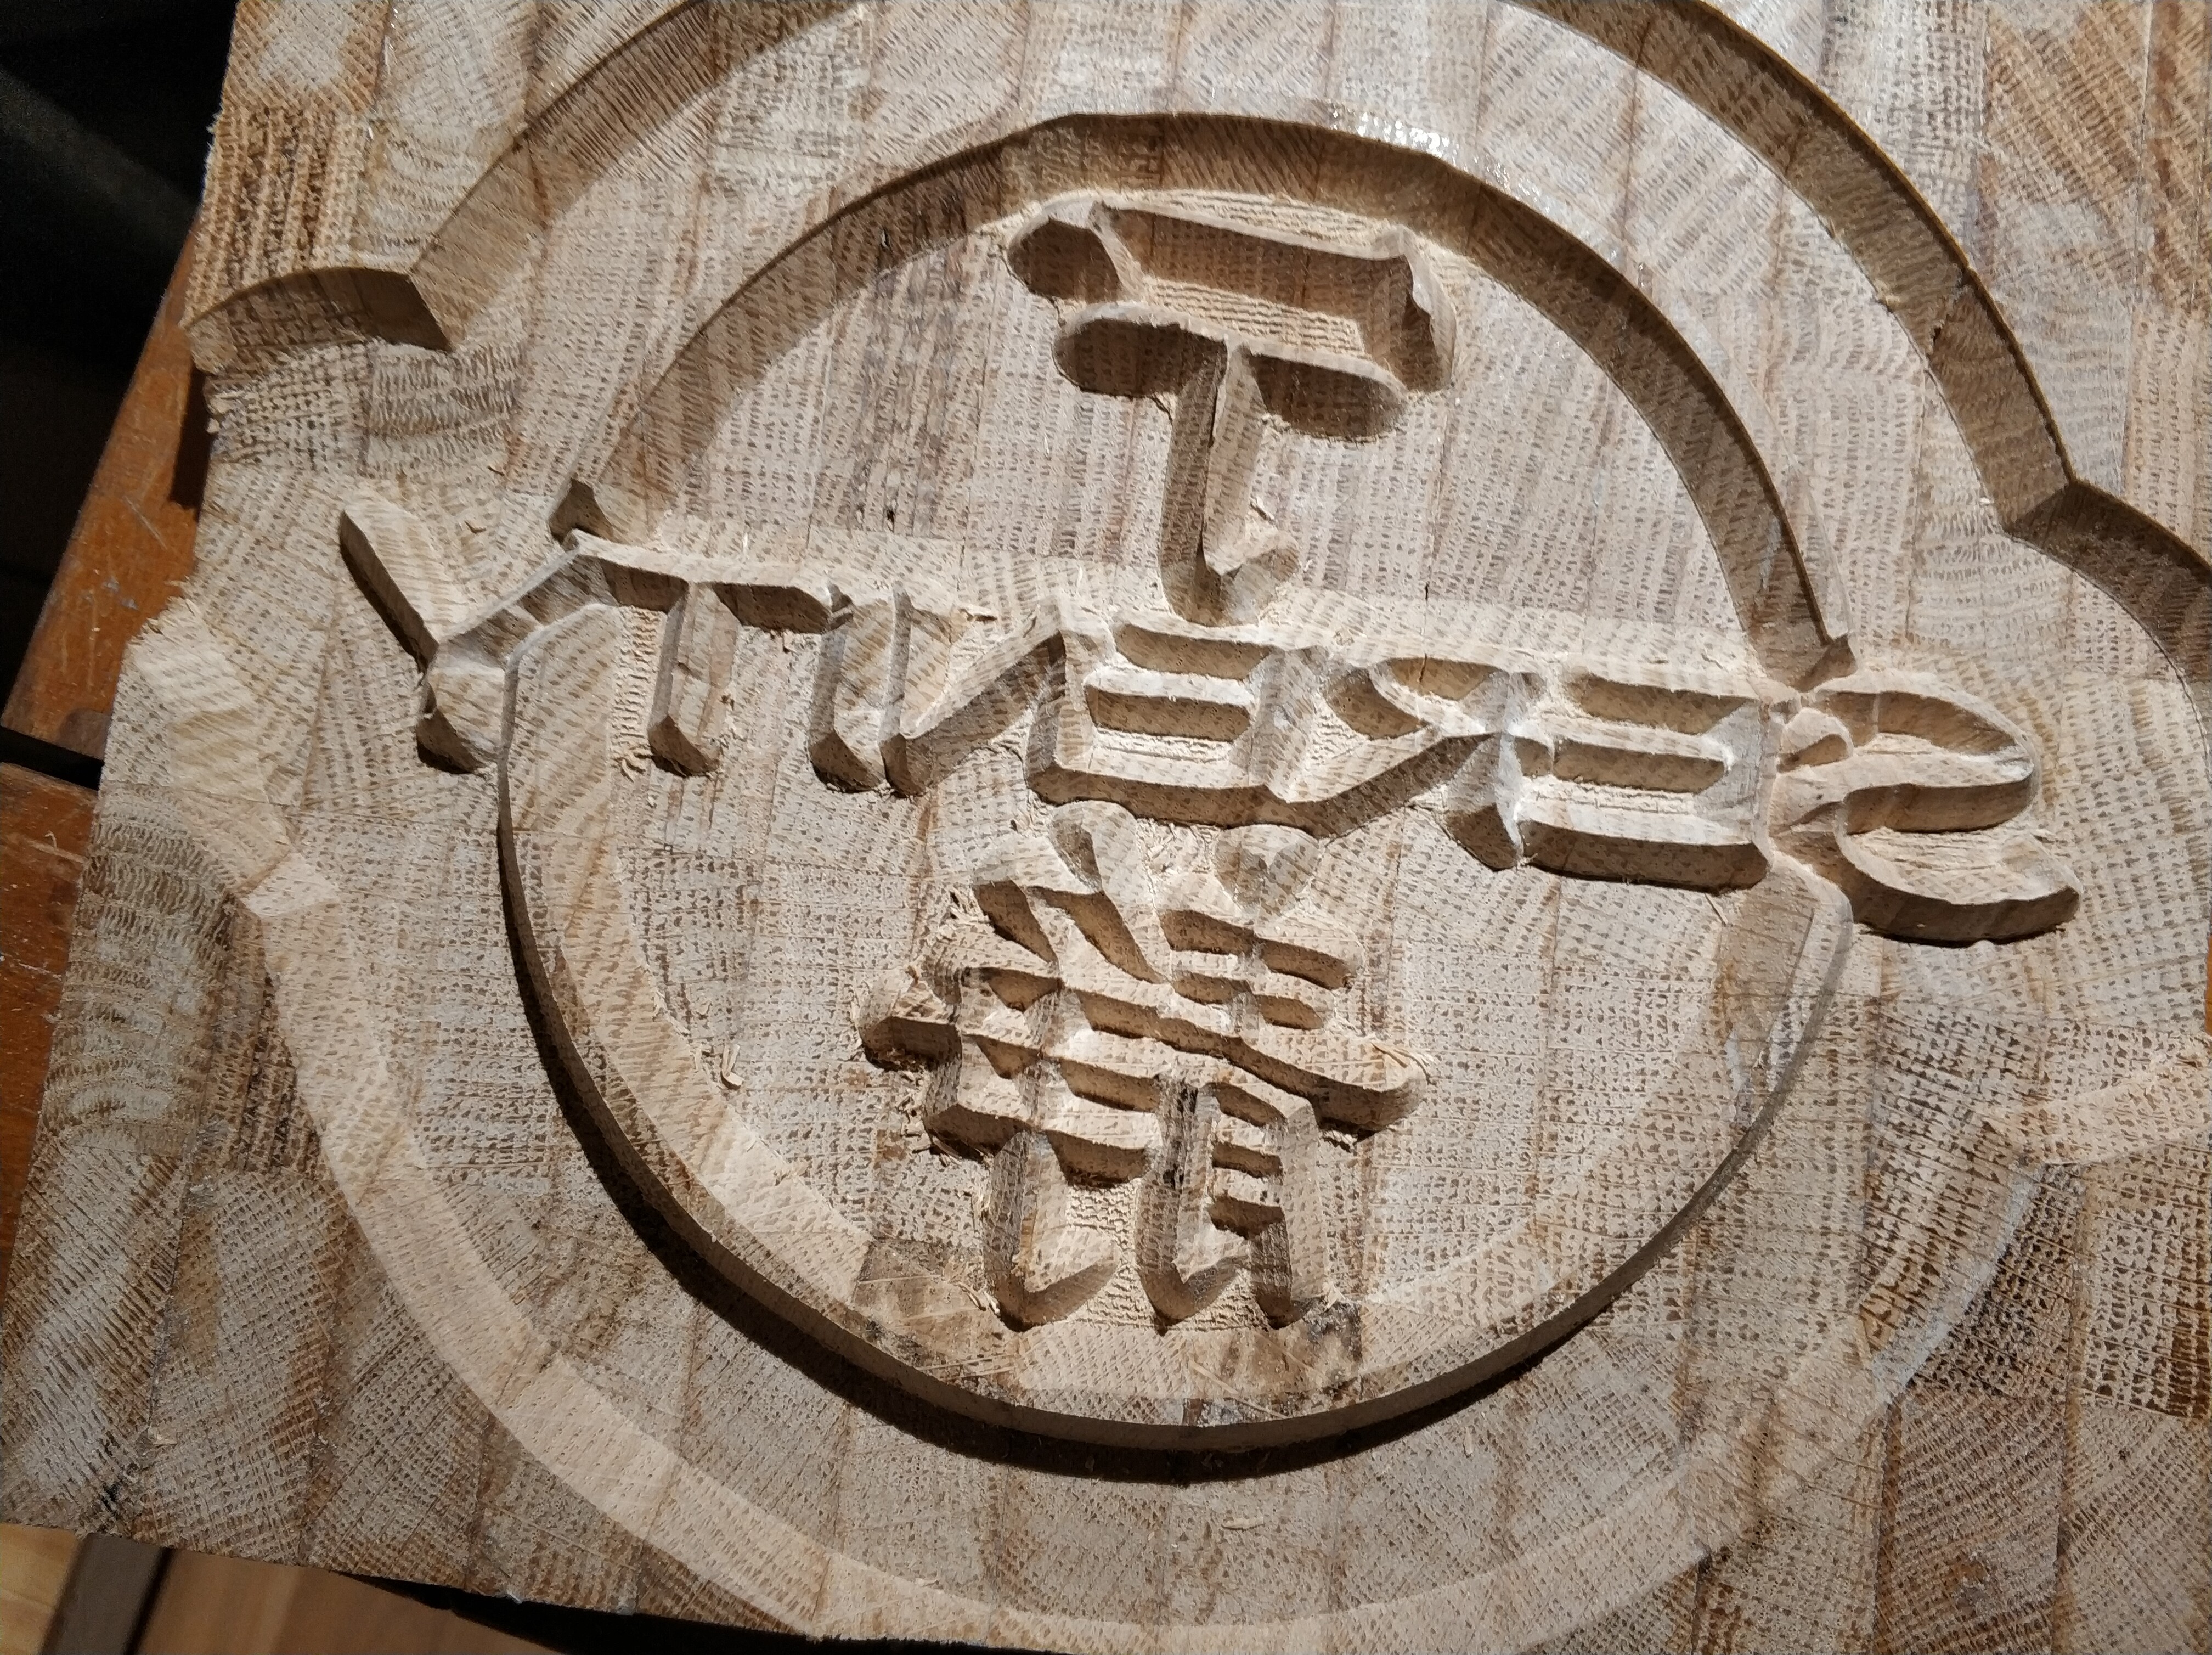
One thing I did not consider was the tip of the 60° endmill: it left some material standing in the one on the left below (there was also some in the big circles, I ran the program for those a second time with automatic depth limiting). I marked some (former) problems with red circles.
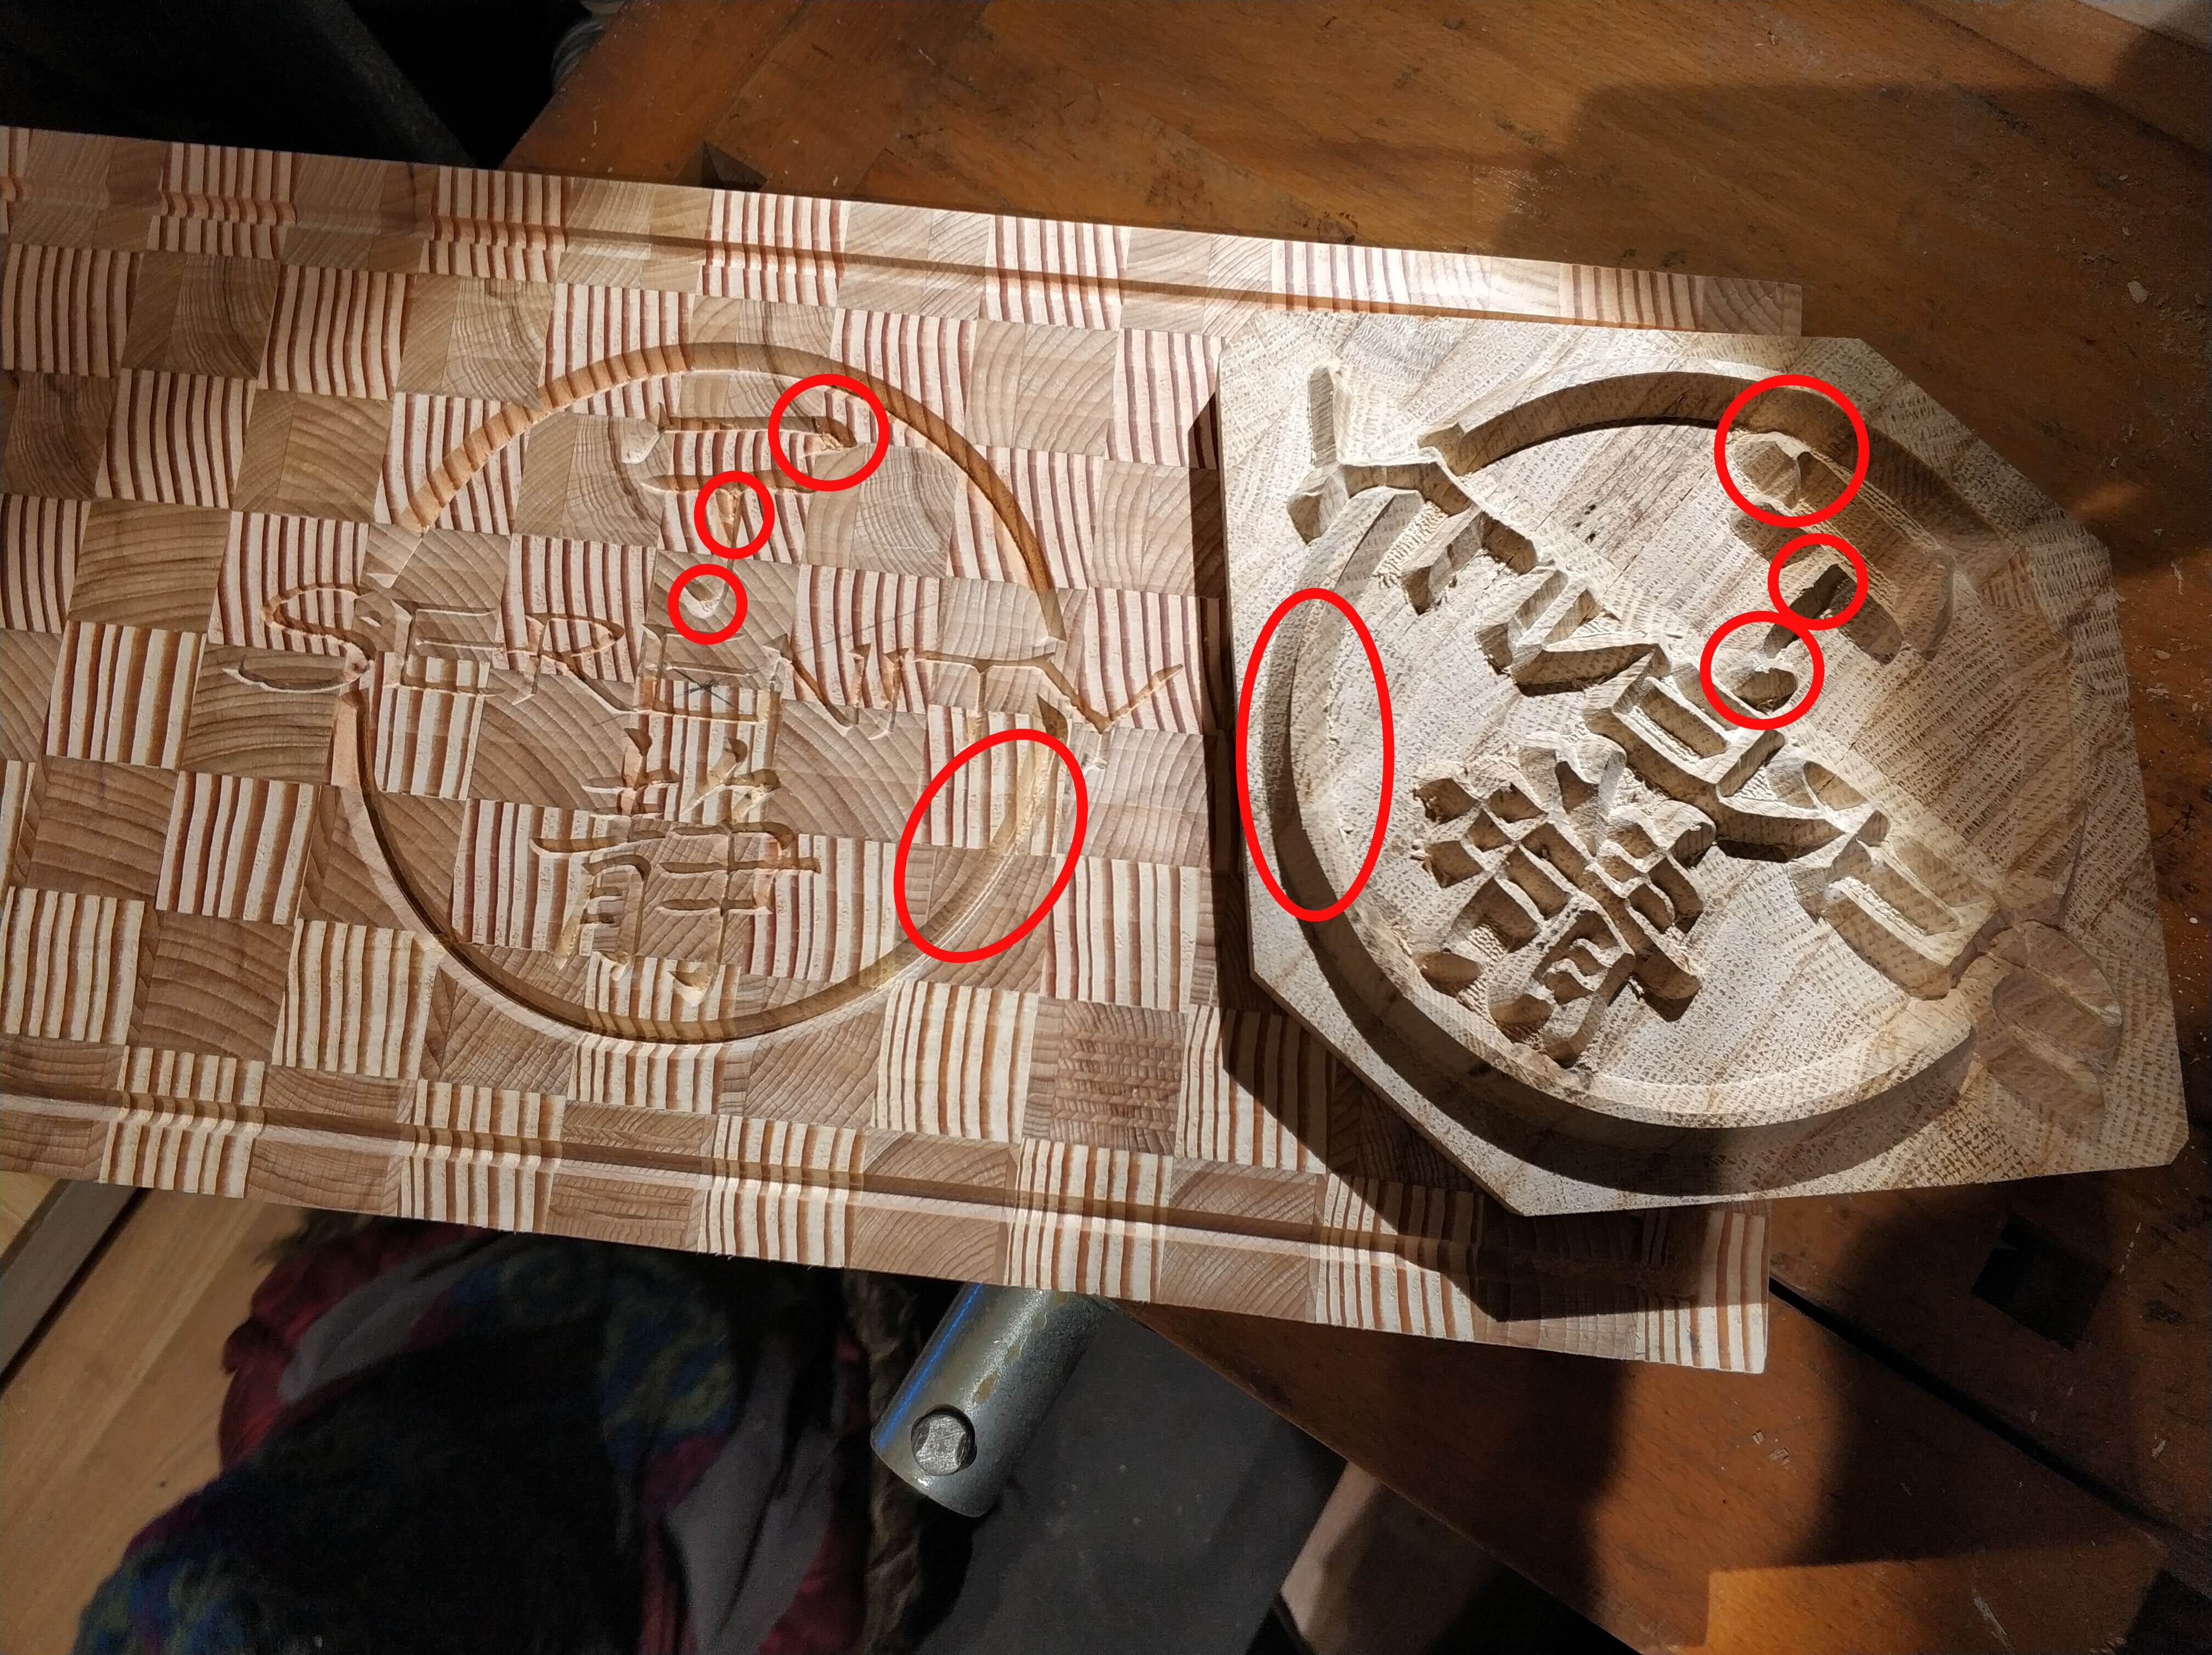
I manually removed some of those with a chisel, but it would have just been better to leave the depth of the engraving bit to auto anyway, because none of the cuts is wider than 10mm, so it cuts the pockets deeper and would get rid of my problems. I don’t think it would make the glueup more unstable.
I hope this was more clear now.
4 Likes
Aha, so youre doing a full 3D carve, not “faking” it with a 2D tool path and offsets. That makes a lot more sense and now I see why the process is relatively simple.
1 Like
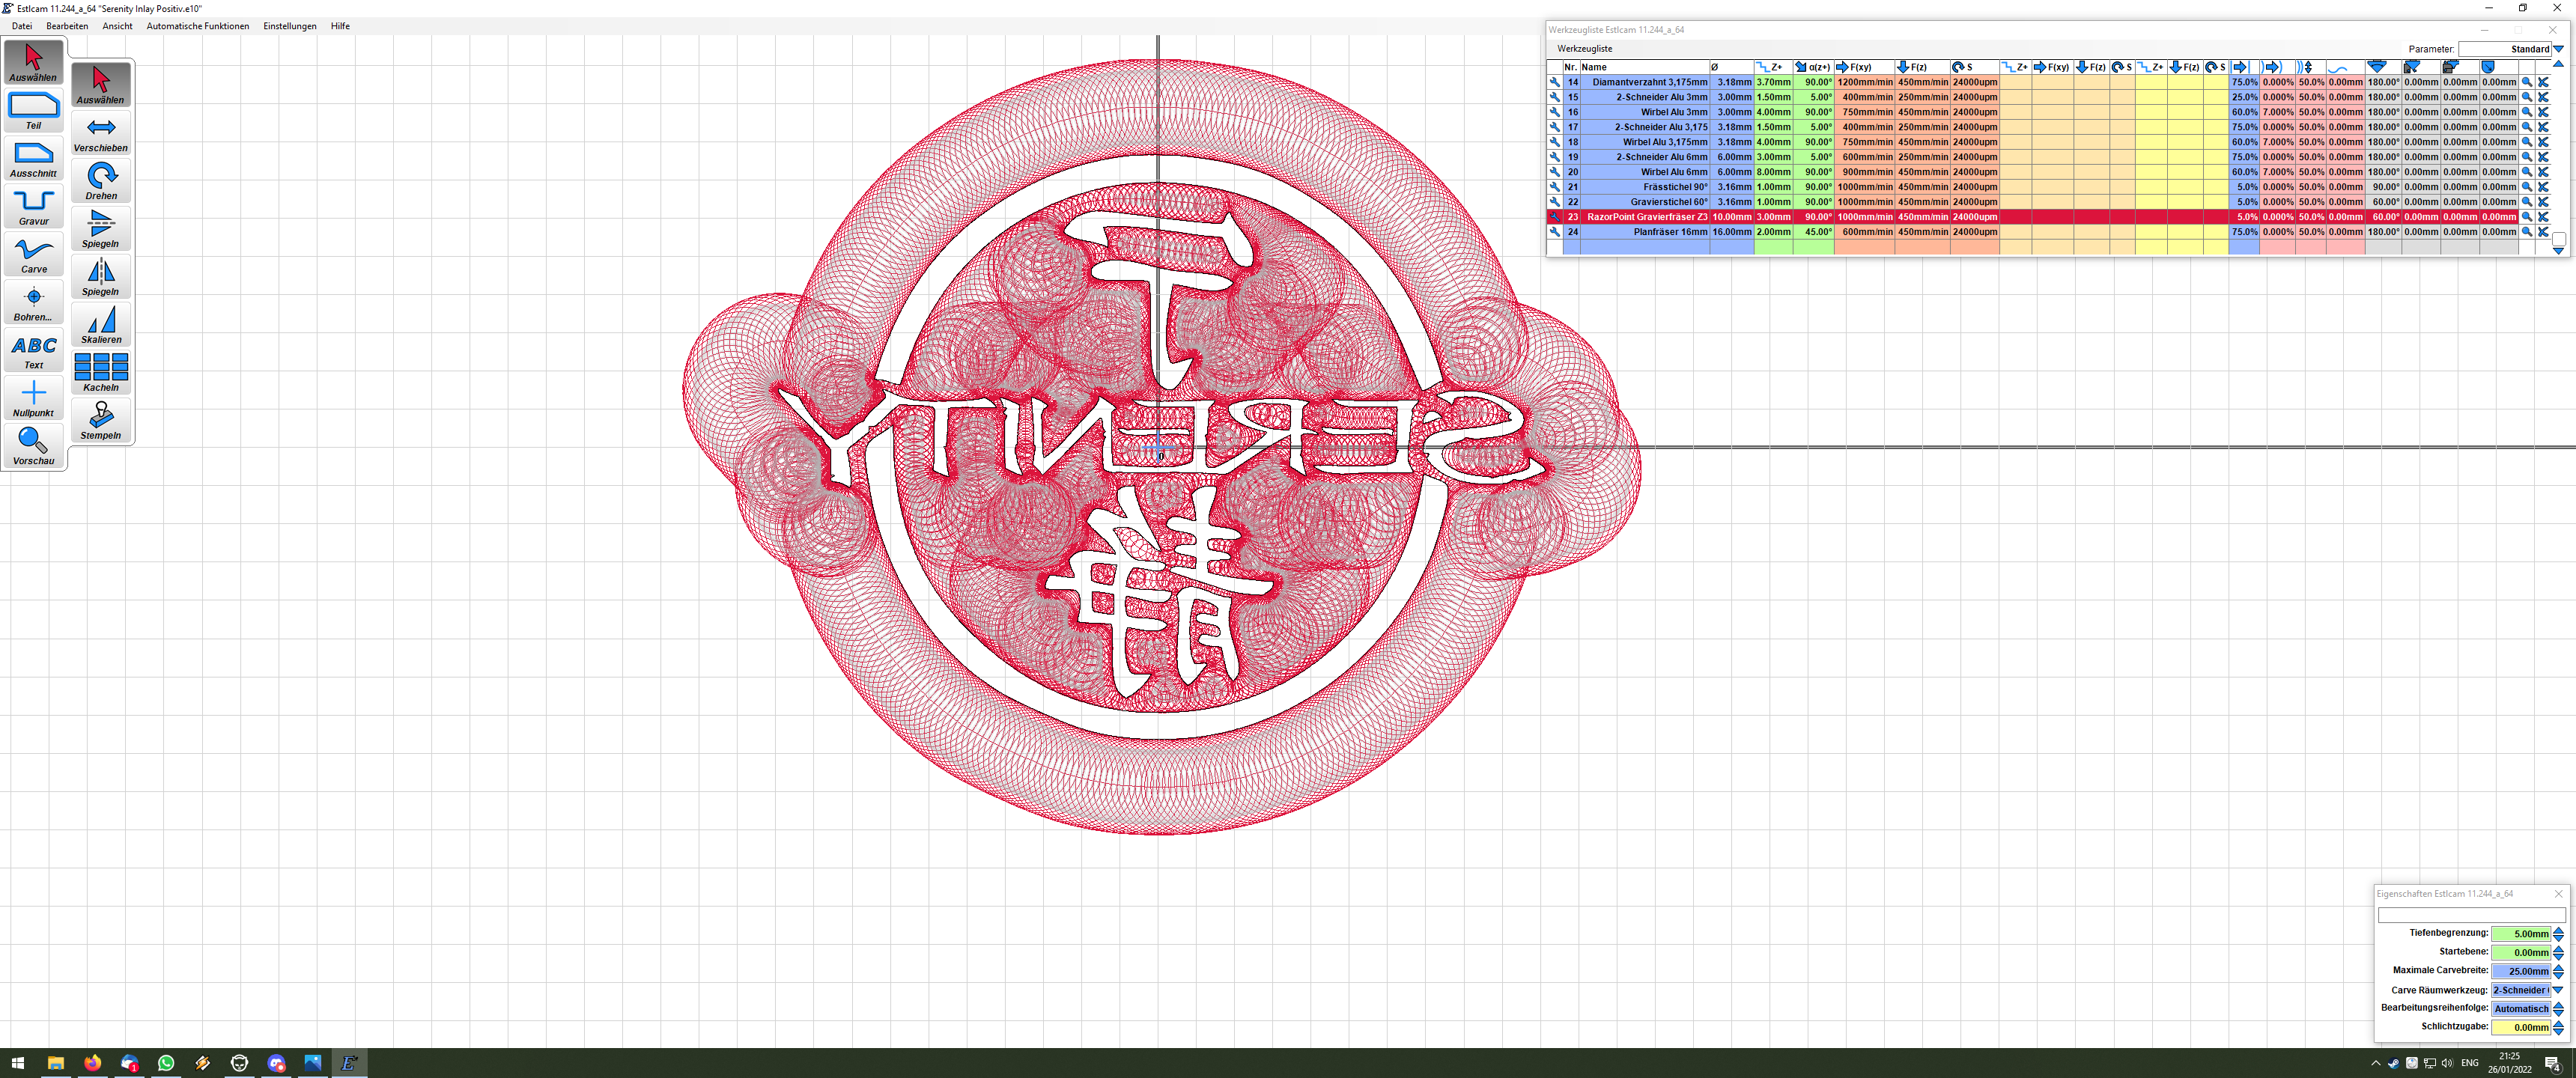
Nah, it is actually 2D, with a V-Bit (Sorotec Online-Shop - VHM-Gravierfräser). It’s just the one highlighted in the pictures (and a 6mm to clear some stuff).
What I mean is you are doing a “carve” operation and not “part” or “hole” (or pocket or island). That tool path moves in 3 dimensions and cuts with variable depth.
The complicated (what I call 2D) approach uses a constant depth with “part” or “hole” operations and then you have to do all sorts of calculations and offsets to trick Estlcam into producing the correct output, and sharp corners are not even possible.
1 Like
Oh, I understand now: it’s a carve.
1 Like
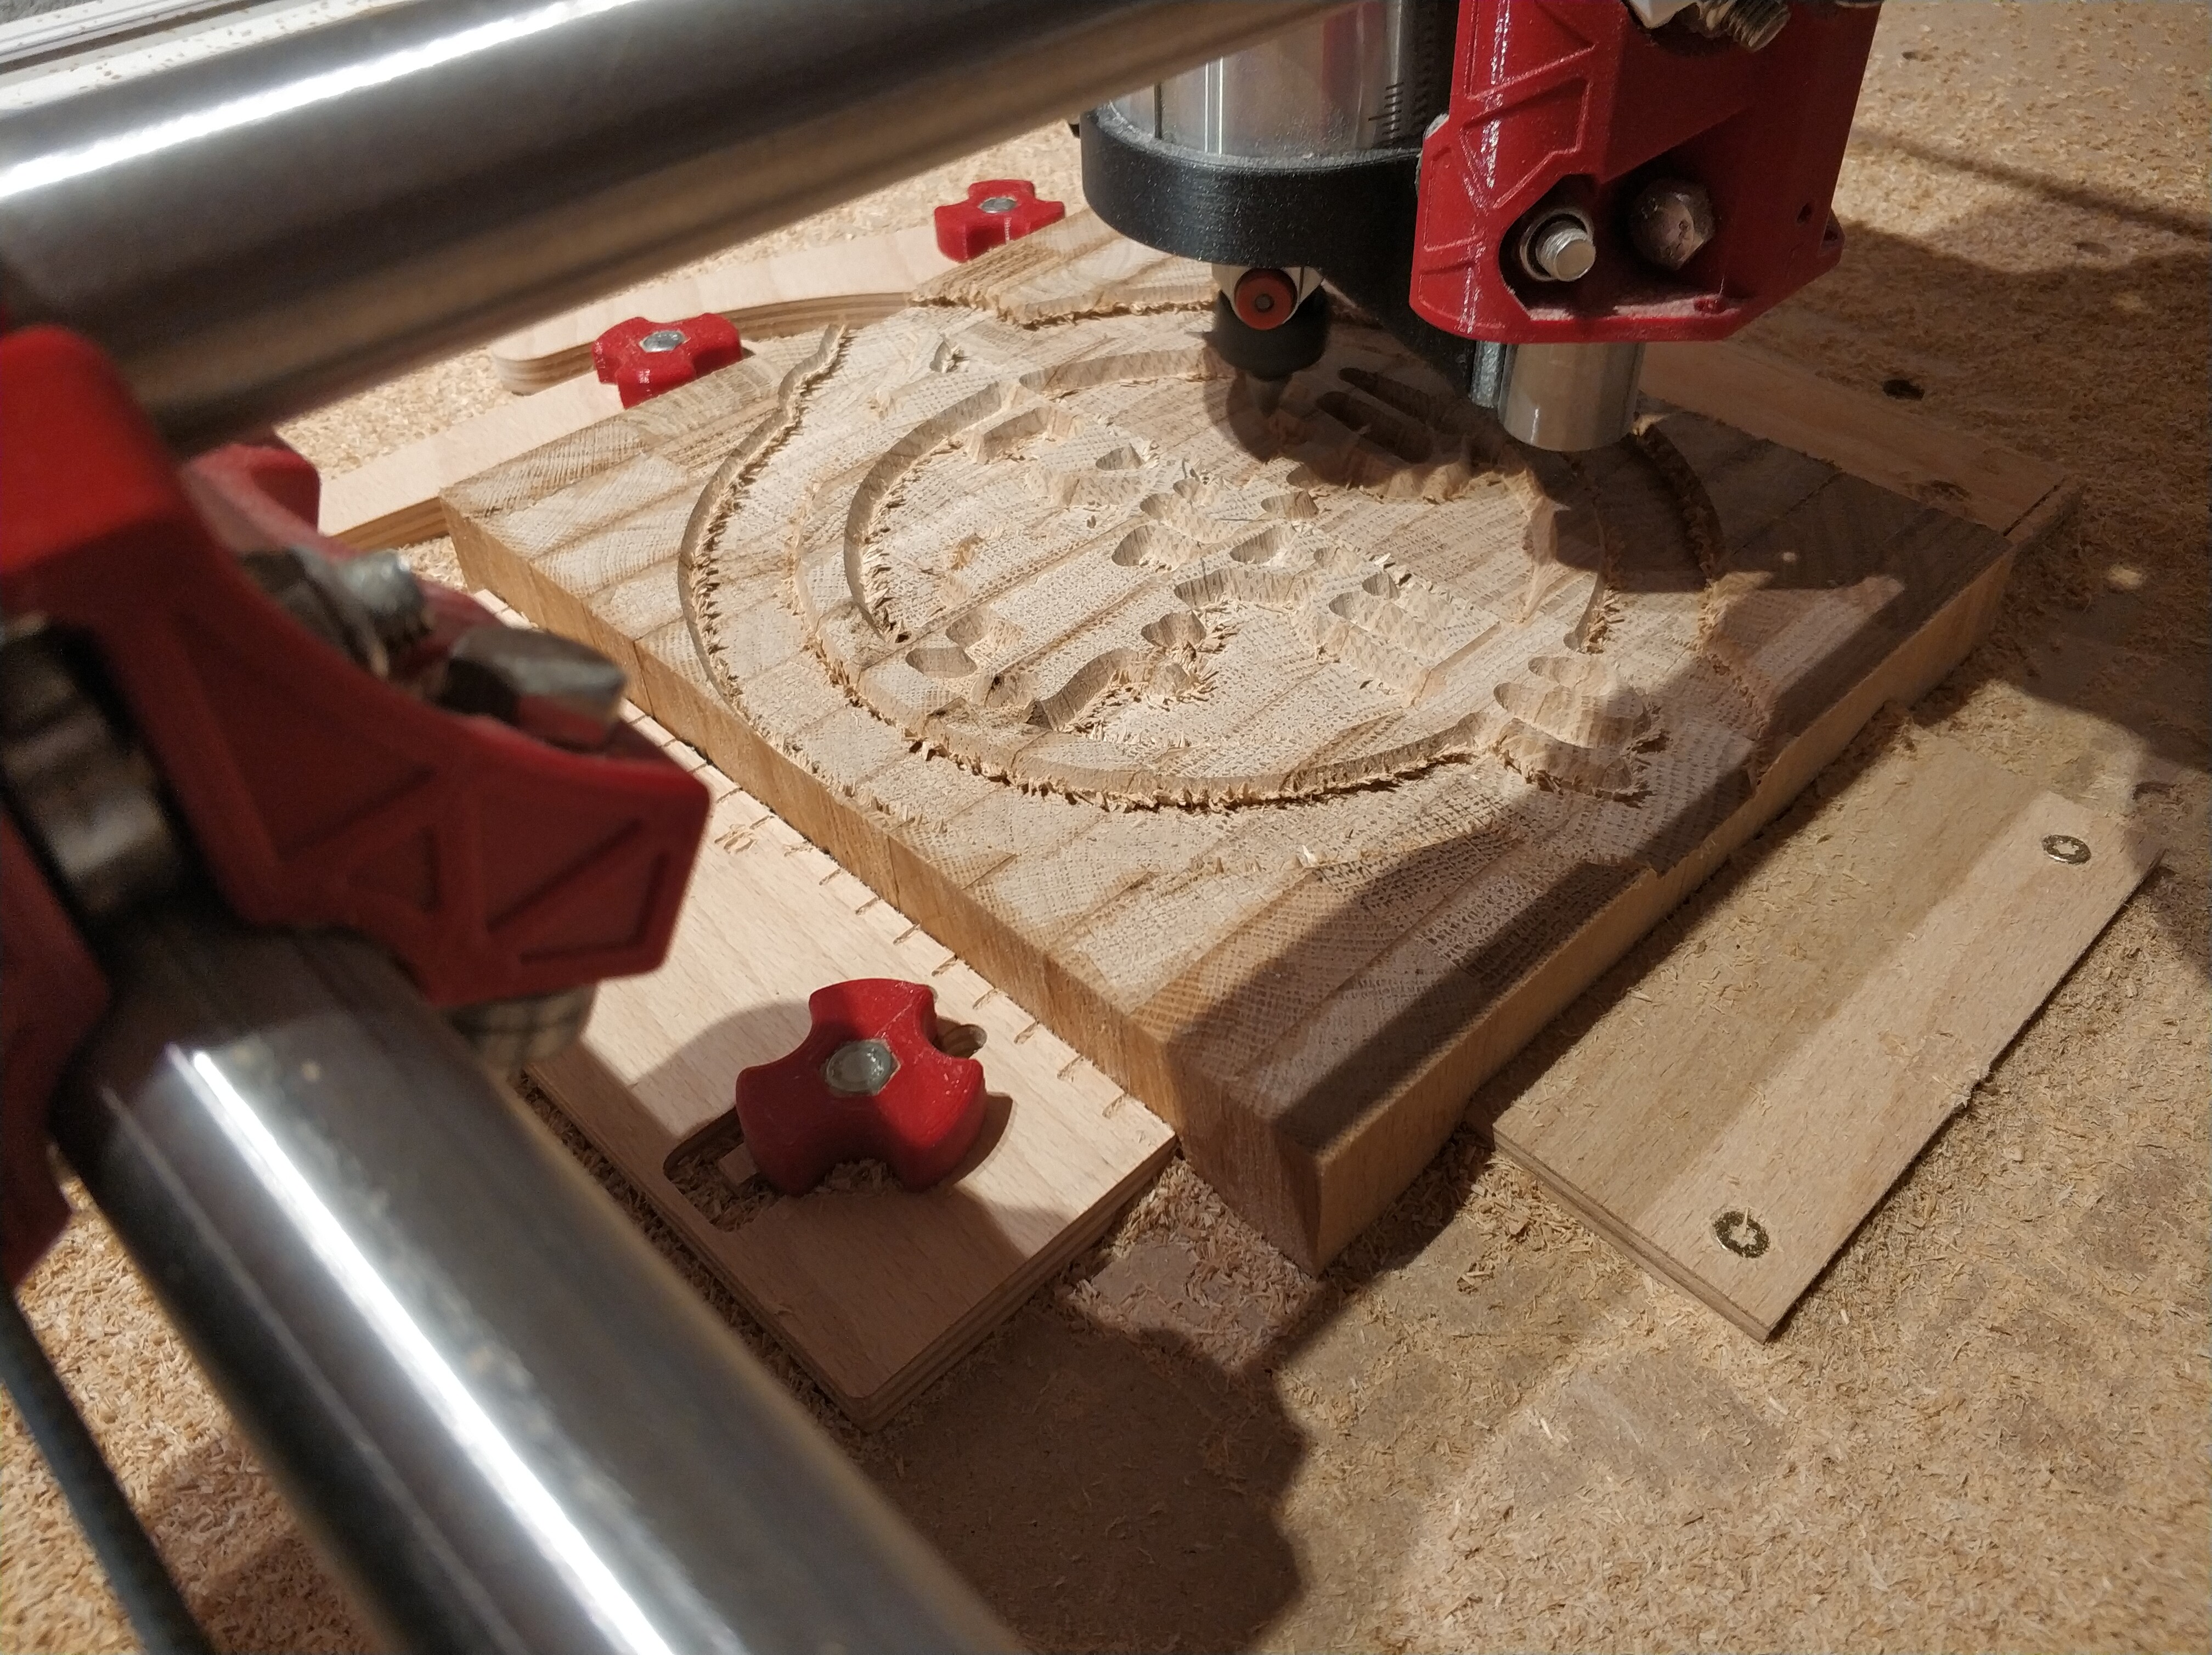
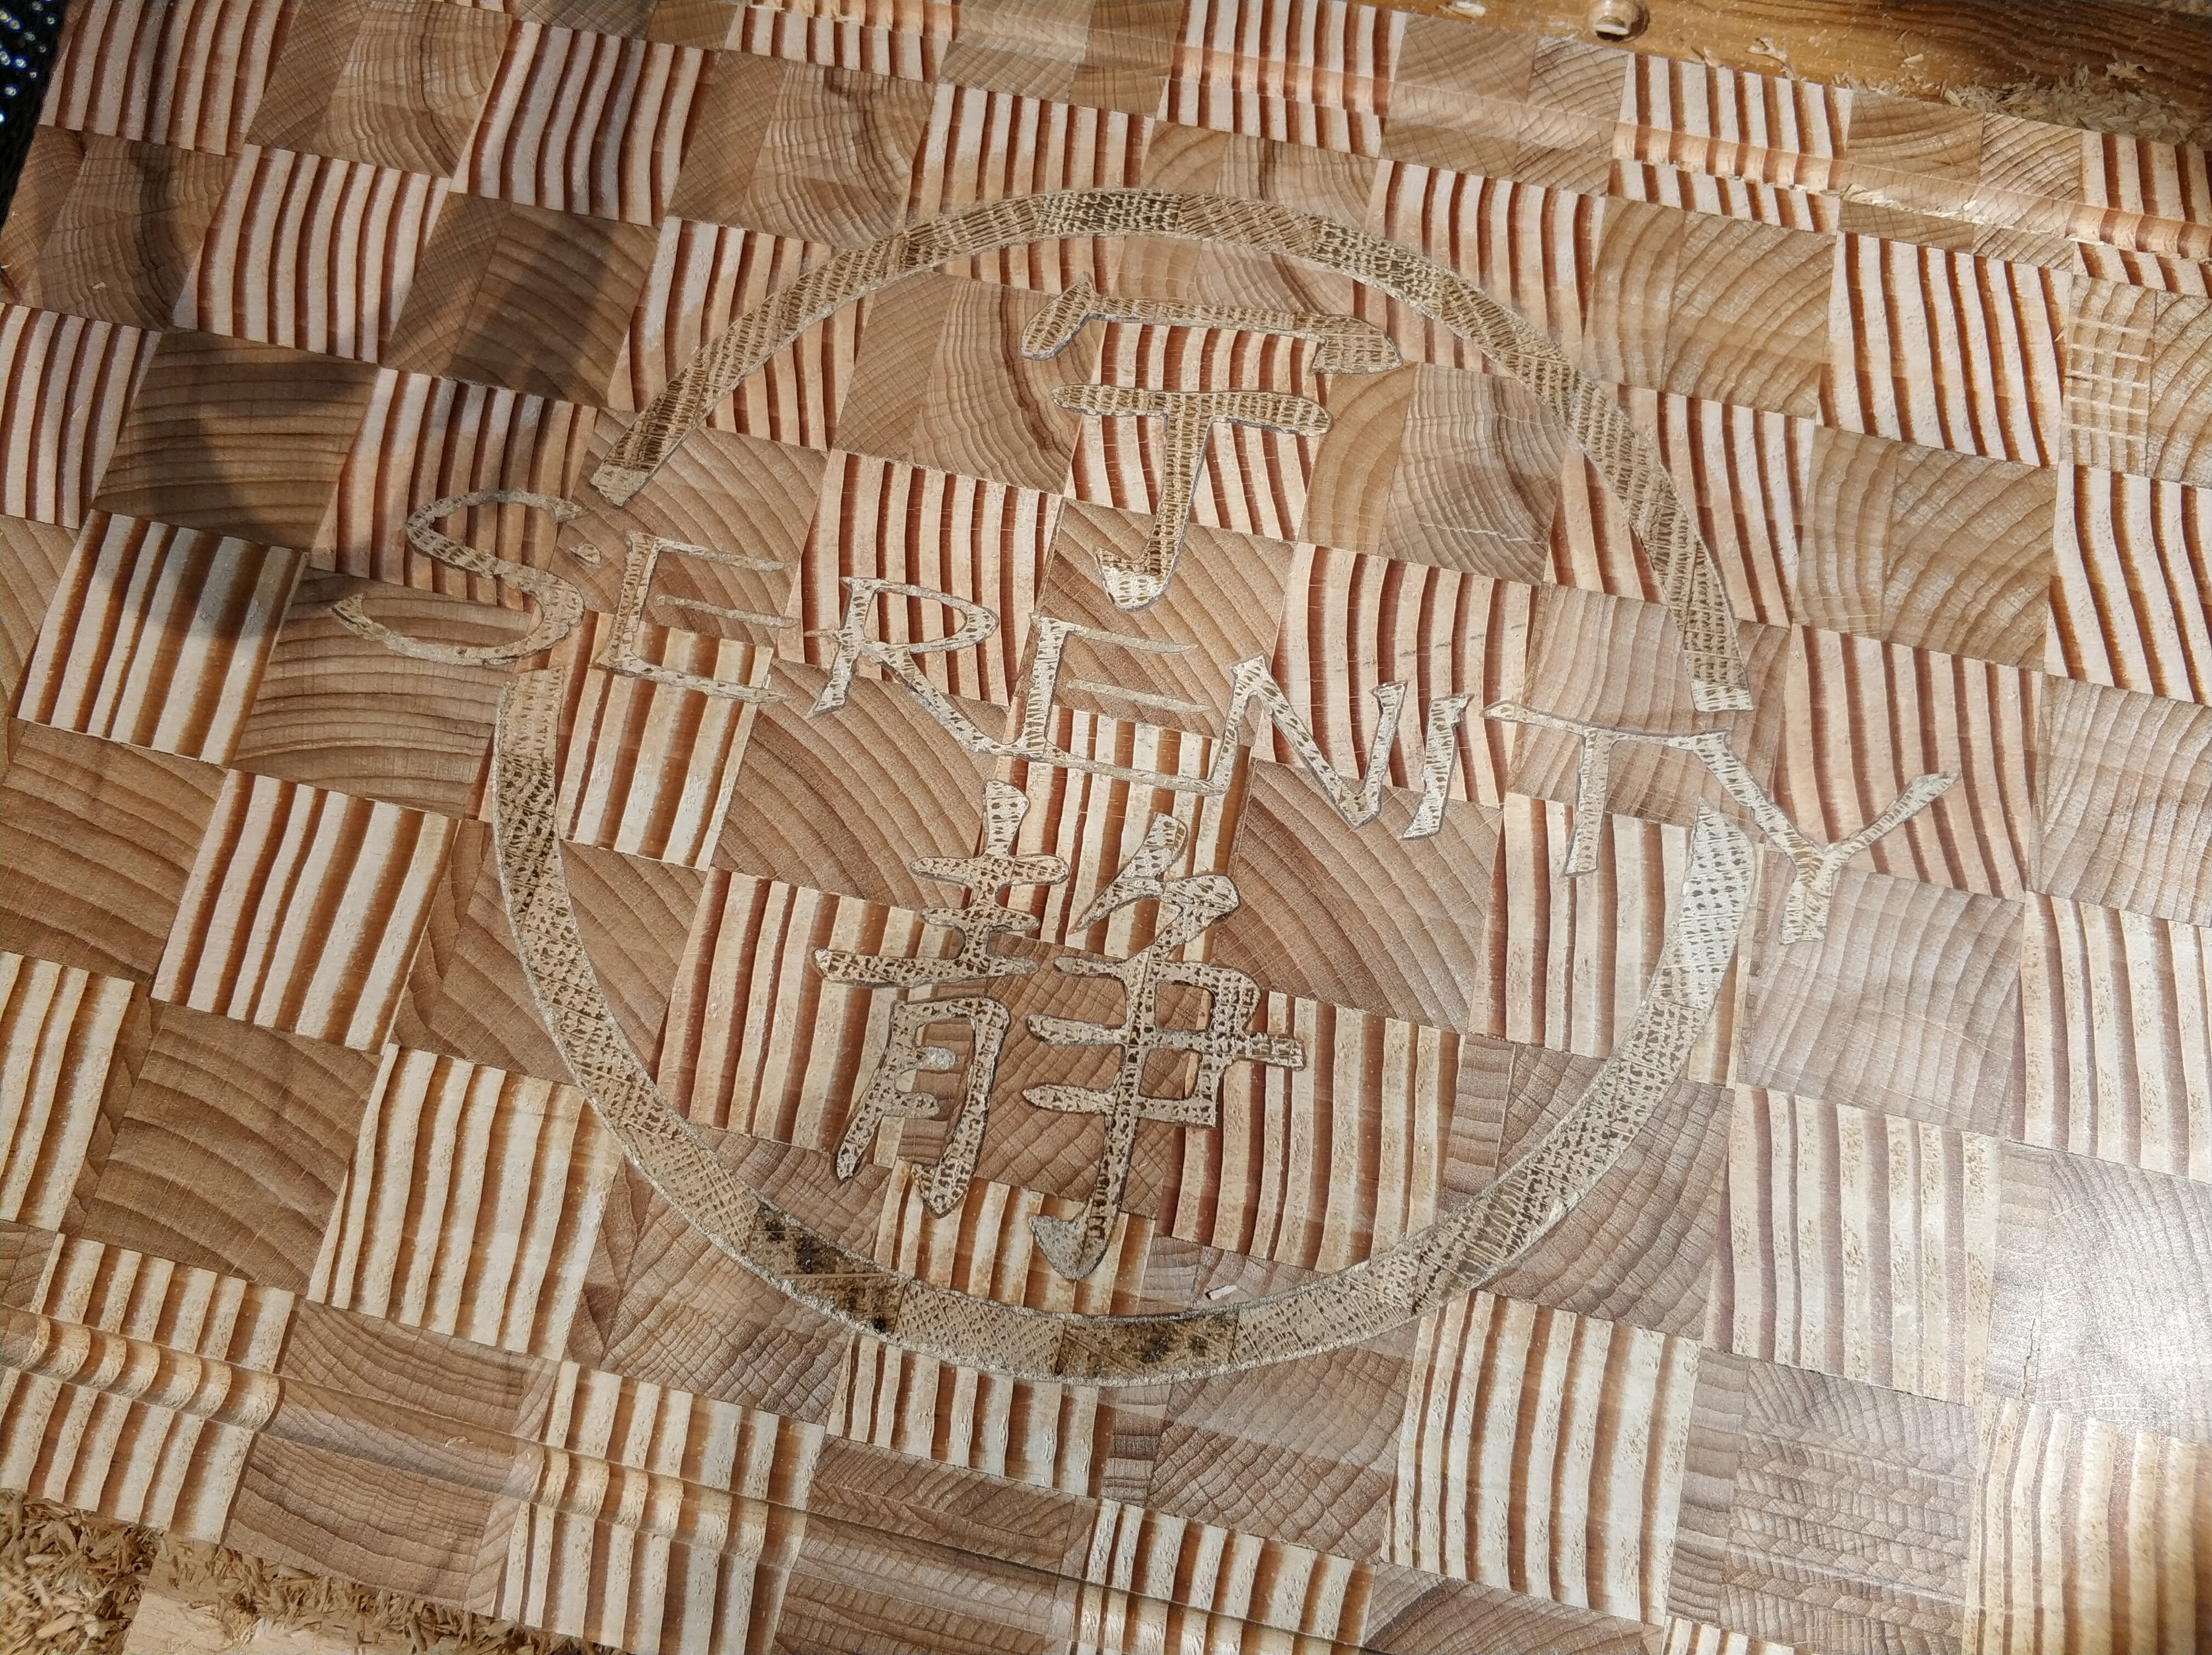
It did not work out as well as I expected. It seems shallow, wide Inlays are more easy. For the very filigrane letters it wasn’t deep enough with the 60° endmill. I now ordered a 30° and will be trying it again. The cuts should be a lot deeper then.
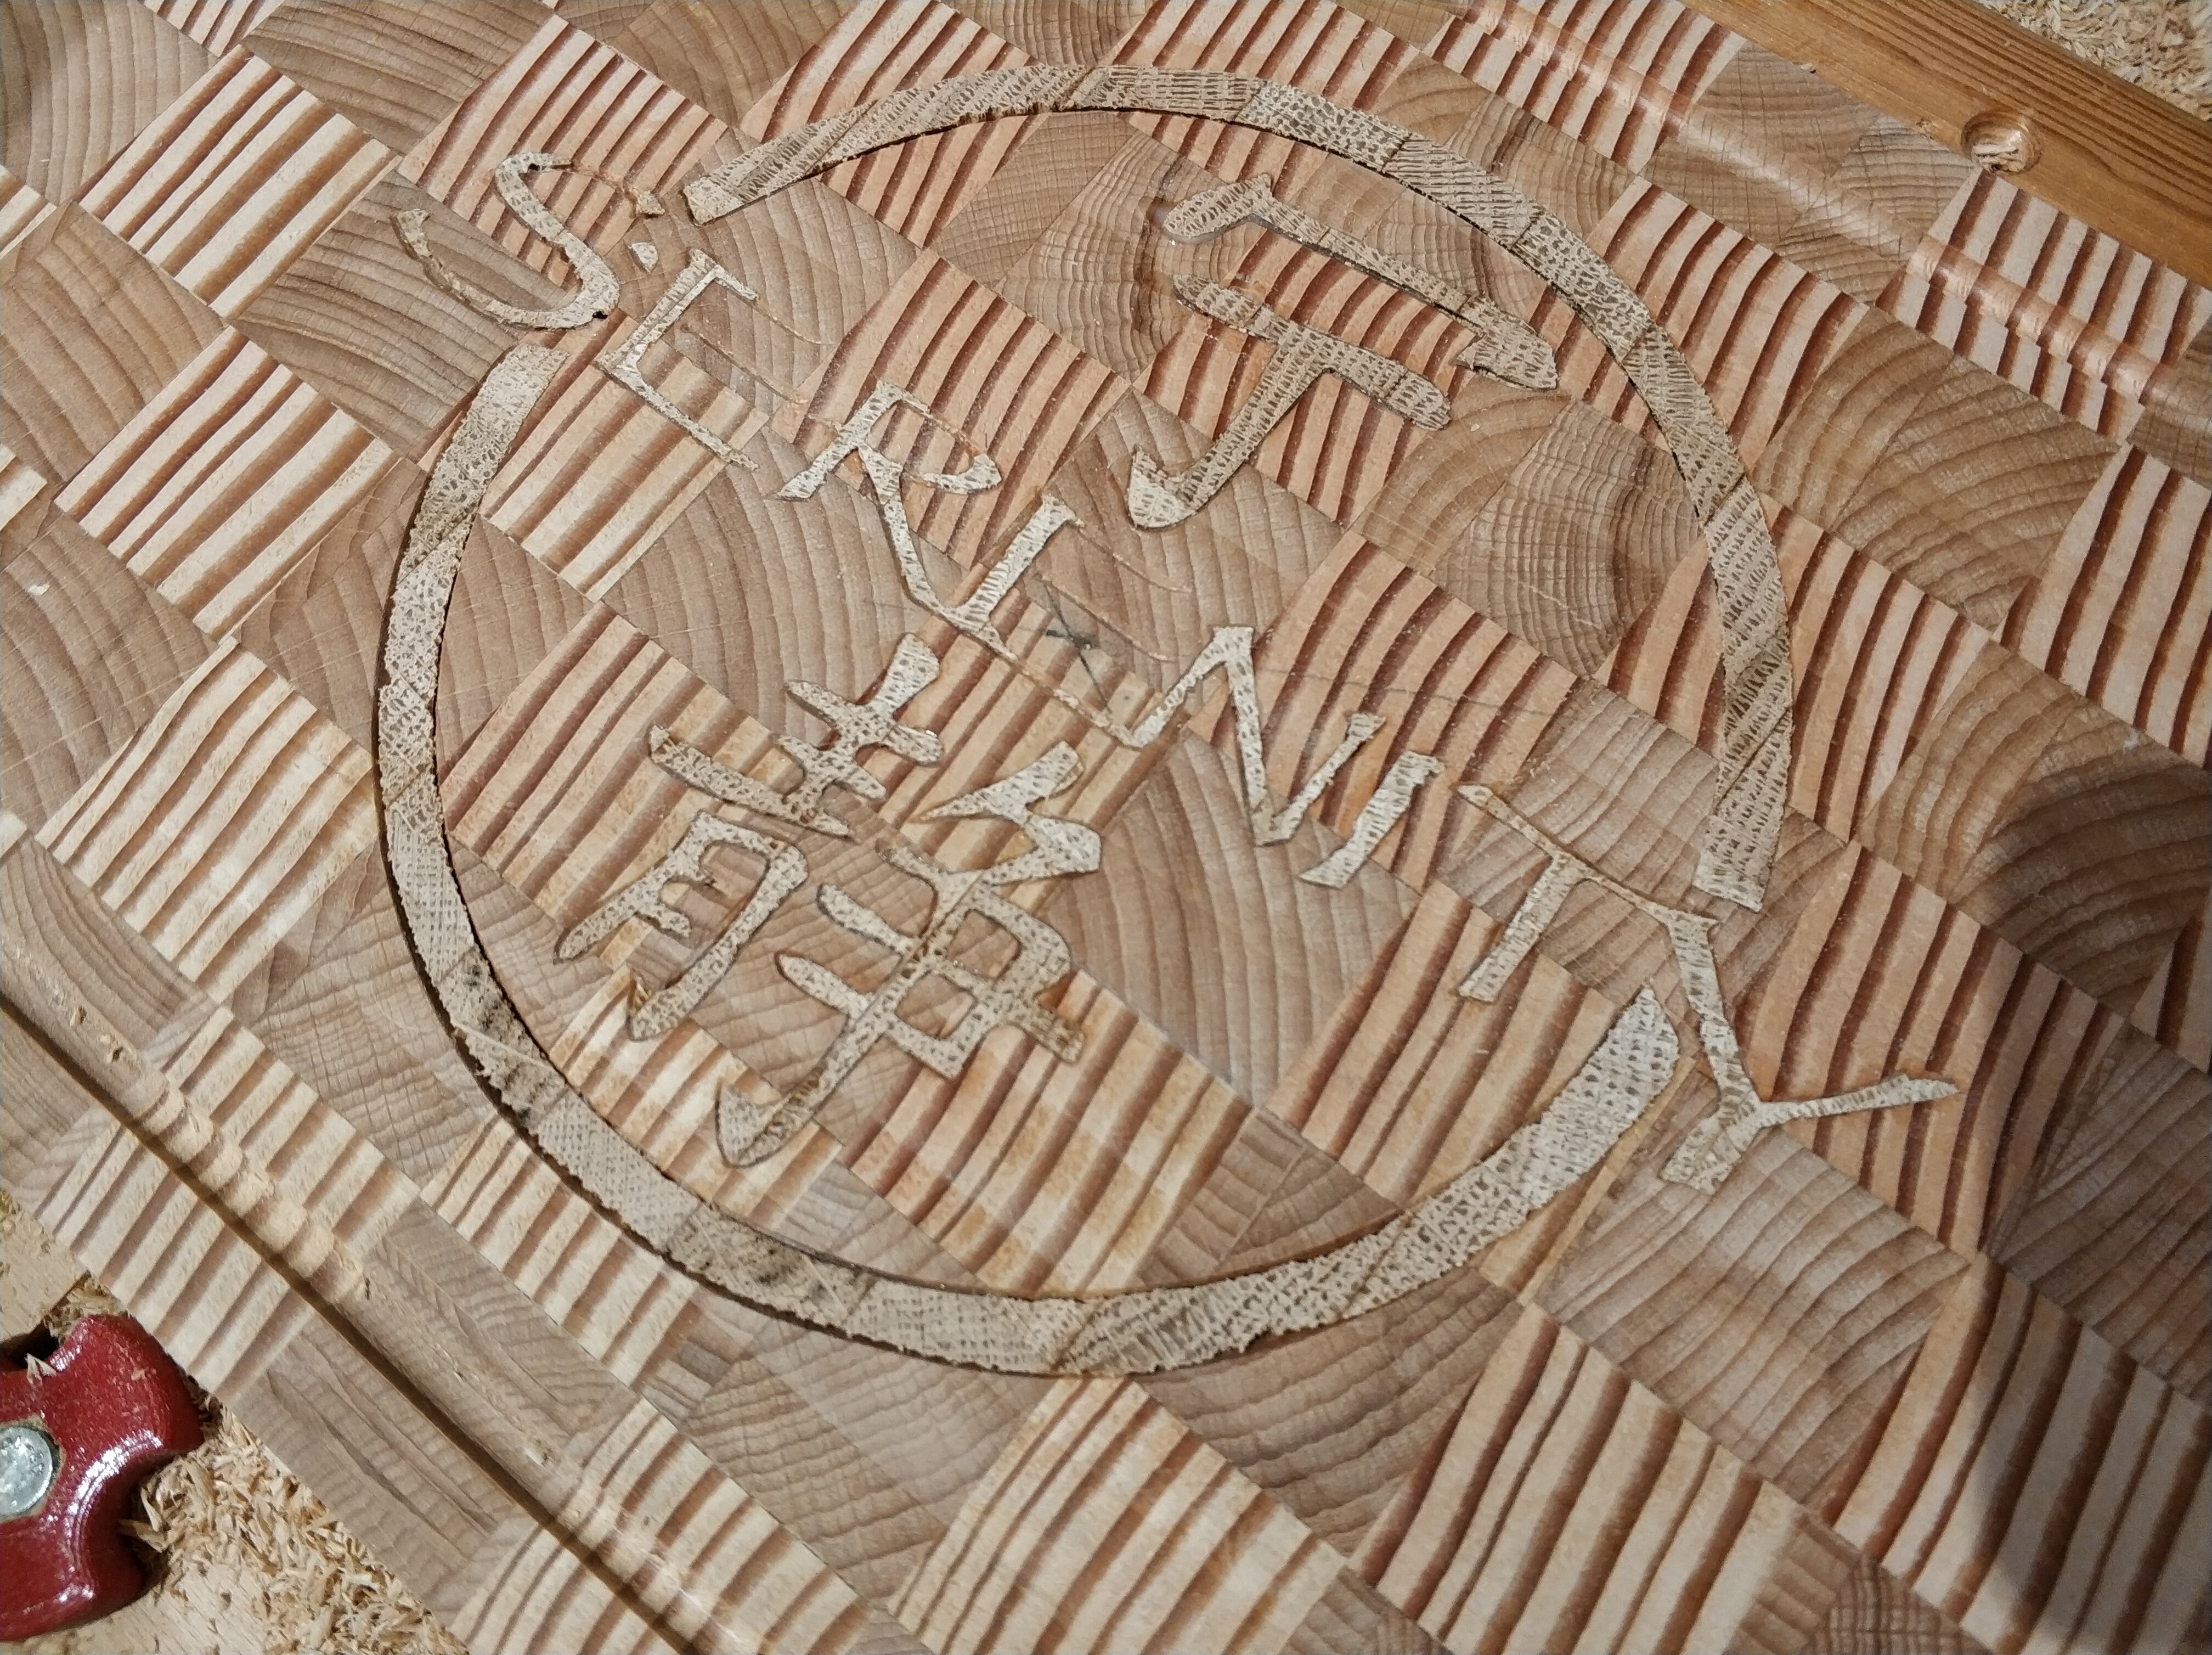
I put glue and oak dust into the cracks, hoping it will look at least decent. It was only my second inlay, I flew to close to the engine of a firefly and got burned. 
There are a lot of things I worry about, and I’m not sure of the relative importance.
- Squareness of the machine (can be mitigated with 45 degree flip)
- Flatness of top surface (can be mitigated with surfacing prior to carve)
- Tool runout (behaves like bit with slightly blunt tip)
- No finishing pass
One thing that might help is (if the design allows), to split the plugs into multiple pieces. (Carve them all at once but chop it up before gluing.) That way each piece can float separately from the others and find its own best location and depth, rather than a single global offset, rotation, and depth that tries to satisfy all pieces.
Maybe something similar to a finishing pass could be achieved by carving each piece twice with a slightly deeper Z the second time.
1 Like
Impressive work you’re dealing with! Just a thought- would the contrast of the inlay be more striking if you used wood that went along the grain, instead of across the end grain? Working on the endgrain is also more difficult for the mill, rather than from the side.
1 Like