Some renders of the mount in Fusion, going on the printer tonight.

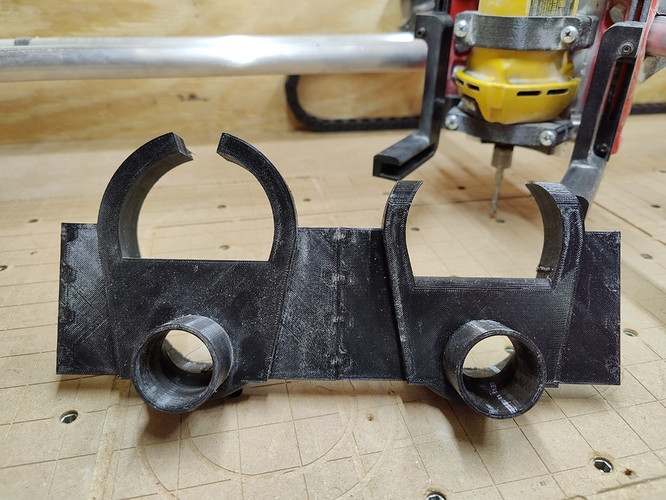
Alright here it is. The first Tornado “Addon” for Air Assist Mounting. STL has been added to the
thingiverse page. MPCNC Primo Tornado - Z Independent Dust Collection by AONeil - Thingiverse
This is modeled for the following blower.
https://www.ebay.com/c/21020436687
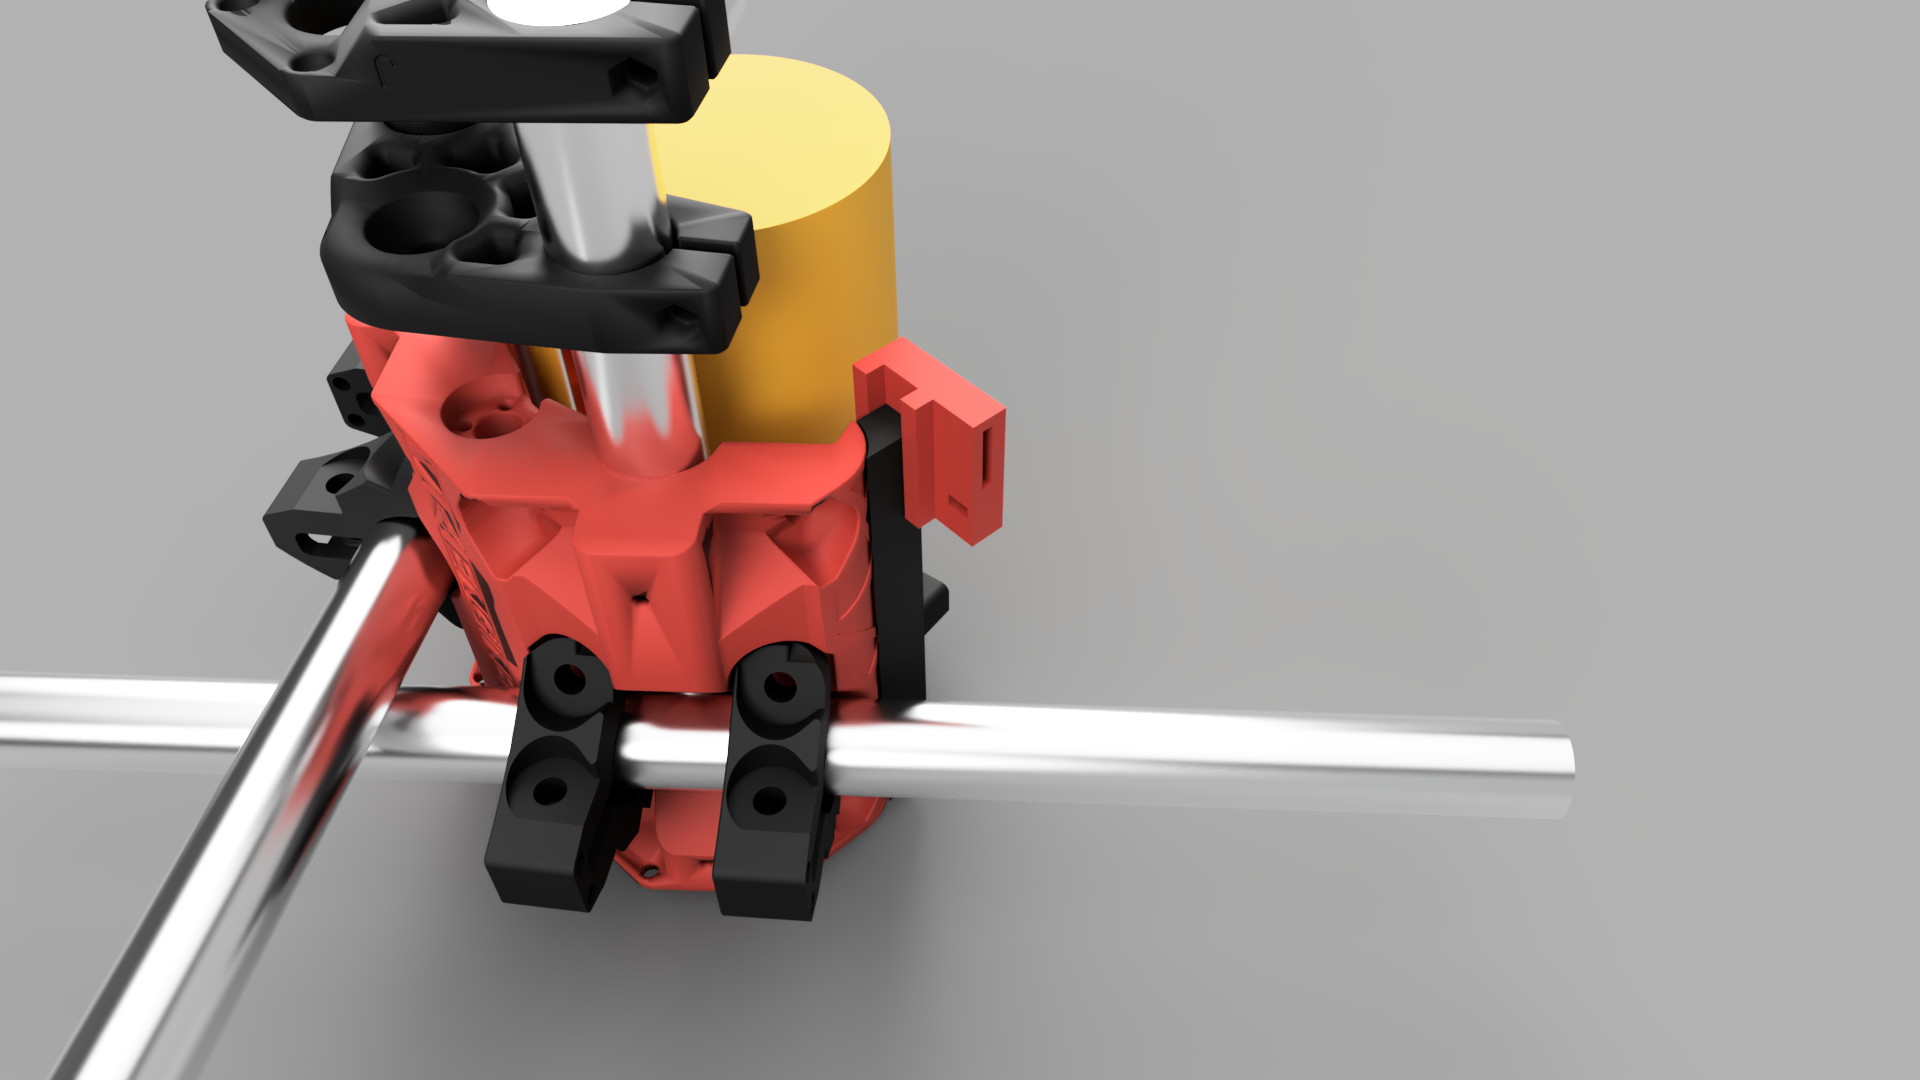
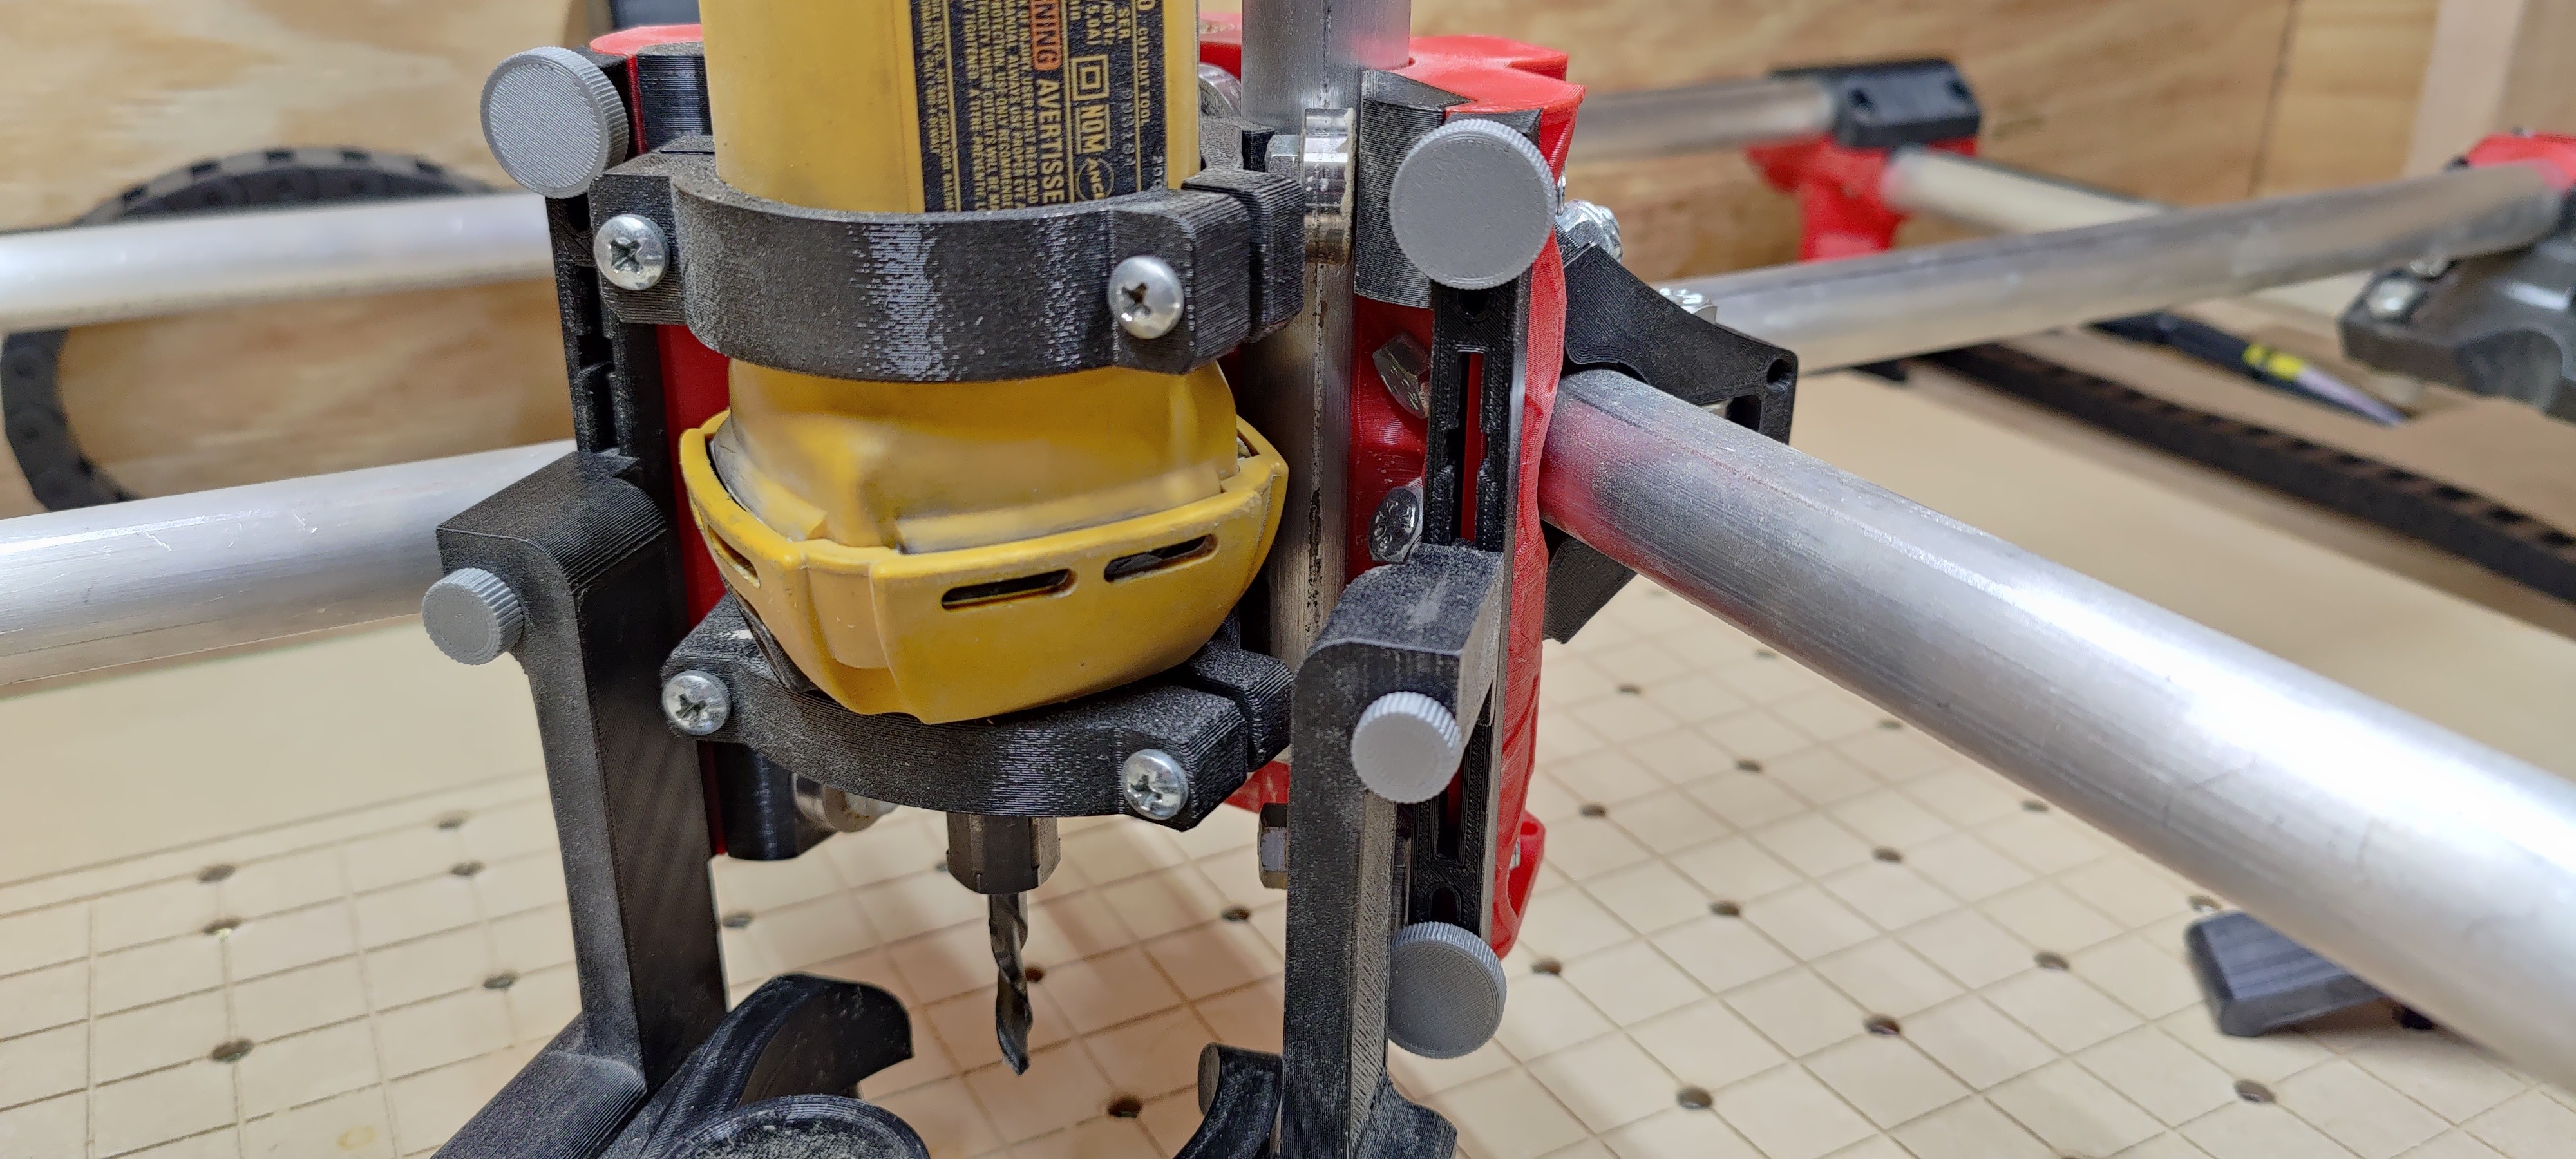
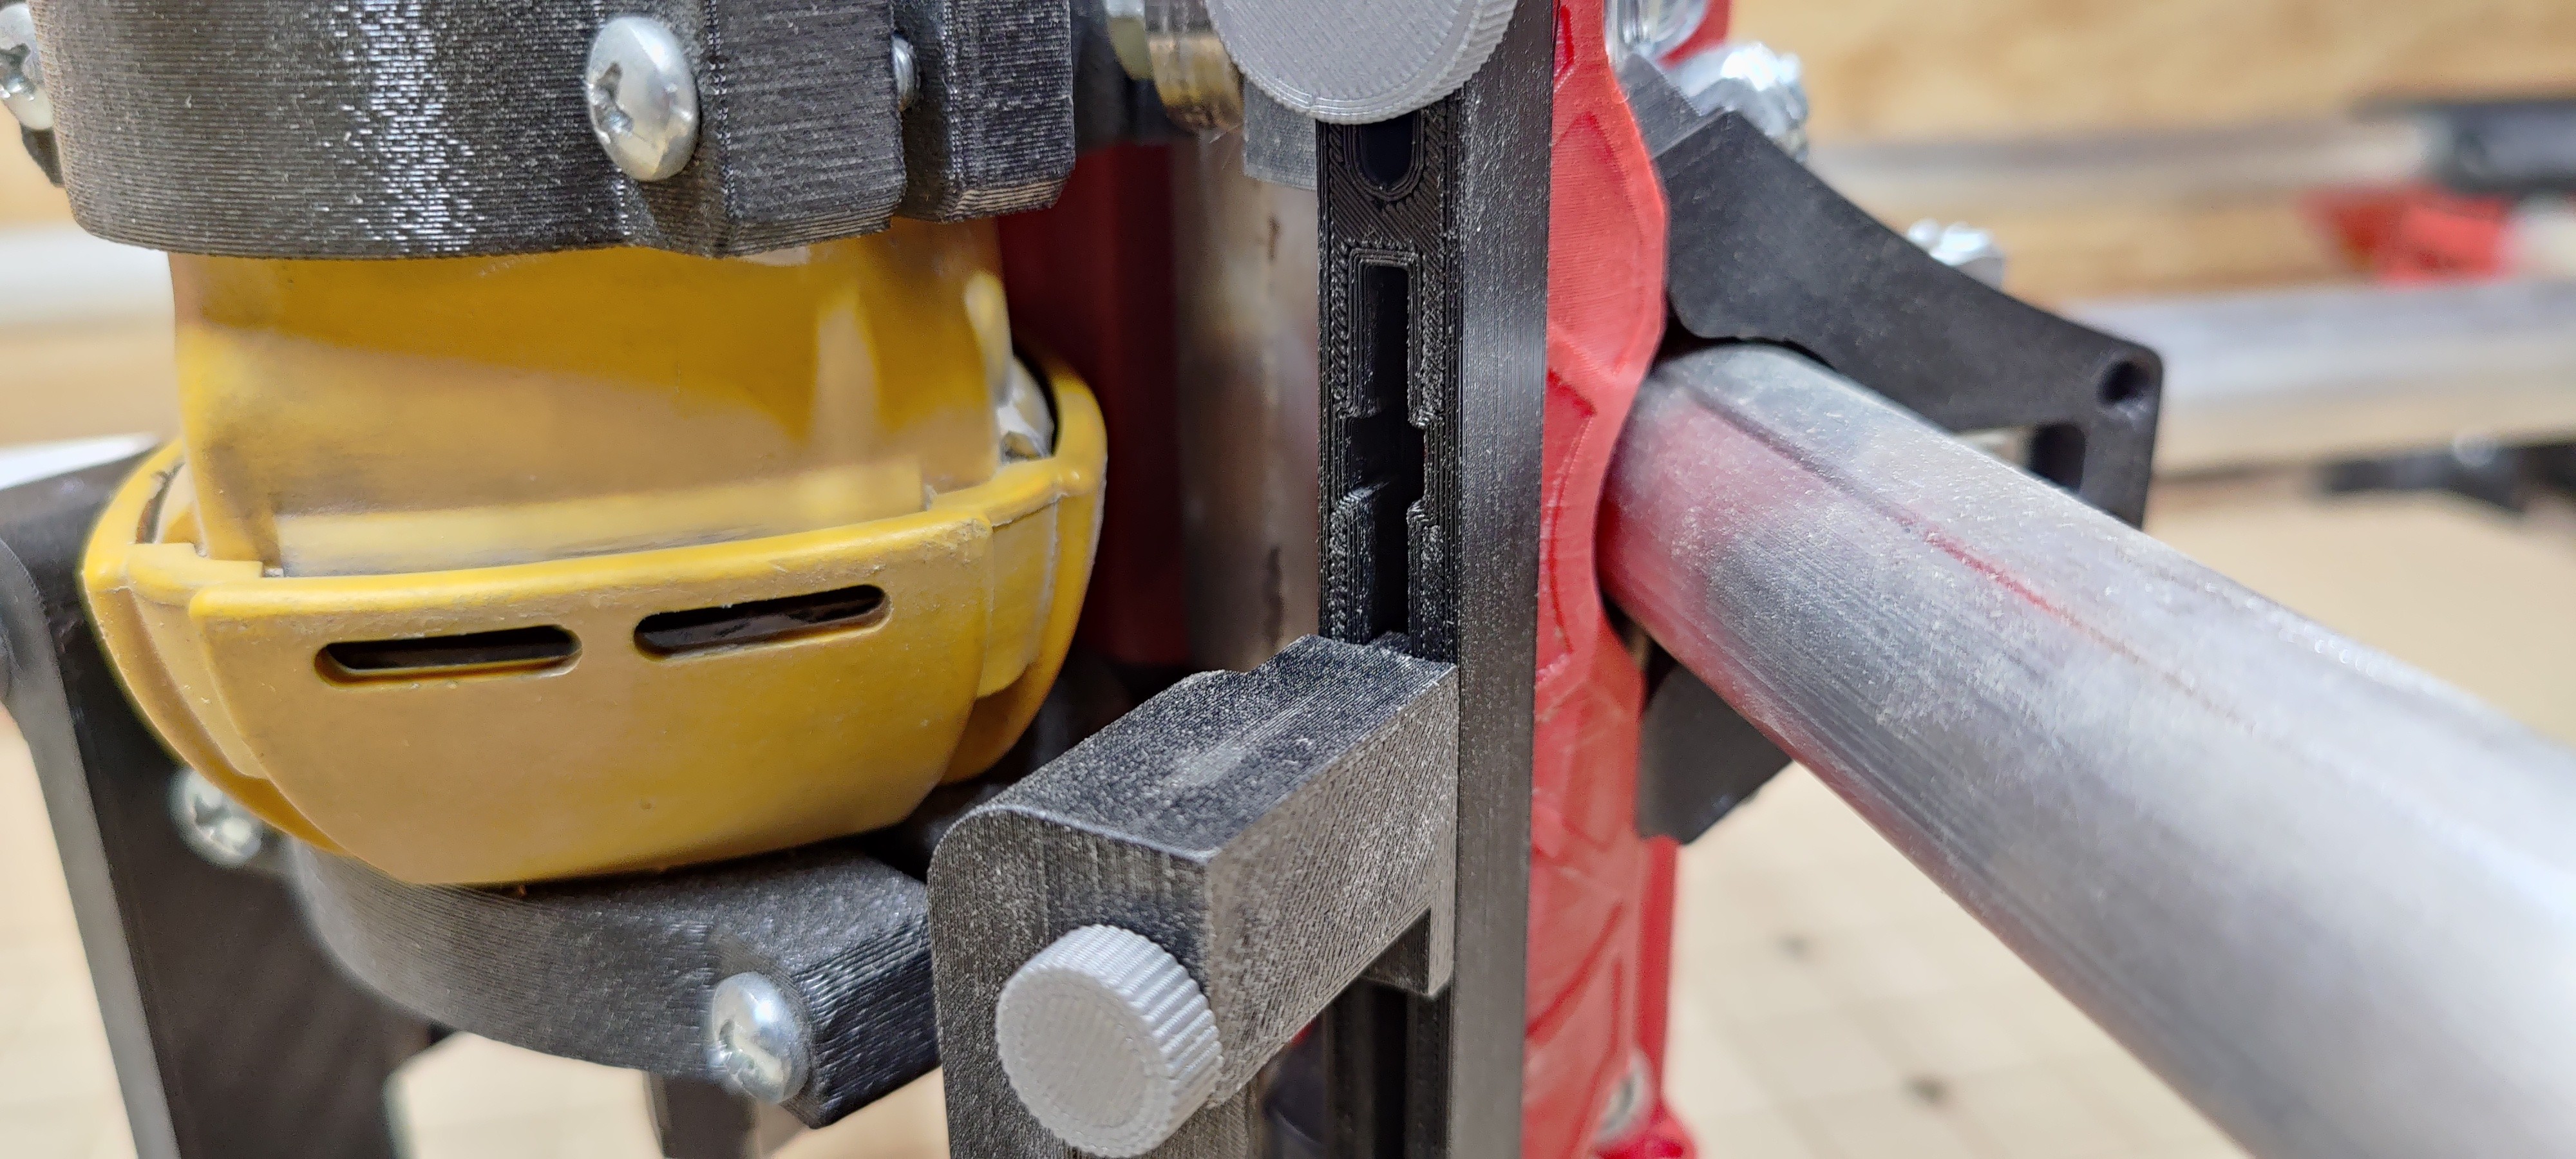
The mount could be attached to the top of the slider and directly into the core heated inserts (like how the photos below show) OR could be attached to square nut to allow sliding up / down for positioning.
You can either permanently glue the mount to the manifold of the air assist or use a zip tie to temporarily secure it. (This is how I currently have it configured but will eventually glue it to the mount.)
At the top of the mount, it includes a 18mm channel for velcro / zipties to secure the air hose.
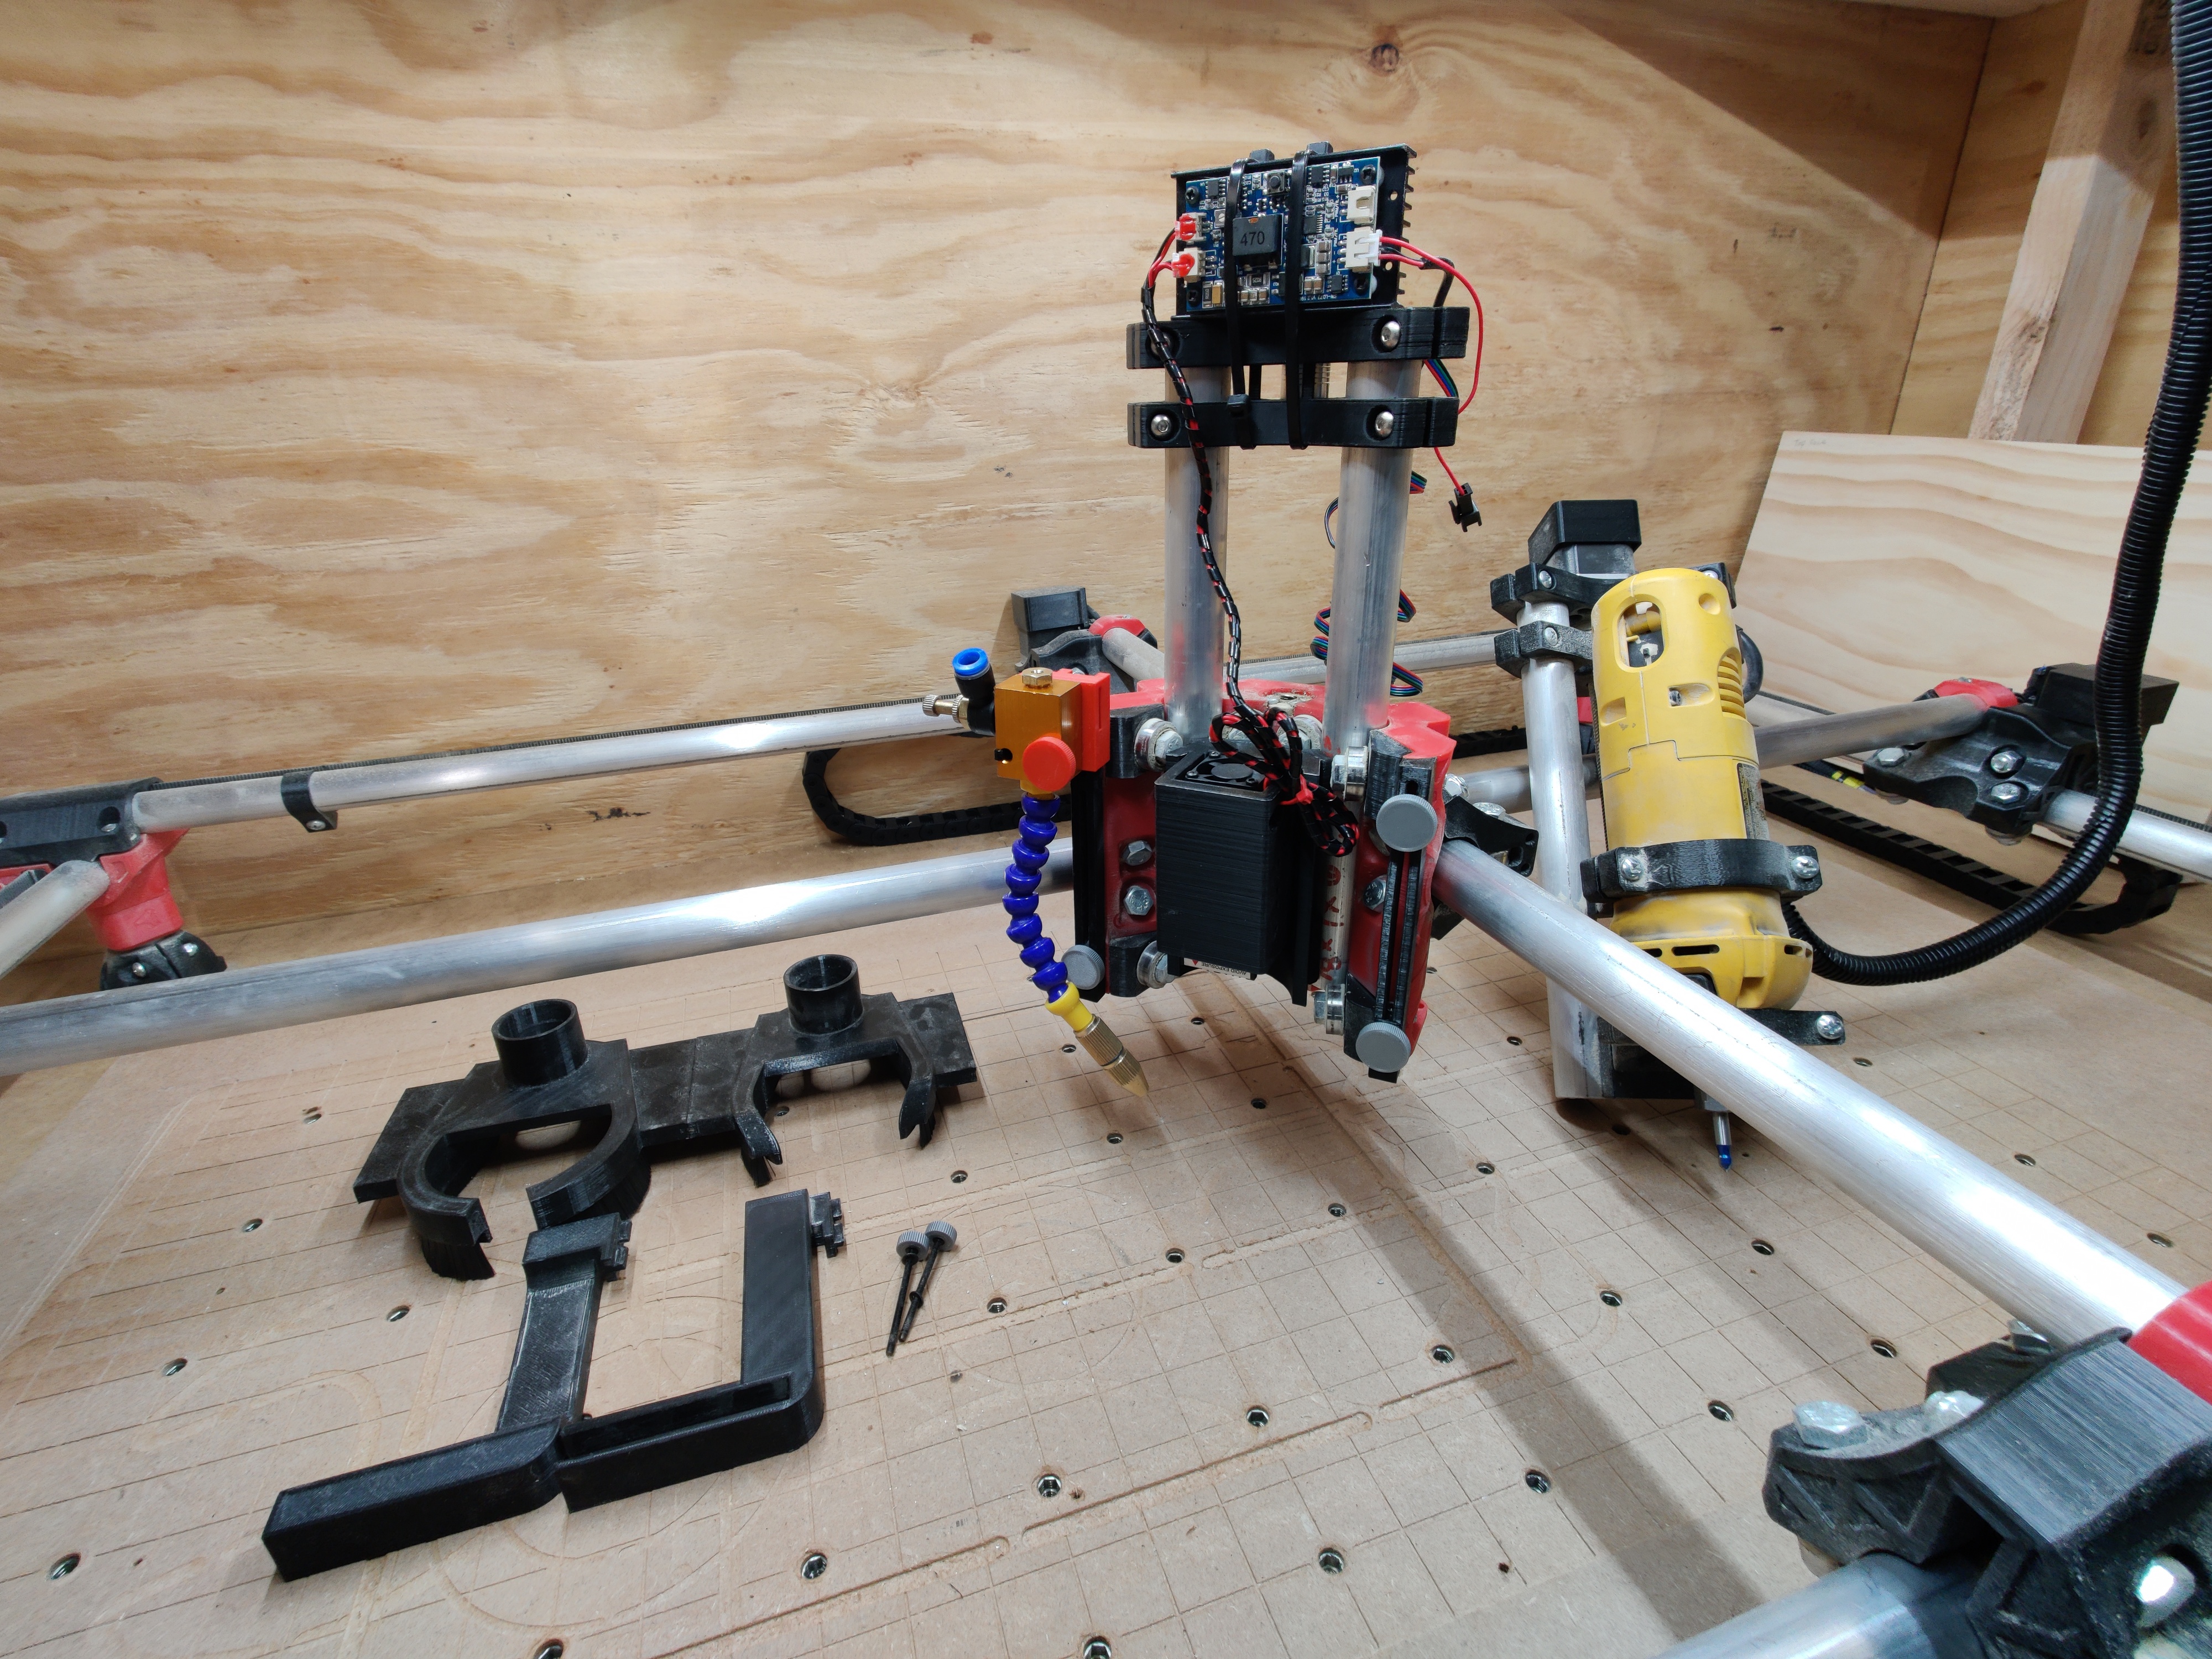
P.s. Yes I know I’m missing the lead screw in the photos.  I made a second Z axis for quick tool changes to the laser and I’m waiting on a lead screw to come in.
3 Likes
What about the four holes on the bottom of the core? Would using those cause any problems?
I believe you can use those but with the current configuration of my mount, I don’t see a way to attach the hose there. I’d have to redesign it to allow that. As it stands now, if you have a way to move the hose with the CNC, it seems to be working fine. I have my hose coming in through the top of the enclosure, the hose is fixed there and allows the hose to freely float around inside the enclosure so I believe in it’s current configuration, everything works well.
Sorry. That was more of a reply to Ryan about using the holes in the back while trying to configure another option for collection. While I find your version interesting and a great start, I’m concerned about putting the threaded inserts into infill as opposed to solid holes. I’m trying to find a way to mount the system to the core using the existing structure.
Gotcha. No worries! I was thinking the same and have been toying with the idea of making those holes solid by reprinting the core at 80% infill around where the holes would be.
Tbh, the heated inserts have actually been really solid. I haven’t ripped one out yet and I did some serious pulling on them.
If you figure something out, be sure to post it because I’m interested!
I was more just referring to the hose itself. The holes on the core clamps are in a very neutral place and an ideal place to add the load of moving the hose around.
The vac shoe as is …is amazing. I really like it.
1 Like
I’m probably going to try this, was wondering if the square nuts bind up or get loose?
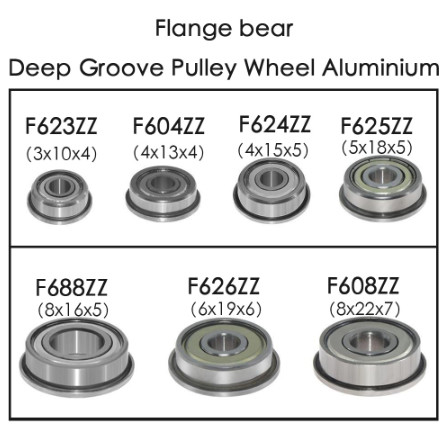
I might try remixing the Thingiverse step file to replace the square nut with a small flange bearing
I have not had any issues with mine. seems to be working really well for me so far. I’ve been kicking around a remix of the sliders (insert the nut from the front to allow quick attach/detach of the arms) but that remix still requires the square nut.
I can see that is true… happen to have any links or pics of setups using the core clamps for this? I don’t mind drawing up something for it… but having a hard time conceptualizing what to do with the vac hose between the clamps and whatever else (right now my vac tube comes in from above and mounts to the core itself).
Doing a little more thinking on what you asked the other day, are you asking if it binds when running the CNC? Because this design is supposed to have the arms locked in at the height of the workpiece and not move up/down when you move it around.
I ended up remixing the sliders a bit and added the ability to quick detach / attach the arms from the front for a quality of life improvement. Testing these today and will be putting the STLs on the thingiverse page if it works out.
Thingiverse has been updated for 3.1, updated sliders to allow easy attach / detach of arms. Seems to be working well so far.
3 Likes
Okay, I misinterpreted that slot allowed the brush to slide up as the router is cutting.
I work with a lot of 3/4" material where my cuts are deep enough that the brush is either too high during much of the cut or gets mashed into the work material. (currently on my Burly it loosely wraps the attachment I rigged up so has some slide, the Primo is still in the works )
2 Likes
Love this design. Any issues with tool changing with the dust shoe on? I want to make sure i still have access to changing the bit in the middle of a job if need be.
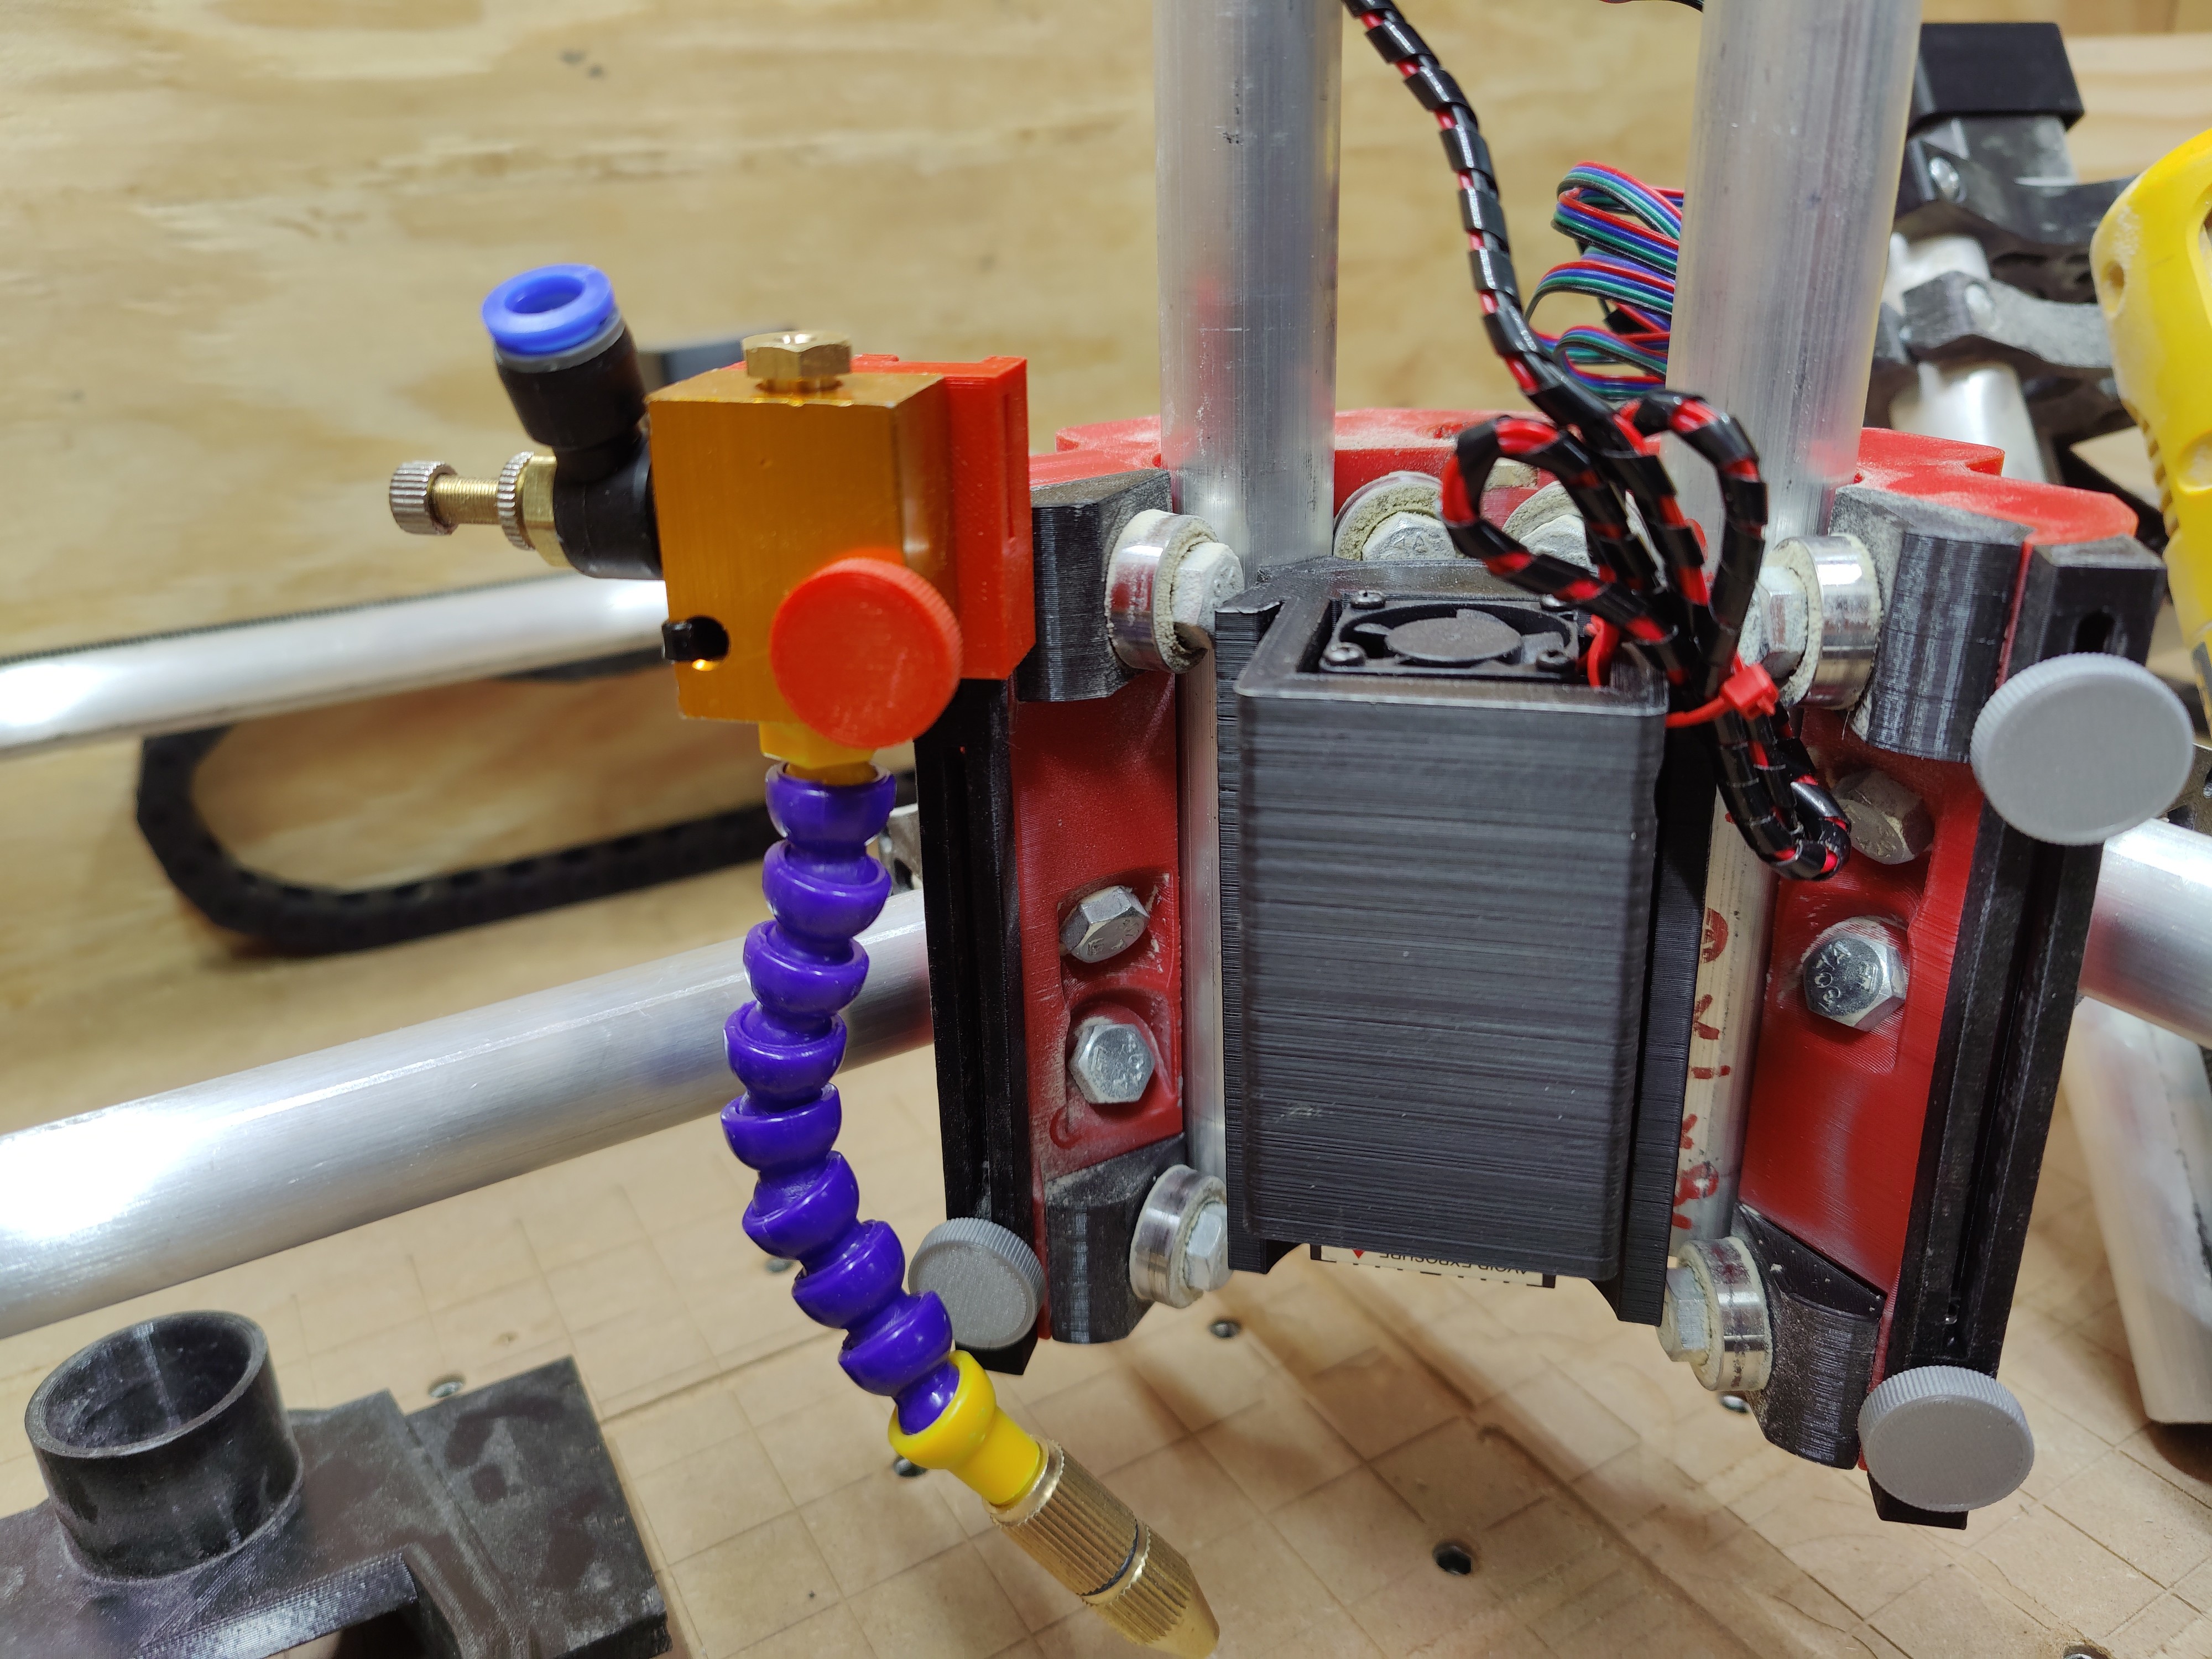
To change the endmill, you just need to pull the shoe off but keep the slider arms attached. For example, like the background of this photo. It can be a little tight depending on your hand size but you can definitely get in there to change endmills out.
1 Like
Okay perfect! Time to start printing. Thanks for the design and information.
No prob, let me know if I can be of any help / feel free to grab the step file off thingiverse and modify it to your needs.
Also check out my personal site where I talk about it a bit more, may be of some help 
Hey there! Thanks for sharing this awesome design with everyone. I am printing one right now.
Just a quick question:
The only parts list I see is the image that includes 16mm and 45mm M3 screws. On that list they are pan-head phillips screws, but looking at the STL files of the thumb screw tops, I see hex-shaped nubs on the insides, which makes me think you might be using new cap-head M3 screws in your newer versions of the design. Is that the case or did I miss an updated parts list somewhere?