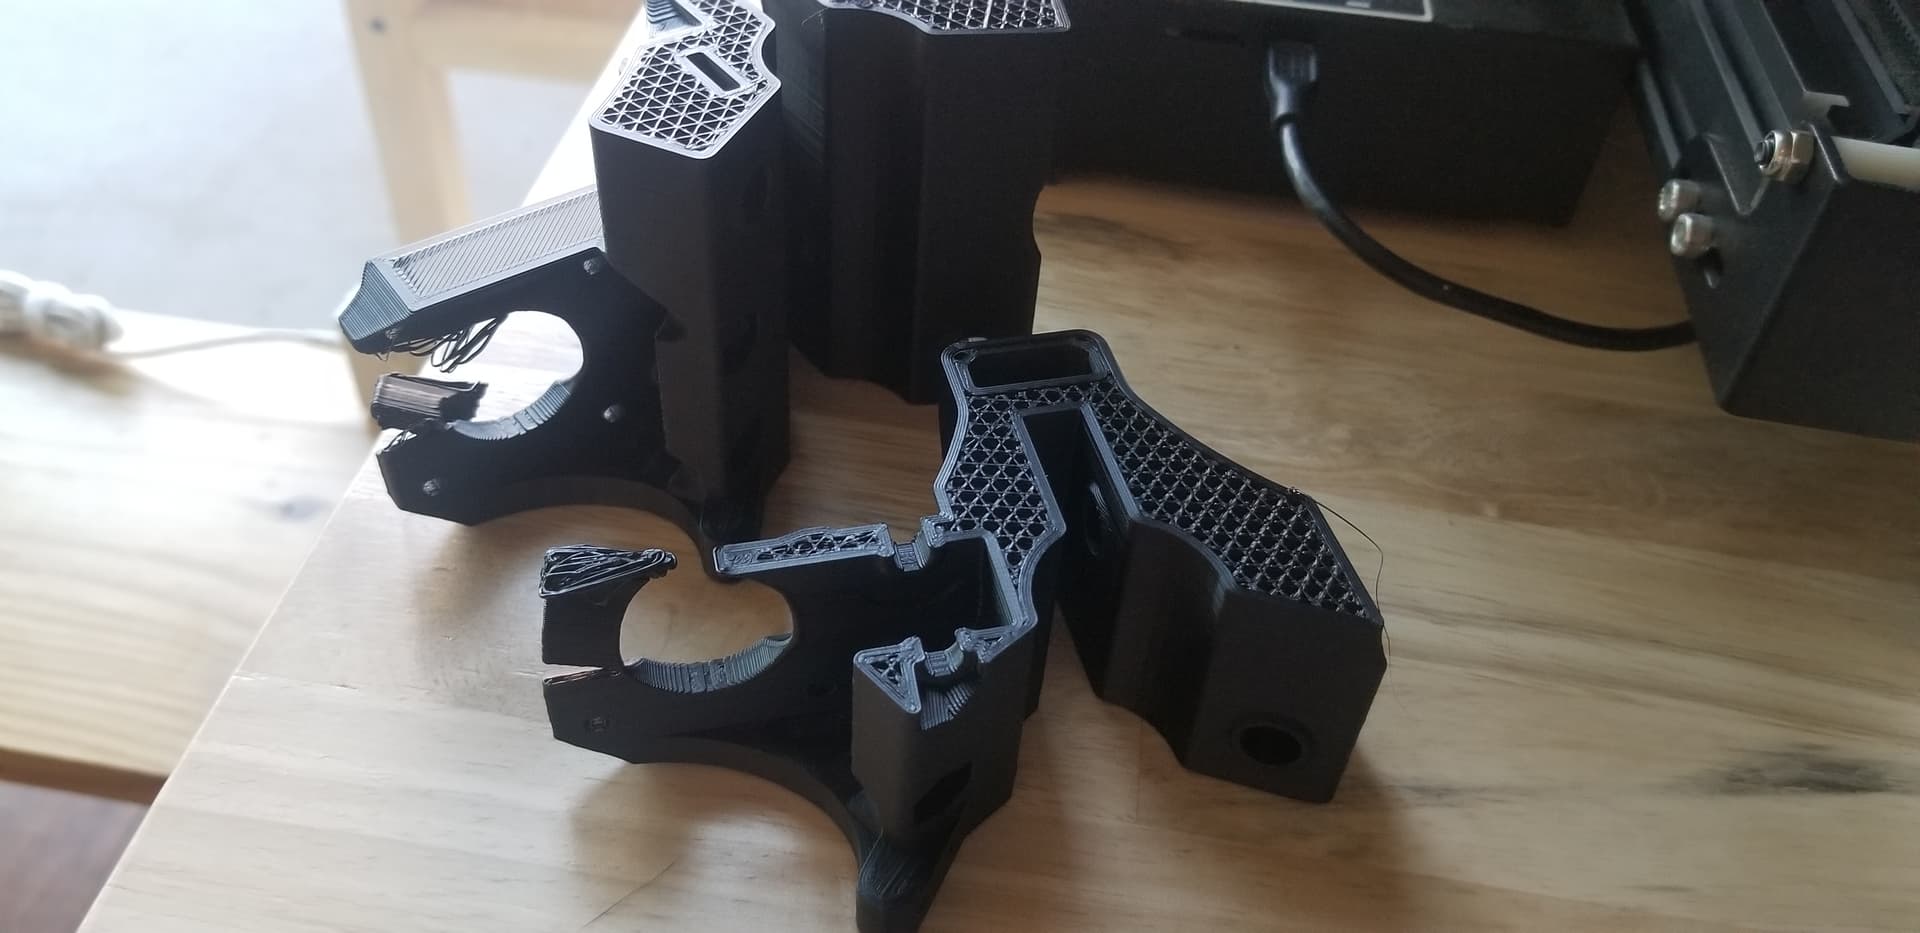
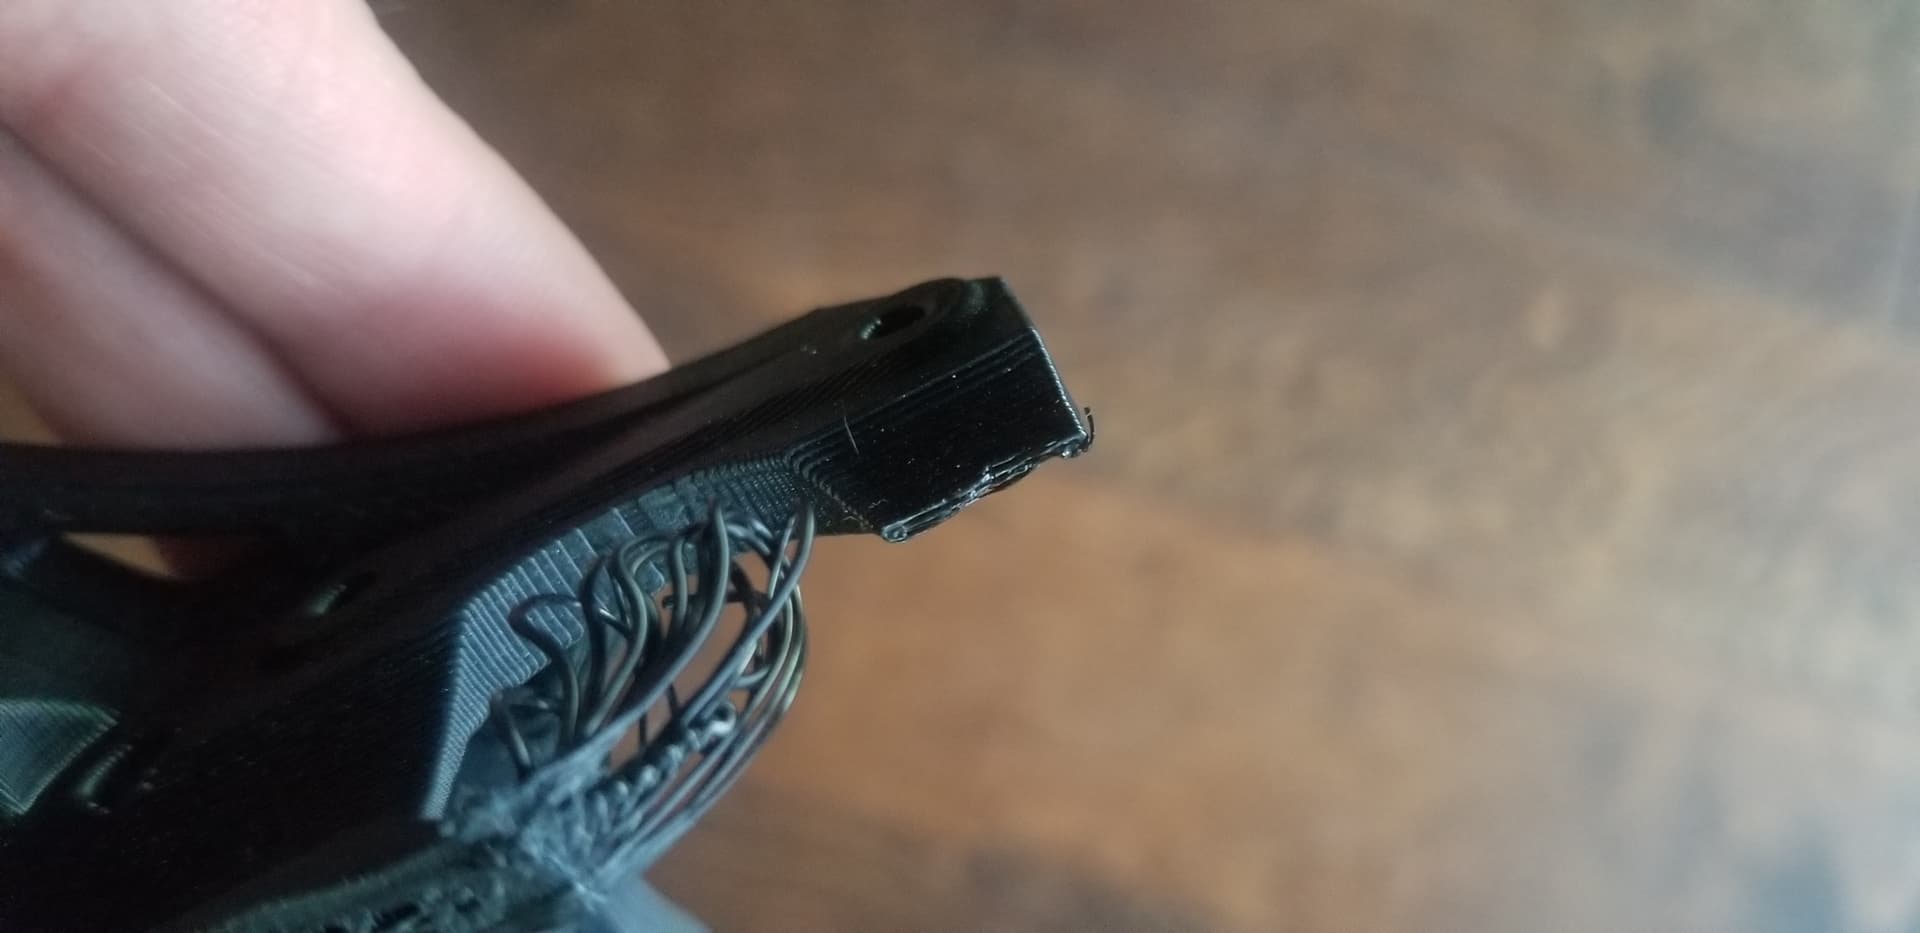
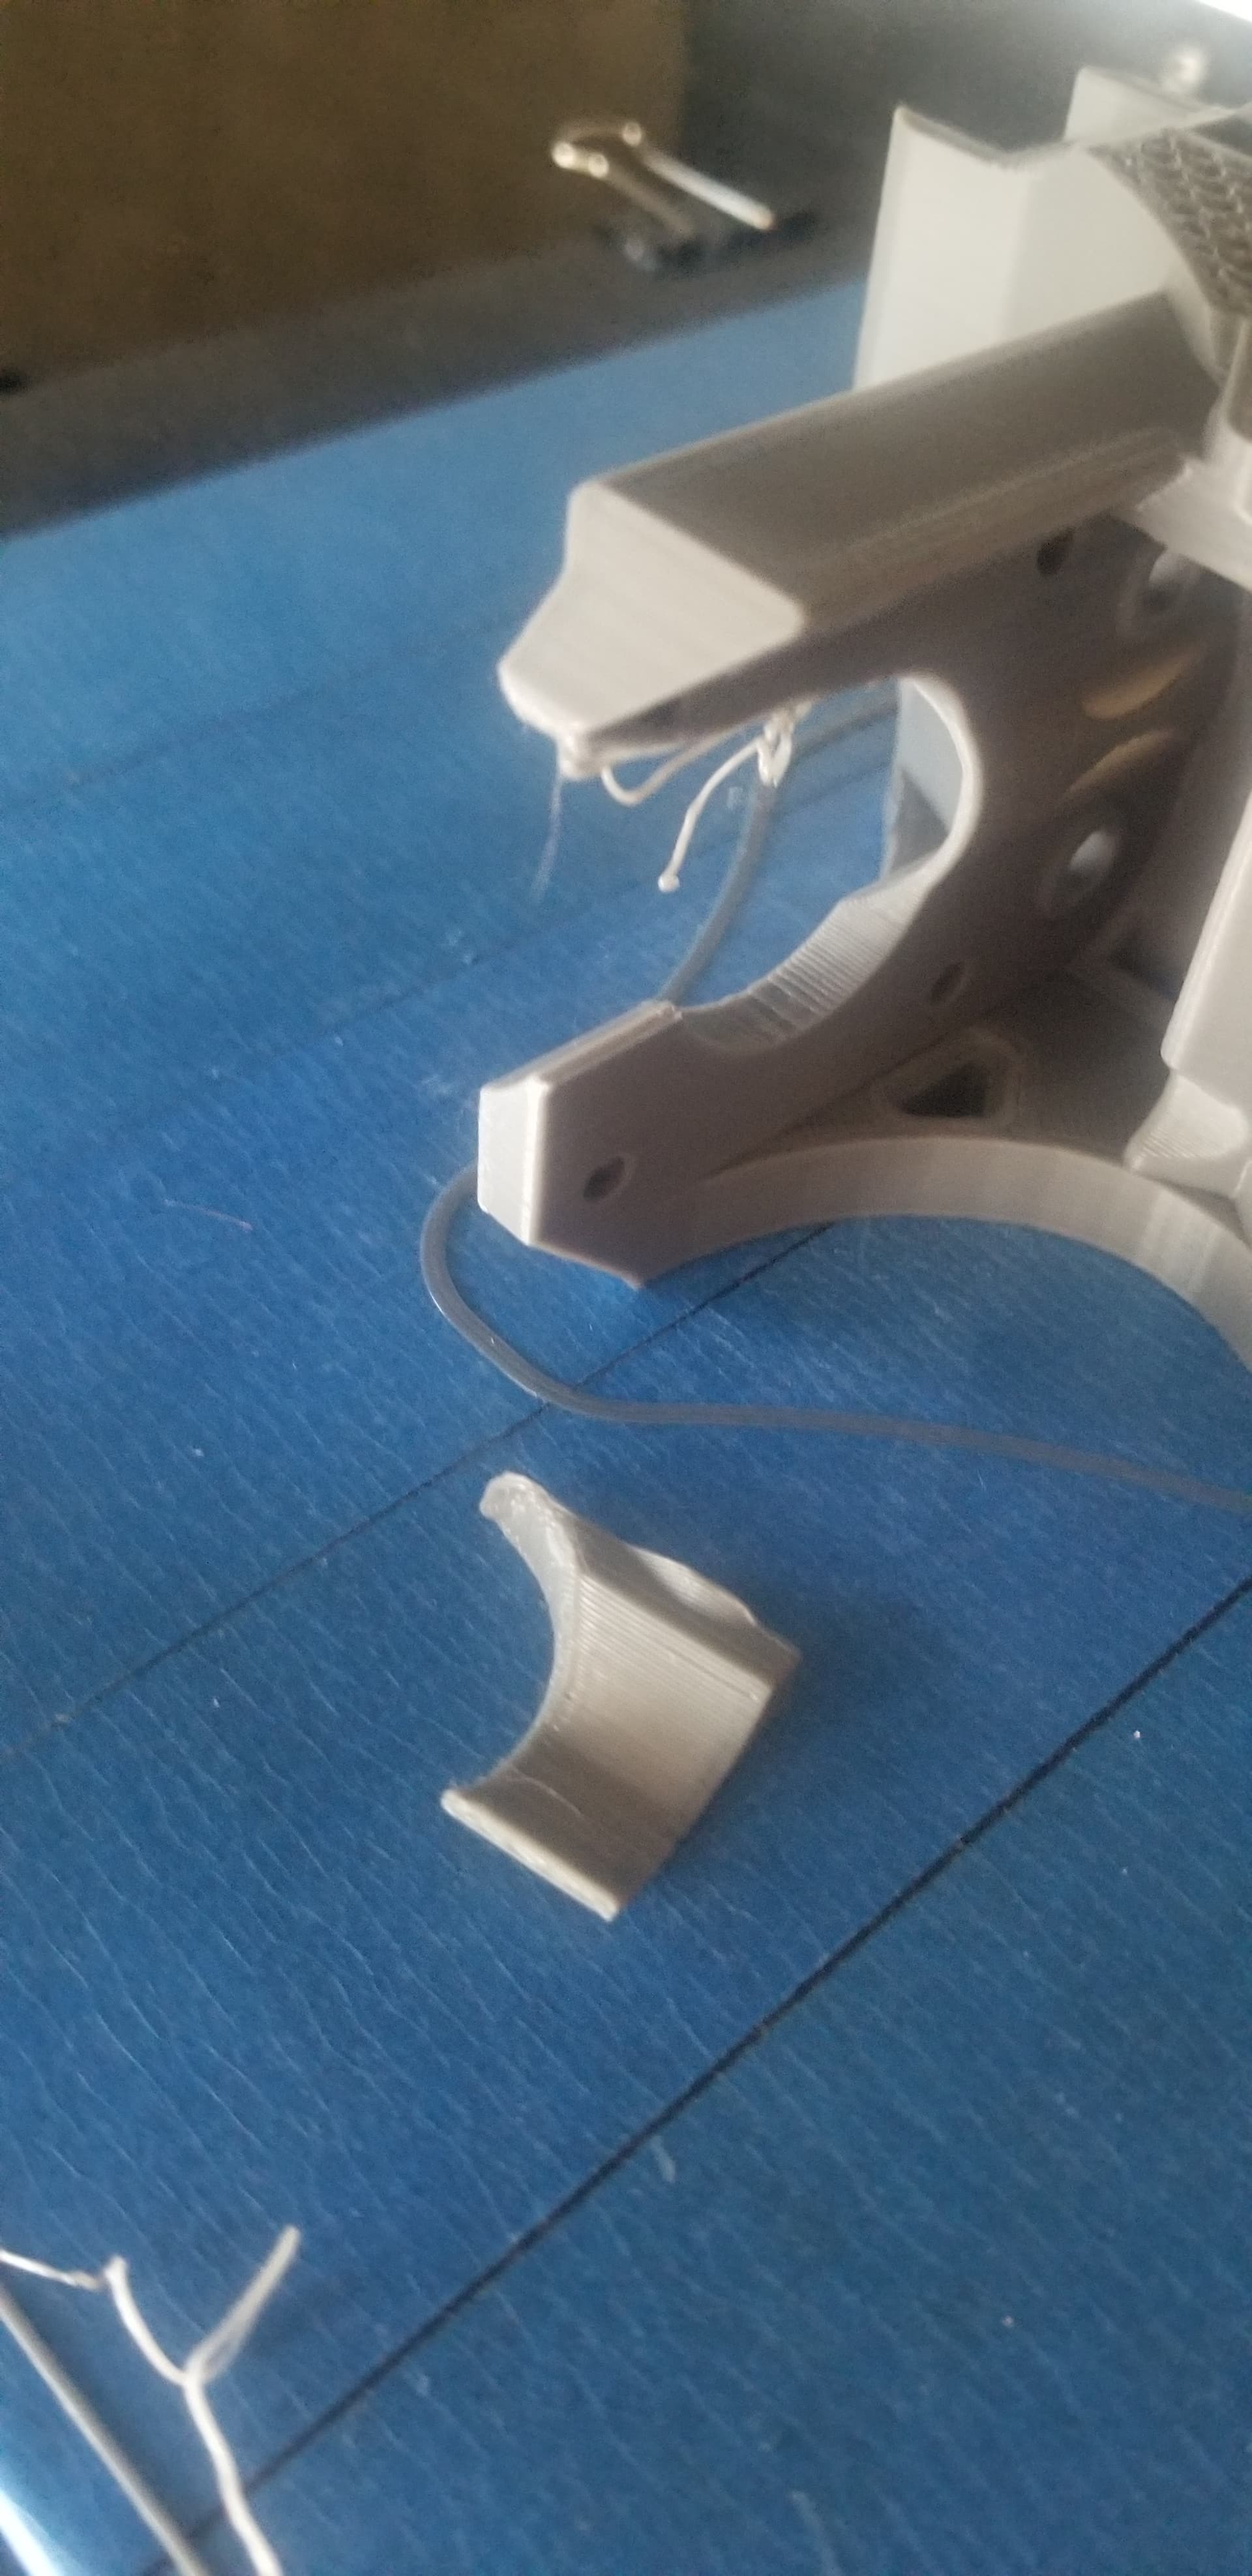
BLUF: The trucks won’t print correctly on my Ender 3 Pro. The very thin curved part always breaks and causes a spaghetti mess. I have tried multiple settings across multiple slicers.
Multiple threads in the past discussed this issue, but none offered a definitive resolution. Some people seem to have modified the CAD files to make it thicker, some adjusted cooling, and some adjusted retraction. I believe it is a design issue rather than a printer issue based on others having the same issue and based on the fact that my cooling and retraction have worked on hundreds of other prints. I am looking for a solution to either get it to print correctly on my printer, or asking a favor of someone to please print the 4 trucks for cost of PLA and shipping. Thanks!
I don’t think this is a design issue. It’s just a budget printer issue unfortunately. I had to modify the hell out of my Ender 3 Pro to get it to print respectively.
The part breaks during printing? Sounds like a nozzle strike.That section looks like it’s getting too hot and is causing it to warp. Is Z Hop/ Z Lift enabled in your slicer? You may have to lower your temp and/or speed. Running a temp tower with the filament your using can help dial it in. A section that small can sometimes produce no infill at low/middle infill percentages. A higher infill % can help or use a different pattern like gyroid.
Thanks for the replies. Tried another print today with different filament and it did the same.
It seems like a design issue to create a design for a budget CNC that can’t be printed reliably on a budget printer. i.e. just dont make that section so incredibly thin. My printer prints everything else I’ve thrown at it, and multiple other people in these forums have expressed having the same issue at the same point with a couple different printer models.
Temp is 195, cooling is 85% and wall speed is 20 so I feel like the settings are already pretty low. I’ve tried temps all the way to 210 and 100% cooling.
Though I’m pretty sure that as long as the screw holes are in the right place, you can just clean up the crap at the top of the print and use the part.
Settings seem more than reasonable. The only other advice I can offer is rotating the part 90° on the print bed. Perhaps the fans are not hitting that area enough. I still think it’s a nozzle strike. Like the part is bending during the print, one edge rises slightly and the nozzle hits it and knocks it off. I’ve never seen a part break from a sag alone.
I’ll try rotating 90 and increasing temp to 220 for the next one.
I think you’re right about the nozzle striking it. I just can’t manipulate the settings to get it to stop. I wish the part was designed with a bit more margin for error.
From my armchair engineer seat, it seems that piece that keeps breaking is pretty much just there to support the top of the part while printing. Once you bolt your motor in, that area becomes structurally irrelevant.
I understand how this might seem to you but multiple people is not very many. This has been available for 2 years and there have been tens of thousands of builds. So multiple people is actually a very small number. I fully understand 3D printer capabilities and do not make such decisions lightly in my models.
I can highly recommend not just randomly changing numbers. Teaching Tech has a Tuning guide. A systematic way of tuning a printer, including overhangs, and bridging. These tests are what you need to set here. You also need to take a look at your slicing to make sure it is putting filament there. There are plenty of settings that will make it skip infill open small sections.
I understand the frustration this can cause but if you take the time with the tuning steps your printer will forever print better, and this section should not be particularly tricky.
You think so now… But you wouldn’t like error in your CNC parts. If your printer is having trouble with this, an easier printing part might contain errors instead that could affect how the machine runs, so tou could print it, and instead have trouble with assembly, or operation.
No such thing as something for nothing. These parts are actually quite easy to print for most people. Your printer has something weird going on, but there is nothing in these parts that I don’t see in other parts that I print often.
You could try adding manual supports in that area, it might get past whatever is going wrong, but I think you would be happier if you went through a printer tune-up and were able to print the parts as they are. Just my thoughts.
Just to see, I’ve pulled my old Mbot clone printer out and a spool of PLA from 2015 to see if I can get a print out. I still have a slicer profile for that printer… I know I can print it on my old (but newer than the POS Mbot) printer, because I did print some of the parts in PETg on it. It should be finished either a pair of trucks or a plate of spaghetti in a couple hours.
My printer had had some « hard time » printing that part of the truck.
Mine are not beautiful to look at but i had also told me it was only a kind of support for the top motor attachement.
Your last truck picture seems to be good, i would definitely use it in a build.