No. The worry was that it was so far off that it was causing big bites. I don’t think you’re that far off.
I don’t know anything about the shapeoko.
It depends. You will need to replace your bits. They are consumables. They will make more cuts to remove the same amount of material, and they can get hotter, which can dull them faster, but only if you exceed the temperature where they get softer. It really isn’t something a beginner should worry about, IMO.
You have to see there are people who think things have to be perfect, and they end up spending $15k on a machine and follow all the rules. That’s fine. This is a different beast. This is about opening a door that was previously closed to the rest of us. If you can cnc something, then you’ve got a lot of projects that open up. You won’t be able to do it fastest or with the most precision. But you can do it.
The remaining chatter doesn’t look too bad. A finishing pass would clean that right up.
Good to hear, then I will leave it like this for now, I first want to do some projects.
It’s also a hobbiest oriented machine like the X-carve. But they cost around $2000,-
I’ll do some testing, what do you think about the Feeds & Speeds I used for the butterfly?
Yes exactly, I’m also on the Dutch cnczone forum. Sometimes it’s easier because I can write in Dutch. But the machine most of the guys at that forum have are more (semi) professional.
The first advice someone gave me is that my DOC was to low… it should be at least 9mm or so…
I’m pretty happy with my machine, I still can’t believe this budget machine can do great stuff.
Yes I should have done a finishing pass, I’ll do that next time.
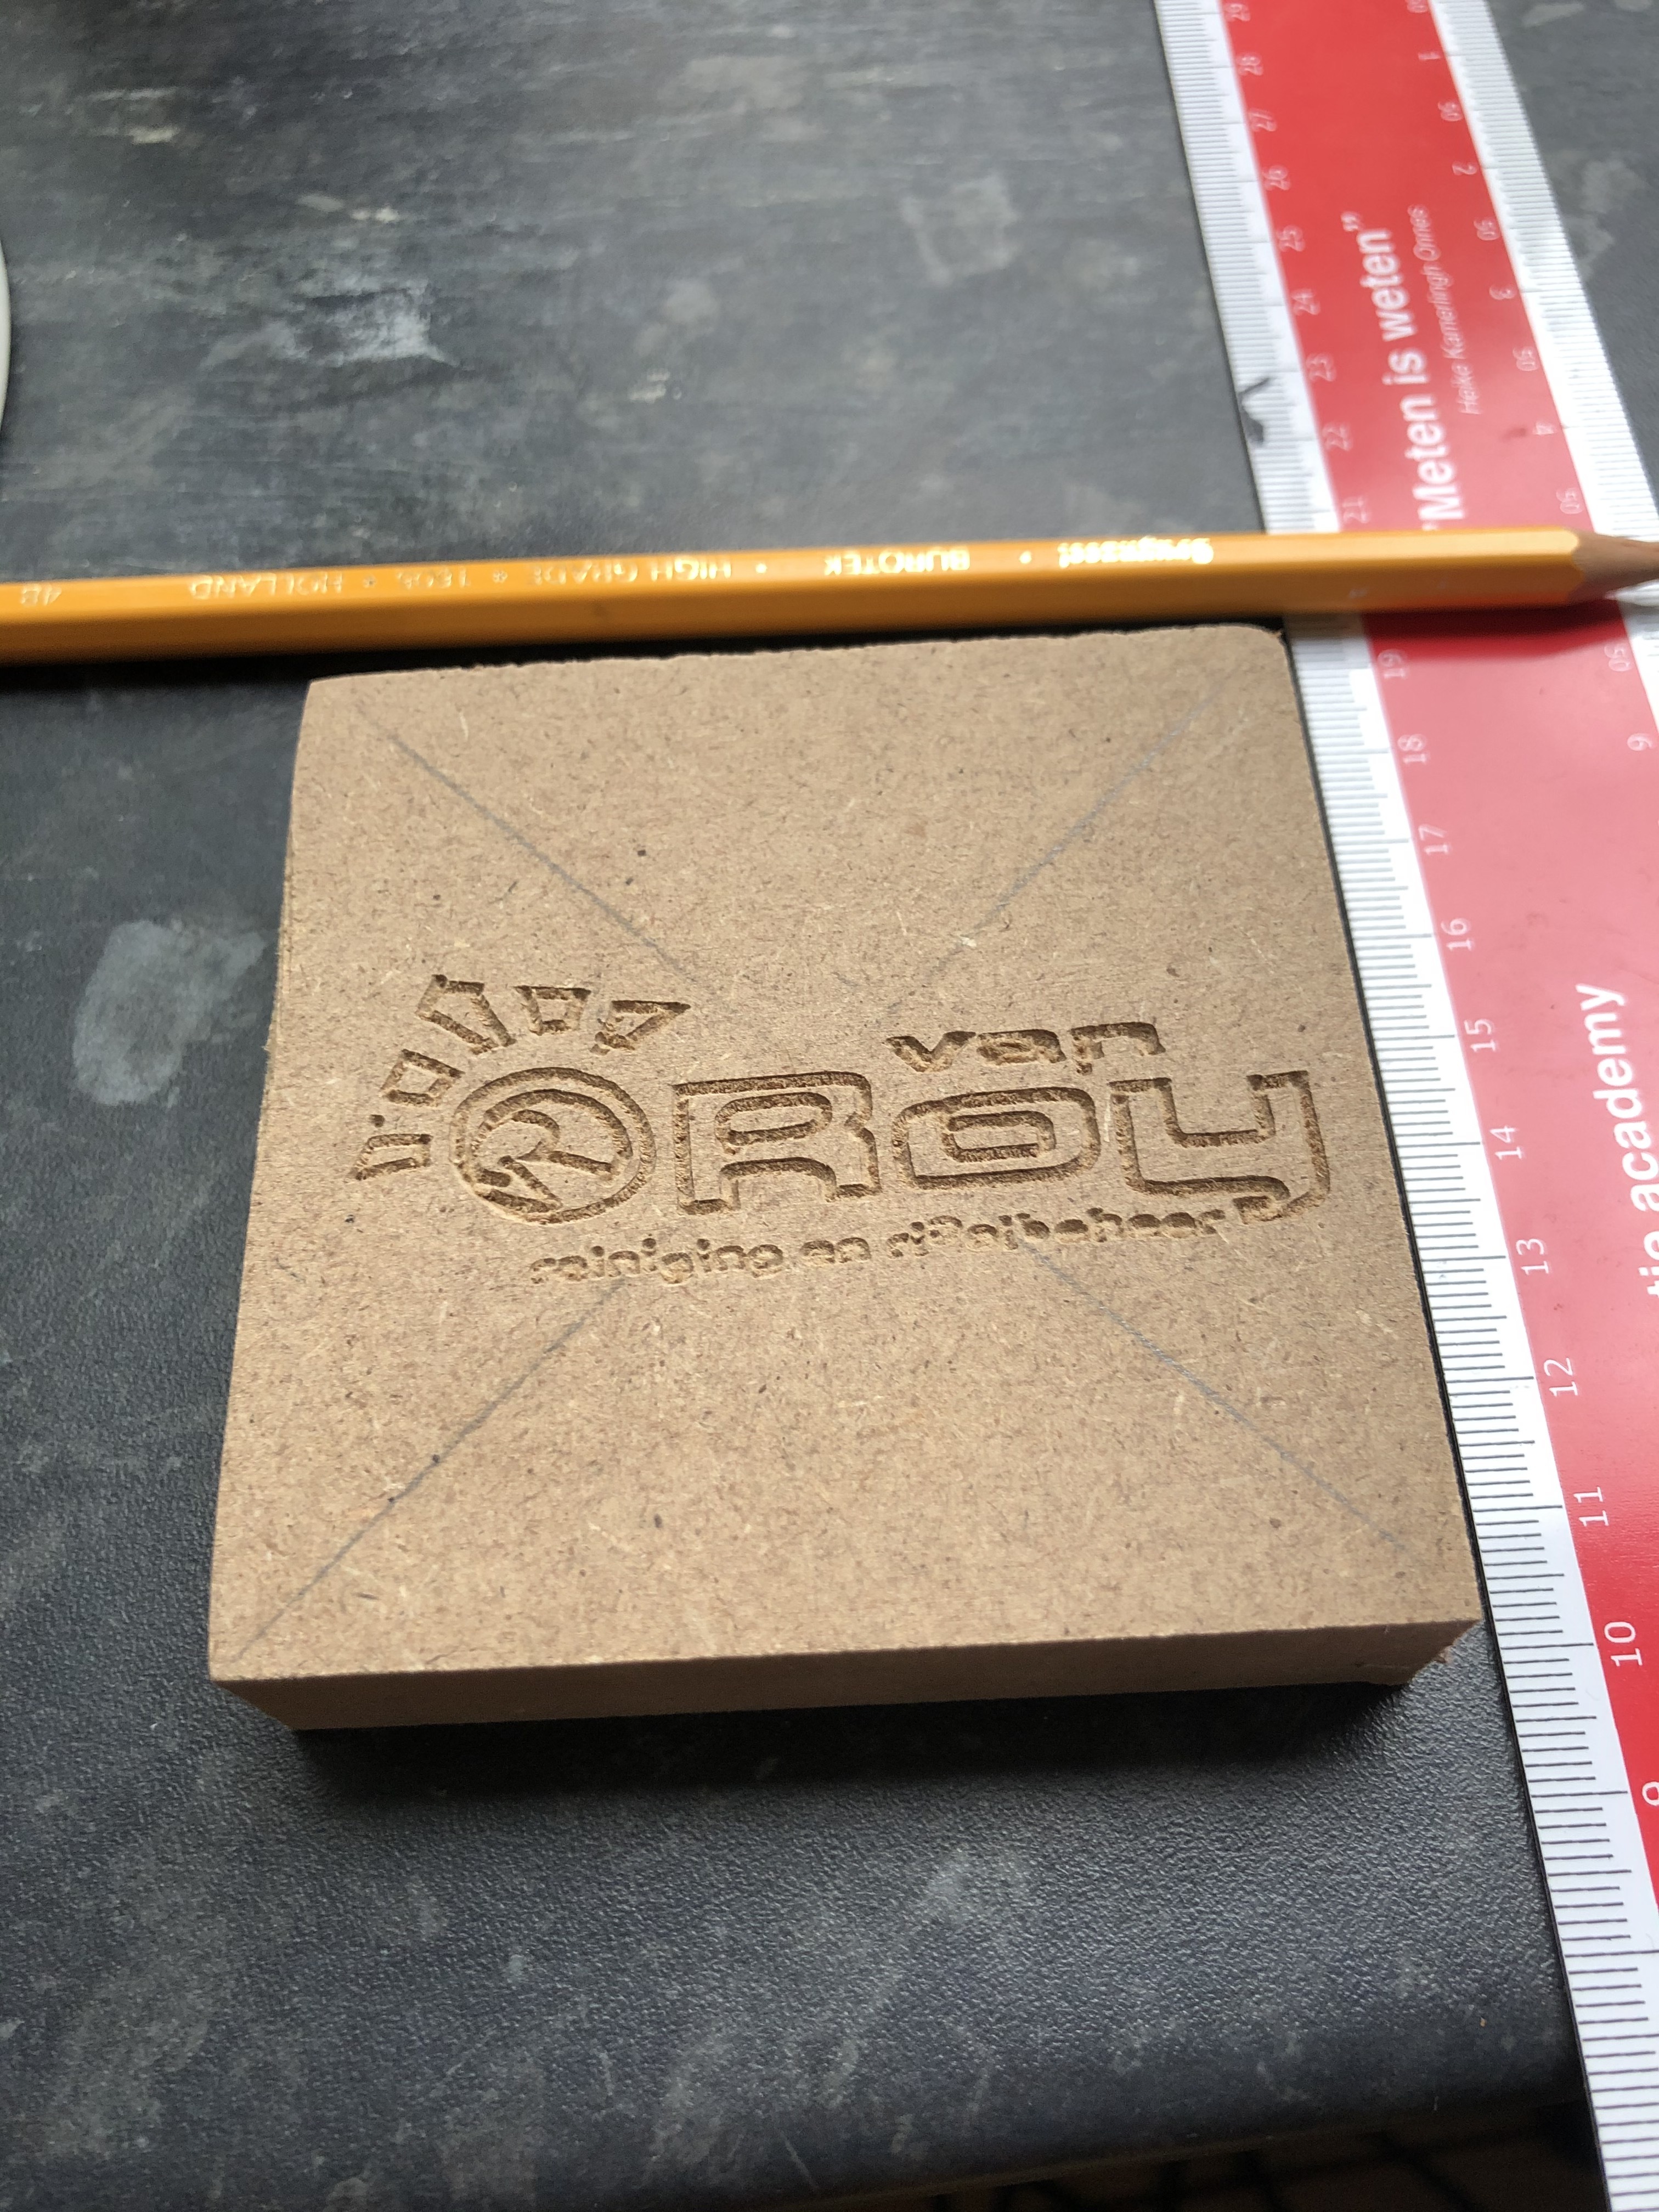
So someone asked me to do an engraving on some coasters so I was trying to do this on some MDF first. The result is pretty good, although it’s really small 80x80mm.
What I do notice is the circle isn’t a circle but more like an egg shape and not everything is straight (like the small letters). It’s a bit squased in the height/Y-axis, so the ratio between the x and y isn’t correct.
How can I improve this?
I haven’t tried anything yet, but would it be better to set my microstepping a bit lower? I think it’s set to 1/32 microstepping now. Is 1/16 better for the MPCNC?
I will check everything when I’m home… could it be that the bolts are too tight? I’ve tightened everything. The X and y axis doesn’t have to be really tight right?
In my first thread you also mentioned digipot, I didn’t understand it at the time but I still don’t know what you meant by it. Could you have a look again please?
In ‘Configuration_adv.h’ is where I find the settings of digipots, btw how do I post the code like you do in the other thread?:
/**
@section stepper motor current
Some boards have a means of setting the stepper motor current via firmware.
The power on motor currents are set by:
PWM_MOTOR_CURRENT - used by MINIRAMBO & ULTIMAIN_2
known compatible chips: A4982
DIGIPOT_MOTOR_CURRENT - used by BQ_ZUM_MEGA_3D, RAMBO & SCOOVO_X9H
known compatible chips: AD5206
DAC_MOTOR_CURRENT_DEFAULT - used by PRINTRBOARD_REVF & RIGIDBOARD_V2
known compatible chips: MCP4728
DIGIPOT_I2C_MOTOR_CURRENTS - used by 5DPRINT, AZTEEG_X3_PRO, AZTEEG_X5_MINI_WIFI, MIGHTYBOARD_REVE
known compatible chips: MCP4451, MCP4018
Motor currents can also be set by M907 - M910 and by the LCD.
Older drivers line the A4988 and the DRV8825 have small potentiometers (pots) on the board for manually adjusting the maximum current to the motors. Newer drivers allow this to be set digitally through firmware/software, so they are digi-pots.
I’m running the older drivers, so I can’t advise you on what settings to use. I do recall reading you had to pick a value that mapped to the current you were aiming for, it wasn’t as simple as entering the amps you wanted, but since it wasn’t directly applicable to my situation it hasn’t stayed in my head.
Like I said, I haven’t used that board, so I’m not sure which of the current settings is the right one.
But it is probably one of those you mentioned.
Digipots are potentiometers that are set digitally. Which means the software can control the current limit. There are many different types, controlled with different software. So you’ll need to figure out which software setting is right for your board.
If you go too high, the motors will heat uo enough to deforn the pla. You want to keep them under about 50C. 1A seems like it should be fine, honestly.
Oké… I feel really stupid… I think I know why my latest test/work was out of ratio (squased).
1 of the stepper motors wasn’t connected and it wasn’t really obvious at all.
Now the next problem… now I want to get the dual endstops to work.
When I home the Y-axis everything is fine, but when I home the X-axis something is not working.
1 of the stepper motors isn’t moving at all.