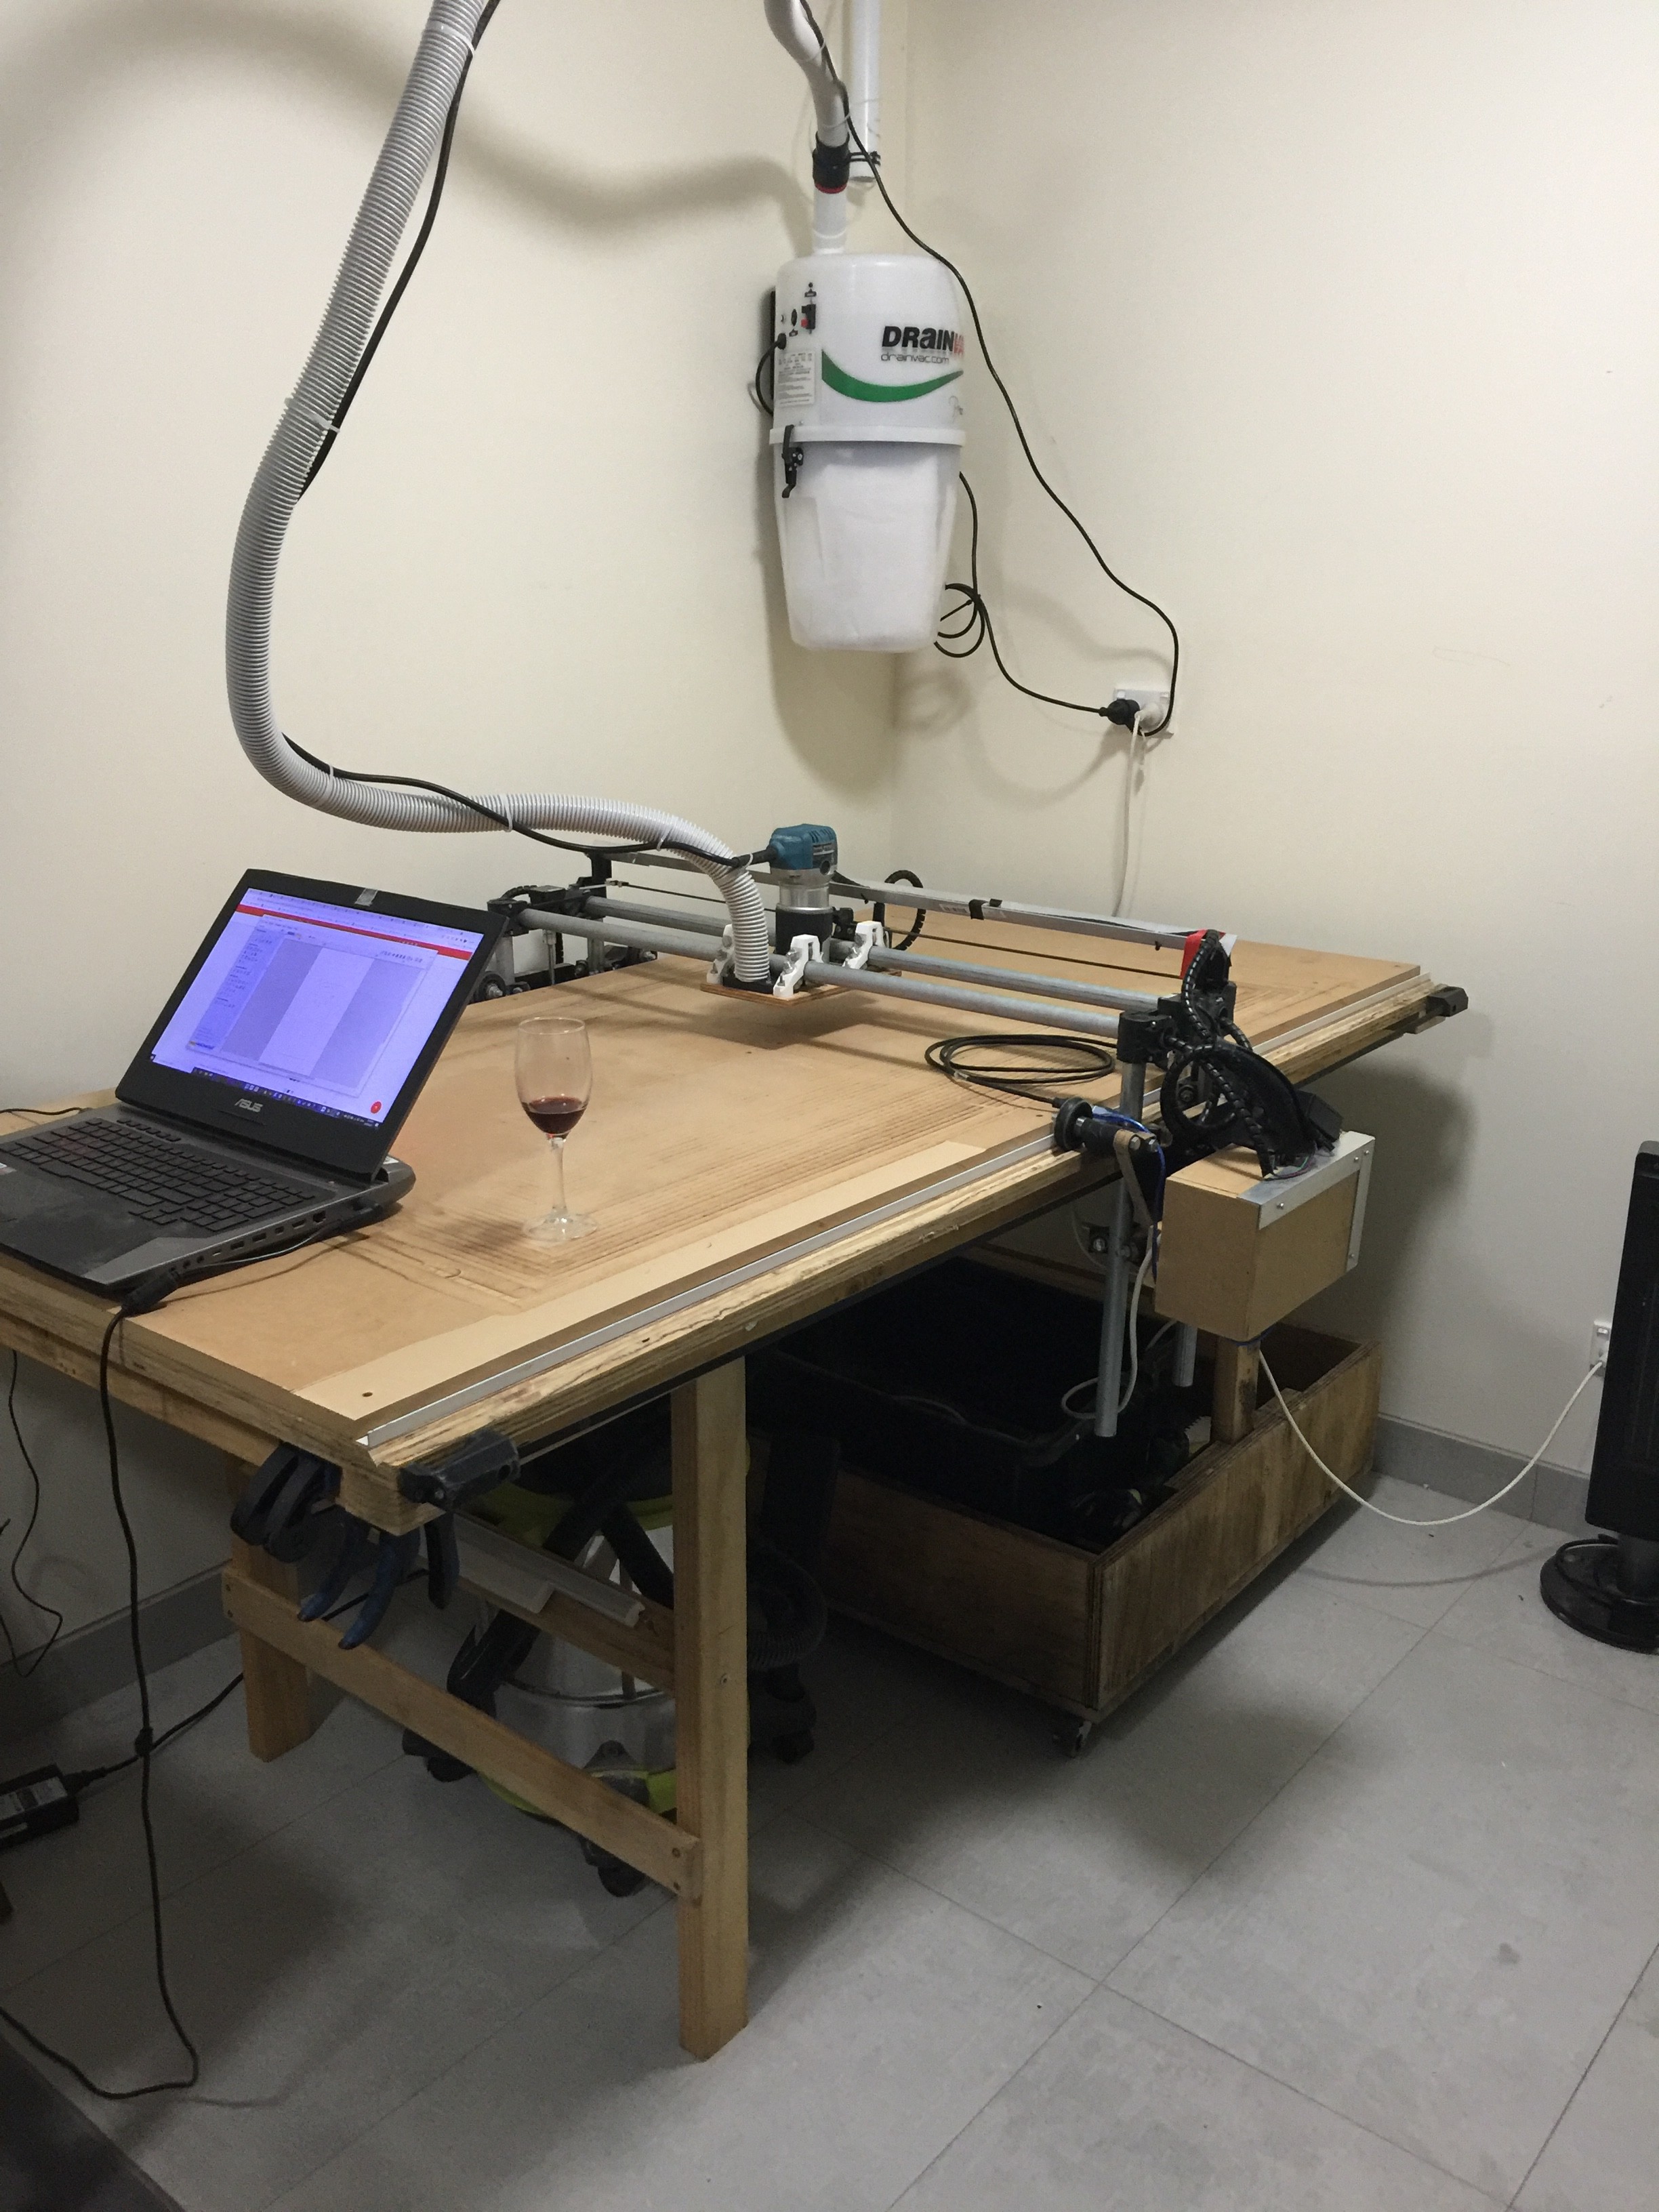
All is running smoothly.
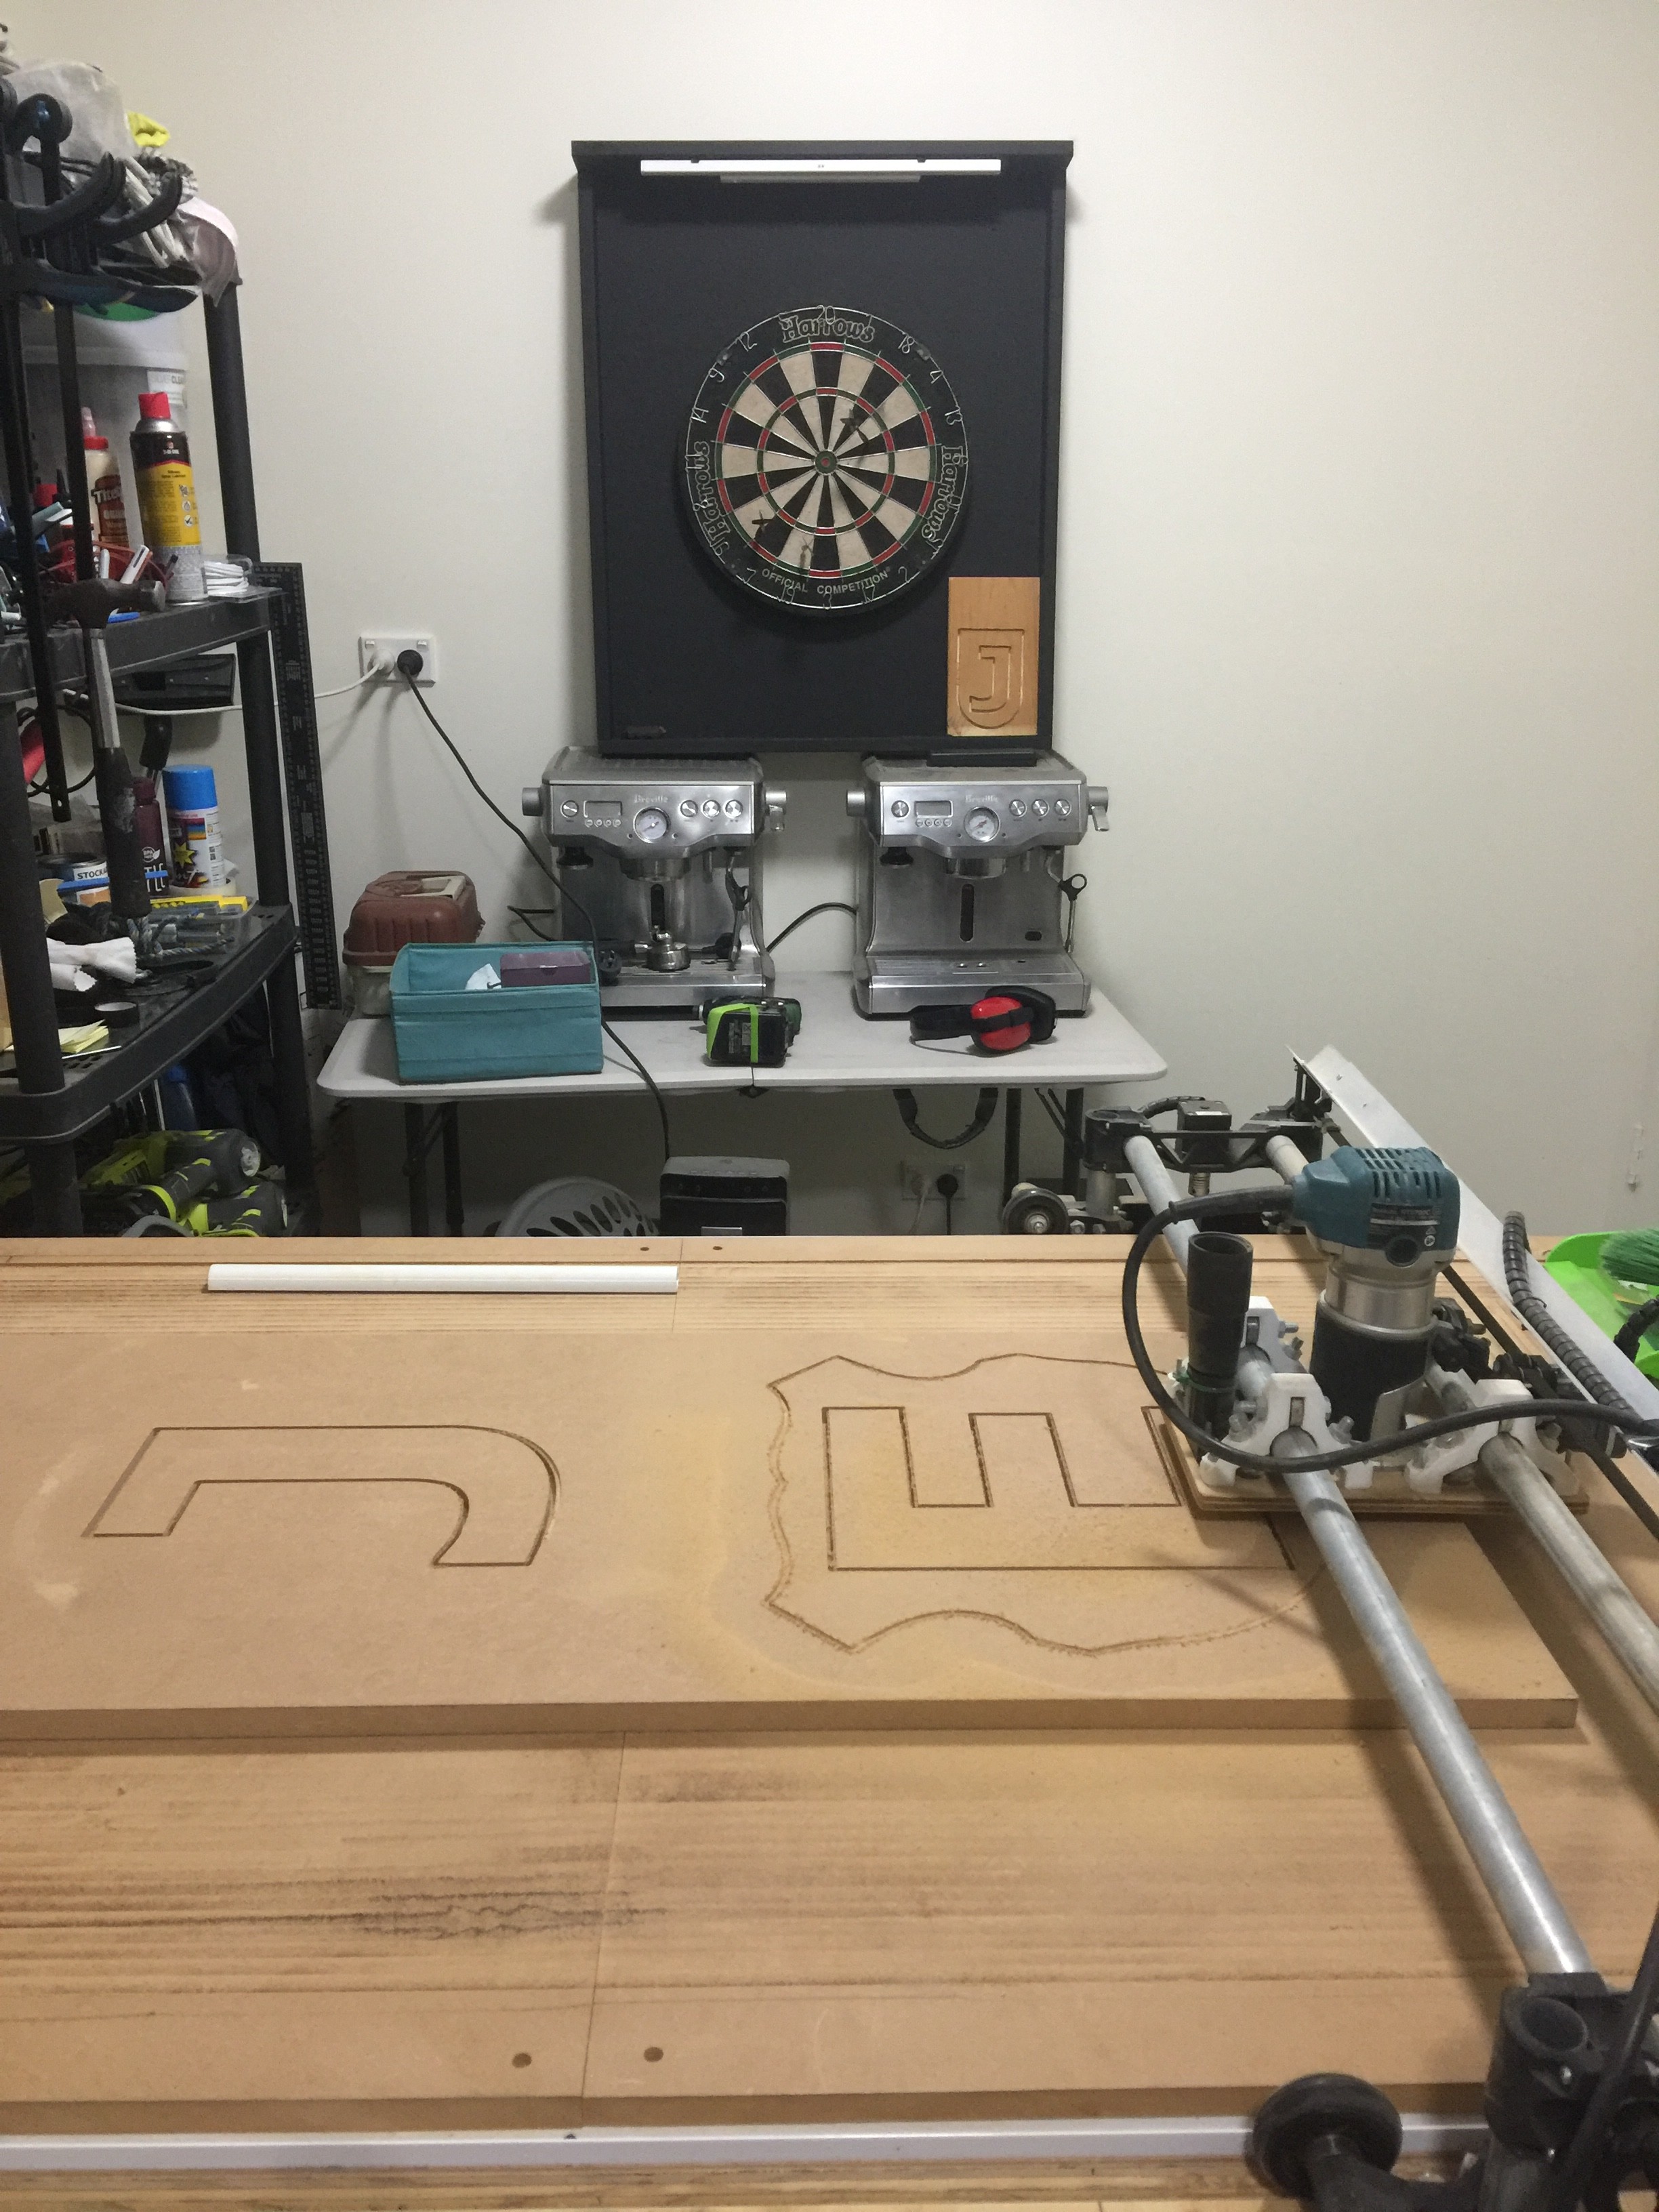
I have created several nice pieces and will try out a little V Carving shortly.
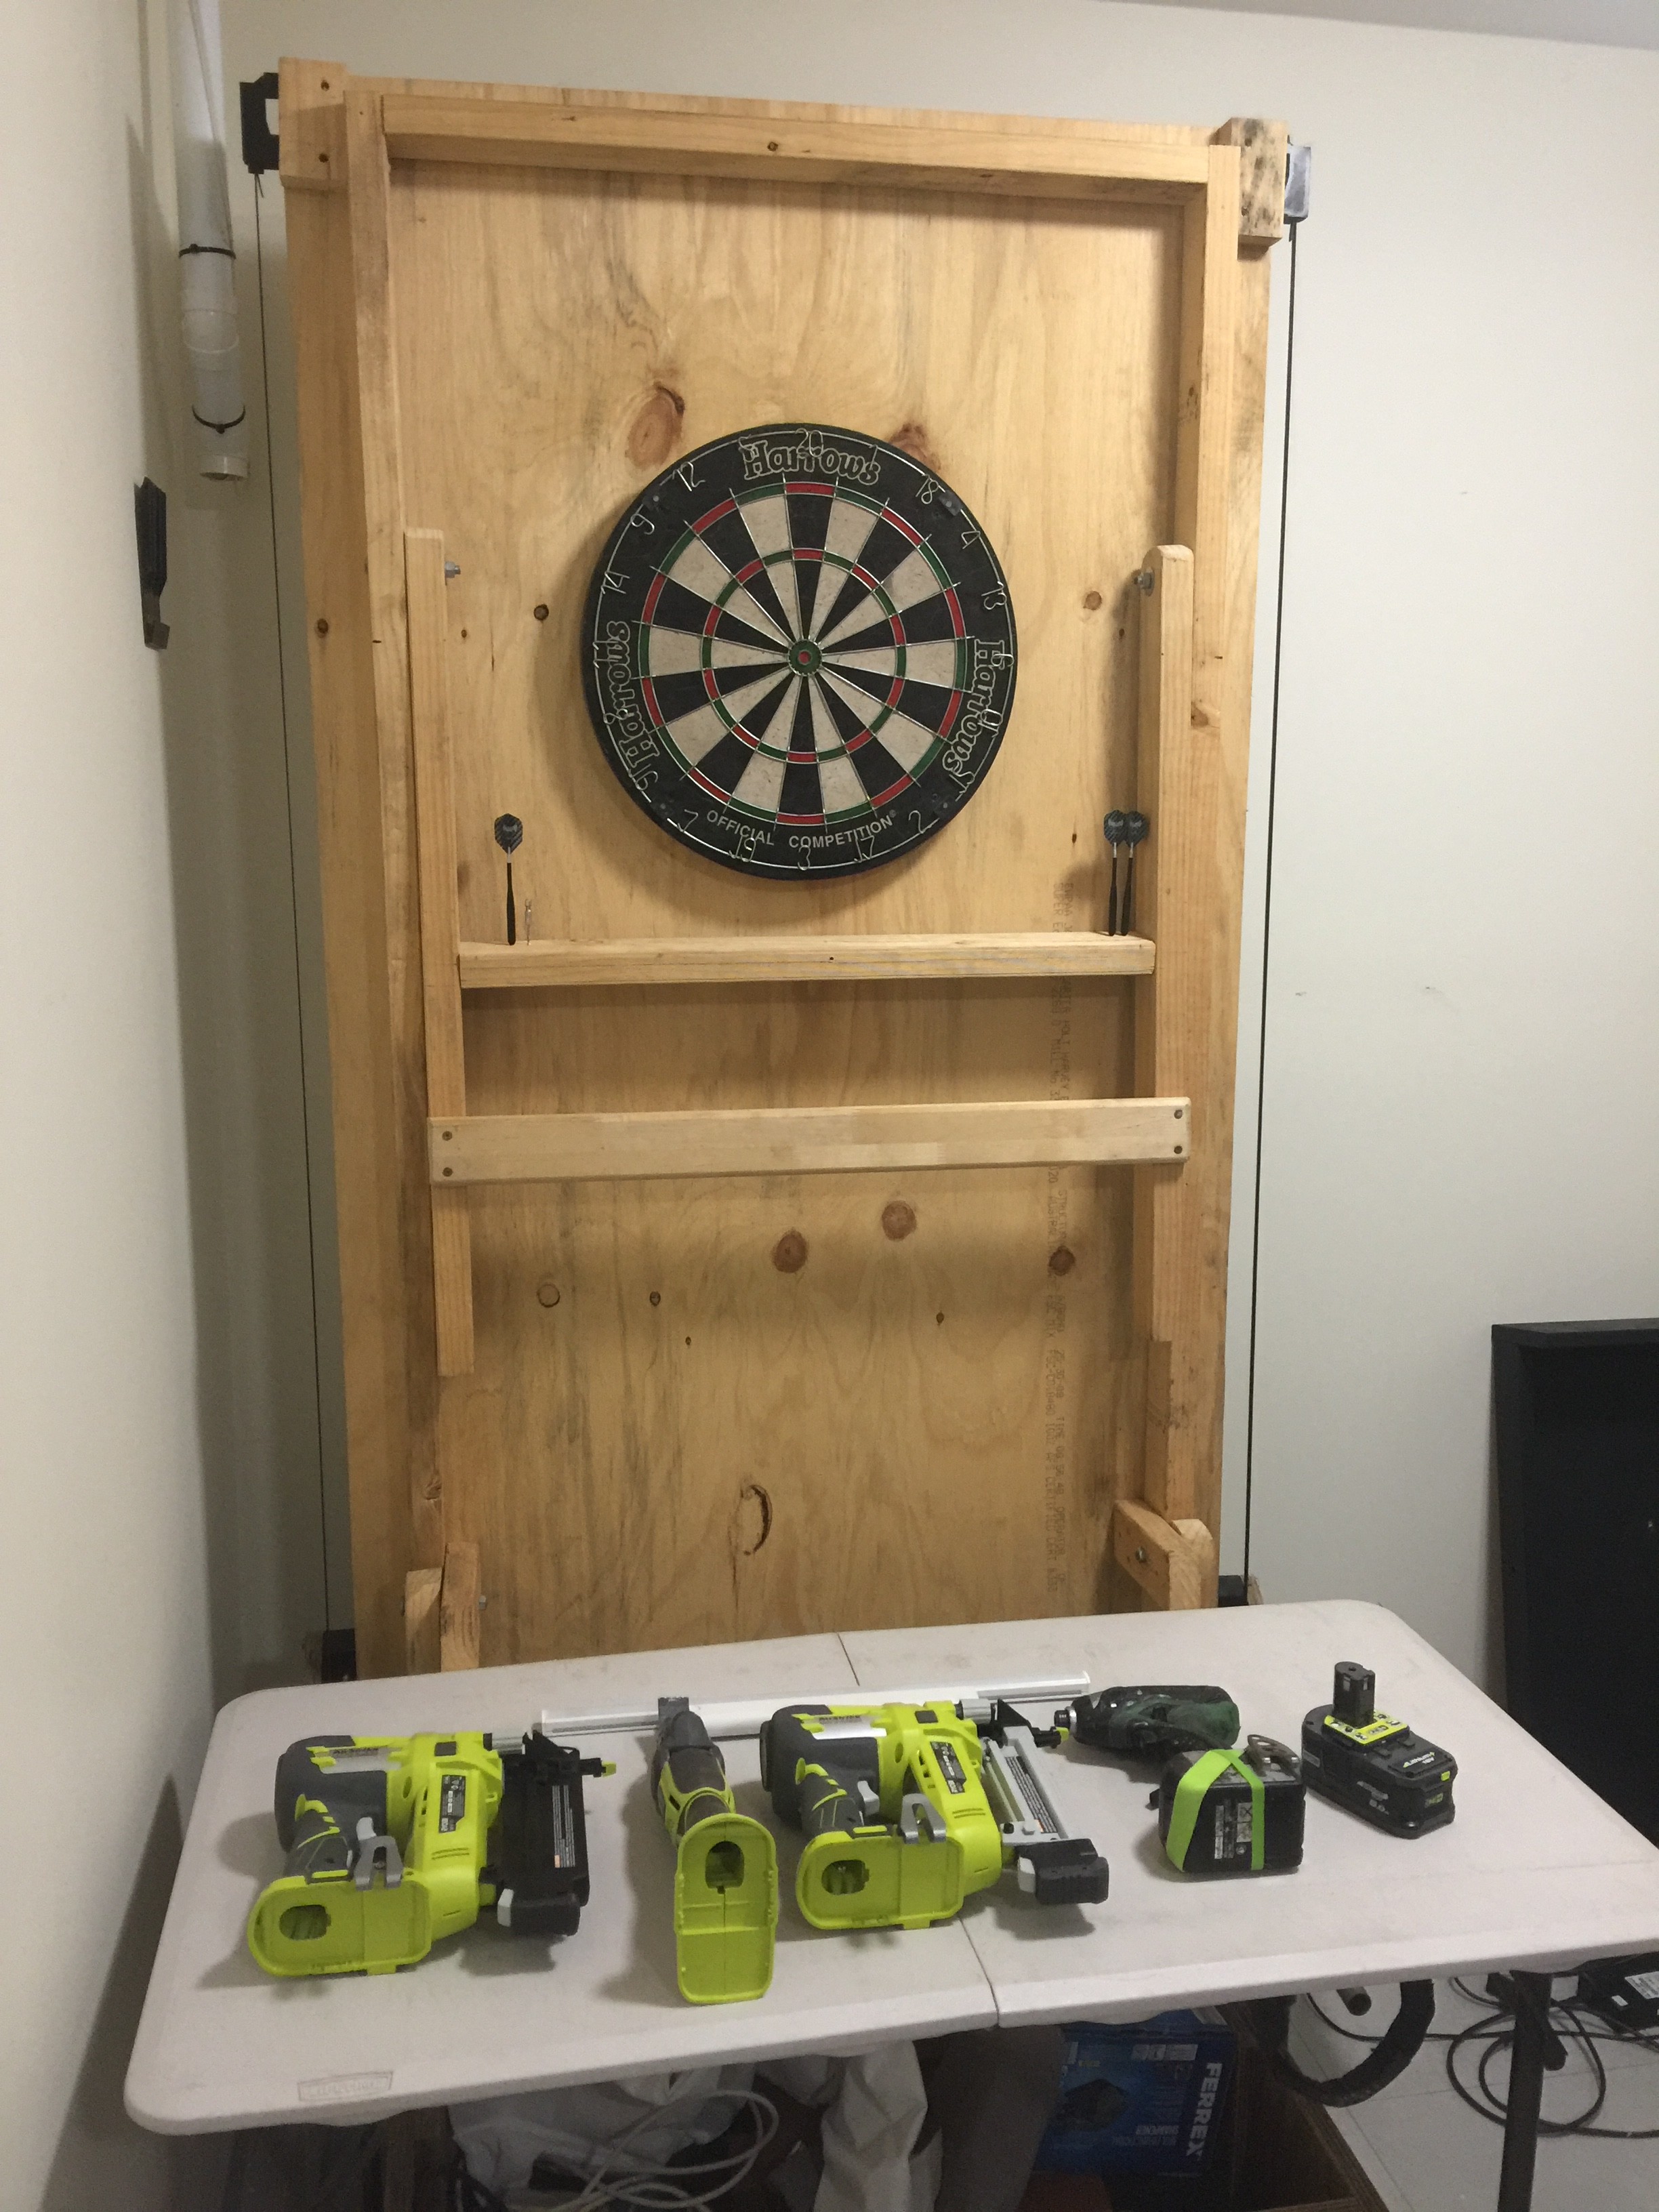
Add a dart Board !!
Being that the table can be stored vertically I decided to screw a dartboard to the bottom of the table. I added an LED strip to one of the table leg cross beams so now I can paly darts each evening as well.
The inspiration came to me just after I’d just finished constructing a dart board case as seen in the image below… I might use the black case as a table saw sled instead,
Moving forwards -
Have now moved into using ASPIRE
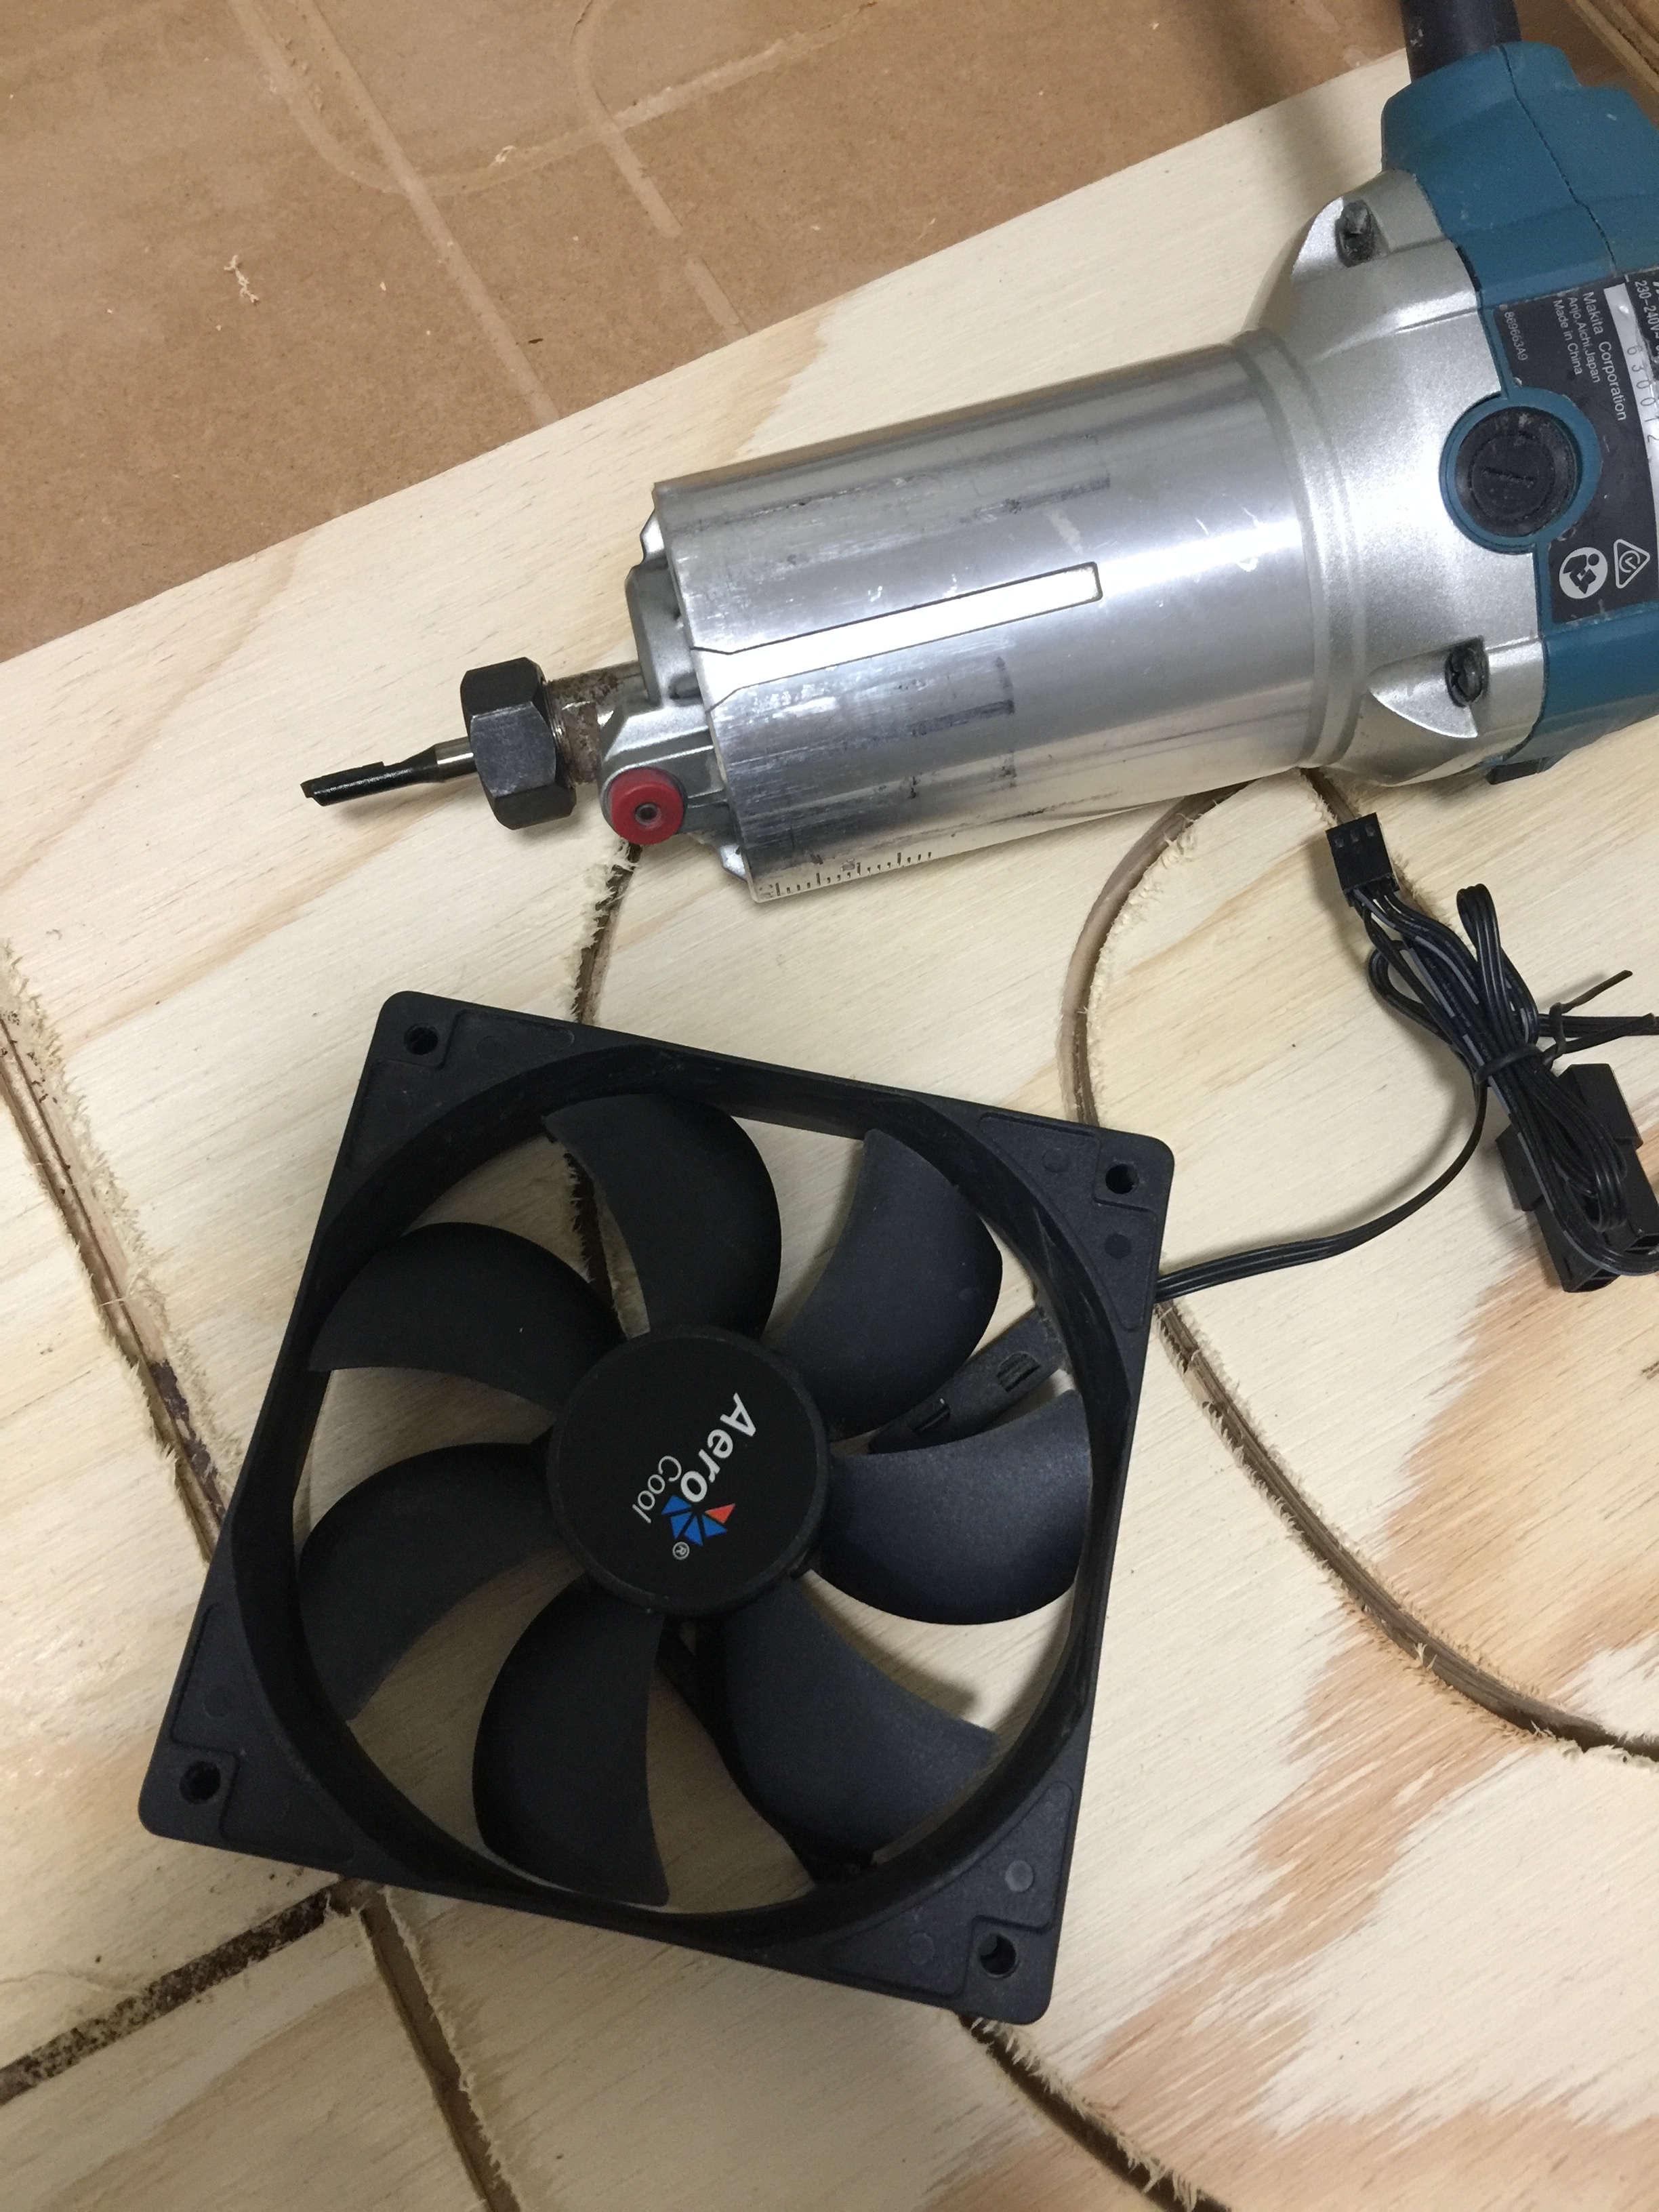
Am considering mounting my Makita table saw beneath the LR2 table so it sits flush withthe LR table surface… but am unsure as the table saw surface is metal meaning it would defeat the use of the spoil board… unless there’s a way to lift the table saw up so it sits flush & then drop it down out of the way & insert a portion of the spoil board back into place. This might be more a headache to level the spoil board though… hhmm ?
But right now my main concern is the twisting of the X-Axis tubes.
You want you table saw to be higher than the outfeed table. So you would have to have a removable spoil board. And I wouldn’t want to send my bit into my table saw, so you would also want a spoil board on the table saw, but those all need to line up at the end to be very flat.
Is your table saw portable or a contractor size? If it was a portable one, you could have the whole surface be one spoil board, and then remove the spoil board and put the table saw on a shelf where it was a little proud of the surface. But then, you still need a spot for the saw.
Another option is to build a table saw stand and just use the LR as a separate outfeed.
I have a tradie table saw (portable) and & built a small table with caster wheels for it.
It sits flush with the LR table but once I added the spoil board … no more. So I might simply add a little left over spoil board under the table table to boost it up slightly & be content with simply using the LR2 table as an outboard table for the saw.
Instead I might mount a Makita plunge router I have under the LR2 Table. :)
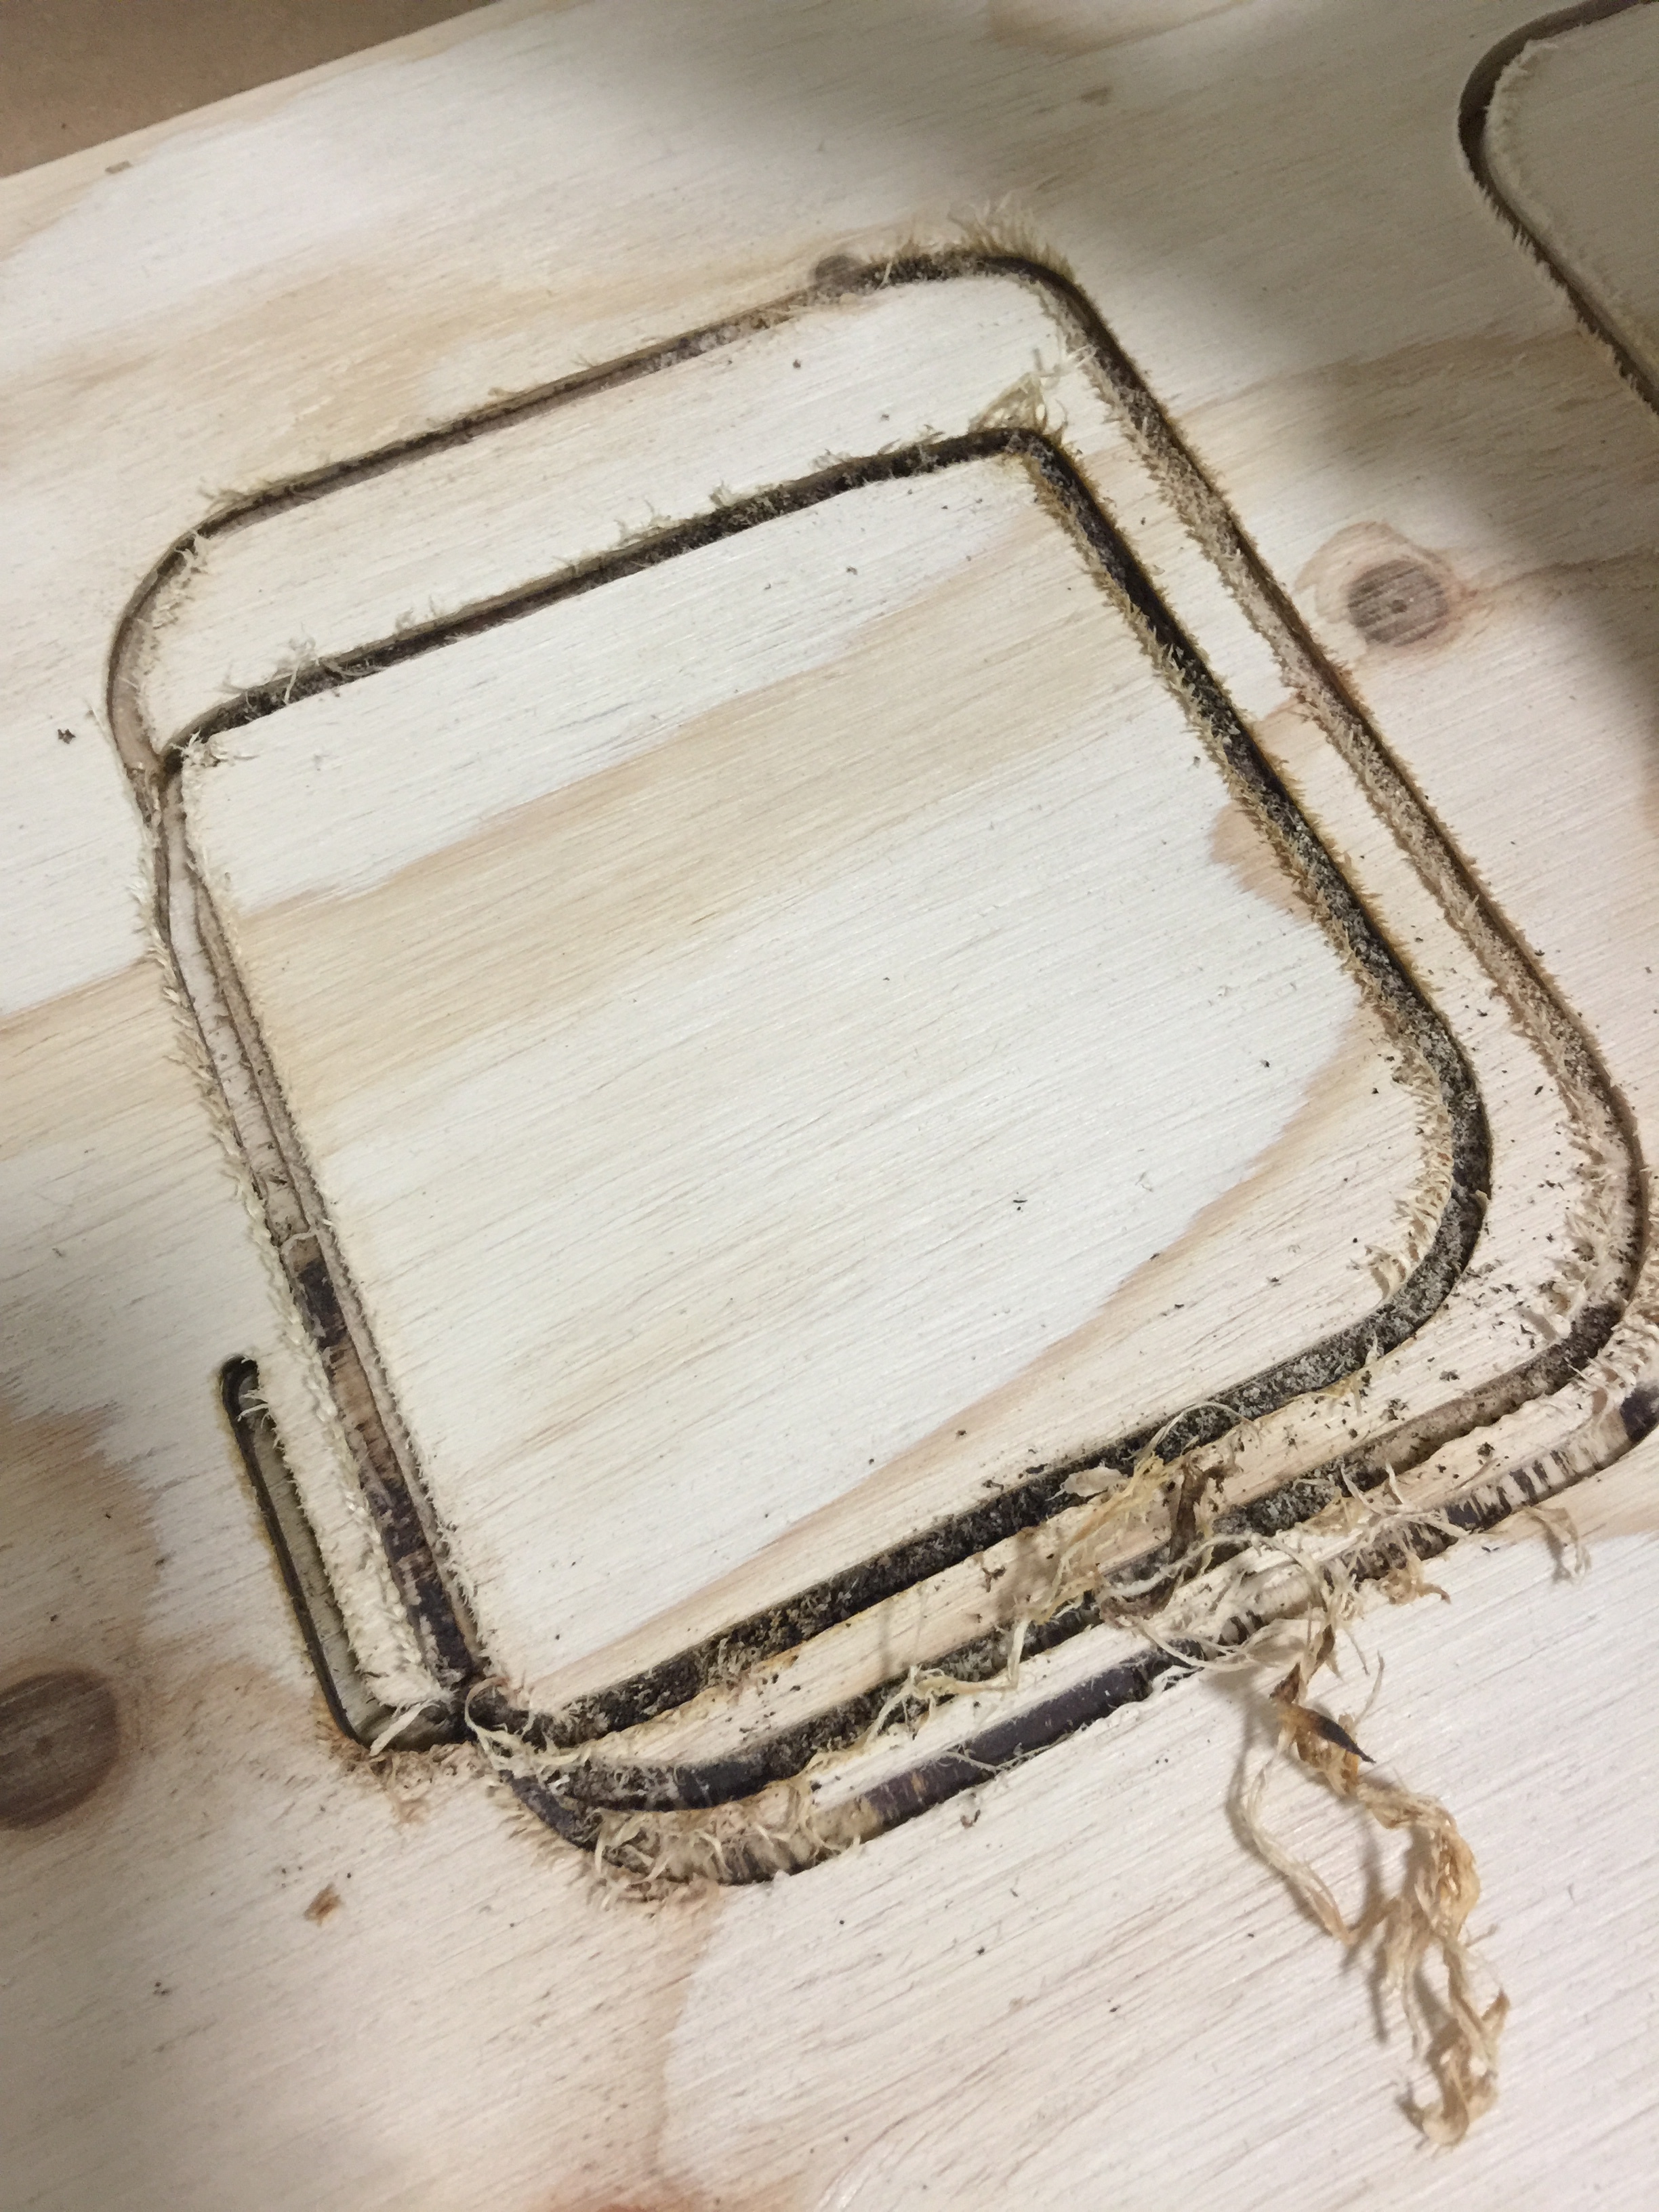
So it’s been a few weeks since my last post… so time for a quick update.
I’ve been running a few test cuts with12mm plywood. The cuts started out very smooth but after 10-20min. suddnely the machine starts missing data been sent to the drivers & the machine begins moving erratically in the X-axis direction. To the extent that I have to stop the machine and reset everyting which in turn means I just wasted a lot of plywood
Plasma Cutter / Welder
I have recently backed a KickStarter campaign called “YES Welder”
A 4 in one welding system… TIG / MIG / ARC & PLASMA !! all in one box WOW !
The TIG has no foot peddle and it is a DC welder… so best for backyard projects only I feel.
I’m wondern how the plasma cutter would go on a LR2 ?