Hi 
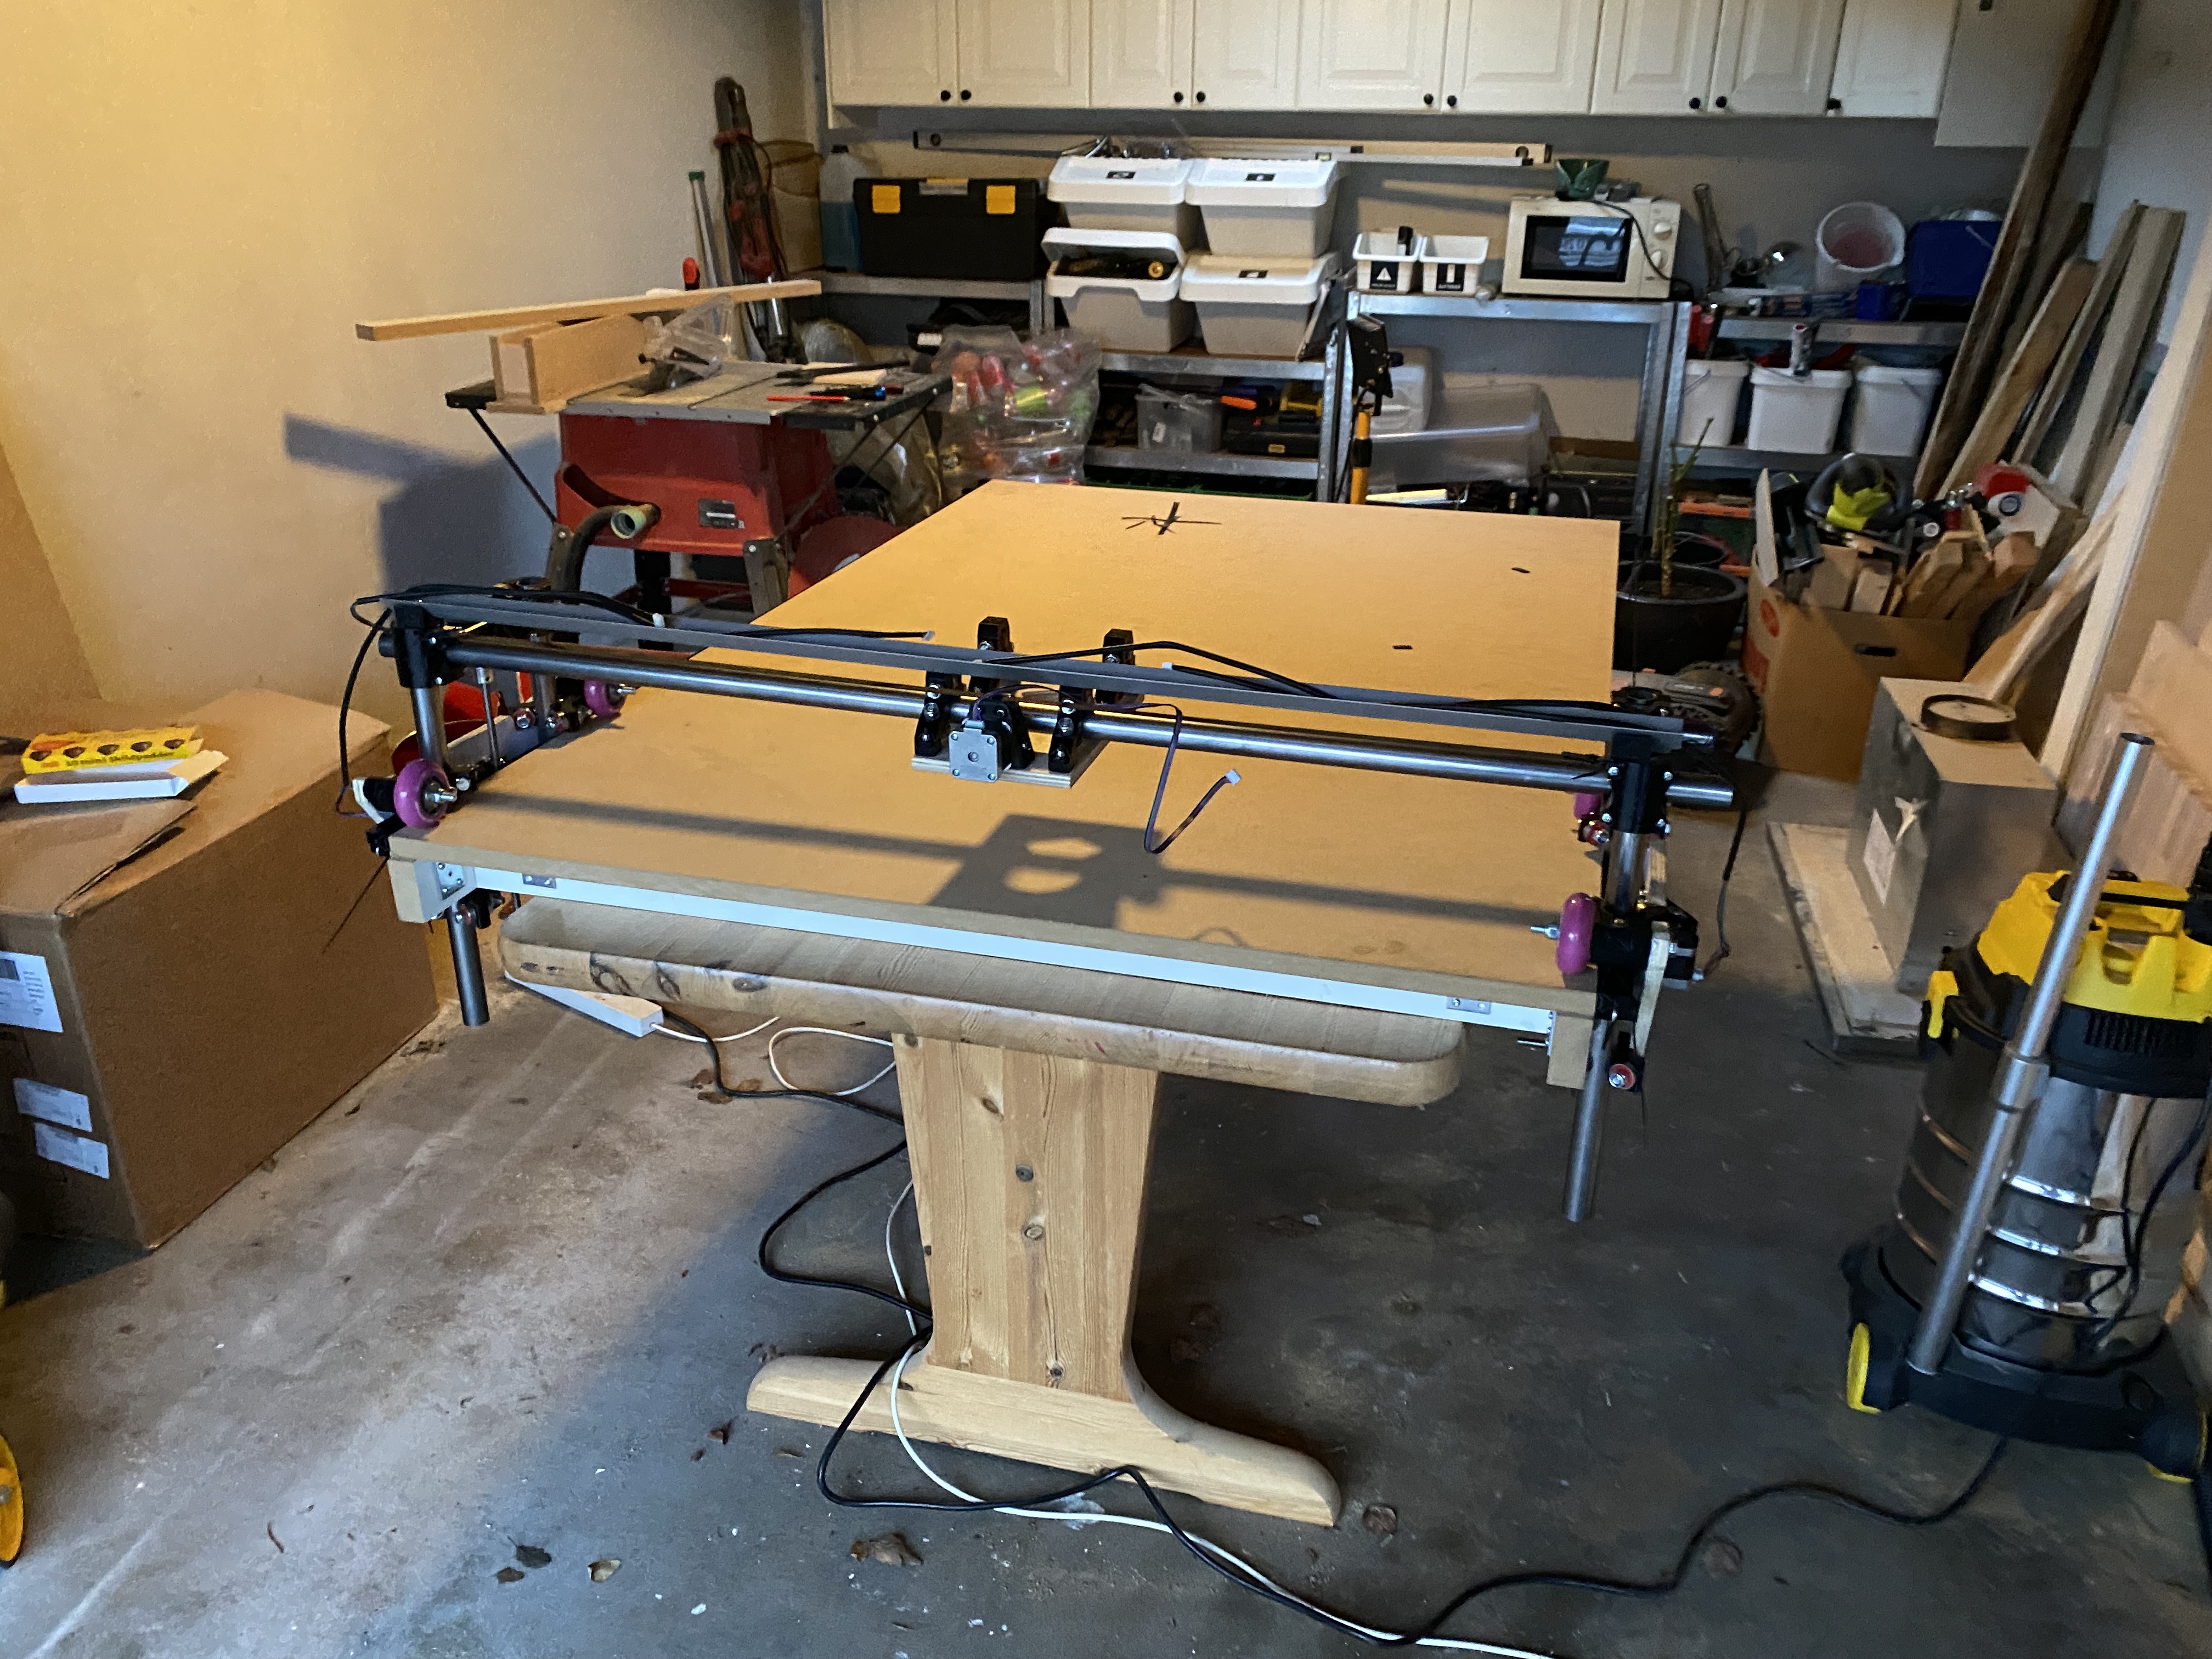
Wanted to share my progress on building a pretty janky version of the Lowrider 2 with a work area of 1200x800mm.
My goal has been to keep the price low by using as many parts and tools I already have laying around.
- This is Janky! Please do not take any of my choices as advice for your own build 
All printed parts has been printed, on my Prusa MK3, in the cheapest Black PET-G from my local filament pusher.
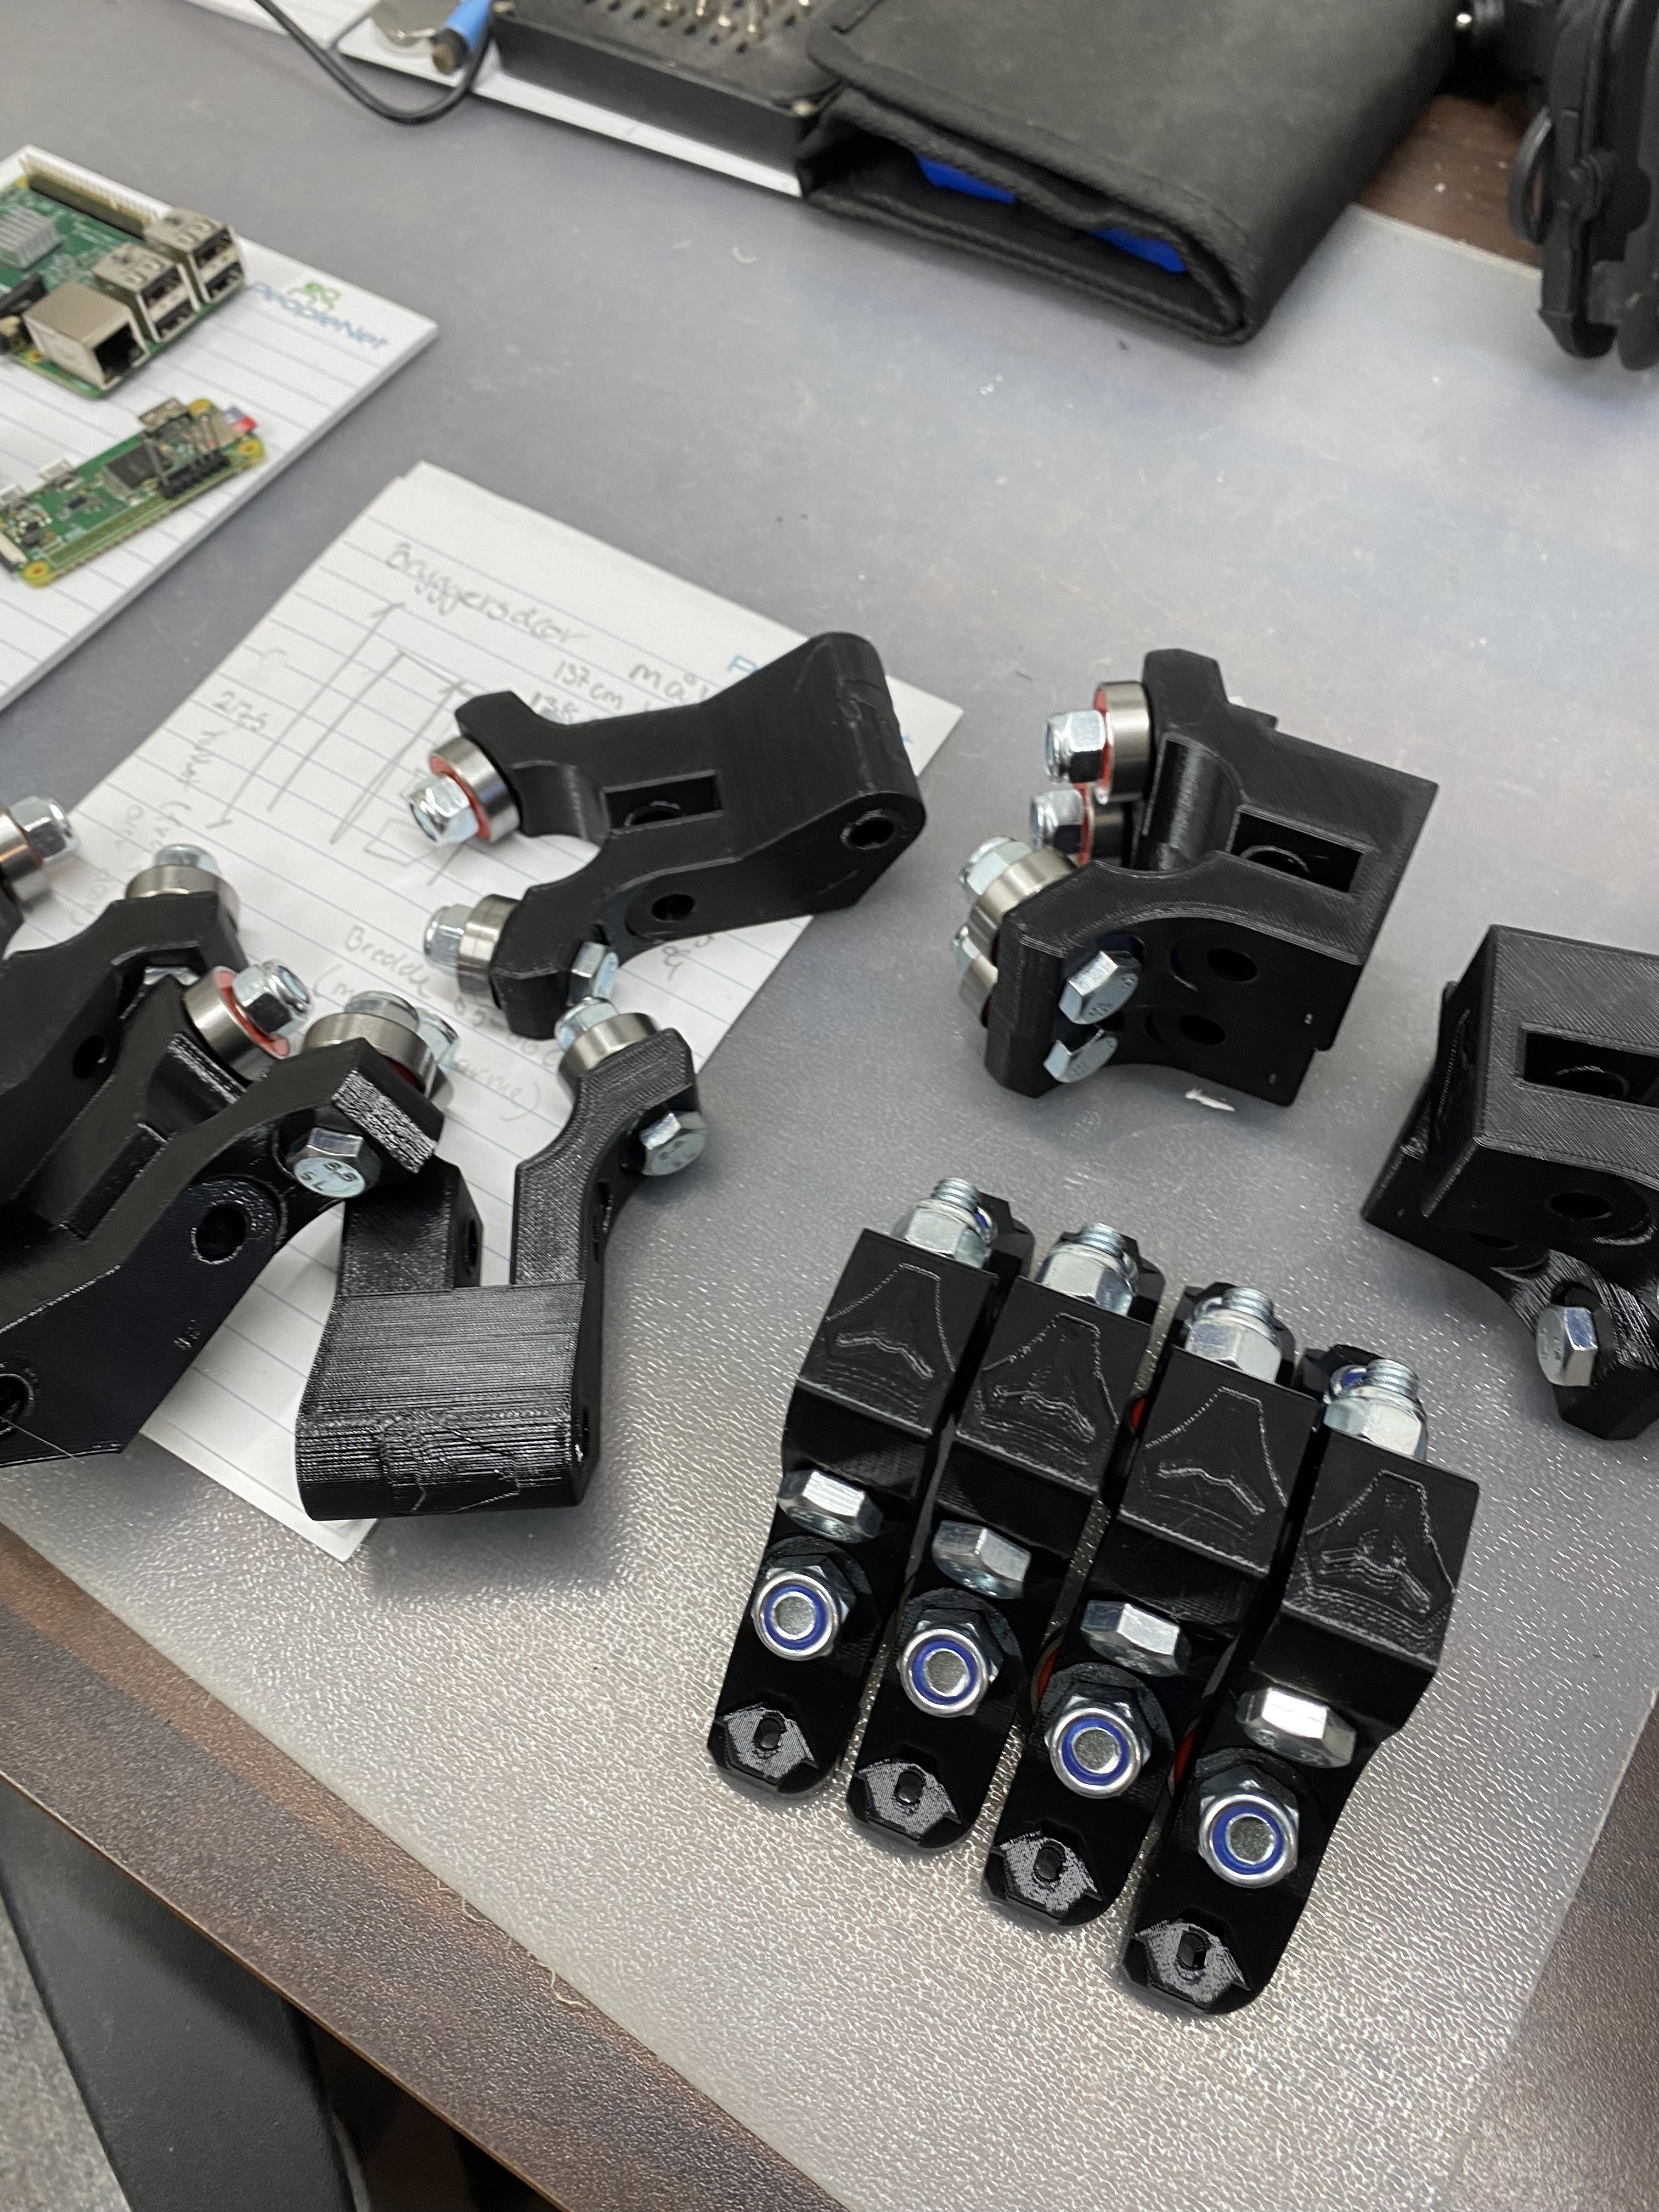
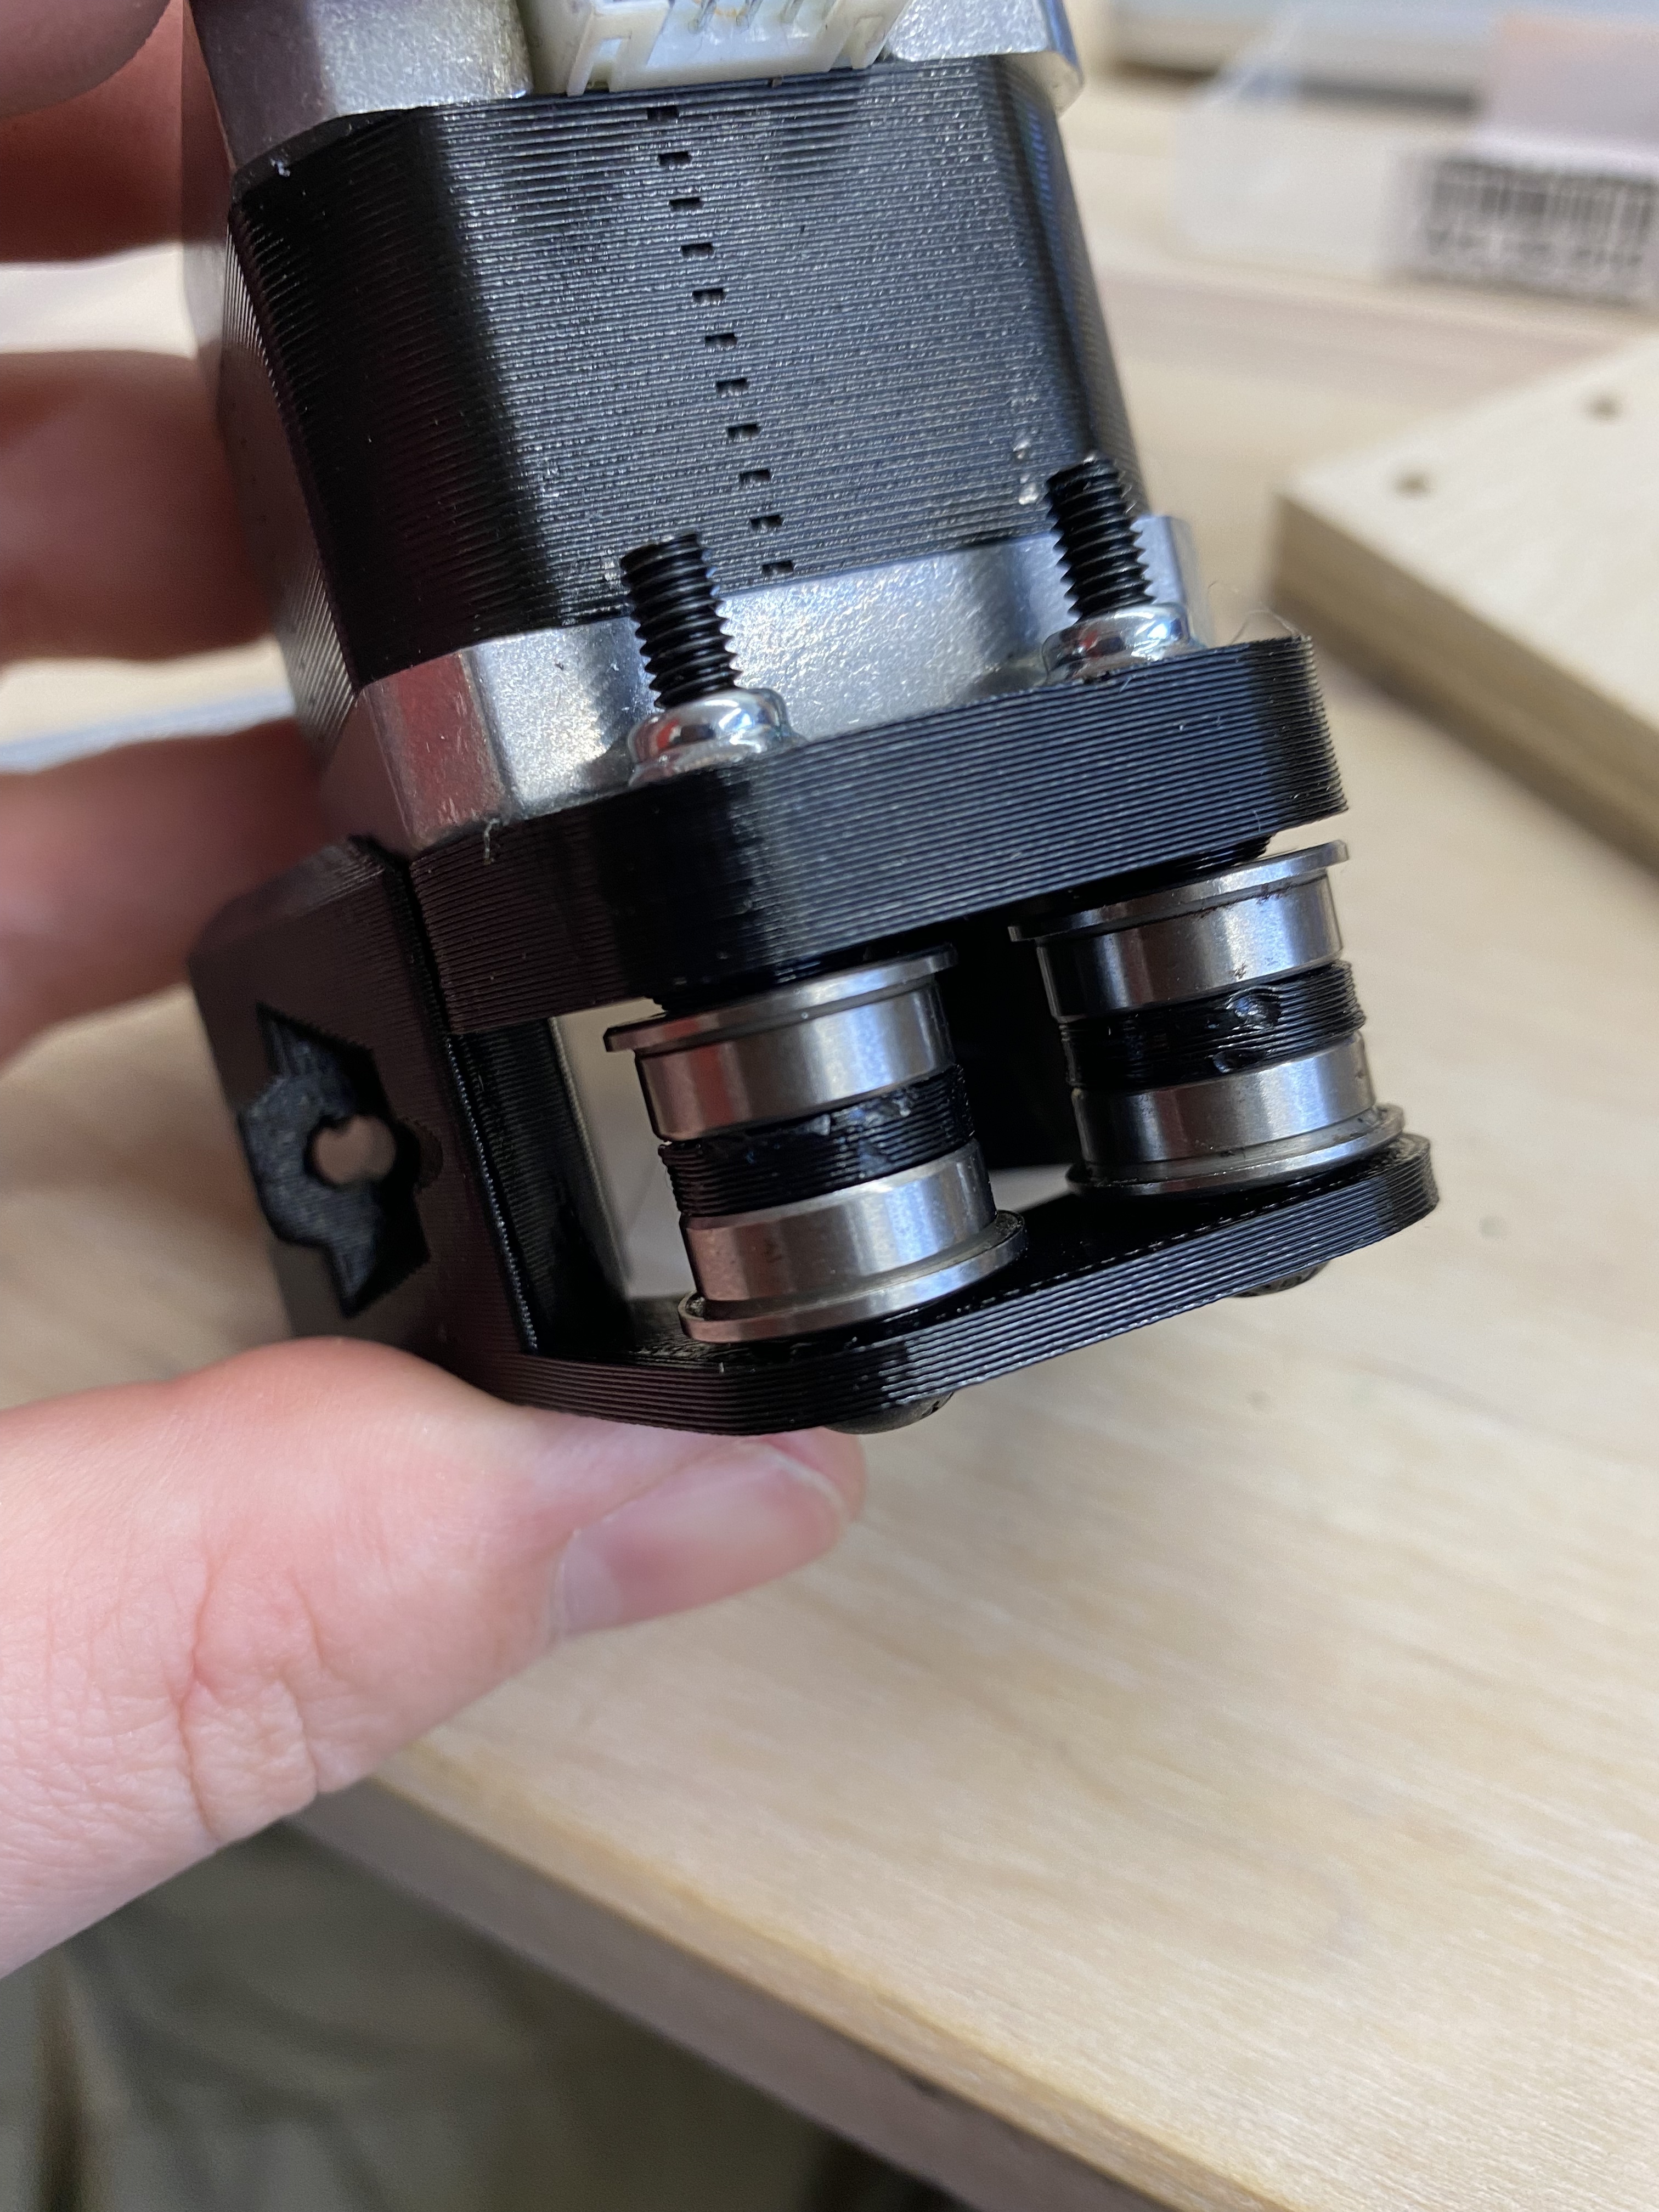
For the Y motors i failed to order the correct idlers so i ended up using some bearings from another printer project, and some 3d printed spacers.
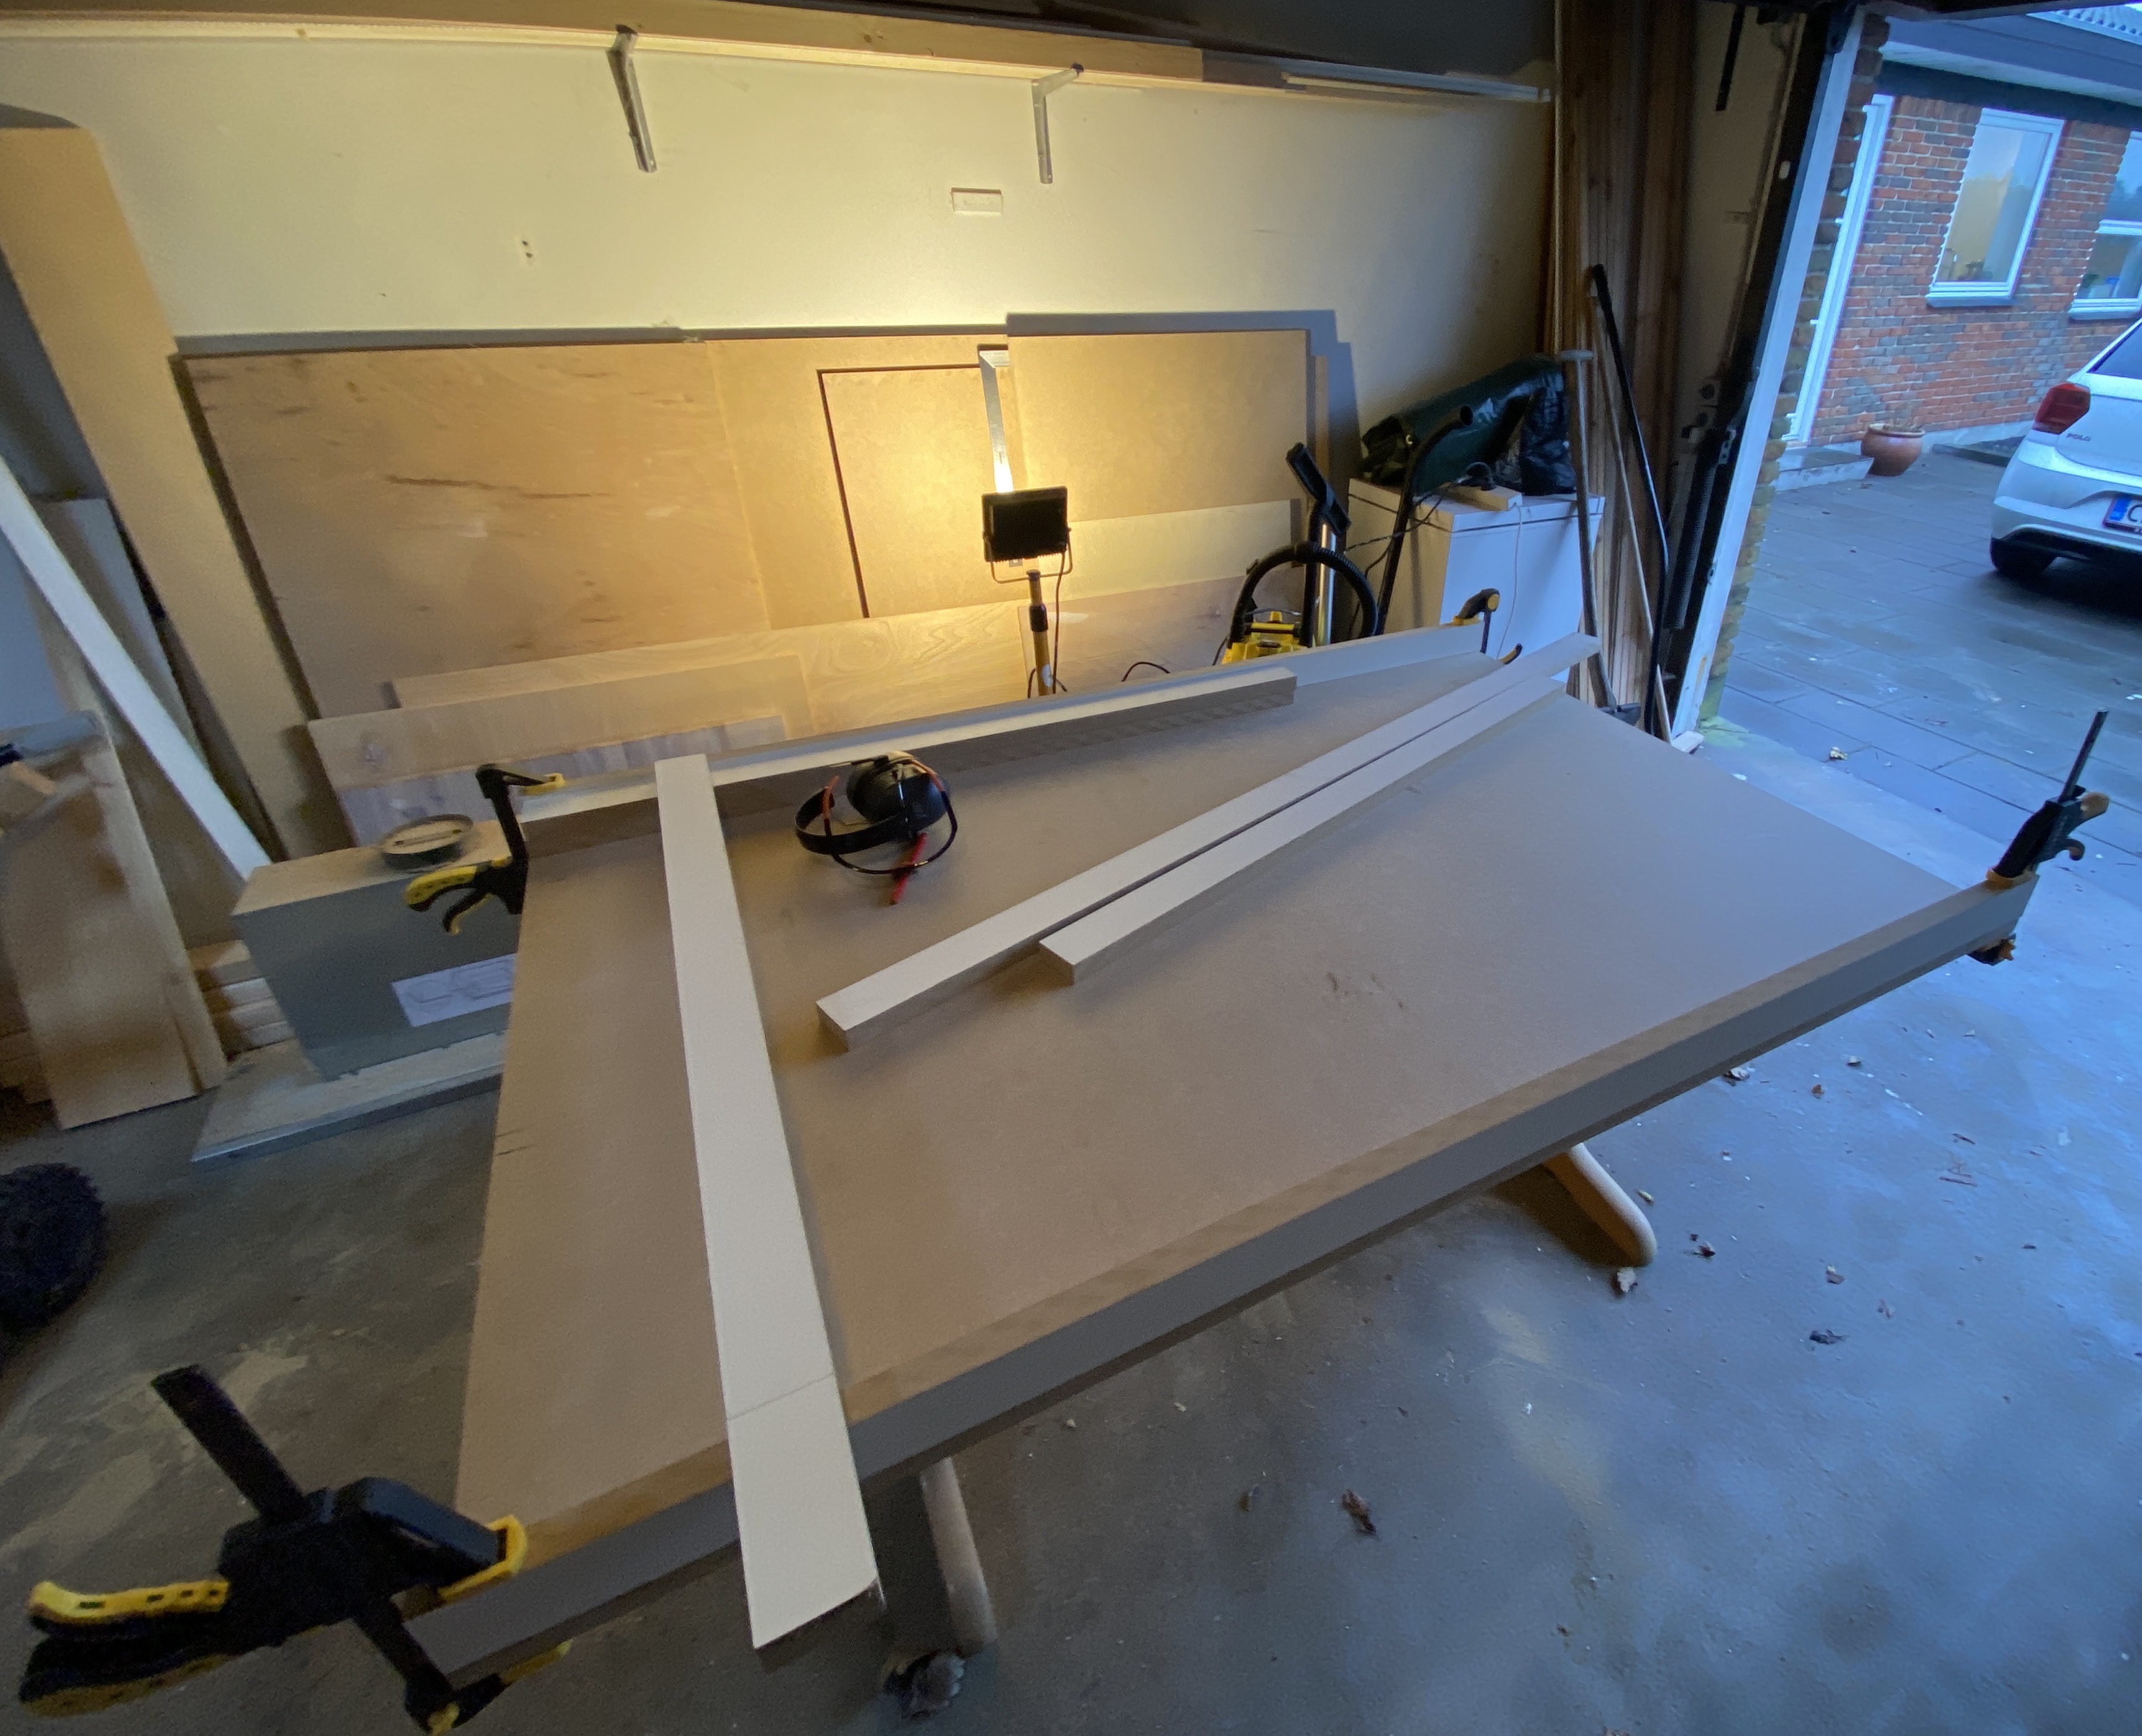
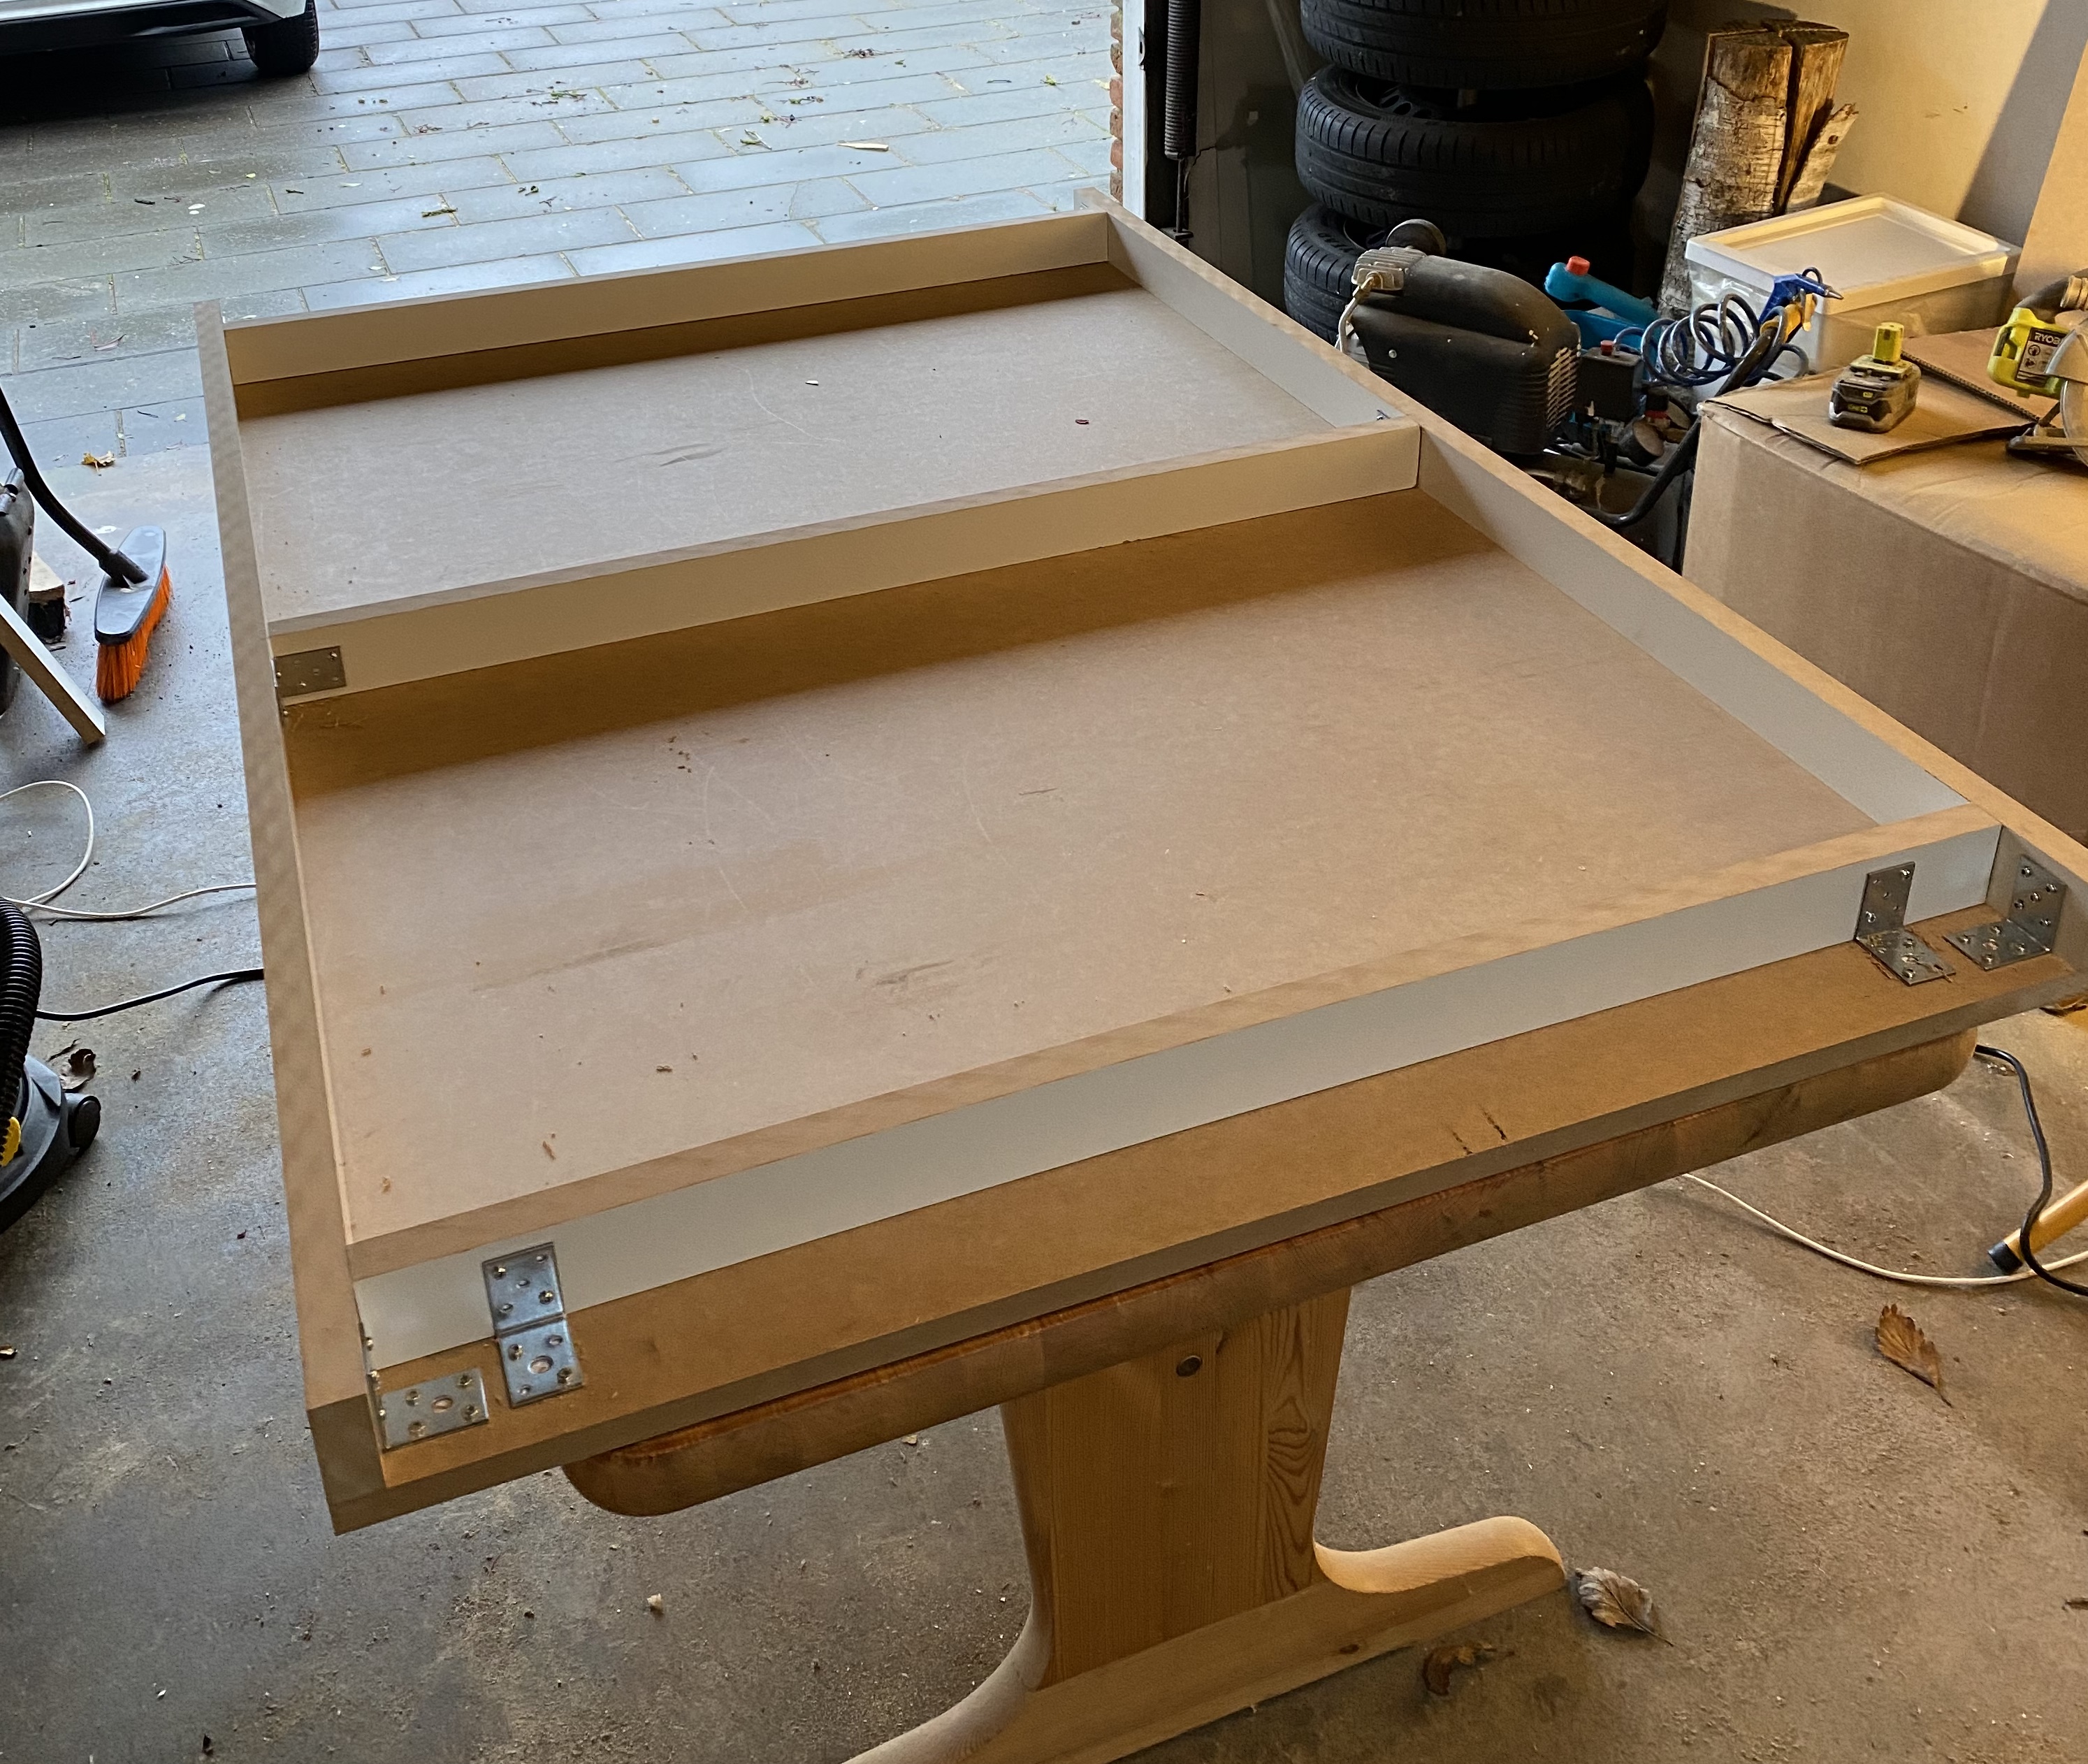
The table top is made from 21mm MDF i had laying around already.
The stiffening supports where sourced from a local company and since they where offcuts i got them for free! -They measure 26x60mm and are made of Melamine covered MDF.
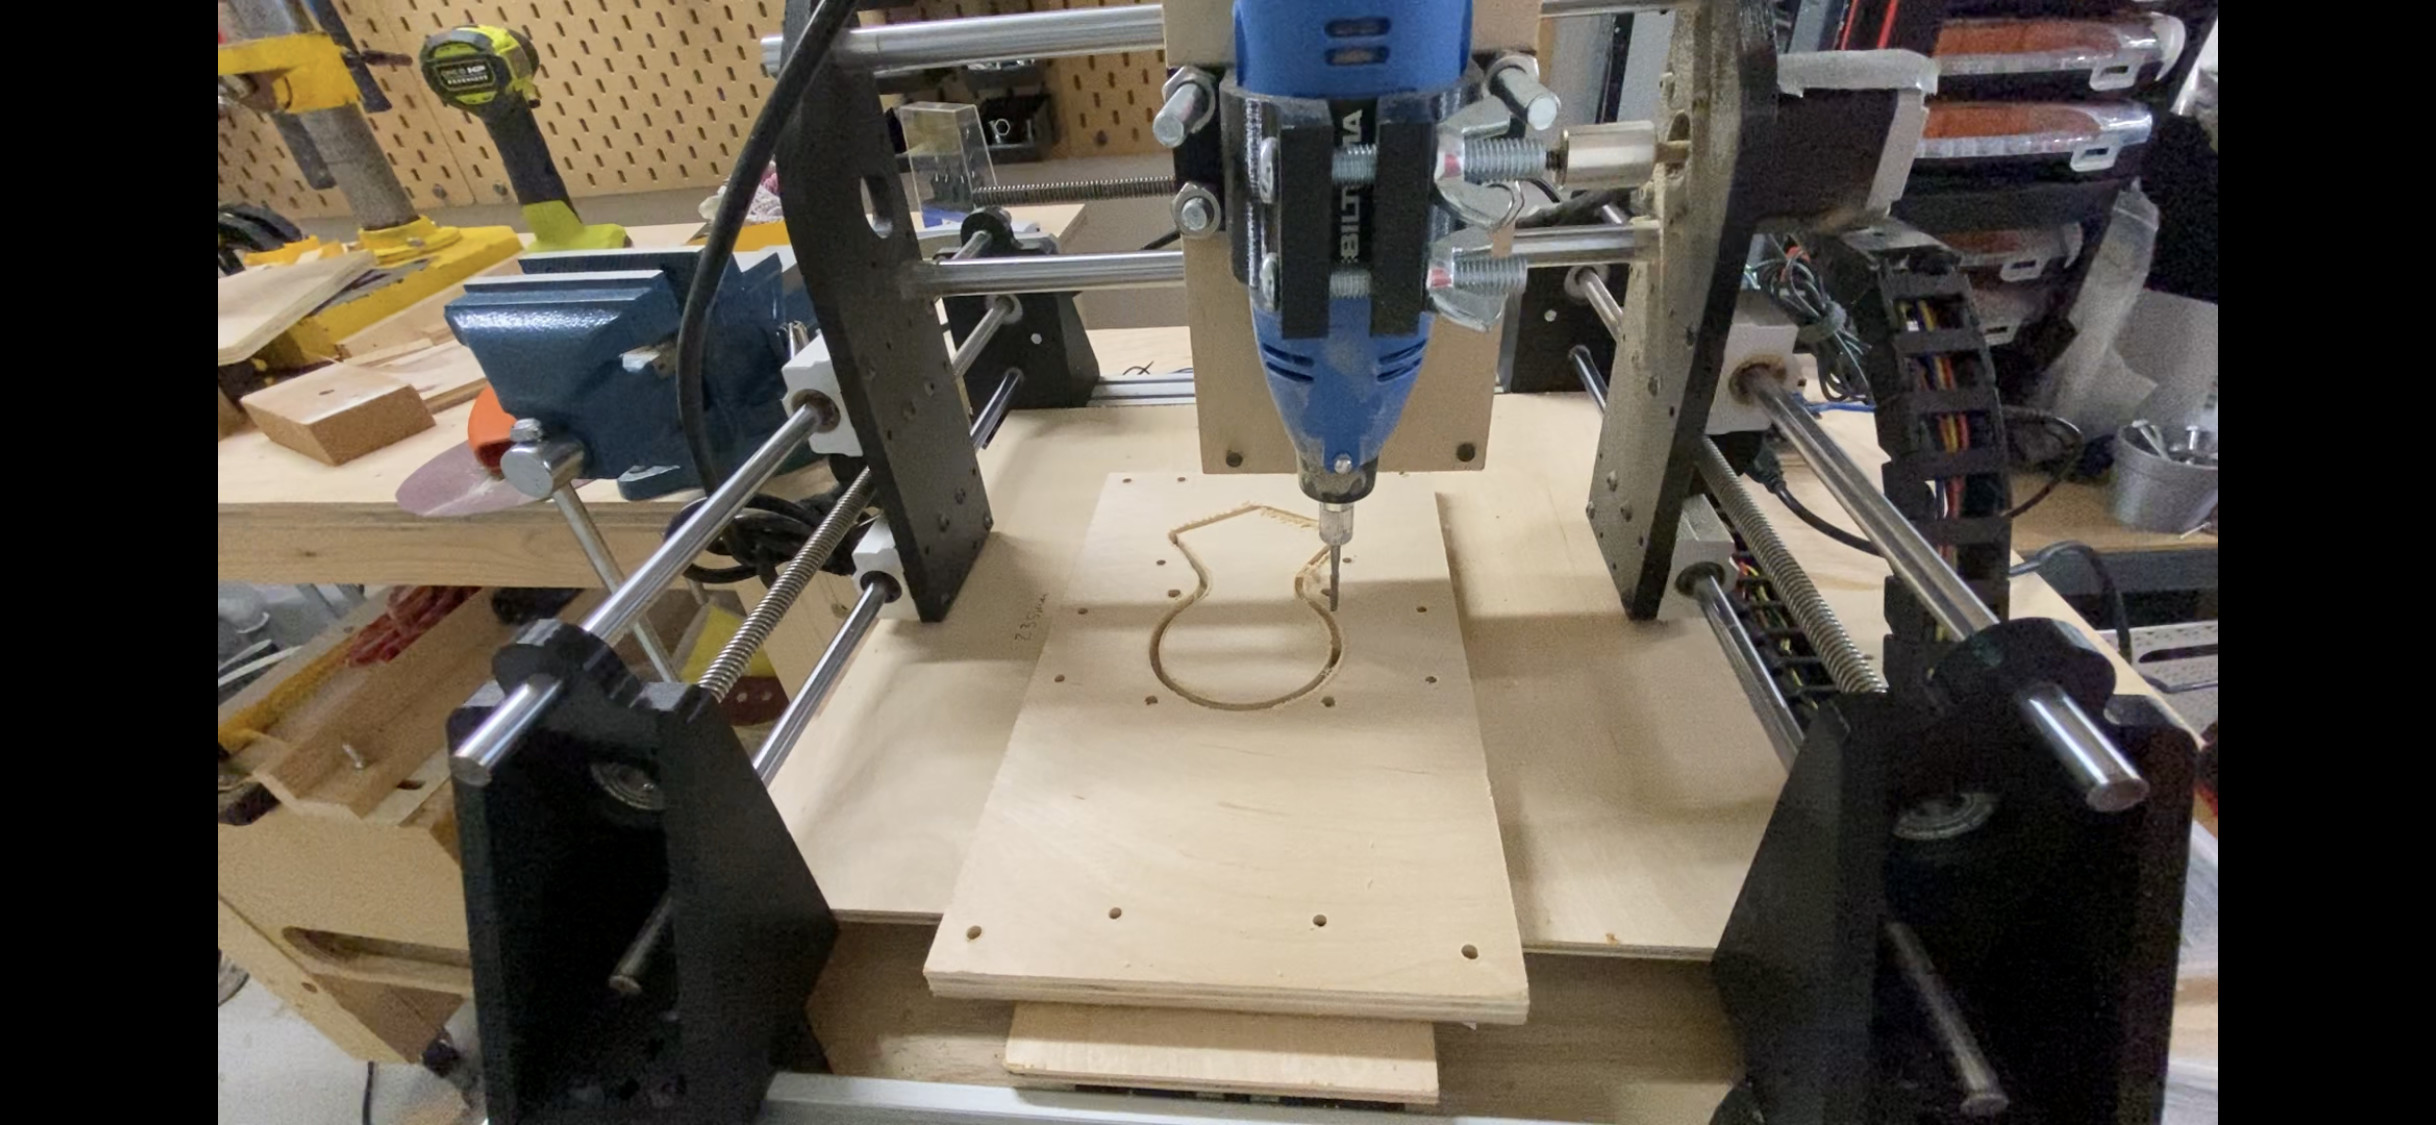
Some months ago I designed and build a small and janky CNC (in 4 days) from some old 3D printer parts, and a cheap knockoff Dremel. This Jank-CNC was used to cut the “611 plate” holes, after cutting some plywood to size on my tablesaw.
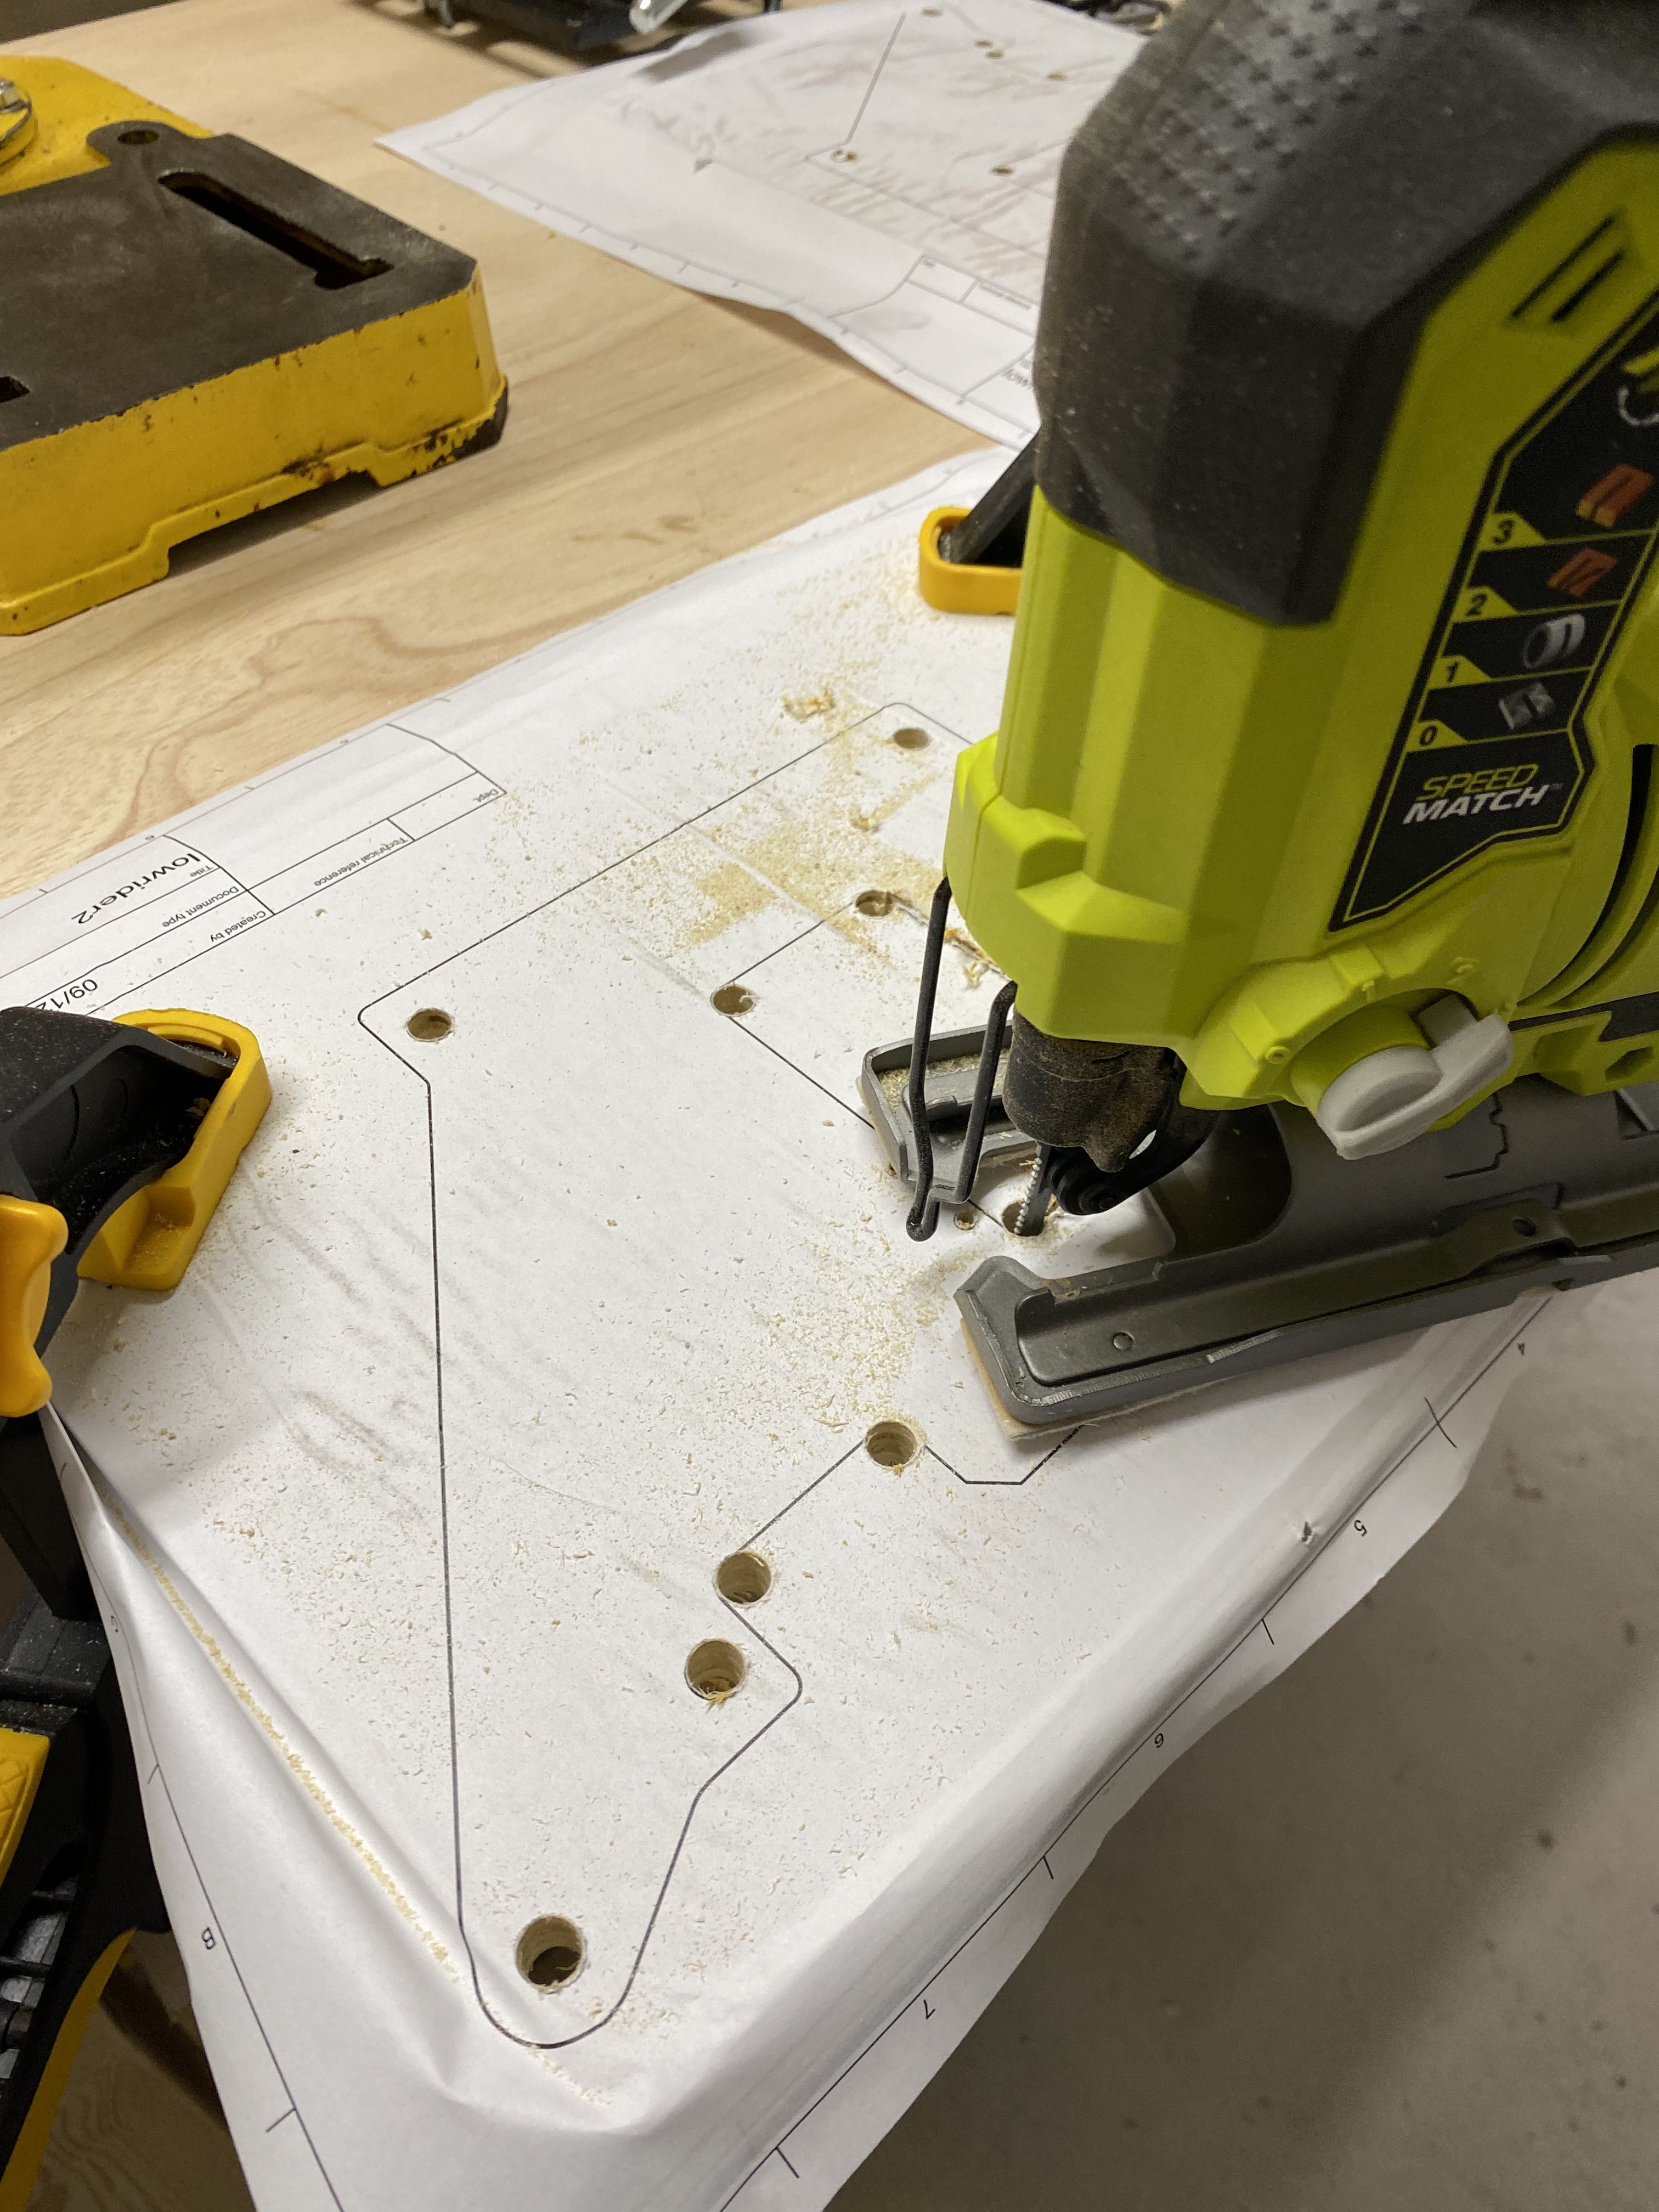
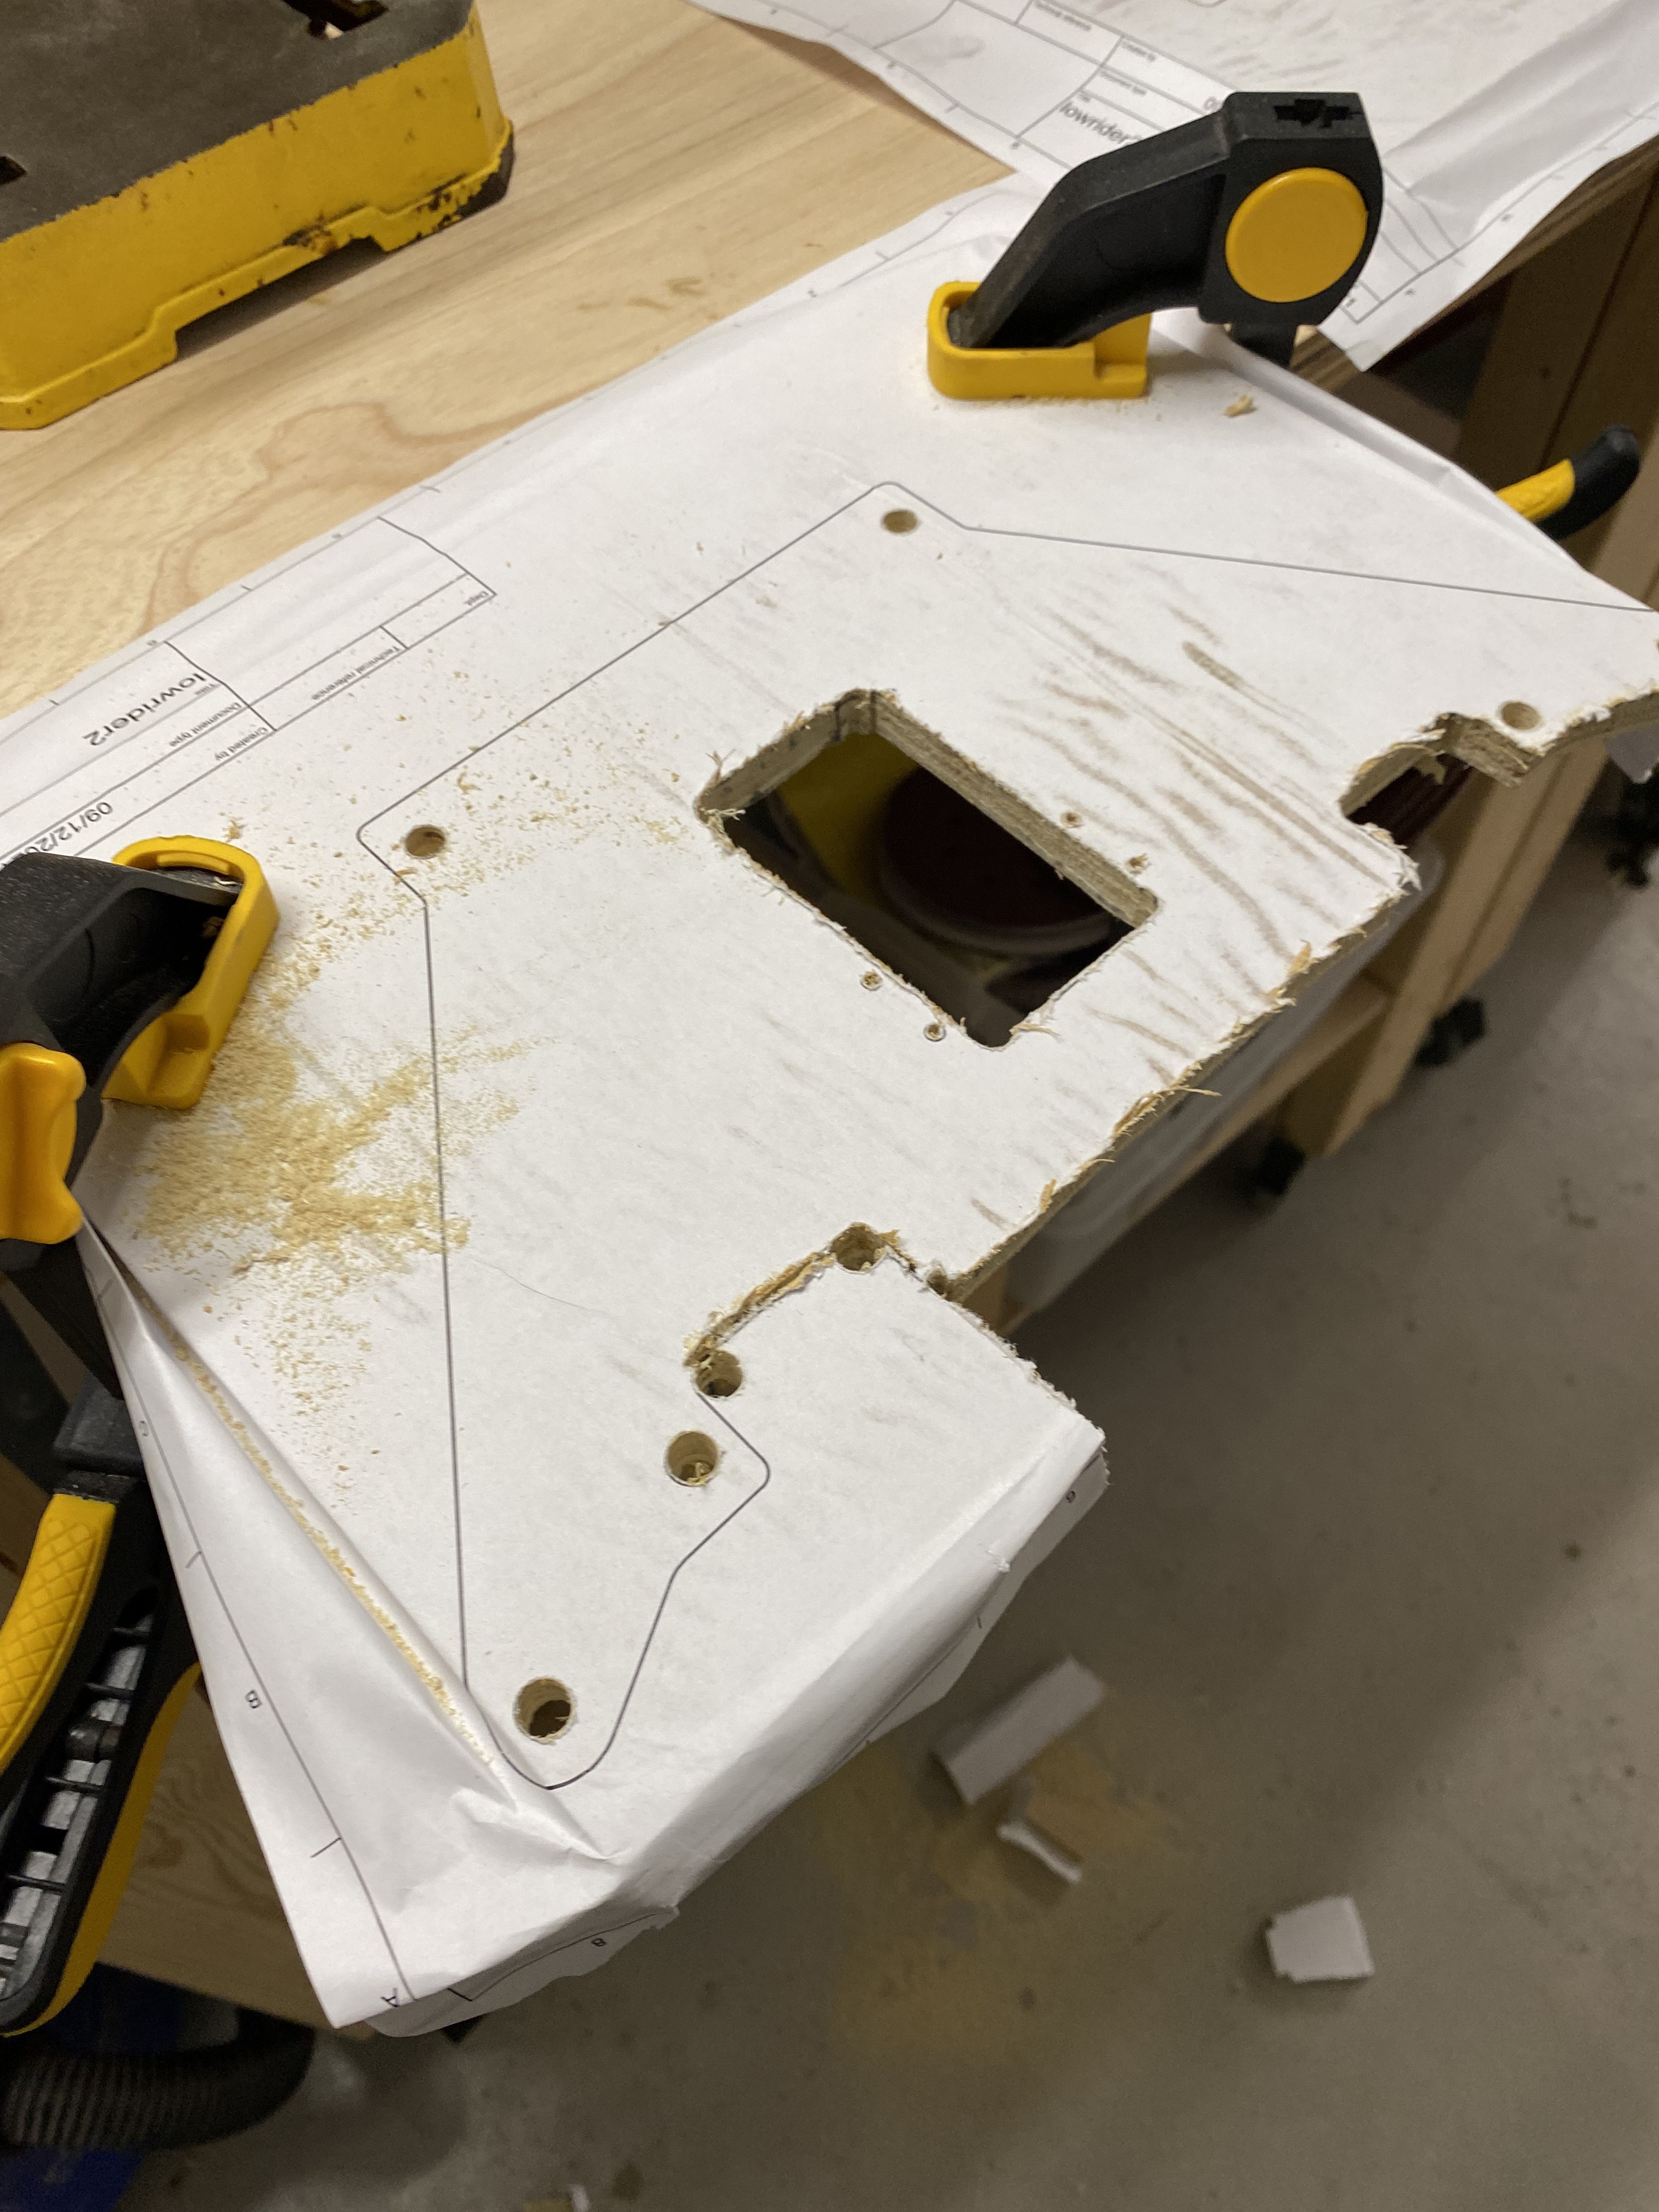
The work area of the Jank-CNC is to small for the “Y plates” so for those I glued a printed template on some 12mm Plywood cutoffs (that was a little to small…) and cut it using a jig saw and my drill press.
Using the drill press the hole sizes and position seems to be fairly accurate, however the outer contour is REALLY BAD. This means that the printed parts that are supposed to be resting on the plate edges are probably not seated that well.

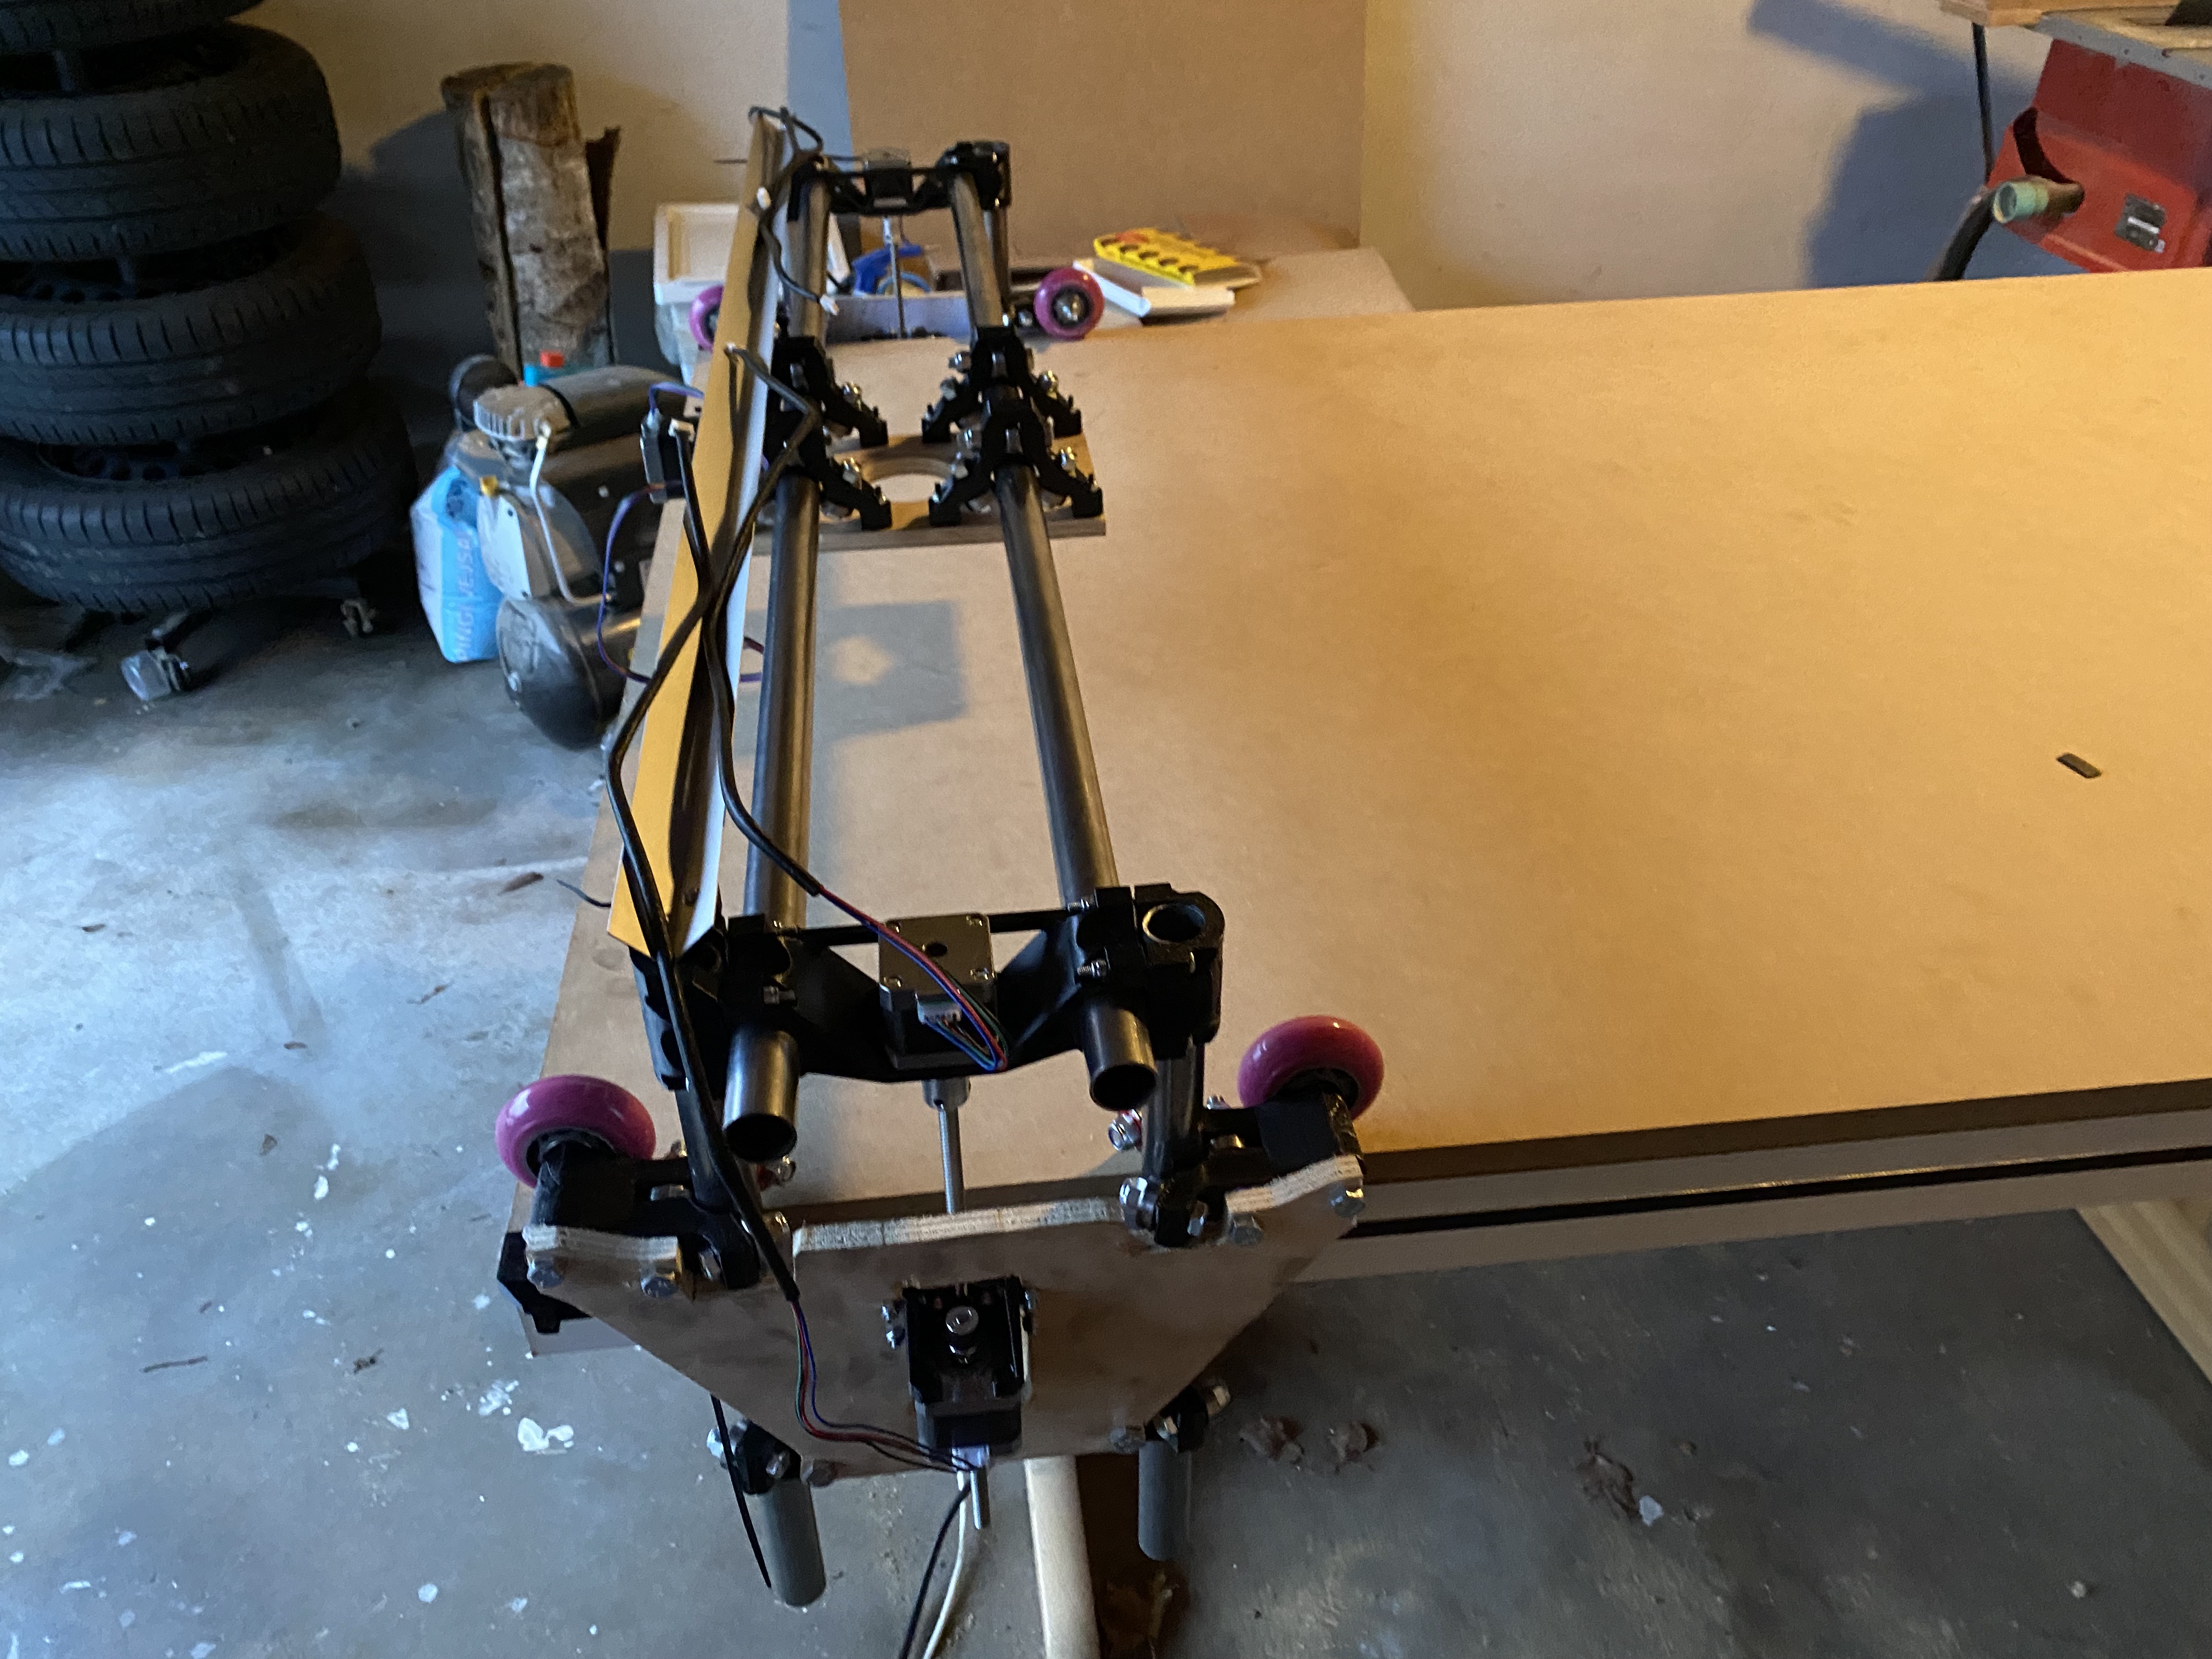
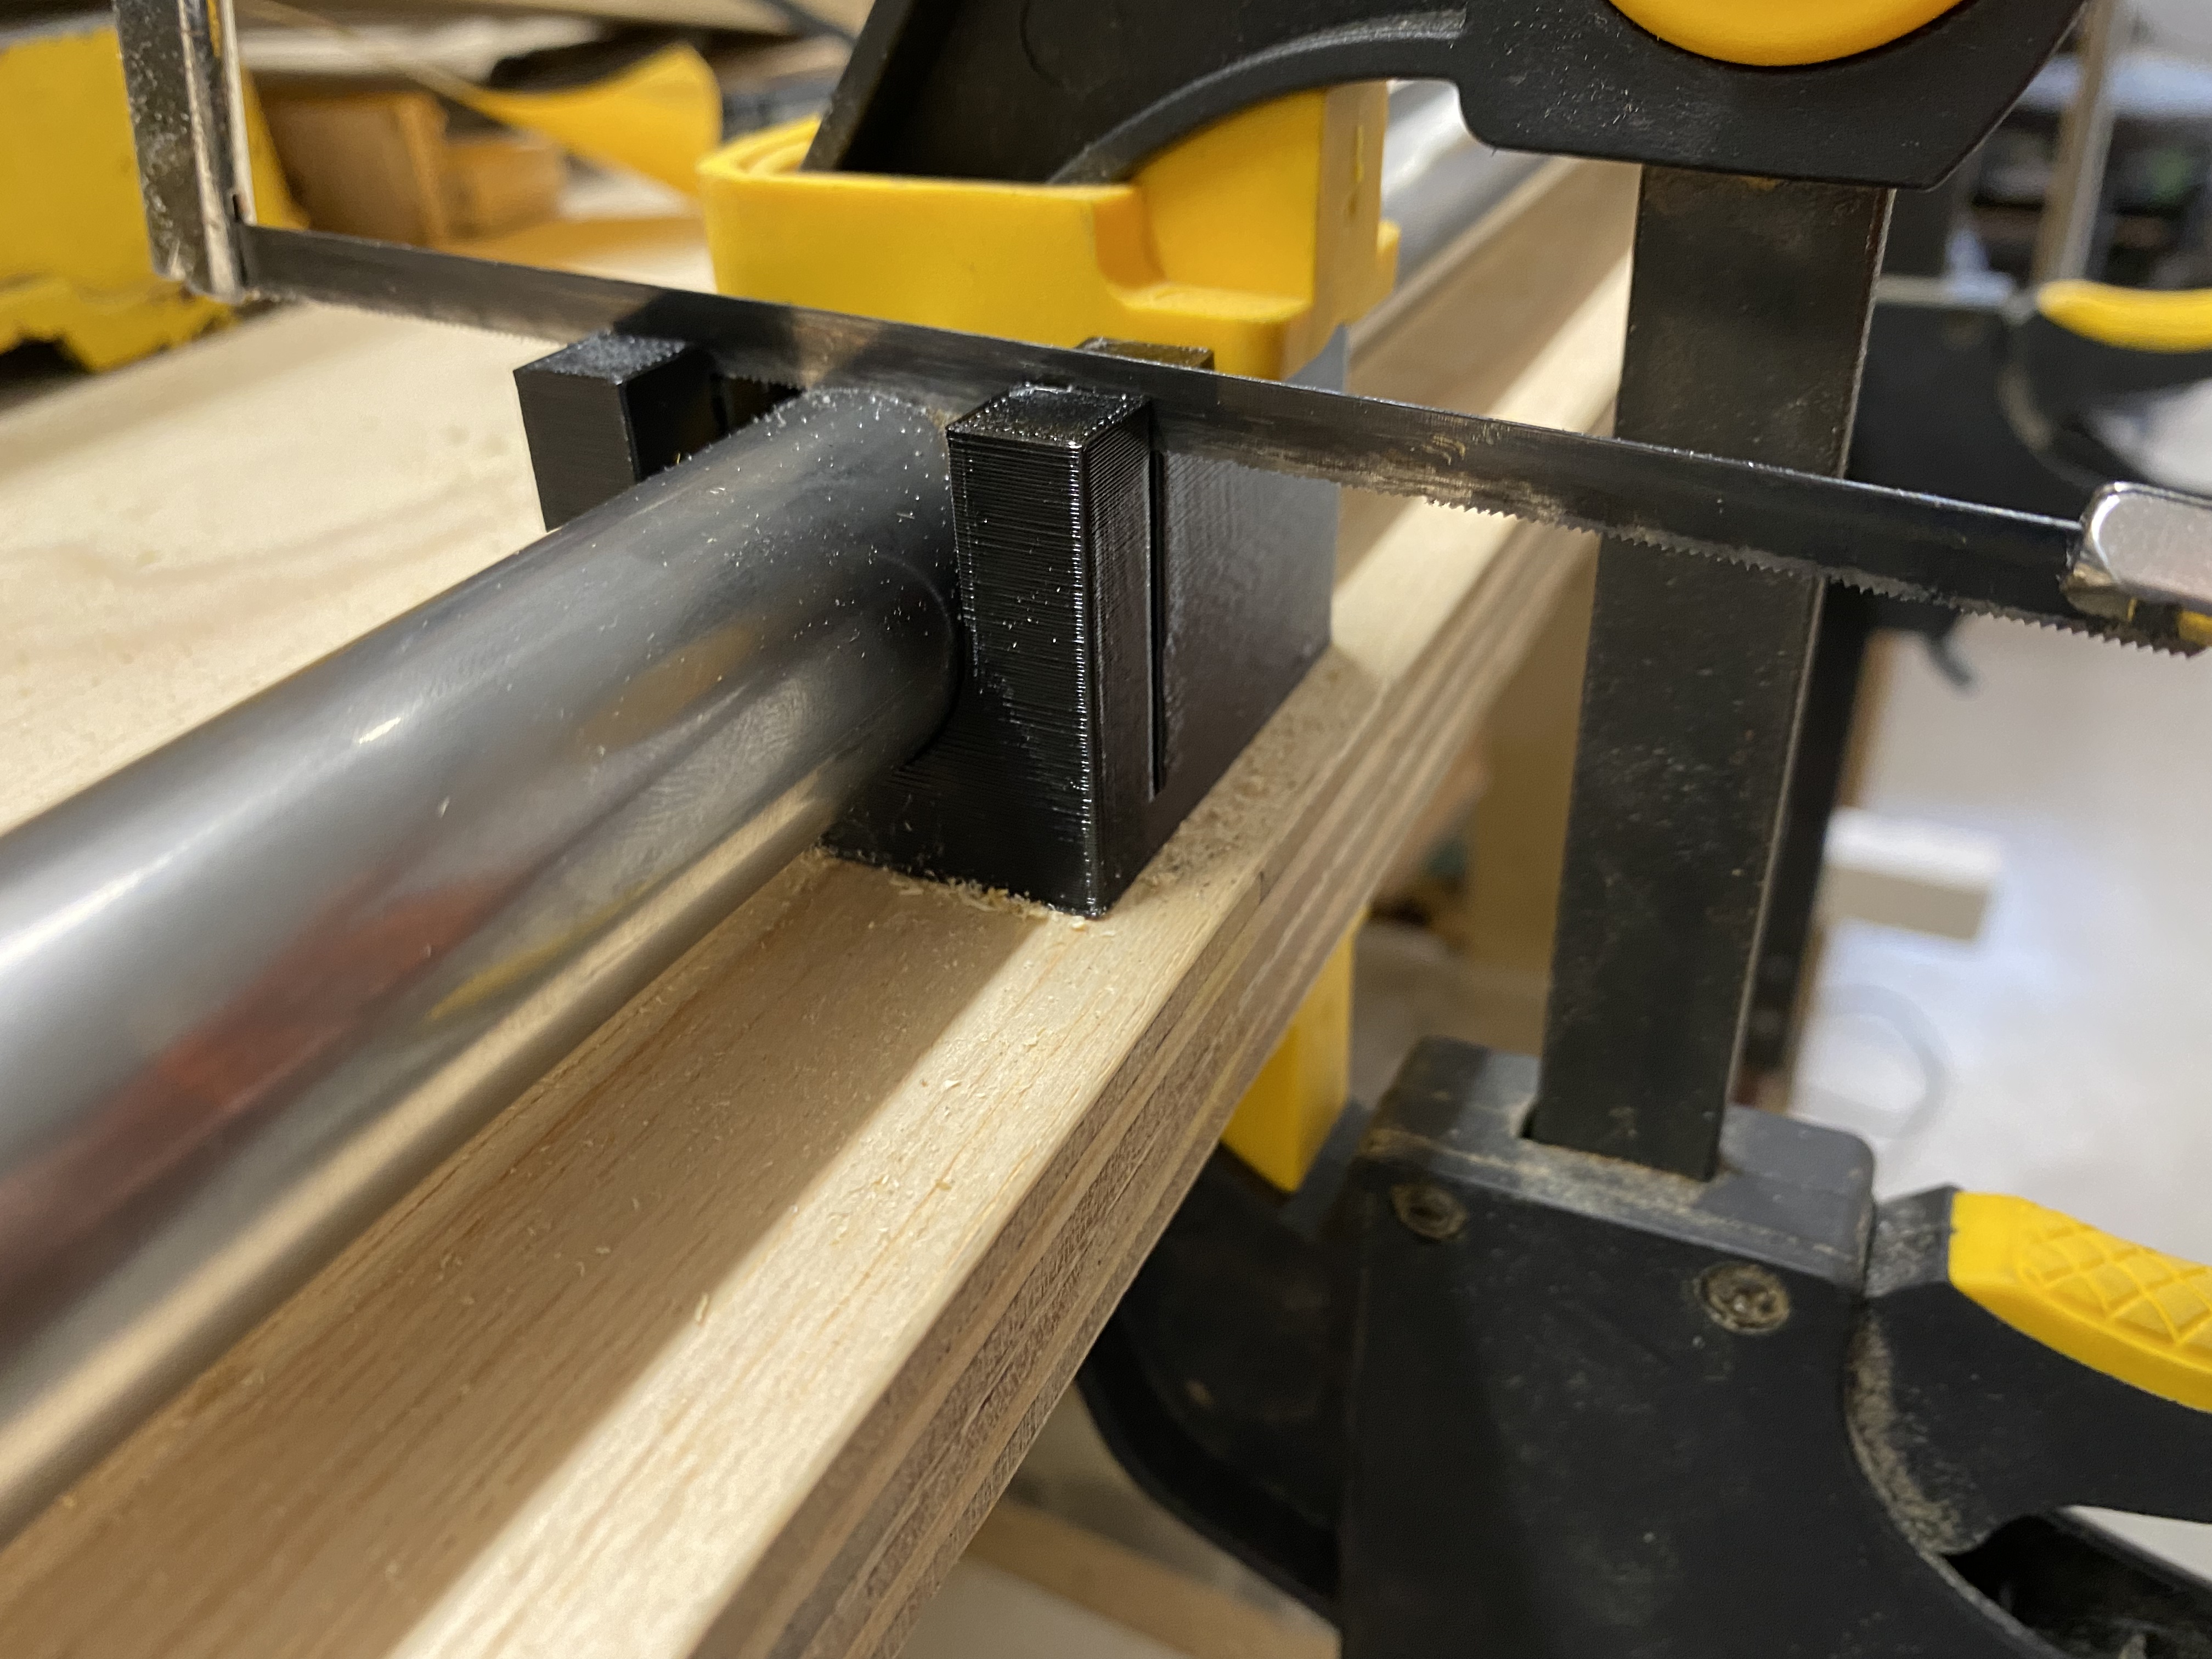
The tubing used is made from 25mm 1.5mm thick Steel tube.
It will need ongoing maintenance to prevent rust, but was the material i could easily get my hands on at an acceptable price.
The Tubes where cut by hand using a hacksaw and a print i designed to help me make the cuts kinda square. (You can get the STL on PrusaPrinters)
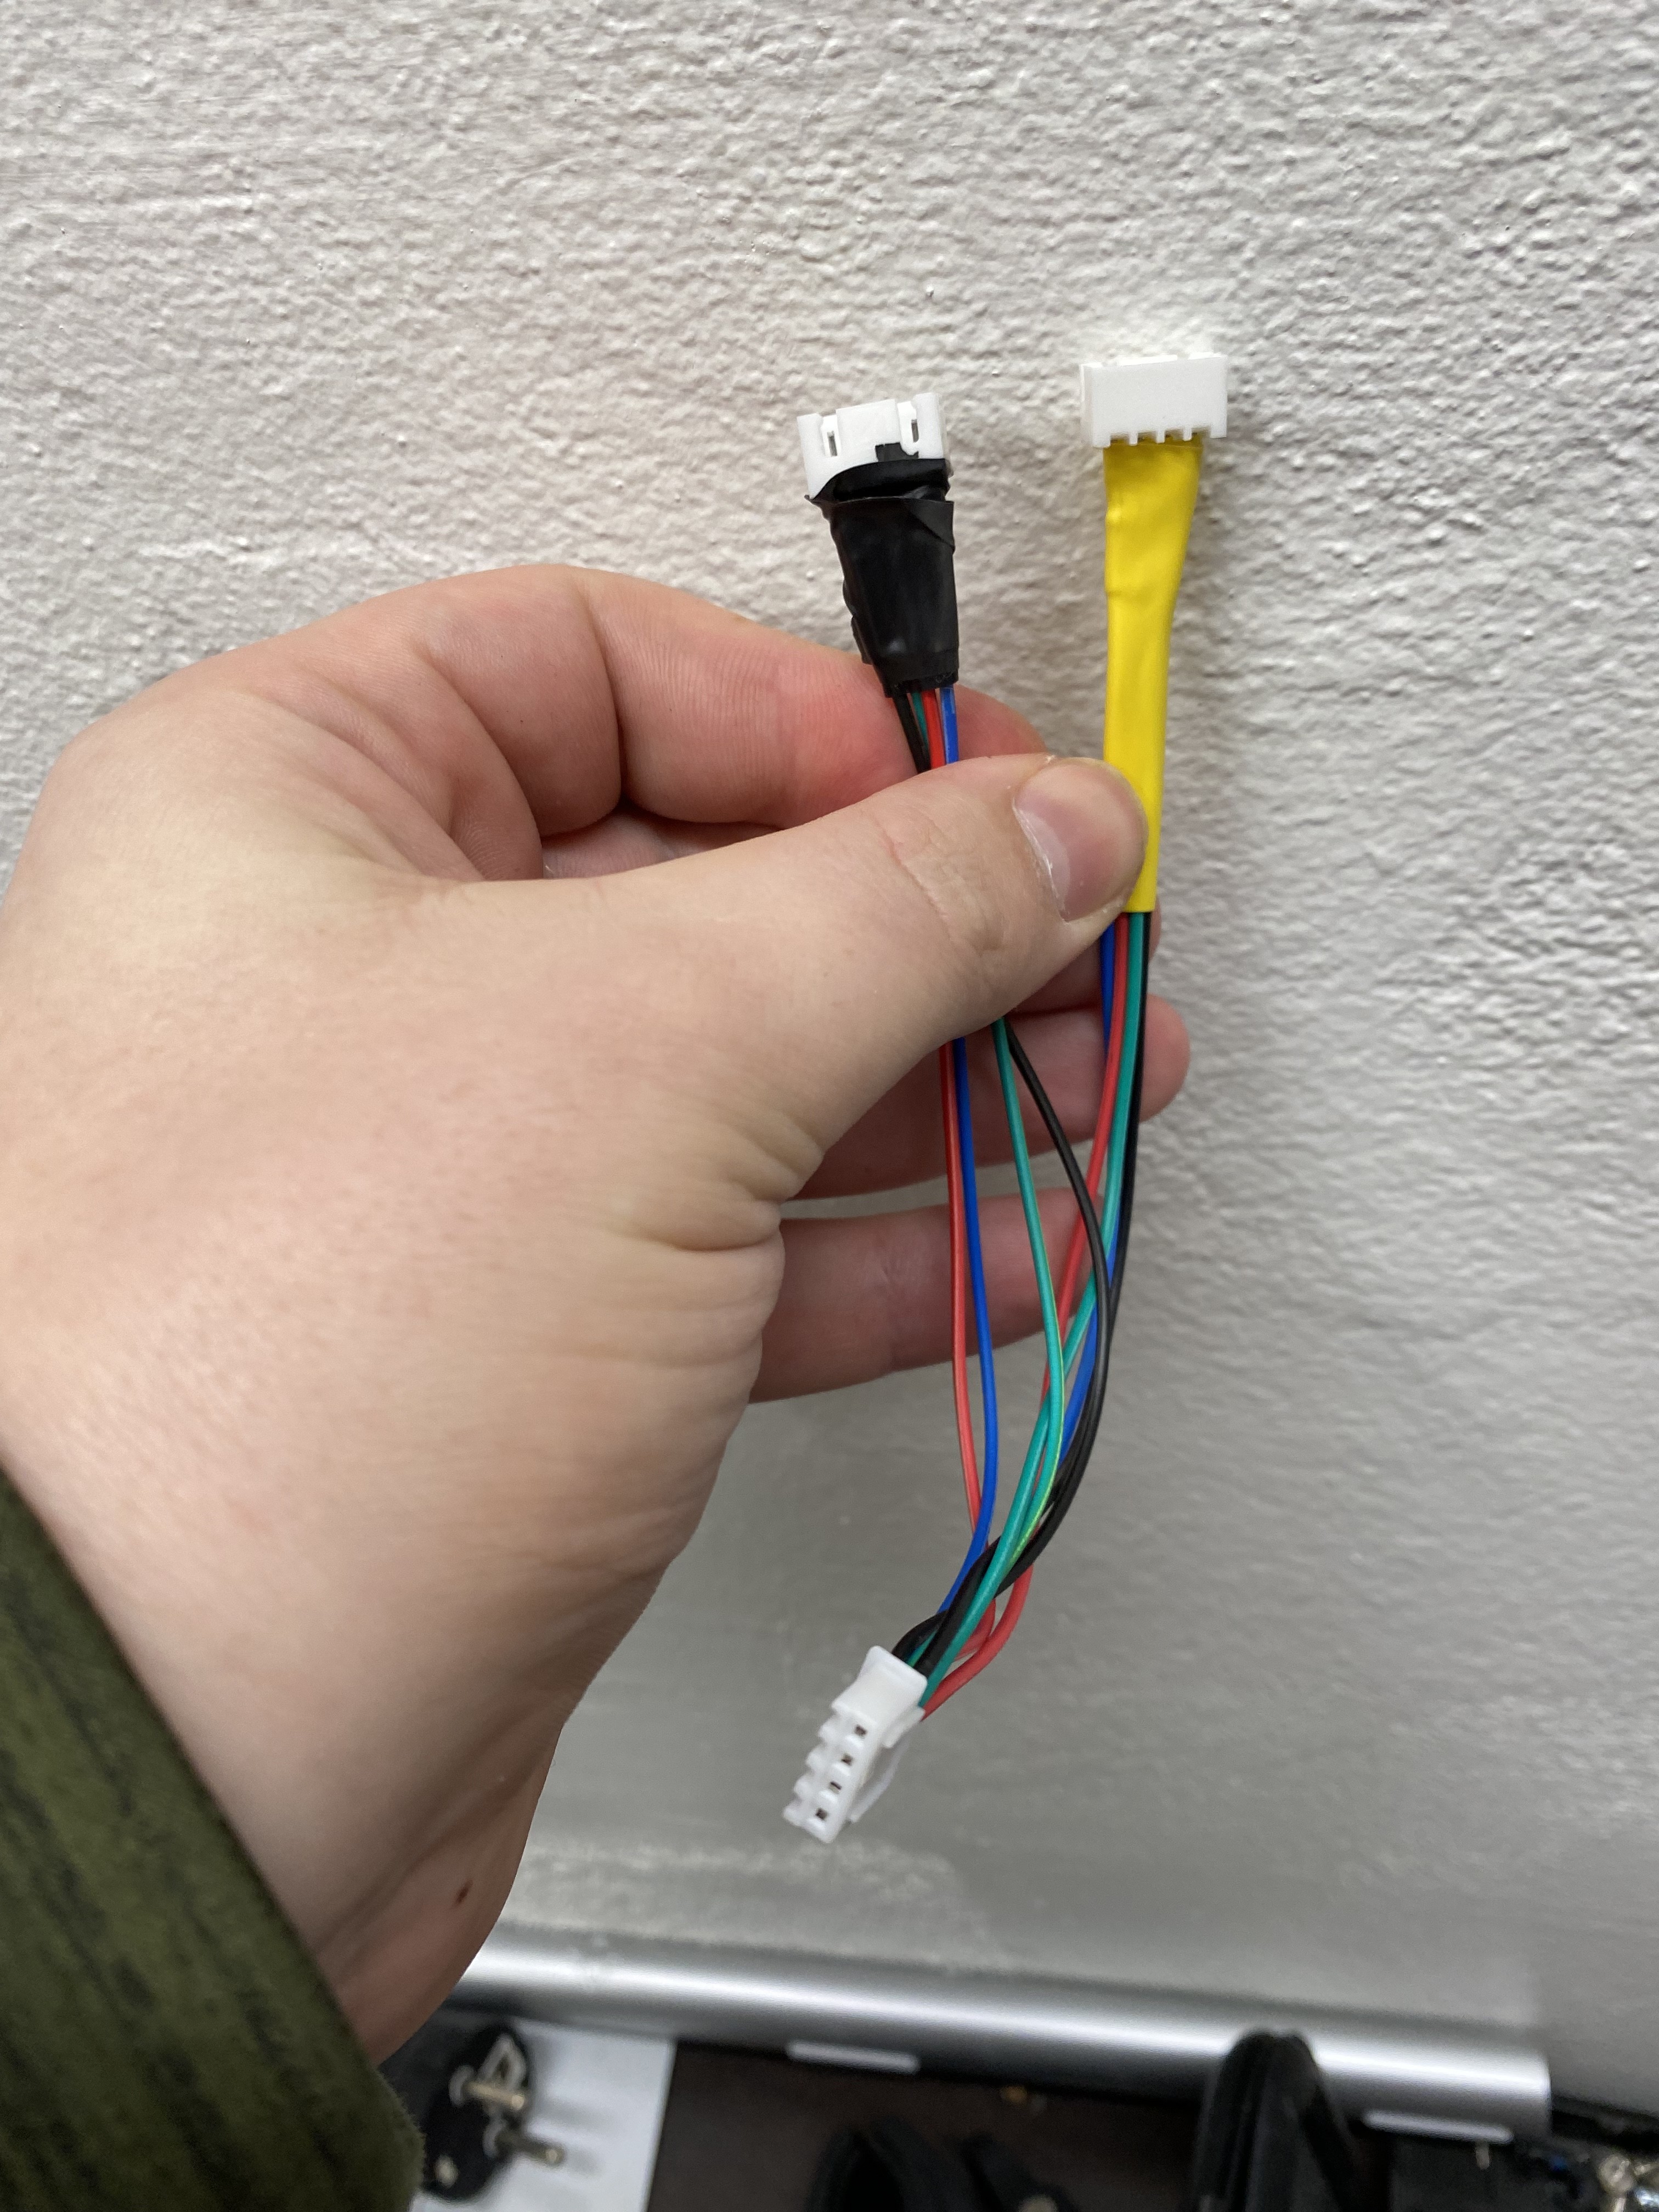
For the controll board i used an MKS Base v1.4 from an old “Fabrikator Mini” 3D printer bought many years ago on Hobby King. This board is basically an Arduino Mega + ramps, but in 1 board with embedded stepper drivers.
Since for some reason the steping on the E1 driver is diffrent than all the others i had to run 2 steppers from the same driver, so i made this franken connector.
For the firmware i used grbl Mega5X as i couldn’t get the Ramps Marlin to compile on MacOS and I have a bit of experience setting up grbl.
At this point I have first movement of all axis and the next step is to calibrate the steps and other settings! - Stay tuned for more updates on my Lowrider v2.janky