So guys, i know this has nothing to do with MPCNC, but it sorta does, hear me out.
I decided to embark on a project (this morning while lying in bed it came to me… im UBER impulsive)
I wanted to make a fold down workbench table for my cnc, but not just, i wanted my CNC to drop from the ceiling via a winch and sit perfectly on said table.
I play to add a full enclosure around it as well, full dust collection, you name it… it will be glorious
however… the table is built (in under an hour, and im no woodworker) but now when i start to run pulleys etc for the winch i noticed a problem.
the pulley on the ceiling has about 3-4 feet before it has a clasp… this clasp is where the four corner wires will connect to their eye screws.
This doesnt allow the CNC to raise more than a couple feet before the clasps engage the pulley. Do i just need to use a gambrel and pulley below as well, and run the line out further?
Picture? You better be automating this with some buttons, LED’s, and perhaps some sound effects.
You can’t run the cable/line all the way to the corner and get rid of the connection point? As a kid my dad built a crank down staircase to the garage rafters…pretty awesome. It was connected with a carabiner to the last step and when it was on the floor you just unhooked it from an eye bolt.
This is a hard thing to visualize but it sounds like each line might need to run through a second pulley that straightens it out with what it winds up on.
So i need a line running to each of the four corners of course. ill try to take a picture later. but i bought a few more things to try out tonight. either way, my hope was to leave it connected when it comes down, so i need it to not interfere with the z axis
The winch is on the ground, so it doesnt have the force to pick it up without it being mounted.
Trying to decide how to do that, do it up high, or on the ground with tapcons.
Ill have to get some different clips to clip to the hook, but it should work.
im concerned its not super dead center front to back, so i may need to put some small wheels on the back side of the MDF (where the MPCNC is mounted) so it slides up the wall.
using a piece of pipe (heavier than conduit, but fitting inside like this cardboard tube (for illustration purposes only) cutting holes through 2 trusses, cap the pipe with end caps so they cant slide through and just let the winch hang.
This eliminates the need for a pulley which gets it a few inches further up, and can probably get it entirely out of the way.
If i am that hell bent on leaving it connected to the winch while carving i can put blocks on all four corners, or get really long eye screws that get it up 6-10 inches, then i can set up a shallower angle to the middle .
any thoughts on this?
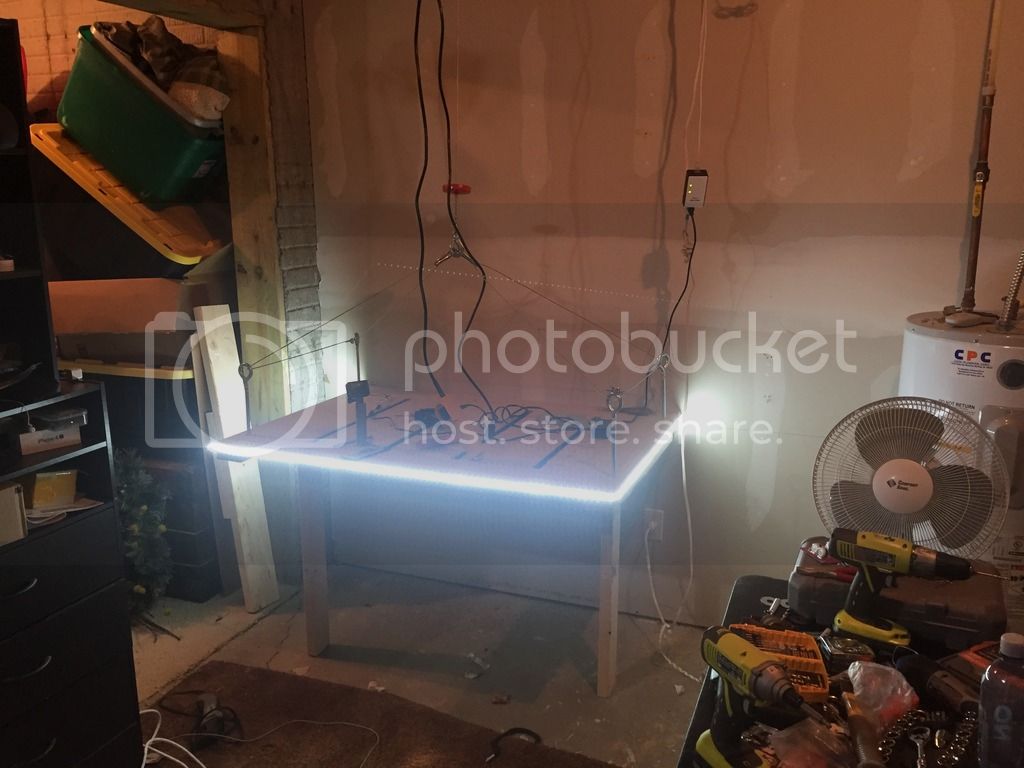
PS. just for zellars i will outfit this with some LEDS underneath and we will see what other cool shit we can toss on here.
I love it! Why not just reverse the connections to the main line at the split point. Hardwire the 4 together and use the carabiners on the eyebolts. Quick connects so nothing snags your z as it moves around. Nevermind I see why now they are 2 loops not 4 lines. It should work.
And yes please more cool shit! $8 on aliexpress remote controlled rgb leds…
so i re thought things and have the parts from home depot purchased and ready go starting soon.
I bought a steel truss instead of a pipe. Ill use my dremel multimex to cut out the squares for it to slide in, then use nuts and bolts outside of the space to keep it from sliding through.
down on the MDF, i bought 12 " eye screws that will keep the wire high and out of the way so I may be able to keep it attached at all times.
im recording all my antics, so it should be fun to piece together a terrible video on this process. i never wear eye protection when using a metal grinder, or skillsaw or anything… im a DIY mightmare
Ok. the audio may just have to be in the video of my tutorial on doing it. Im not buying an arduino or something just to play it everytime it goes up haha. but good idea.
Anyway. I just finalized a fair amount of the details.
So I took broke the solders and put on quick disconnects. TIghtened all the loose nuts on the z axis. rebuilt it, and now its mounted on the table.
Next i need to run the power cables underneath the table with clips etc to hold them up. over to the power strip mounted on the left side.
Then it should be largely done.
then i have to edit hours of video (i just let it roll the whole time). btw i stabbed myself with cable wire, had a grinder 1 inch from my head, and about 21 other accidents i should have had. oh and i never wore eye protection.
im pretty smart.