Have been interested in building my own cnc for a few years but had been disappointed with the options I had come across until I found V1 engineering about a month ago and was all in. Still have a ways to go but ran my first crown code last night. Ryan is amazing for making his creations so openly available and facilitating this platform for people to connect. I’m sure i will run into hitches in my build but I’ll find info already covered in this forum or its users will help me if I run into something unique. Im starting with running a router but hoping to eventually purchase a plasma torch. Built my table mostly with left over material and cutting area ended up at 47" x 55". While I’ve purchased my first 3d printer in a Prusa Mini, I wont receive that for some time so I convinced my cousin to lend me one of his printers to get my lowrider parts done, I’m thoroughly impressed with the quality of the models and how well they printed compare to other models I’ve been trying. Also incredibly impressed with how the machine has operated considering my skill in fabrication.
Amazing project, isn’t it? Makes those of us with 10 thumbs able to build impressive machines ![]()
Edit: I’m not implying that you have 10 thumbs, only that I do, and that I’m really pleased to be able to figure out this machine… Welcome to the family!
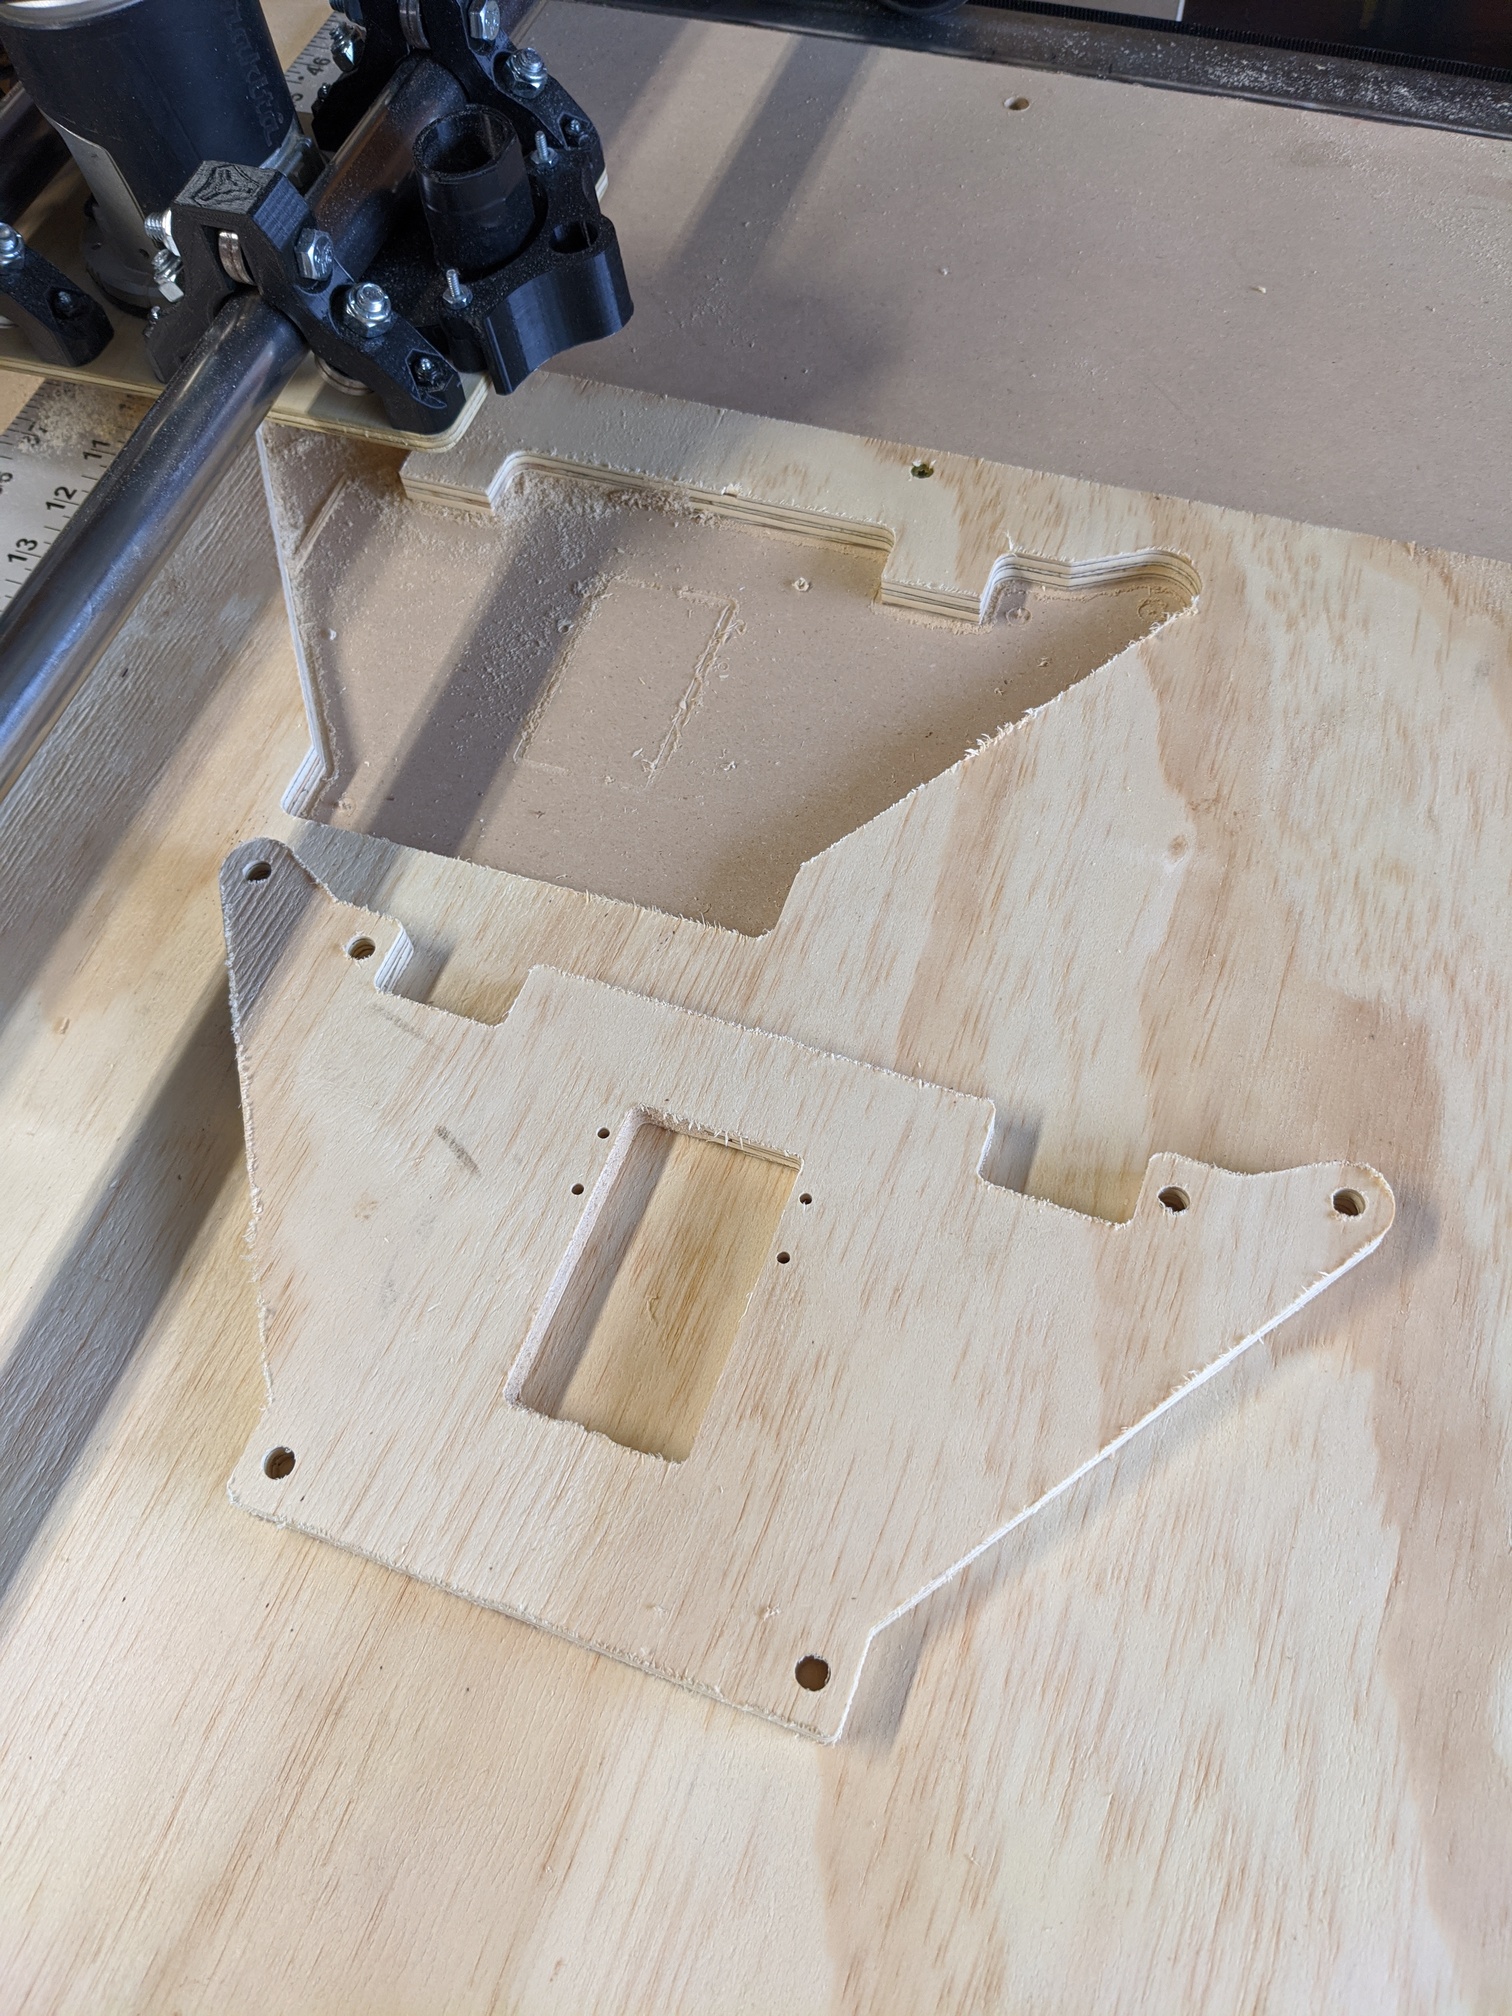
I think the first thing I’ll cut out is new y-plates to replace the ugly and inaccurate ones that I hand cut.
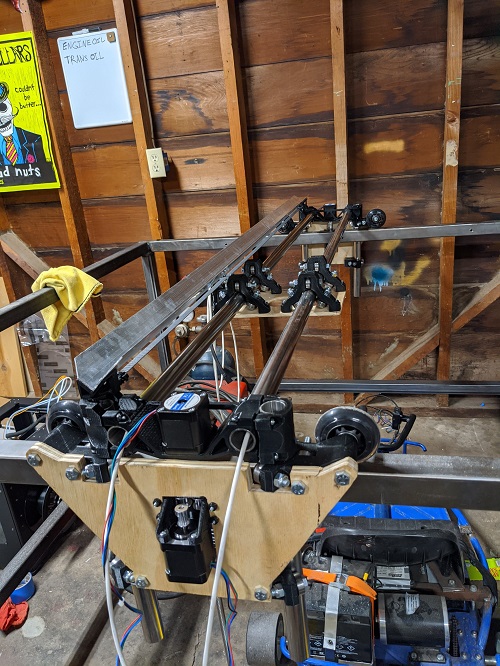
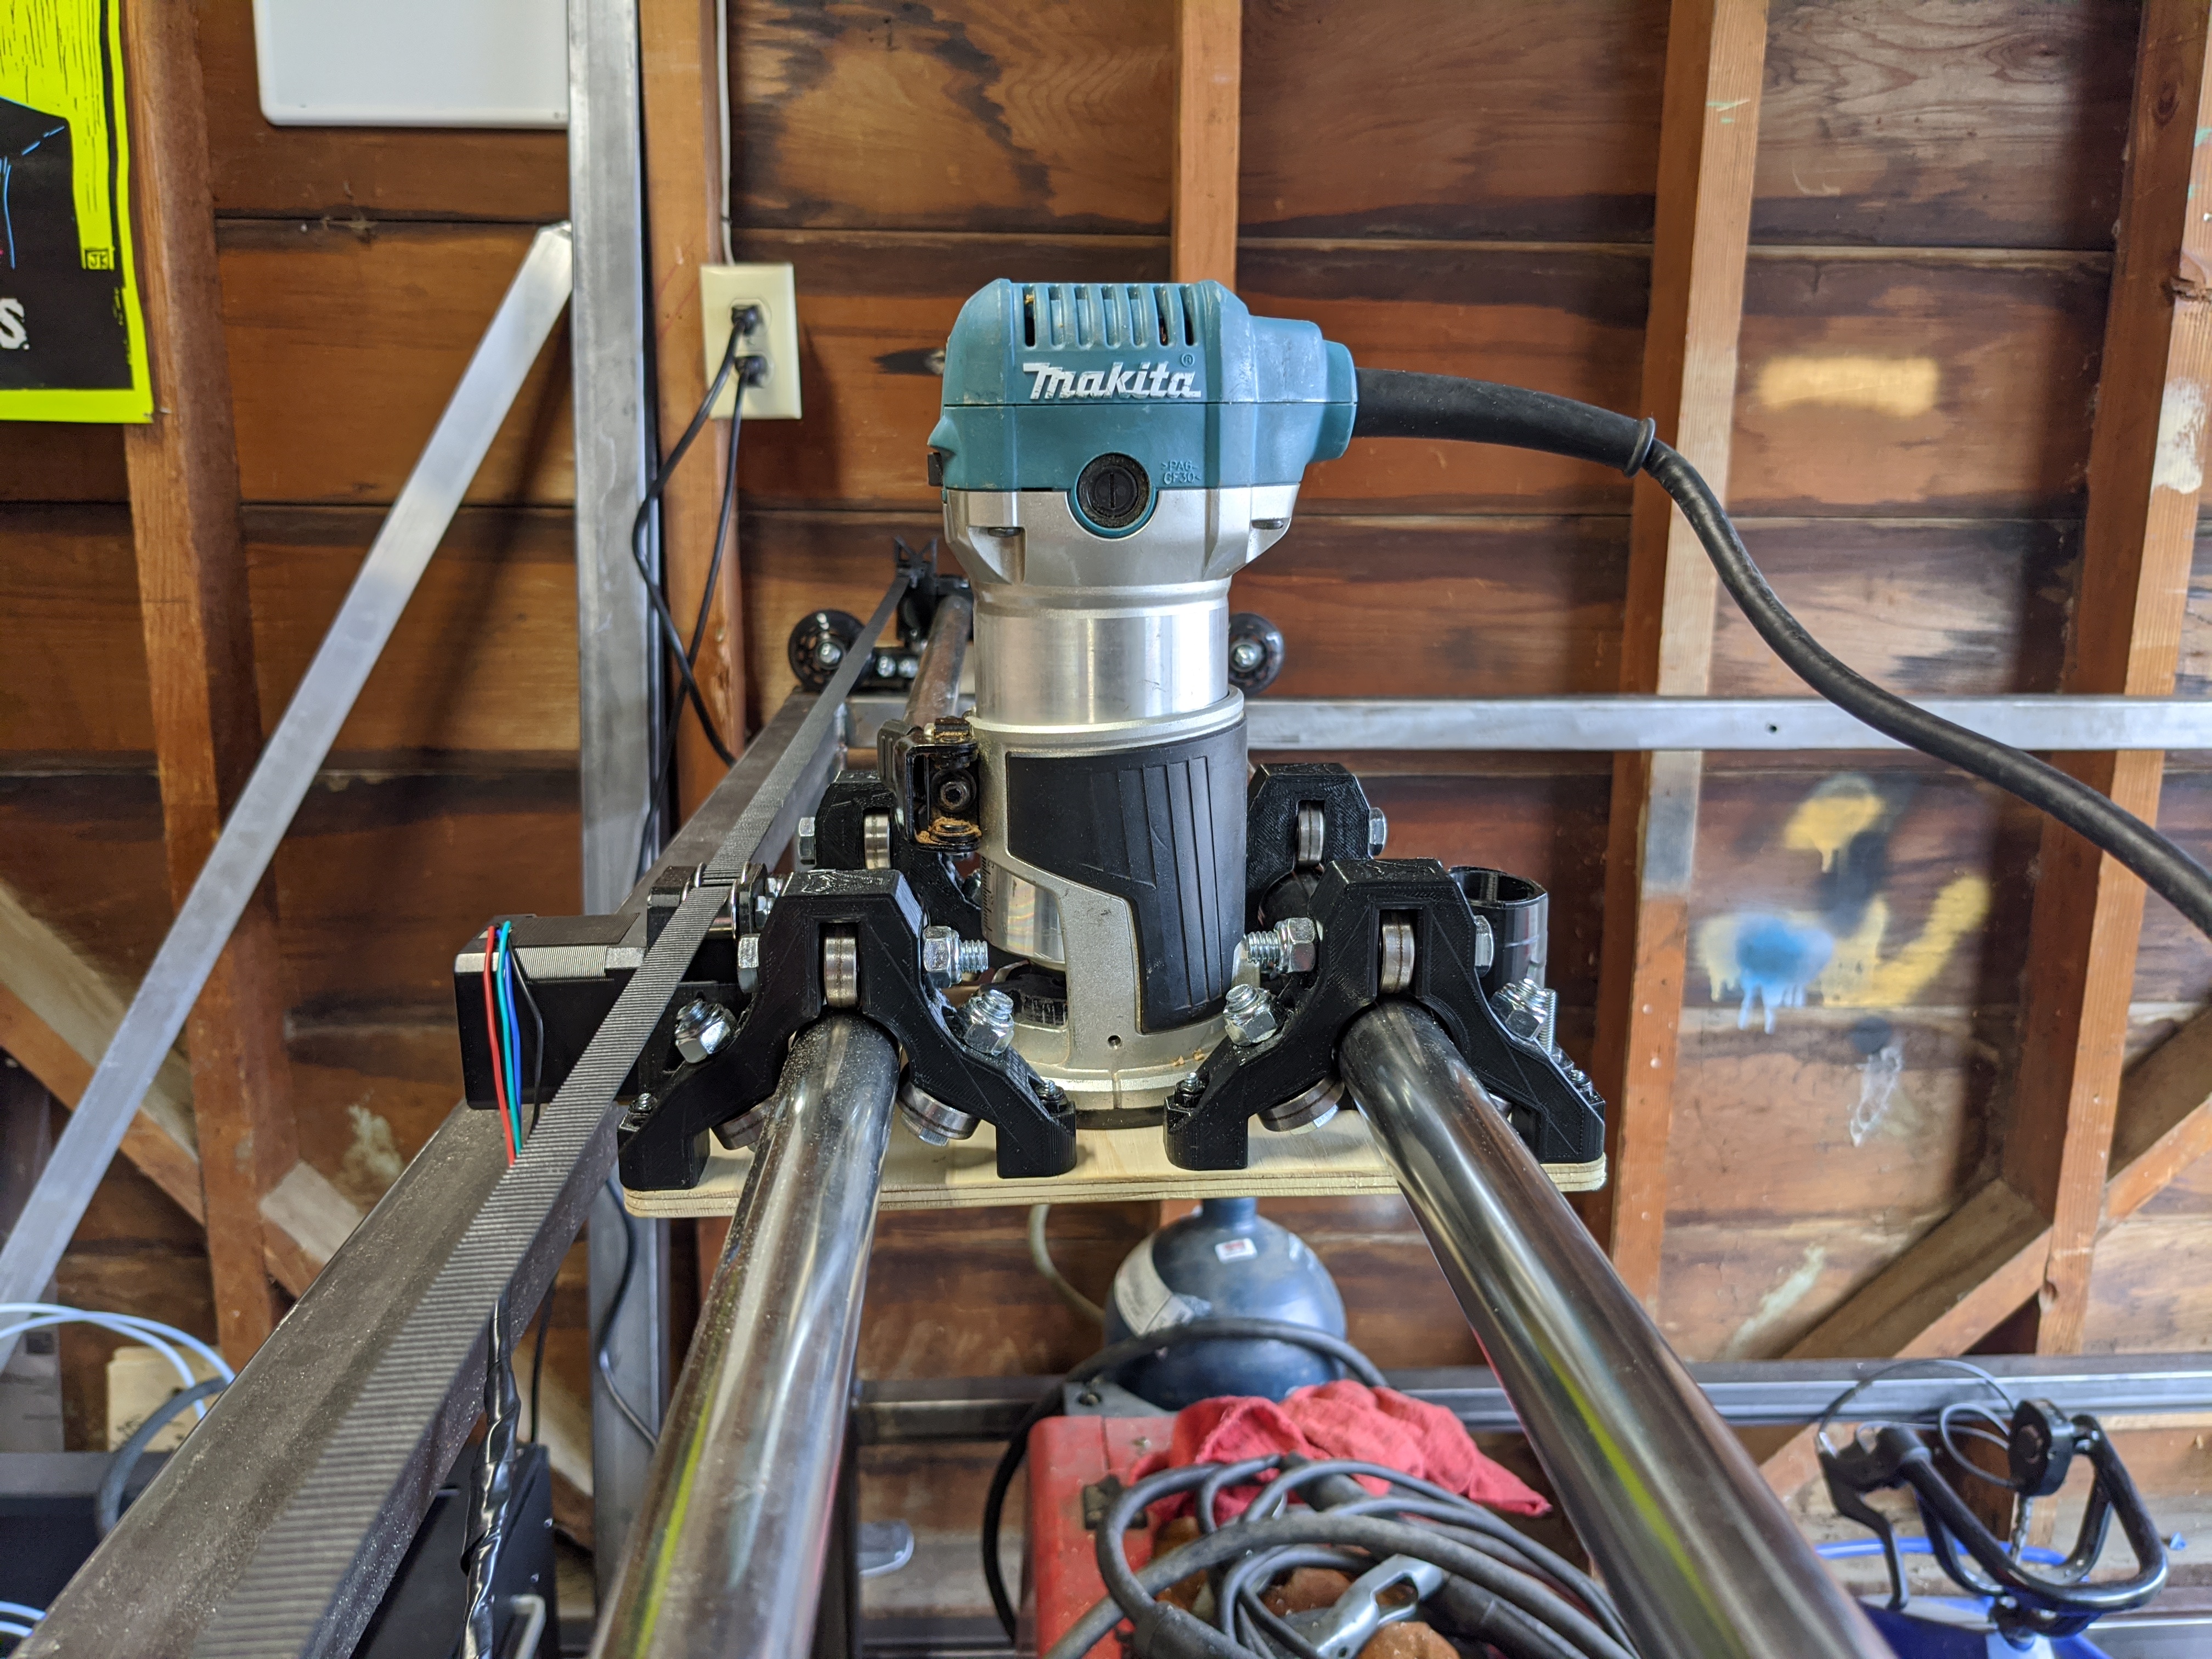
Got my Makita router mounted using the plate and vac channel from Frederik today. ( All necessary modifications to work with a Makita RT0700C or RT0701C )
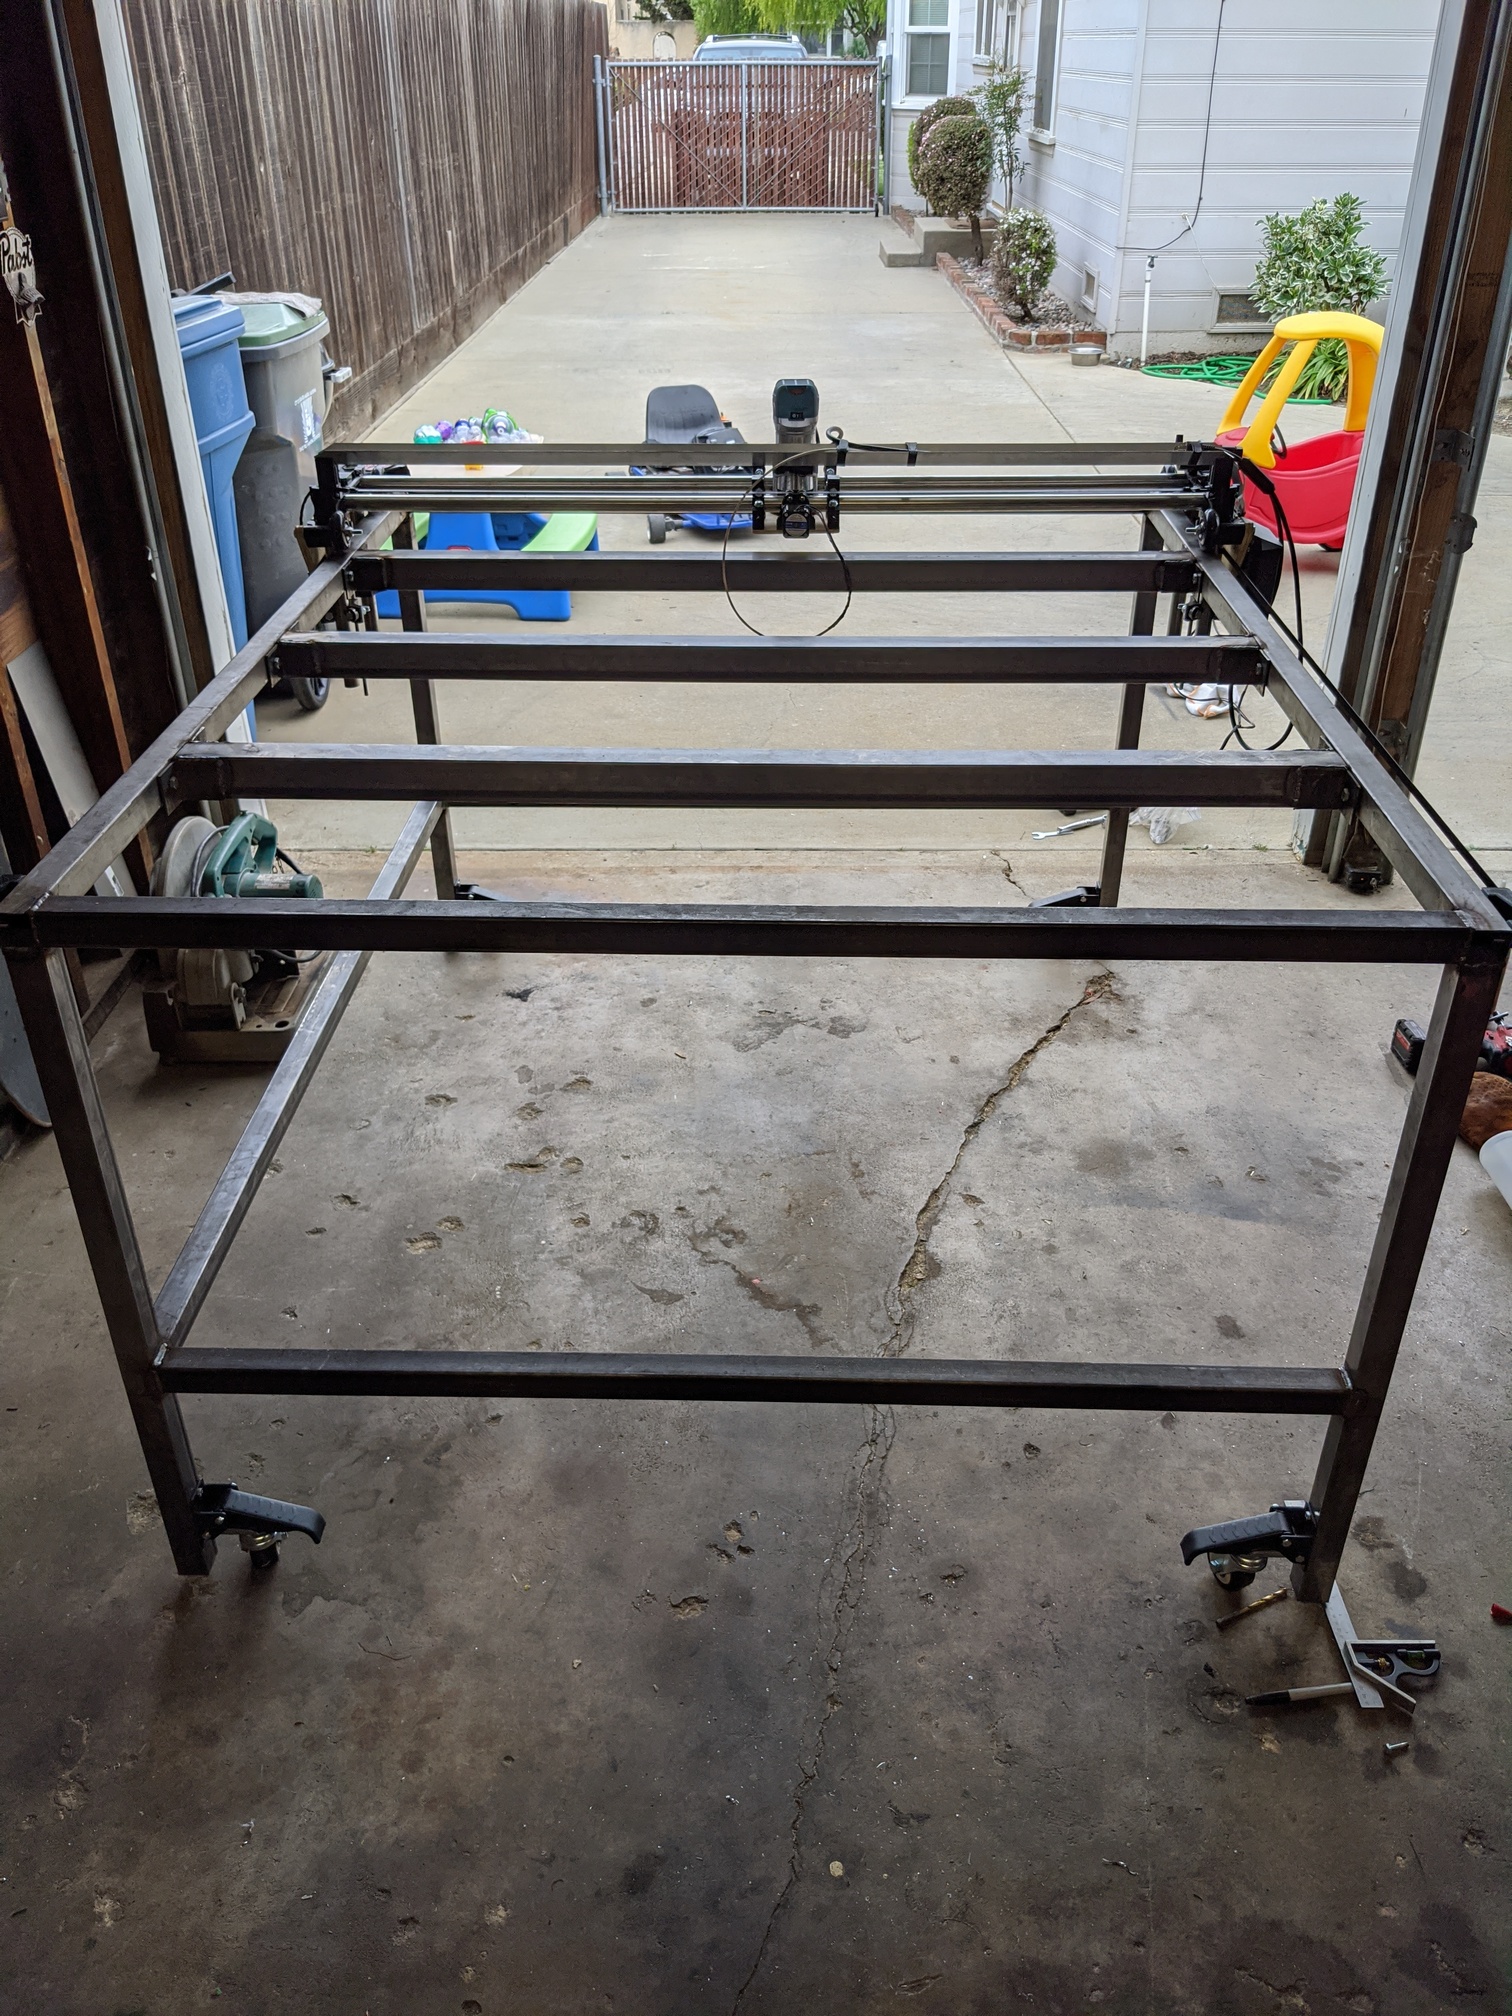
Need to finish out the actual table frame so I can cut something!
Installed cross braces today, bolted them in so that they can easily be removed and replaced with slats or a water table for plasma cutting. Also added casters to make the table easy to move but can be flipped up so the table sits solid. Hoping to go get a sheet of mdf tomorrow for a spoilboad so I can start running the machine.

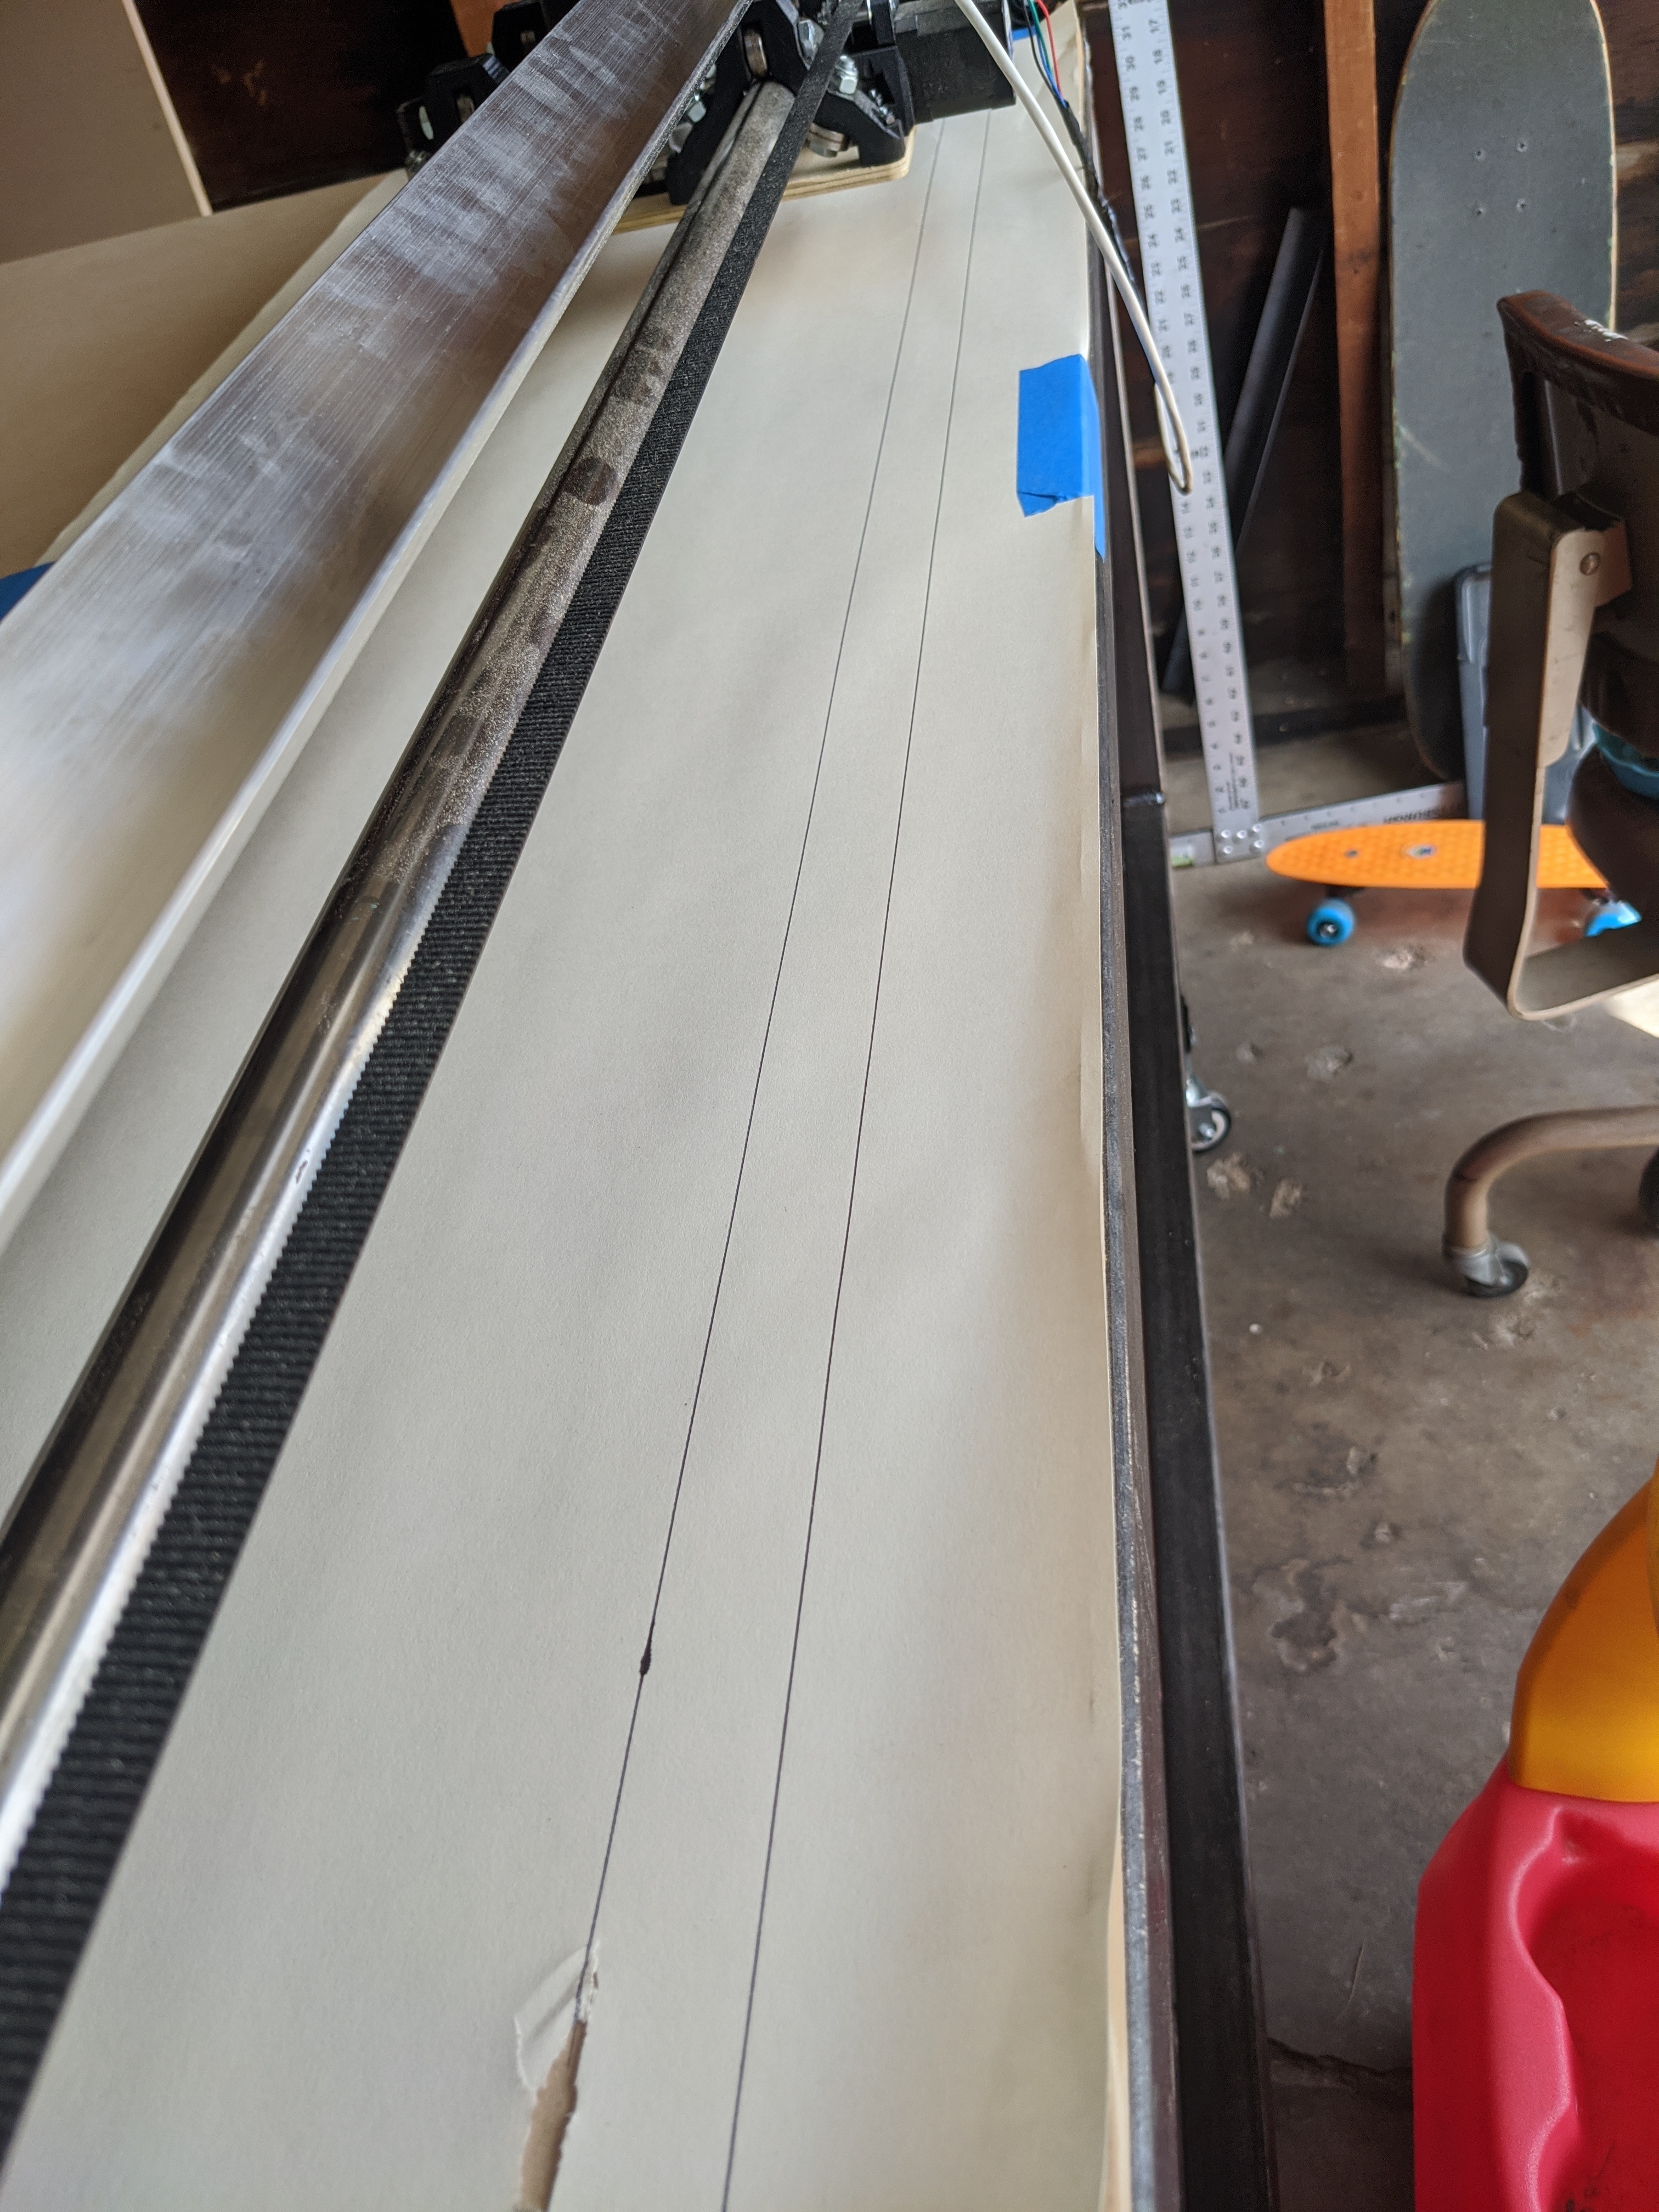
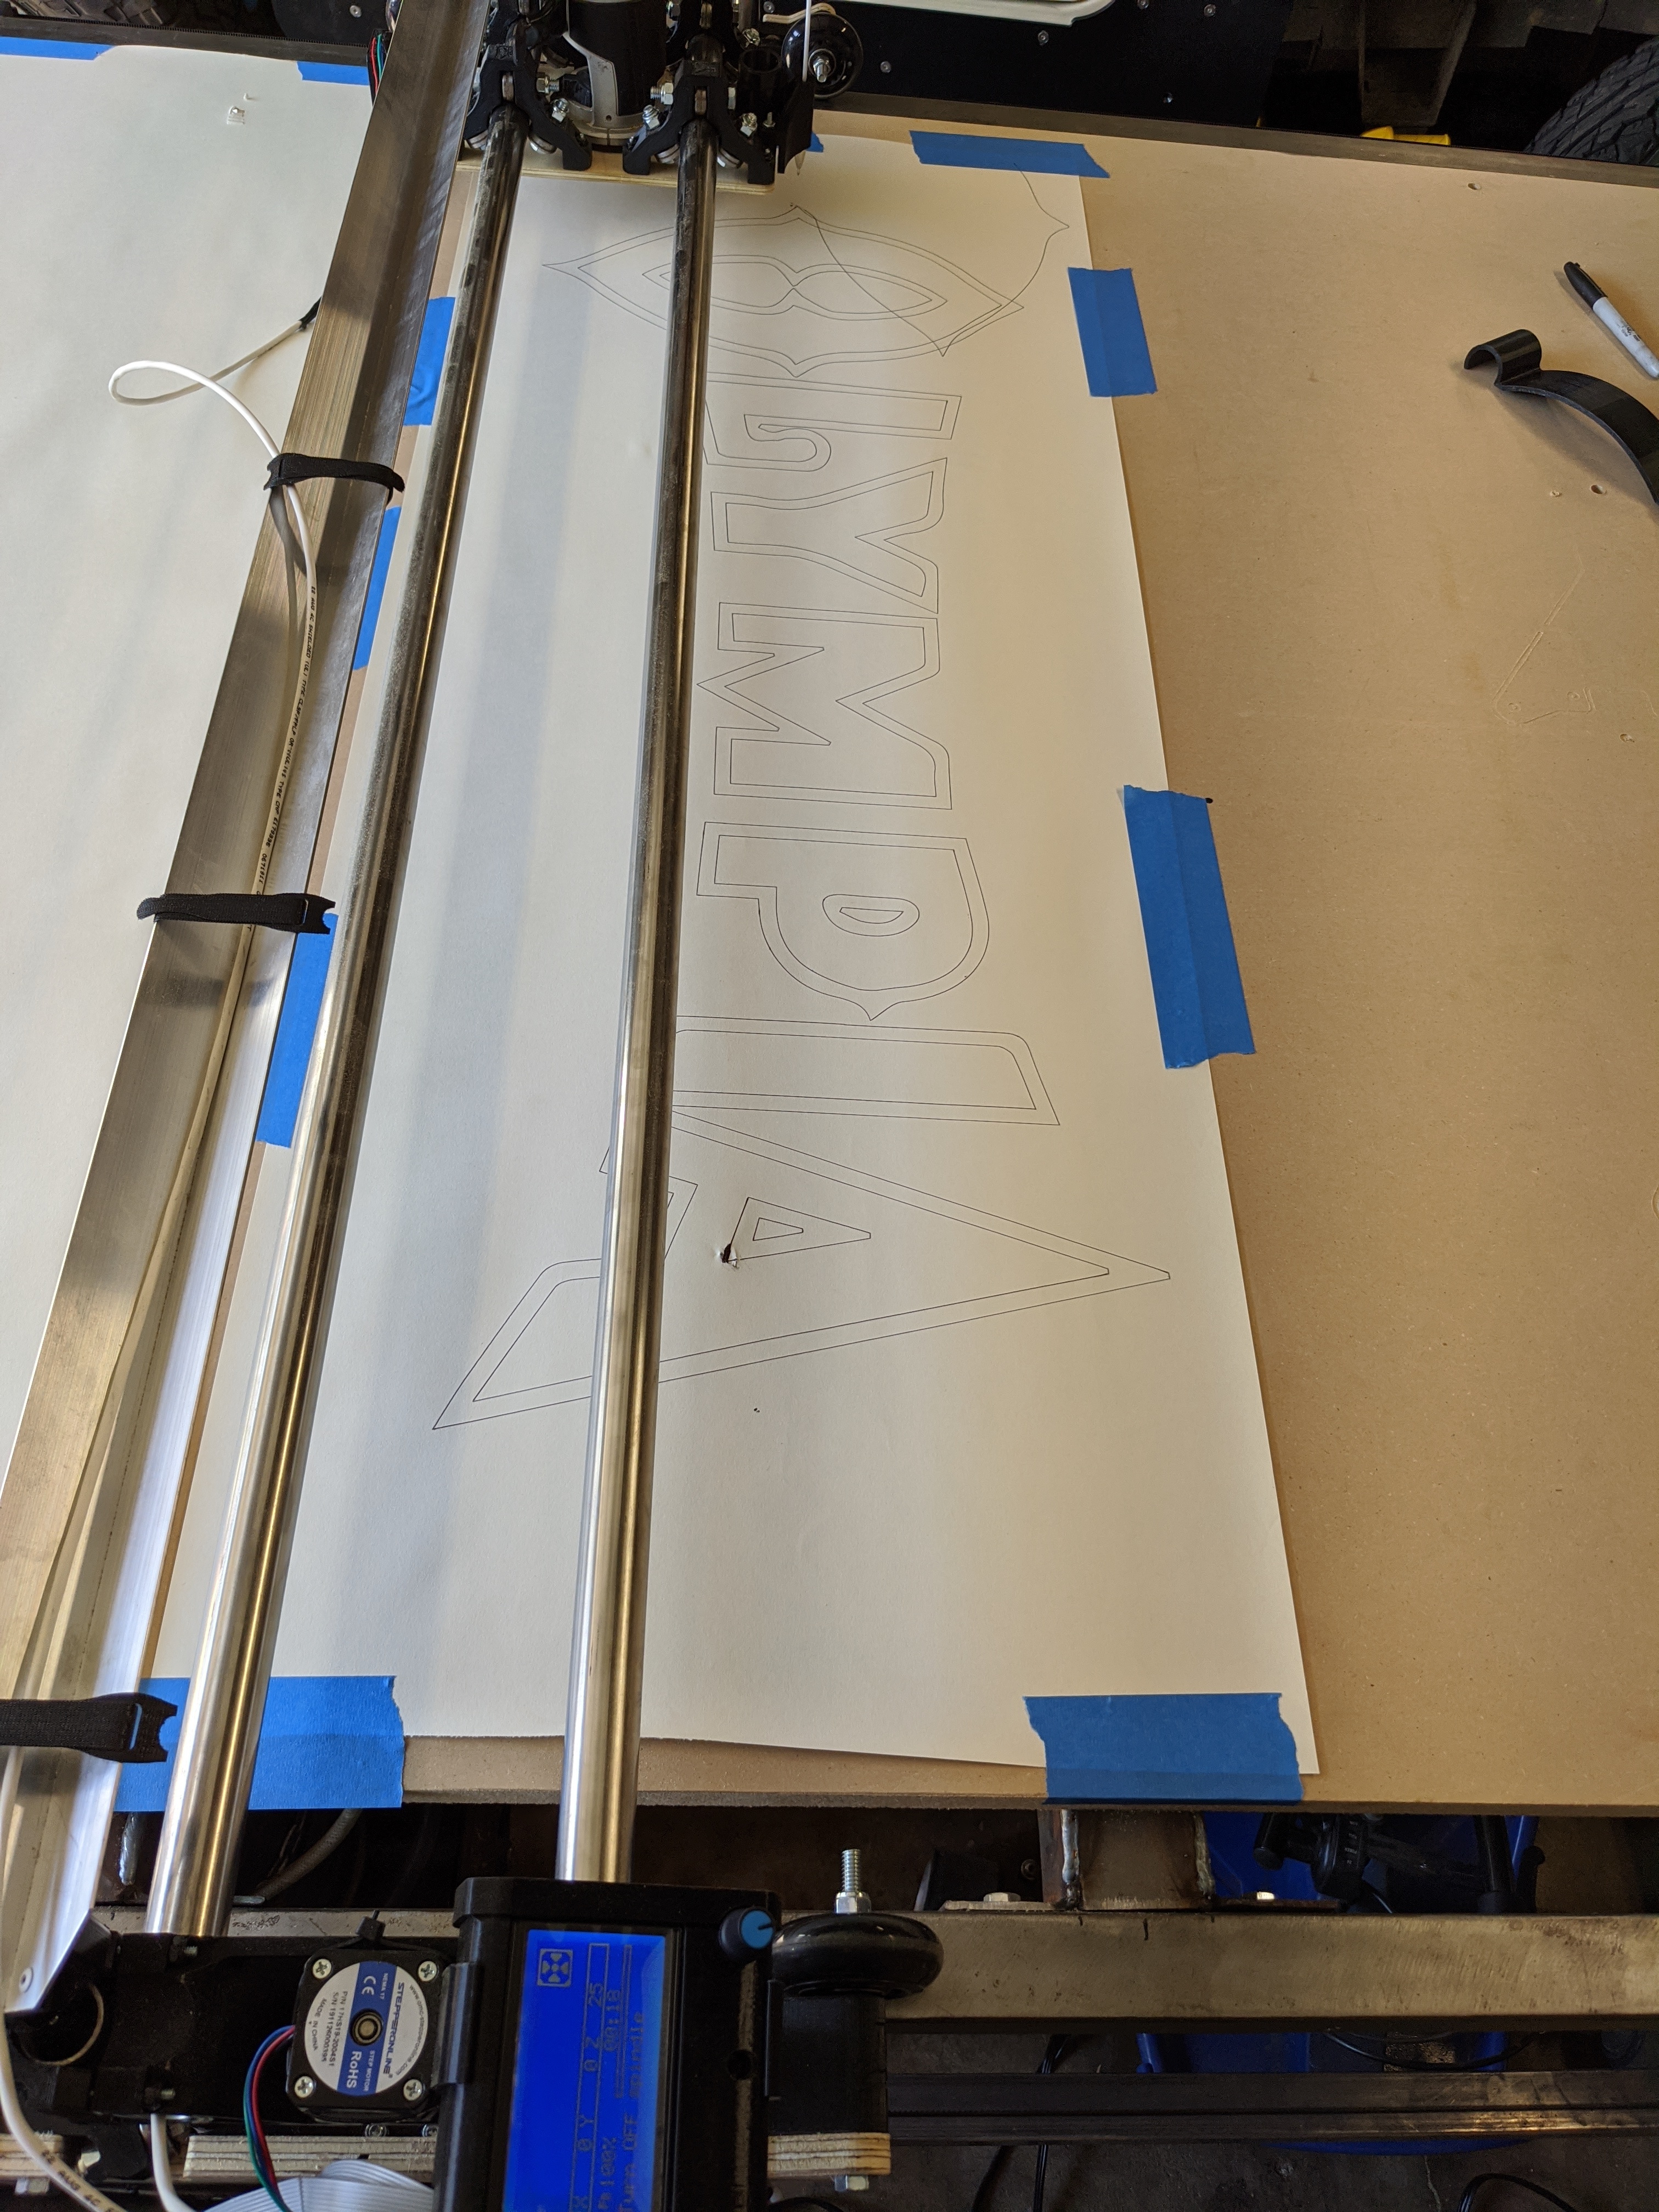
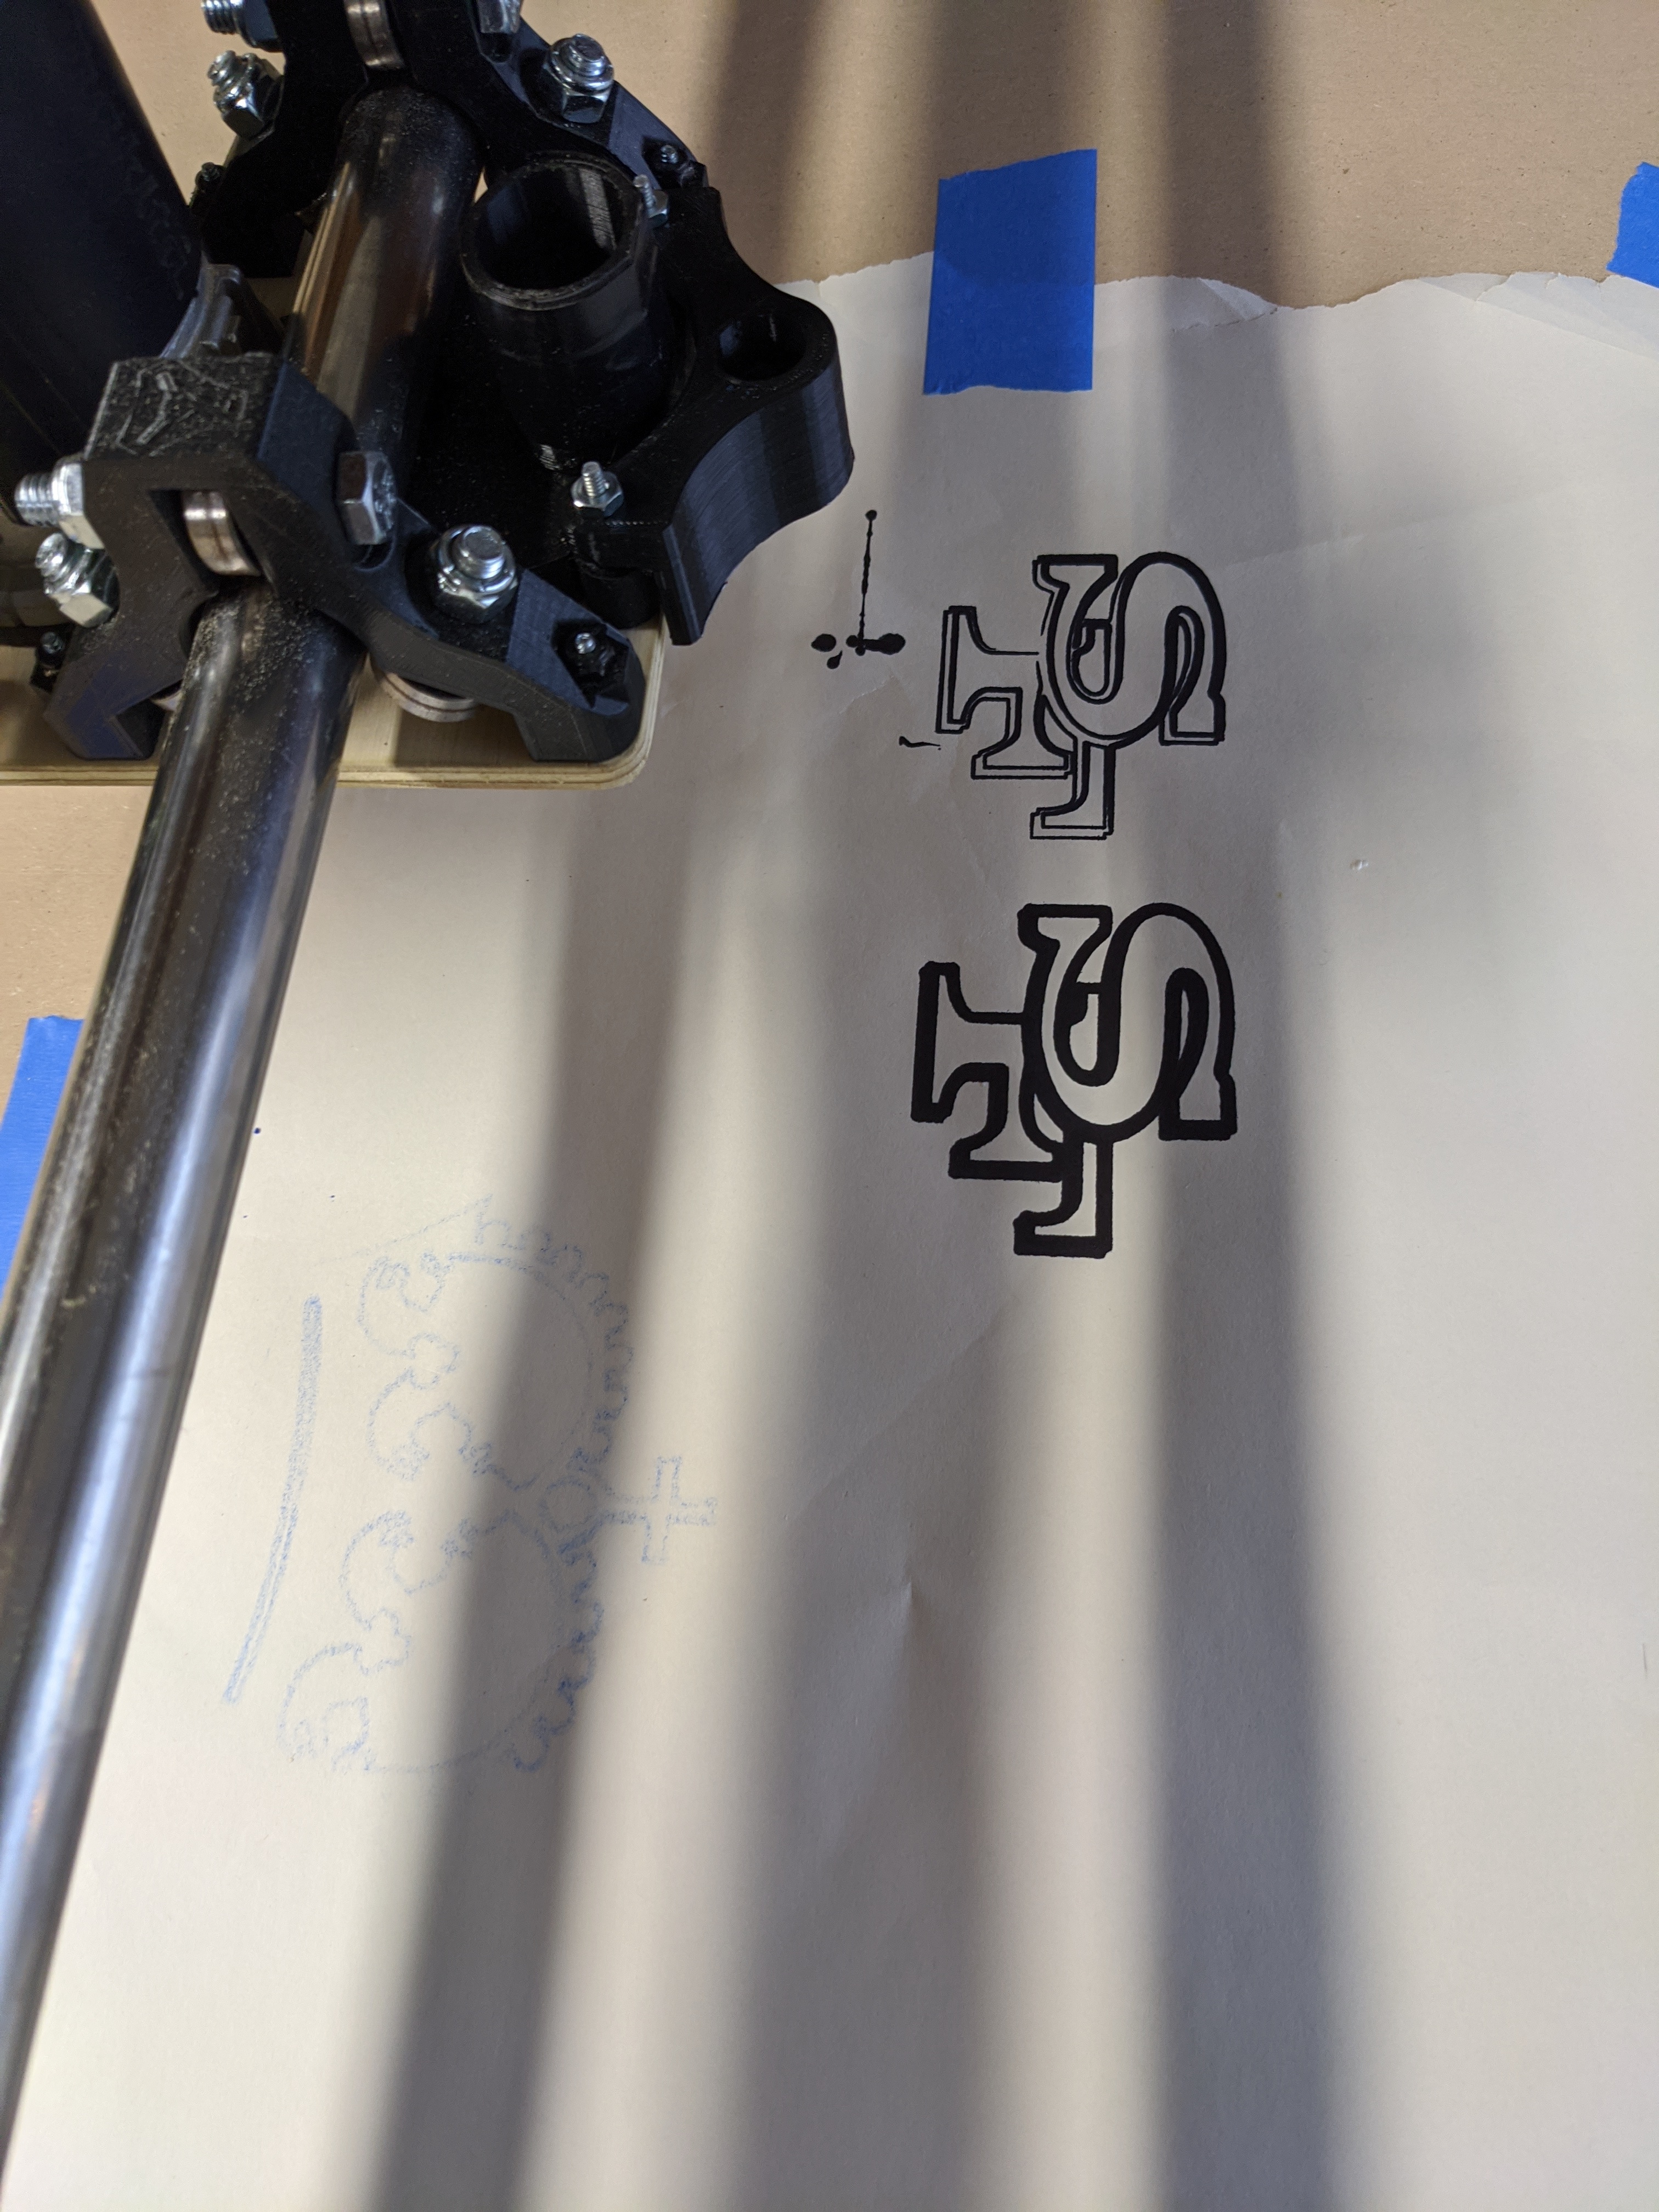
Ran some test code. Glad I was only using a sharpie because had a few false starts and could’ve caused some damage had I gone straight for the router. I need to print a different pen mount. Using fusion 360.

Self replicating 
Congrats on your first part!. Looks great. I just cut my first parts last weekend and also started with the Y plates. Curious what settings you used for feed rate and depth of cut?
@jeffw Im sure it could be much more aggressive. Im using fusion 360 so it likes mm/min think my feed rate is 480 (8mm/sec) and depth of cut was 1.5mm. I just wanted to play it safe for this first run.
I do most of my cutting at 600 to 800 mm/min and 3mm and test for depth with your machine
@timonjkl is that with an 1/8" bit? I thought I had heard somewhere to keep the load on the bit under 50% it’s width, but I could see how that would mean the horizontal load not vertical. I will work on making a few tests to push this thing after I install these much better y plates.
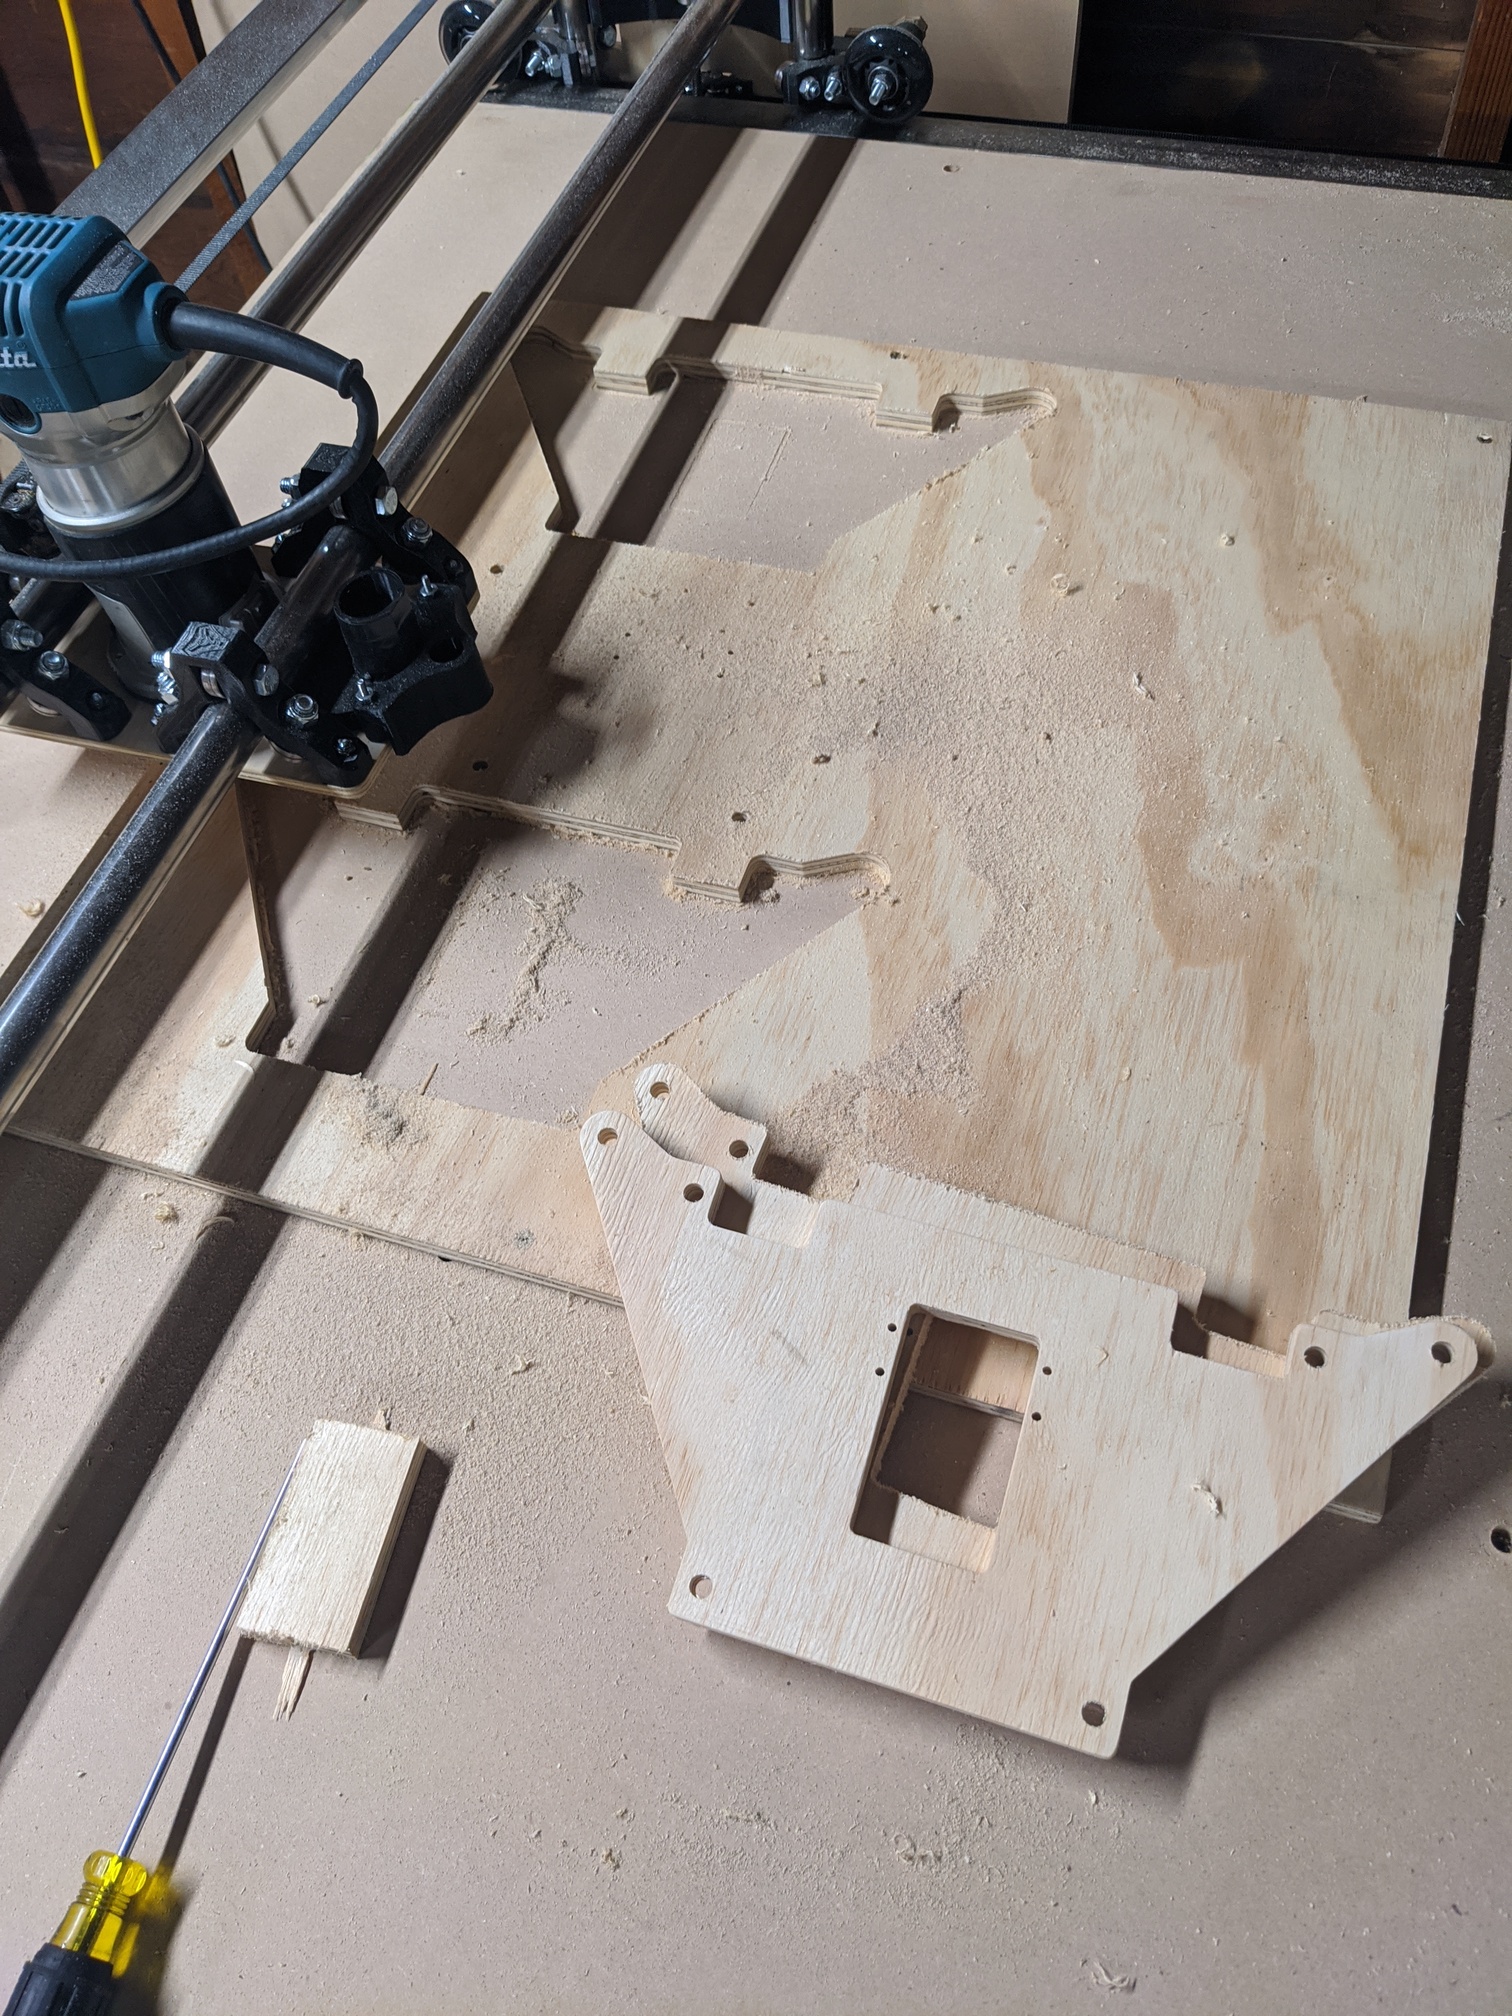
Two new y plates complete! Had one user error causing a failure between completed plates by not checking if the z axis settled correctly, but these accurate new y plates should solve that problem anyways.
Looking good. I really like those casters.
You can definitely go deeper than half the bit width. These electronics will work better at slower speeds, so deeper is better than faster. You also will use the tip of the bit less, so the bits last longer.
Your speeds seem great for a first try. The product looks good too. When you’re basically comfortable with that, and you are sure the machine is behaving, try deeper. You will be pleasantly surprised. More info in the milling basics page.
Yes work up to it you will get the feel for your machine and what it will do that is a lot of fun but it will take more than your pushing now @jeffeb3 is correct deeper before faster