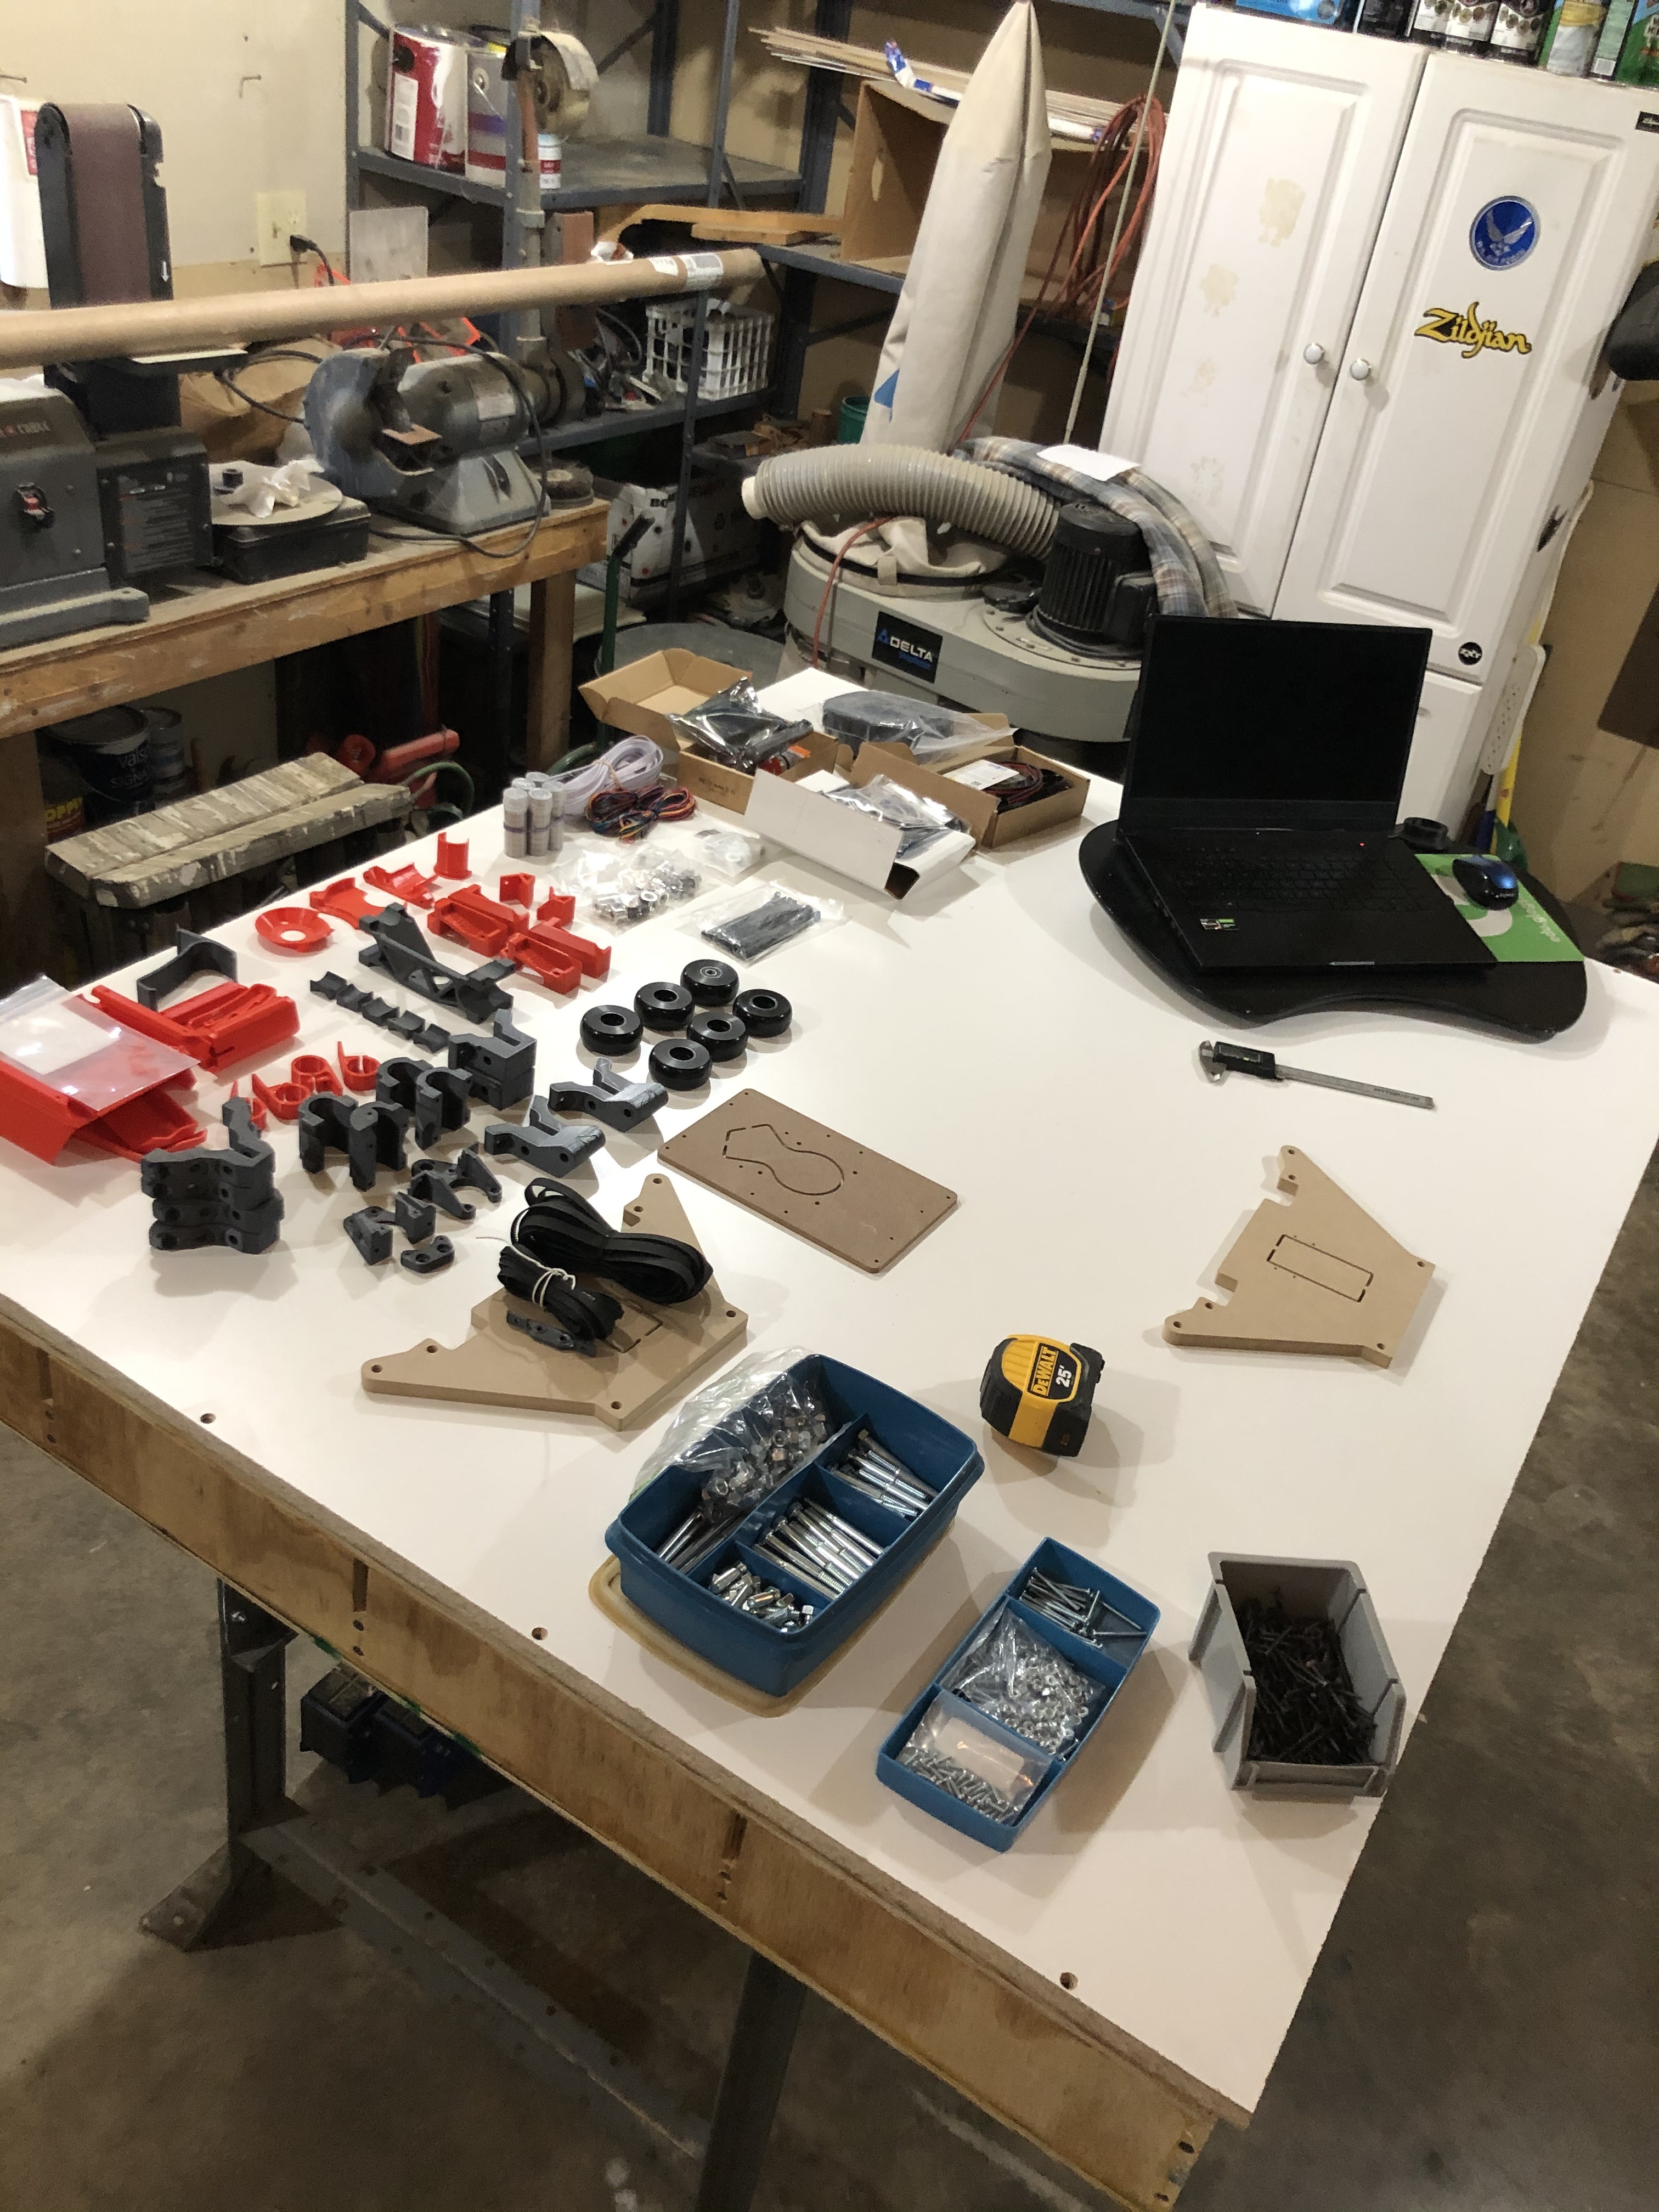
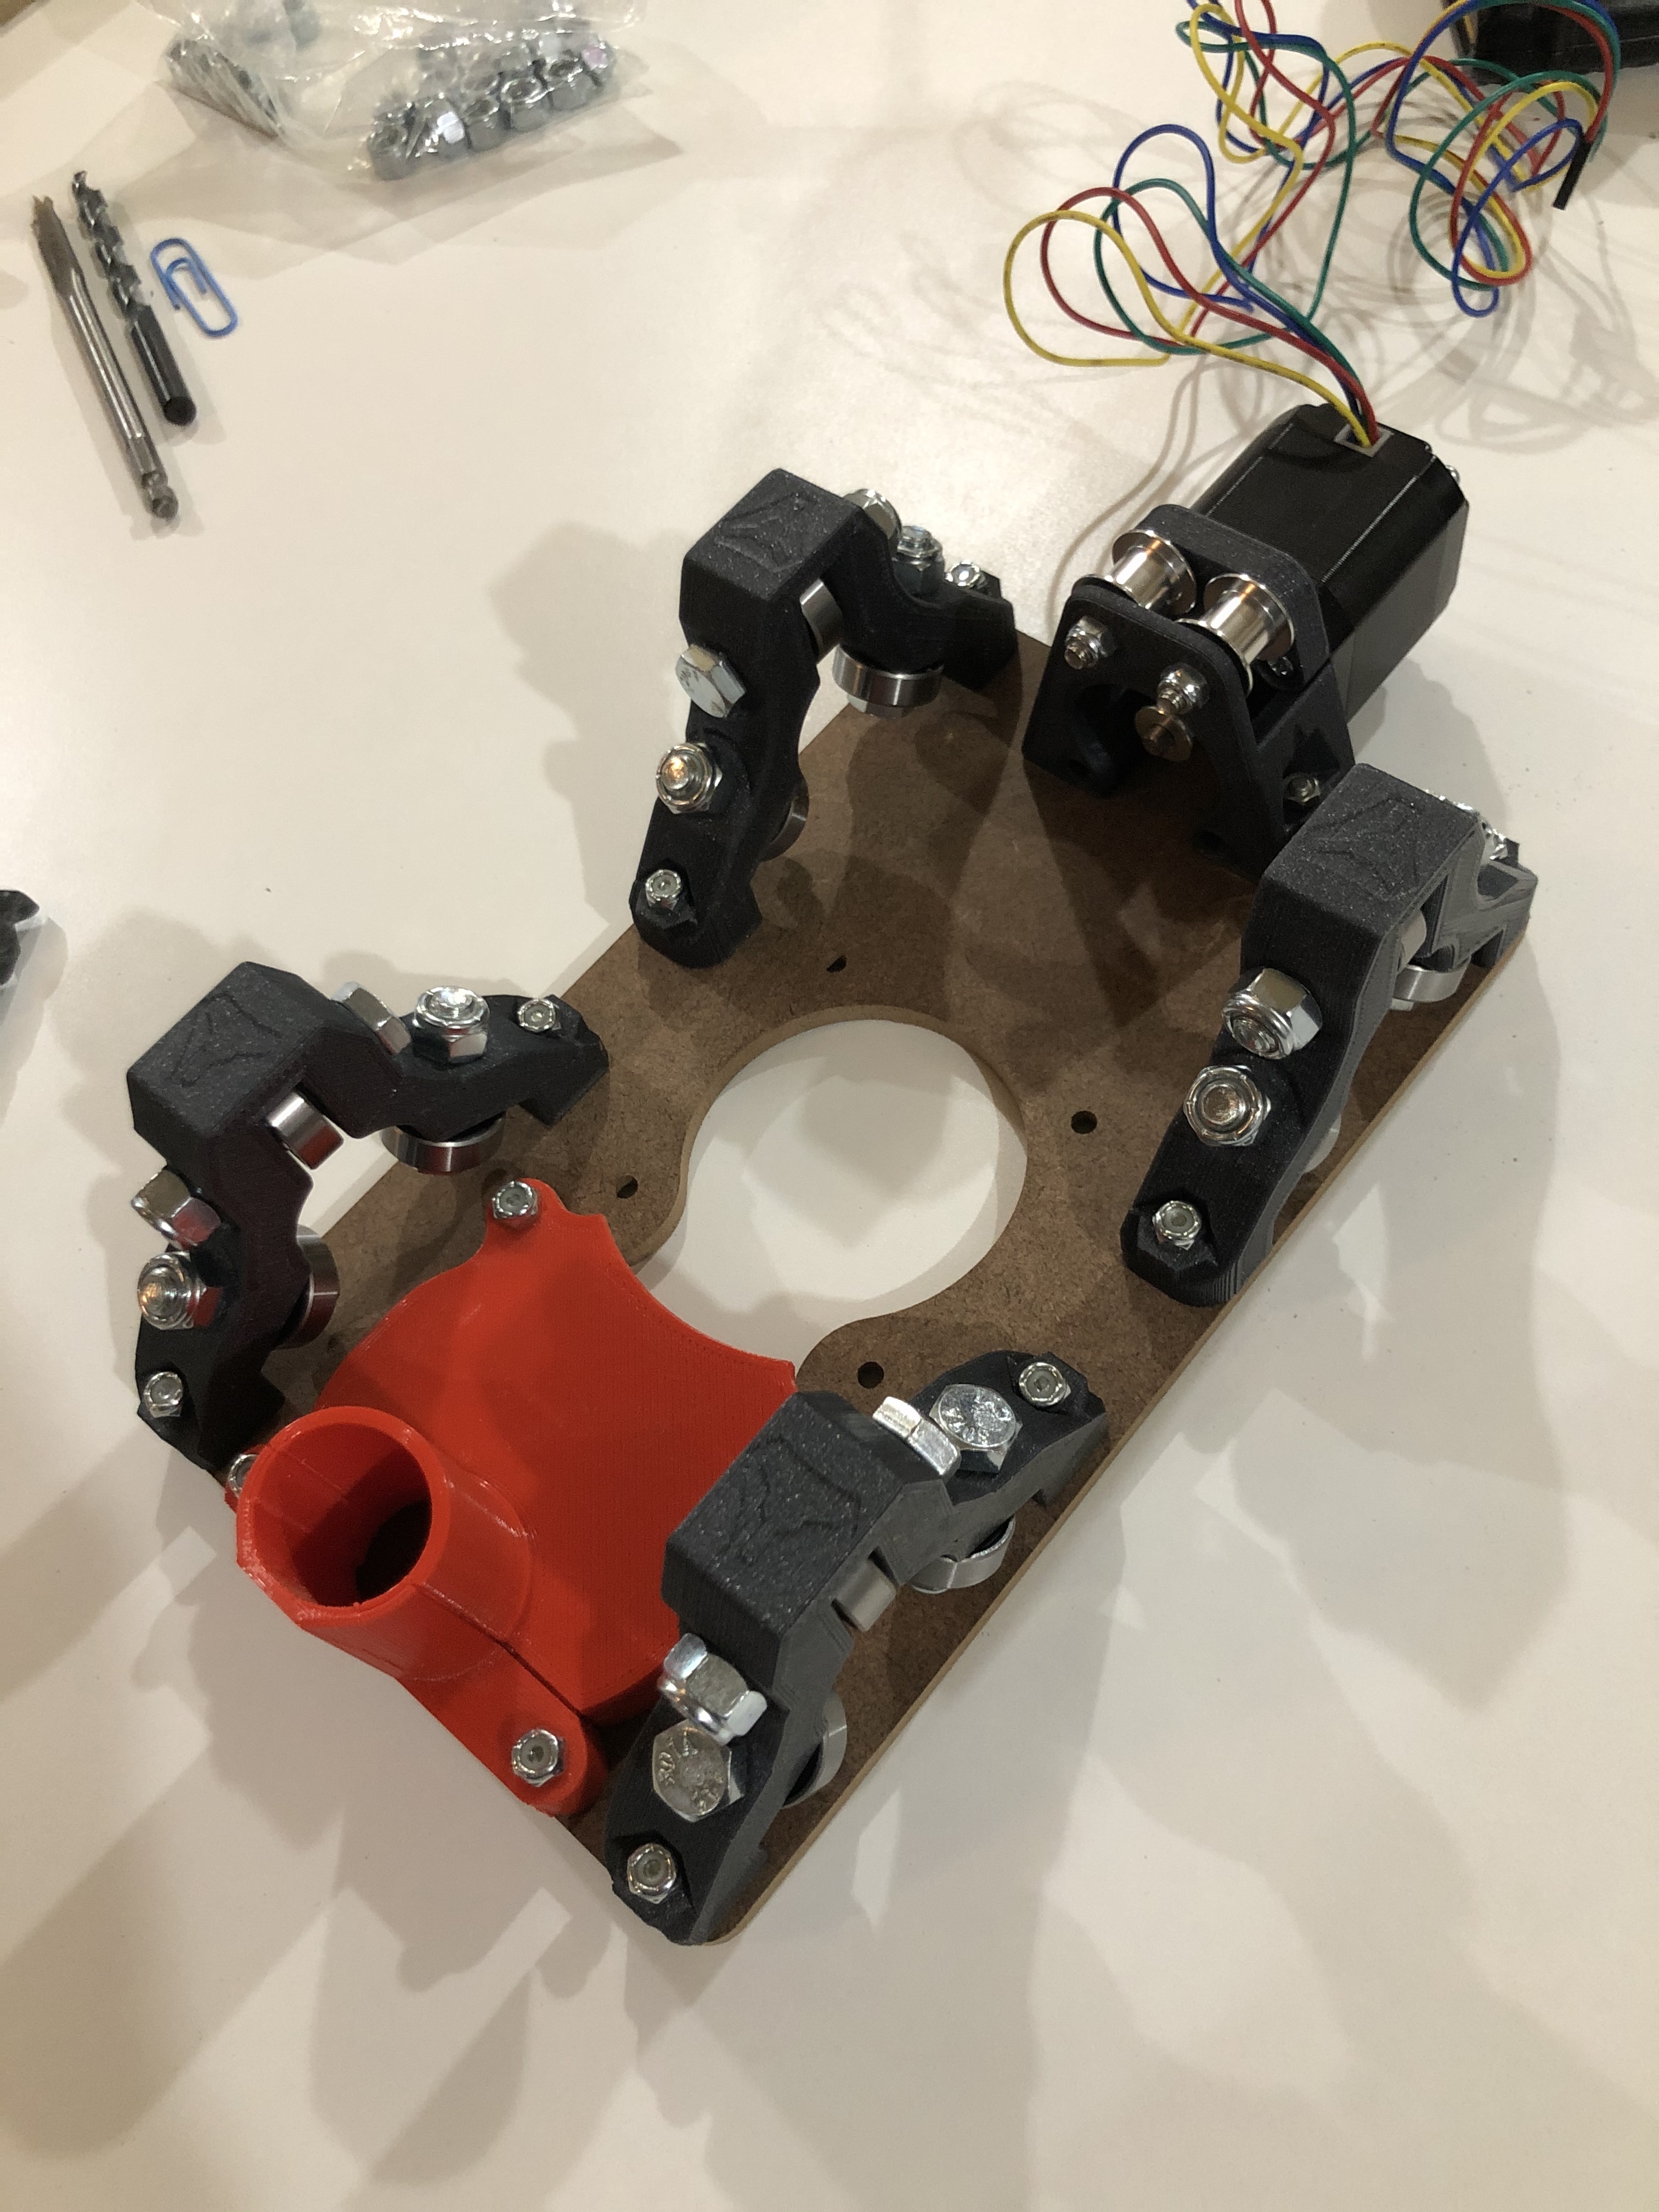
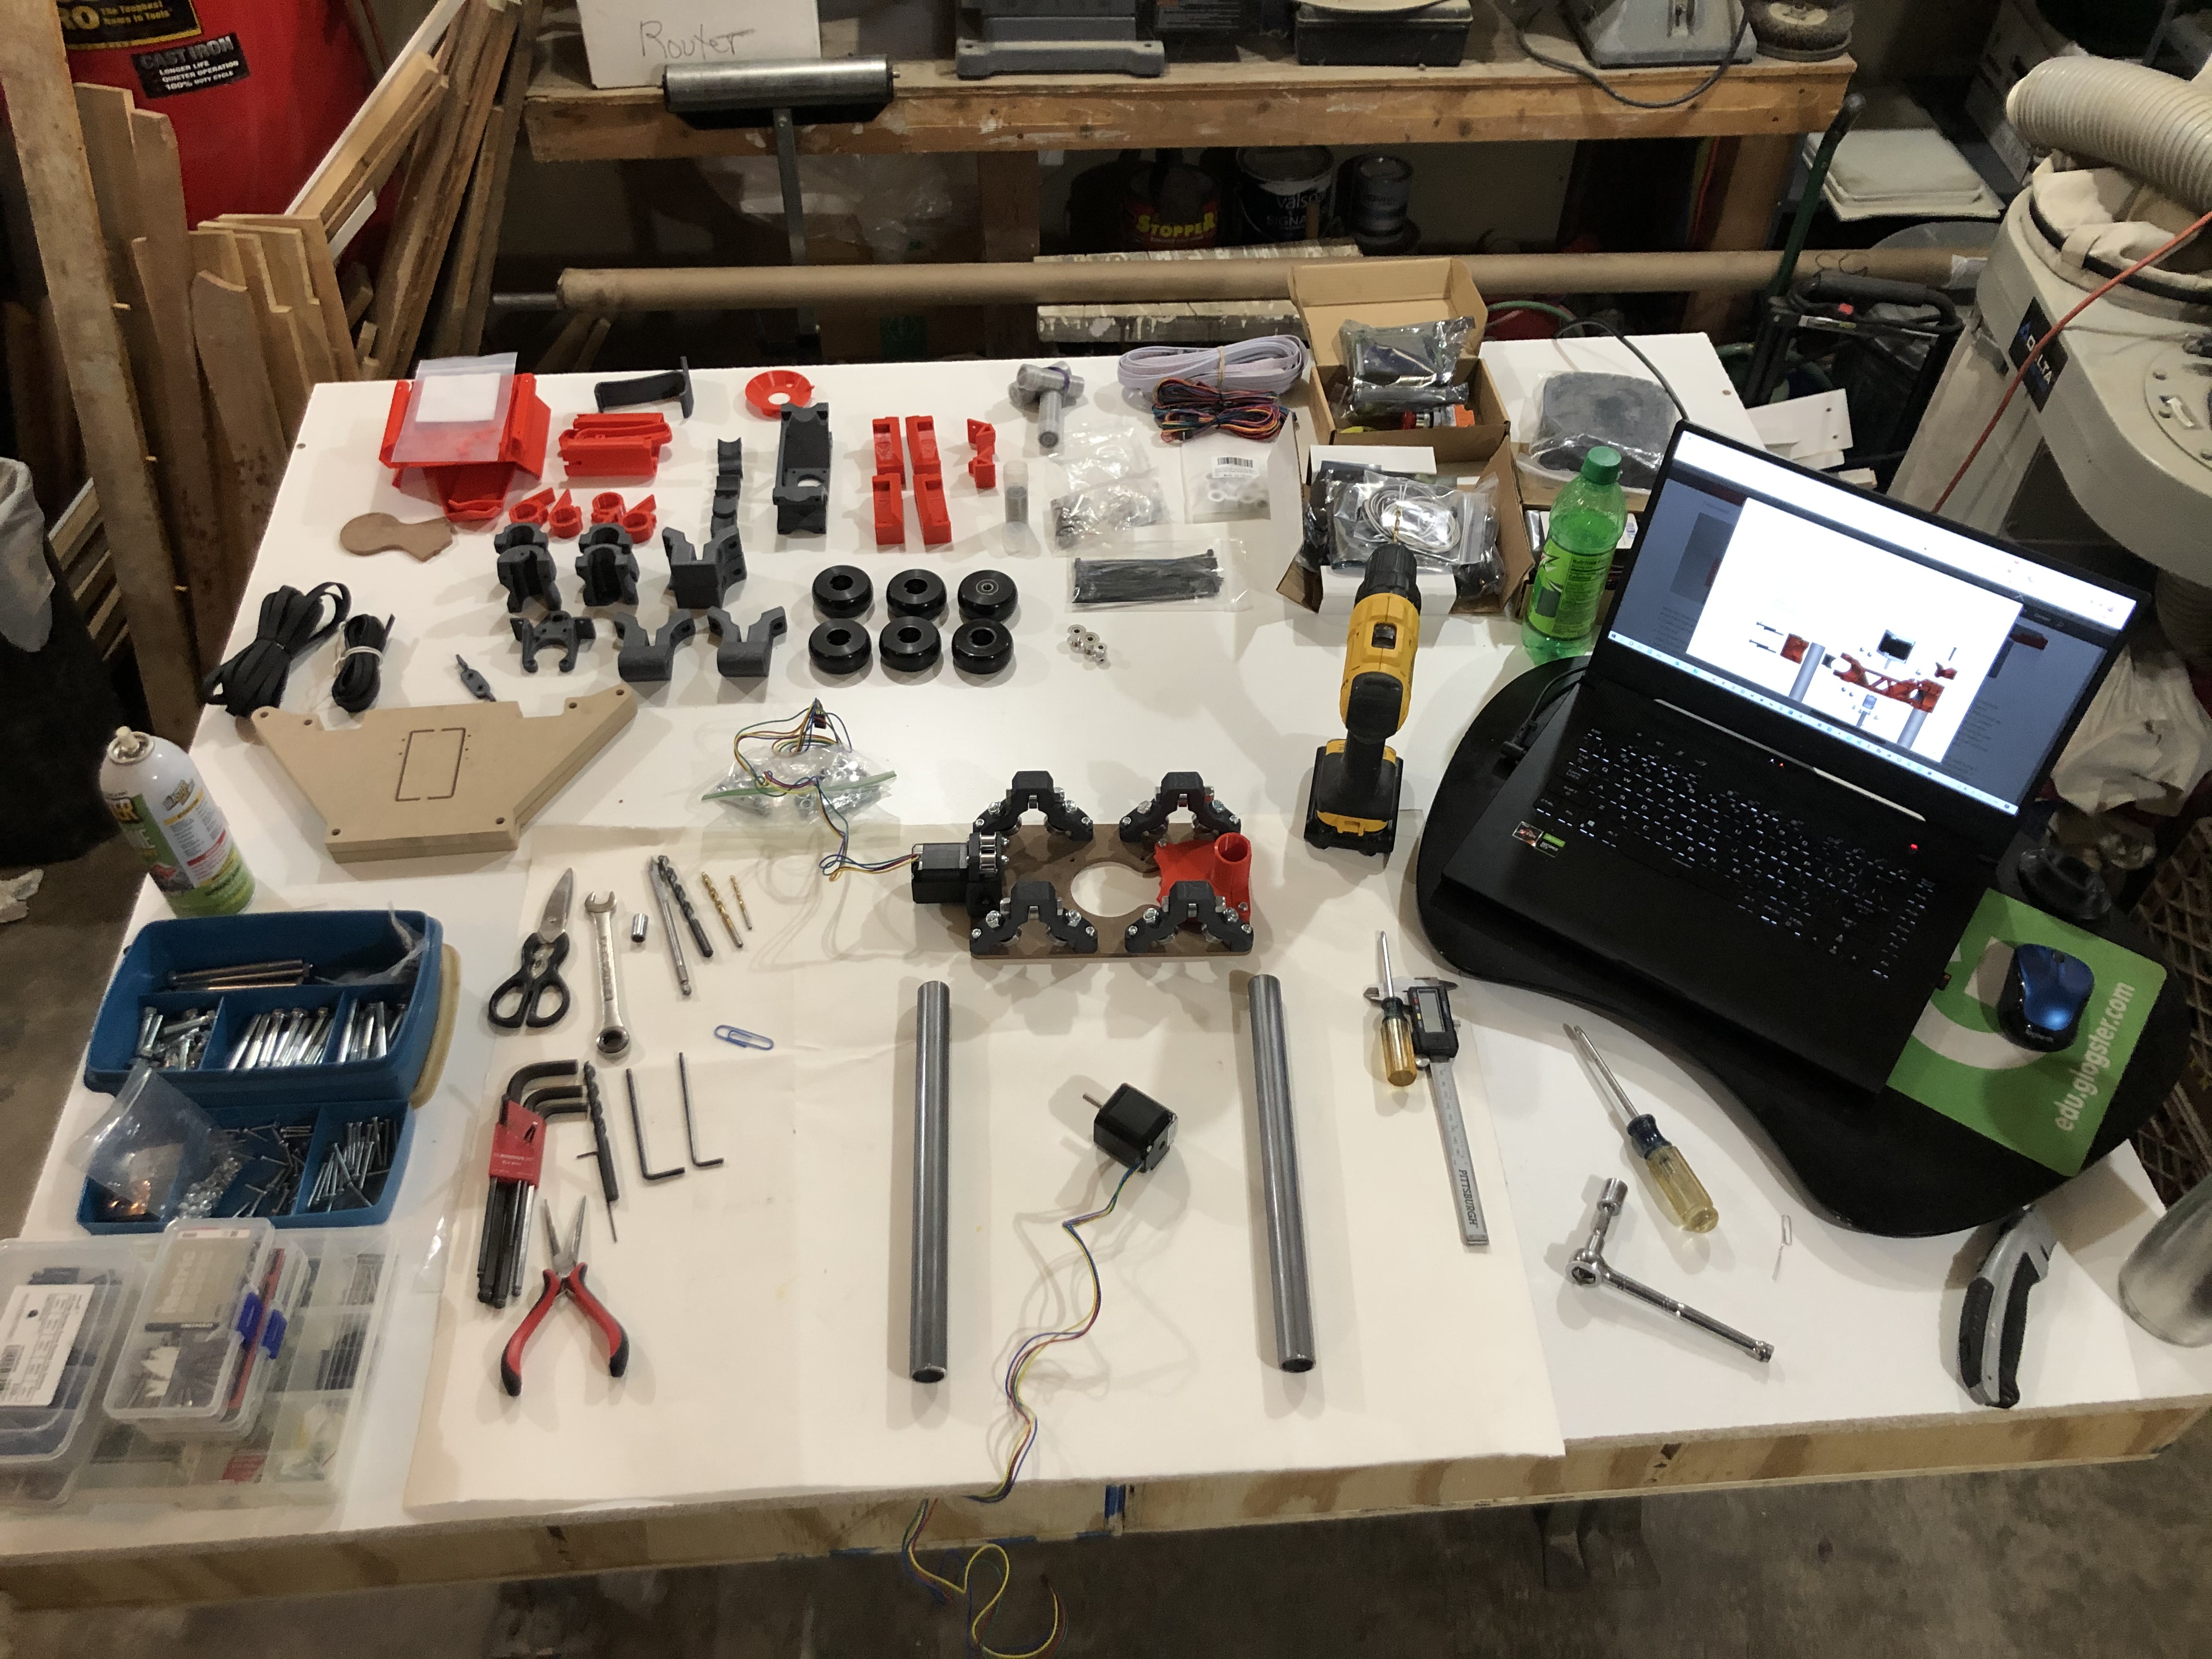
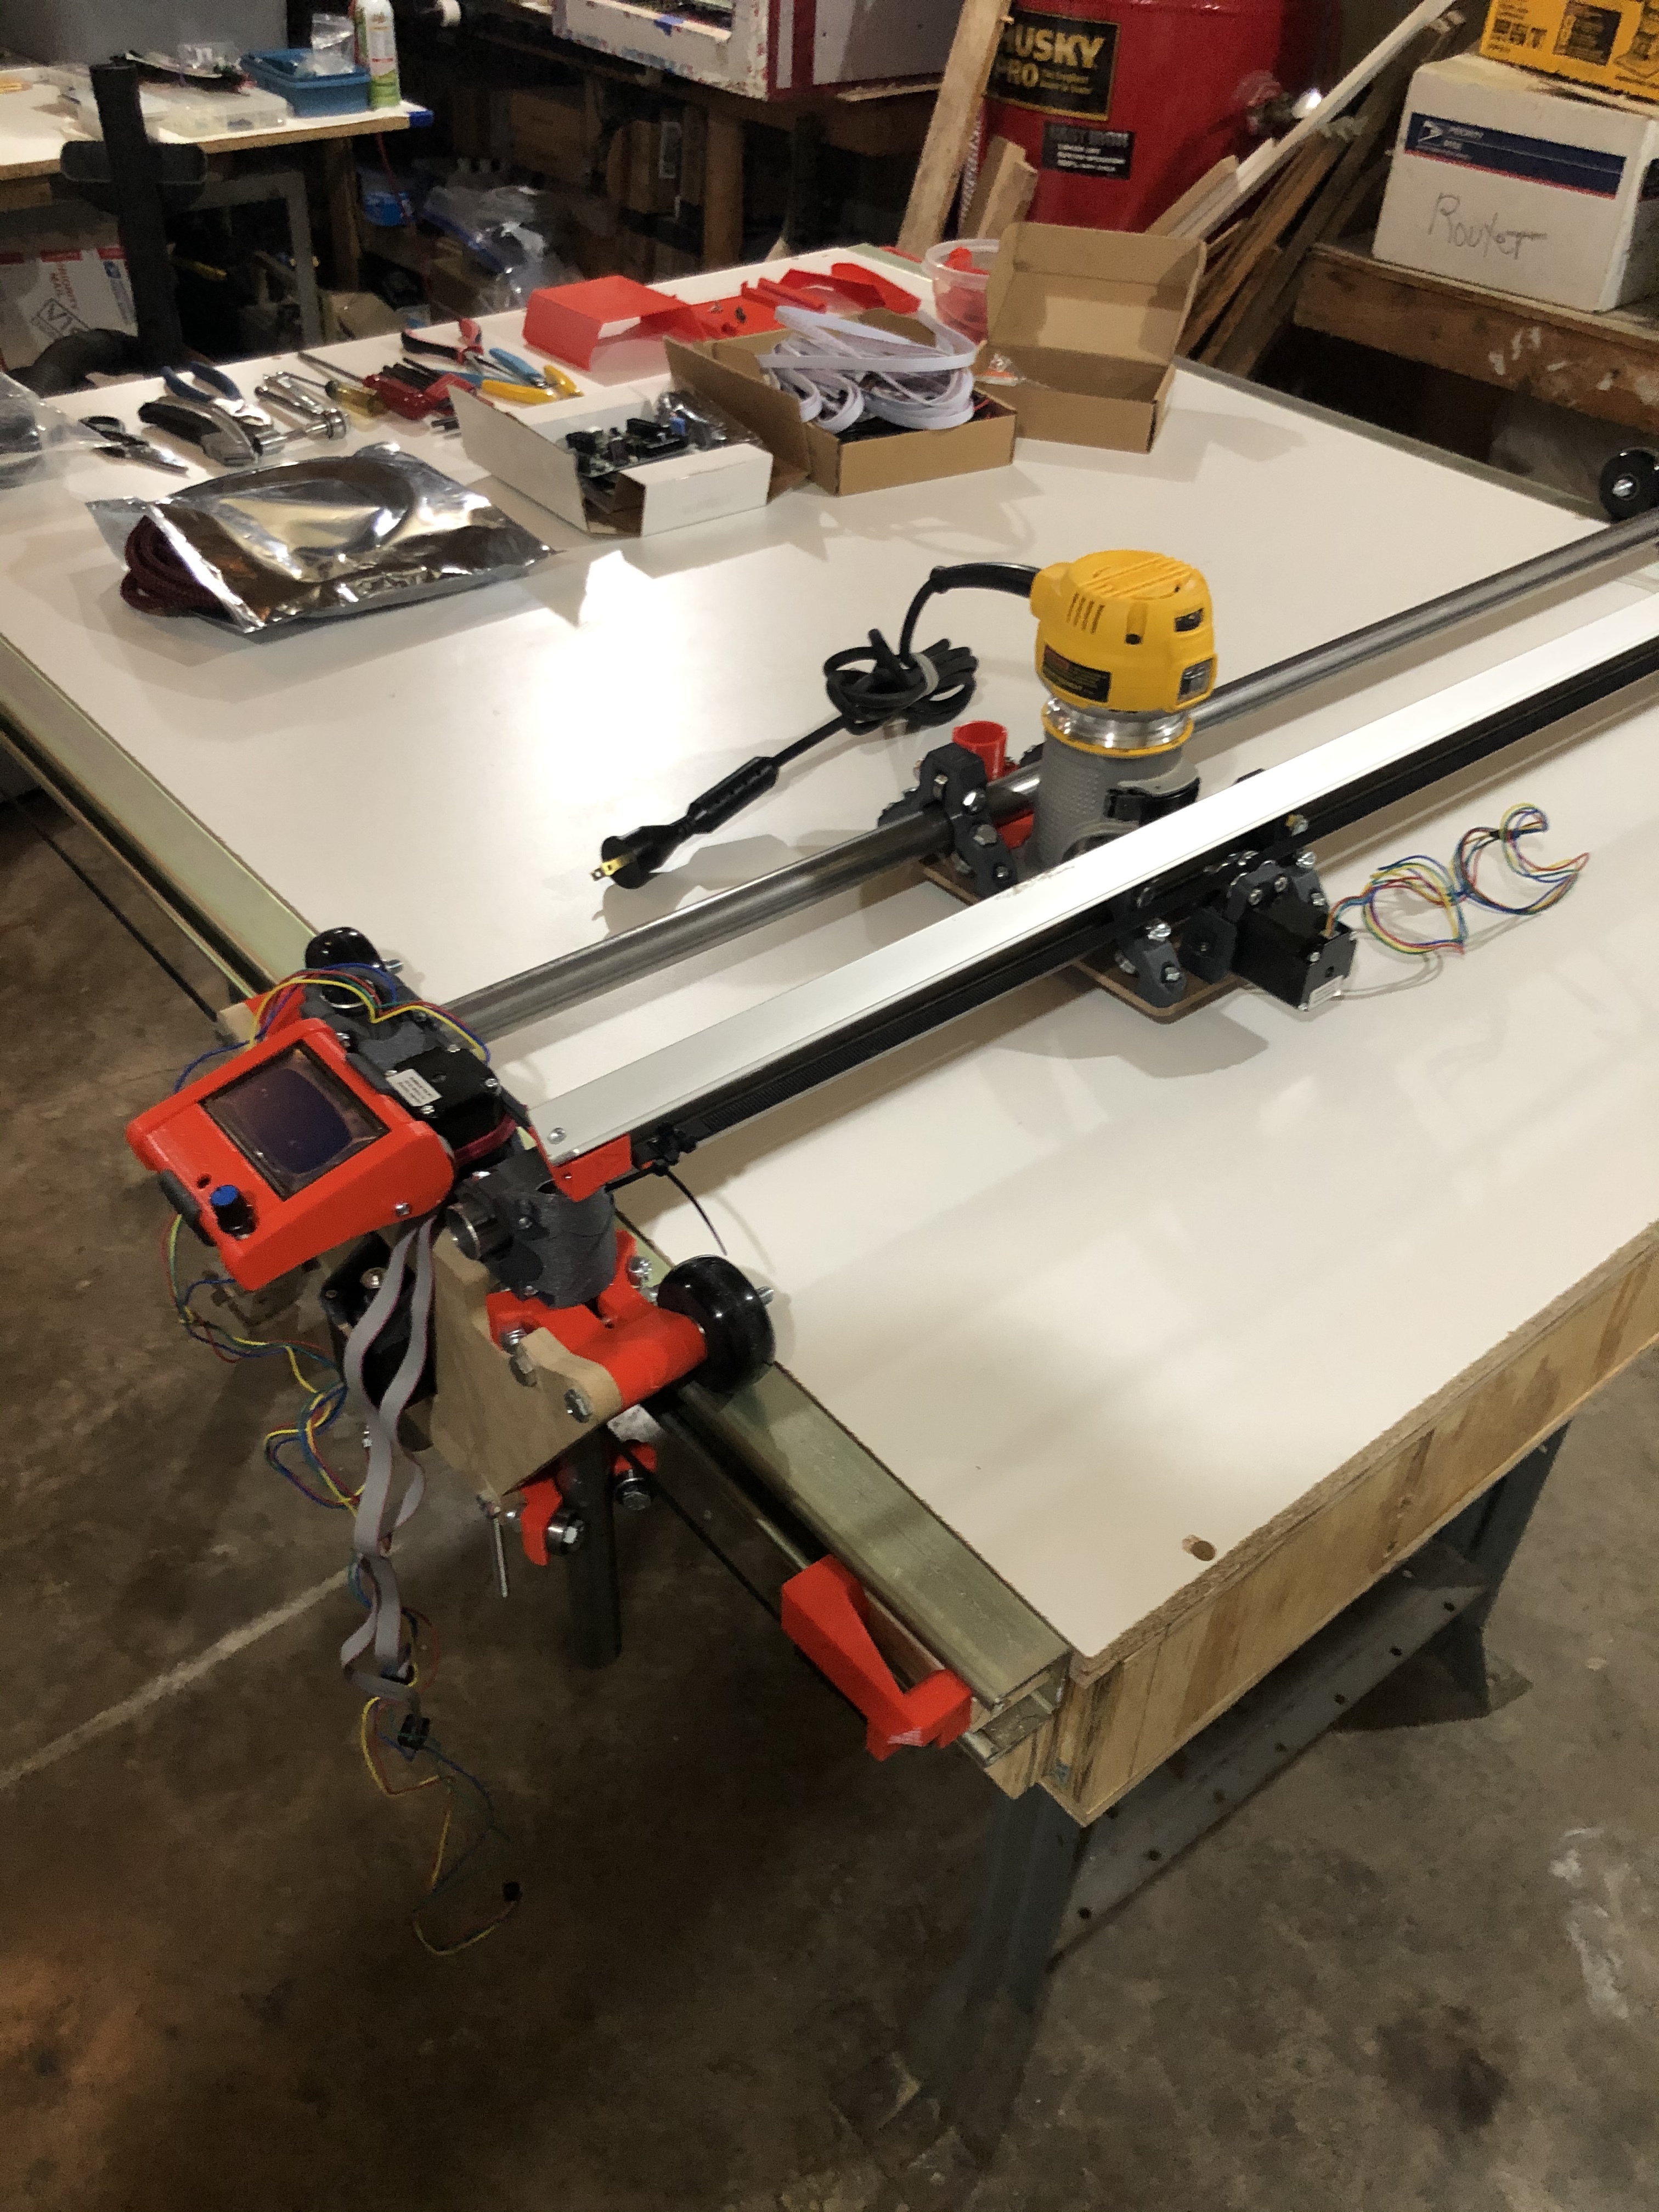
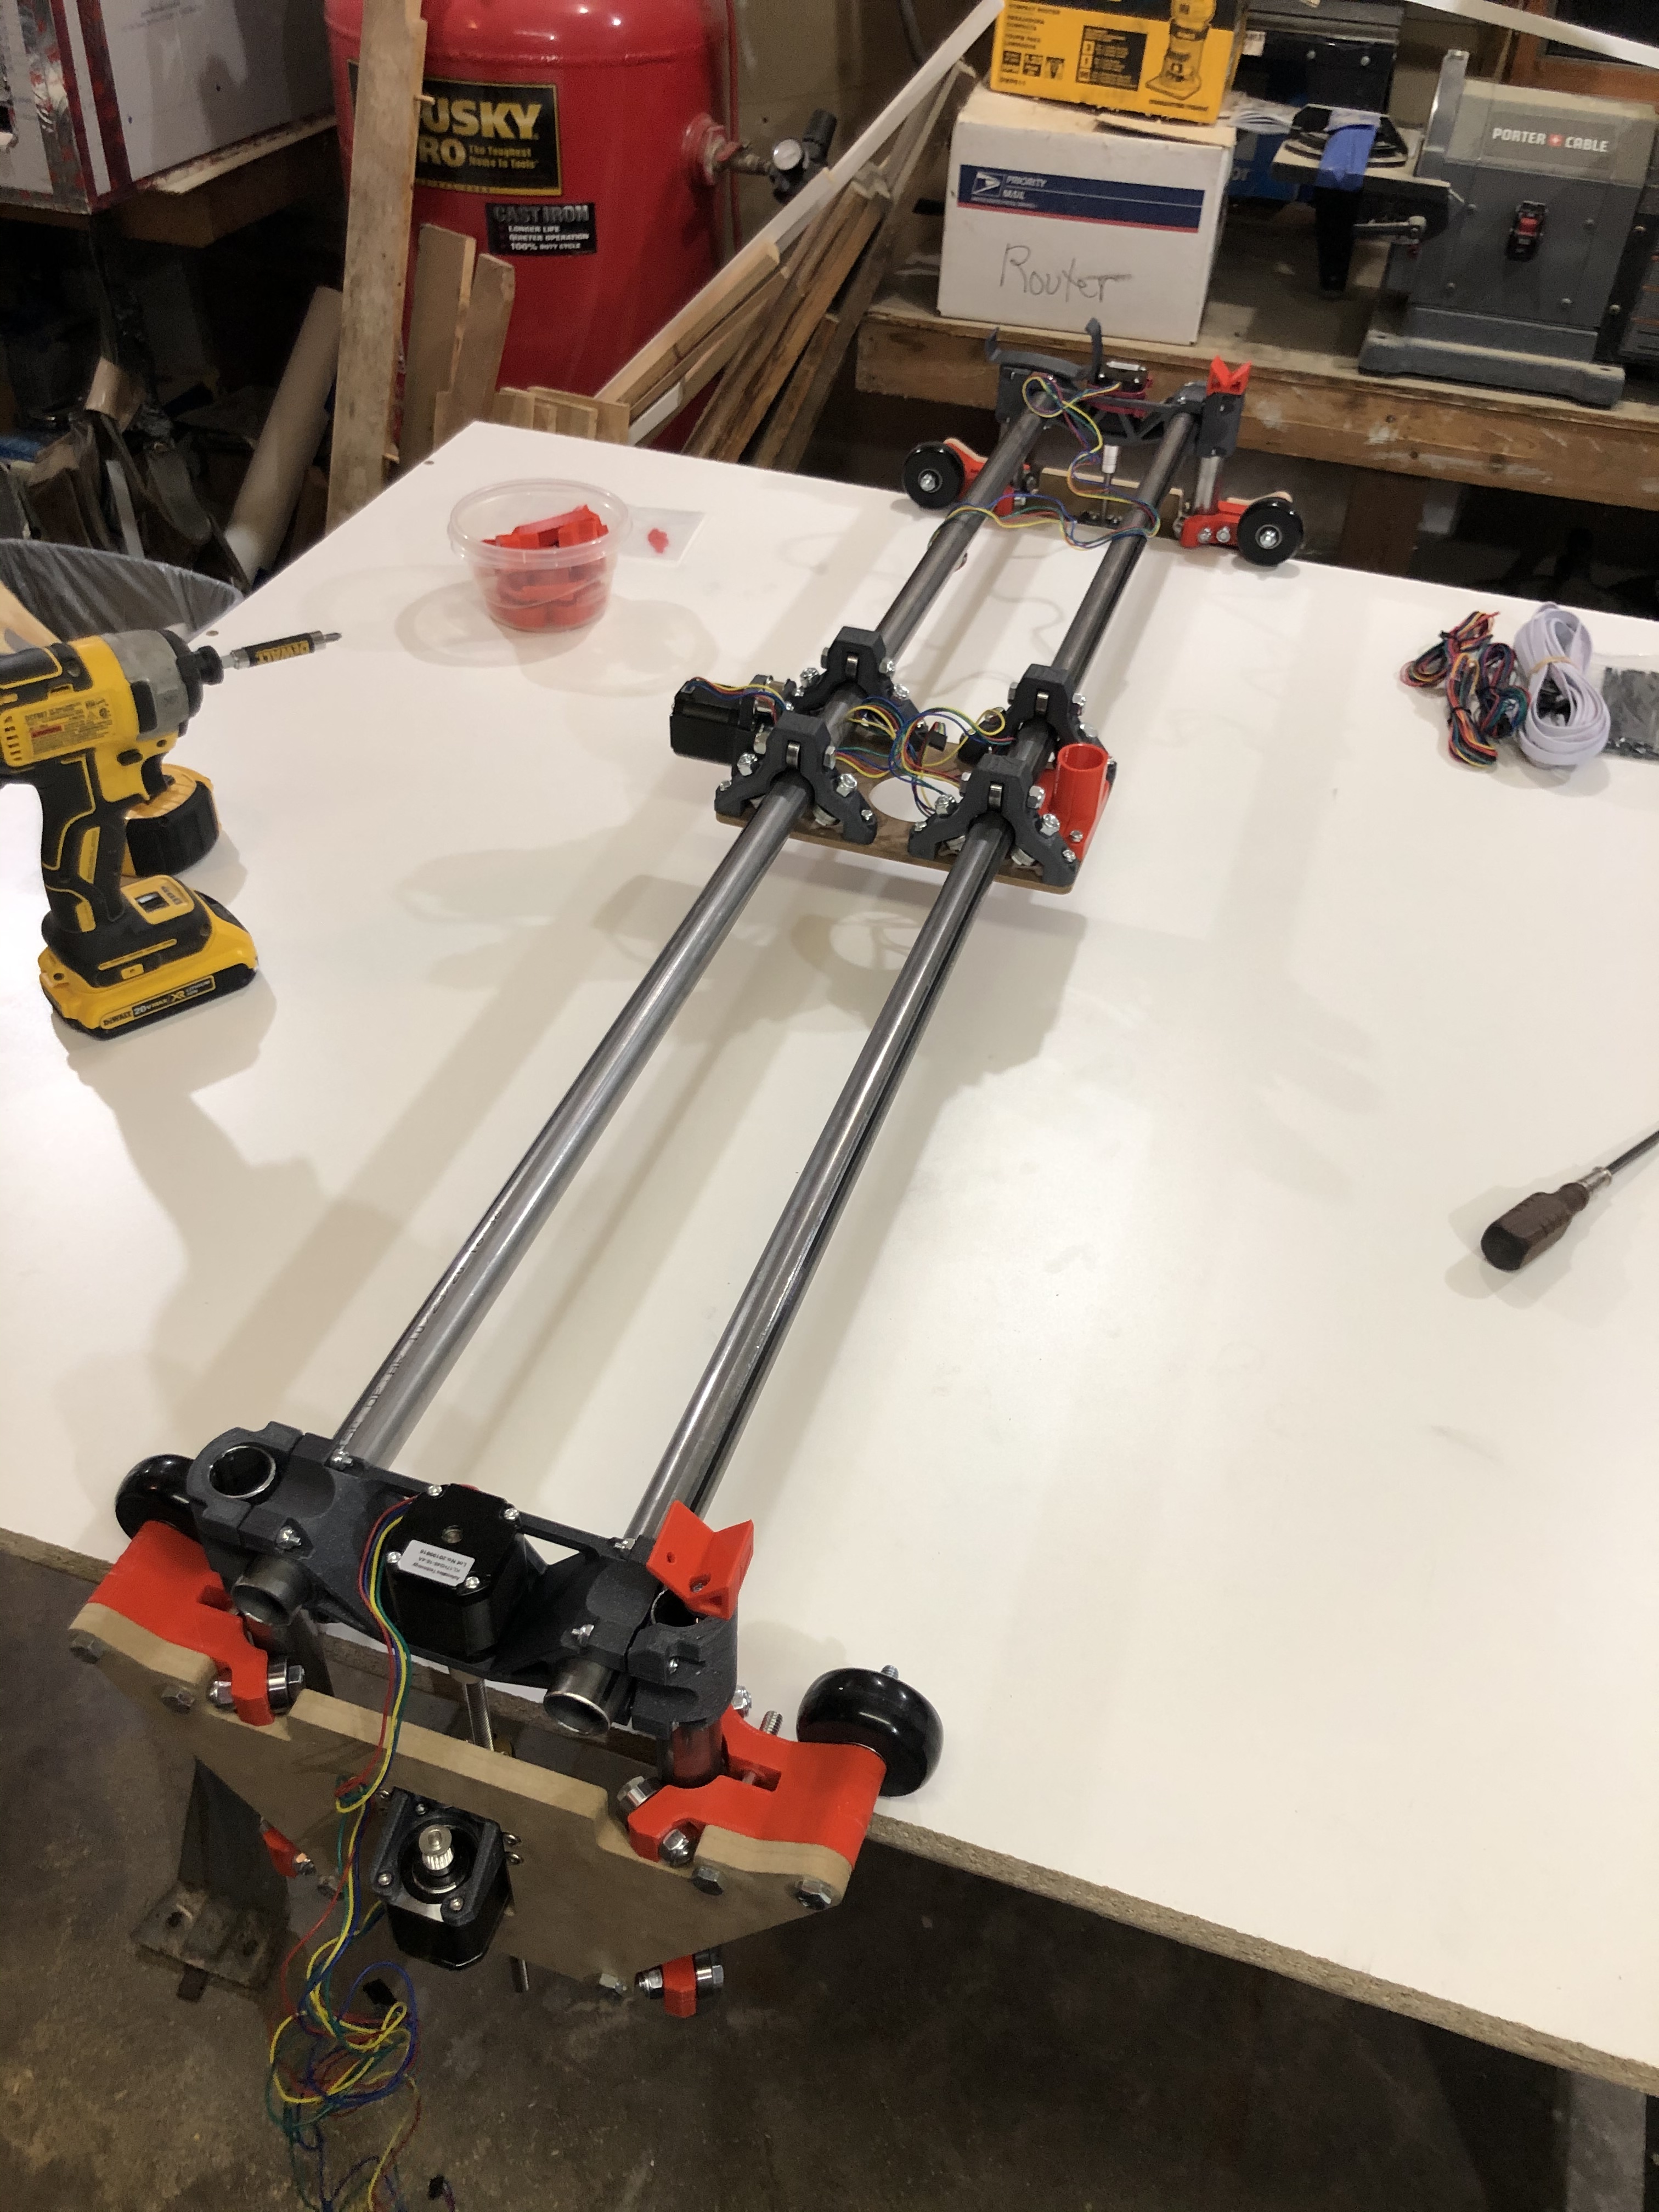
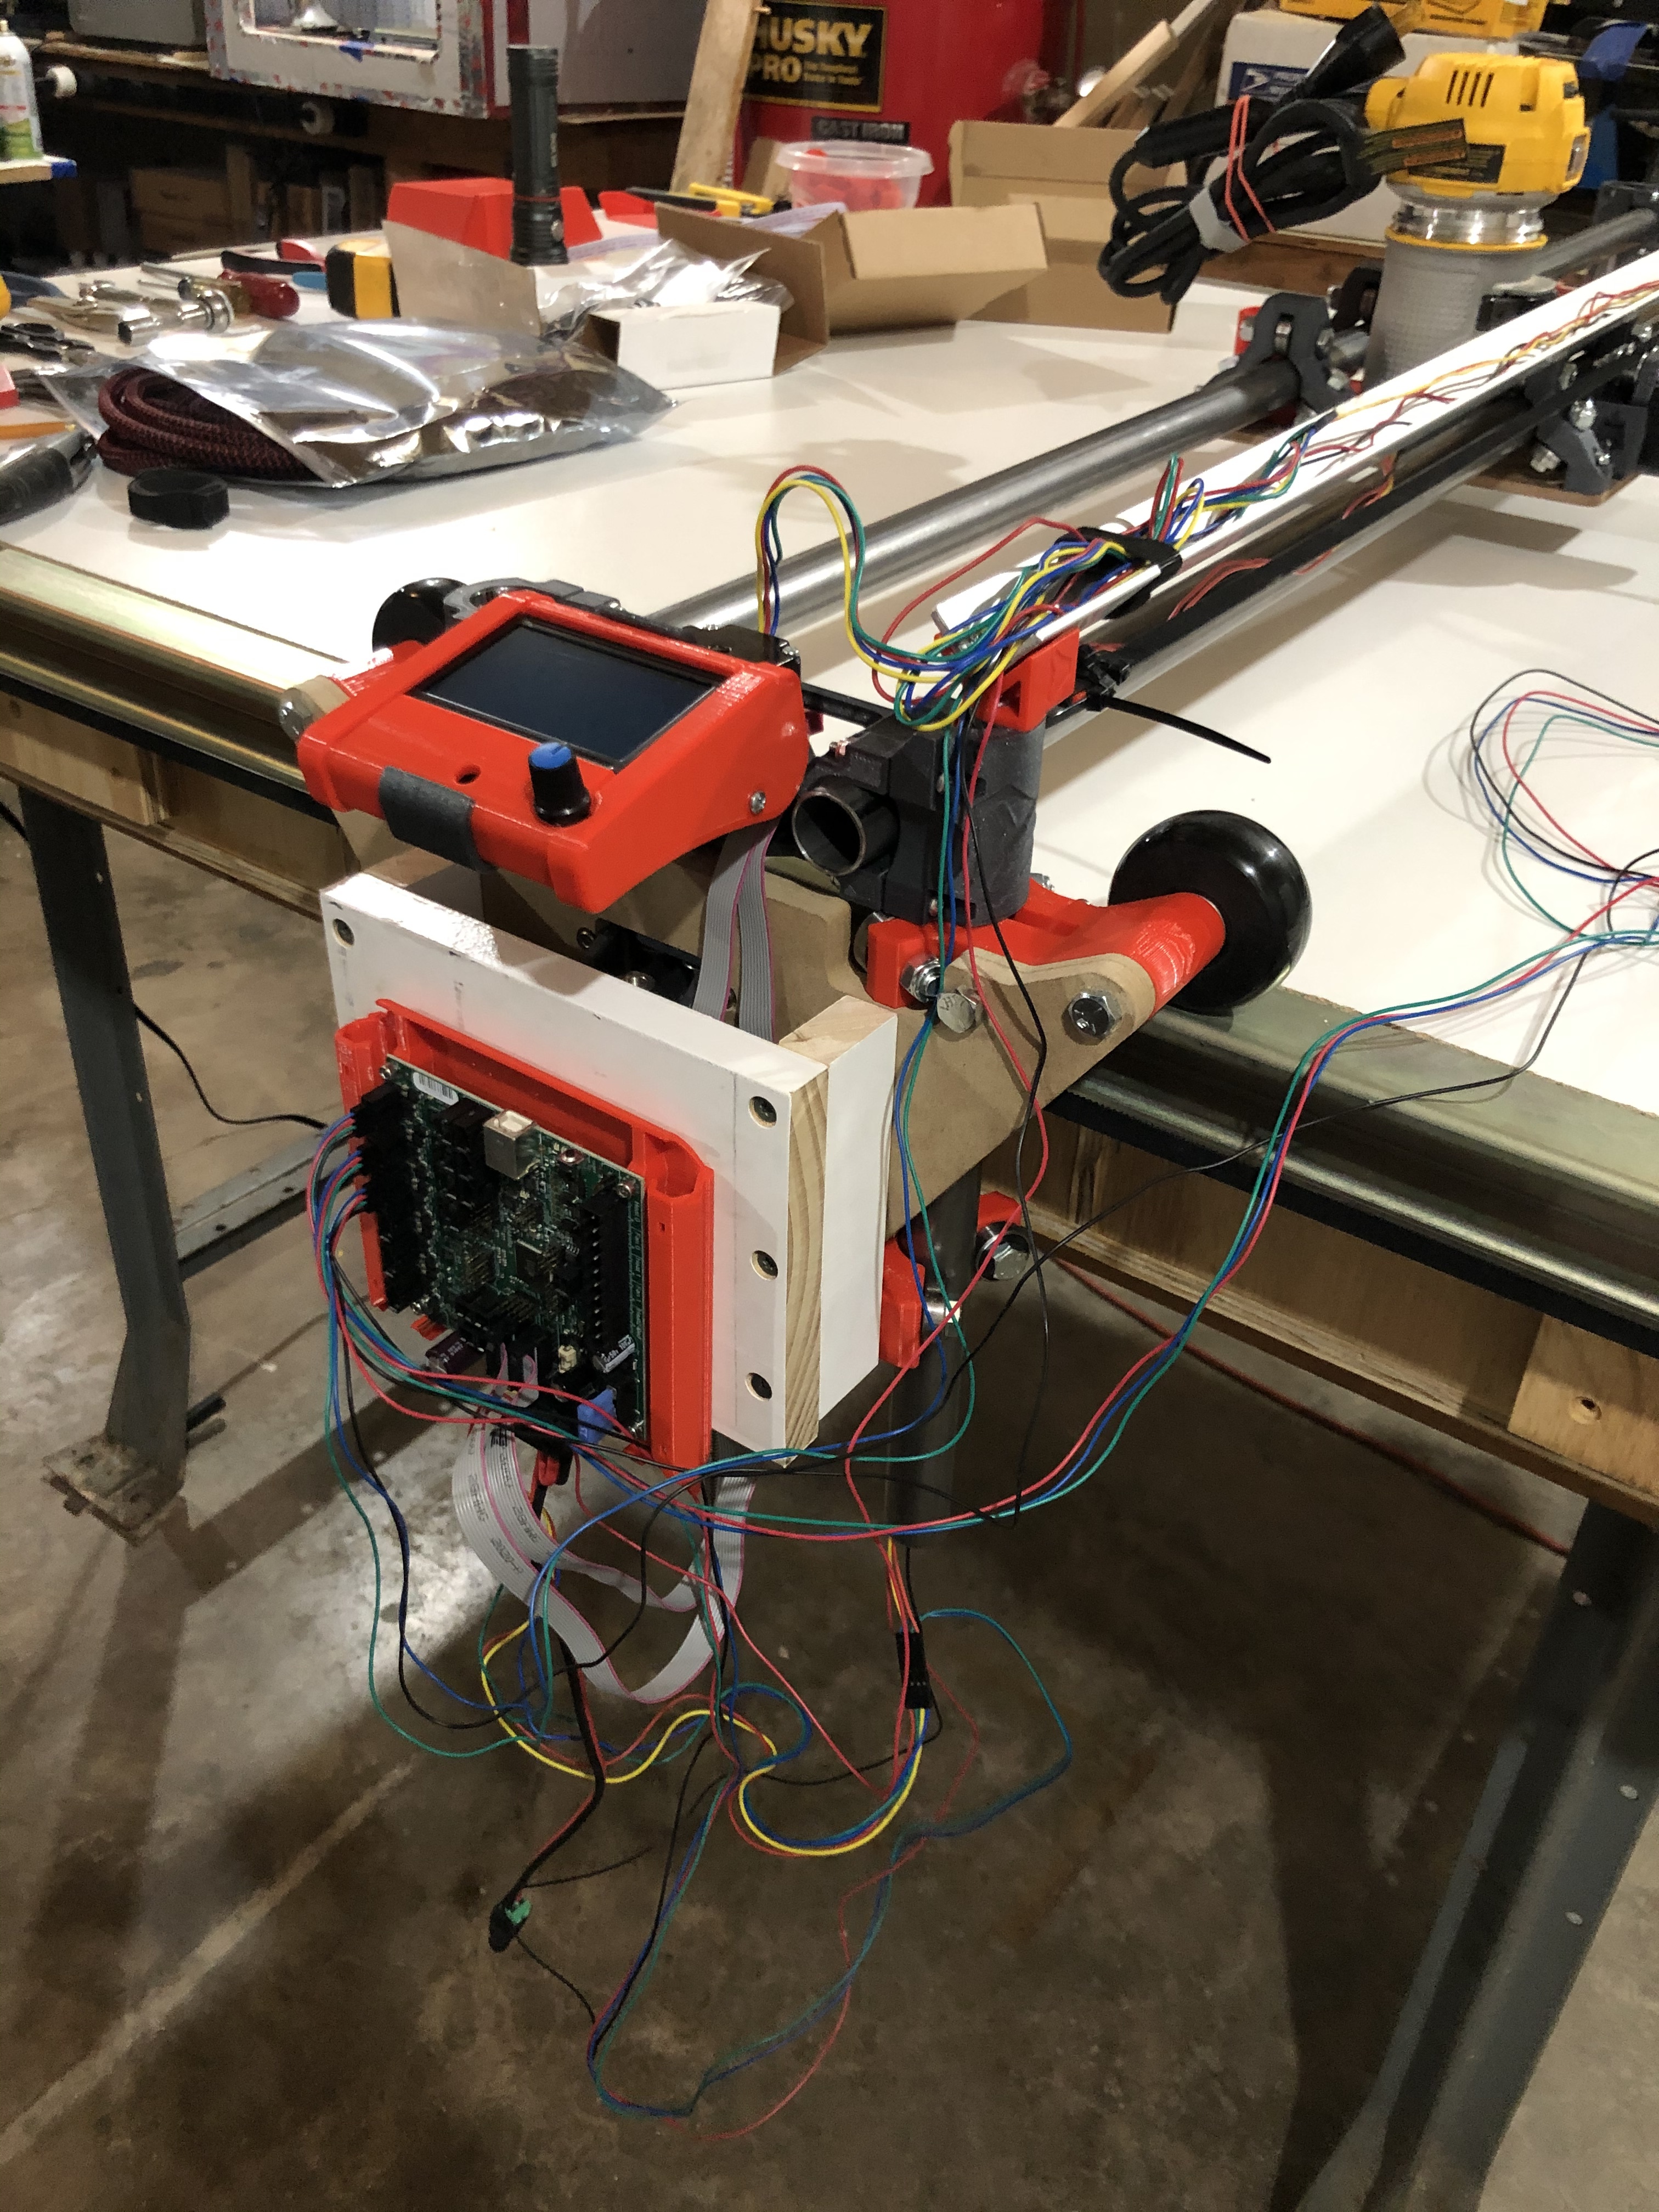
So I finally jumped in with both feet and have a functioning Lowrider 2, dual endstops and all. I’ll toss up a few pics of the build and embed a link to a YouTube vid where I replot over the same Crown DXF just to test the accuracy/replicability of the moves.
Any feedback or input would be greatly appreciated. Pretty much a noob at CNC. I’ve done some cutting on a 4x8 AXYZ unit but don’t have much experience at all.
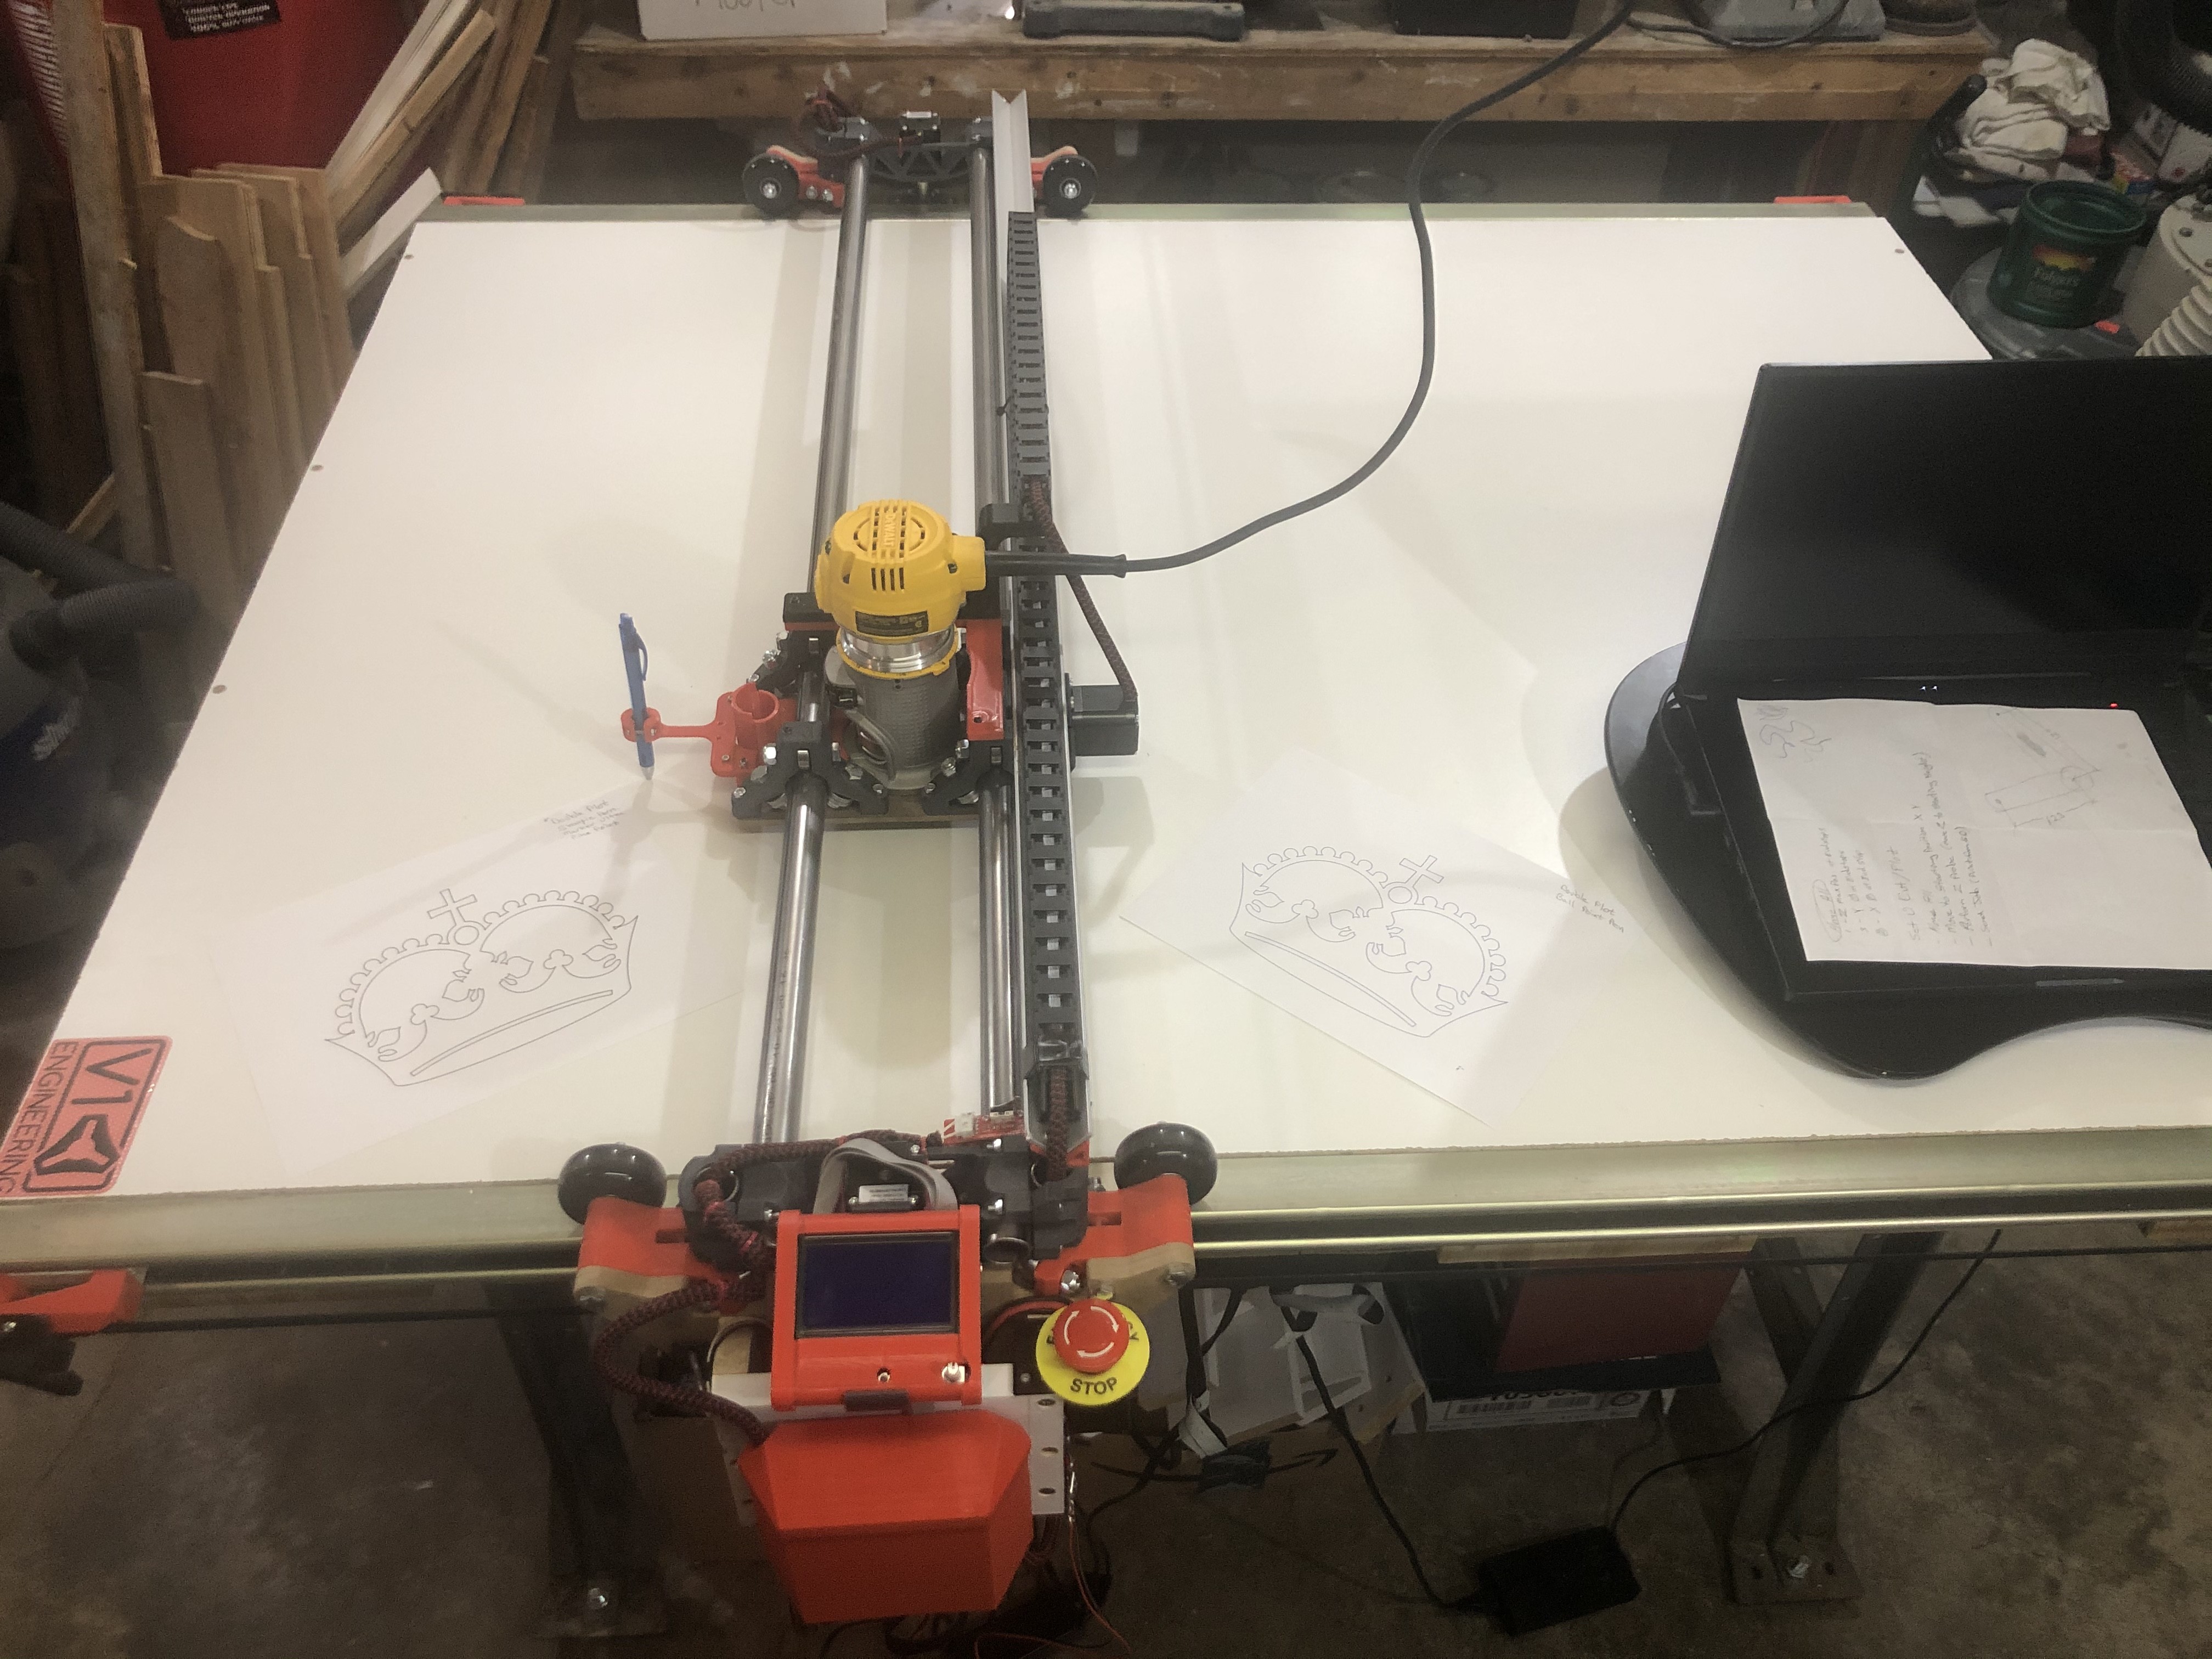
So the hackster version of the upper pen stabilizers are 3D printing as I’m typing this. They really locked up any pen movement and I just rely on the flex in the pen holder to give me a little Z pressure on the pen.
Oh, and here’s a question. Why is my machine cutting a mirror image of the crown based on how I have the toolpaths set up in EstlCAM? In my EstlCAM doc the origin is on the left but as you’ll see in the vid the machine is plotting it in a mirror image of the way it previews in EstlCAM.
Thanks to everyone who has helped me in this forum with a special shoutout to @jeffeb3 and @robertbu! You guys have been absolutely great and I’m LOVING this thing so far. #V1Engineering #KeepingMeYoung
Yeah, it really did stiffen up the pen. I was actually surprised at how accurately it replicated the paths. I don’t know why but I really didn’t expect it to be so spot on.
I wonder how many times over before it will cut it out? Most people have pen errors larger than that. I think your pen holder is working great. Maybe make a sandify pattern or two next.
The mirror is probably because one axis is flipped. Probably the X. When you jog to X+, it should move right. To fix it, power it down and flip one plug 180.
Sandify.org is my website for making fun geometry patterns. I started it for making patterns in sand tables like the zenxy, and then the sisyphus. But I have also drawn some fun patterns with a pen on paper.
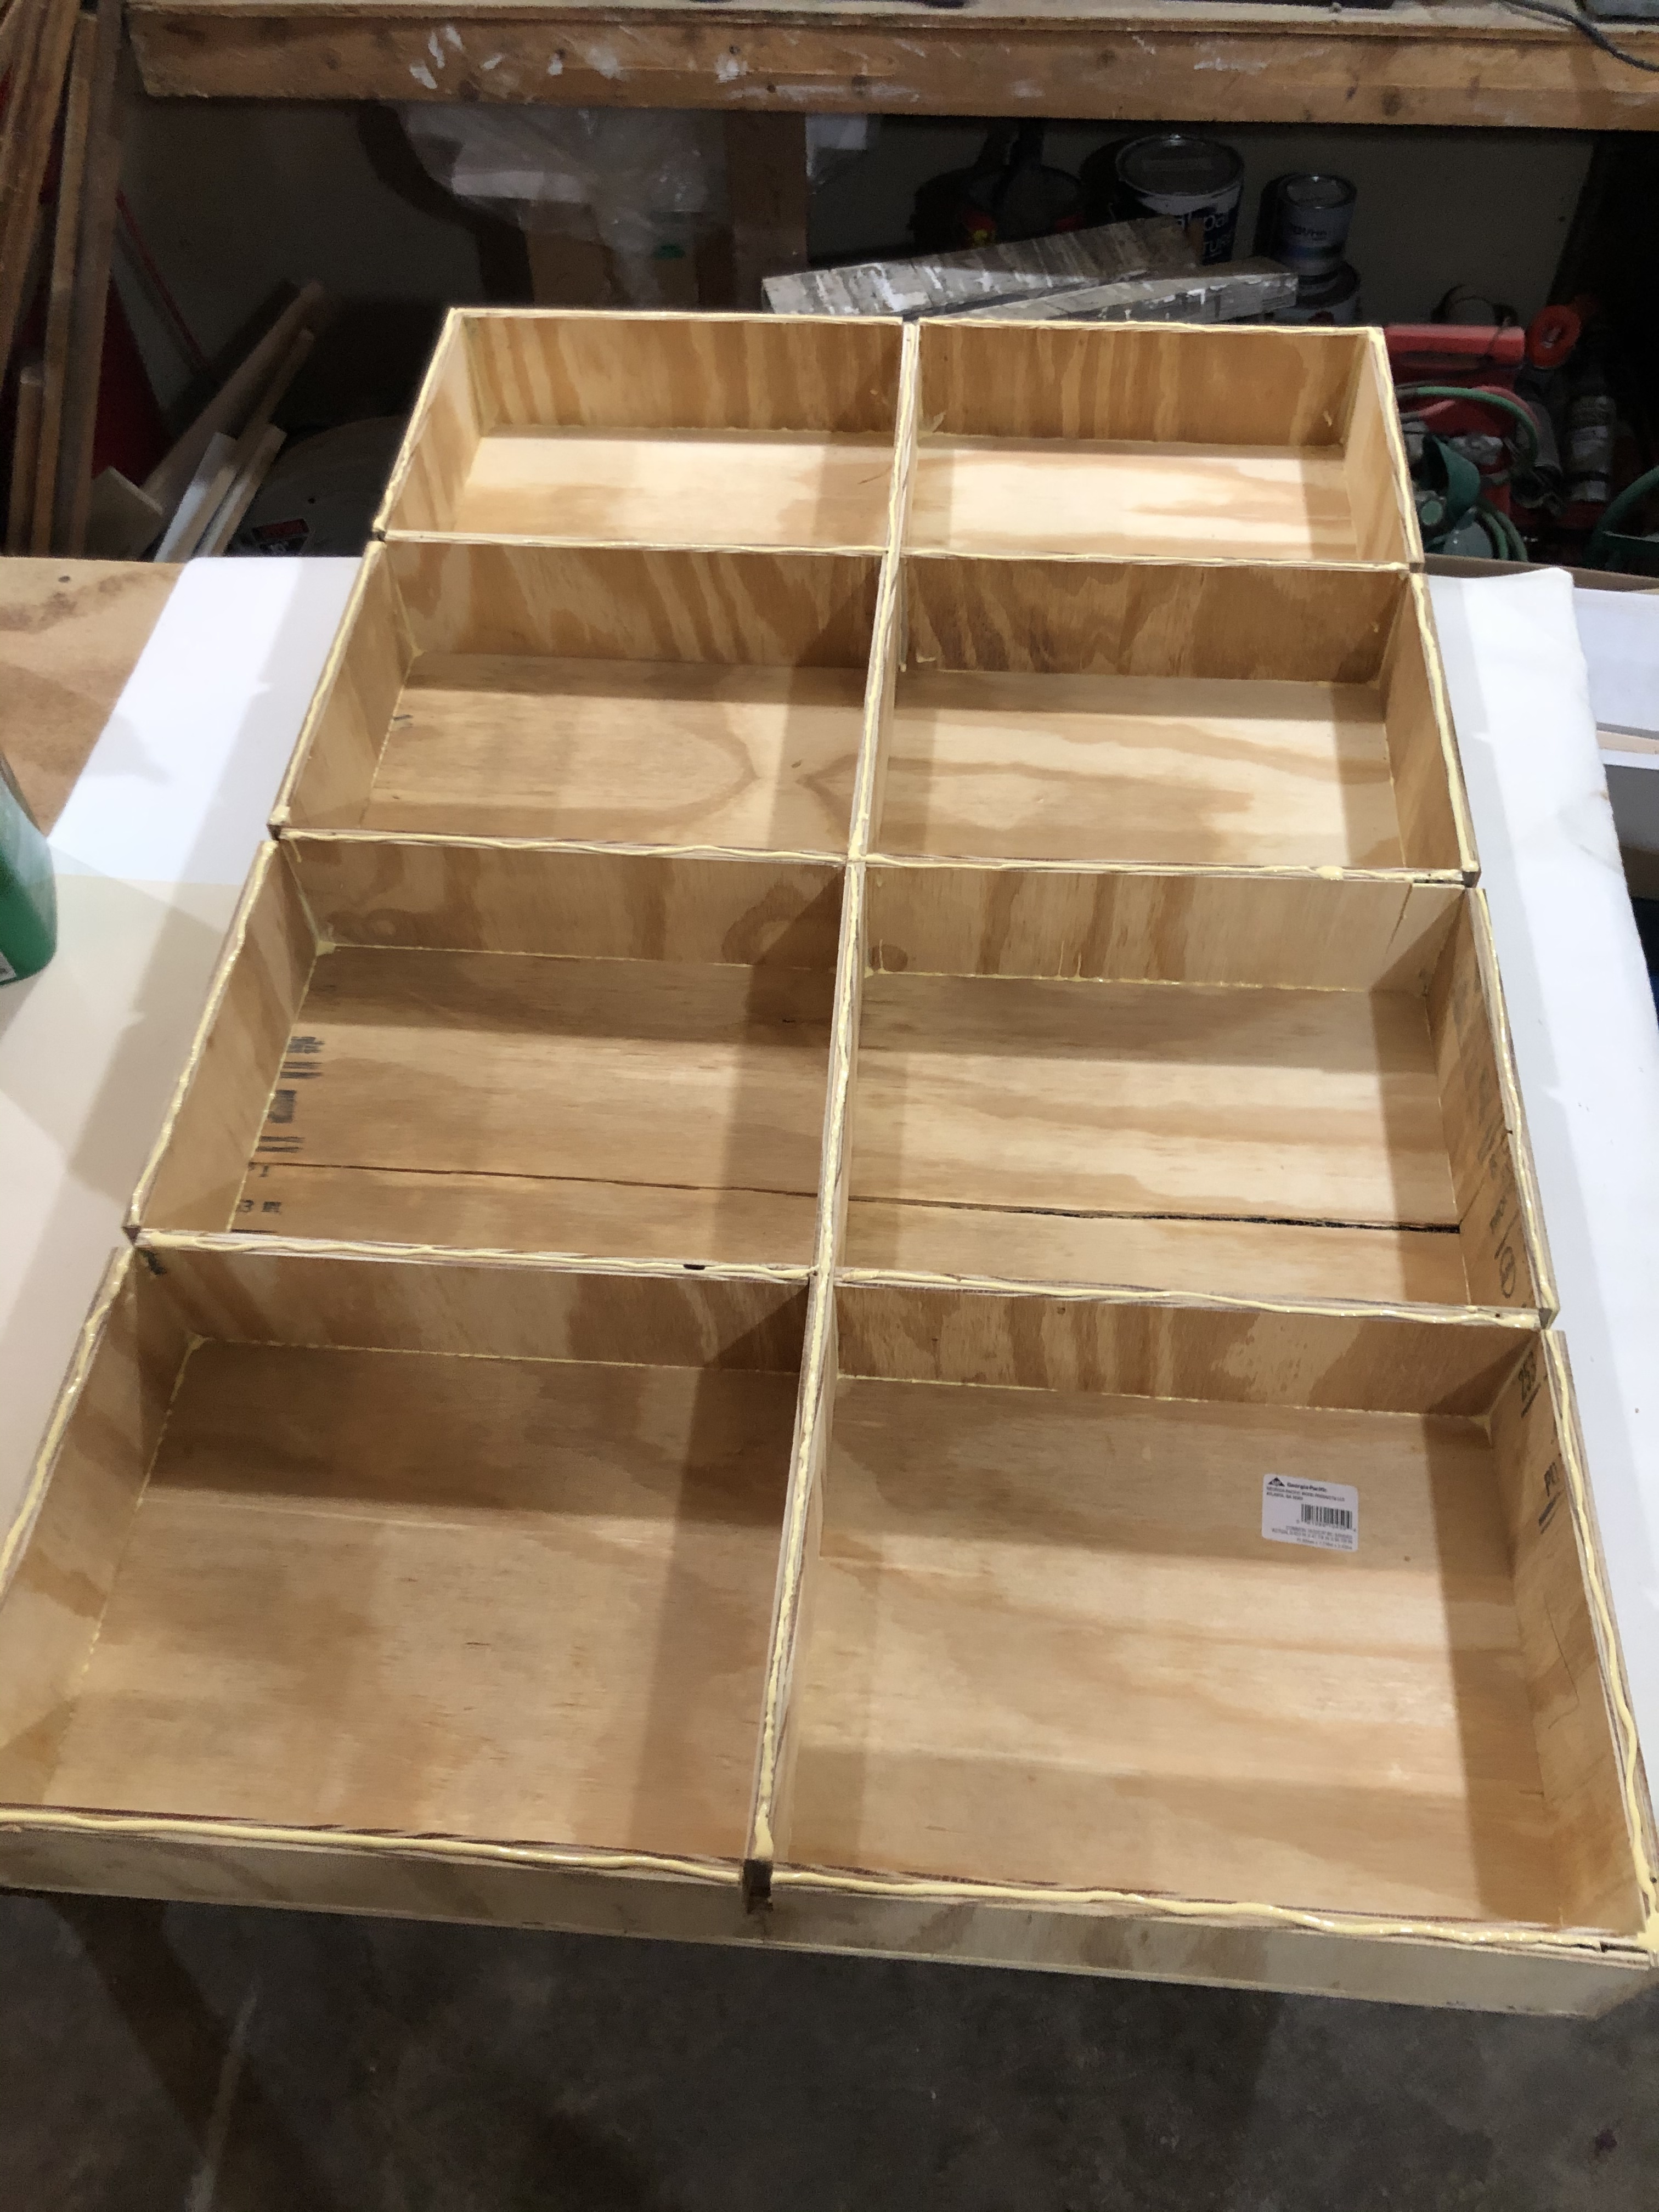
Hey, and thanks for this info on the Sandify site. I hadn’t run across that yet. So what about patterns for cardboard kids furniture and assistive tech devices and fixtures for individuals with disabilities? We build this stuff for kids and adults with disabilities of all kinds.
I intend to commit our cardboard patterns to CAD (sheet metal layouts but thicker) and cut out our parts on the Lowrider. I’ll share a couple of links and check out your Sandify site.
If my stuff isn’t too serious and fits the spirit of the site I’ll share some of it once I get going.
Whoa! That is awesome!. Share away. I know a lot of people here love seeing projects and seeing some that are altruistic makes it even better.
I was just putting together a nintendo labo kit with my son this last week and cardboard is a very impressive material. I think most of the boxes we use are made in such huge quanitities that they are stamped with big cookie cutters. I have also seen a lot of cardboard cut with lasers. In a similar vein, the “dollar tree foam” is a popular medium for RC airplanes (check out flitetest.com) and a needle cutter us a great tool for cutting and perforating that. So that may be worth a try.
@focusedonsound is also hoping to use it to mill Coroplast, which looks like plastic cardboard to me.
I would make an uneducated guess that the cardboard may be too soft to be cut with a mill. But it may depend on the feeds and speeds. If it gets too “mushy” it will feather a lot instead of cutting. Have you tried cutting it with a router? I know some people do mill foam, so maybe it will be fine.
As for sandify, it really isn’t the right tool for this job. You could easily design some texture with it, but if you want to share the cad and maybe make it parametric, I would look into onshape. There are some sheet metal tools included and there is a kiri:moto package for doing the CAM. But even if you just adjusted some variables and spit out a dxf, that could be used to cut it out on many platforms.
This seems like an excellent application of the tech and I love seeing use of more compliant materials (instead of trying to make a seat from metal or plastic).
Thanks for the comprehensive response Jeff! So I actually have cut some of our triple wall cardboard on a mill before. Small diameter (1/8") single flute down cutting bits are working the best so far. Still trying to dial in feeds and speeds. It’s a little counter intuitive sometimes when working with the soft materials. I’ll share my results when I get it dialed in.
As for the CAD design we use OnShape in the lab and I personally am a Fusion 360 guy so I’m getting by using both of those solutions depending on which location I’m in and who I will be collaborating with.
Yes we try to make as much as we can configurable and parametric. I find that it helps keep me honest to make sure my sketches are fully defined so they don’t blow up when they’re resized.
Thanks so much for this suggestion @Bigchepin . Wow, that might be just what I need. So you guys have done it again… Taken my early baby steps into this and launched me forward to start looking at another level.
3D printing did this for me over the past few years and now this. It’s a great time to be alive that this level of sophisticated design and technical activity is available to we ‘Joe Homeowner Engineers’.
As I get my feet under me I will definitely move foreword into this Tangential Knife direction. You guys could have just become a part of revolutionizing the Adaptive Design movement.
Sorry for jumping backward into this thread but I had to thank you @jeffeb3 for pointing out the needle cutter concept as well. Now I need to get more confident with my machine so that I can check into this and the Tangential Cutter suggested by @Bigchepin to assess both for how they might offer application to cutting our triple wall cardboard, around 14.6 mm.


