So I guess I am starting a build thread as I started an intro thread and someone asked me to create this. (Sorry I don’t recall who that was and I’m horrible with names)
So the deal is I just got my Ender 3 Pro last week and learned about the MPCNC. Doing research and learning how to get the printer to make decent prints I read all I could and have been doing research on 3D printing and CNC routing. Hence the build. I figure I can learn both.
I suggested the build log. I have one too (sadly neglected recently). I’m just getting all the long-term wiring done and hope to be spinning the bit later this weekend.
What is your other color (if you’re planing on doing the dual color version)? I have a rainbow and shades of grey black and white. Just used up spools.
@mbamberg I’m not sure of the second color yet. I’m thinking either red, so it could be red, white and blue if I add some white someplace maybe the tool holder.
The other option is black. I saw someone else who made a black and blue one although theirs was with the colors opposite.
Of course I’m open to other suggestions as color selection isn’t my strong suit.
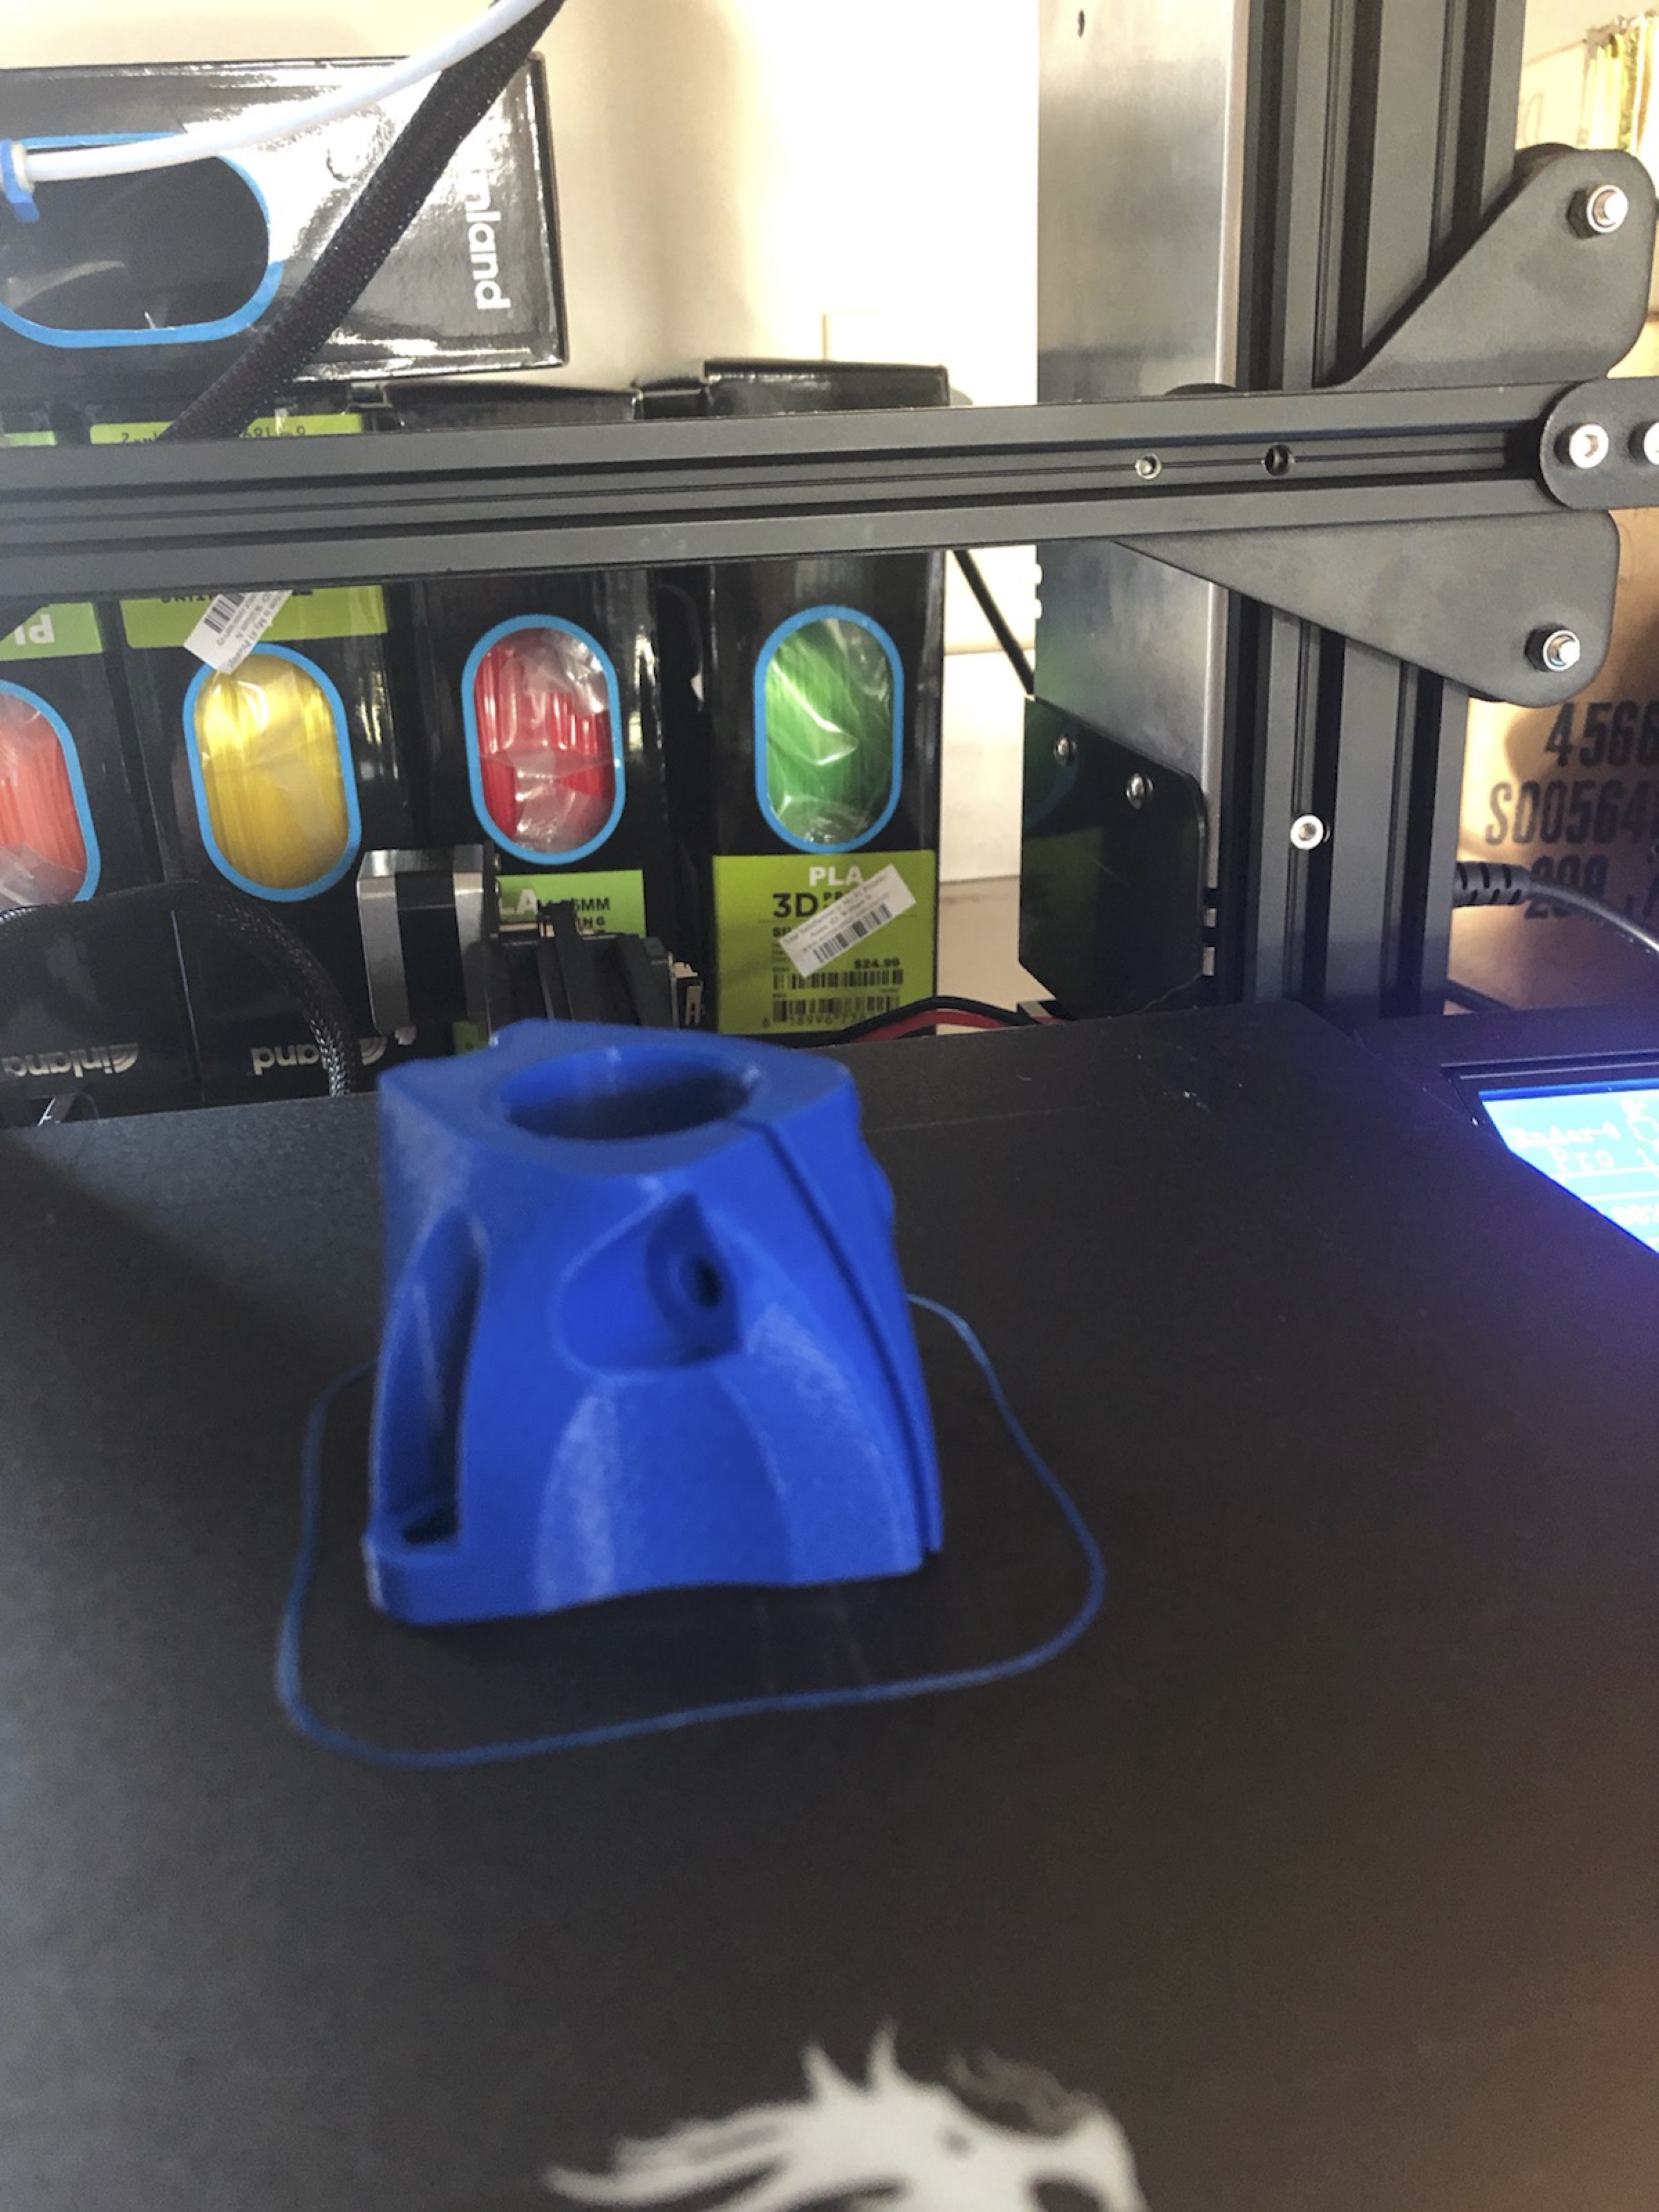
Kudos on the first foot! My first real print with my Ender 3 Pro was also a foot.
Yours looks much better then mine - I had a serious case of elephant foot (a bulge at the bottom). I got better as I moved through the prints. Yours though looks nice.
I kept a log as I went on the prints and changes I made to printing. There is a lot to print and when something doesn’t work, which did before, sometimes its nice to go back and reference what you did. Even start and end times. When somethings been printing for 6 hours and you sure it should have been done its comforting to look at and see that “No the other took 7 hours also”.
I’ve been playing with temp and settings. I don’t claim to be an expert but I think I’ve got a few basics down. So probably enough to be dangerous enough to start thinking I’m starting to know what I’m doing.
I also am printing these with PLA+. I’m not sure if it matters but it seems to be much nicer than the regular Inland PLA.
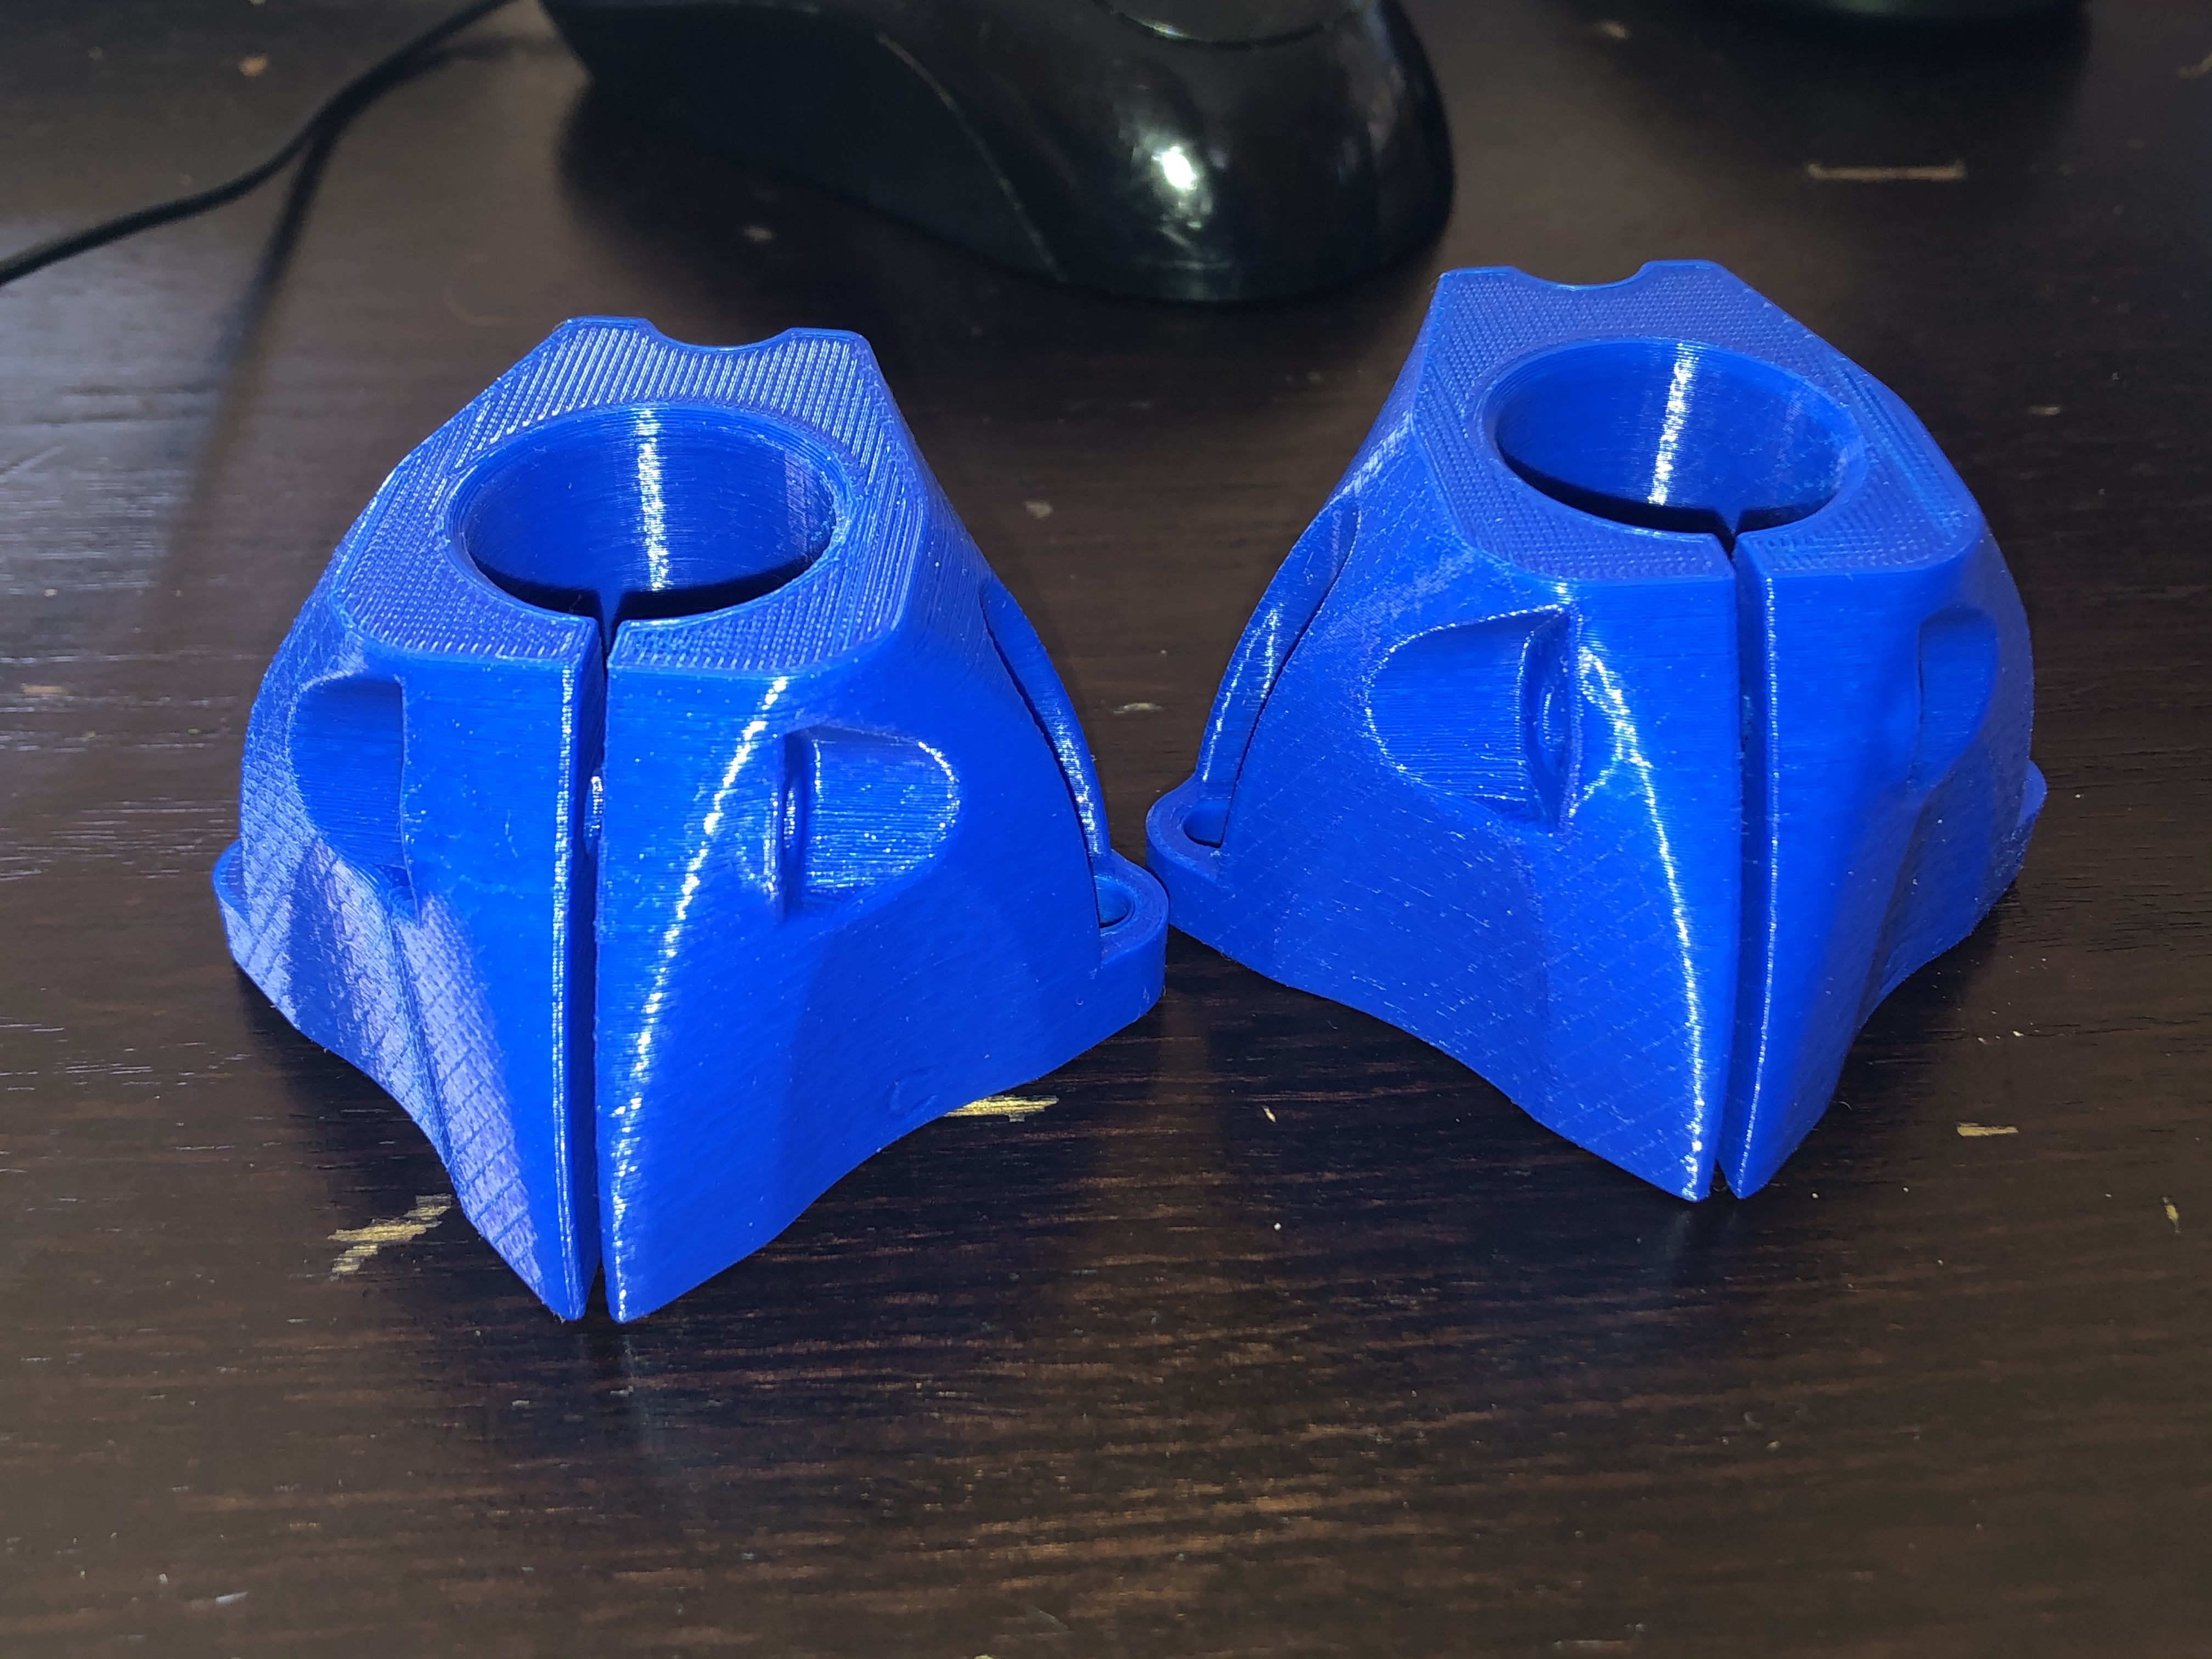
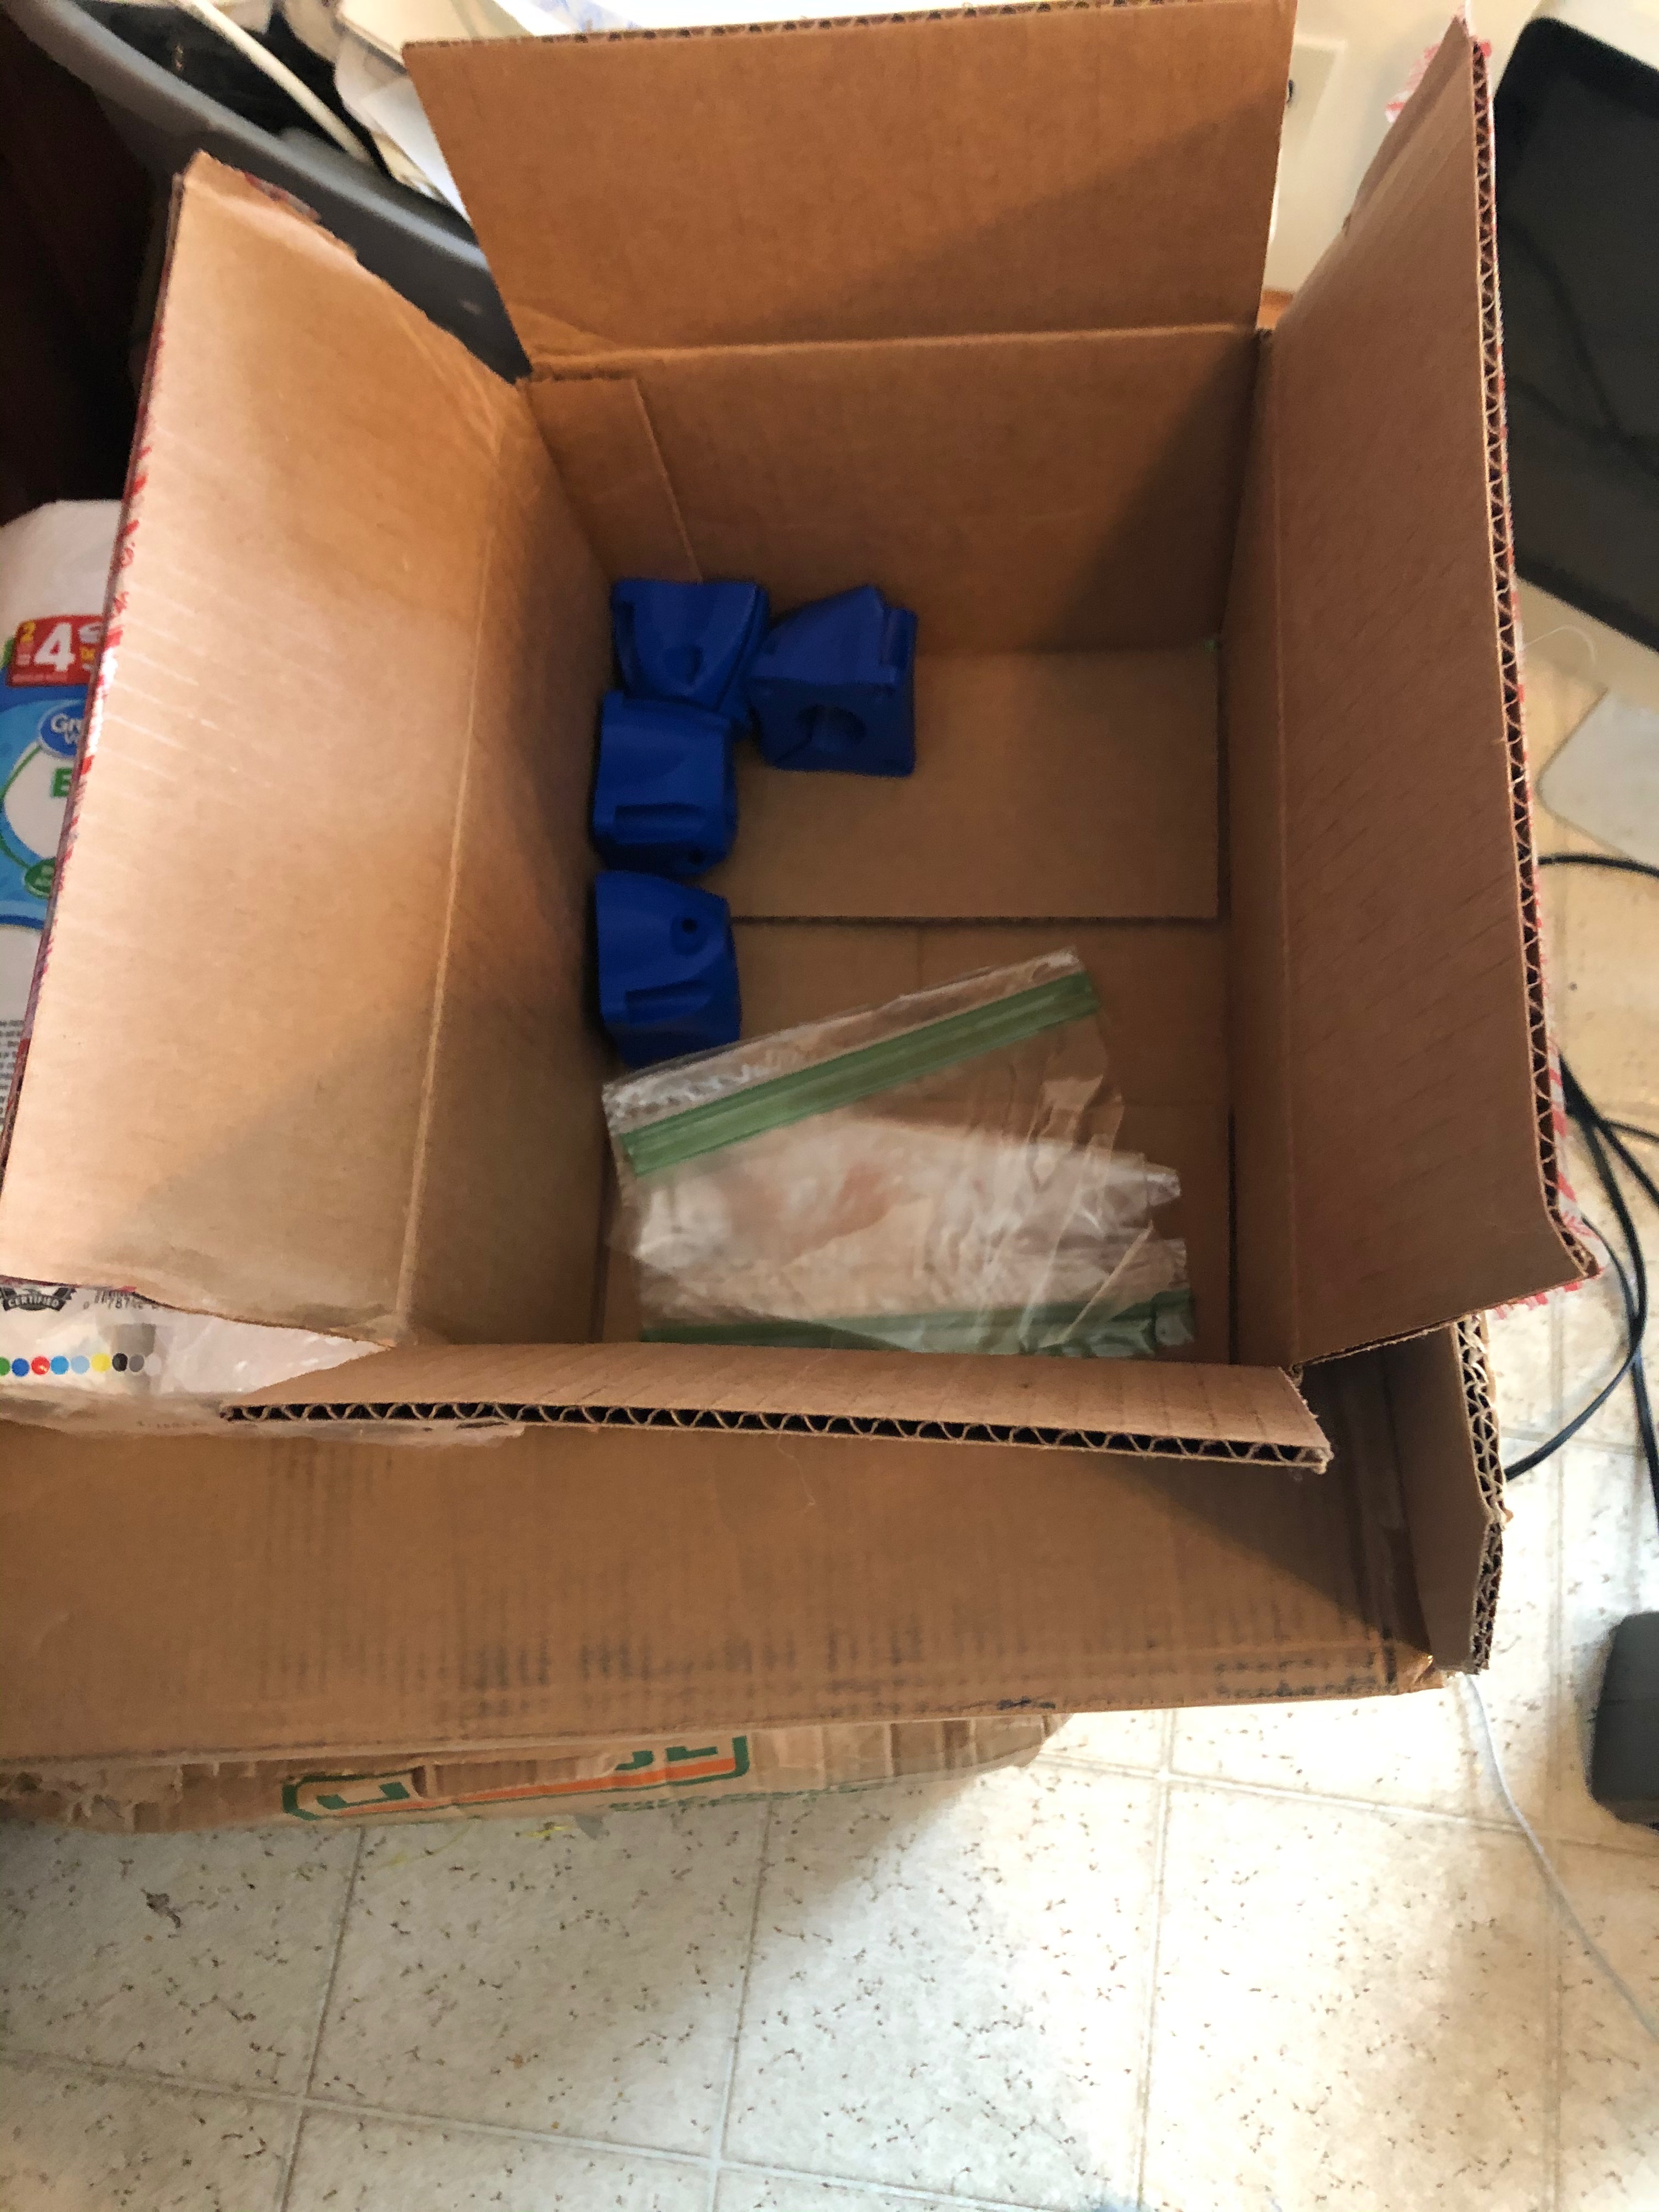
I now have two done and another printing. I was going to go to Home Depot and get the pipe but couldn’t resist making some more as these looked so good.
Overall I’m really happy with them, so decided to print them all while I have the settings for these right and might as well make them all the same!
BTW I made a spreadsheet to track the time of the prints. It’s really interesting how long this takes. So far I have a total of 554 minutes of print time or 9.23 hours. When the 3rd foot is done, I’ll already have a total of 831 minutes or 13.85 hours of print time or .58 days.
I don’t know about others but it’s mind blowing to me how this shows how much the printer is running.
In your slicer, you can set hiw many solid perimeters it uses on each layer and how many layers on the top and bottom are completely solid. Each slicer has its own name for that setting, but solid perimeters can often add more rigidity than more infill %
I don’t know about the web version. But on my cura that is called “walls” and it can be set in two ways. You can set a wall thickness, then cura will take that and divide it by your line thickness to get the number of perimeters. Or you can manually set the number of walls, at witch point it then ignores the wall thickness setting.
For top and bottom on cura it’s call top and bottom layers. And can be set in a similar fashion to the walls.
If you need more help finding those settings let me know I can grab some screen shots latter when I get home.