@jeffeb3 but then I’d only have Larry and Darryl ;-). Where would his other brother Darryl be?
(for those that don’t get this, this is dry humor referencing a TV show, I won’t say which one right now but if anyone else has any references to it, I’m always up for a laugh)
Back to the “serious” business of the build. I’m now printing my first of the two Corner Tops. It seems that it will put me over 24 hours of print time. So it’s a bit mind blowing to think that my small box of parts has already resulted in my printer running an equivalent of a full day. And I’ve just begun the project!
&%%& you all. Now I see why folks buy multiple printers
A few days of life and helping my son with his project so mine got put on the back burner.
This morning I printed the Core Z Clamp 2 and the second one is printing.
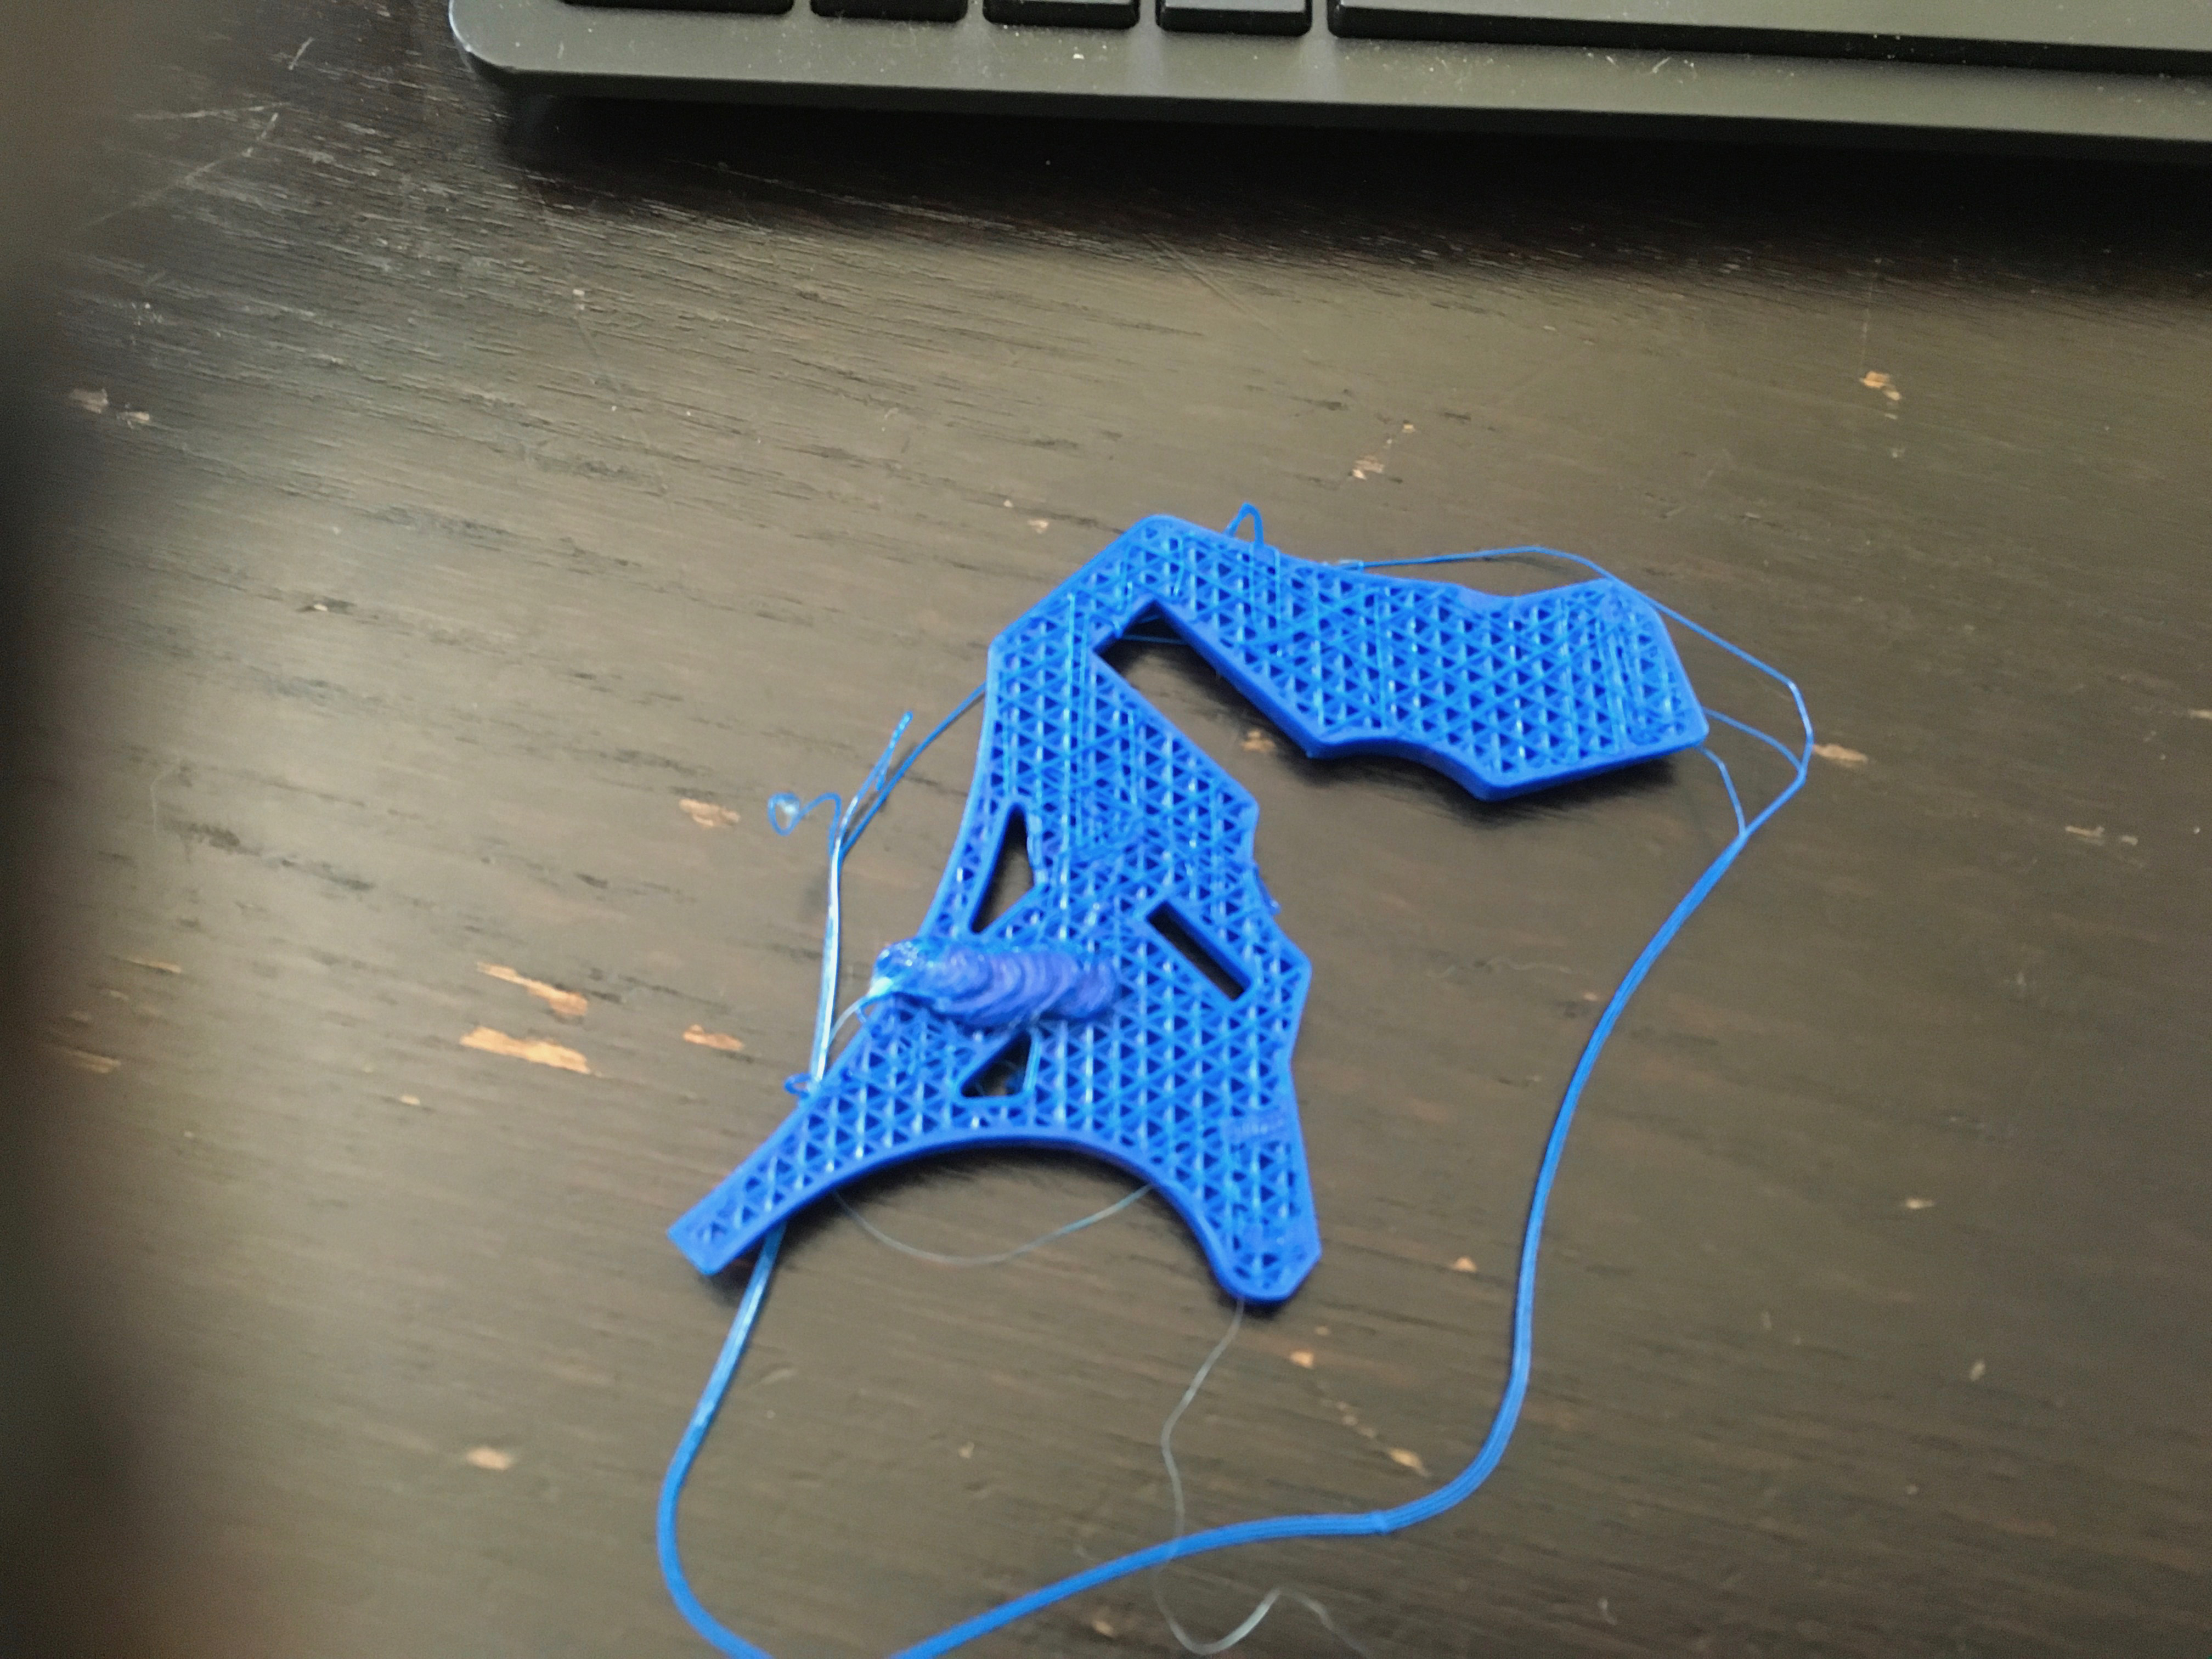
So as of now all the feet, the Wire Darryl’s and the Corner Top are printed.
Once the print is done I’m going to do the Lower Belt. And maybe another short print or two. Then at 2 pm I’ll do a longer print while the Caps Play the Rangers. So probably the Corner Top Mirror parts.
I’m getting more and more comfortable with longer prints so this is going well so far. That said, I hope I didn’t just jinx things!
Well it looks like I made my first mistakes. Printed one part that I only needed one of twice.
The good news I guess is that I have a spare. The bad news is wasted print time and filament. But I’m not complaining. Just reminded me that I need to look at the instructions closer and probably should have printed parts in the order on the sheet instead of printing a few smaller ones then longer ones.
I’m learning though and having more faith in my printer so I feel like I’m ready for some of the big prints.
I know the feeling I printed a third of the burly parts before realizing I was printing burly and not primo. So be happy it’s only one part and for the machine your building
So the box of parts is getting fuller and fuller. Only 7 more part groups to make for the A color after the trucks finish printing.
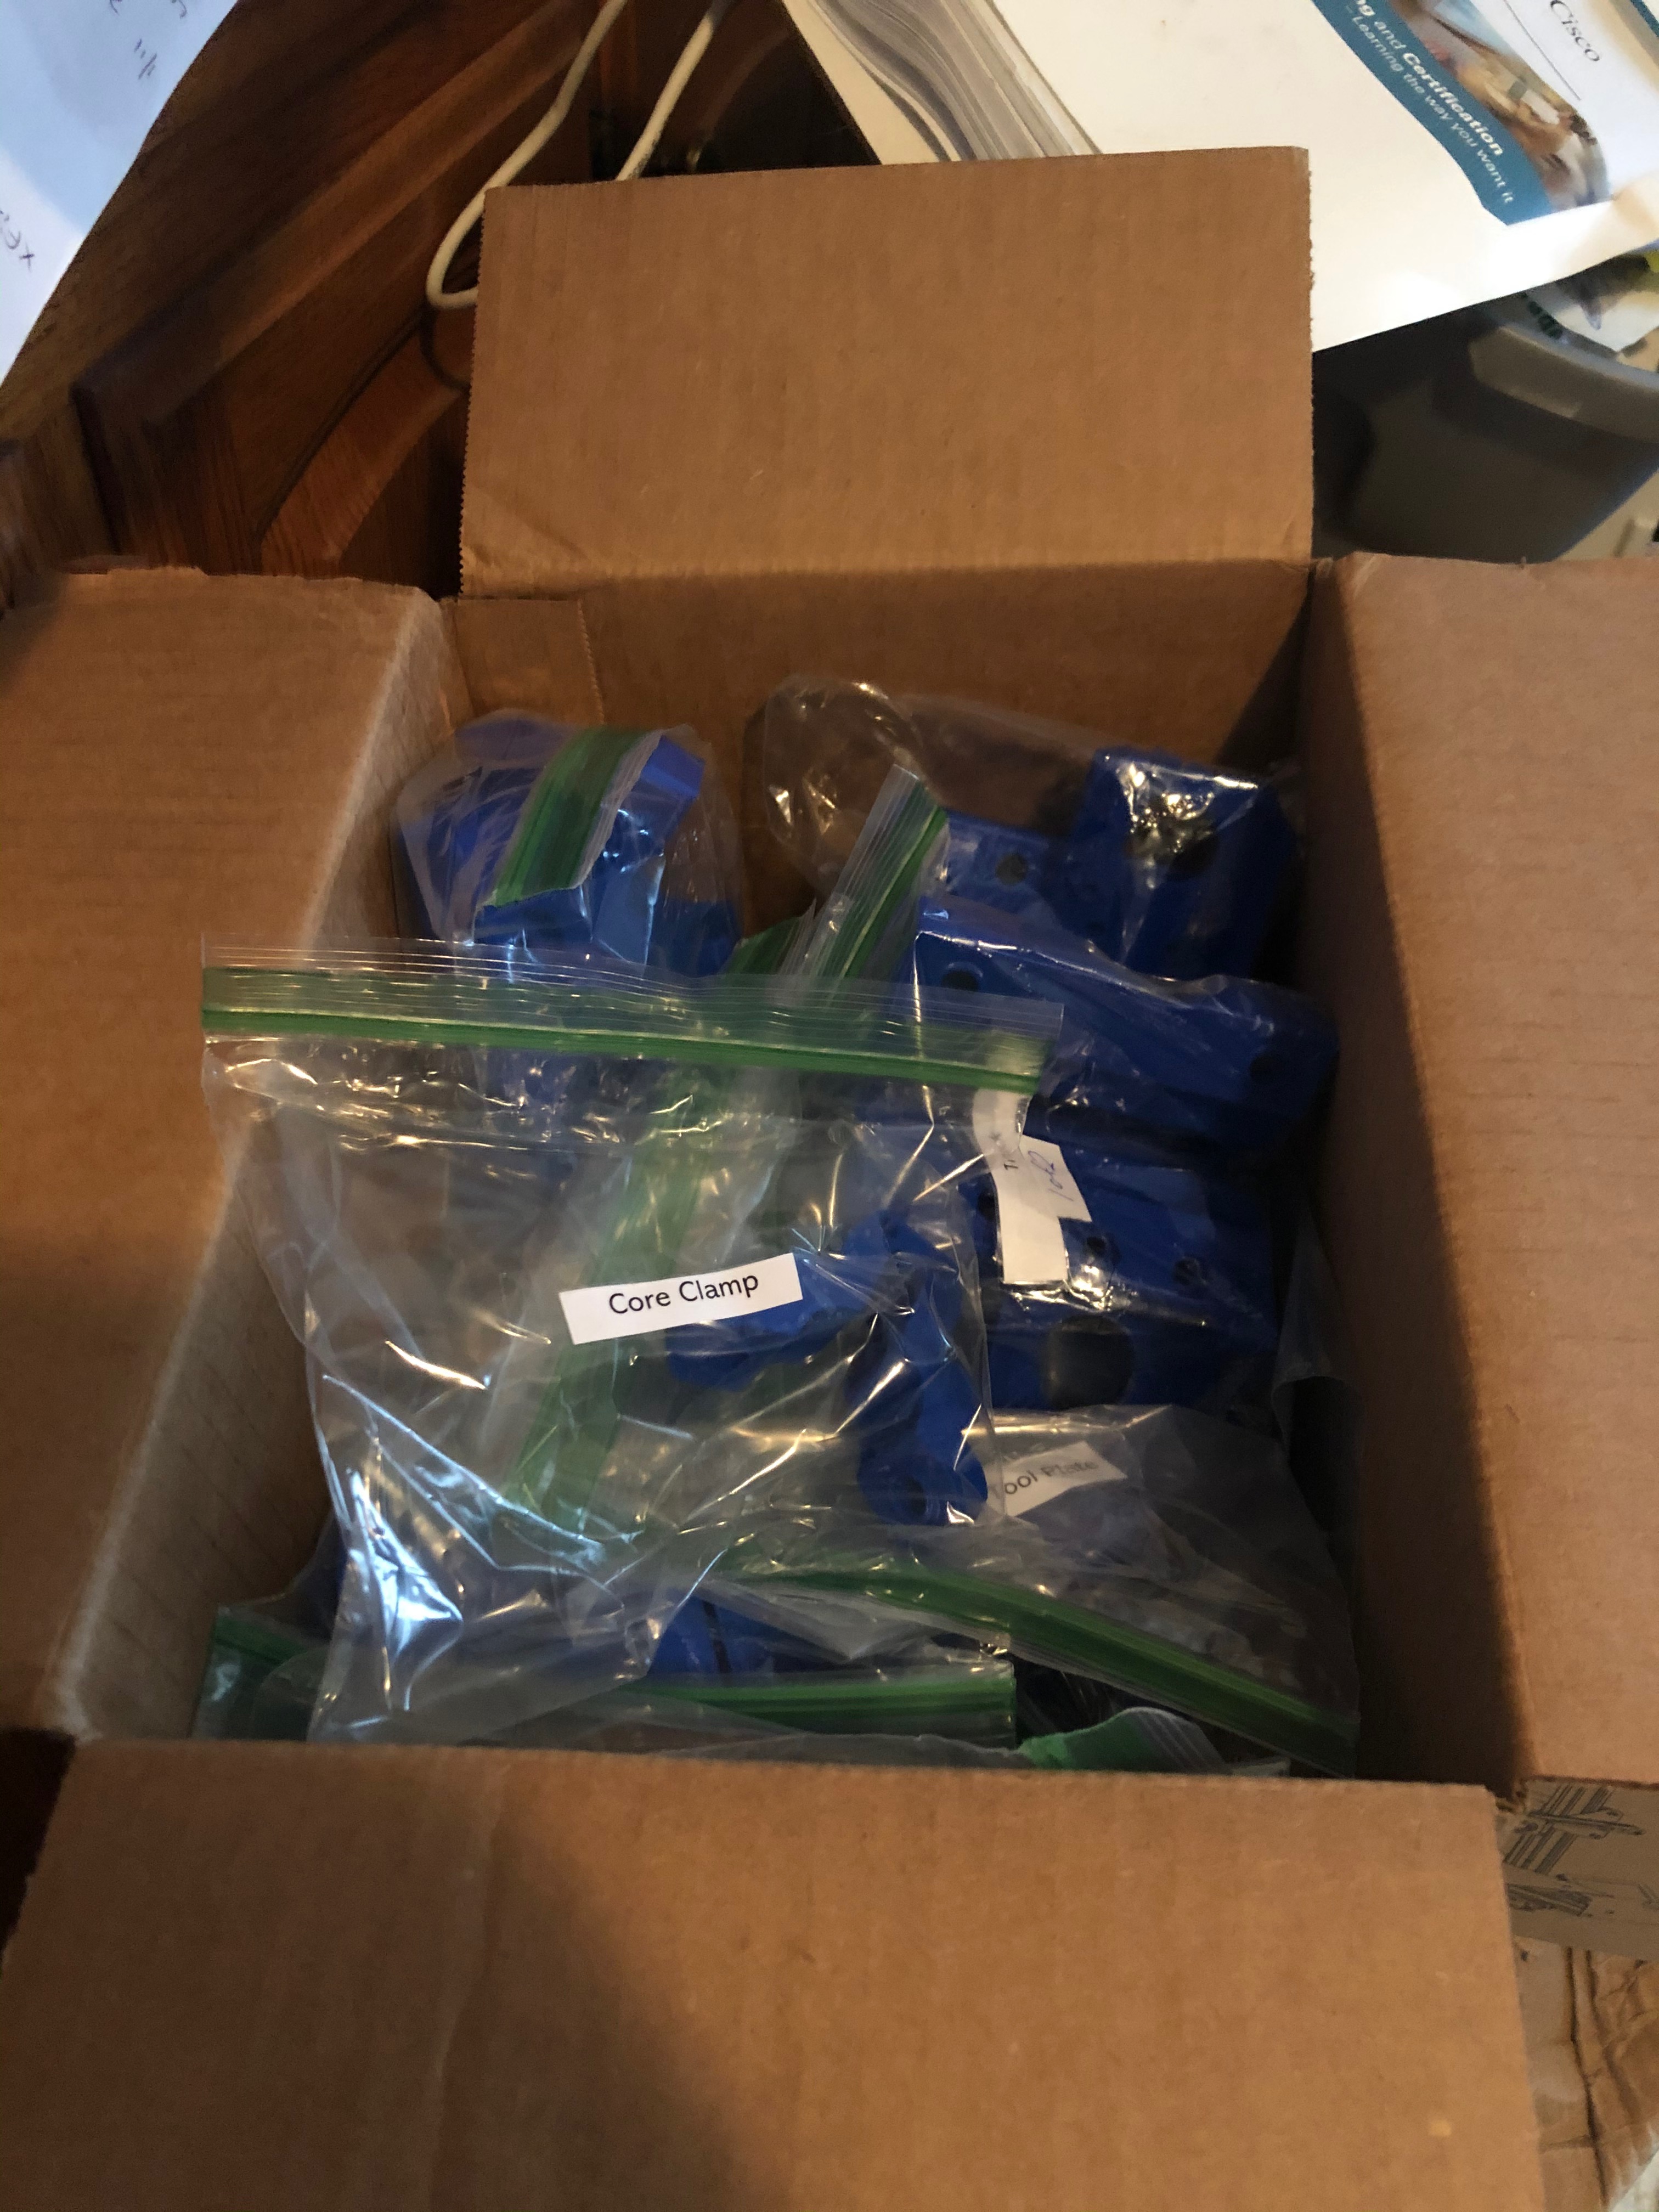
FYI this is what 65 hours of printing looks like for all who are interested and are considering this project. I hope my box is being enough as I’d hate to have to get a bigger one. So far it looks ok.
You’re marching right along! You might want to print a Core Test part before you take on that beast if you haven’t printed really large parts. There were a good number of print failures in the initial Primo builds so Ryan created it to save people from burning half a spool of filament.
Good luck! Looking forward to seeing the rest of your build.
Both trucks now complete!
One of the mirrored trucks have been printed so have one more which I will print later today.
I also printed both Lower Belt’s
And I’m now printing the Nut Traps.
One question is how many Stop Blocks do I need? I know it’s up to 4. And my understanding is that is if I use parallel servos. (which I probably will so am planning for 4 stop blocks). If I don’t do I use two stop blocks or none?
You want one stop for each end switch you use (the stop is what the switch presses against)… also if you choose to not use end switches then I recommend finding and printing “hard end stops” that you can pull the trucks against before turning on the machine to square the machine manually.
I did order another spool of blue as I like the color. And I ordered some white. I think I’m going to load the red filament that I have when I’m done printing blue parts and see if I like that with the blue. If not, I think I’ll go with black!
All of my A parts are printed except for the Z Motor (mount). It seems I used just enough filament testing stuff, making mistakes etc that I am just going to be a little short. So I’ll be doing the B color items next while I wait for another spool of blue to come from MicroCenter.
For those that care, I WOULD NOT recommend ordering online from MicroCenter. They are slow to fill orders and slow to ship. I didn’t know it when I did my initial order. And thought maybe it was a one time deal but this order also has a ship date of next week and I placed it the middle of last week. They also didn’t send me shipping info on the last order and status updates were not done.
I reordered from them as I wanted to make sure the filament was the same. Otherwise I would have gone some place else. So if anyone has a recommendation for good filament at a fair price with good service I’d love to hear folks recommend.
In the mean time. I decided the B color will be Red. And if I don’t like it it’s an excuse to make a second
I also went to Home Depot and purchased the piping! So another step closer.
I have the hardware saved on Bolt Depot and will place that order next week. I ordered in lots of 100 for each of the parts needed. Ironically, the total with shipping was only about $50 which is less than getting just what I need locally. And since everything seems to be a standard size it’ll work well into the Adam Savage style sortizmo Harbor Freight clone setup I made. Basically it’s a bench next to my main work bench to hold all of the small parts sorters. Right now I have one for wood screws. Another for standard machine screws, and this will be the start of the metric one. Oh and I have one for lag bolts and stuff like that.