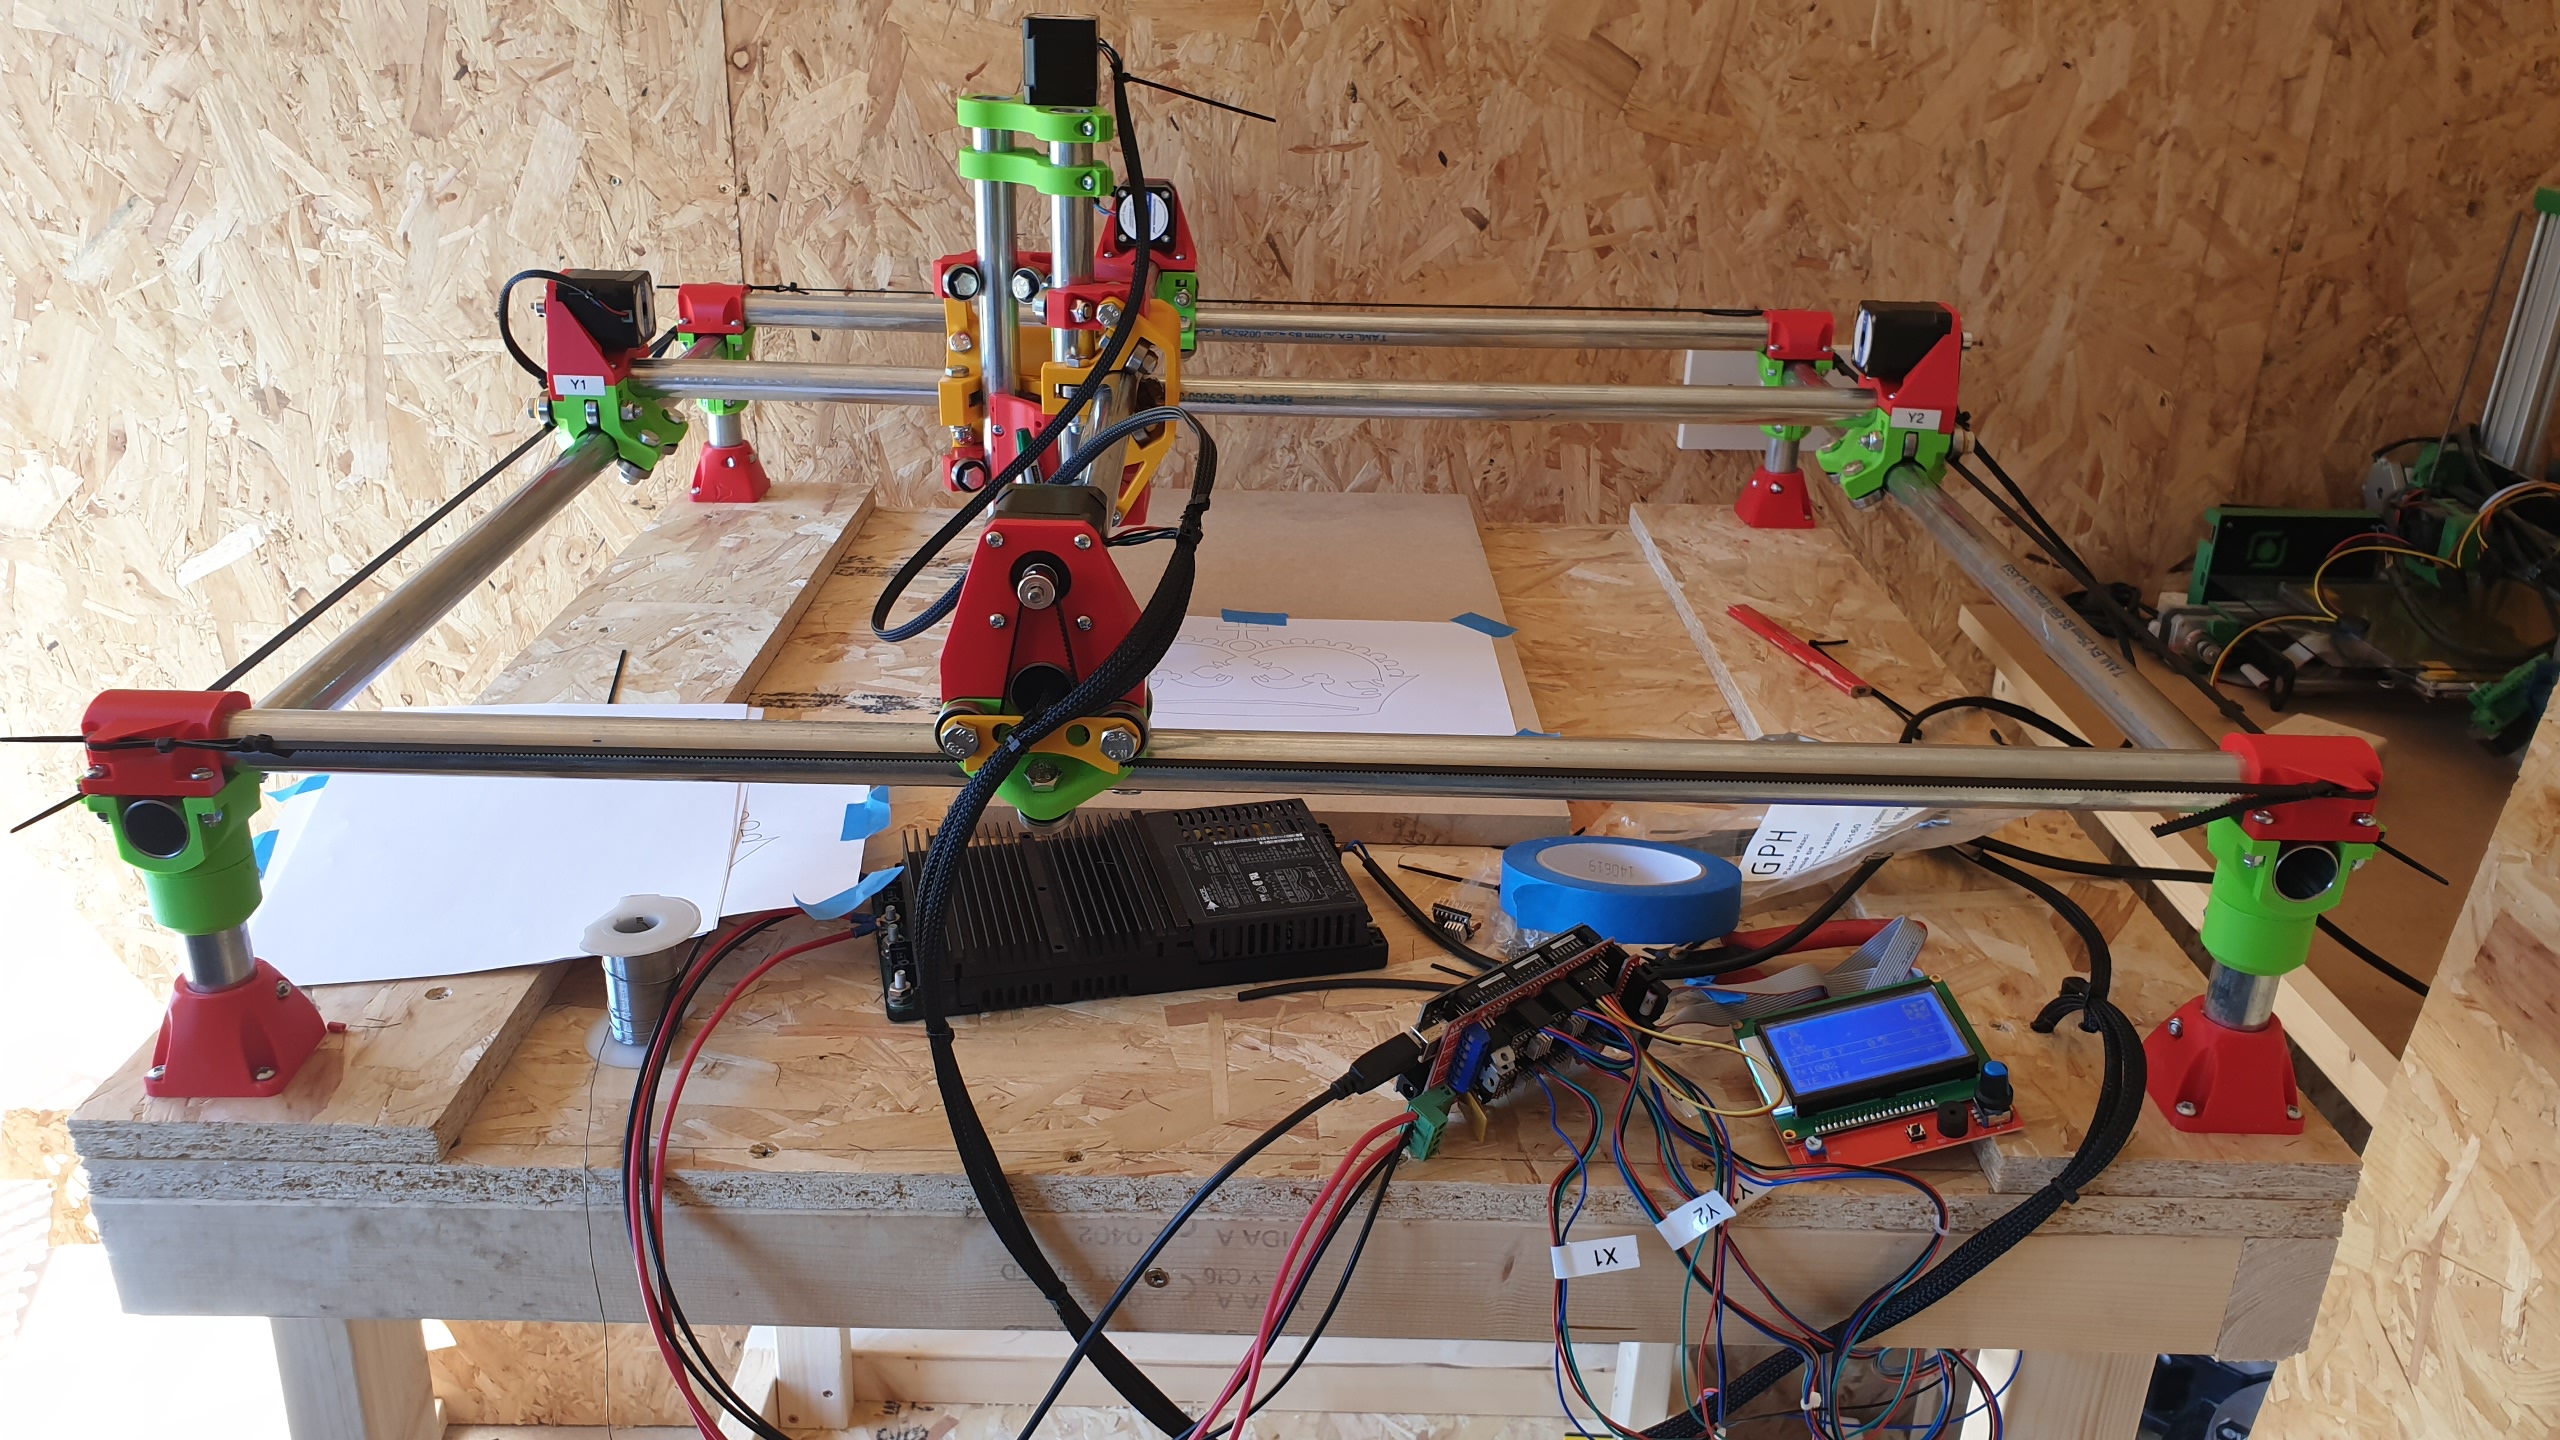
Quick update, all built and looking good. Got my ramps and mega all set up and running and started testing.
Plugged the x axis in first all good both motors driving in both directions. Switched it all off connected the Y axis motors and it sort of moved but not smoothly like the X axis. Quick bit of logical fault finding later and it would seem one of my DRV 8825 drivers does not work. So I can move my gantry in X and Y but not Z.
Got some more on order for tomorrow so hopefully will get to draw my first crown.
Will have to have a tidy up tomorrow and then I’ll post some more pictures.
New drivers turned up today, all fitted and now everything works and moves as it should.
Got it all rigged up temporarily whilst I decide what boxes to put everything in and make sure it all works before final wiring tidy up.
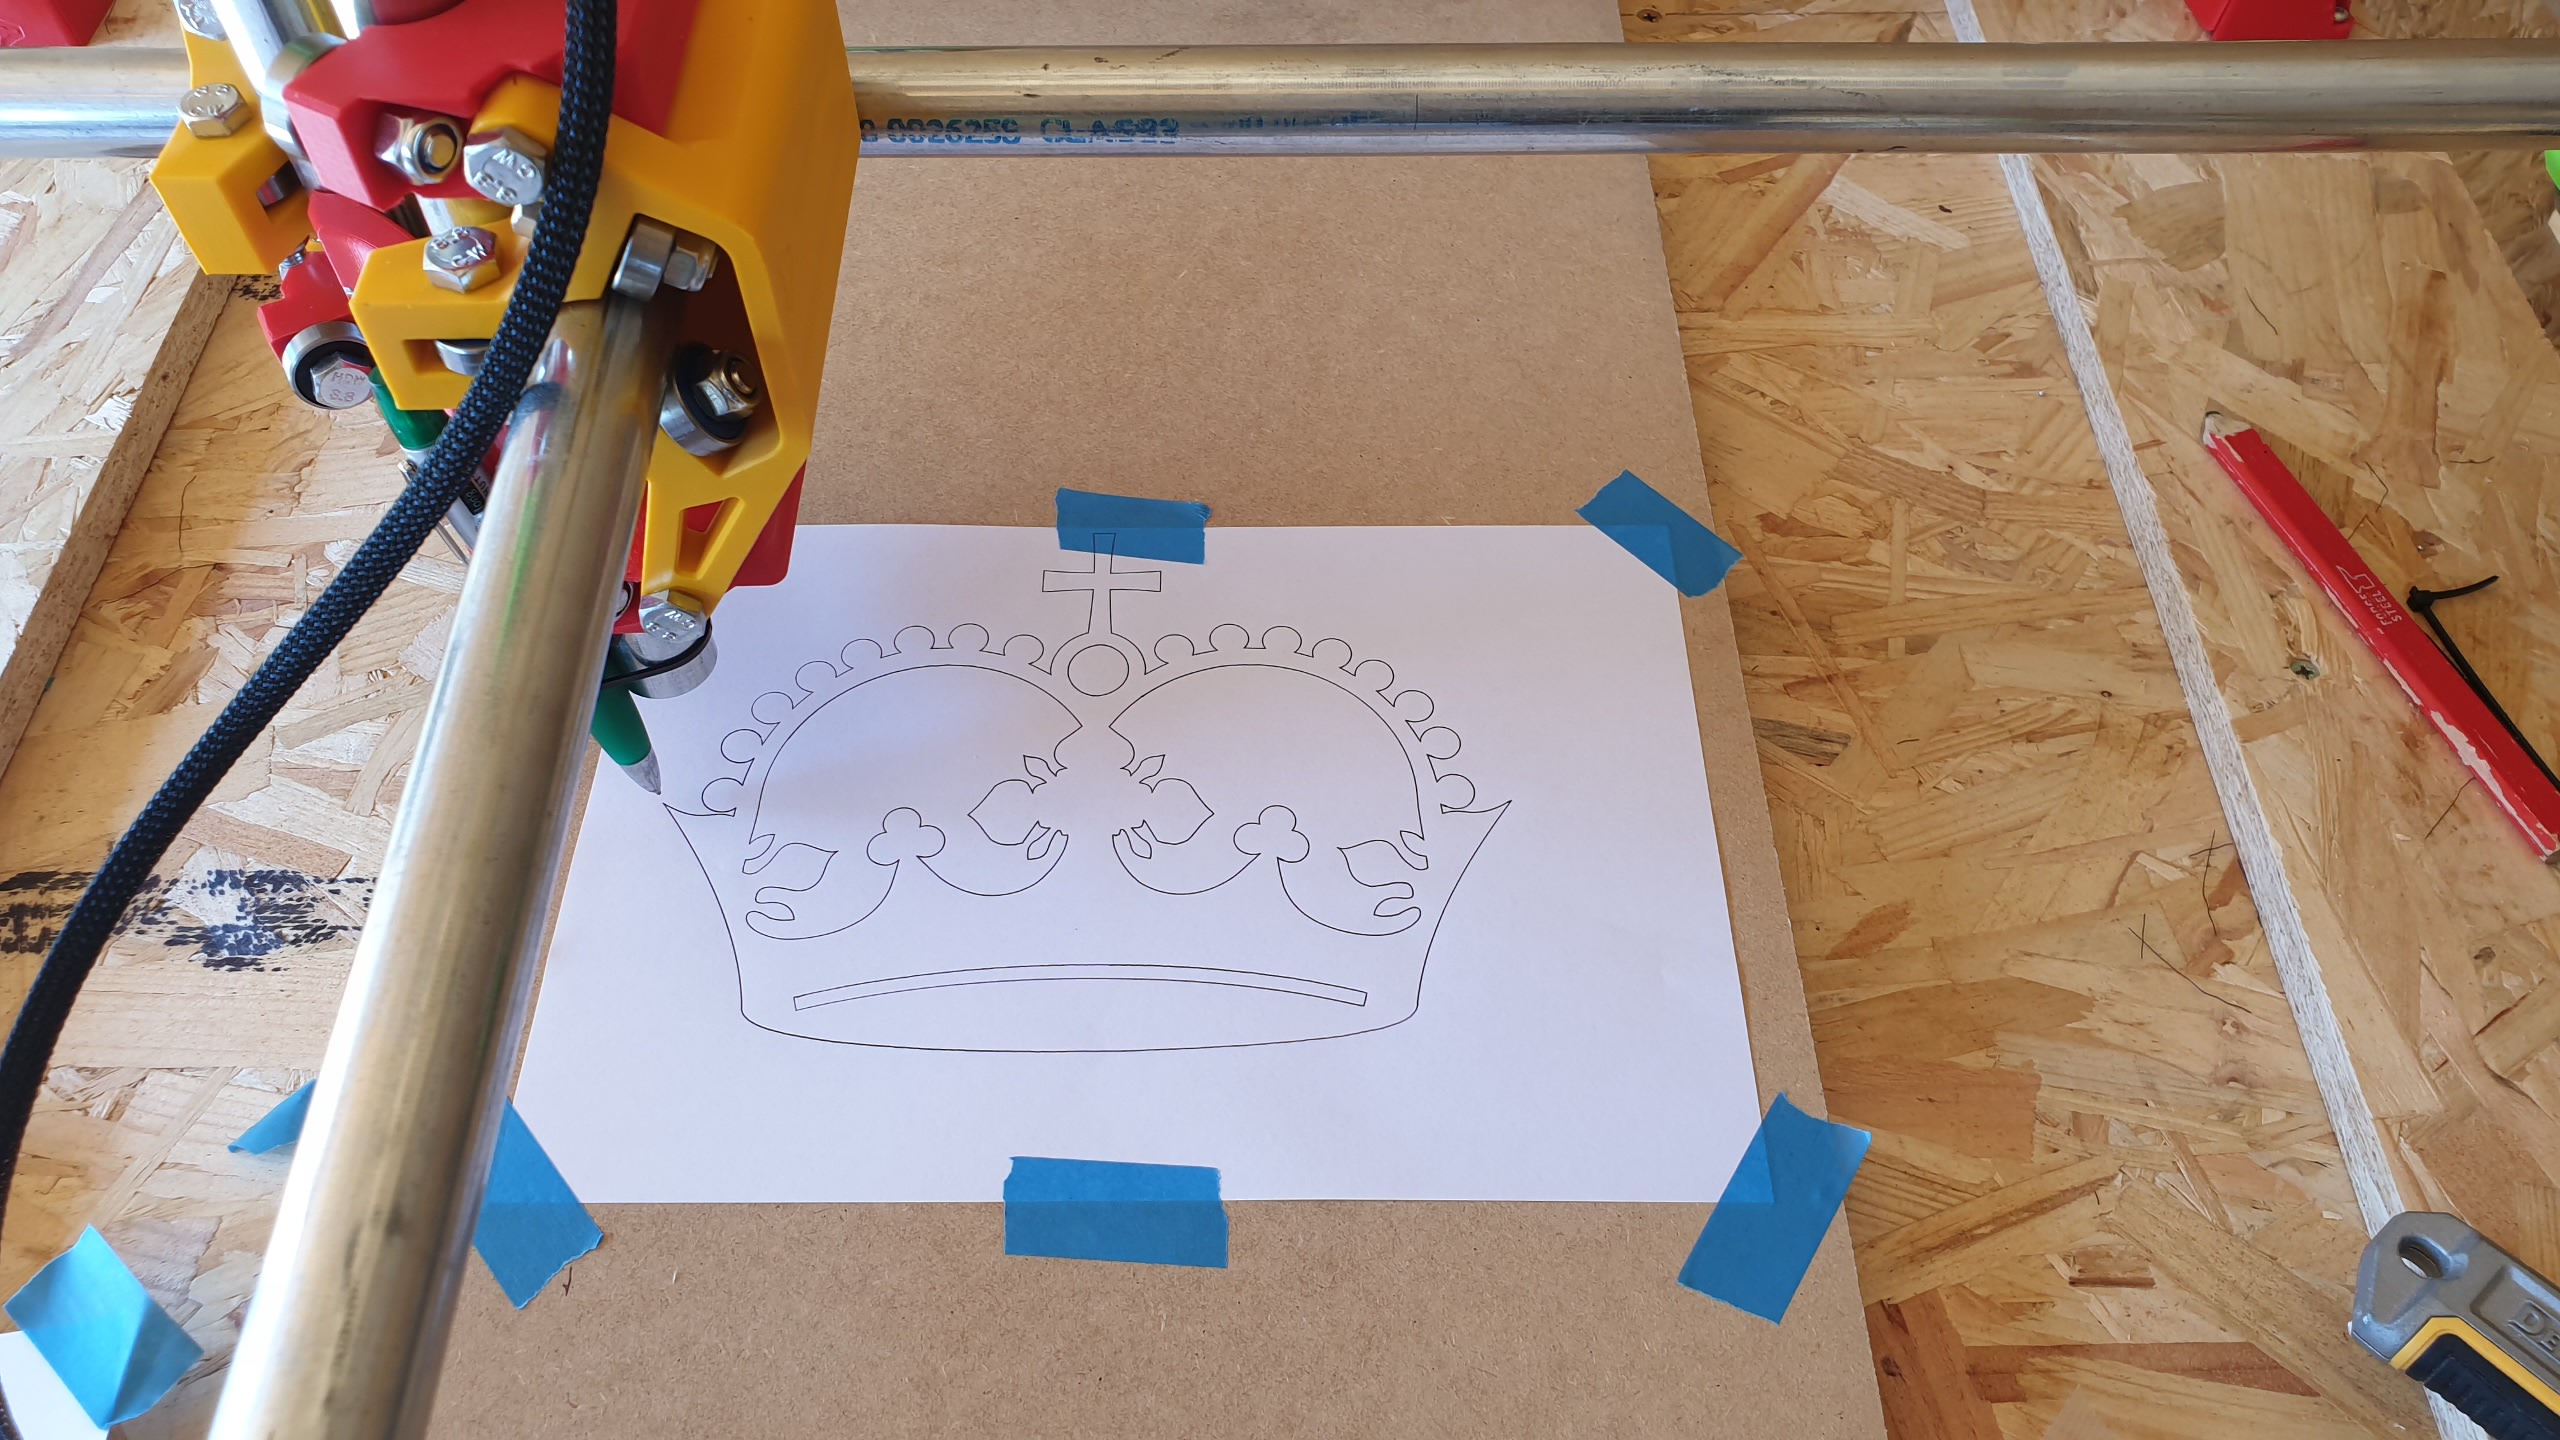
So whilst it drew the crown successfully I did have one problem with my gcode generated form Estlcam.
As I understand from the code below it is doing the following
Set absolute mode
Set spindle speed to 24000
Rapid move to Z +5
Rapid move to XY co-ordinates
Rapid move to Z +0.5
Linear move to Z -0.1
Then it cuts the shape.
The problem I have is it all seems to work except the last Z move to -0.1 where it only seems to move down 0.1 not to -0.1 and so draws in mid air as it is 0.4 above the paper.
If I manually change the Z rapid move to +0.1 it then goes down the 0.1 and draws perfectly.
Any ideas why? I have been through all the settings but don’t seem to find anything that changes this.
I wonder if it is throwing it out because of the S24000?
You also are risking skipped steps by not defining feedrates on the G0 Z moves. Marlin doesn’t use a travel speed for that, just whatever the last speed was. If you have the max z set reasonably, you might be fine. This used to bite a lot of users.
Well that seems to have solved it, Removed the S24000 and now works as I suspected it too.
Now just need to sort a router out for it.
Thanks for the help
I generated a box with a circle in it to test which sort of went to plan except for some reason it didnt lift the tool when moving and so carved lines through the design as well.
Encouraged by this I decided to do something a bit more adventurous and as my daughter is mad on Disney’s Stitch I though I would engrave one. This turned out great with the only bit I have at them moment a 2mm endmill.
Now need to get some more bits to try some carving.
Next job on the machine is a little more mundane and that’s to tidy up the wiring and print a housing for the screen now that I know it all works.
My sister has just got a hot tub for her garden and so I thought as a first project I would make a little sign for her. Took about 4 attempts to get it right, luckily I practised on some off cuts.
The painting took some getting right. In the end I gave it a couple of coats of matt varnish then when I painted the lettering I just wiped the excess of with a wet wipe. Once the black had dried I then finished it off with a couple of coats of gloss varnish.