Thanks for the tips! I’m thinking EMI also. I have a nice 20amp power supply on the shelf I may sub in. The board has a big fan blowing across it, but humidity is a thing in Florida.
I ran it hard for 4-5 hours over the holiday weekend with no drops. Now I’m struggling with all the fasteners loosening up again. This time the Z rails got some flex and I had to break down the core and build it up again just to get access to those screws. I really hope this thing is just “relaxing” and not vibration. If things loosen a 2nd time, it will all get locktite.
My rule of thumb so far, none of the bearings should be able to freewheel. There should be a little friction on every single one. In addition, the correct tension seems to be none of the bearing holders should be able to rotate axially on a rail very easily or under their own weight. Only linear movement that has a small amount of friction.
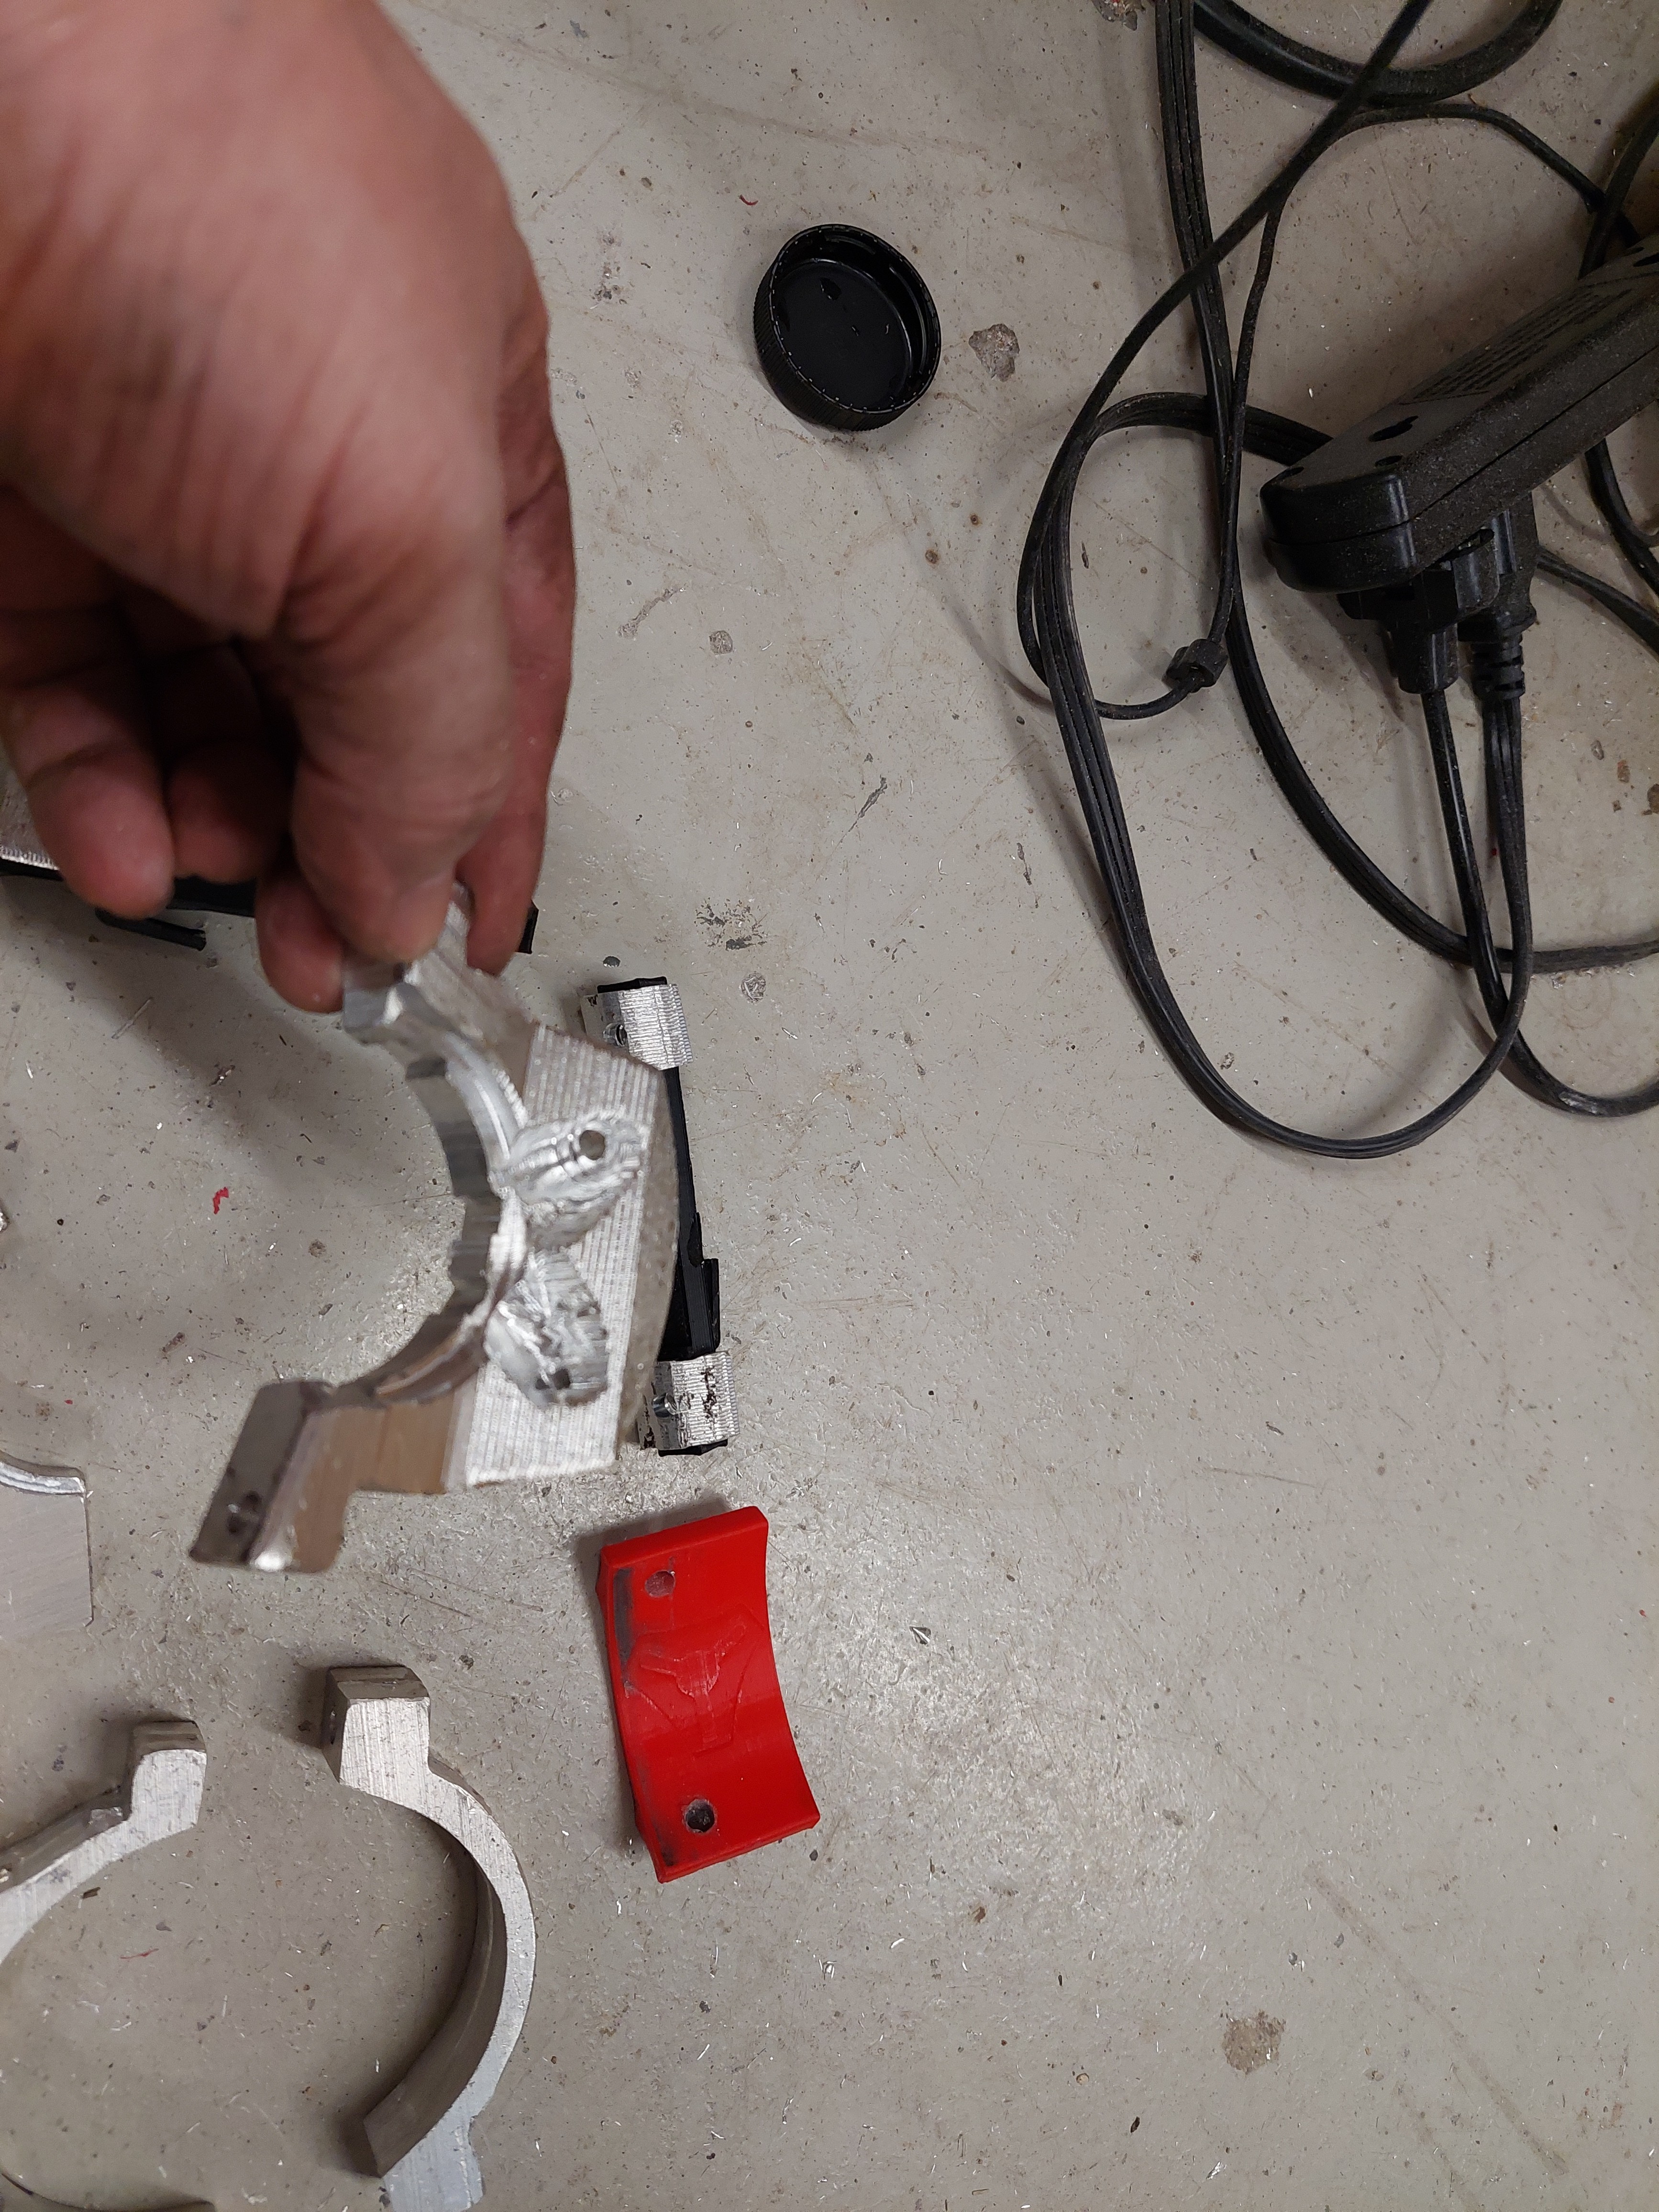
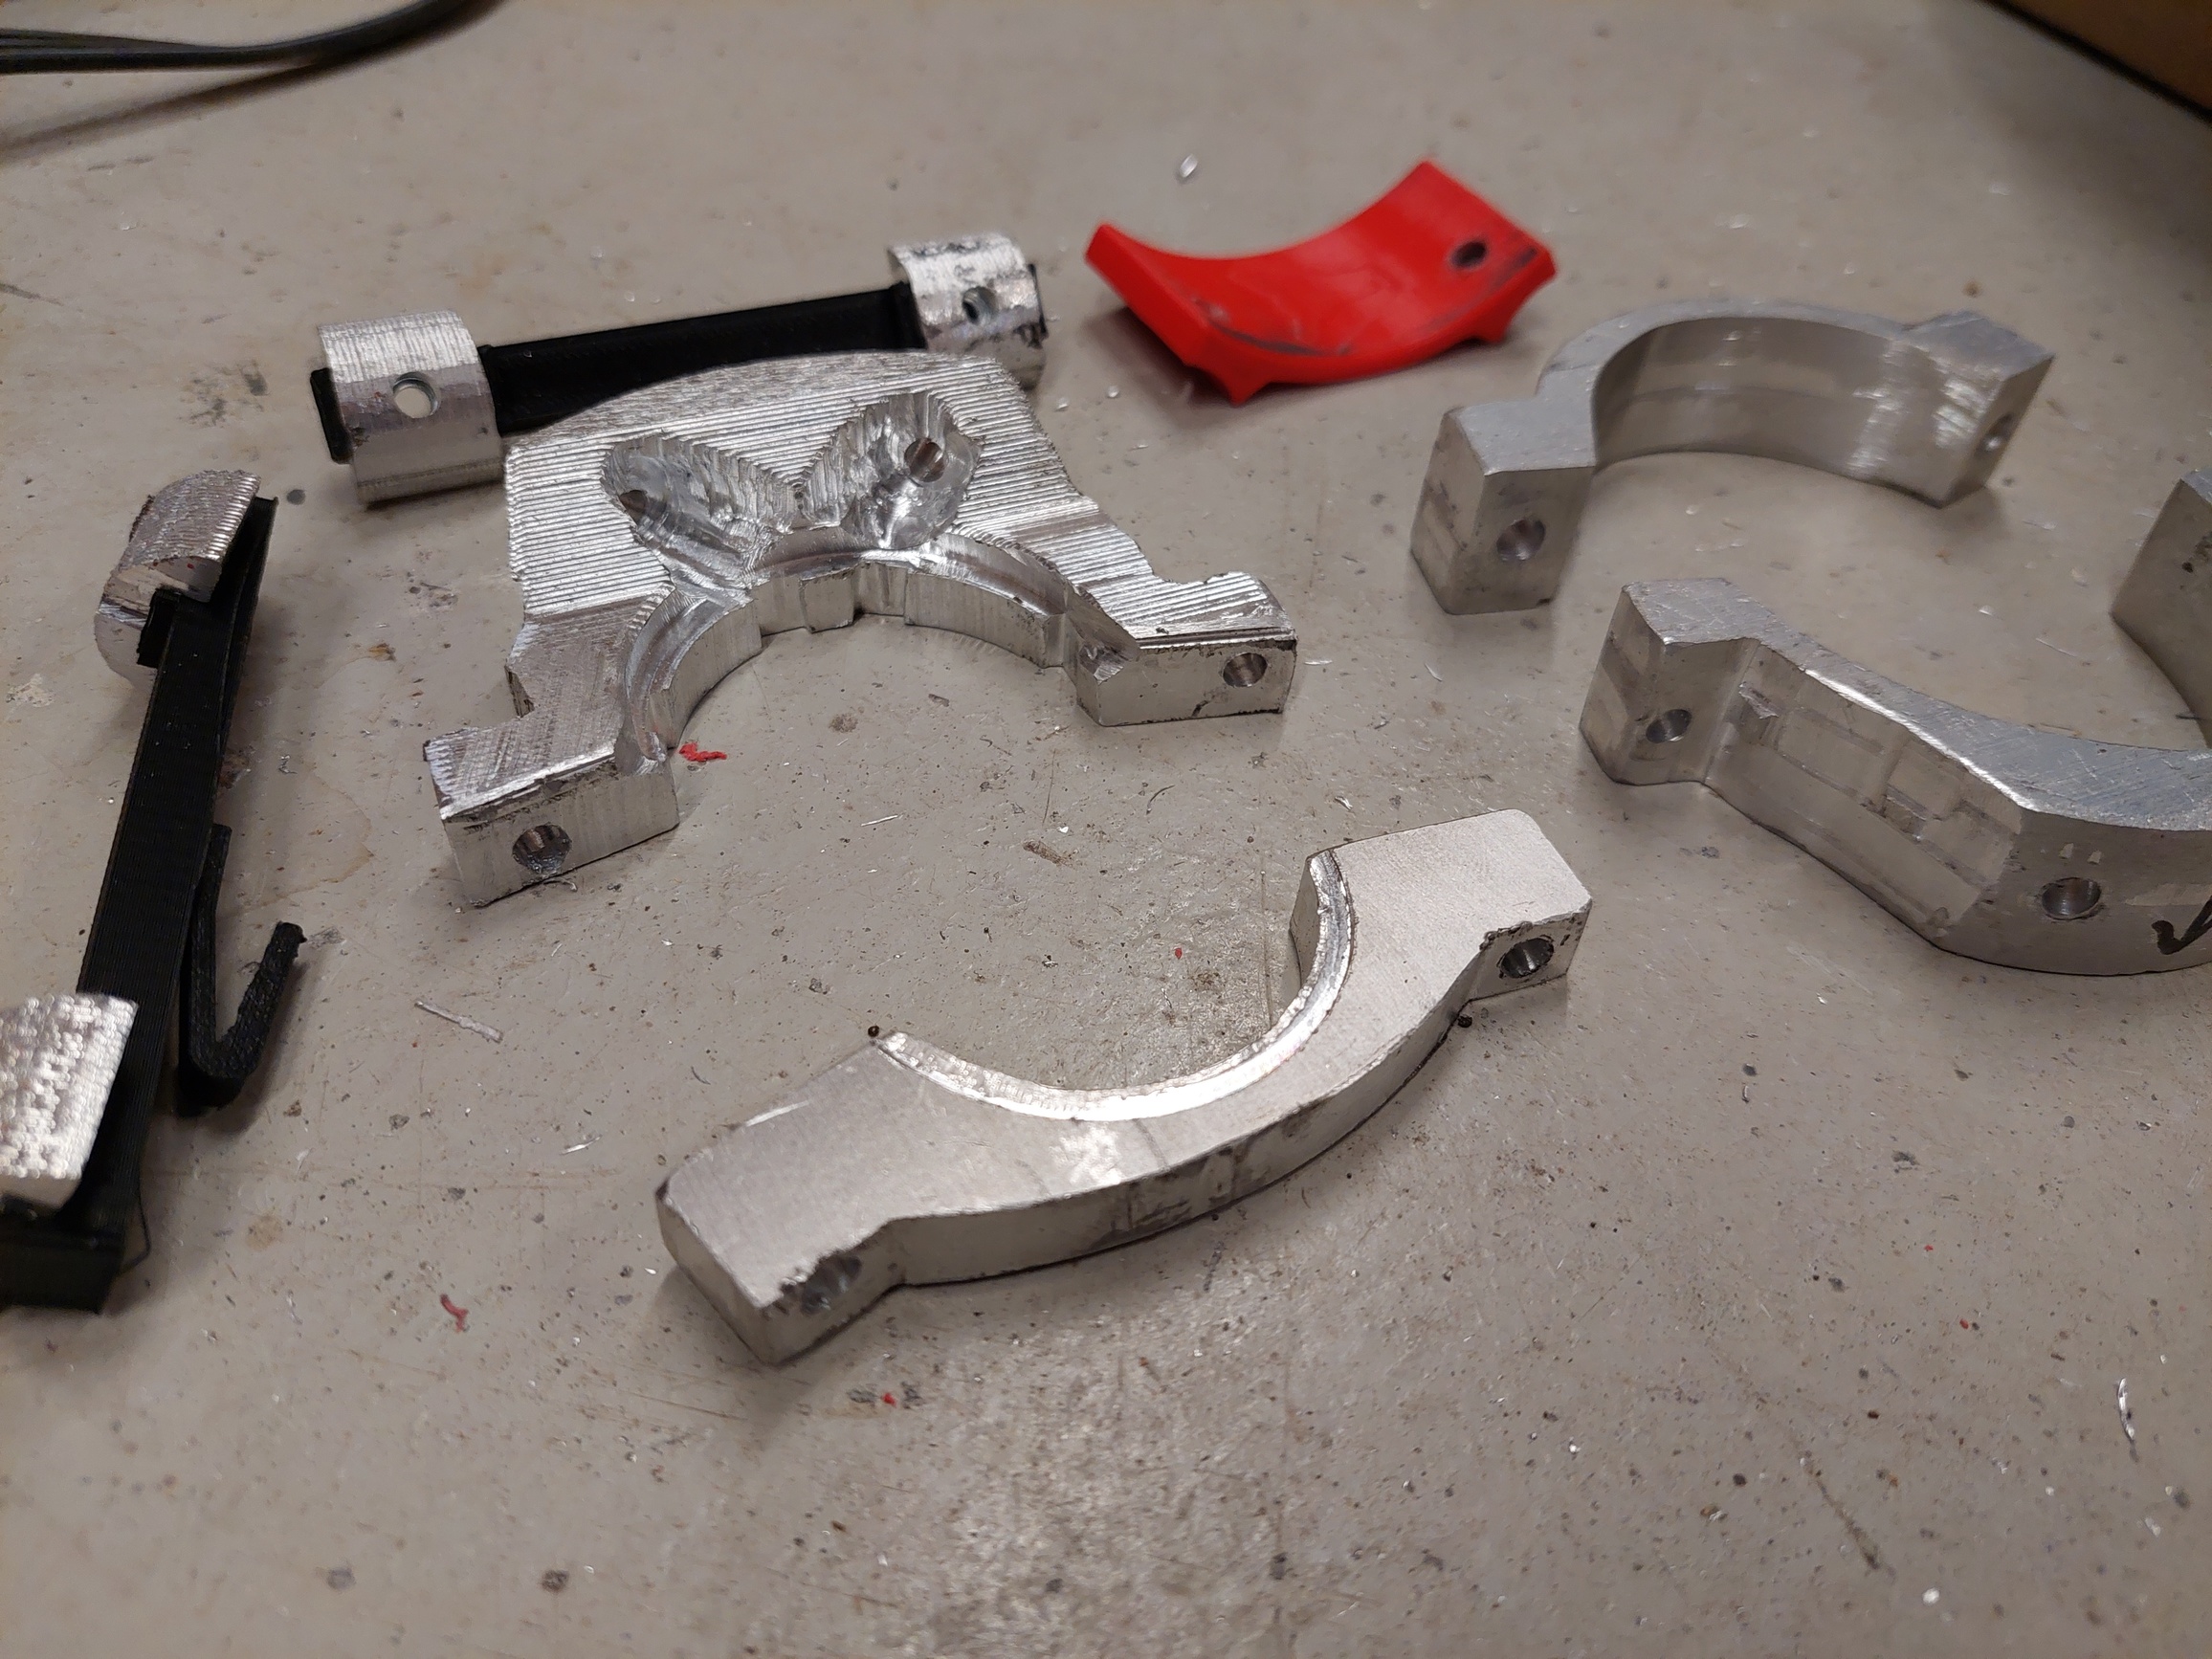
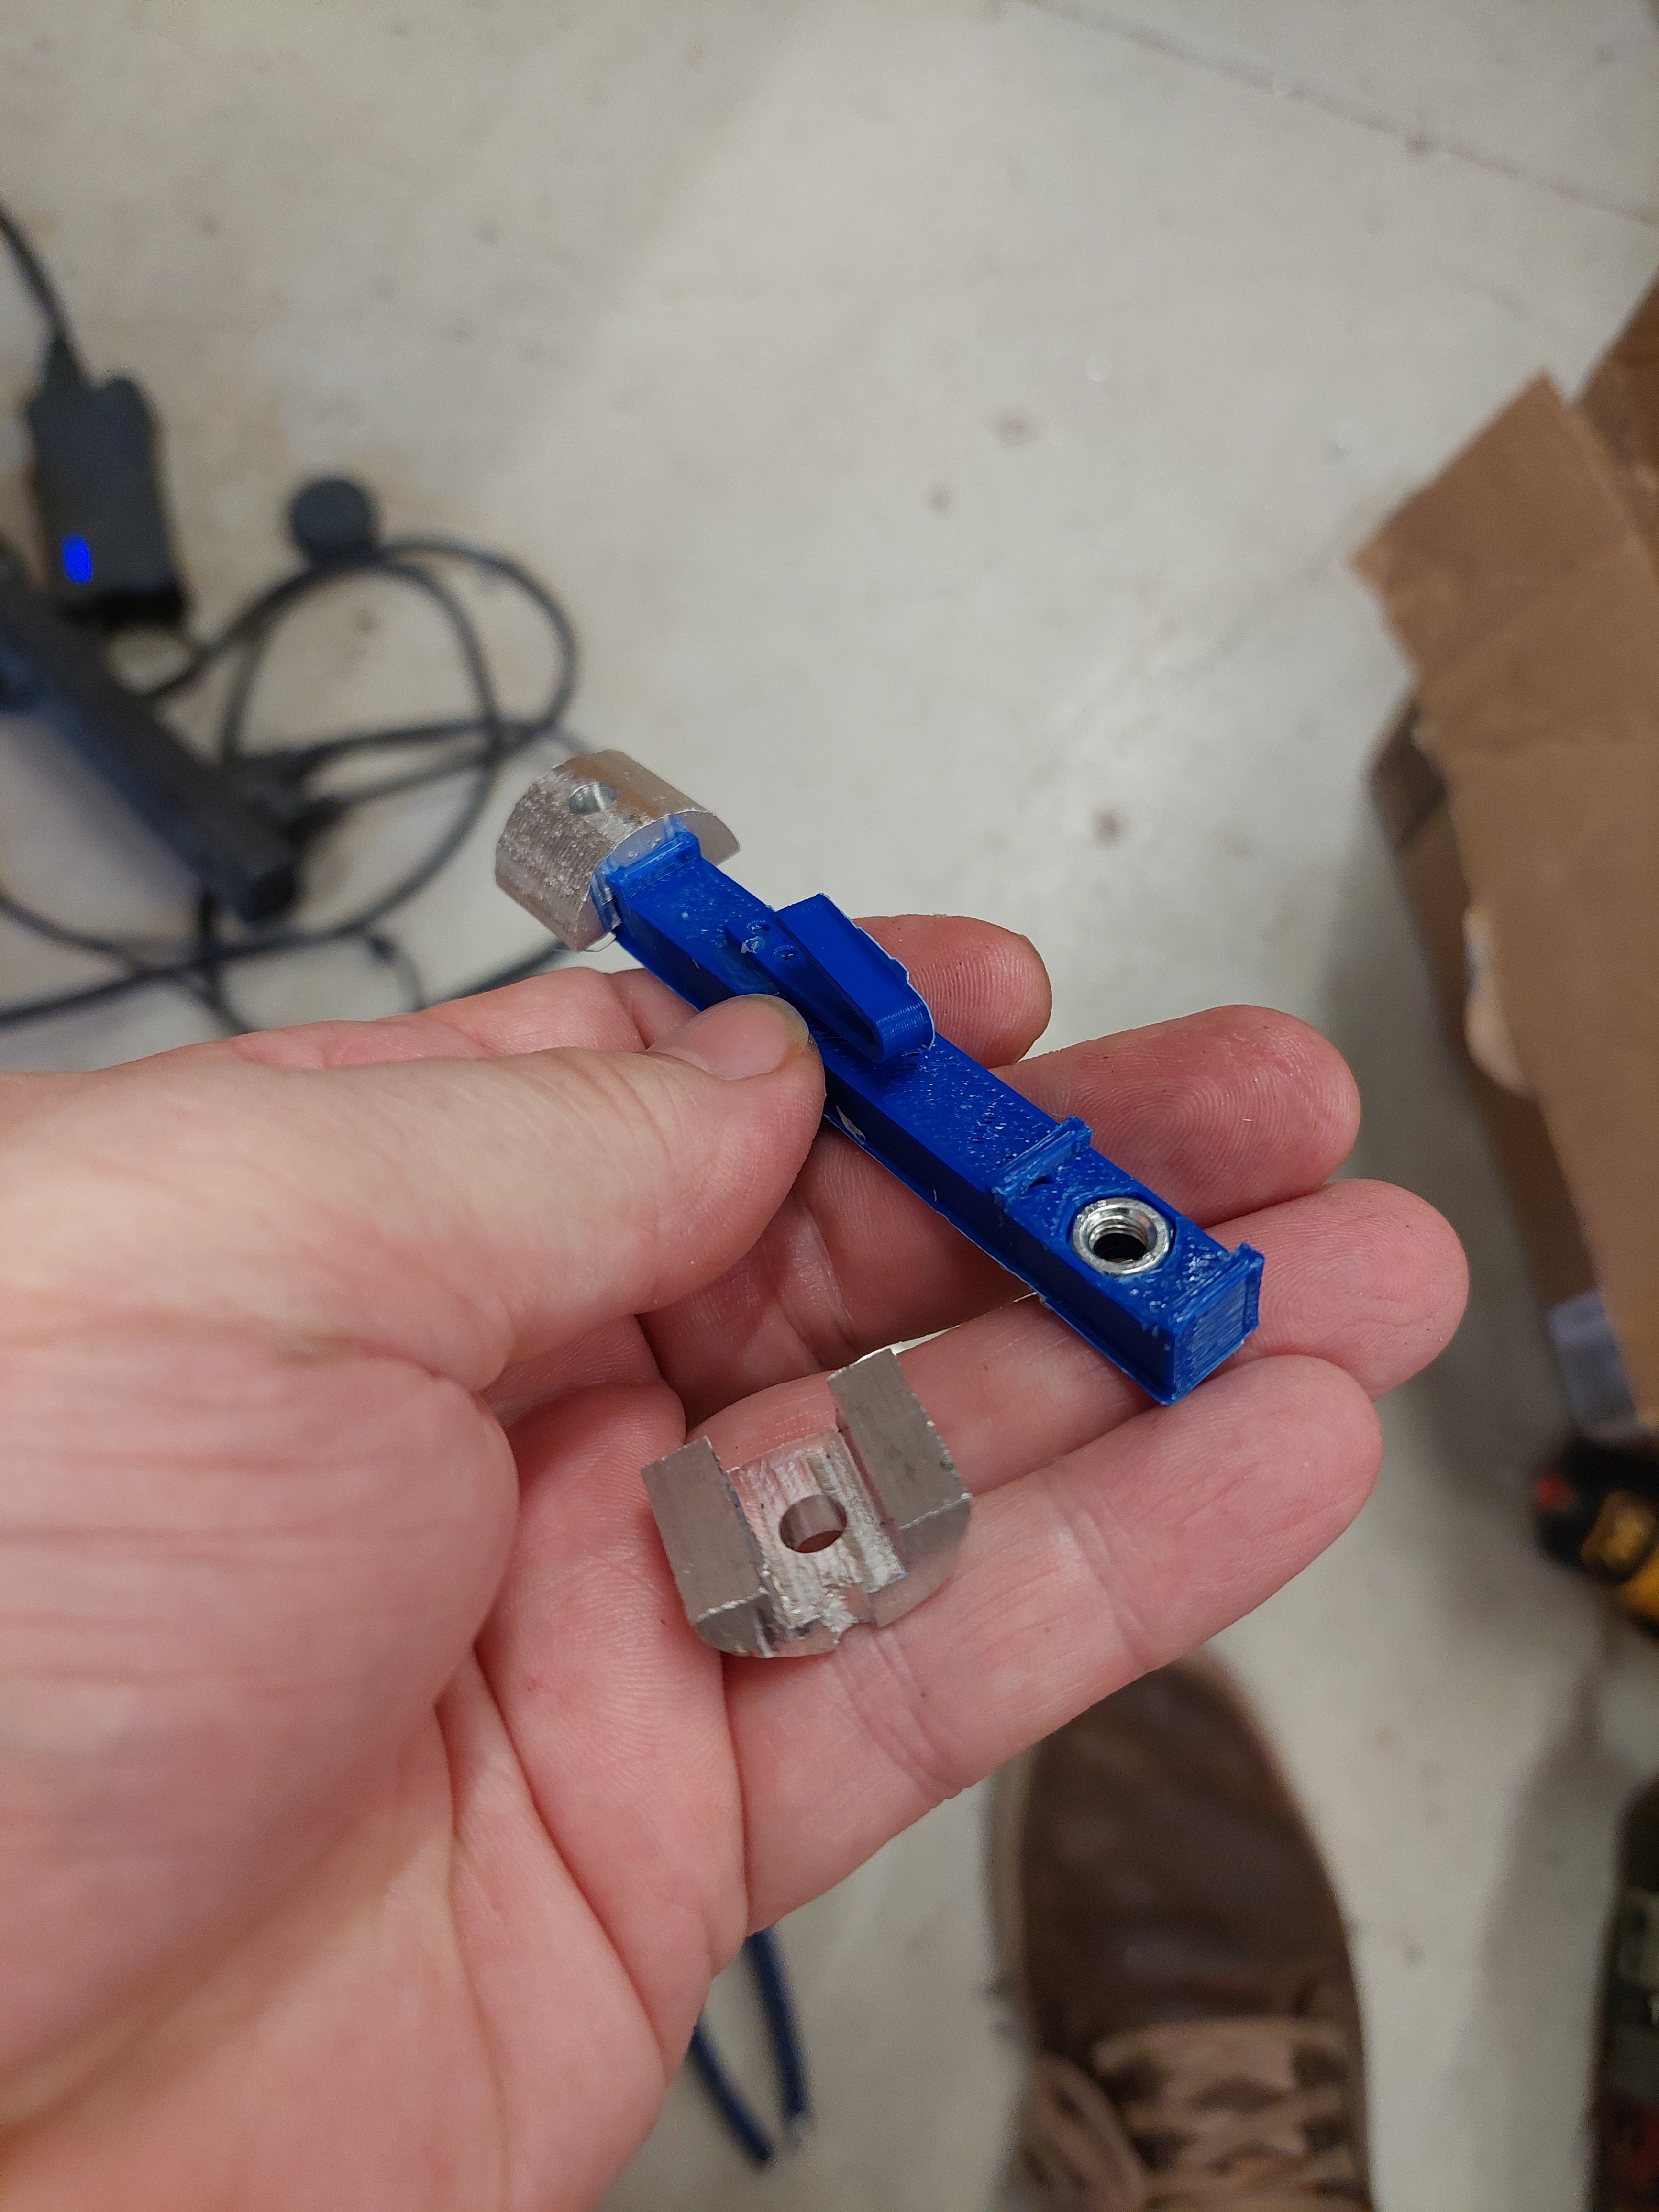
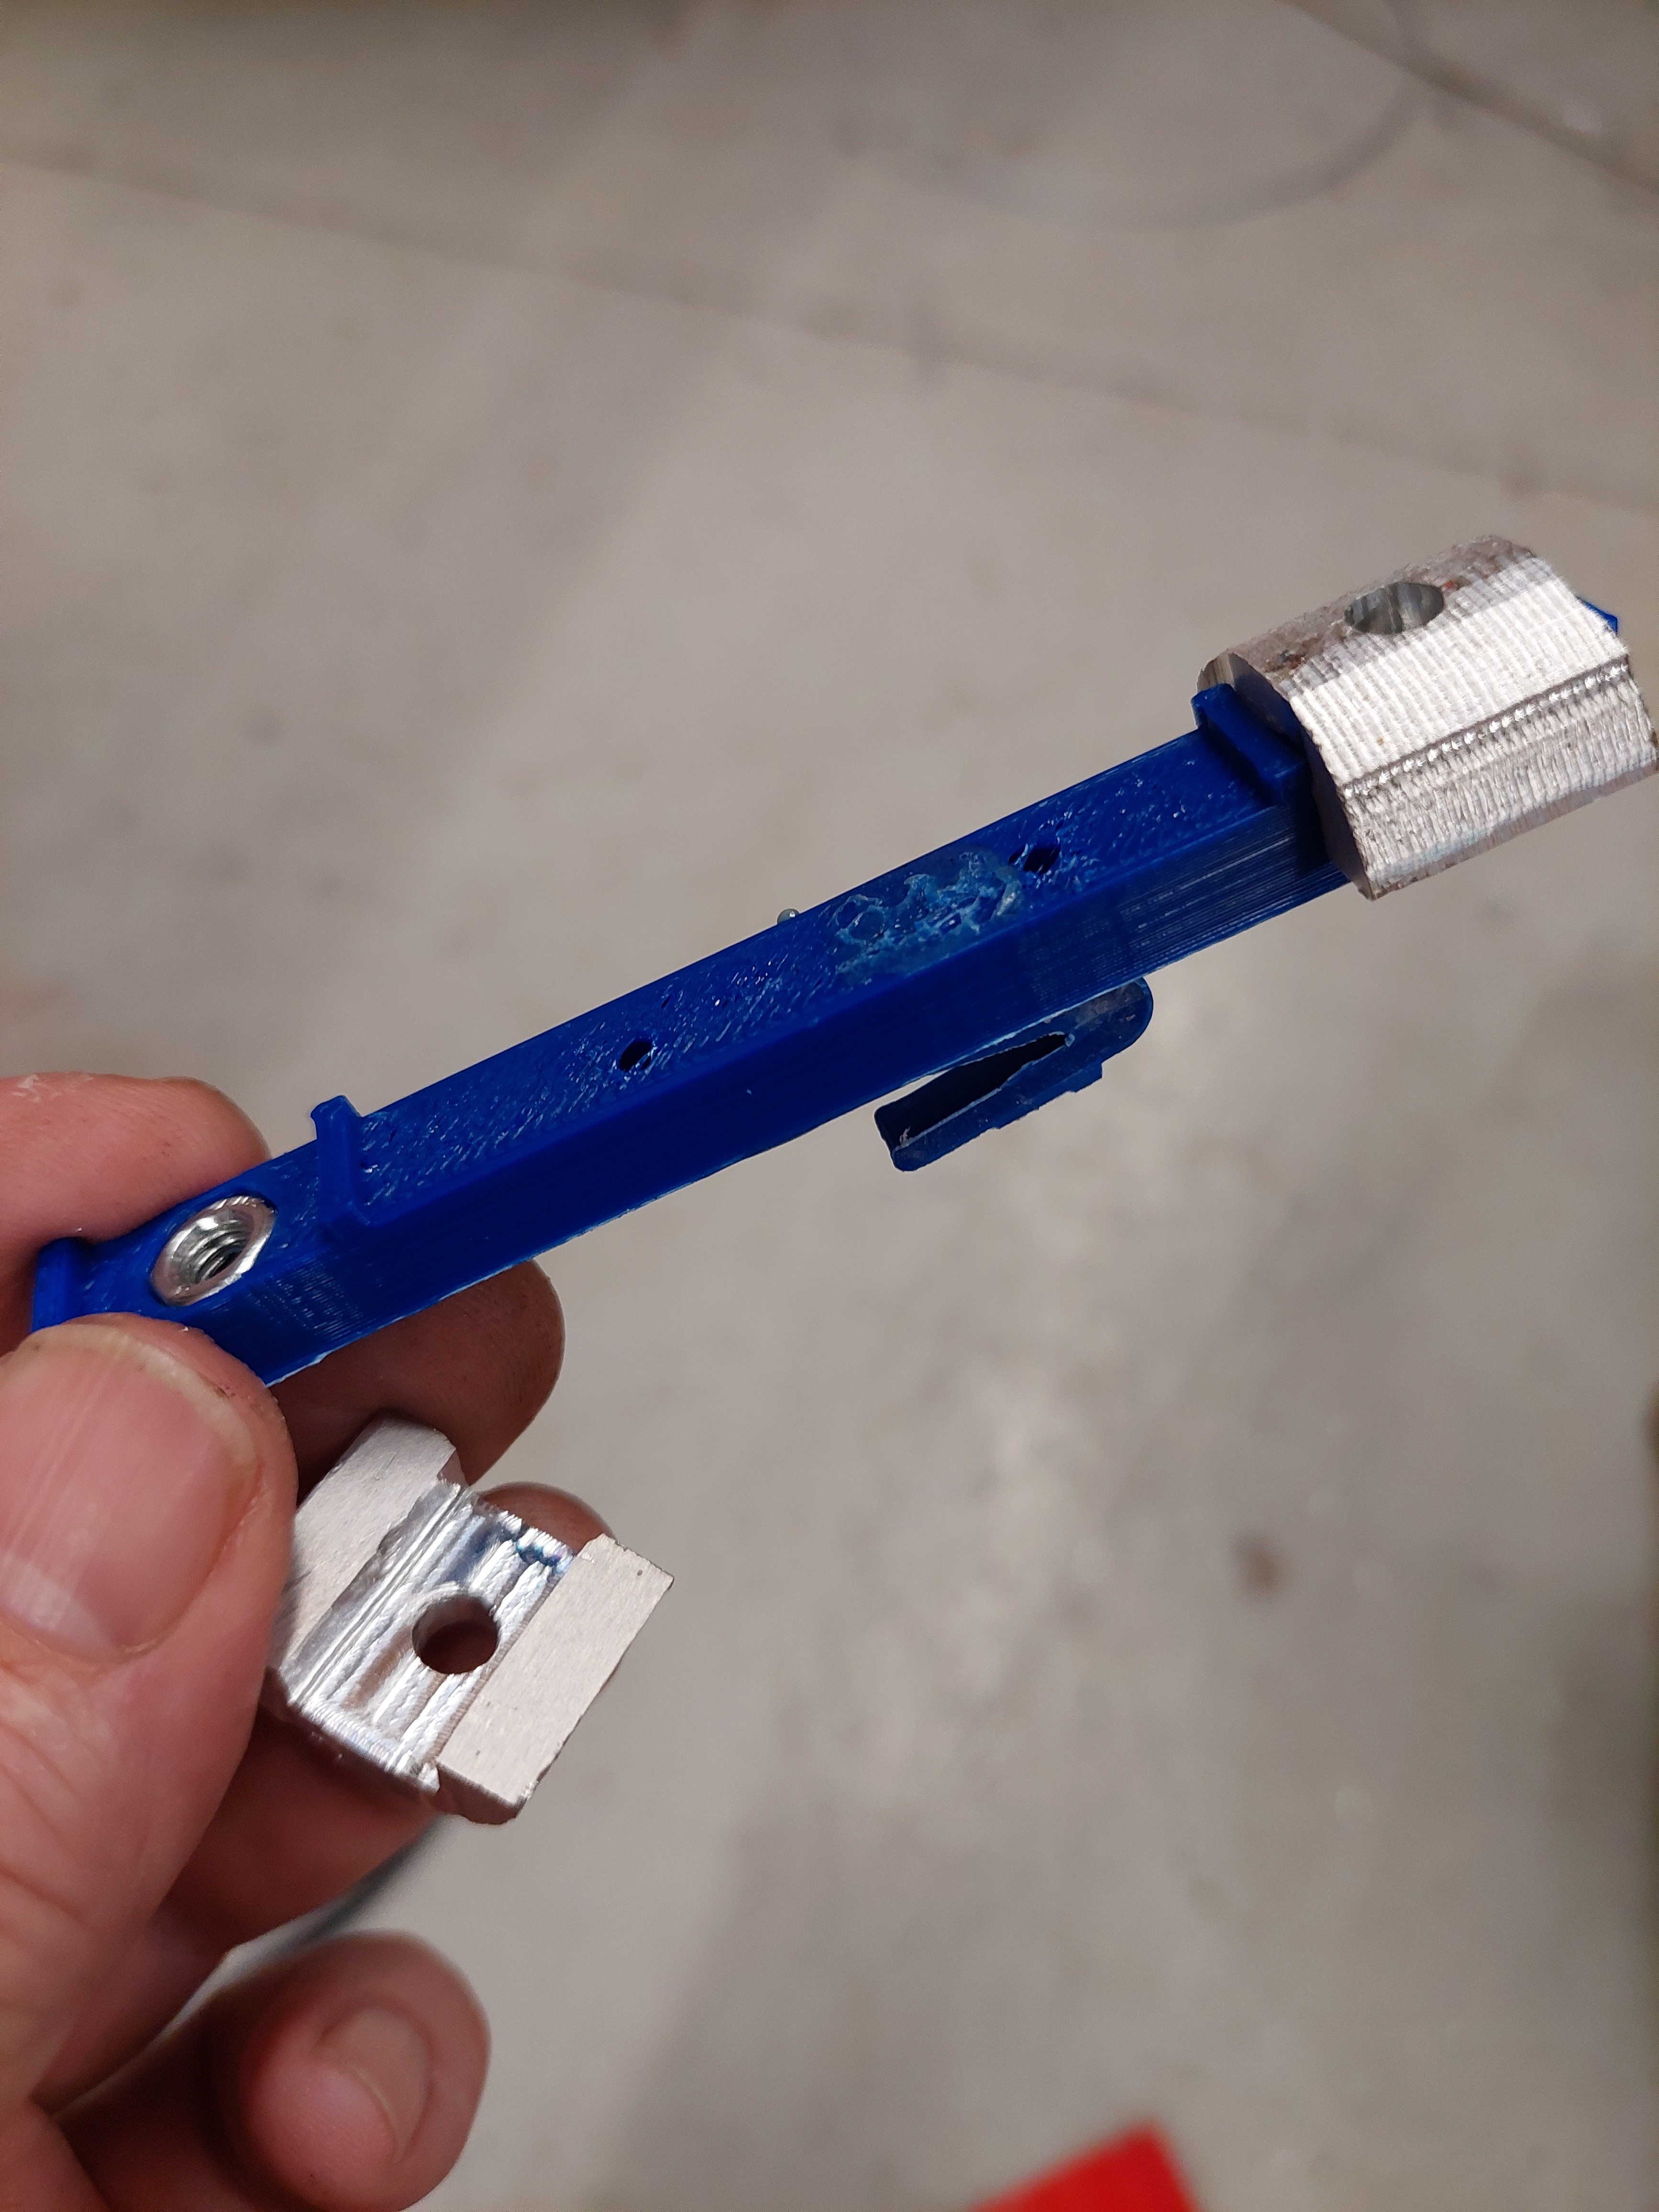
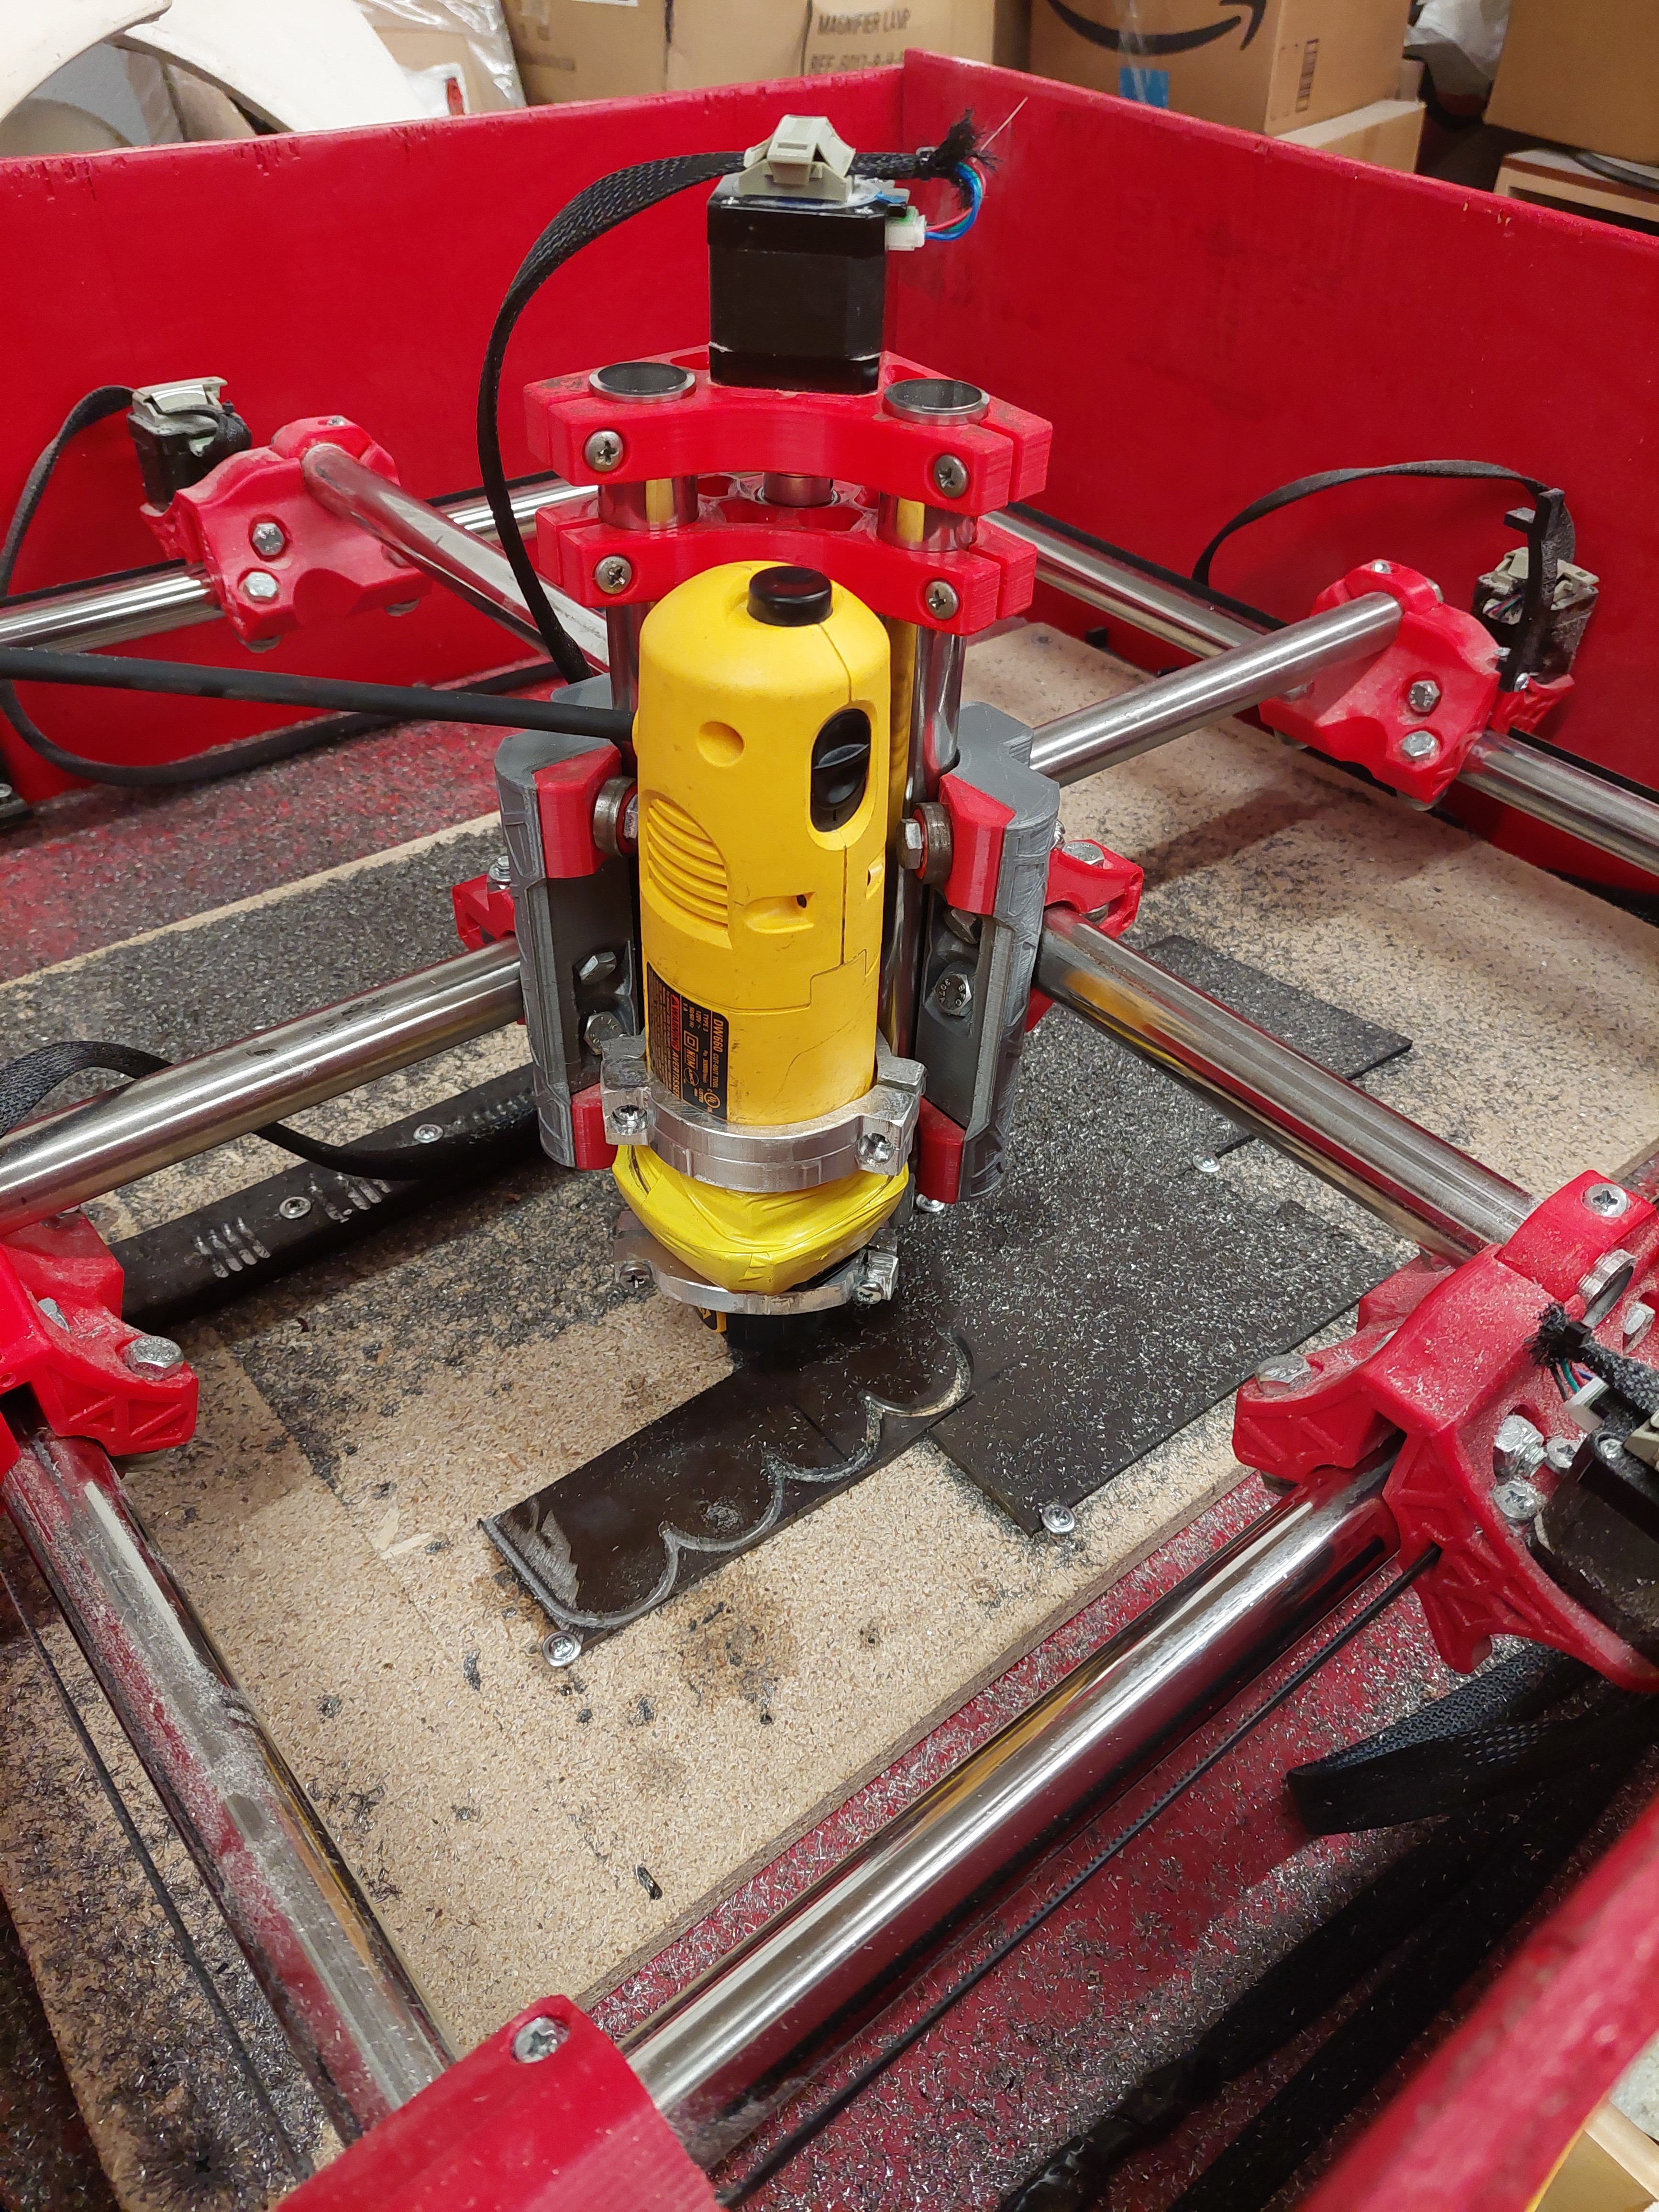
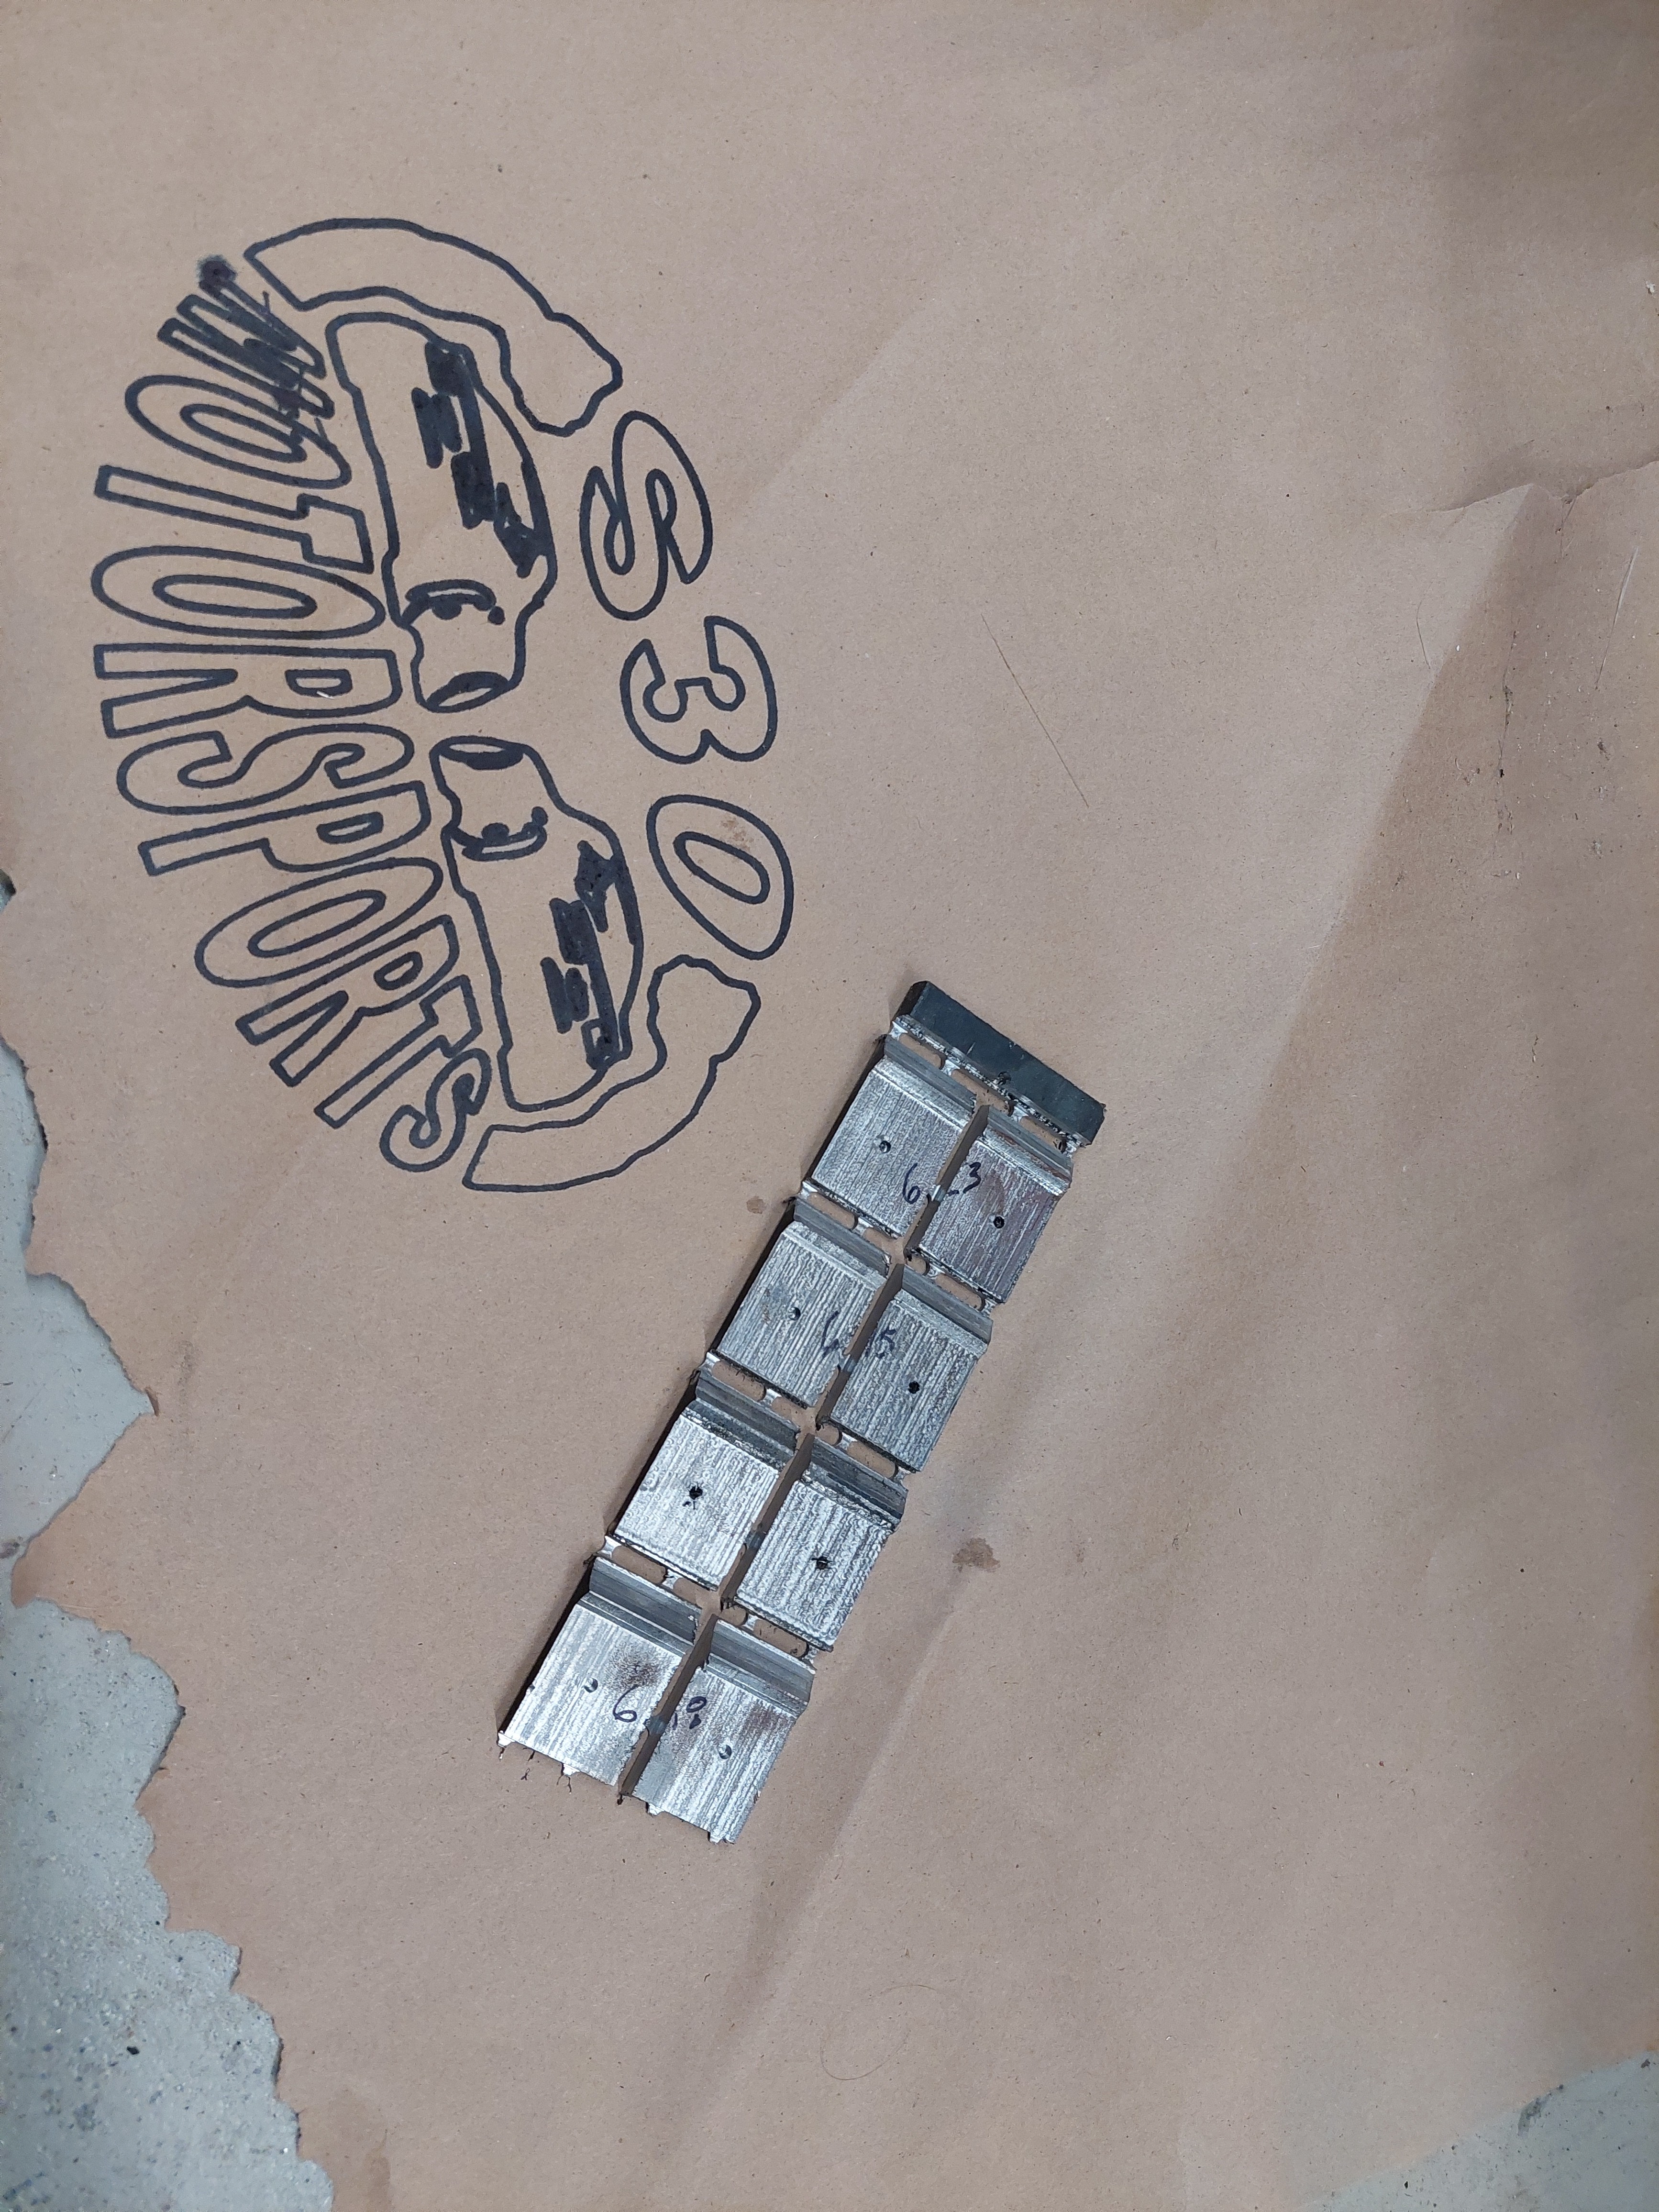
Well I am all in on this thing now.i have designed multiple projects I need to cut in aluminum and steel. So I moved to steel and ran a number of trials to get the feeds right. I incorporated my tool holder mods and thought I was golden. And just like when I did these same experiments for aluminum, I ran into slop in the machine. This time core x-y bearings and belts after maybe 5 hours of trials. I keep cranking this thing down but it is hard to find the slop sometimes. If if anything is loose, forget steel. I am running really hard to find the limits. Problem is you can run a 4mm tri cut at 20mm/sec. in steel and think that’s cool, then run it again and can’t move 5mm forward because something changed. Anyway, here are some pics of my tool holder mods. These took many itarations to get correct, but they are working now.
More lessons learned with steel.
Every tri-cut should have clean walls, equal width, and smooth floor. Listen to the machine. If it deviates start troubleshooting.
Anything can become loose so double check ALL bearings if performance has changed. And belts.
No sparks wheen cutting steel, just good chips
Do not get the chips on your hands.
Bearings need to fairly tight everywhere. You should not be able to rotate ANY bearing easily.
If you try to cut a set of tool holders from the .stl’s you better have some other tool/fab experience.
Another update. I have been running carbon steel all week. I chose settings that I consider very conservative. Mostly 2mm max depth and 5% crossover. I check all the bearings and rigidi
ty before starting. It starts out with such a clean cut that there is very low noise, I am guessing 90db or something. Then it gets progressively worse as time goes on. So even with stopping between cuts and tightening everything up, I end up around 3 to 4 hoursa bit is dull and the cut starts Turning to shit. It’s that normal for steel? Each of the parts I am cutting now take 2.75 hours and I can’t quite get 2 parts out of a fresh bit.
Steel is very hard. Not many people try it. I would guess that this is reason you see so much coolant on bigger machines. But honestly, I have no idea. You are way out there on the frontier!
I don’t think I have anything special yet. I sometimes get amazing results, but not consistently. I was reading another post with some guy running troch cuts 4mm deep at 20mm/s speed. Whenever I get close to that it shakes my machine apart. A have a small machine like 16x16x5in and it is more than rigid enough to cut 4mm deep in steel with little effort. The problem so far has been keeping it rigid. Anything and everything has a tendency to loosen up. If I can solve that, maybe it will be special. I have the same problem with aluminum. I think that also takes it toll on the tool.
For troch cuts in steel, the magic number is a 5% step over. When I go to 6% it will destroy the bit. It’s that sensitive. Not very sensitive at all to speed. I want all the way to 20mm/s at 3mm depth but backed off to 13mm/s at 2.5 max depth. That seems to work well although way slower than I want. Now the challenge is getting a bit to last longer than 3 hours or so.
Best results are when I cut dry. Air cooled through the router as my early post. I have tried WD40 but no benefit. No bearings can be spun with with my finger, belts are medium tight, and there is noticeable friction when moving the gantry in any direction. Fresh 1/8 single flute Koyo end mill.
Was that a ball mill in the video? I always avoid going straight through the material unless I use a trochoidal motion. When linear cutting or peeling I try to have clear entry and exit areas to avoid any plunges. Same when cutting .stl profiles.
I have no idea what I am doing, just trying to get some metal parts out of this thing. I will keep beating on it as long as it doesn’t break.
8x better than me seems pretty good to me. One of the highest preforming machines I have heard about to date. This is not a cast iron machine and you are cutting steel. At least take a moment to be pretty excited for that.
I will have a second look but that double belt did not work. They all had to go back to single belt. Bending a belt always ends up with messing problems.
Yup looks like he was getting a 0.6mm stepover @20mm/s at some point. And that was not on a Primo…
If you are getting anywhere near that I would be happy. If you are trying to go further maybe I can help with some pointers. My only guess at this point is get your tram spot on and check your dewalts runnout. Some are better than others. He was using a very high end Kress.
The fact that it kicks ass one minute and falls off a cliff and hour later is what drives me nuts. This thing is capable of making 4mm cuts in steel at 20mm/s. I did a 1" test cut at that and it didn’t even groan! I suspect it is a combination of machine loosening, bit overheating, and bit dulling. All 3 of those challenge each other and it is hard to pinpoint the root cause. But when you have all 3 right, it is magic!
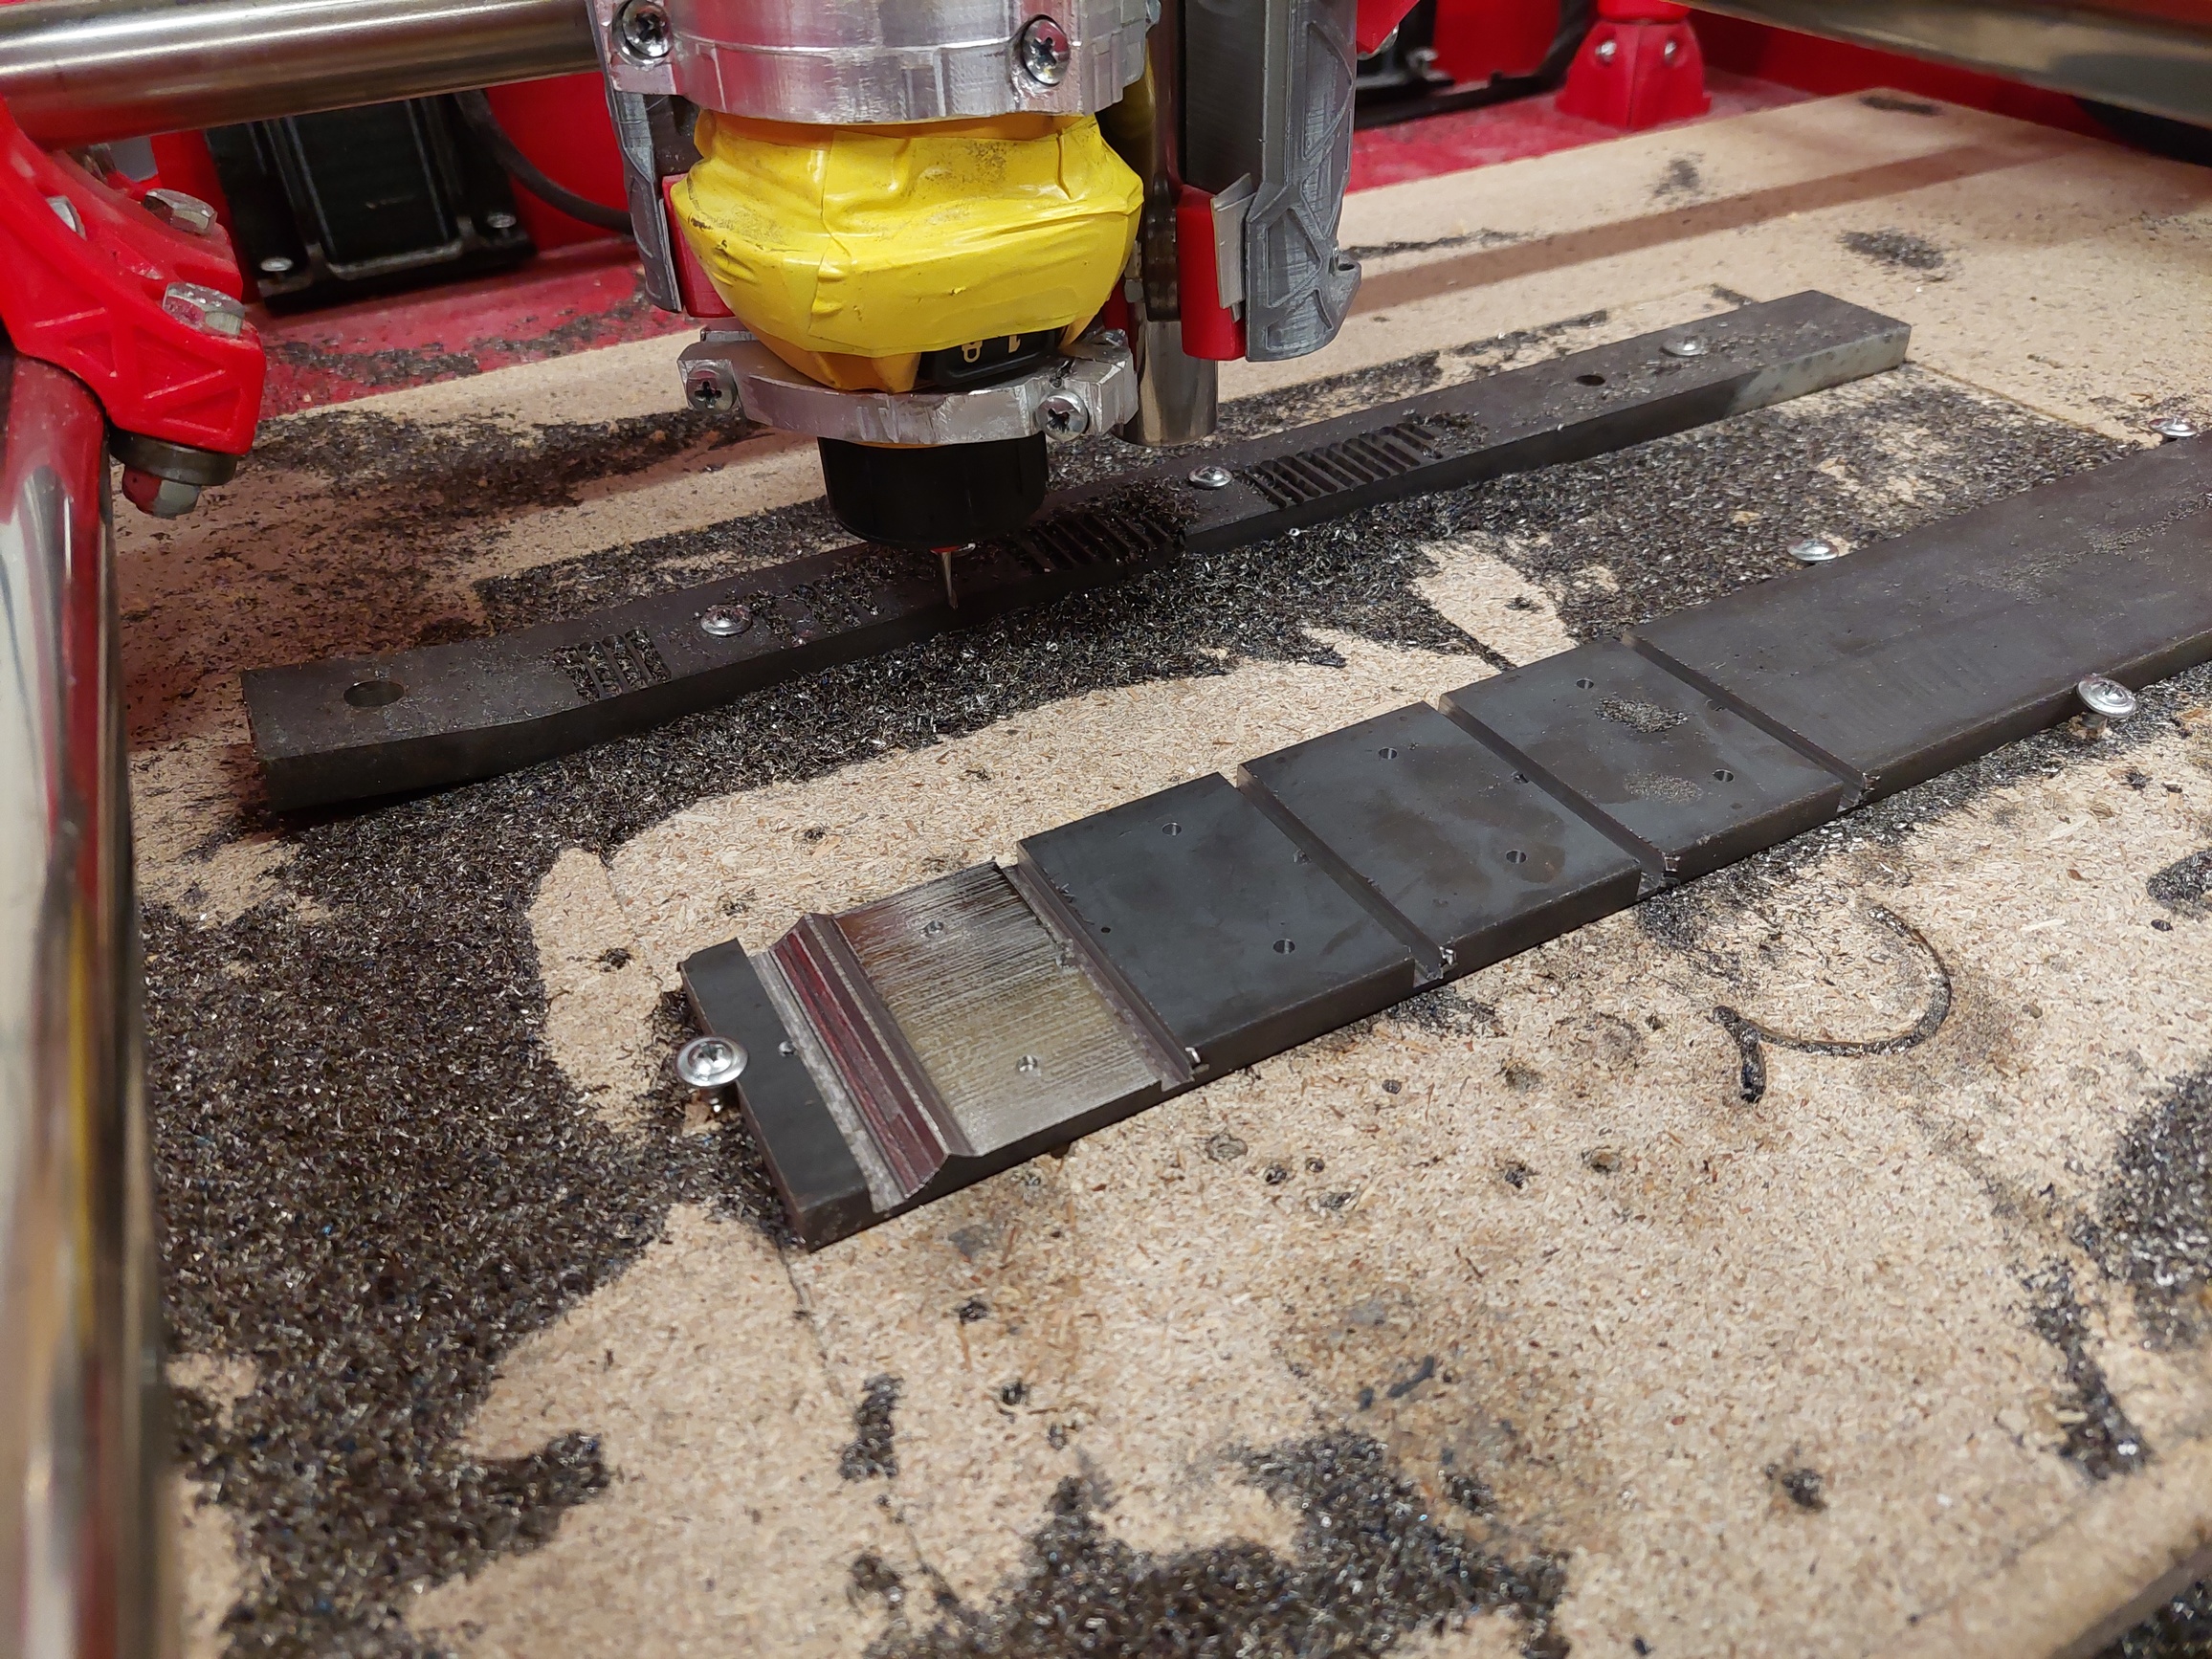
Anyway here is a video of tonights steel profile cut. This is 2.5mm deep linear cutting. Very slow and easy. I can get about 4-5 hours out of a bit running this program. And tightening up the machine every 3 hours or so seems to be the ticket for now. I will move to lock-tite and even lock-wire if I have to. Notice that chip management is much easier with steel. And the part is warm to touch but not burn you. Maybe I will take some temp measurements in future to see if that is a variable.
And again, what is in the video does not seem like a real challenge at alll for this machine. Nothing special here. Just like anyone else with a new MPCNC I threw some steel on the bed, scanned the forum for some basic settings, and it went right through it. But doing that over and over again for many hours is the challenge.
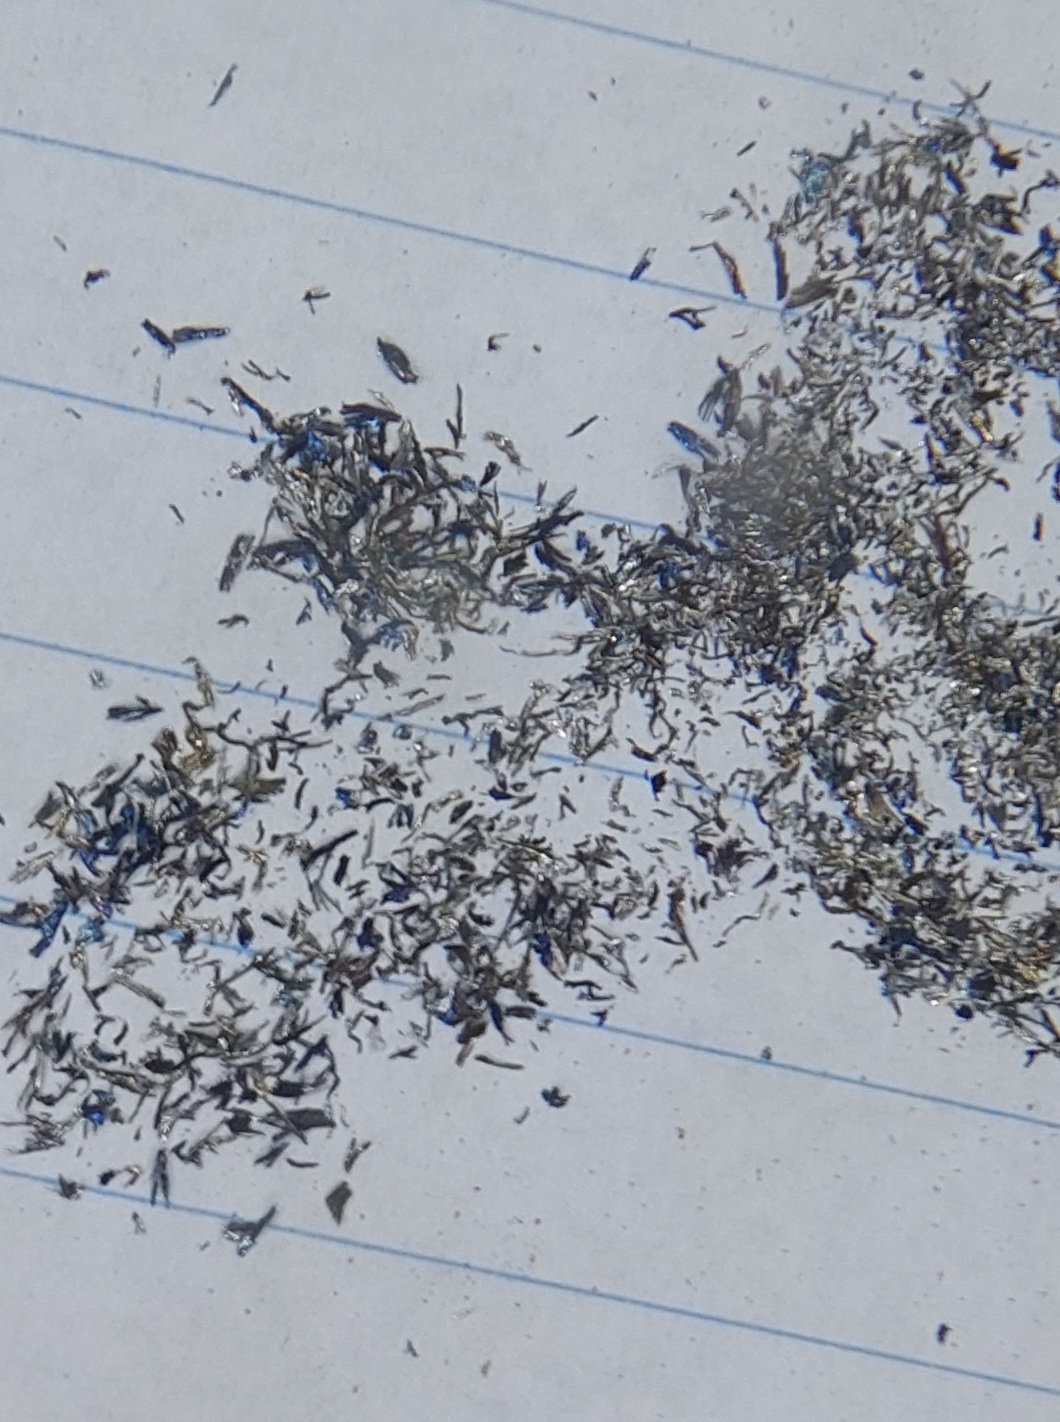
Here is a magnified photo of the steel chips. They have a distinct length and many look rolled kind of like a cylinder. You can actually put them in your hand and roll them around without getting splinters.
I am not sure what might be going on. My best guess would just to add a small air nozzle/blast to try and keep things a bit cooler and maybe help with any chip re-cutting. I am fairly confident 1hr plus steel cutting puts you in a category no one else has been in. Your video shows you machining steel better than most do Aluminum. If your bolts are loosening definitely use loctite, I thought your issue might have been some sort of plastic creep on the parts.
I knew there were a limited amount of people running steel, but assumed I was catching up with them. Based on what I have seen my MPCNC do, I feel like I am only at maybe 50% capability. If I am breaking new ground, I will try to be a little more methodical in my experiments. If I could master 3D printing Acetal, I am pretty sure I can optimize settings for milling steel. Just need to identify which variables are important and then control them closely. I am already have some ideas for the next MPCNC update.
You most certainly are pushing the boundaries. This was designed for aluminum at best, you are destroying Steel and seem to think you are doing it slowly.
You saw my video, most people can’t even seem to do that. I have never tried to push it any harder since I was disappointed with the plunging. I don’t typically like to push things to the limit publicly, so newcomers do not expect my results. The speed test vids (6 years in) are the first time I have ever really pushed it publicly (and even that hard in general). I want to keep expectations in line. Turns out I think I am actually cutting so slow on most things, I am making it harder on the machine, judging by your steel chips.
My wood baseline newcomer settings made a cut in ~12minutes. Everyone should be able to do that. With a standard sized build I easily got that cut down to 40 seconds. Now I want to do that same test in steel…well… maybe aluminum first.
Please do keep up the testing. I hope to join you. Seeing your results is very exciting for me. I am not a machinist by any stretch of the imagination, so I am learning that part along with you all. Wood is relatively child’s play as compared to metals.
More lessons learned:
Plunging steel is a problem. Don’t even try it. Even drilling a straight hole at a slow speed is a challenge. A helical drill down or a trochoidal plunge is the only way in. I’m using Estlcam, and it loves to plunge. I check every program to make sure it never plunges straight into metal. I often cheat it by doing trochiodal cuts around interior or exterior and sometimes even oversizing the part so it “misses”. You could trichoidal cut everything, but then you would miss out on doing contour cuts like in the video. Besides linear cuts and peeling strategies seem to be faster and easier on machine. I follow these same strategies with aluminum.
Something about the trichoidal cuts really stresses the machine more. A straight x/y line cut usually works well, but when you travel in all directions, like curves and circles, that’s when I have had the most problems with steel. Or more appropriately, the faster the deterioration in cut quality.
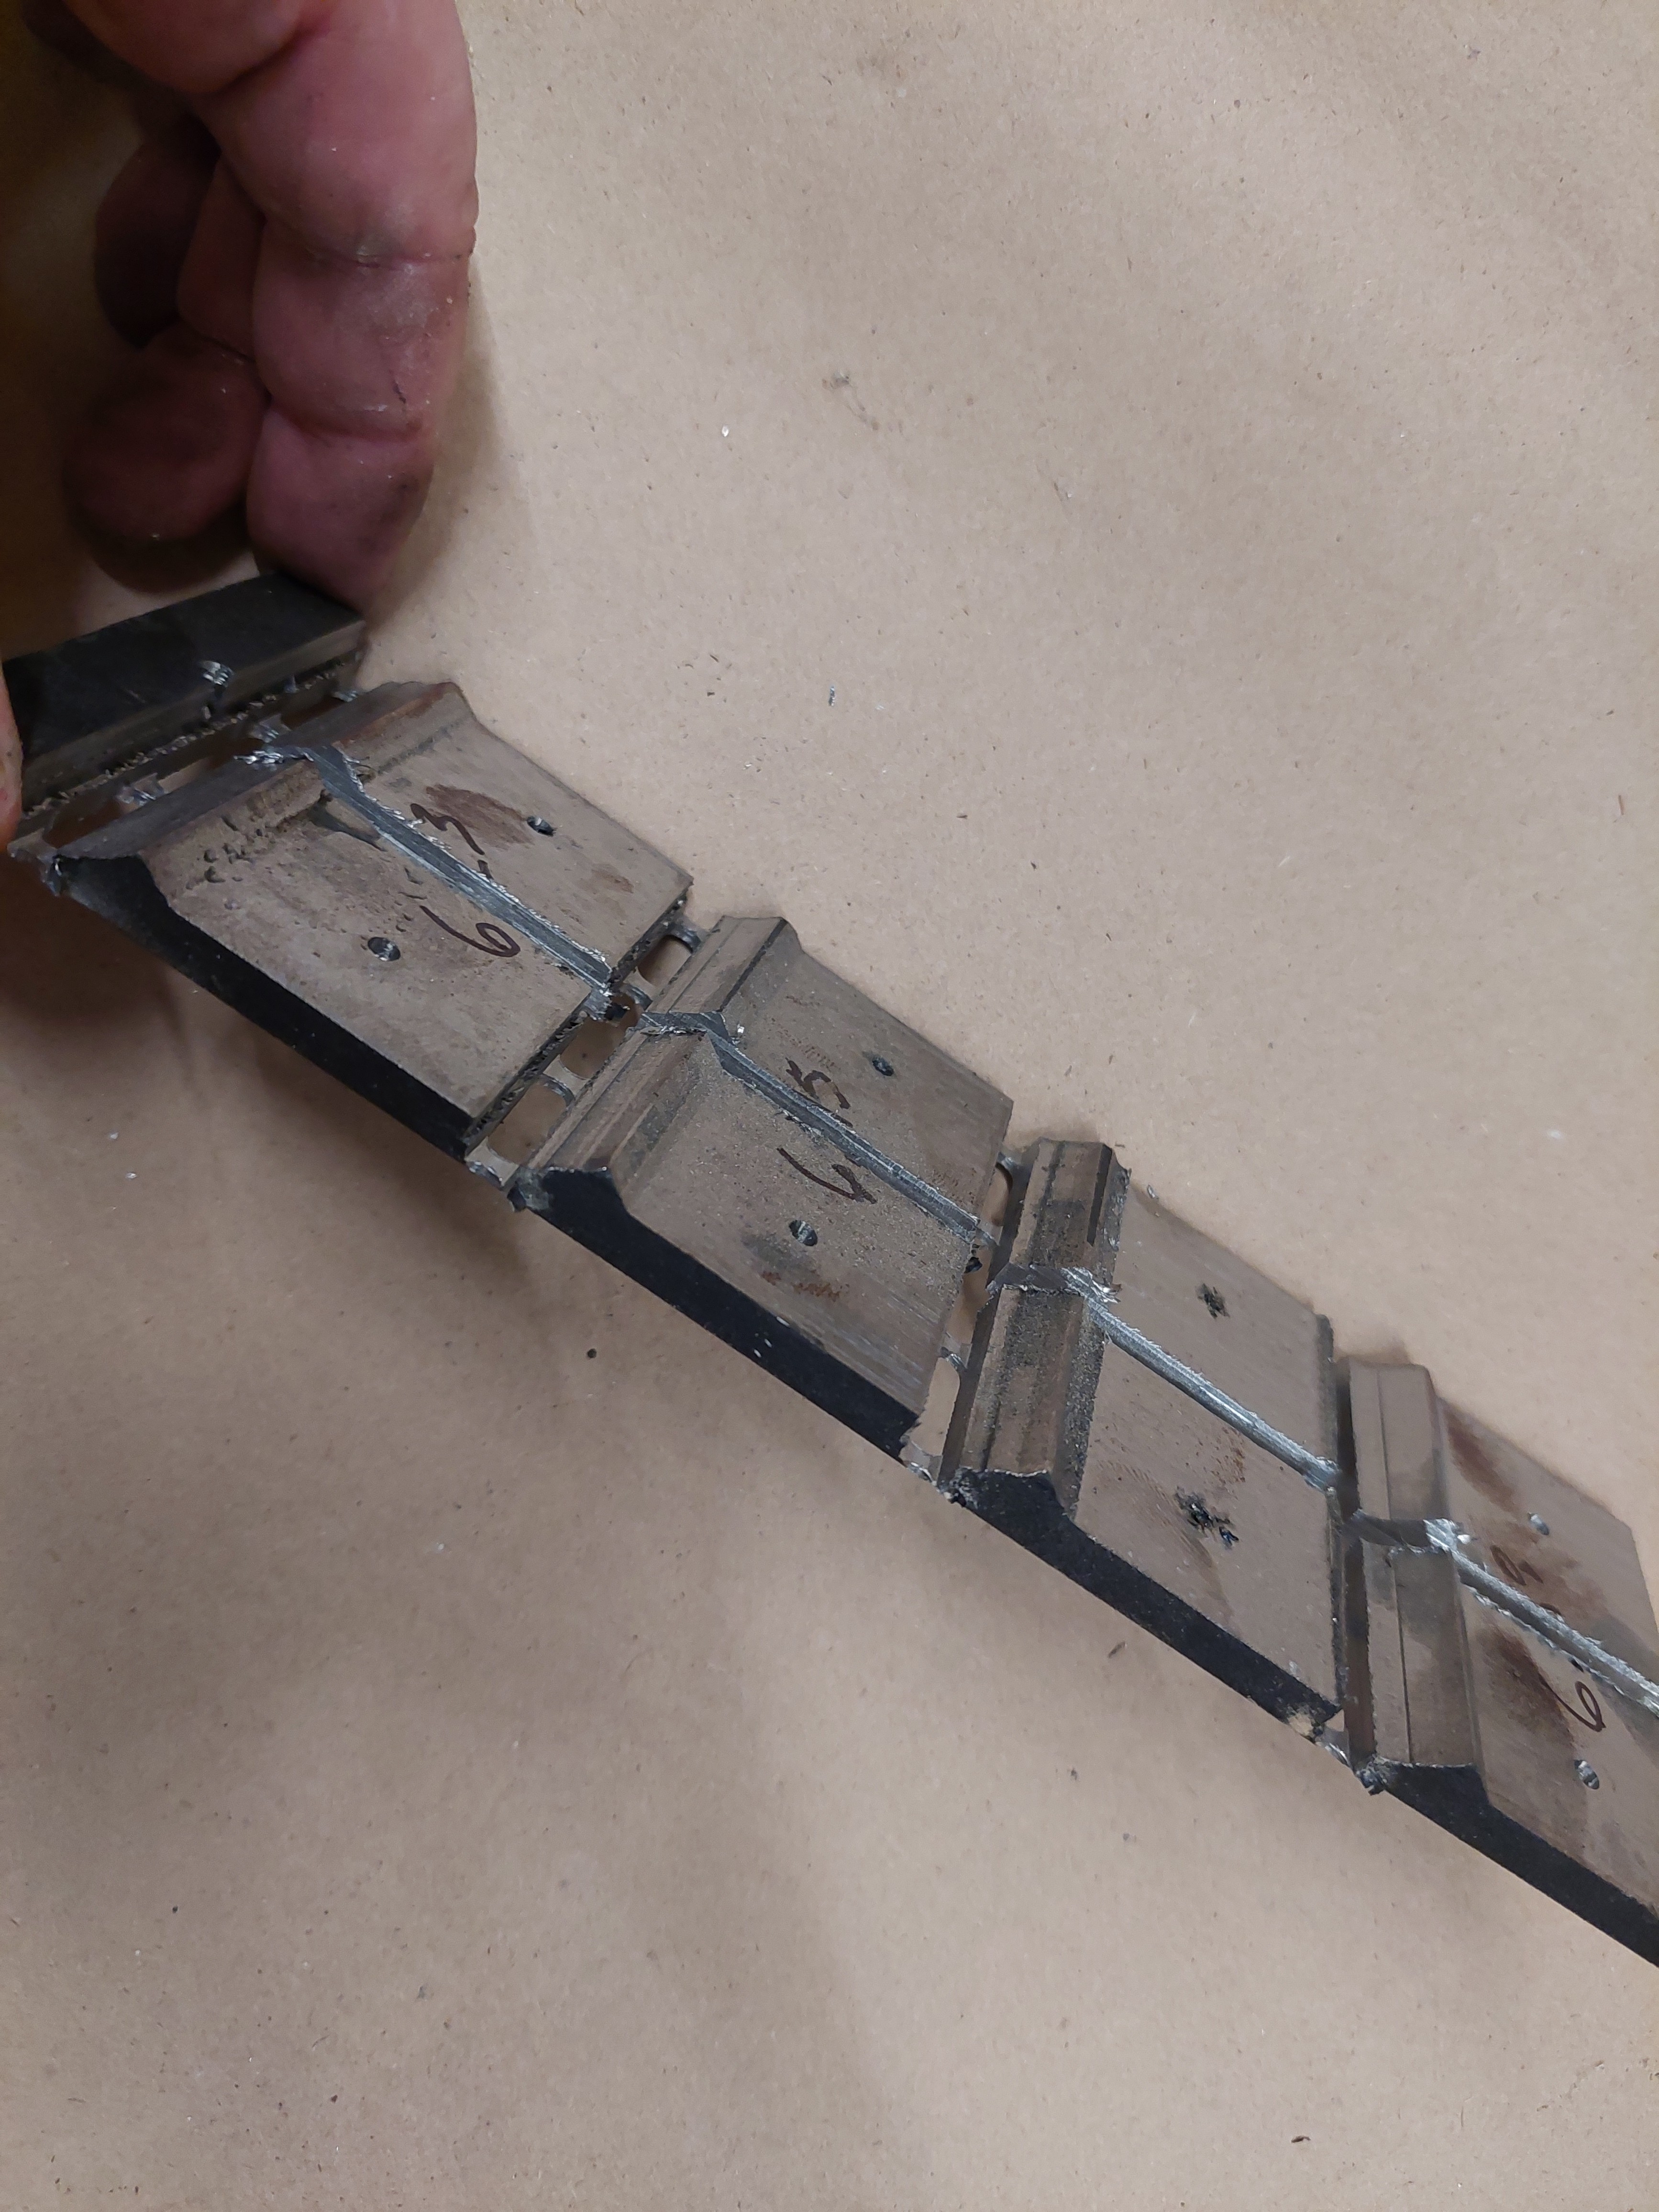
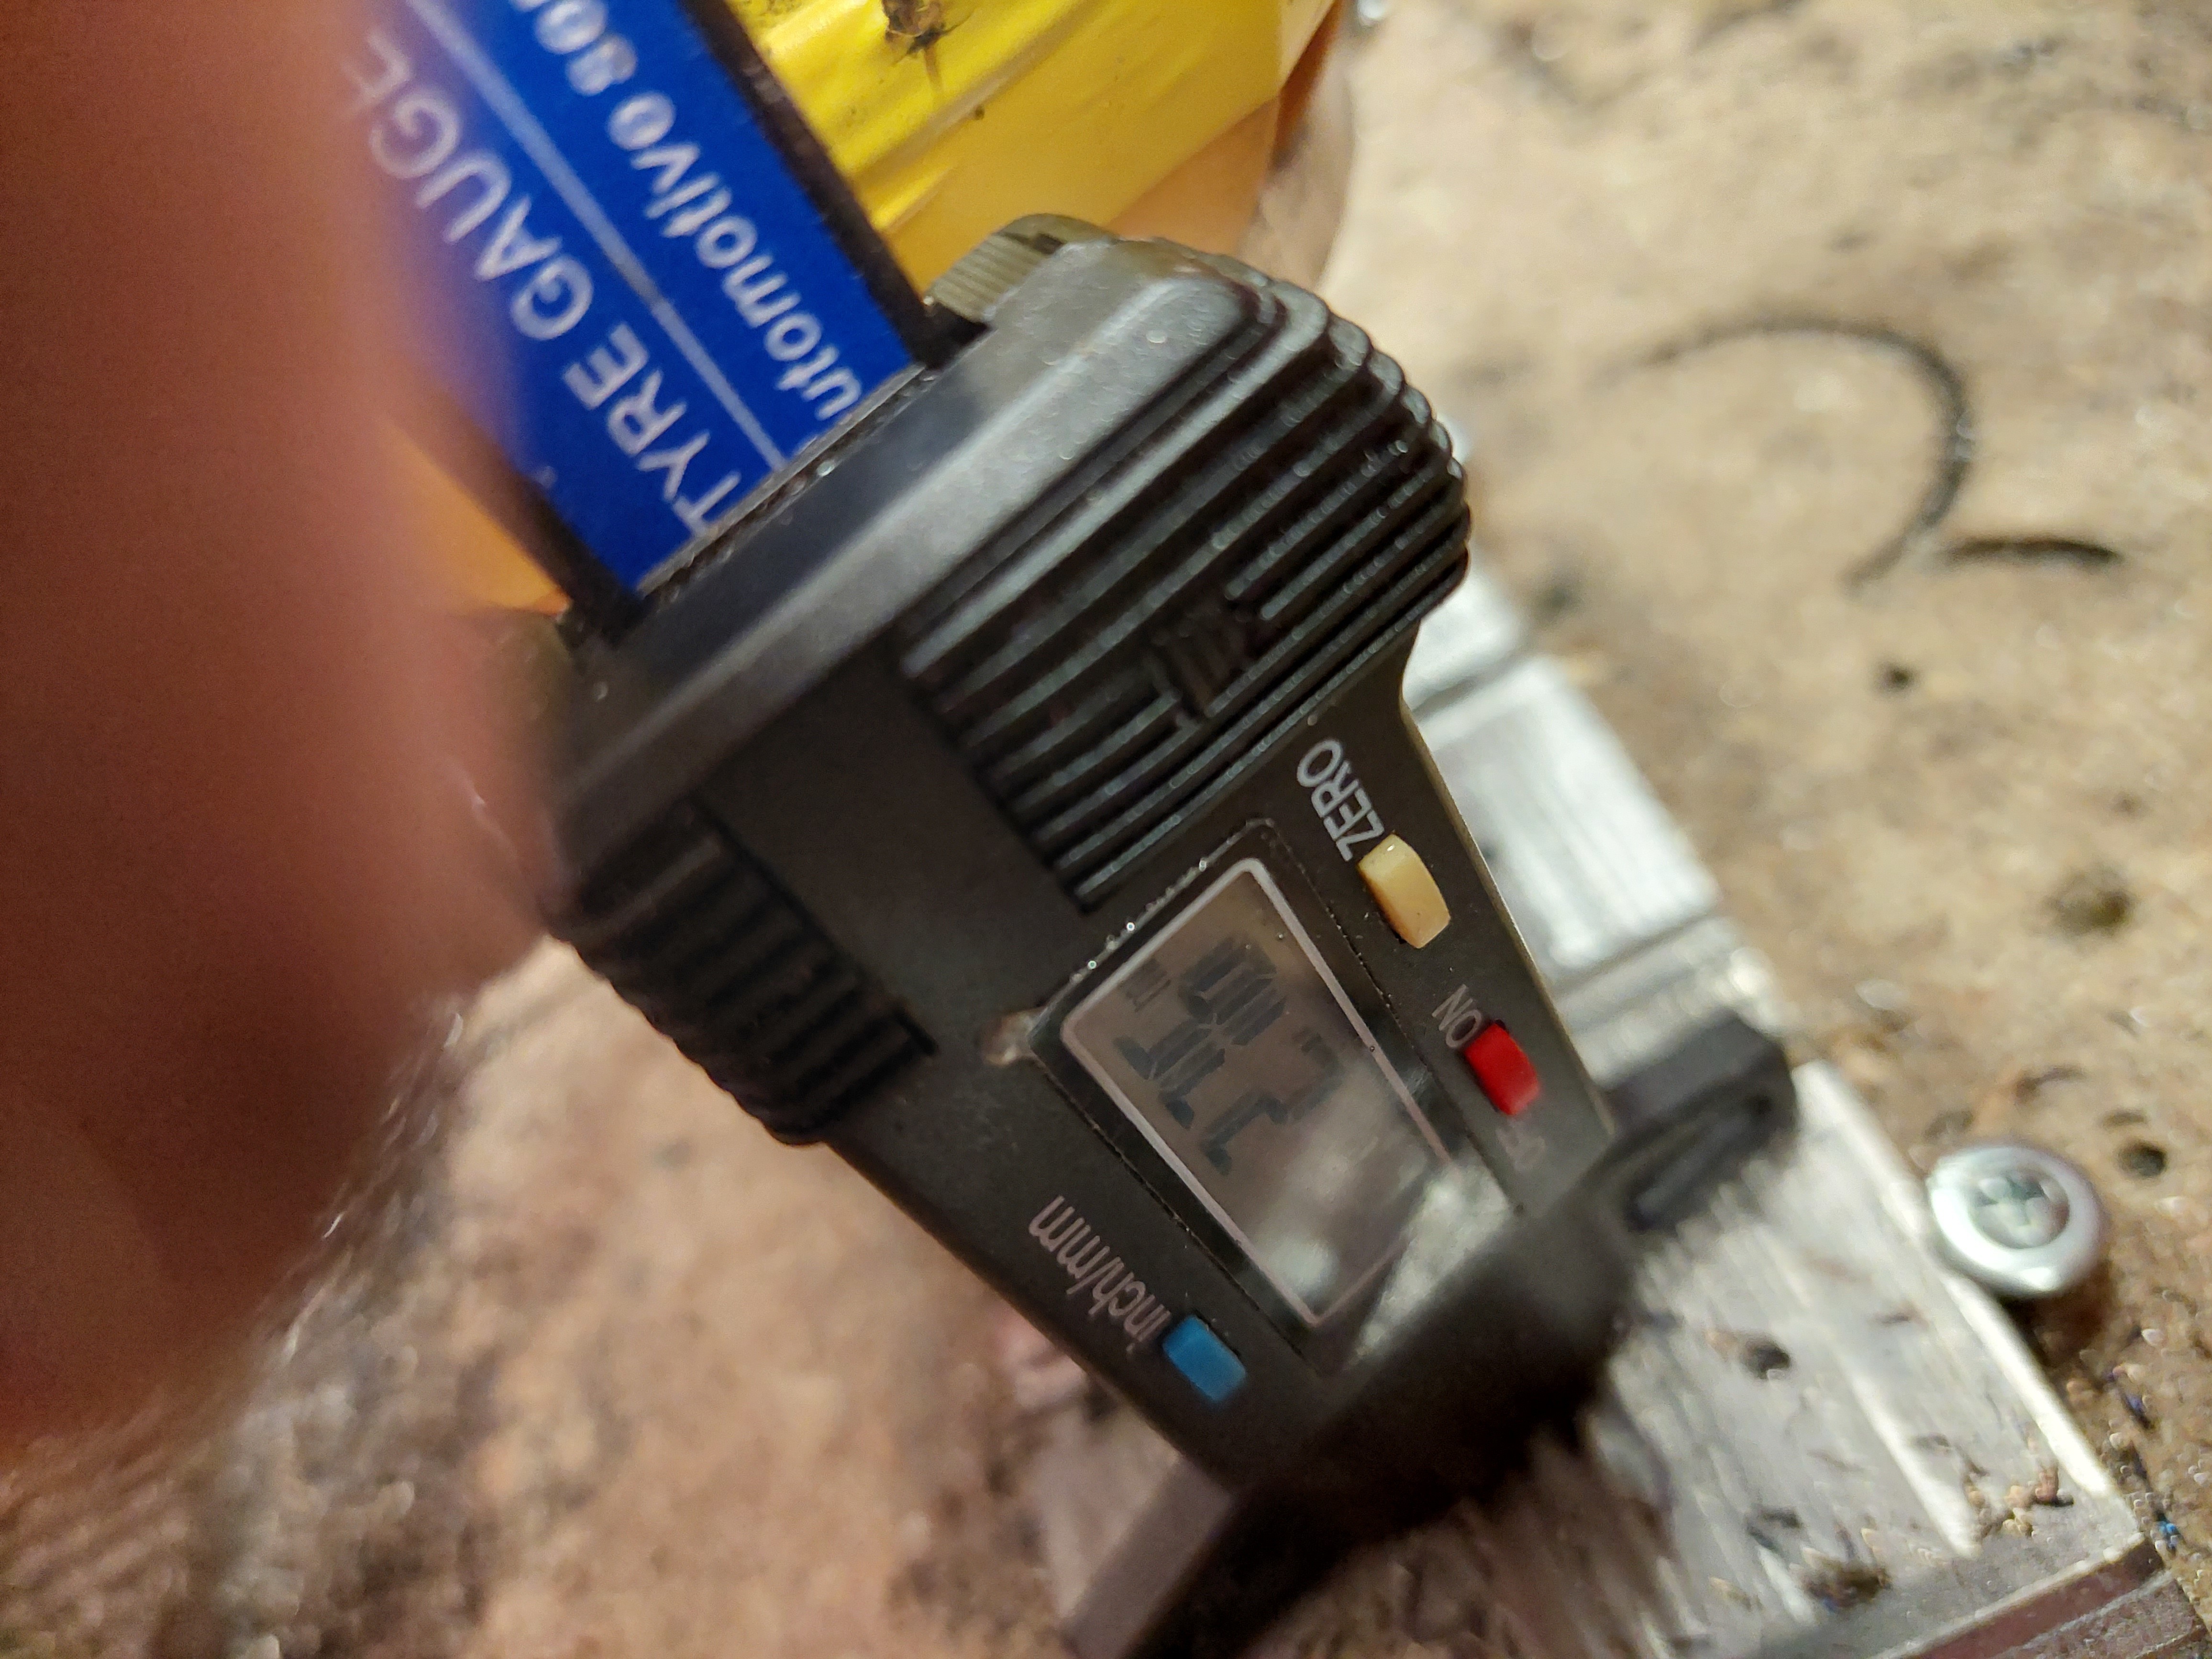
I finished up the steel project I had. There is a video of the final 2.5mm deep 3-pass trochoidal cut that breaks them apart. The depth gauge shows 2.75 but there was a little flash on top… It went really well even with a well used bit that already had >2hrs on it and this op took another 1.5 hours. Seems like I could go deeper, but I am going to wait until I am more confident. I did notice 1 bearing loosened on the core and I corrected it “on the fly”. This is end of steel for awhile, aluminum project next, but same principles apply. Honestly I am really more interested in optimizing my aluminum settings because steel is so slow, but I don’t have a Bridgeport sitting around so it is nice being able to cut steel when you need to. To give you reference, my initial cuts to prep the part took about 50min, each of the contour cuts took little over 2 hours each, I did them on 4 different nights, and the final cut out took another 1.5 hours. So I am not planning any repeat production.
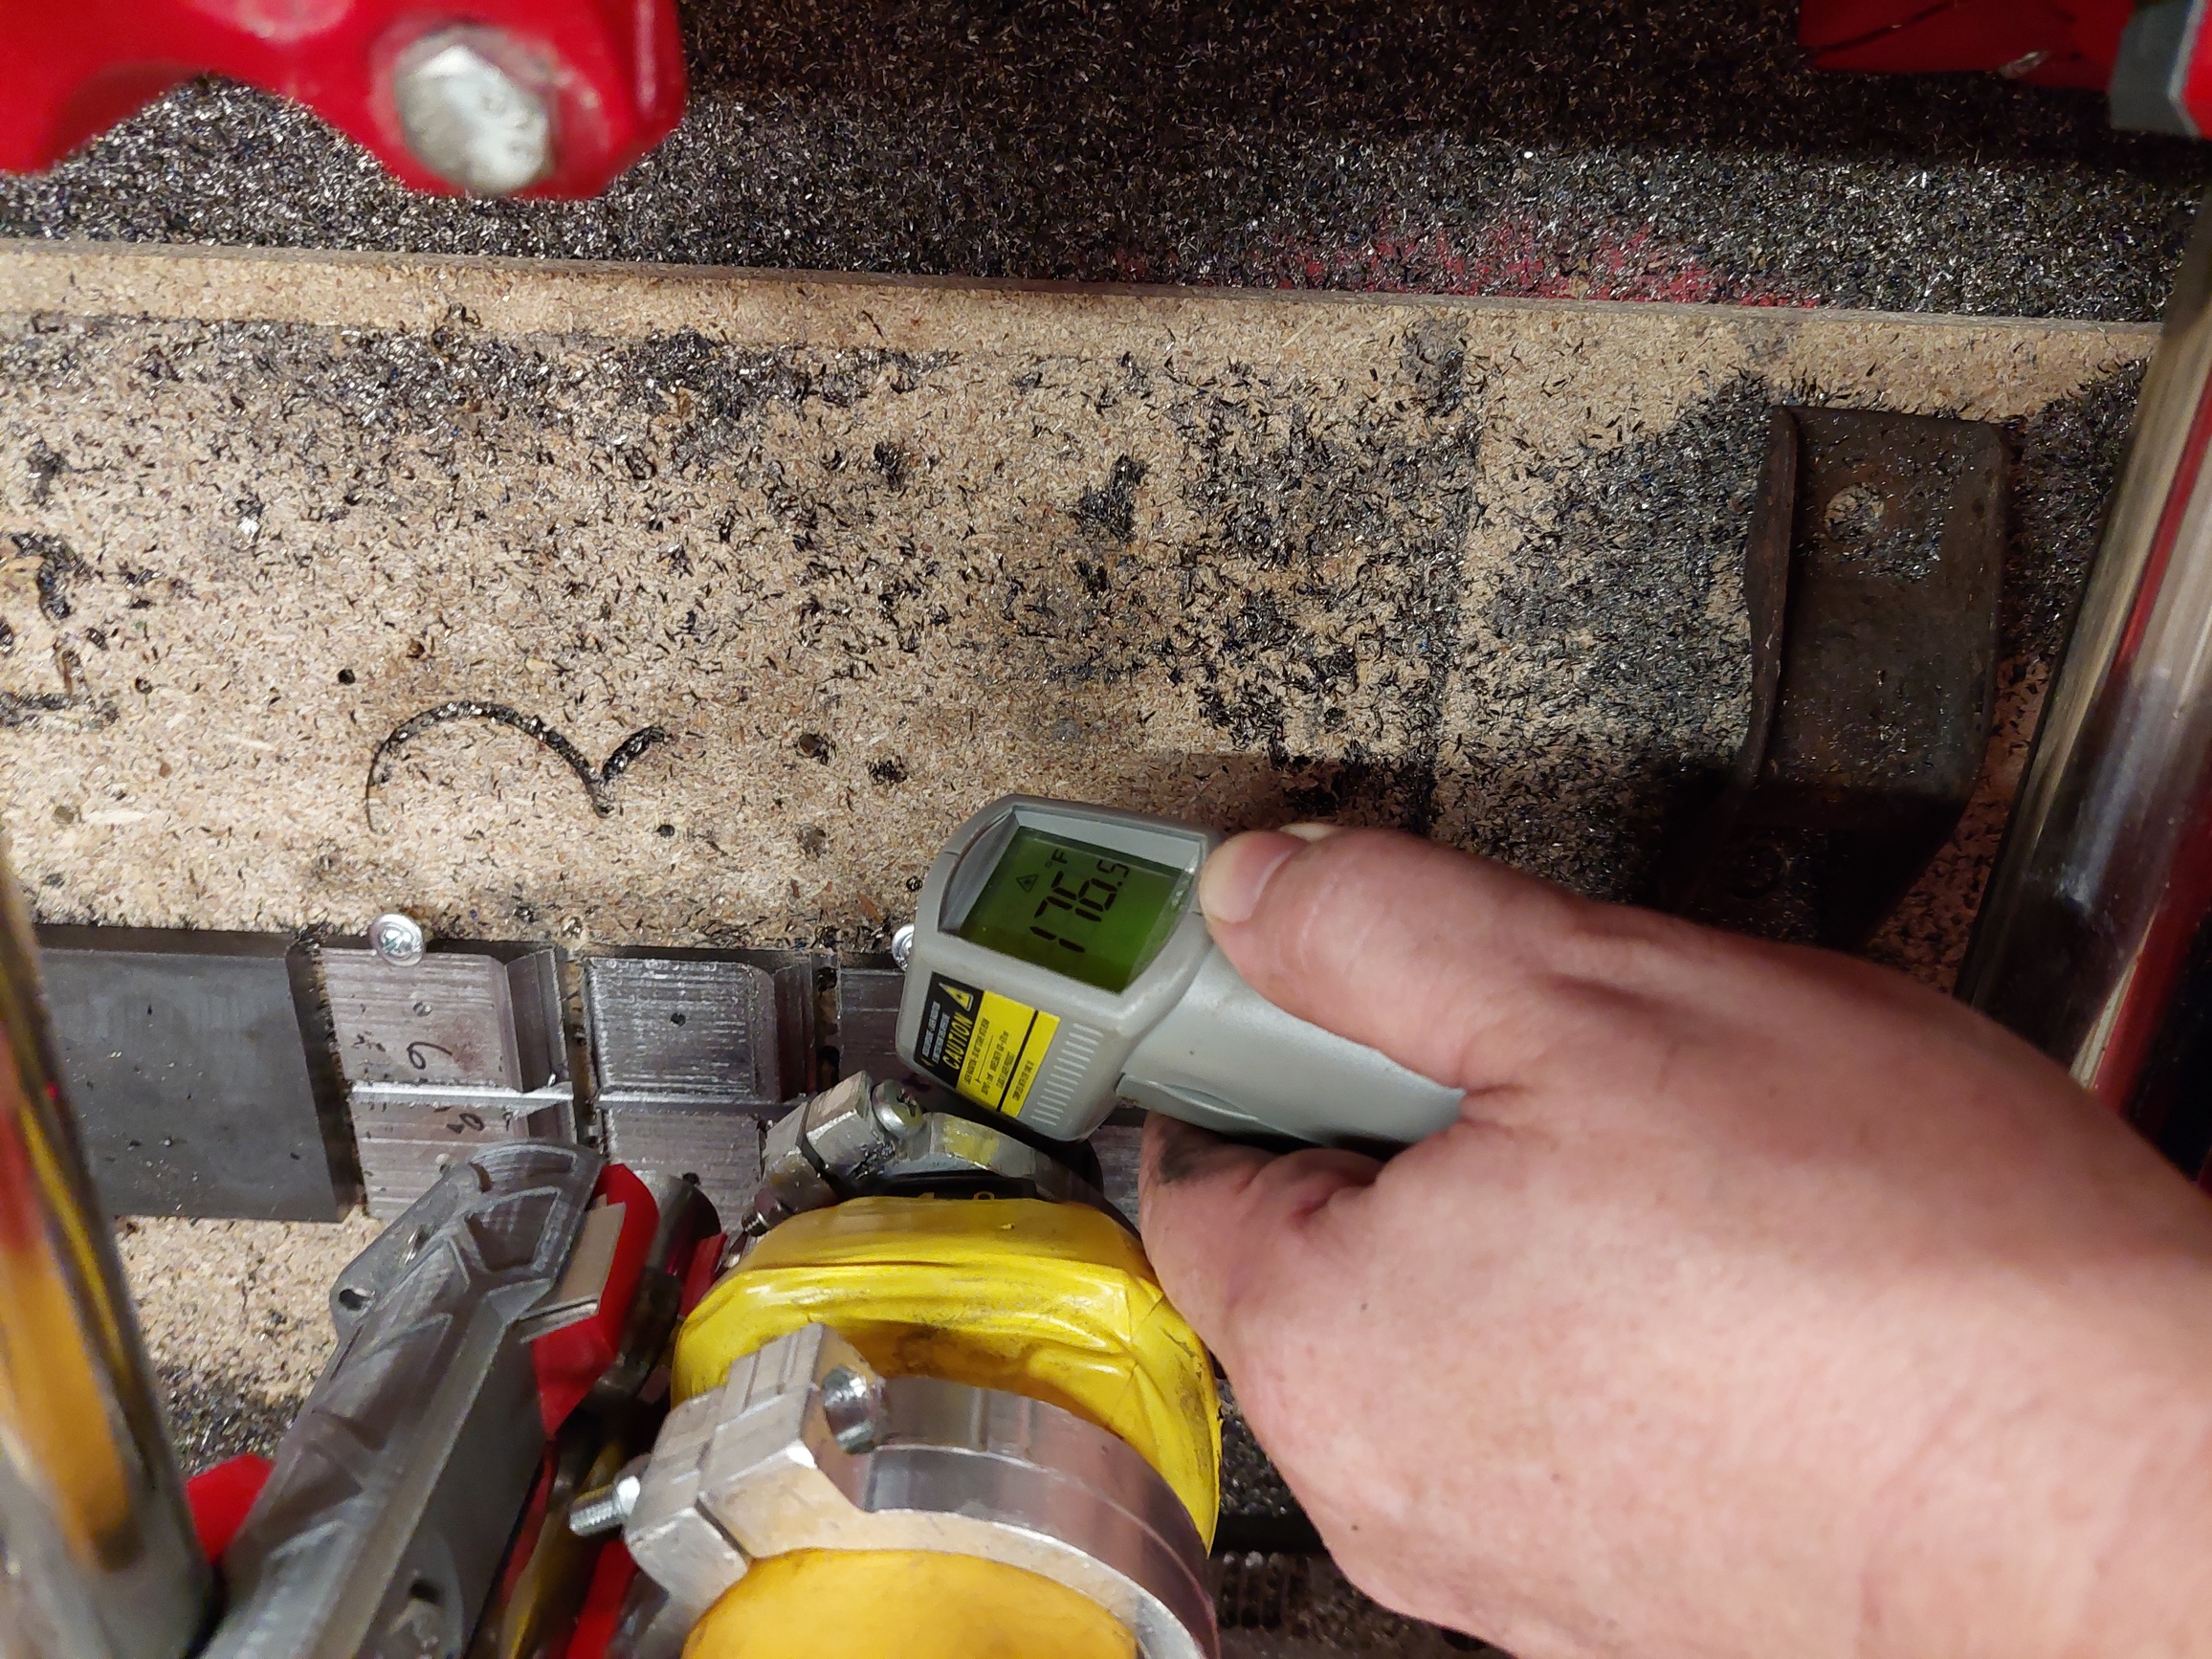
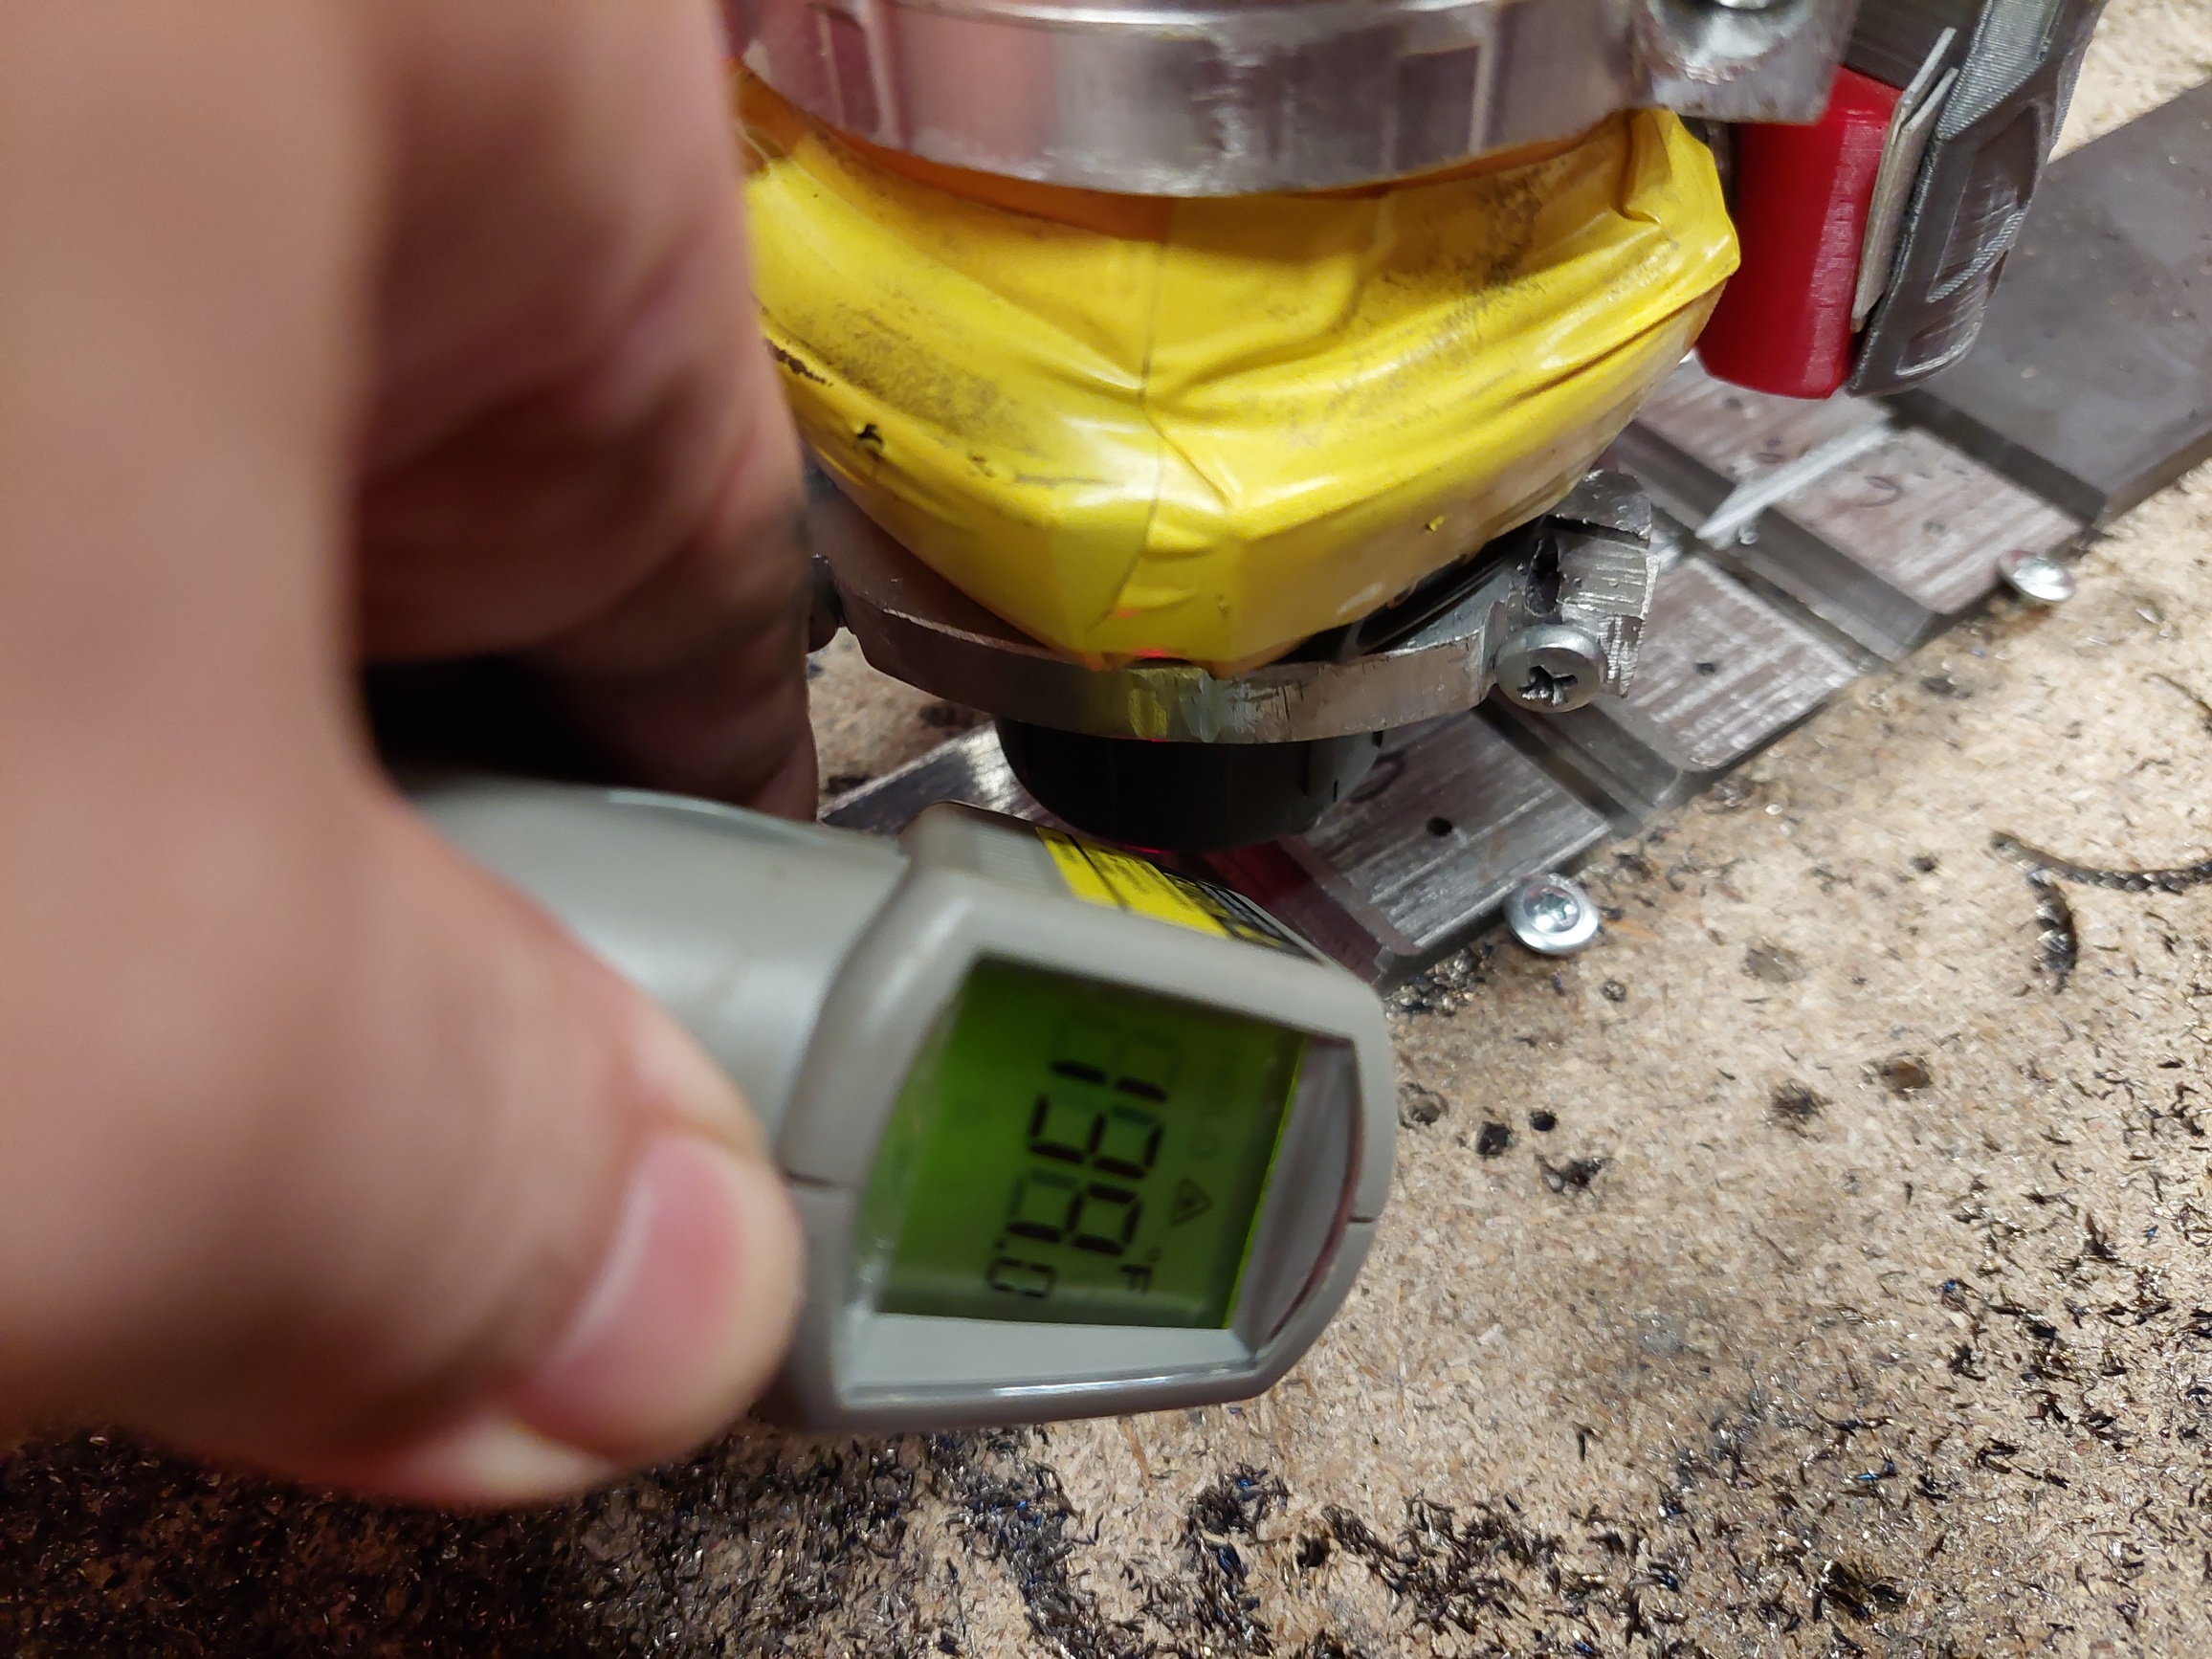
I took some temp measurements and was quite surprised. I couldn’t get a reading more than 145 deg F in roughly a 1" diameter circle around the bit. But about 1"away from the bit the temp jumped up to 180-190 range. Not sure why other than maybe the area around the bit is constantly air cooled but that cooling effect mostly only affects the surface?
Here are some pics of the final product along with the first pen drawing I did. Sorry I didn’t use the V1 logo Ryan. The parts turned almost perfect. I decided not to drill the mount holes but put a center mark there instead. Good thing because my programming was off. Easily fixed on the drill press.
Arrrrrhhh. See all that cool stuff and now I can’t make a simple 2mm cut in aluminum. I tightened everything up and added some strategic lock-tite but it appears I dulled my bits cutting the steel. Just ordered a new set of 10.
As I mentioned in previous post, bit overheating, dulling, and machine stiffness all compete with each other. So when I was cutting the steel and the cut quality began to decrease, I stopped, removed the bit and replaced and decreased the load in the programming if I was not sure what was causing the problem. You can’t always see if you have excess flex in the machine. I segregate the used bits just in case I did not damage them to try again later. So one of the bits I pulled out of the stack ran all the steel stuff in my last post and in the video. So I used the same bit in aluminum and after 30 min it was toast. So I stopped, tightened everything, and began cycling through all my remaining bits with no success. They were all toast.
Lesson learned #23, when cutting steel, and all is not right and true and copesetic in the cosmic universe, it will destroy a bit in less than 15 seconds. All of this is same for aluminum just on a slower clock.