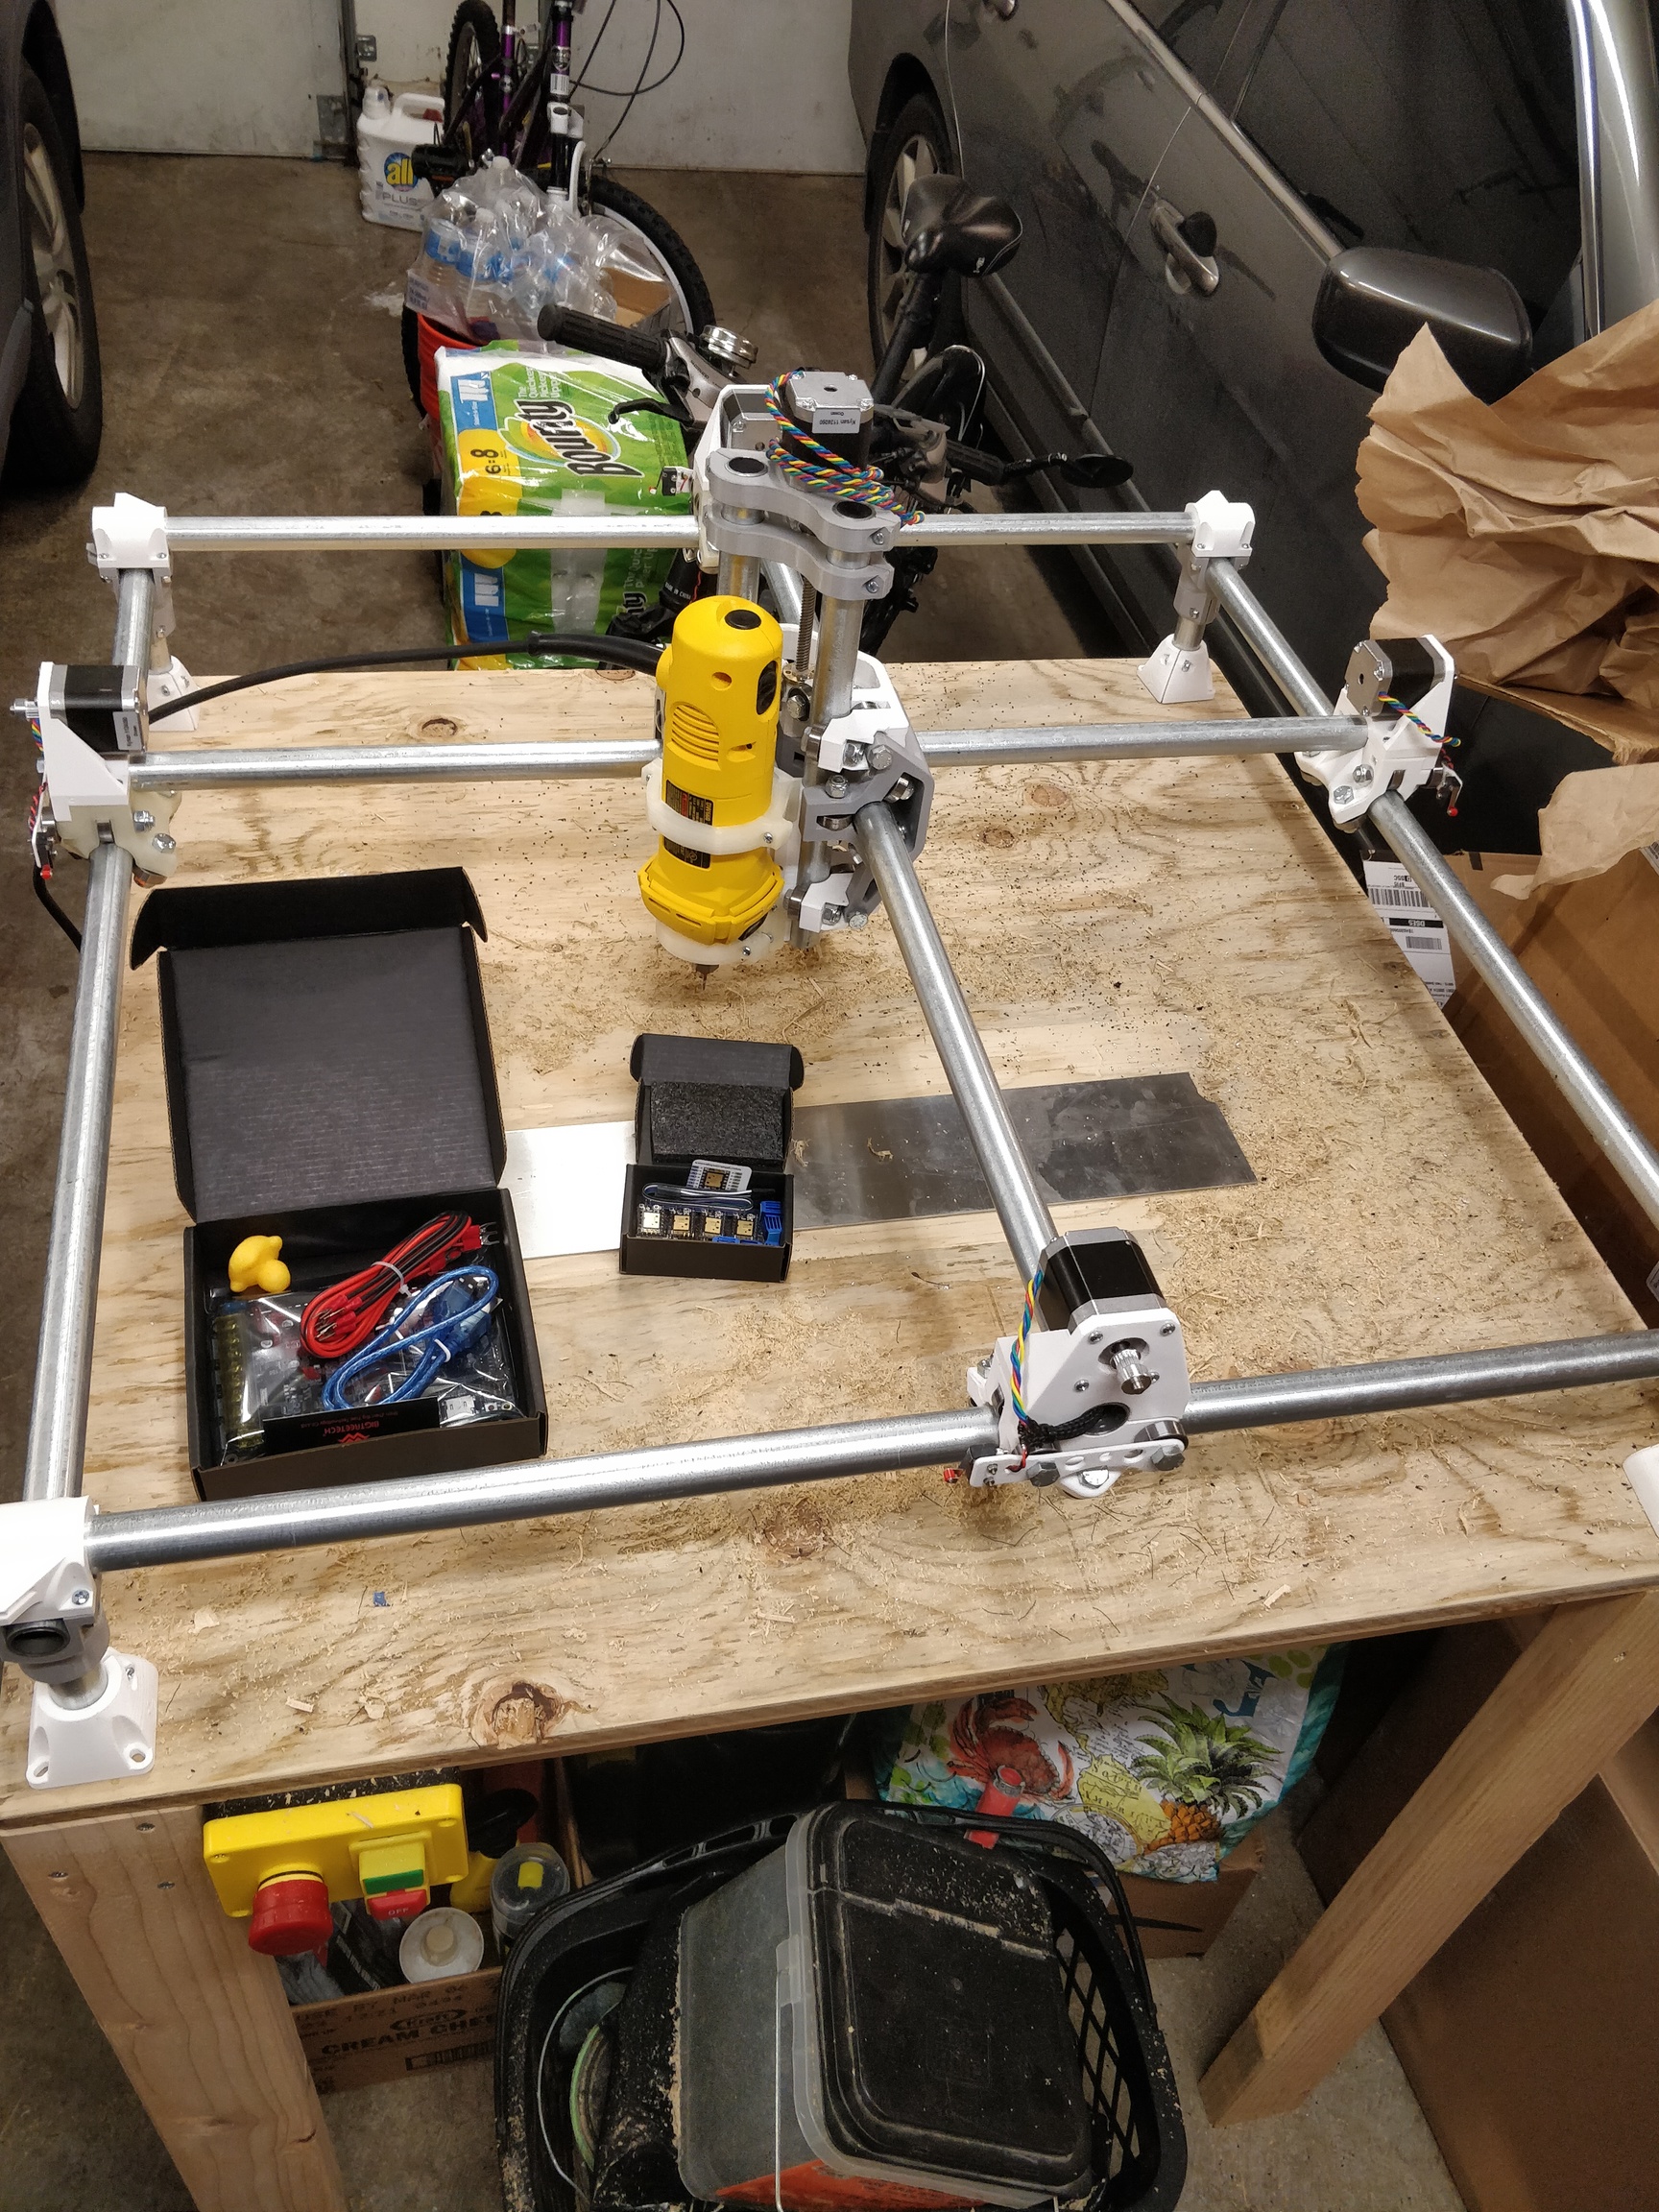
My control board and stepper drivers finally arrived!! Time to wire everything and test it.
3 Likes
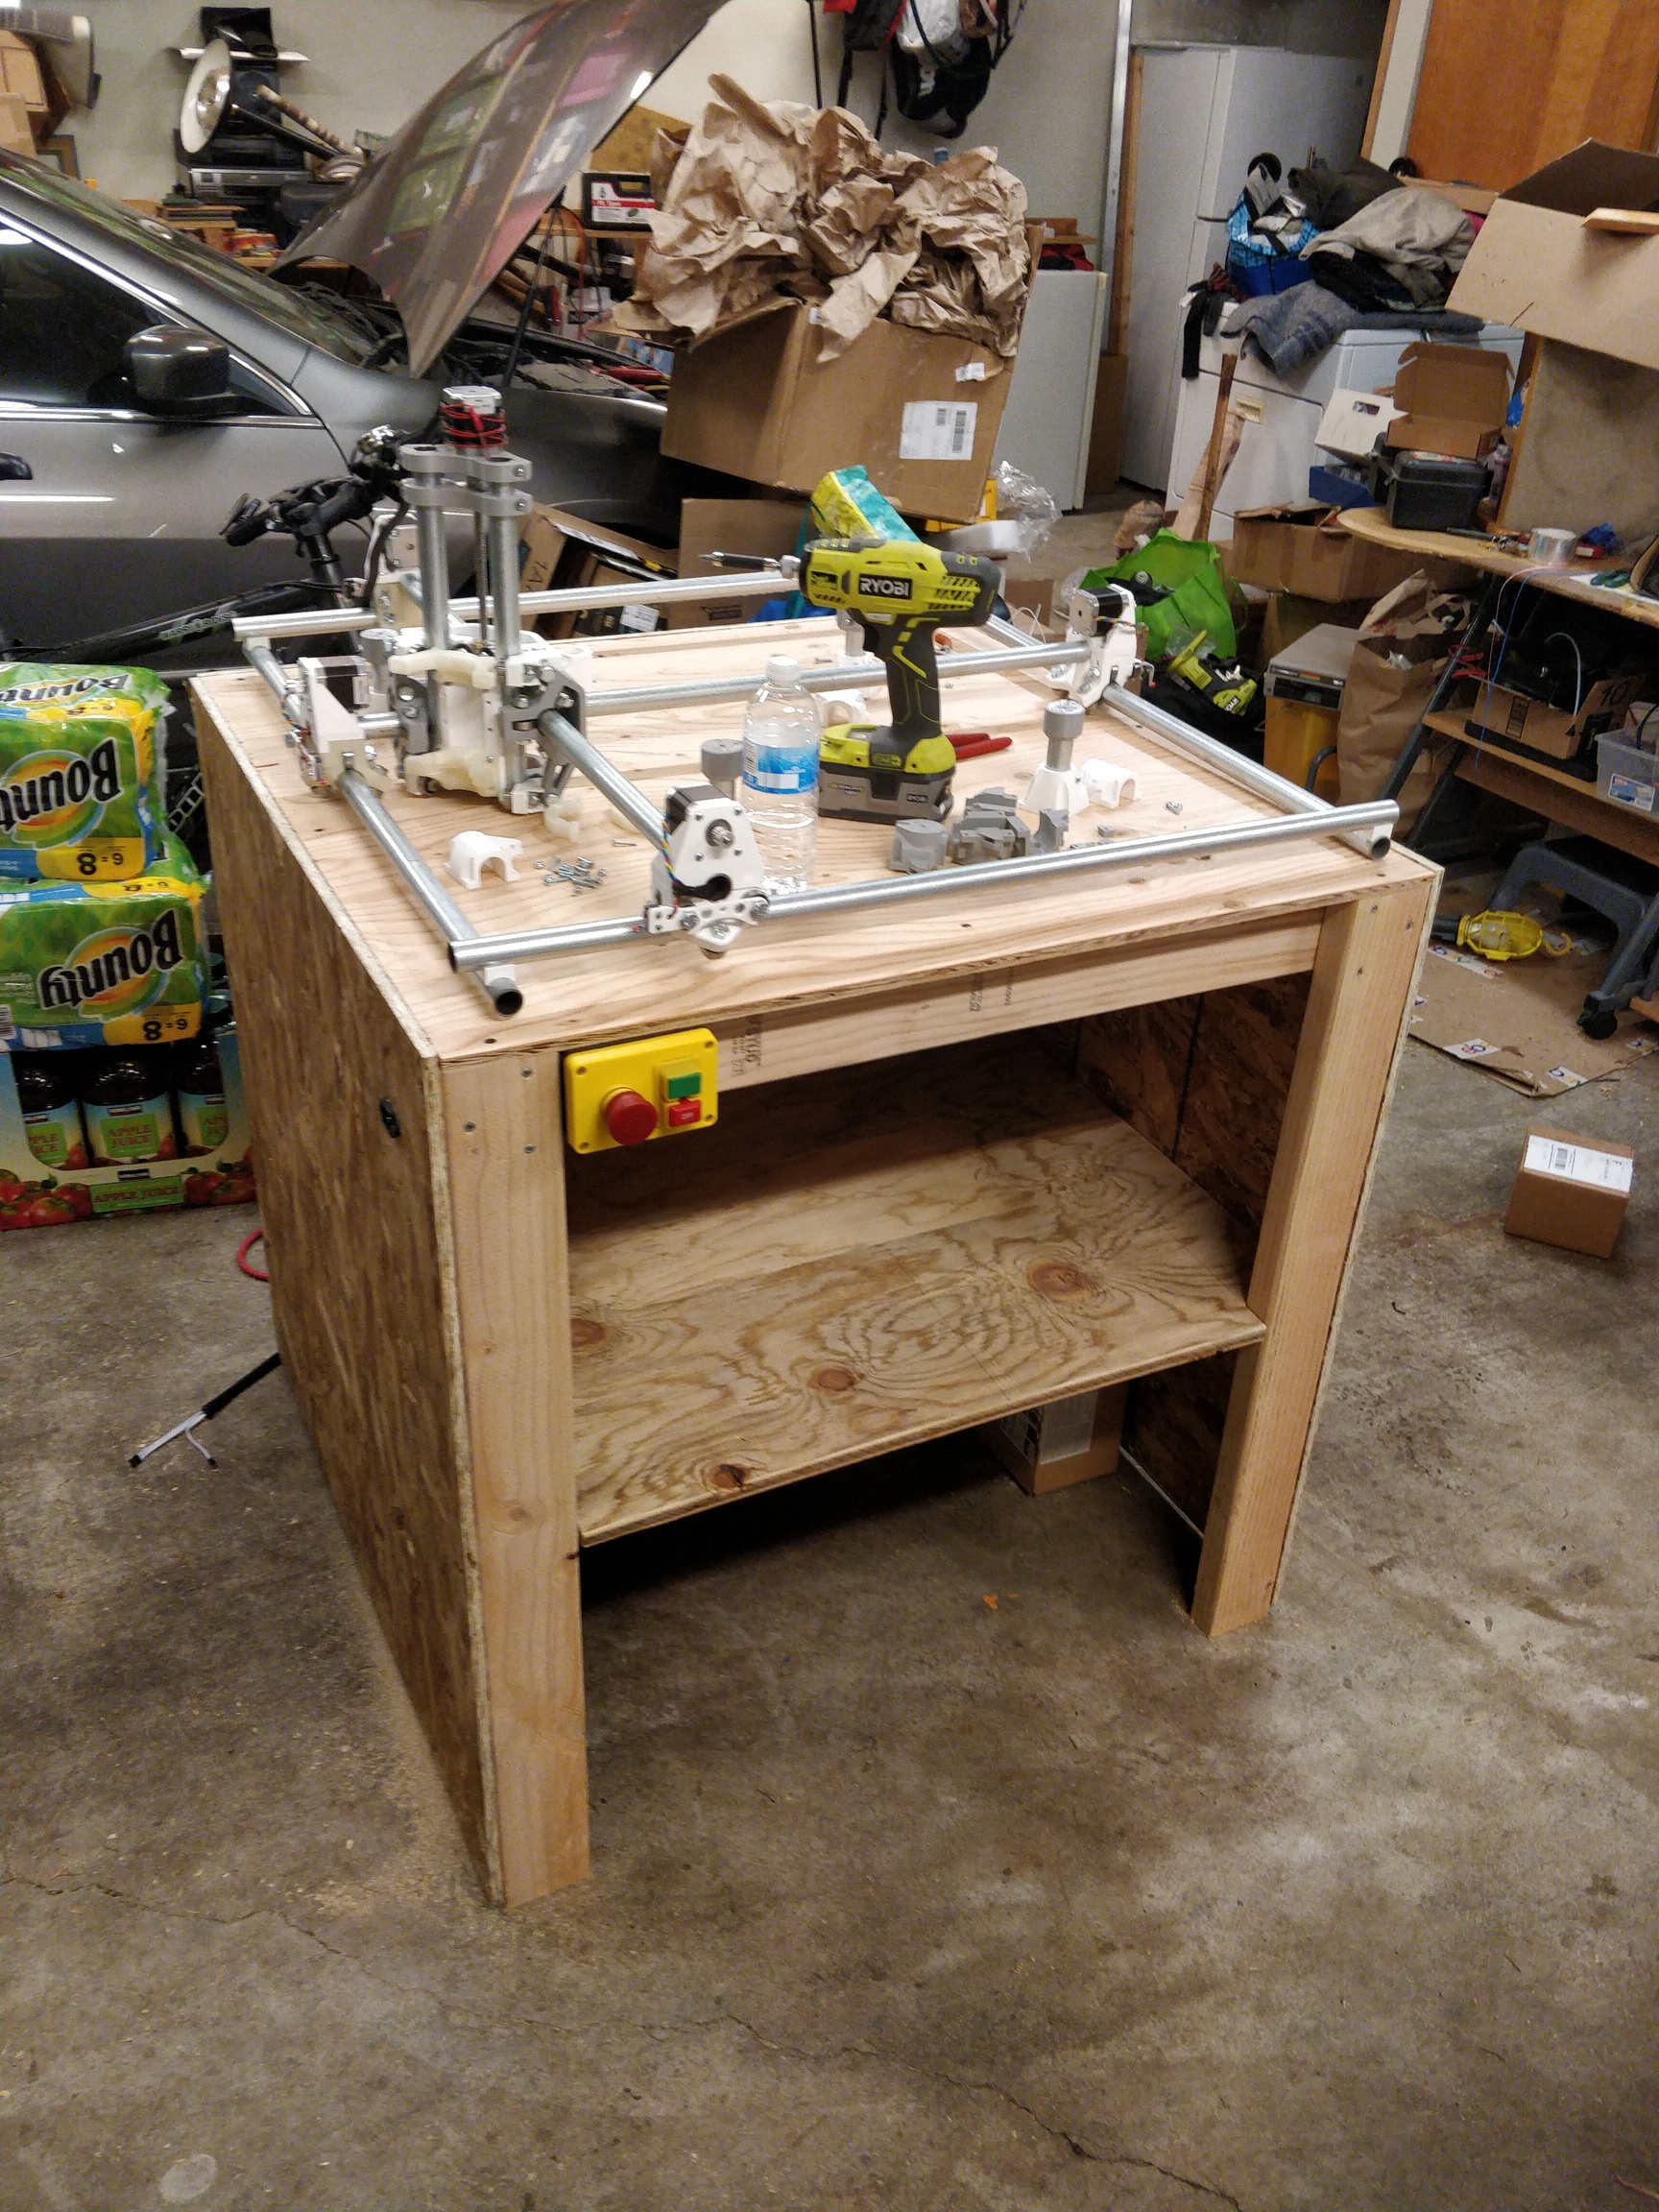
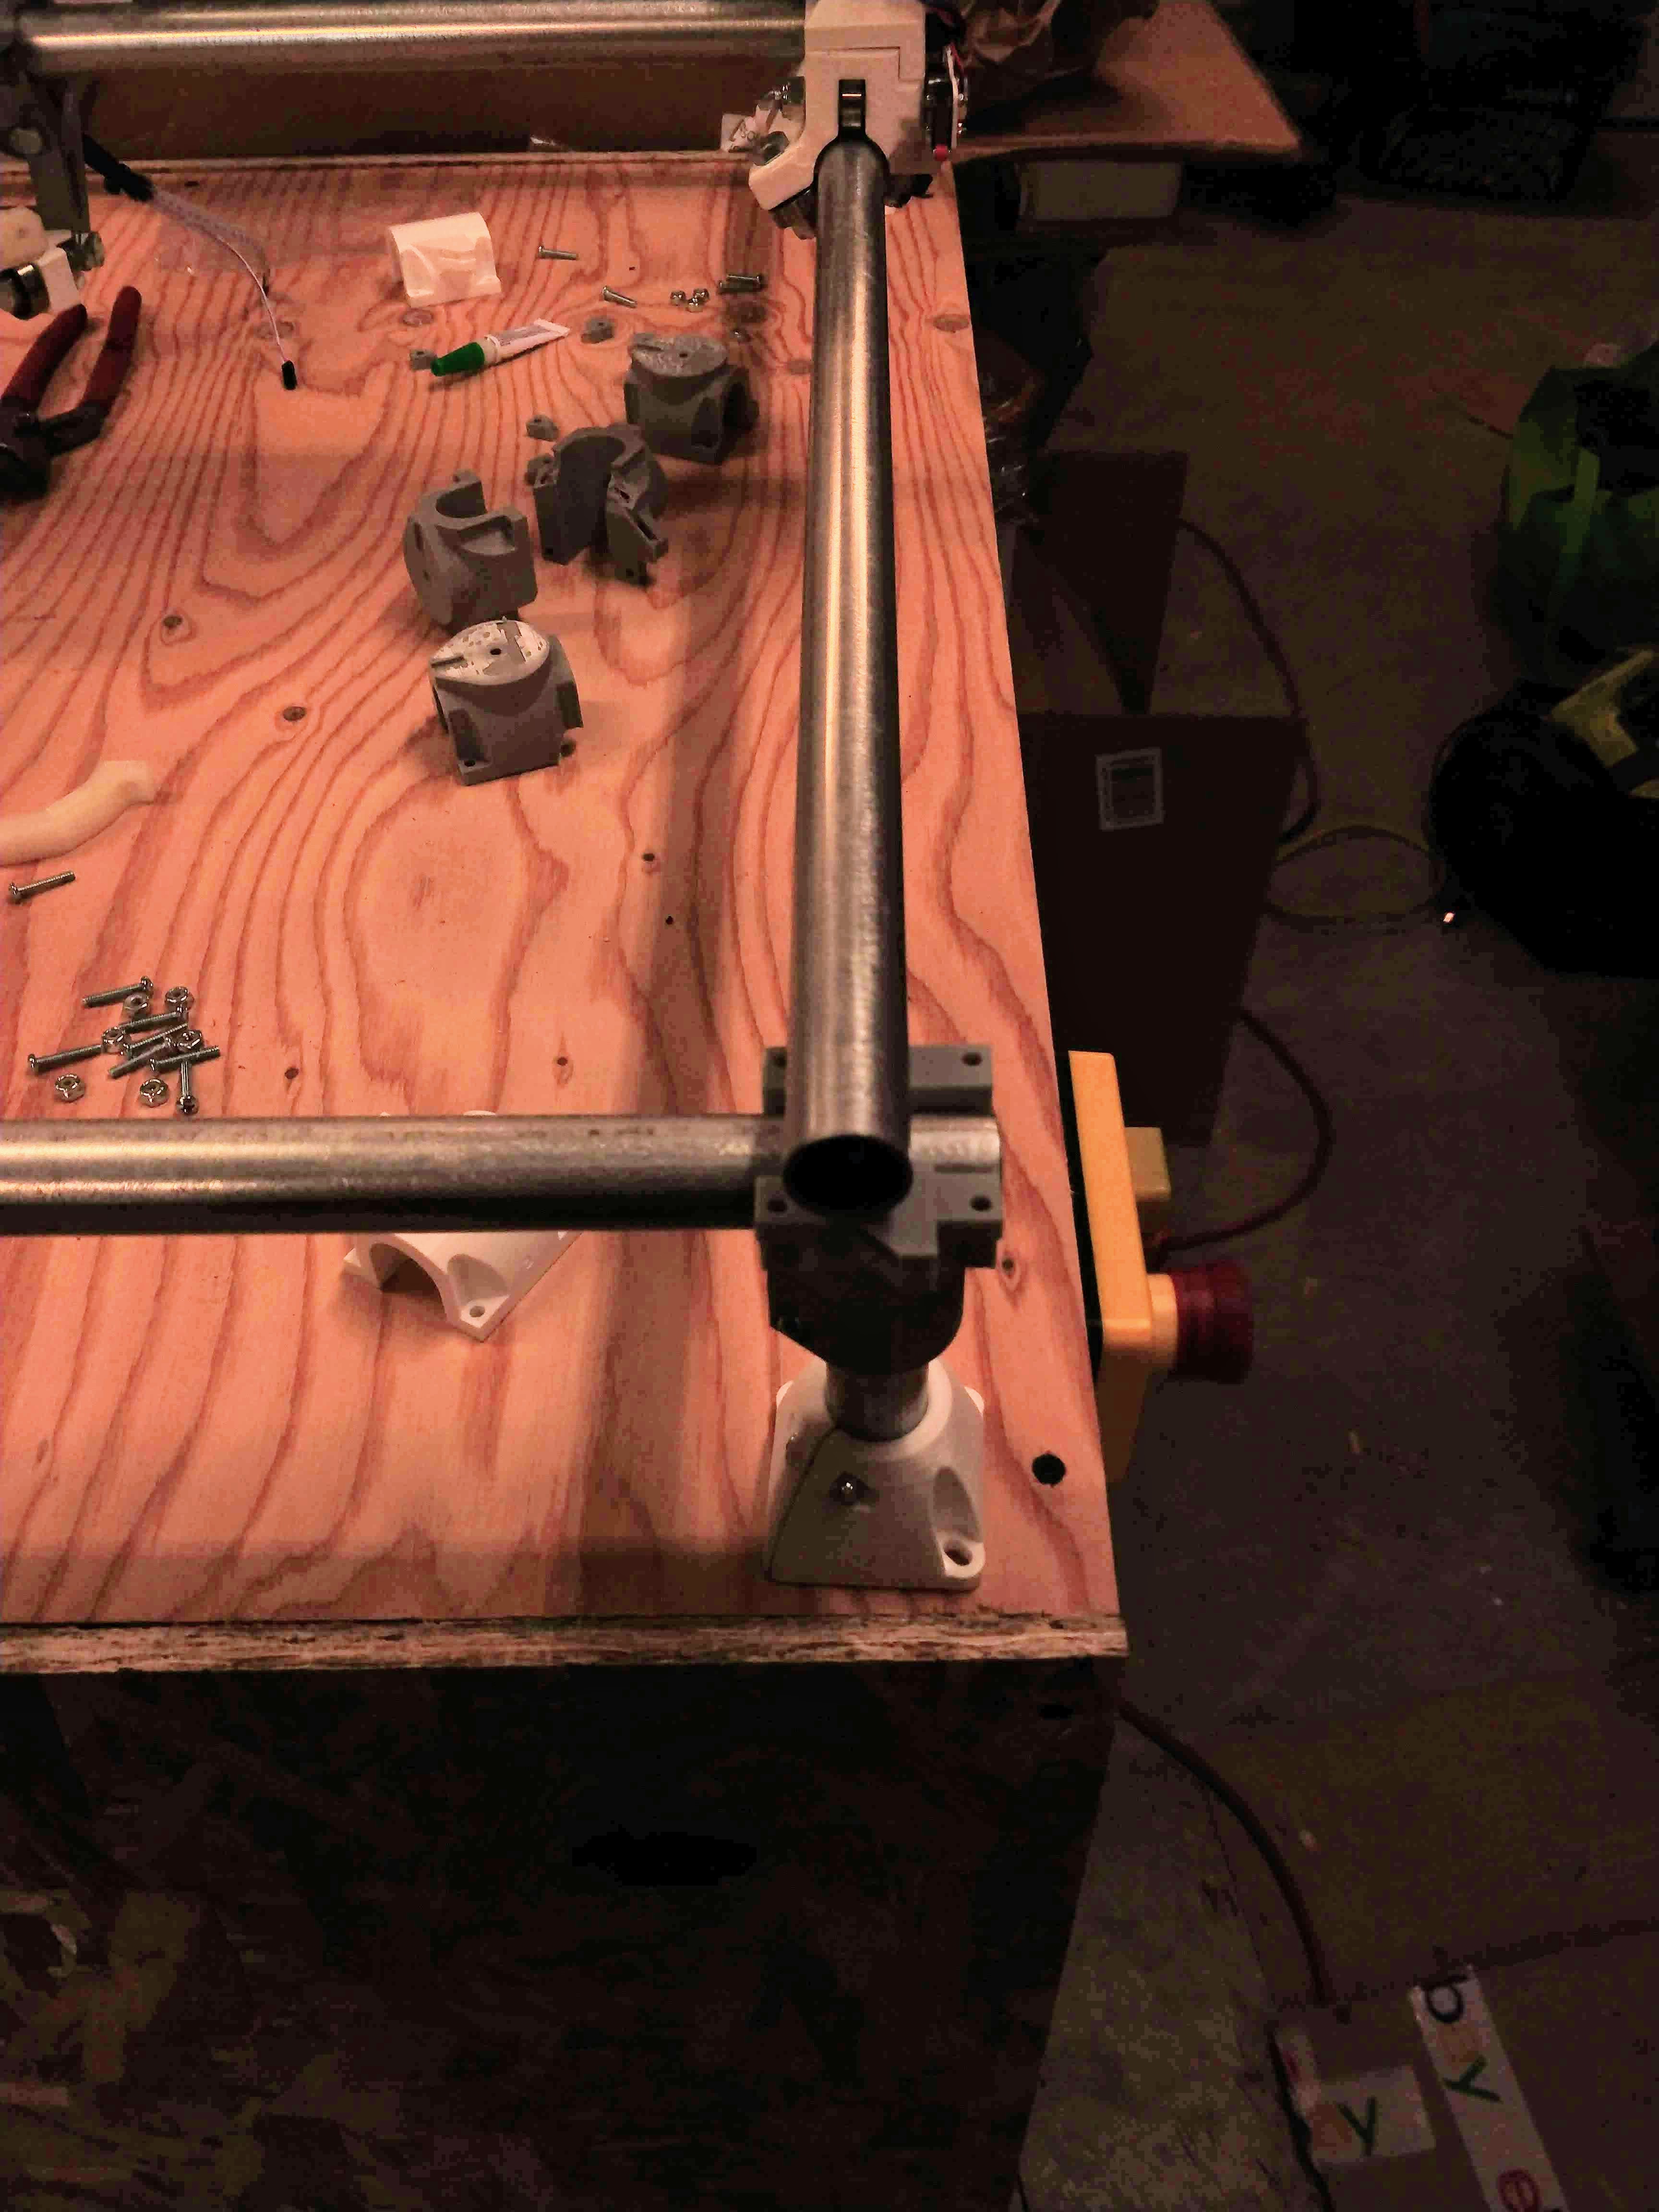
Built the new table!

There’s a problem though: when I put the MPCNC back on the table, I noticed that several parts had cracked and the beams were loose.
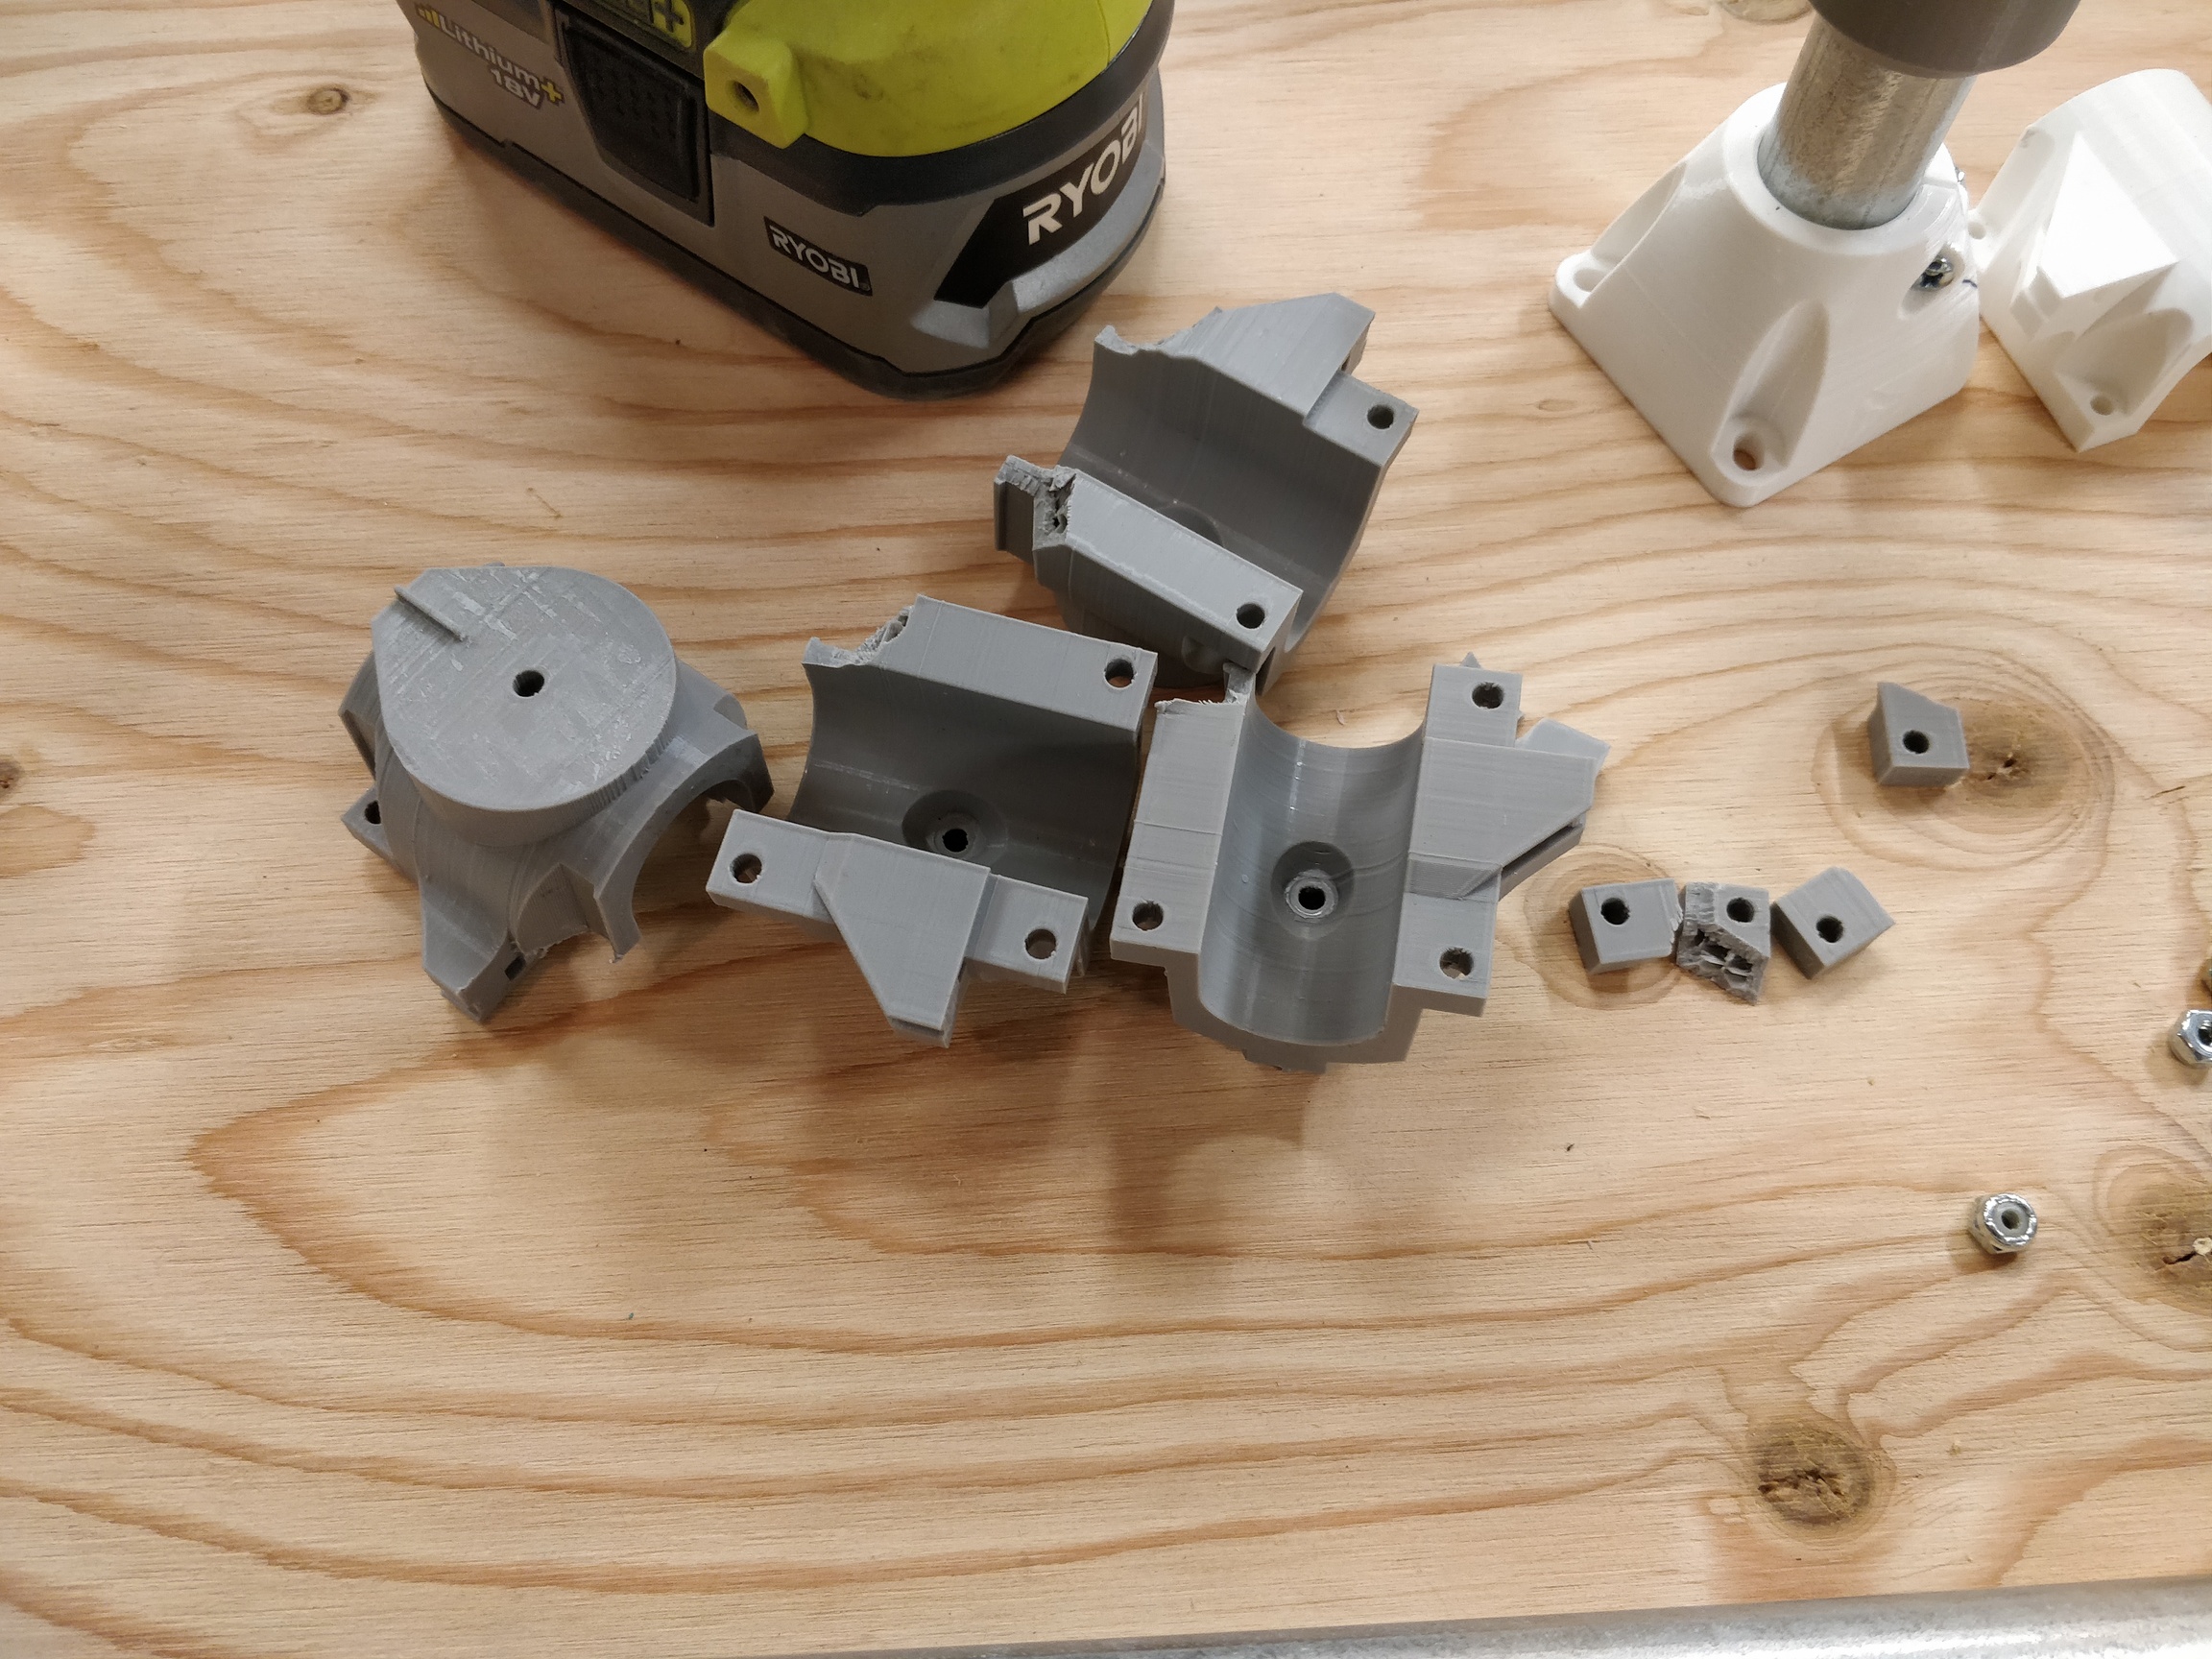
Removed them and will reprint tomorrow.
4 Likes
Use enough perimeters and infill for printing and do not overtighten the screws!!
Mine broke as well as I thought ok a bit more won’t harm but then they broke.
Just snug fit so the pipes won’t rotate or move.
2 Likes
Yes, there are supposed to be gaps between the tops and bottoms of the corner pieces. They are “just” clamps on the top and bottom of the tube. If you try to really get them tightened down, you end up with, well, what you have there. Really, just barely tight enough to hold the rails in place. Not “until you can’t twist the rail with a monkey wrench, then another 1/2 turn”, just until you can’t grab it firmly and twist it around, then stop. Not another 1/2 turn, not another 1/4 turn. Just stop. You’re good. Really. Unless you really, really like waiting for another piece to print out (or worse, waiting for more filament to arrive).
Same goes for the roller/roller mount connections…
1 Like
I was definitely using enough perimeters. The cross-section of the break was near-solid plastic.
This is an overtightening issue.
The pipes were rotating by hand even after tightening them this much. Yes, I’m using the right size.
That won’t matter a little movement rotating is ok but they can’t rattle and they won’t
1 Like
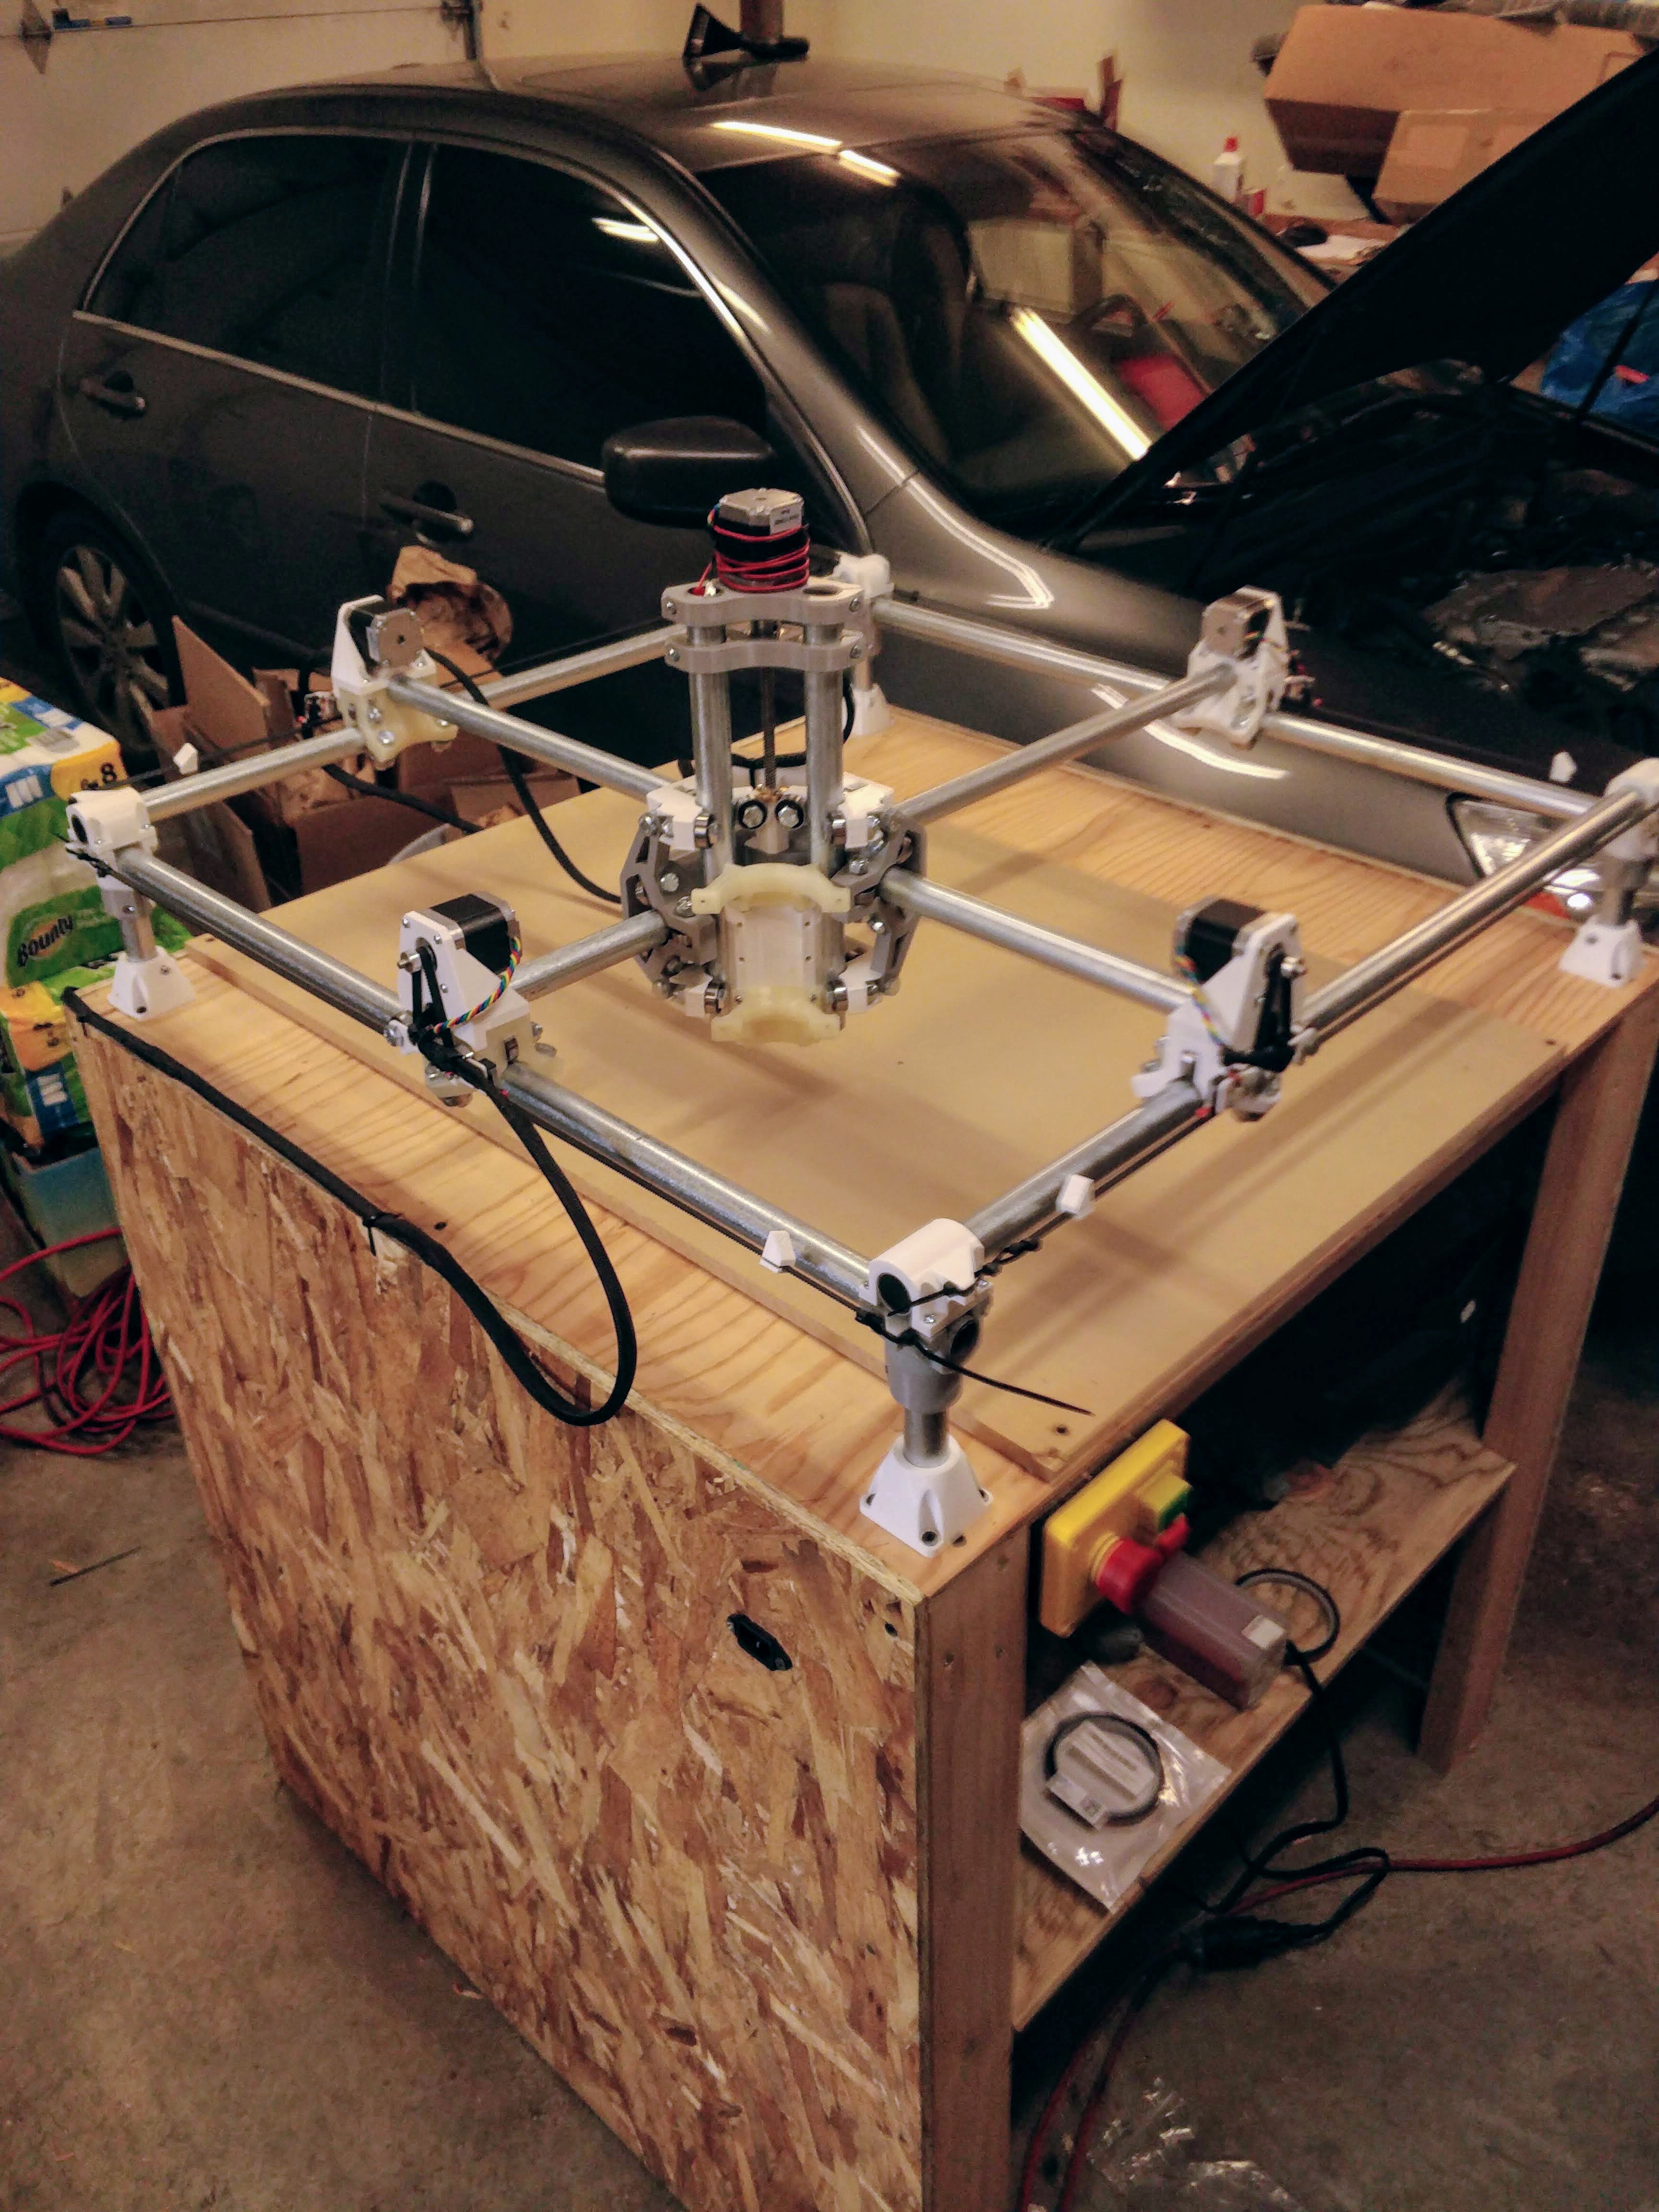
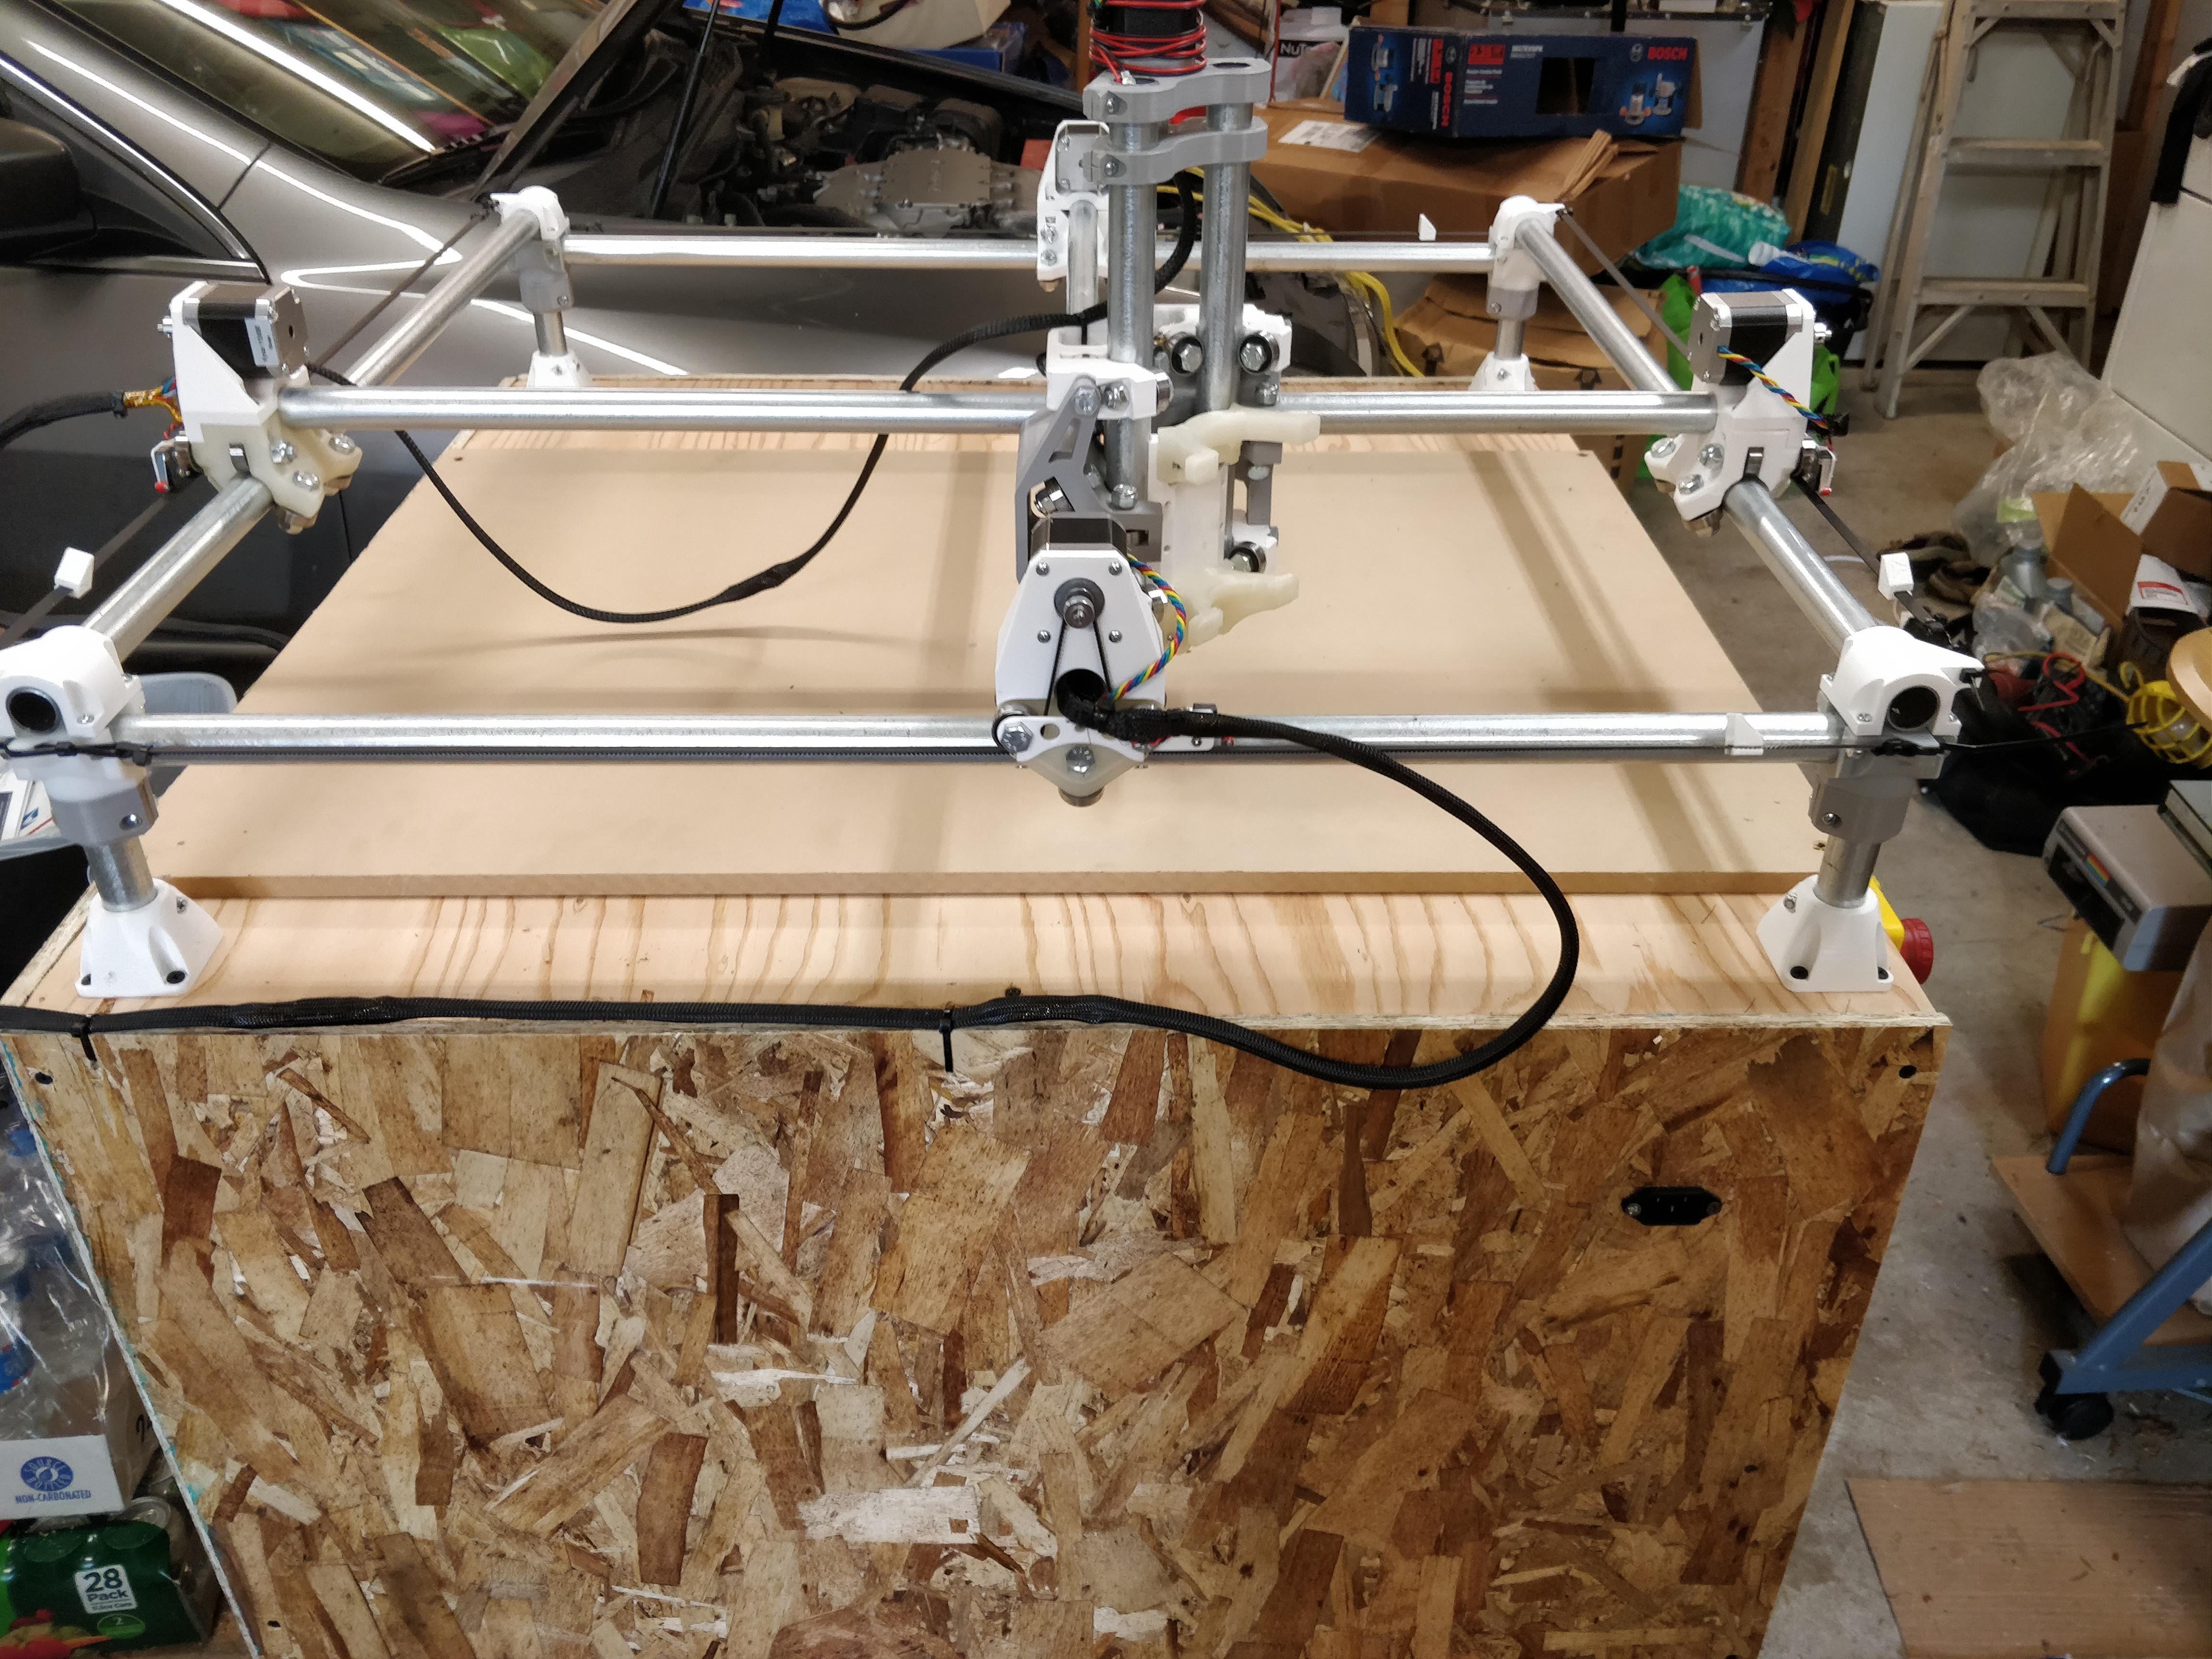
Got the new parts printed and installed… will be re-squaring the machine soon.
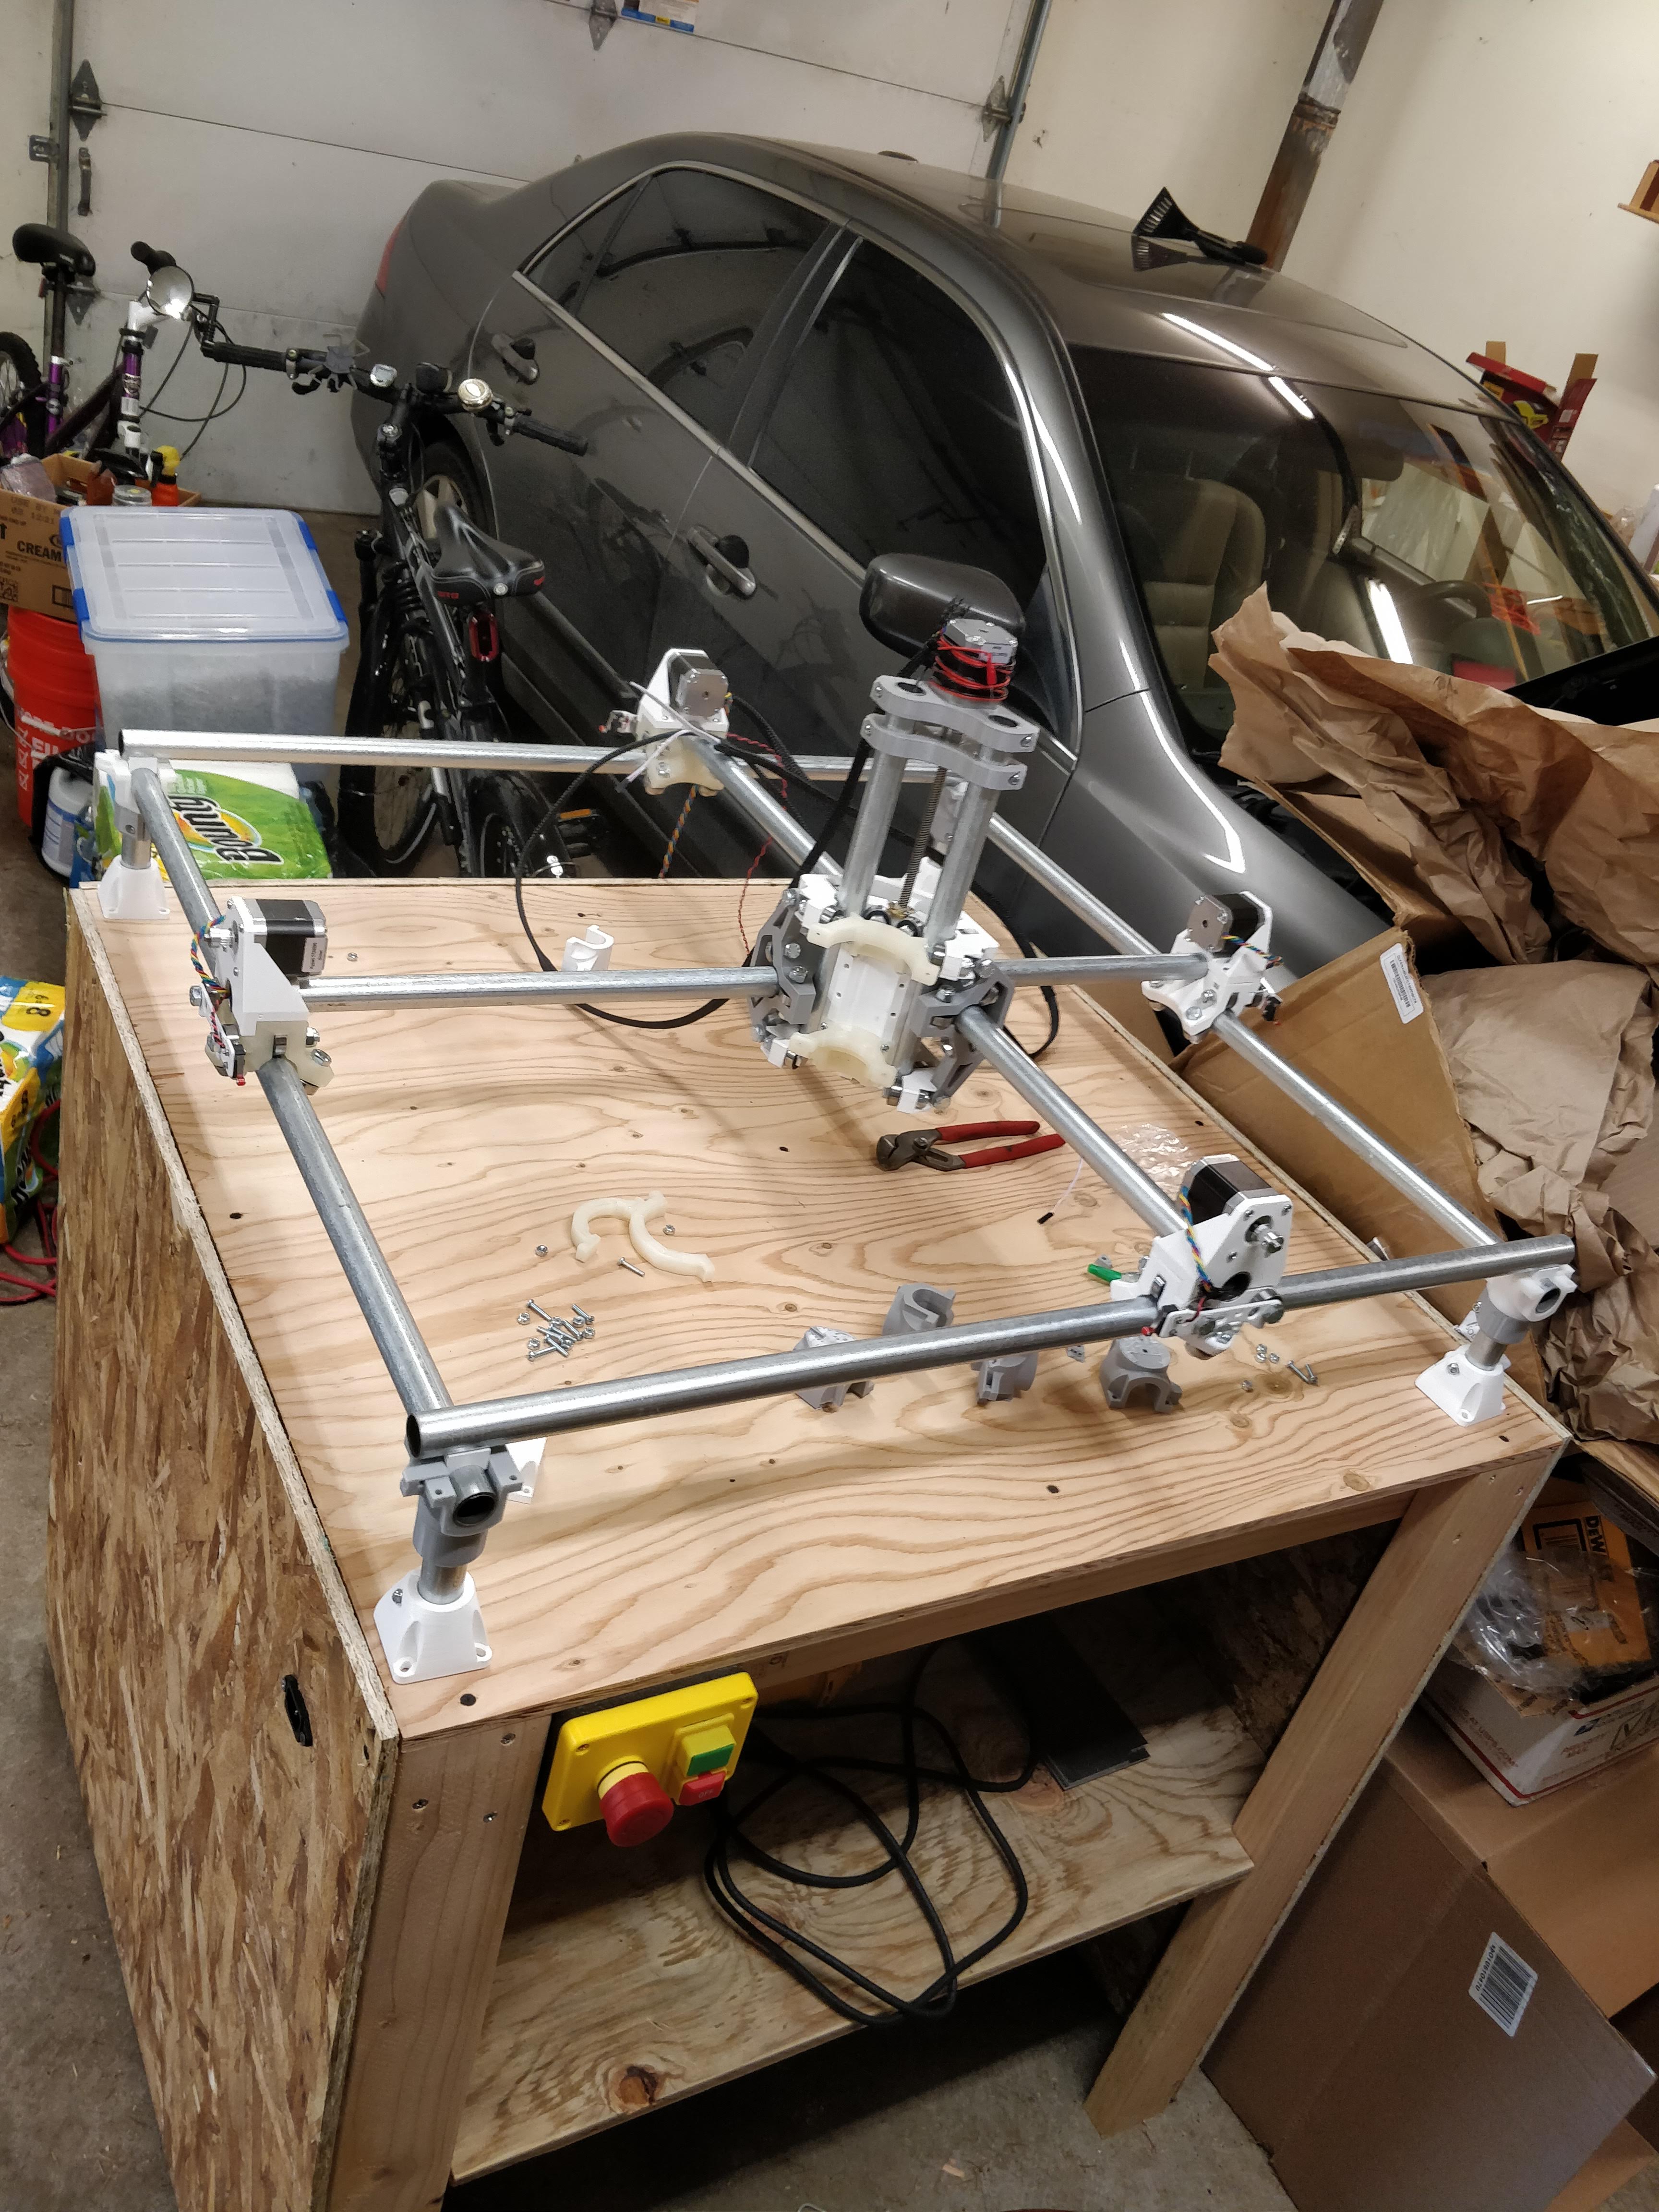
Sorry for the bad photo quality
2 Likes
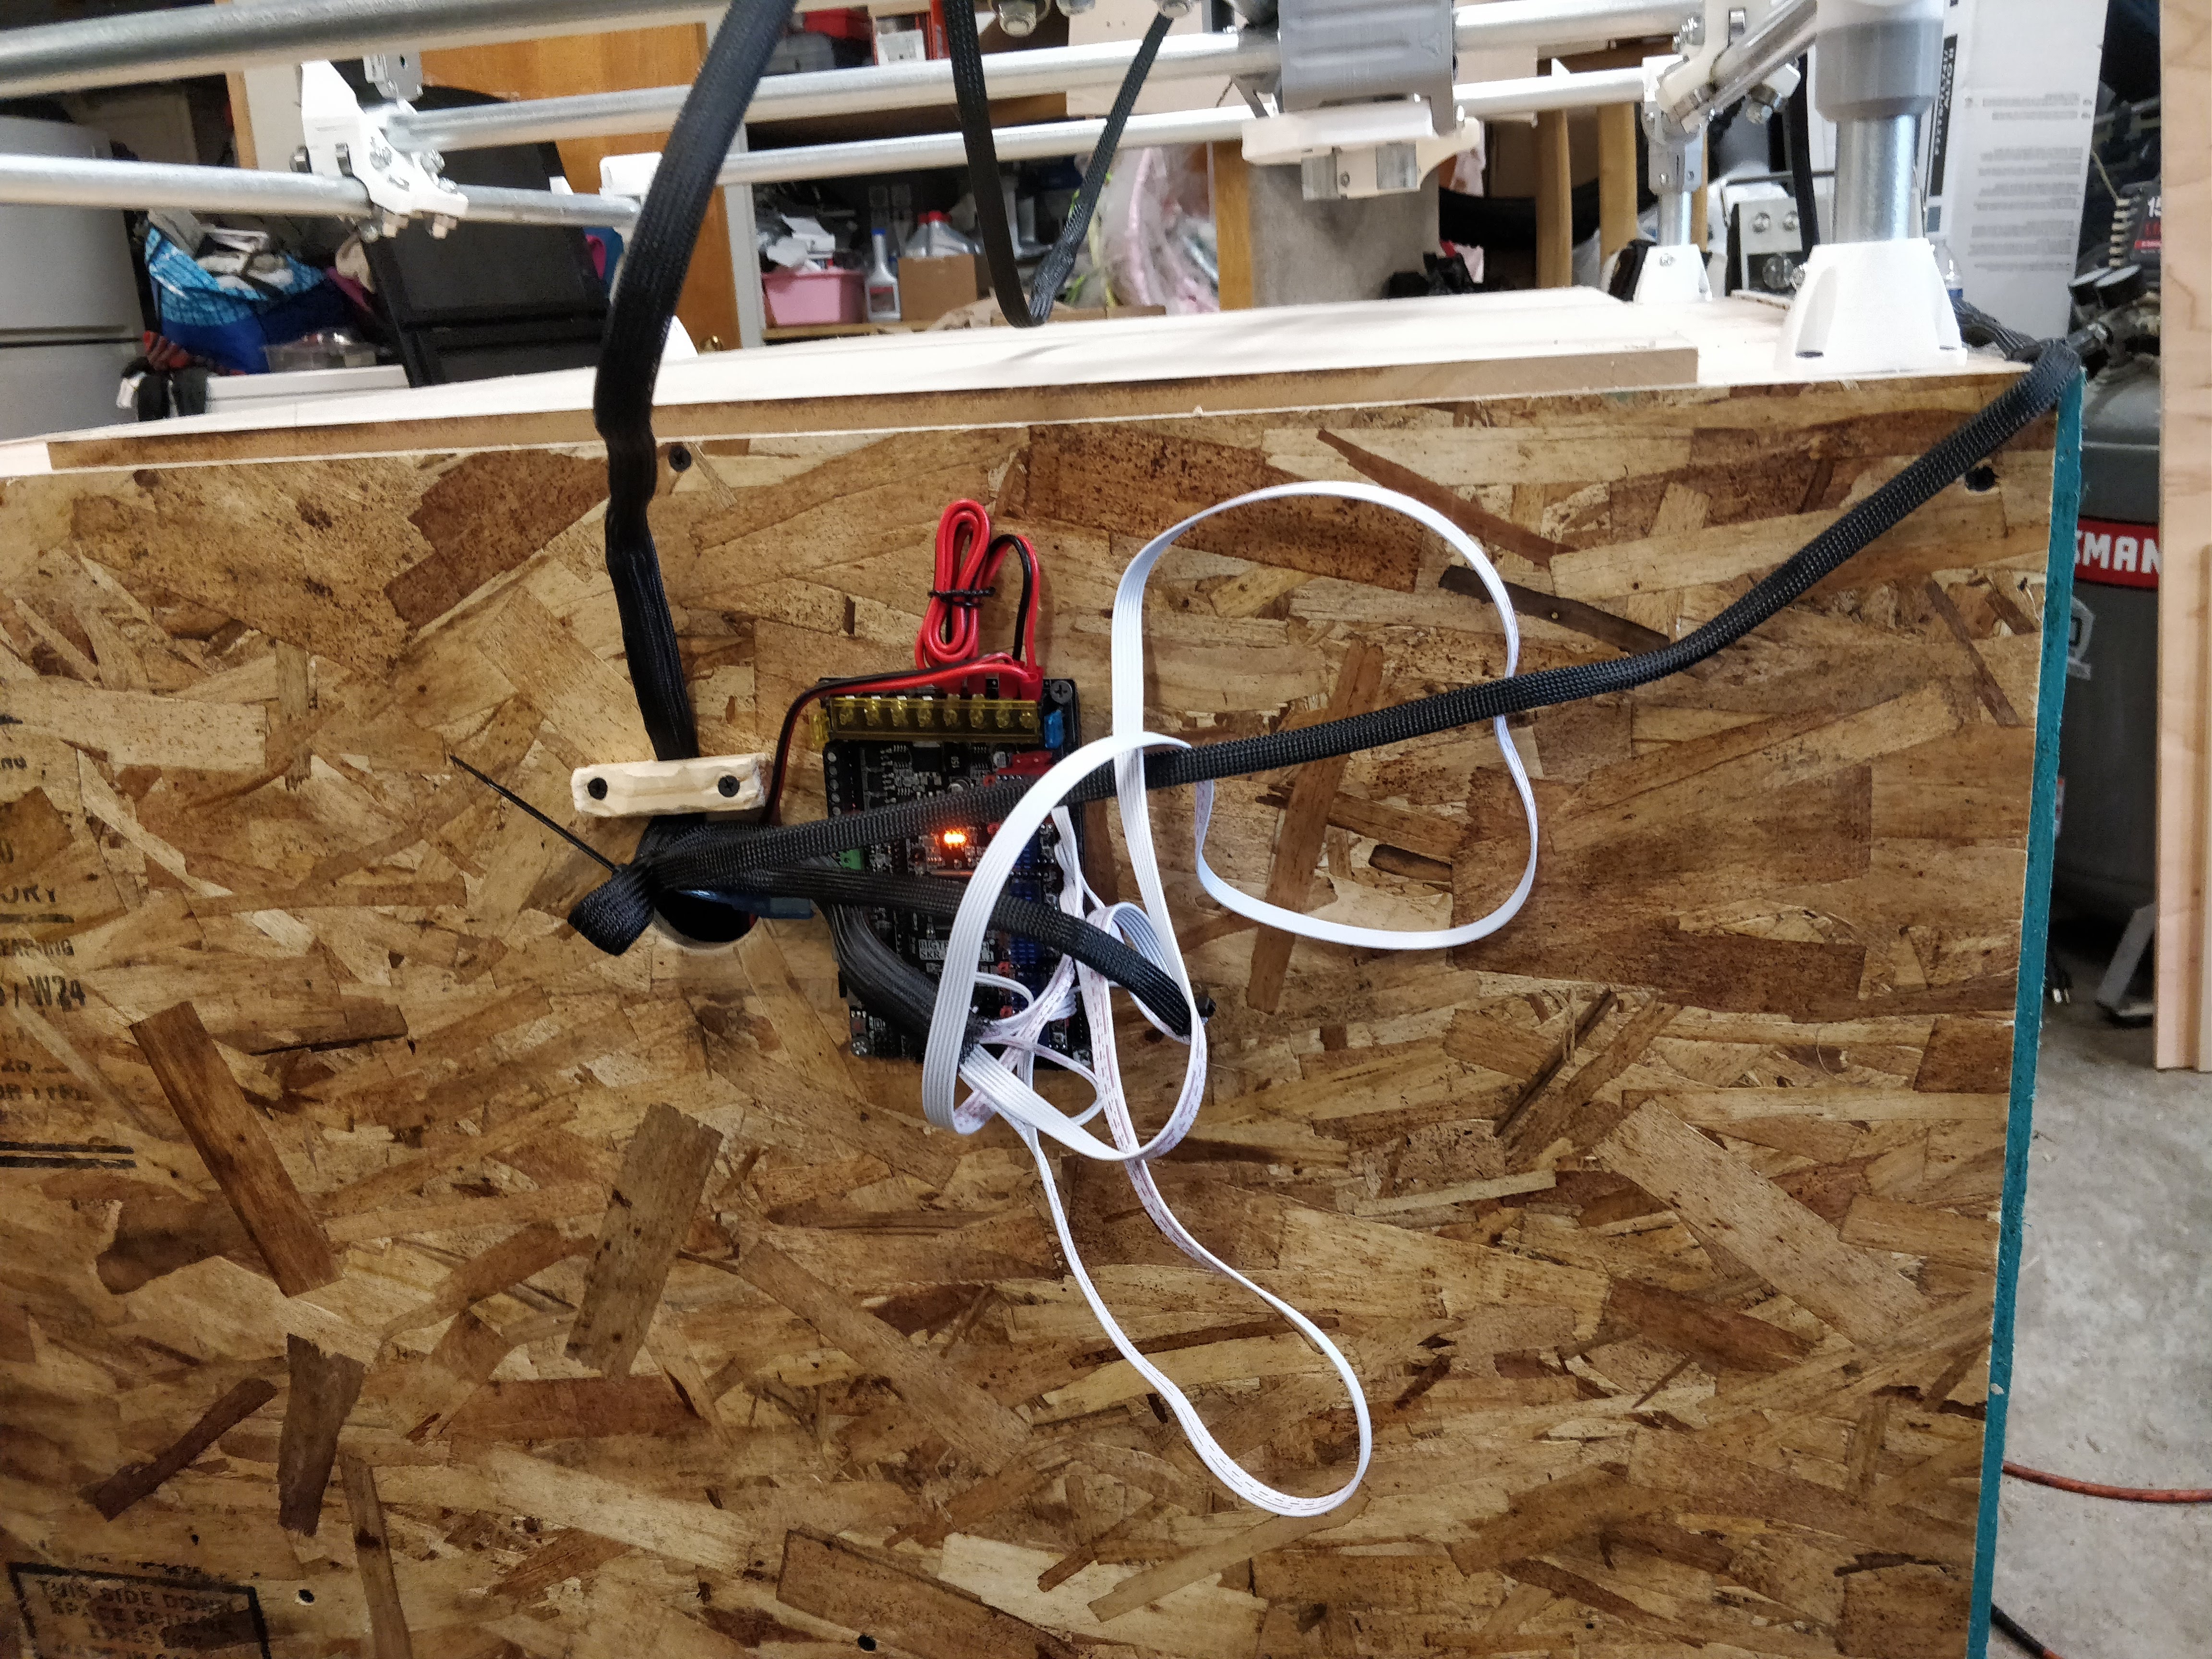
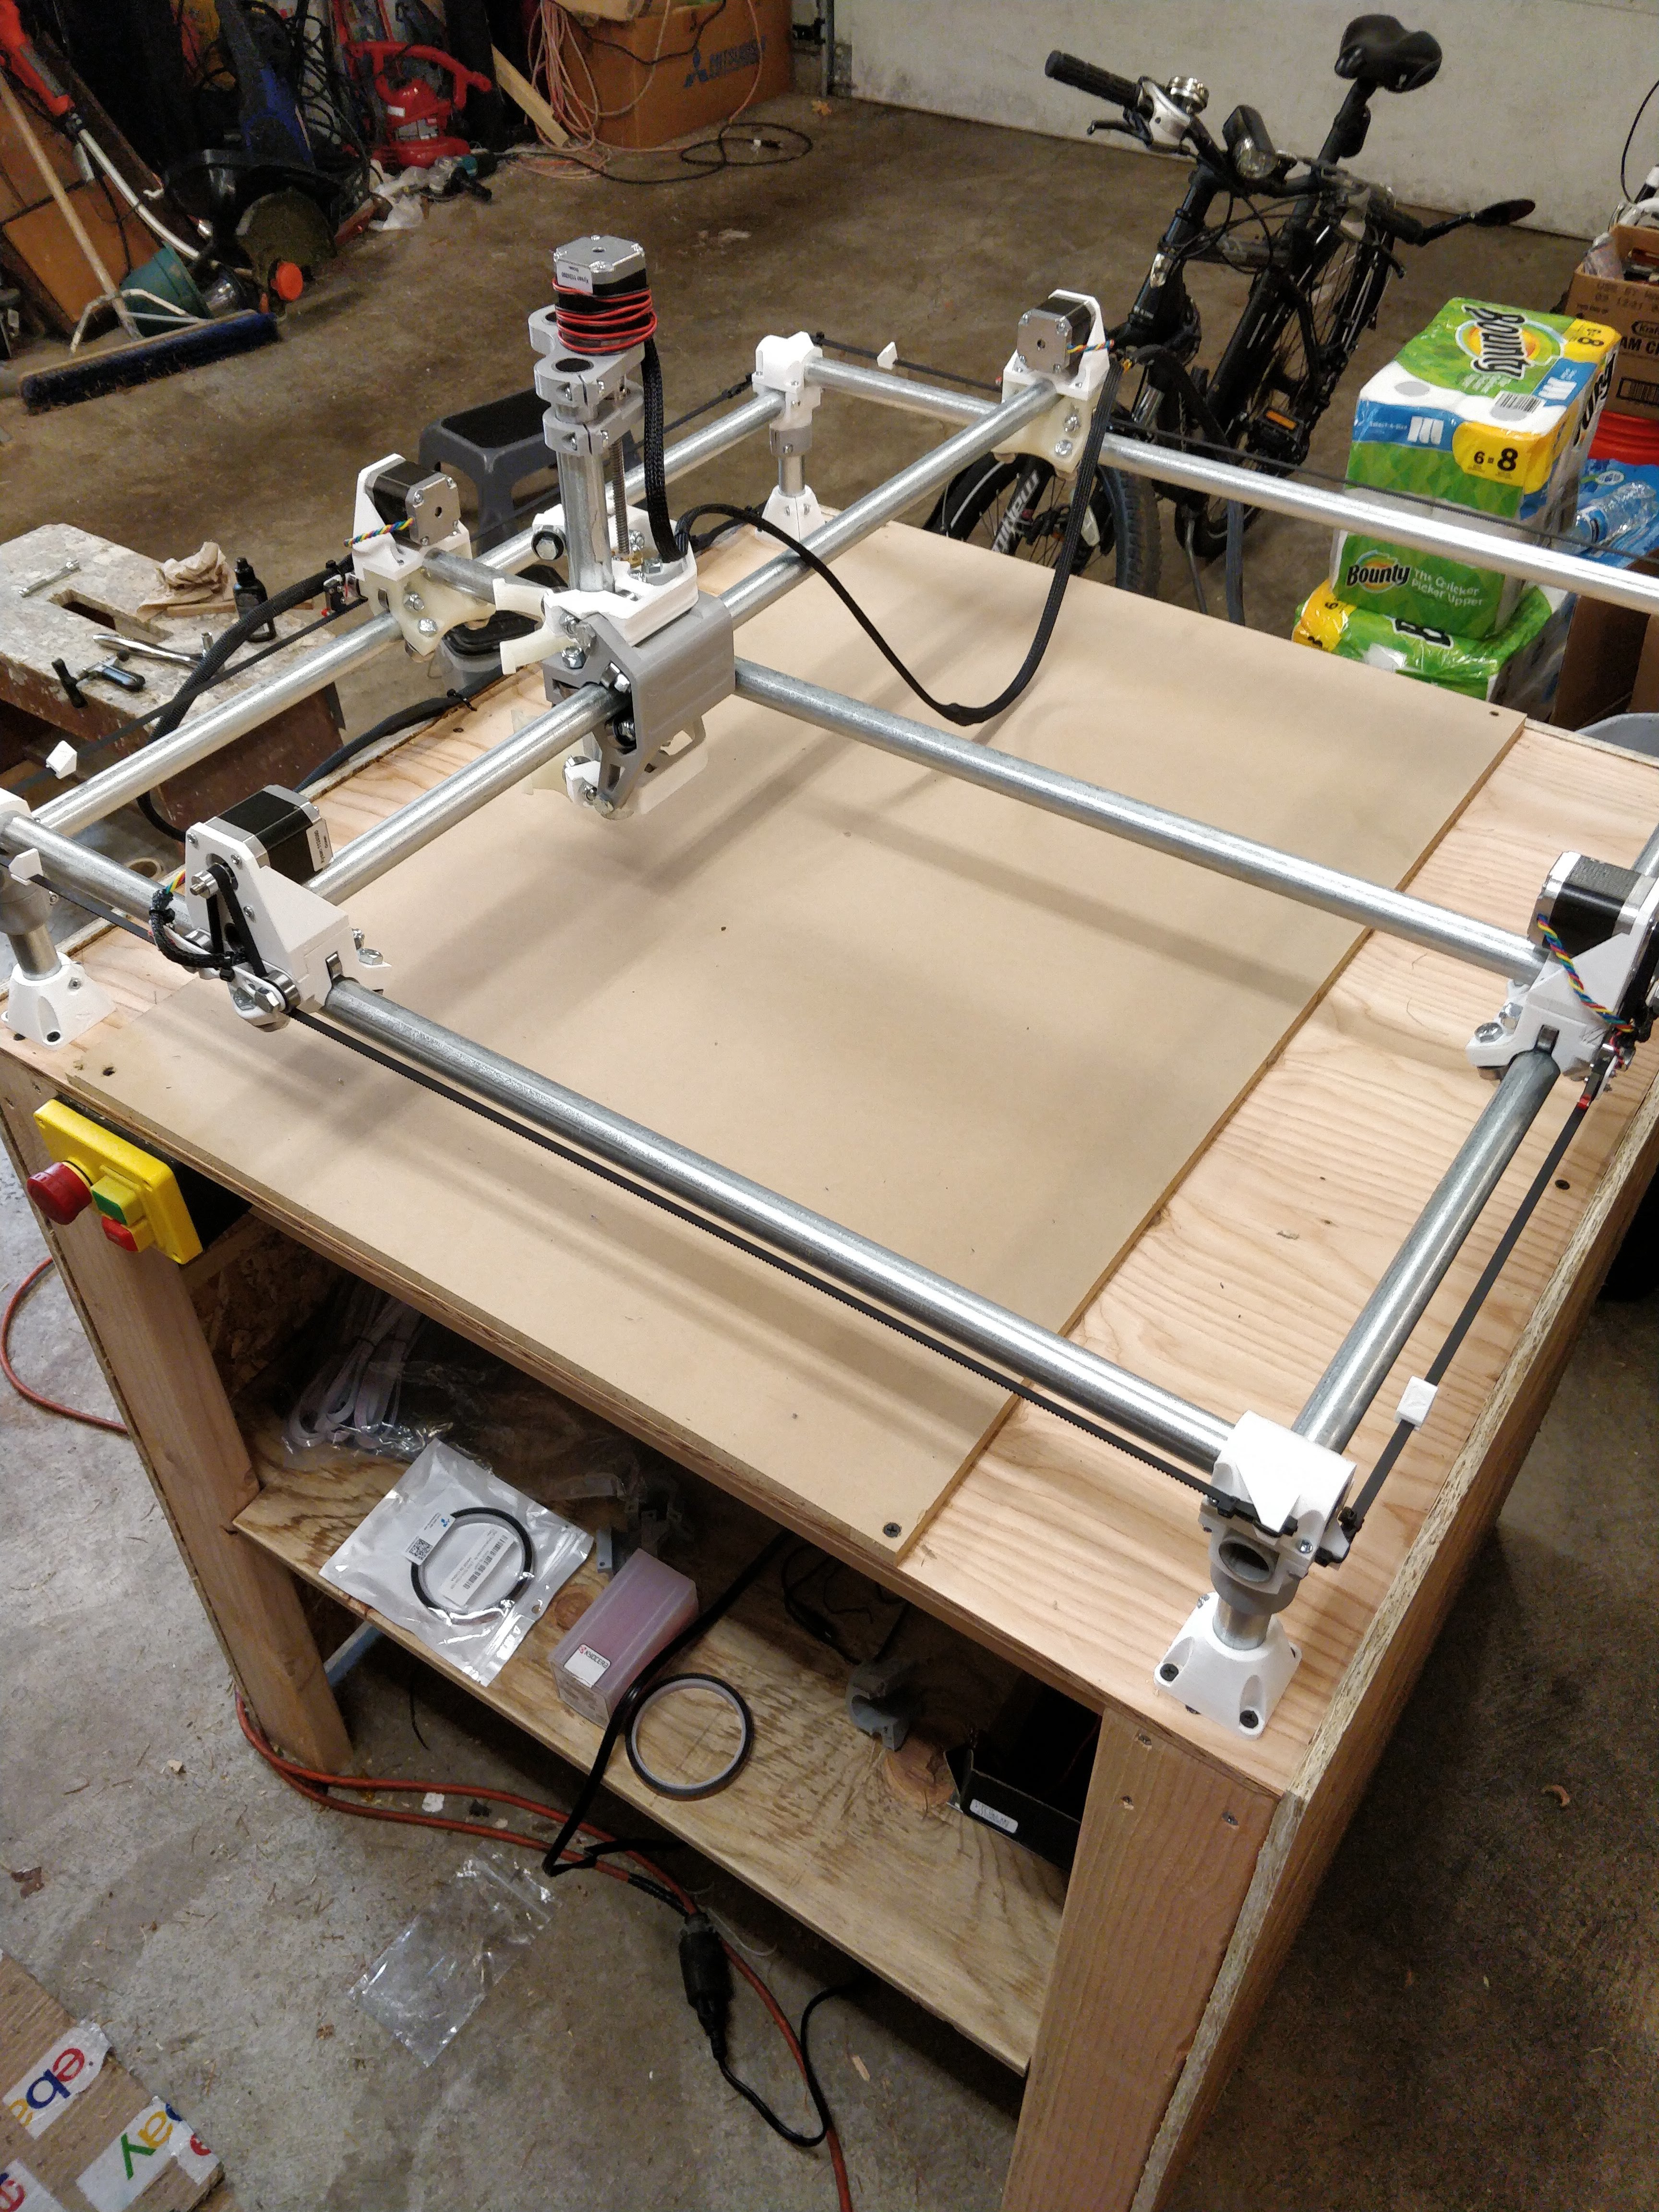
Re-assembled and squared the frame, finished assembly, added belts, wired everything.
Now I need to move a computer to the garage, build firmware for the SKR Pro, and finish the high-voltage wiring.
My plan is to have two sets of outlets inside the table: one connected directly to the mains input, and the other wired through the emergency stop button and the magnetic switch. The mains outlet would power the Raspberry Pi and other always-on devices, and the outlet behind the switch would power the SKR Pro and the DW660.

1 Like
IT WORKS!!!
Compiled/installed Marlin yesterday; I’m using Ryan’s RAMPS dual-endstop branch that I rebased to the latest Marlin 2.0.x-bugfix branch and configured for the SKR Pro.
Had to change the microstep count because it was moving twice as much as needed. Also needed to reverse and move some of my stepper connections and snip off the DIAG pins on the stepper drivers so that the endstops would work (hardware issue with the SKR boards)
It’s attached to a Raspberry Pi running the V1Pi image. Currently controlling it through CNC.js.
Wondering if estlcam runs on MacOS through Wine - the computer I’m using to control it is running MacOS.
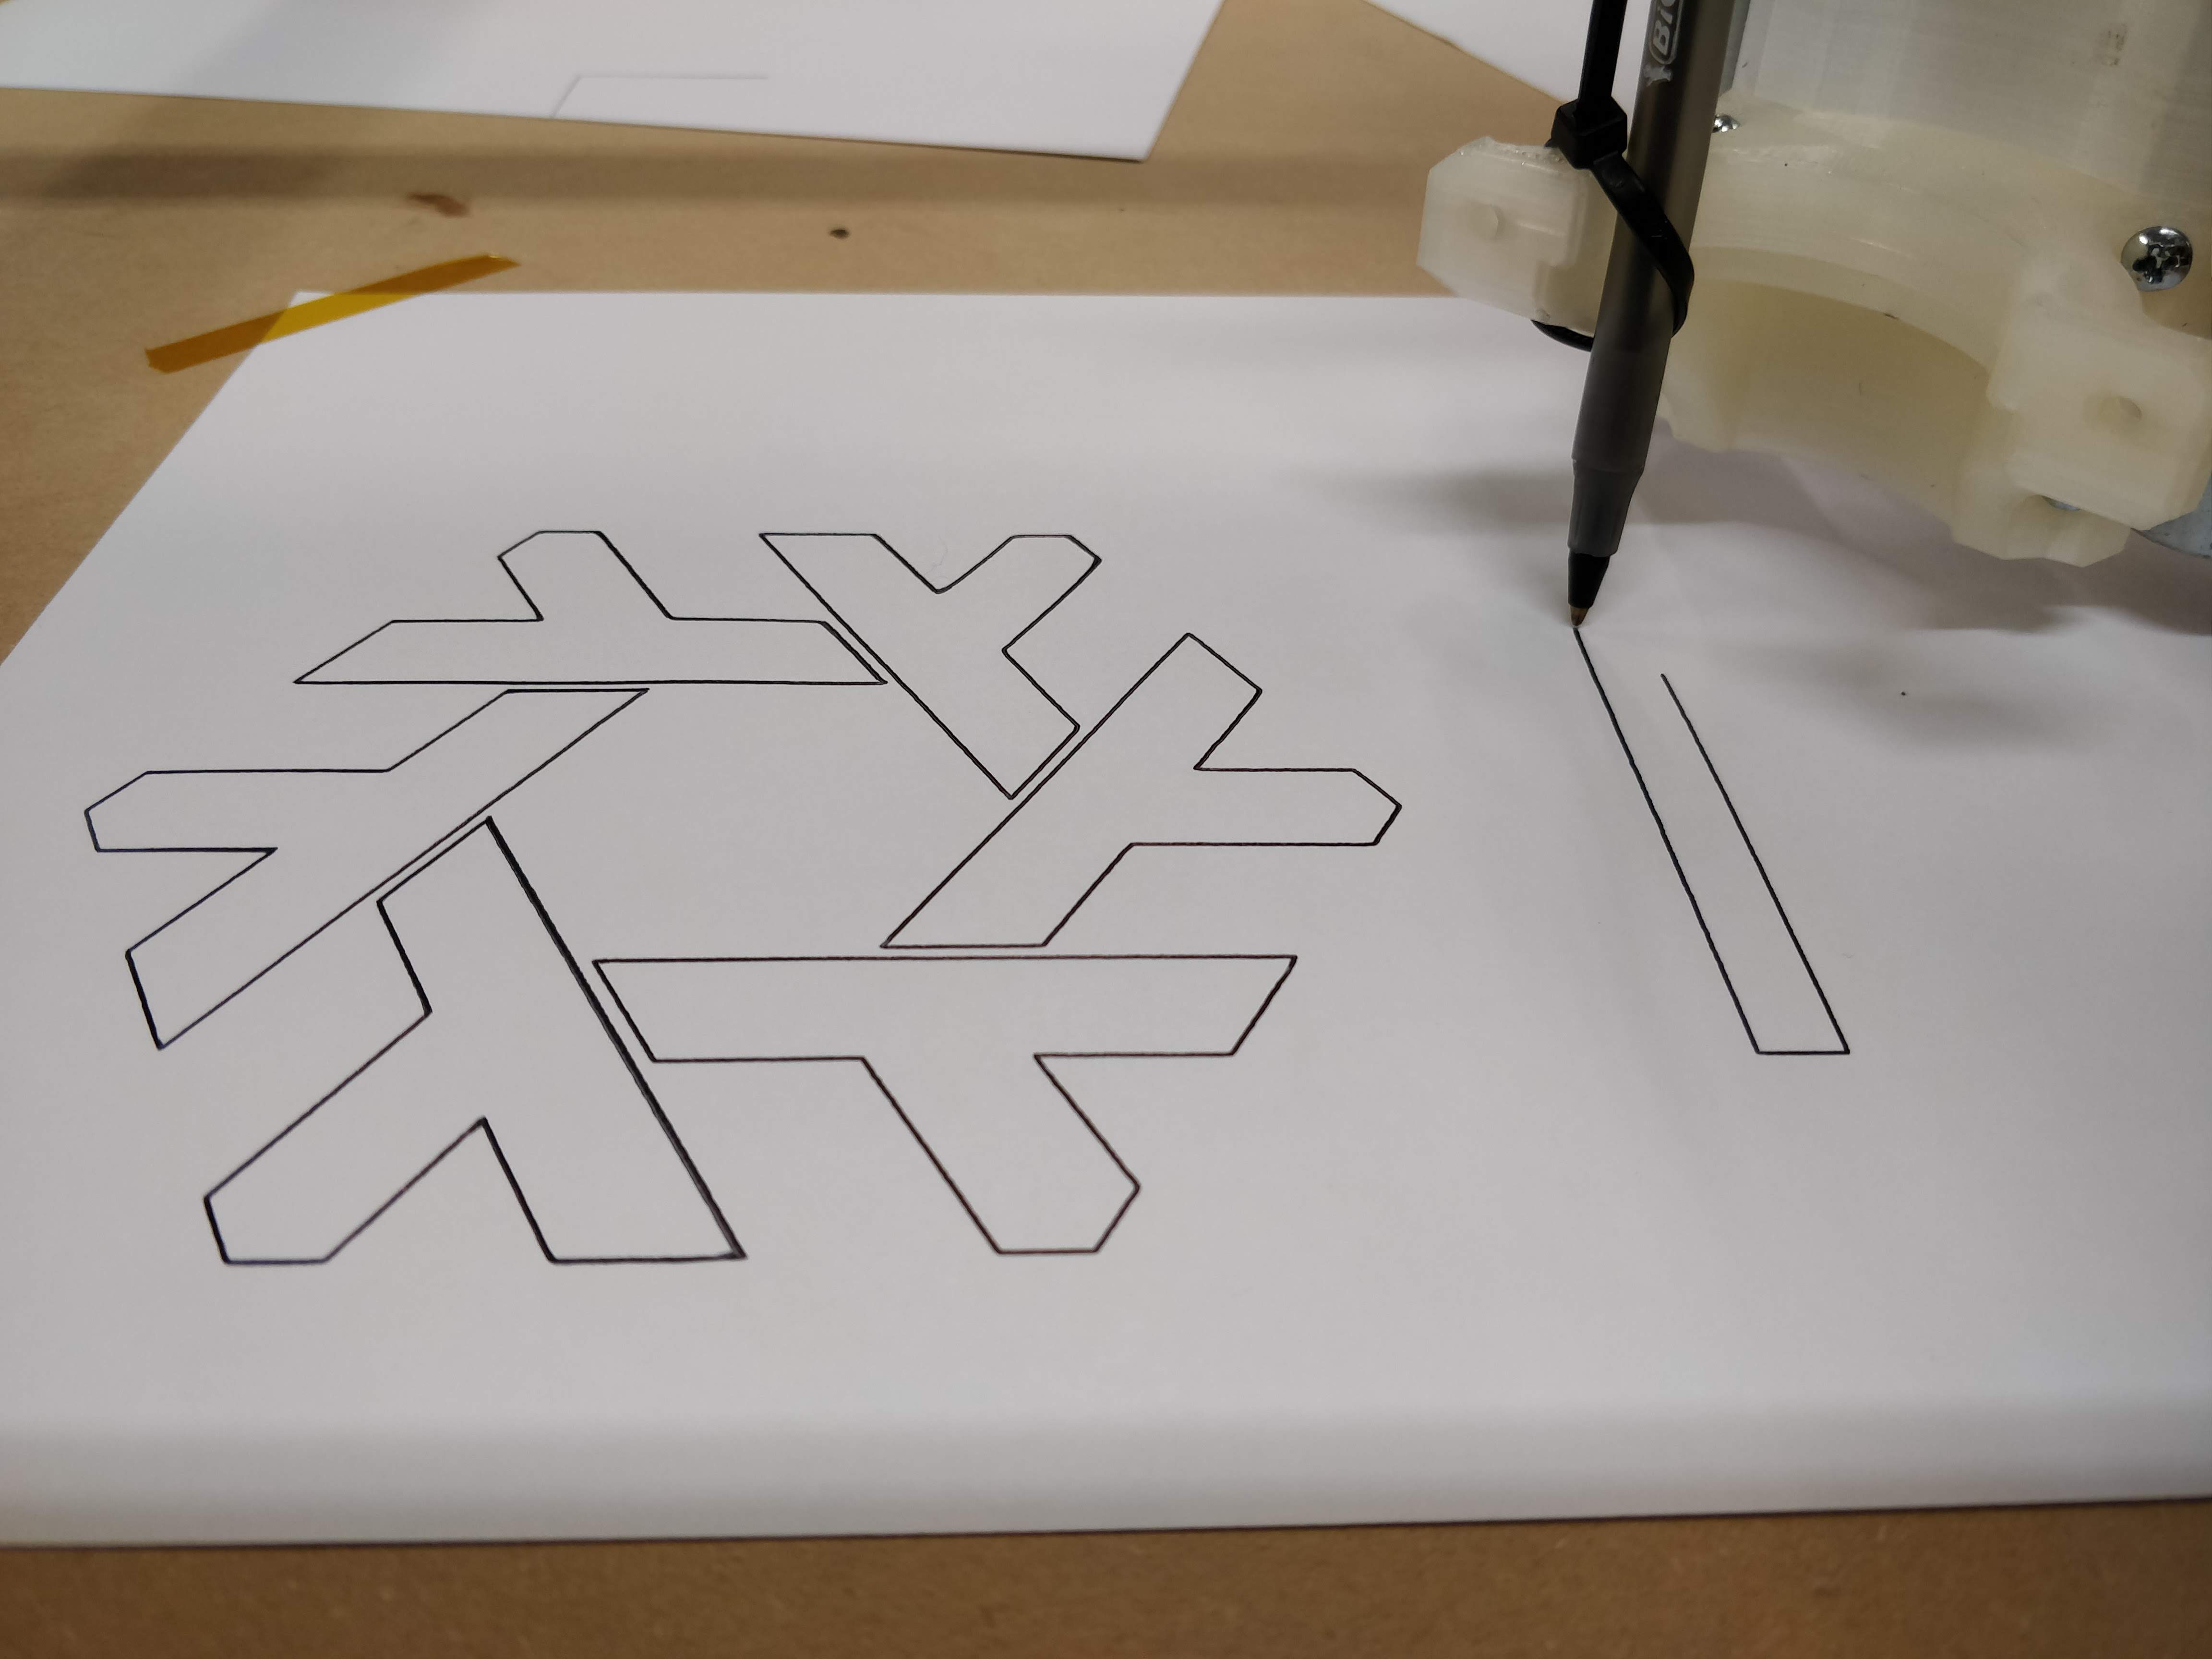
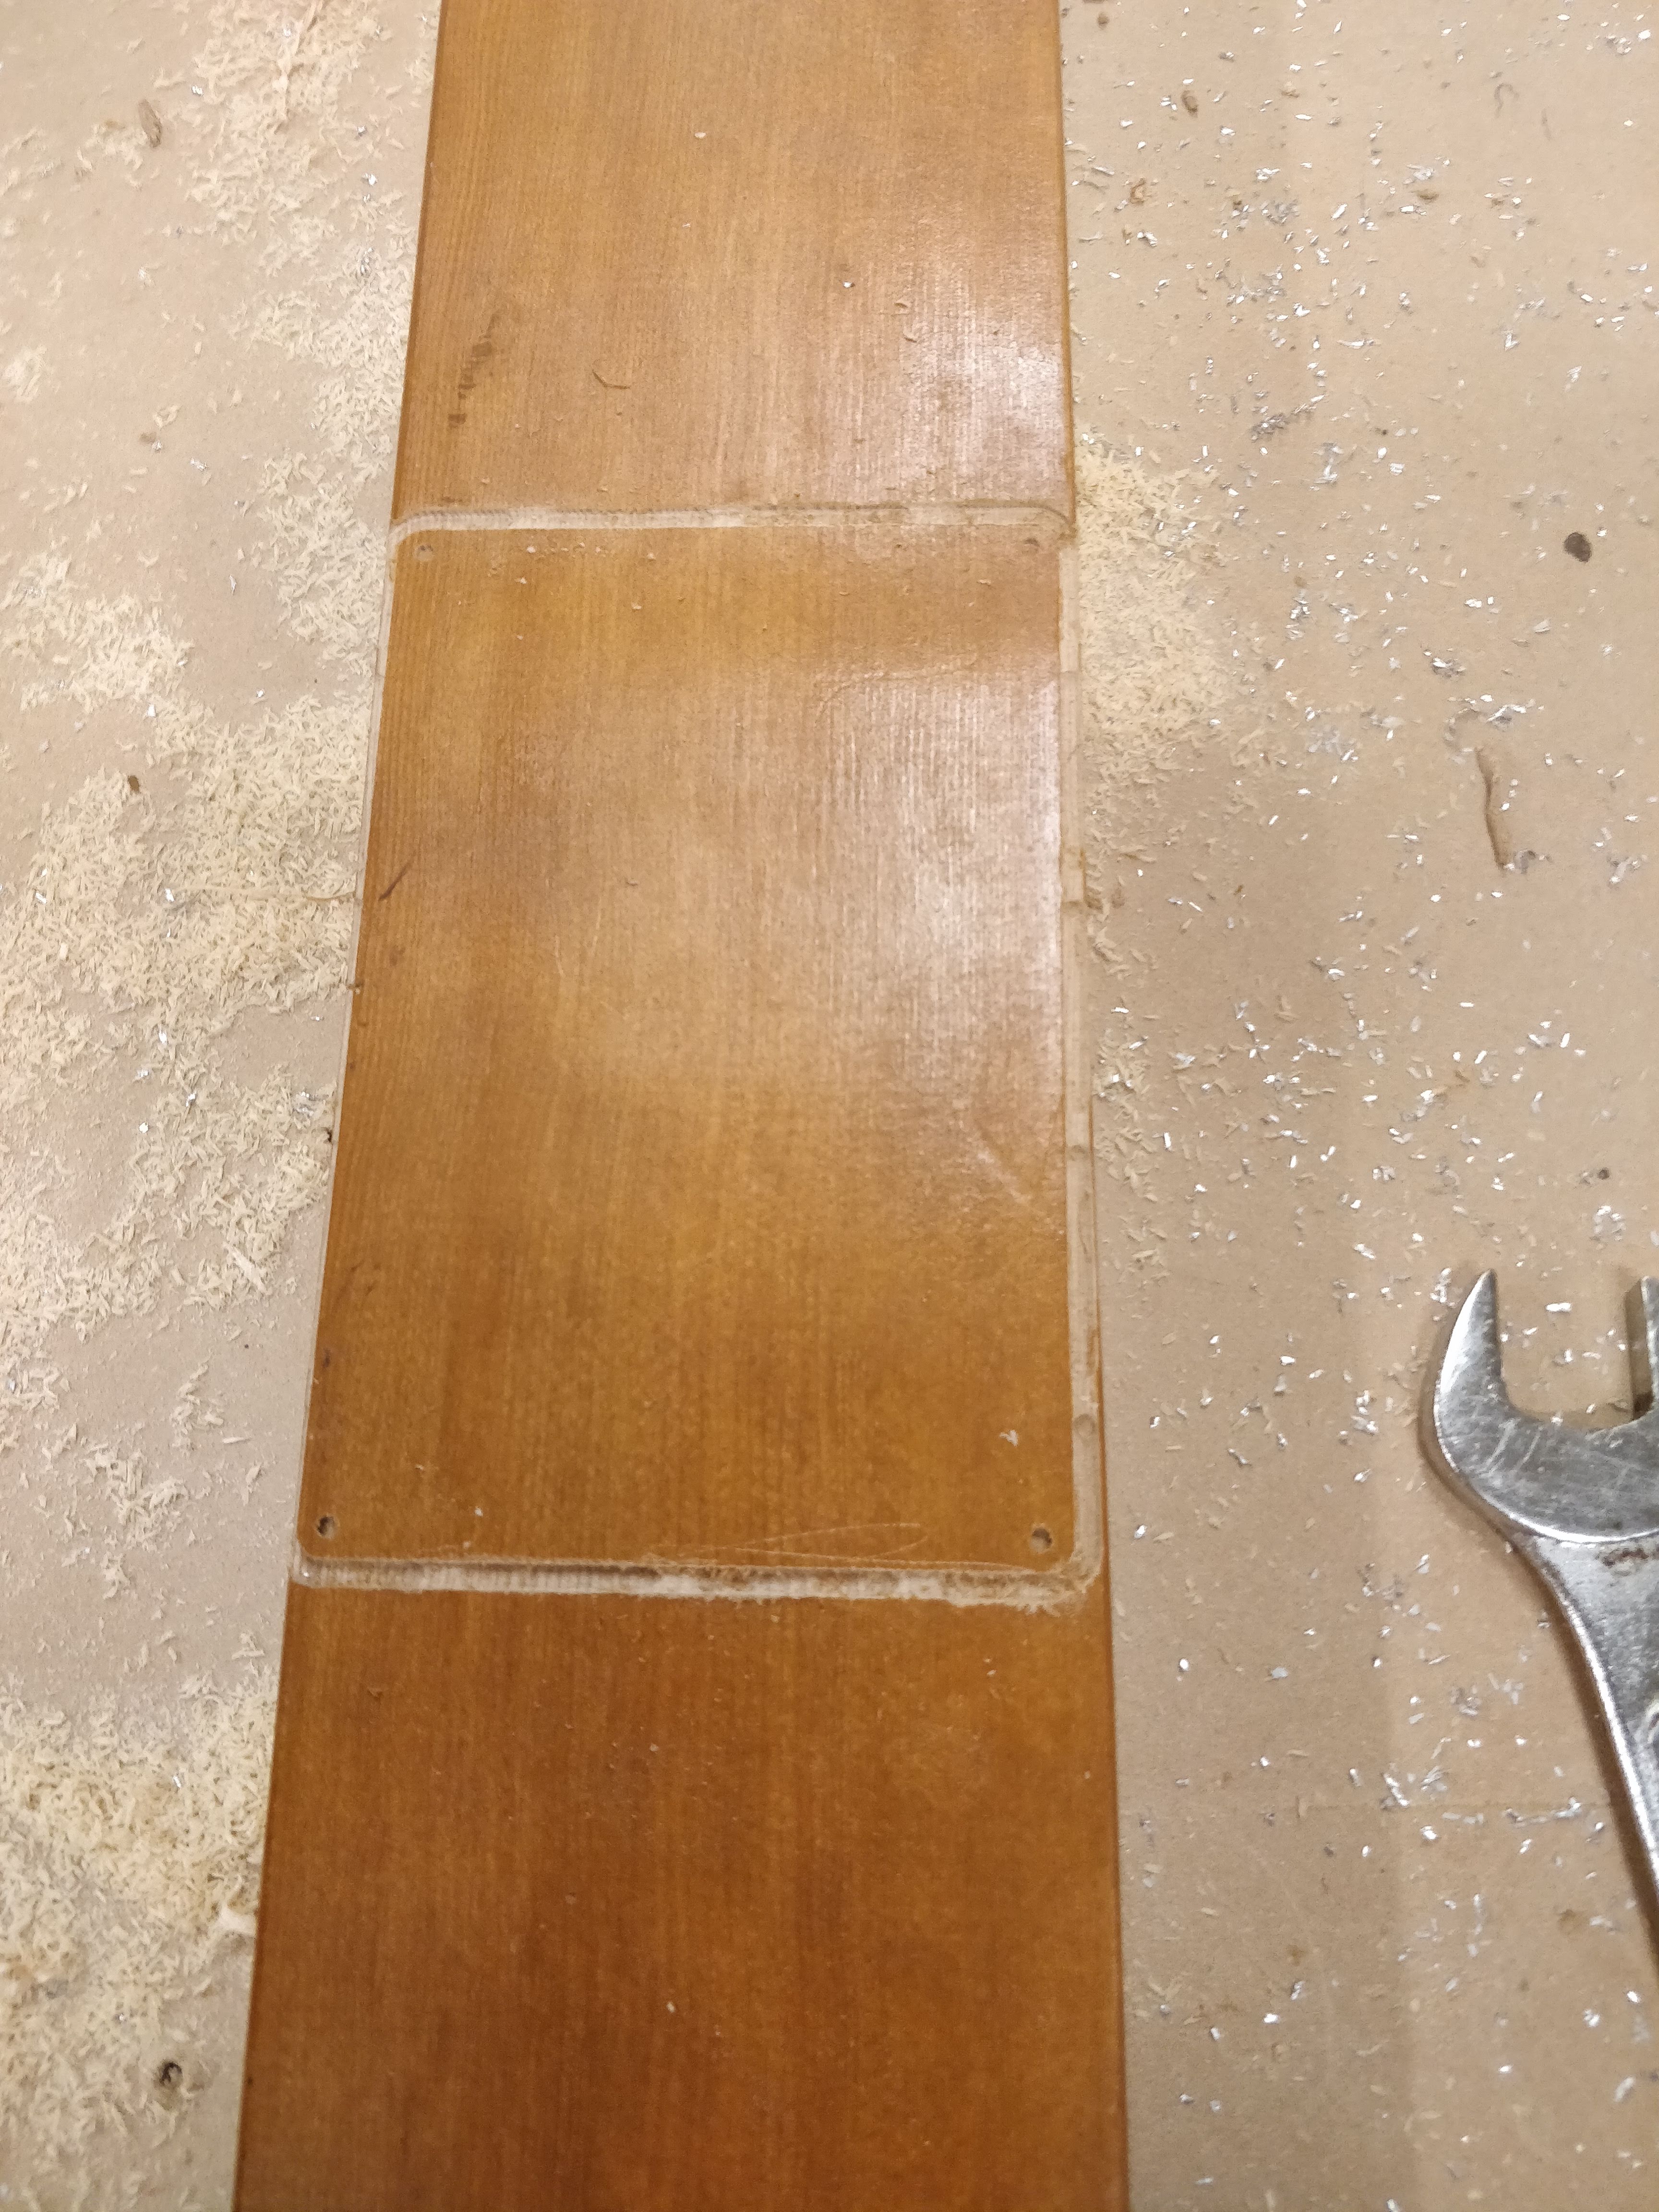
Here’s my crown test:

There’s a lot of backlash, but it’s coming from the very, very bad pen mount and the uneven surface. I can actually see the pen flexing sideways while drawing.
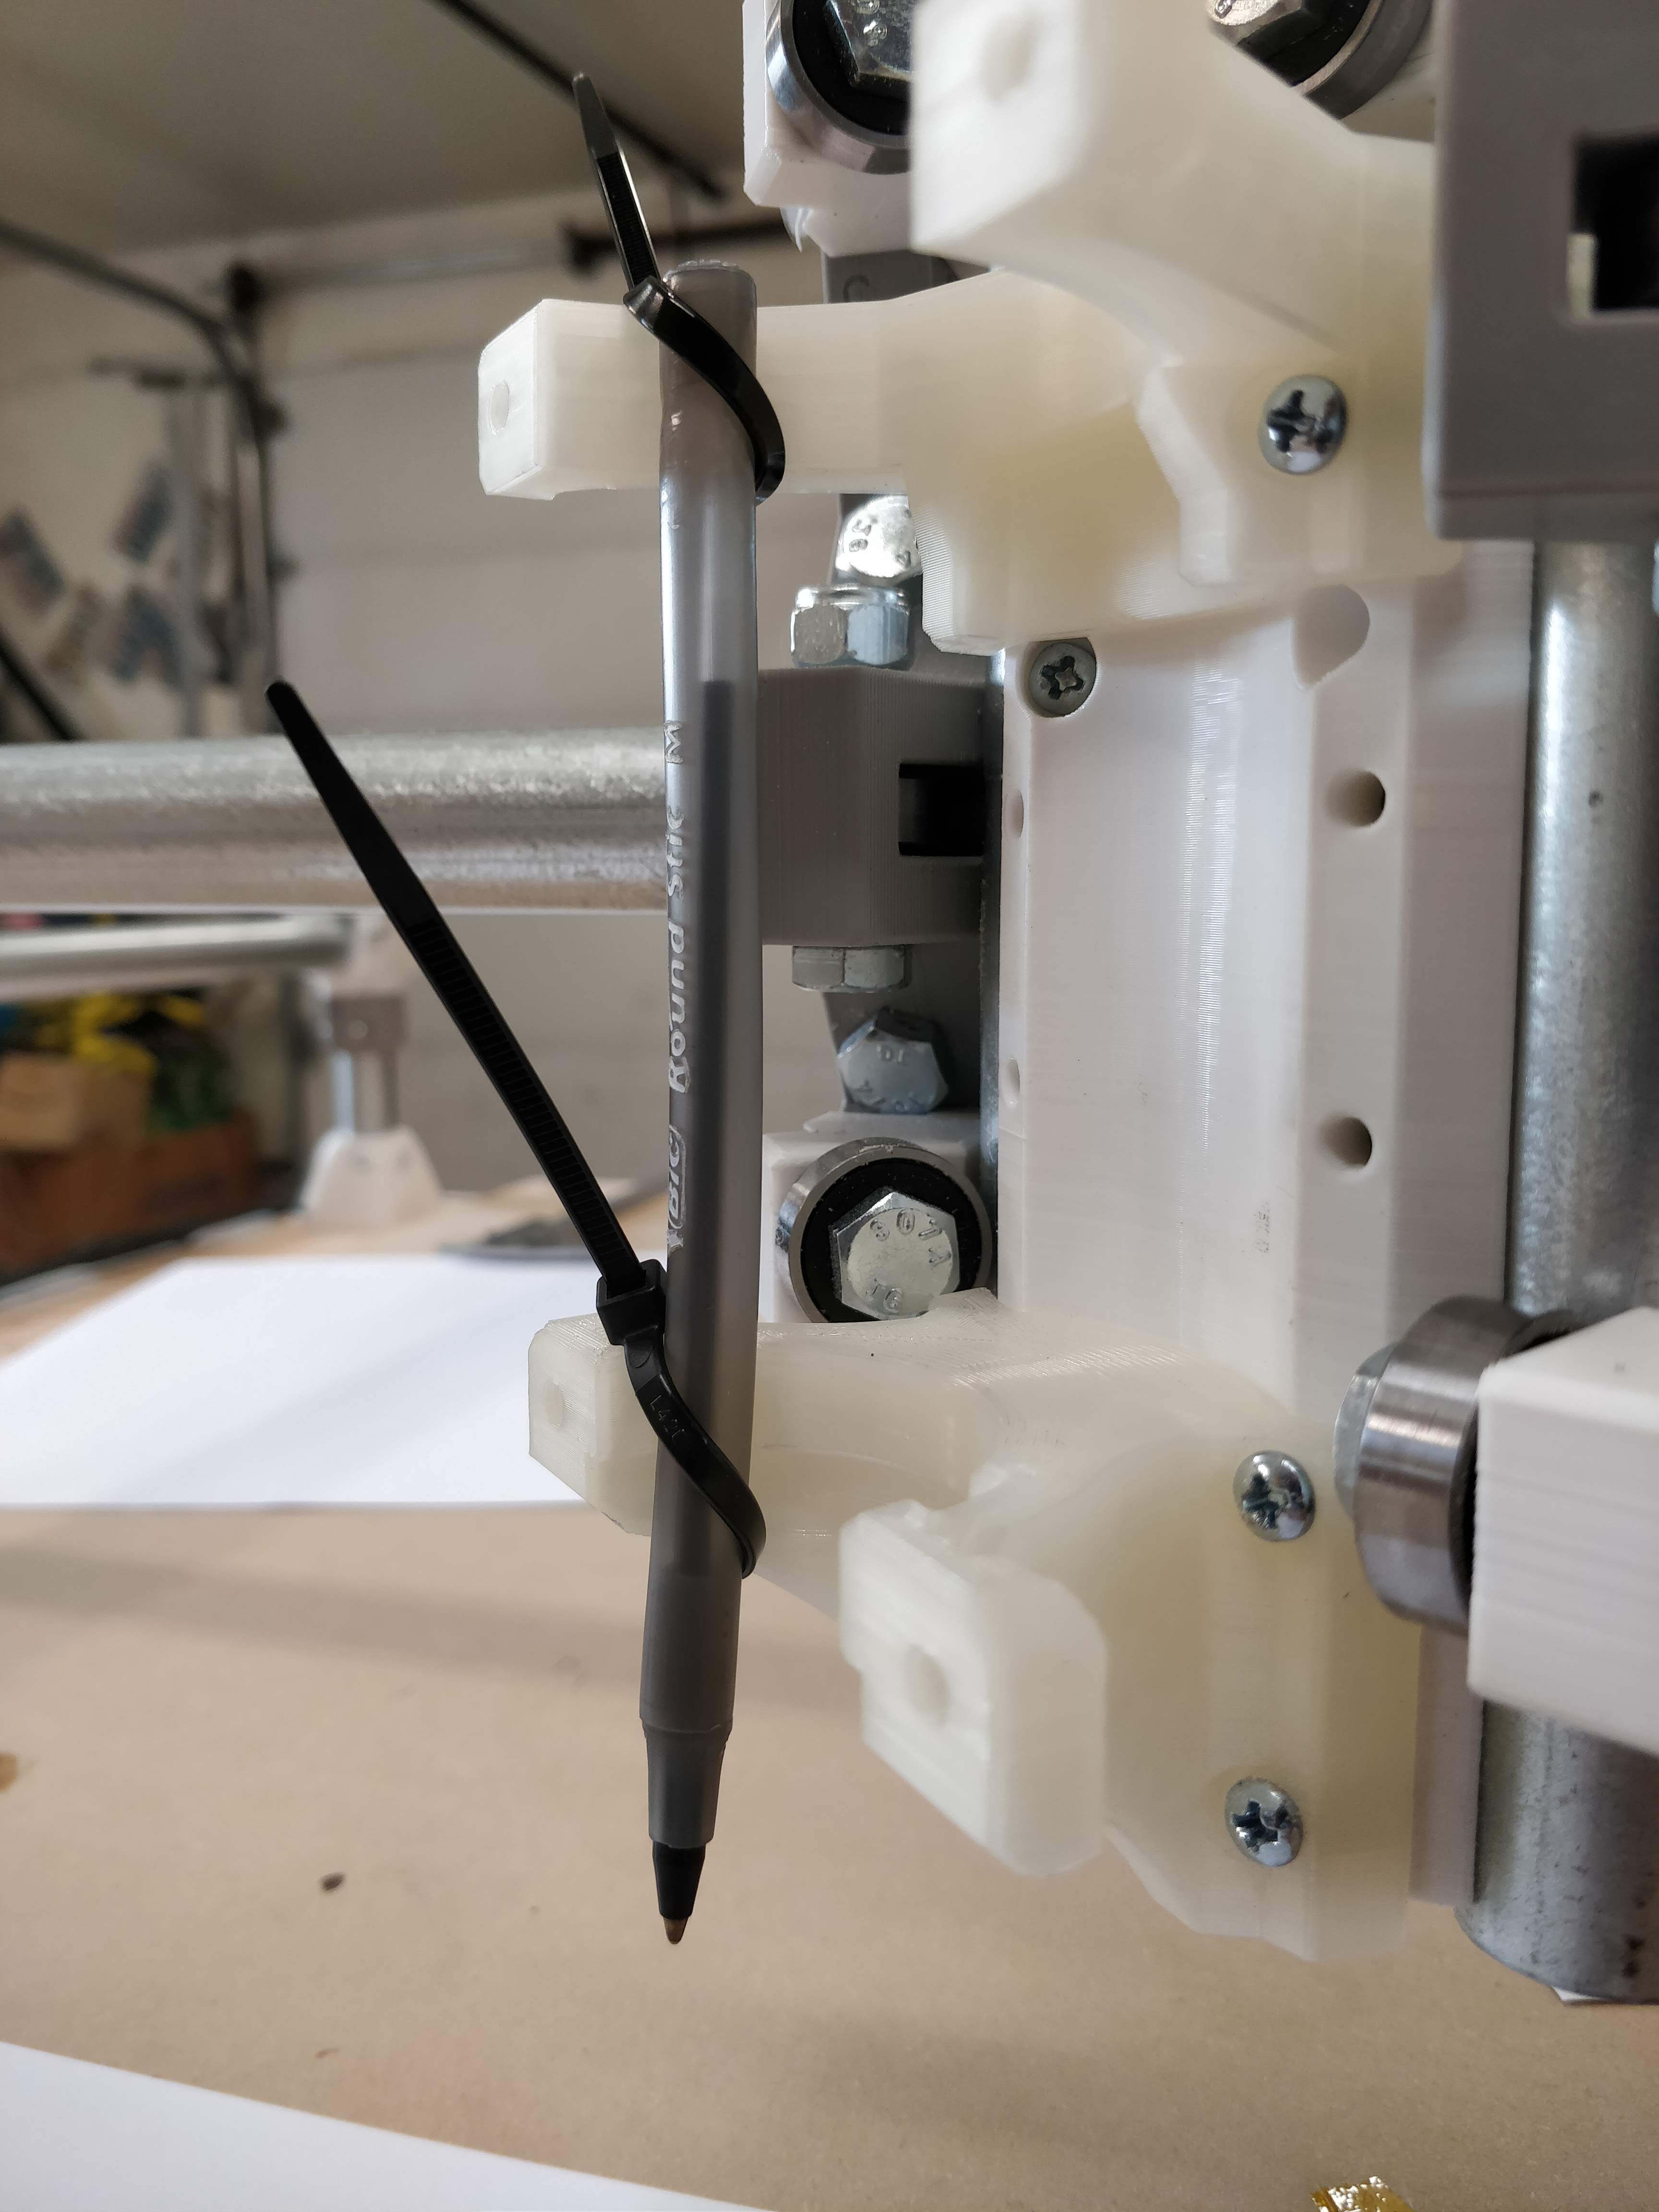
(yes it’s bent)
Bonus CNCat:
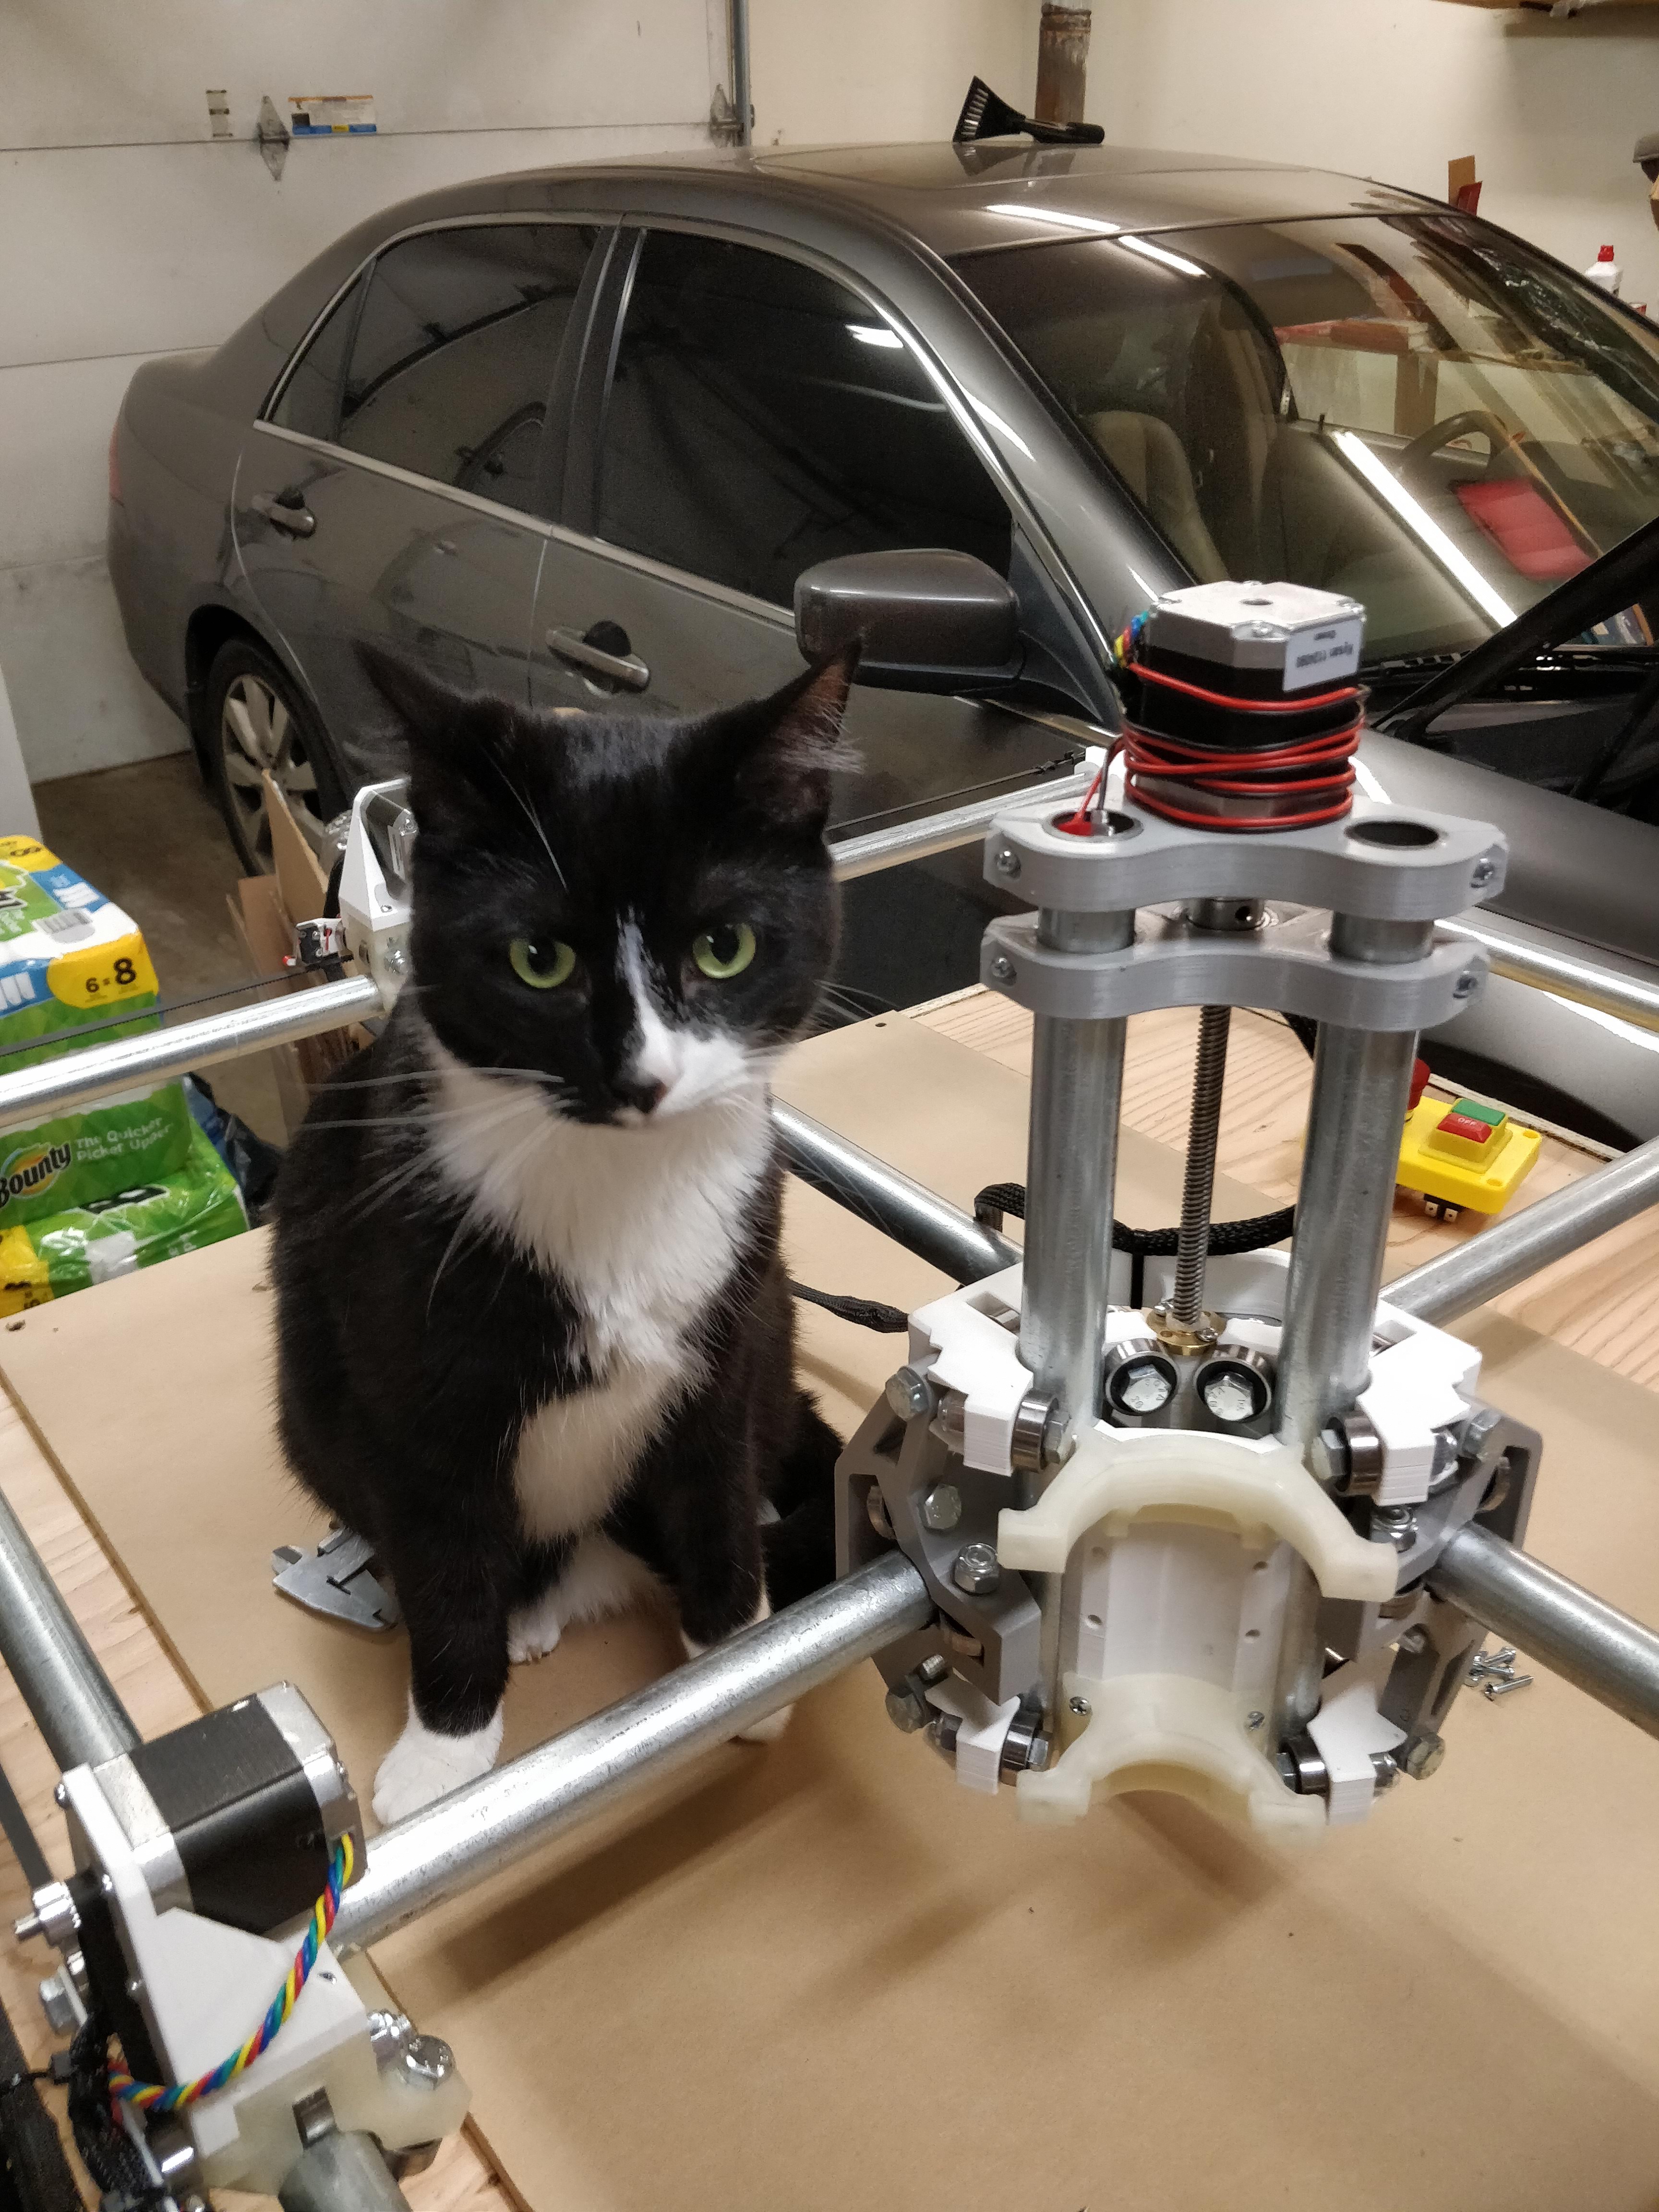
4 Likes
Looks good. I use estlcam in wine in linux. I have posted my settings before. Some mac users have gotten tripped up somewhere though, and ended up using vmware.
Currently trying to get it running in WINE. The application installed but didn’t run. it’s installing dotnet40 right now
I gave up on WINE and installed Tiny7 in a VM to run the program. Seems to work well:
Next step is to mount the DW660 and try some actual engraving…
2 Likes
That snowflake reminds me of that song, “why why why why why why?”
Looks sharp.
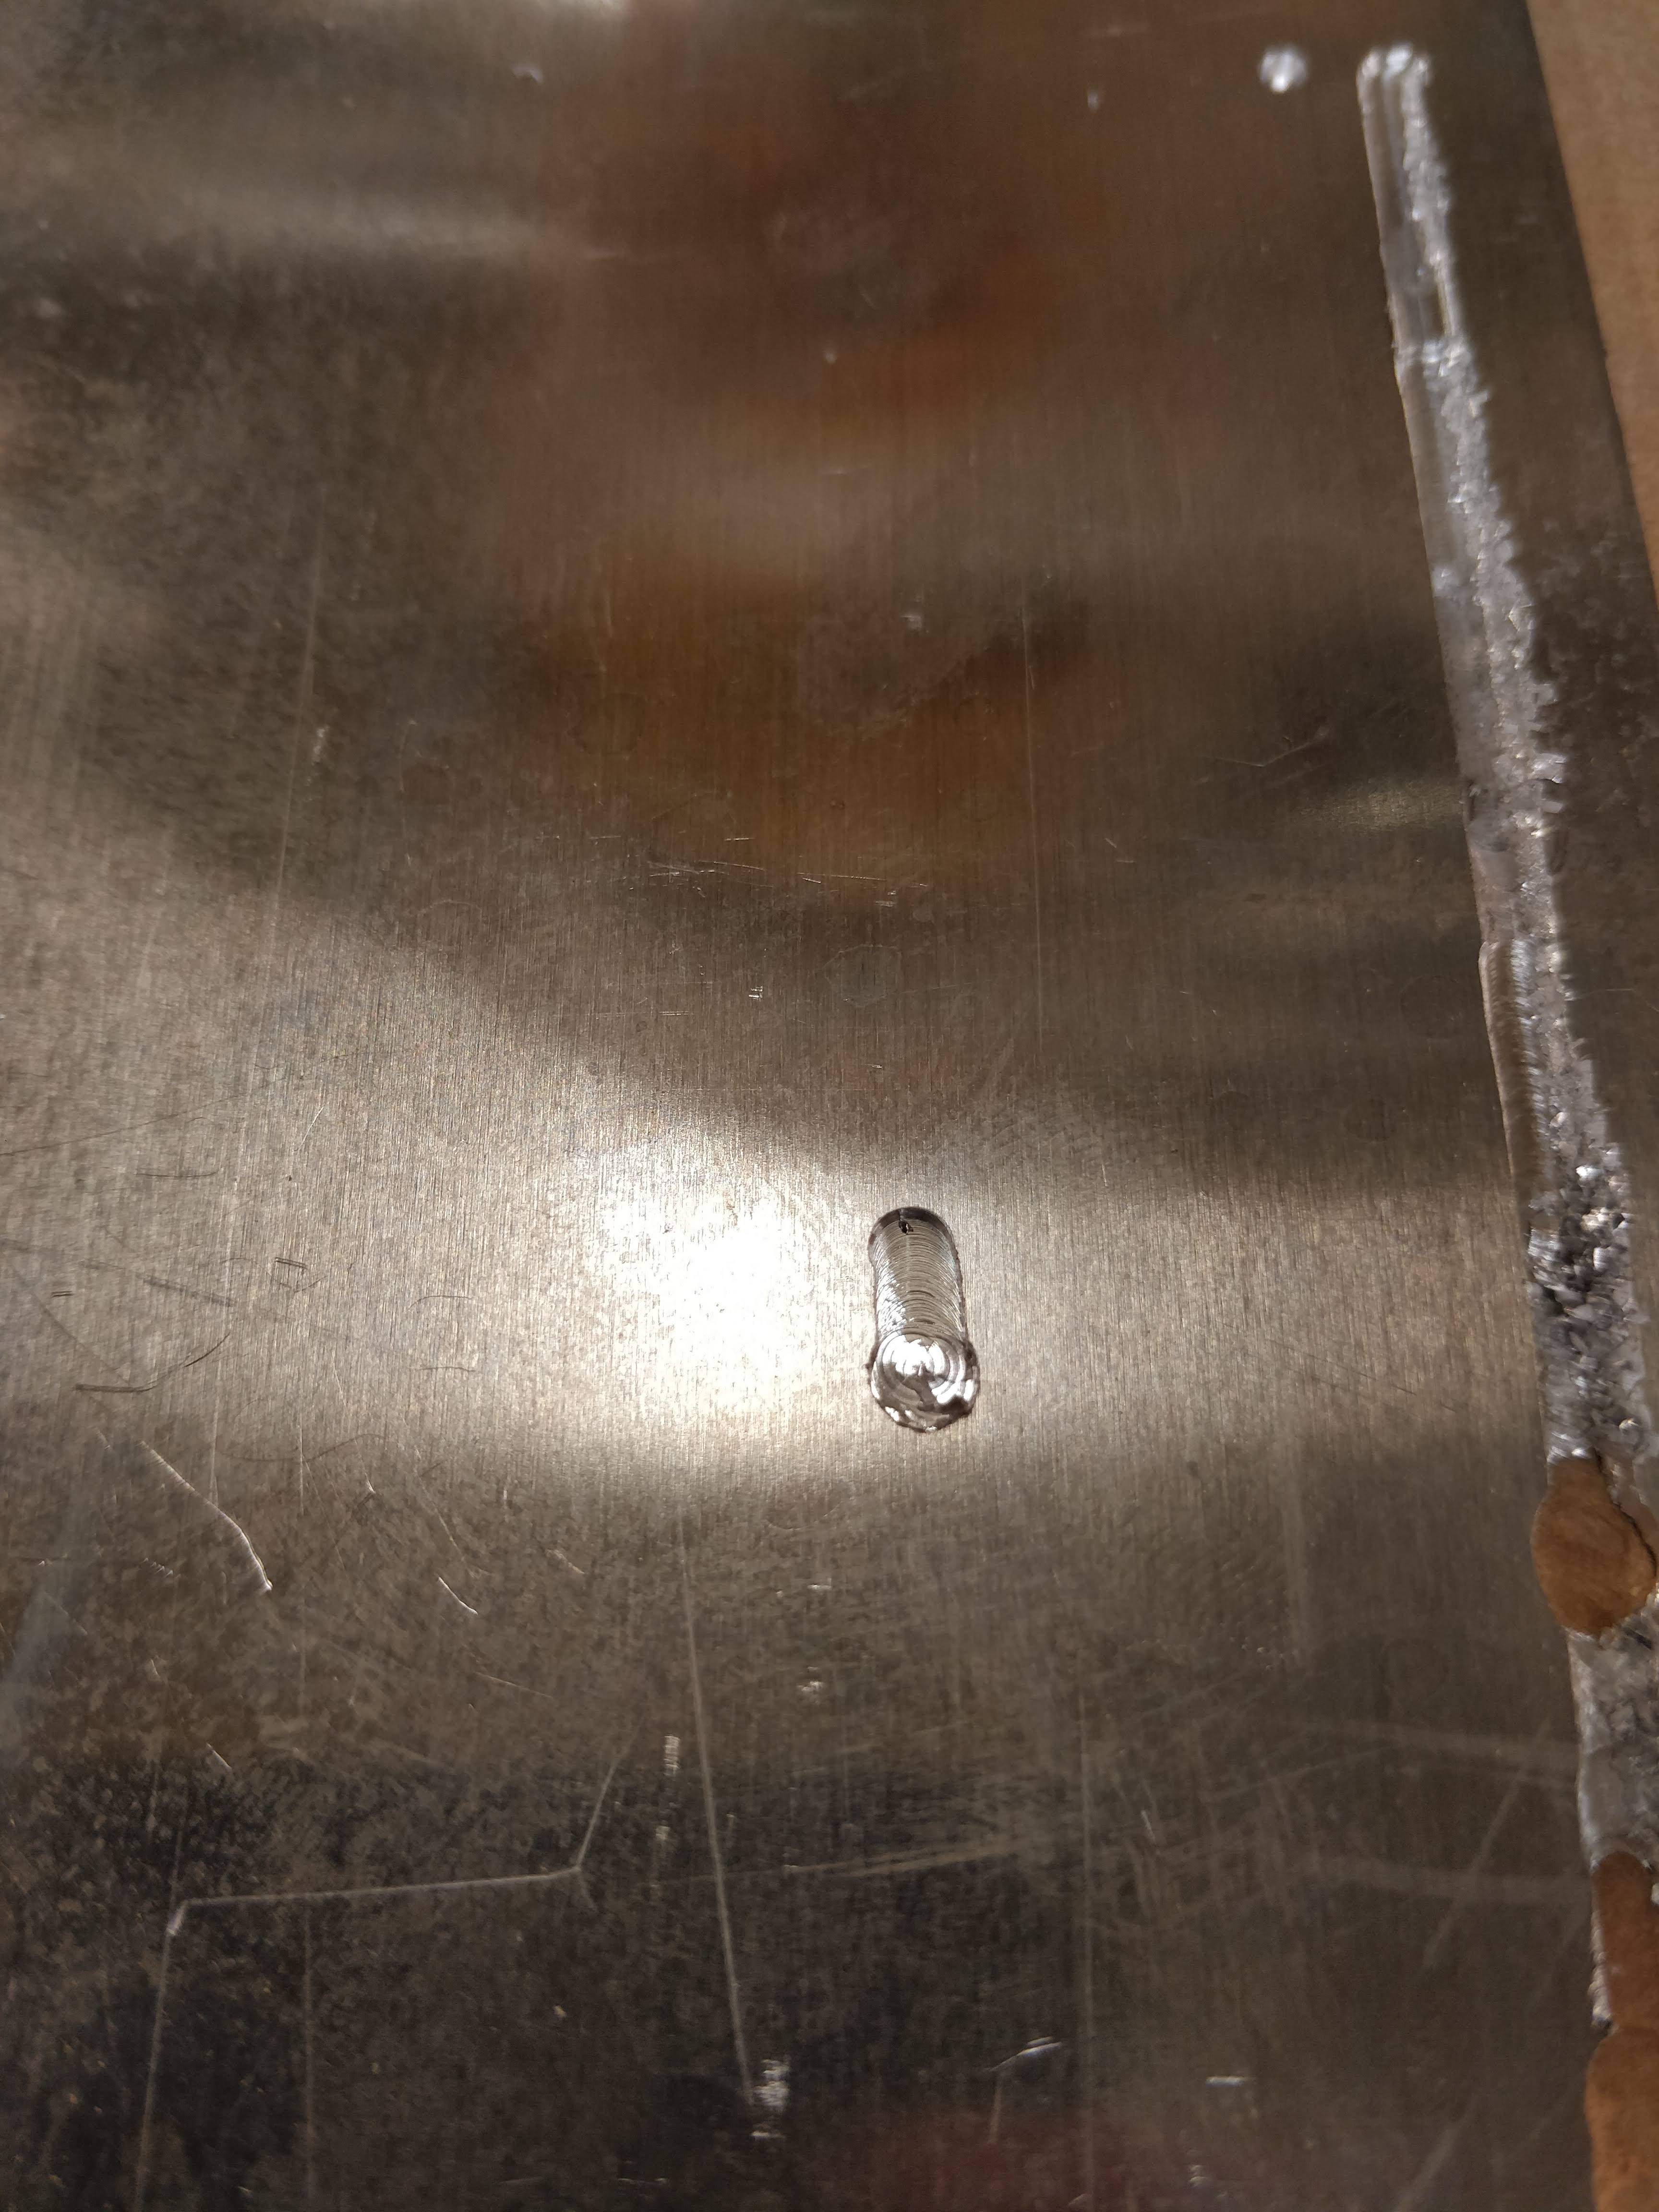
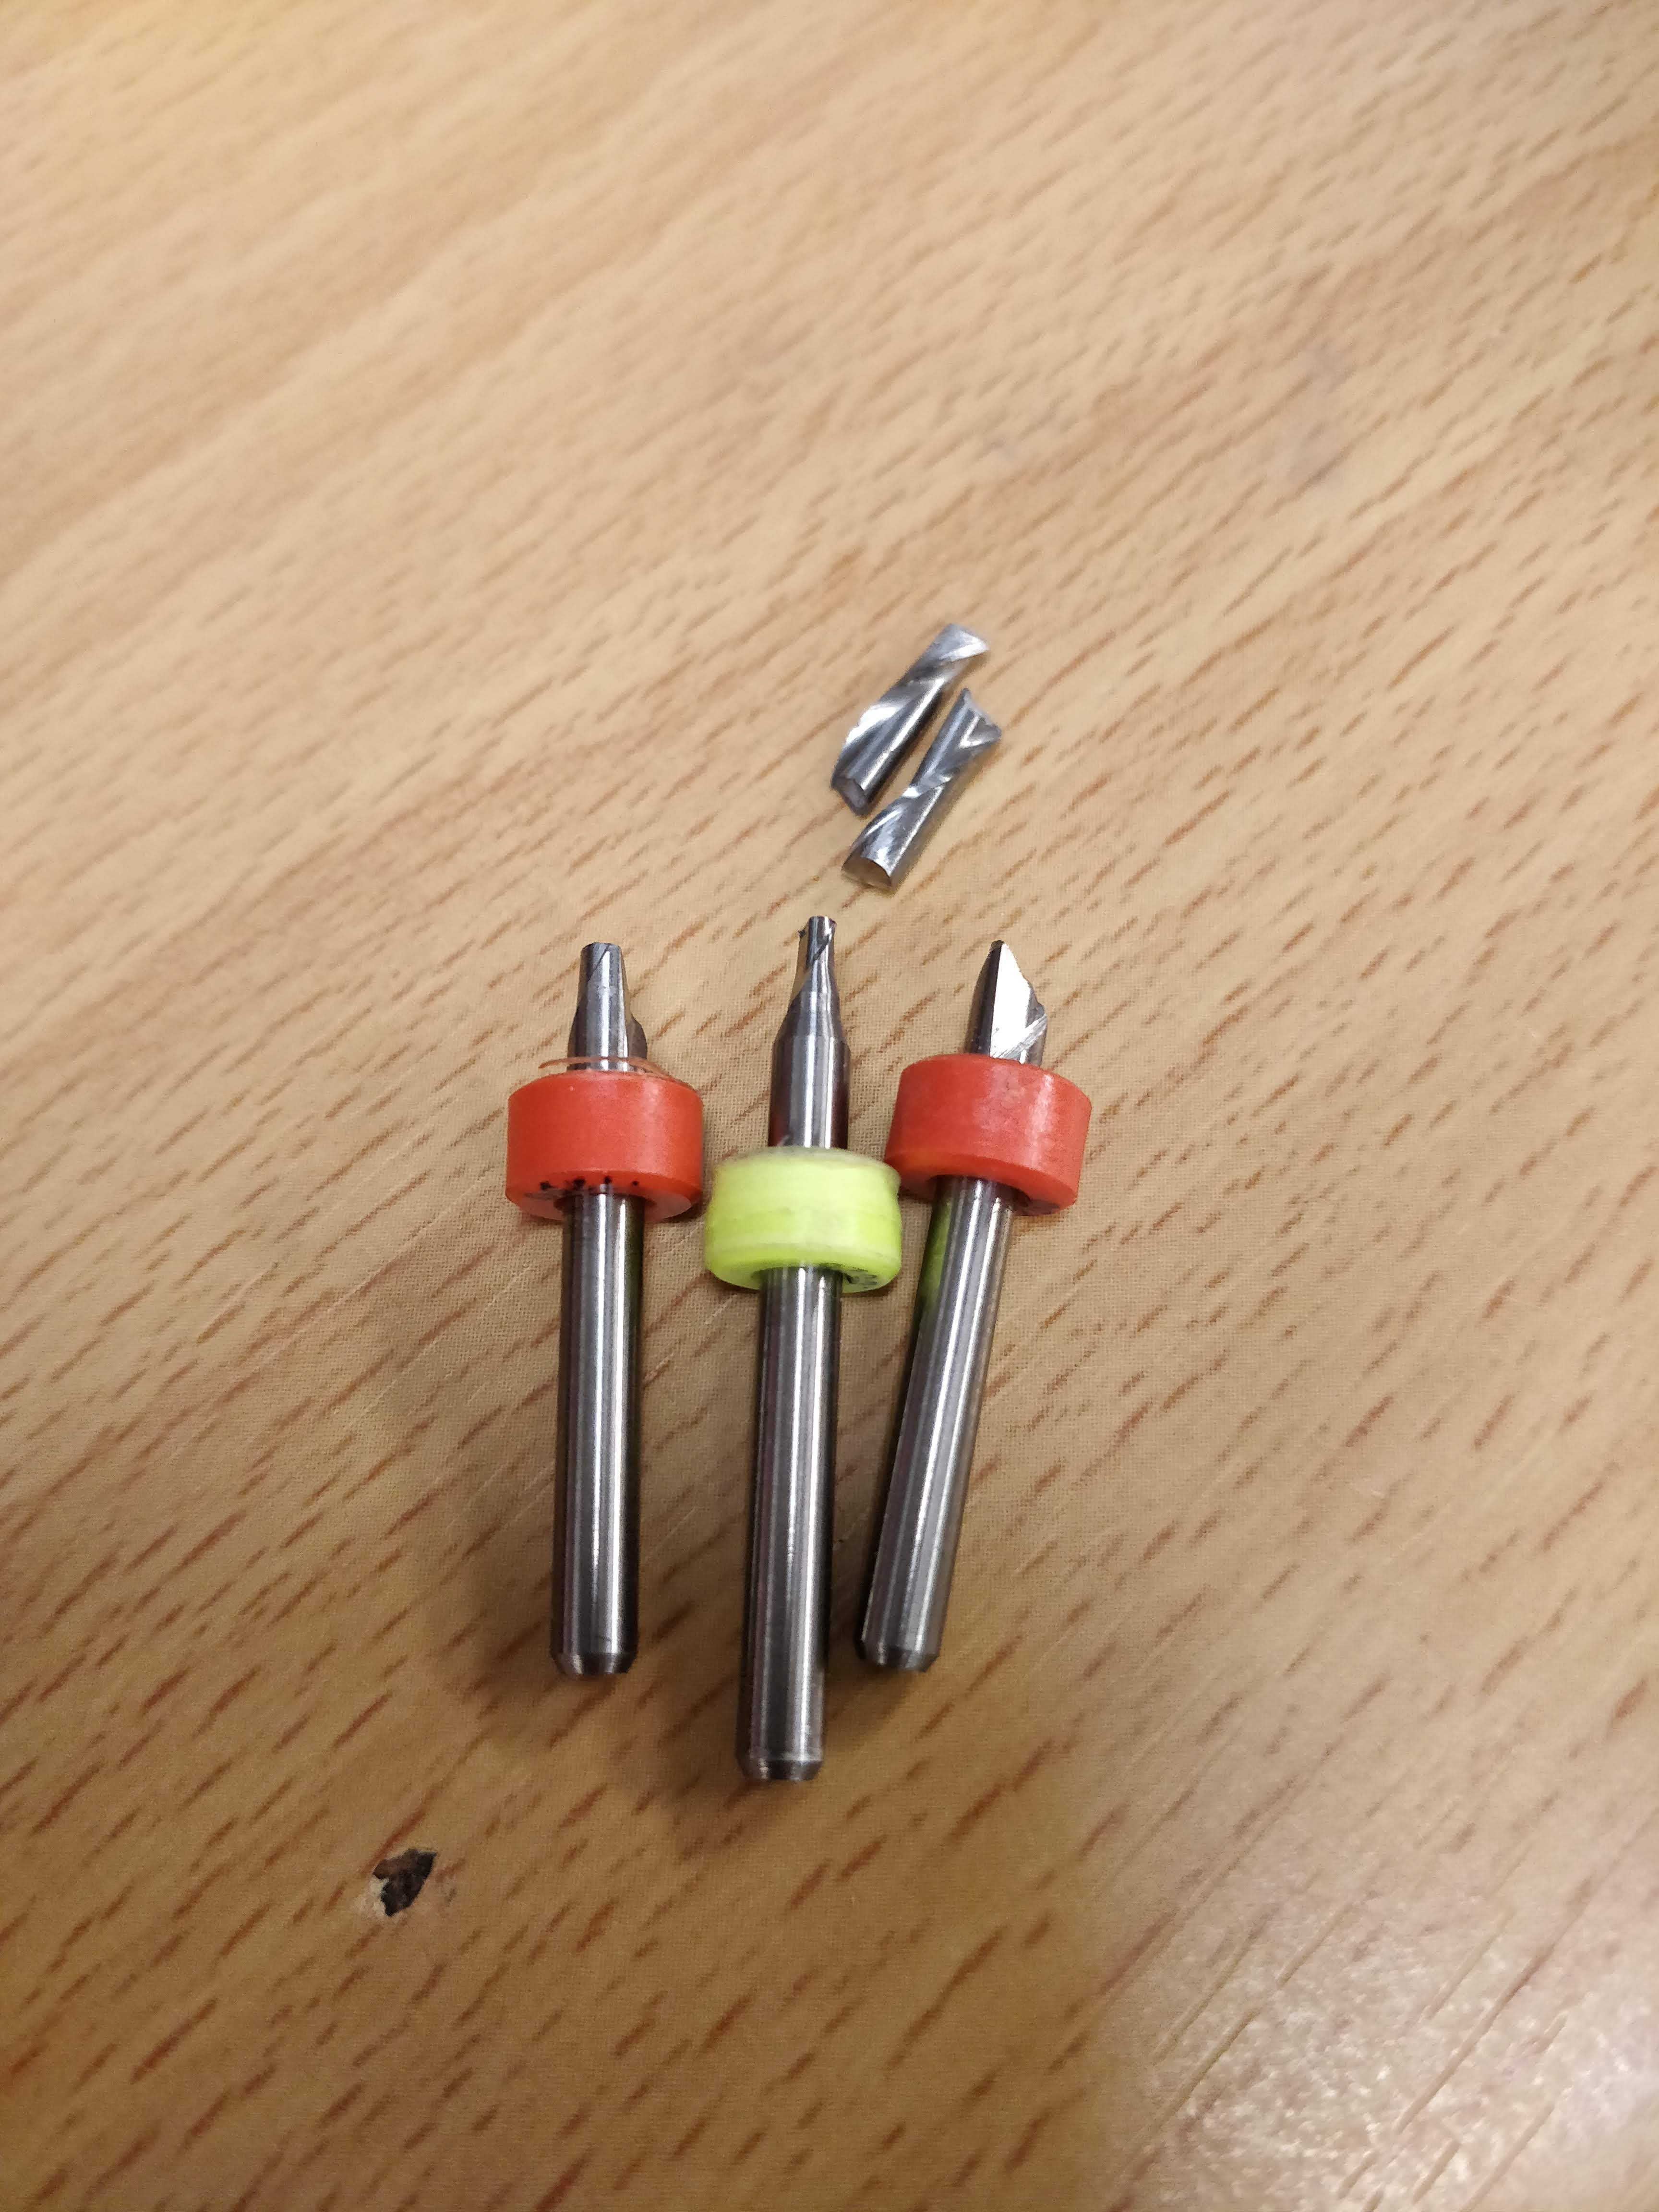
Managed to break three endmills.
I had a design that I needed to cut out of 1.6mm aluminum sheet. Tested it on wood first and it worked ok, using the 1/16" two-flute endmill for the screw holes and the 1/8" single-flute endmill for the outline, both from Ryan’s shop.
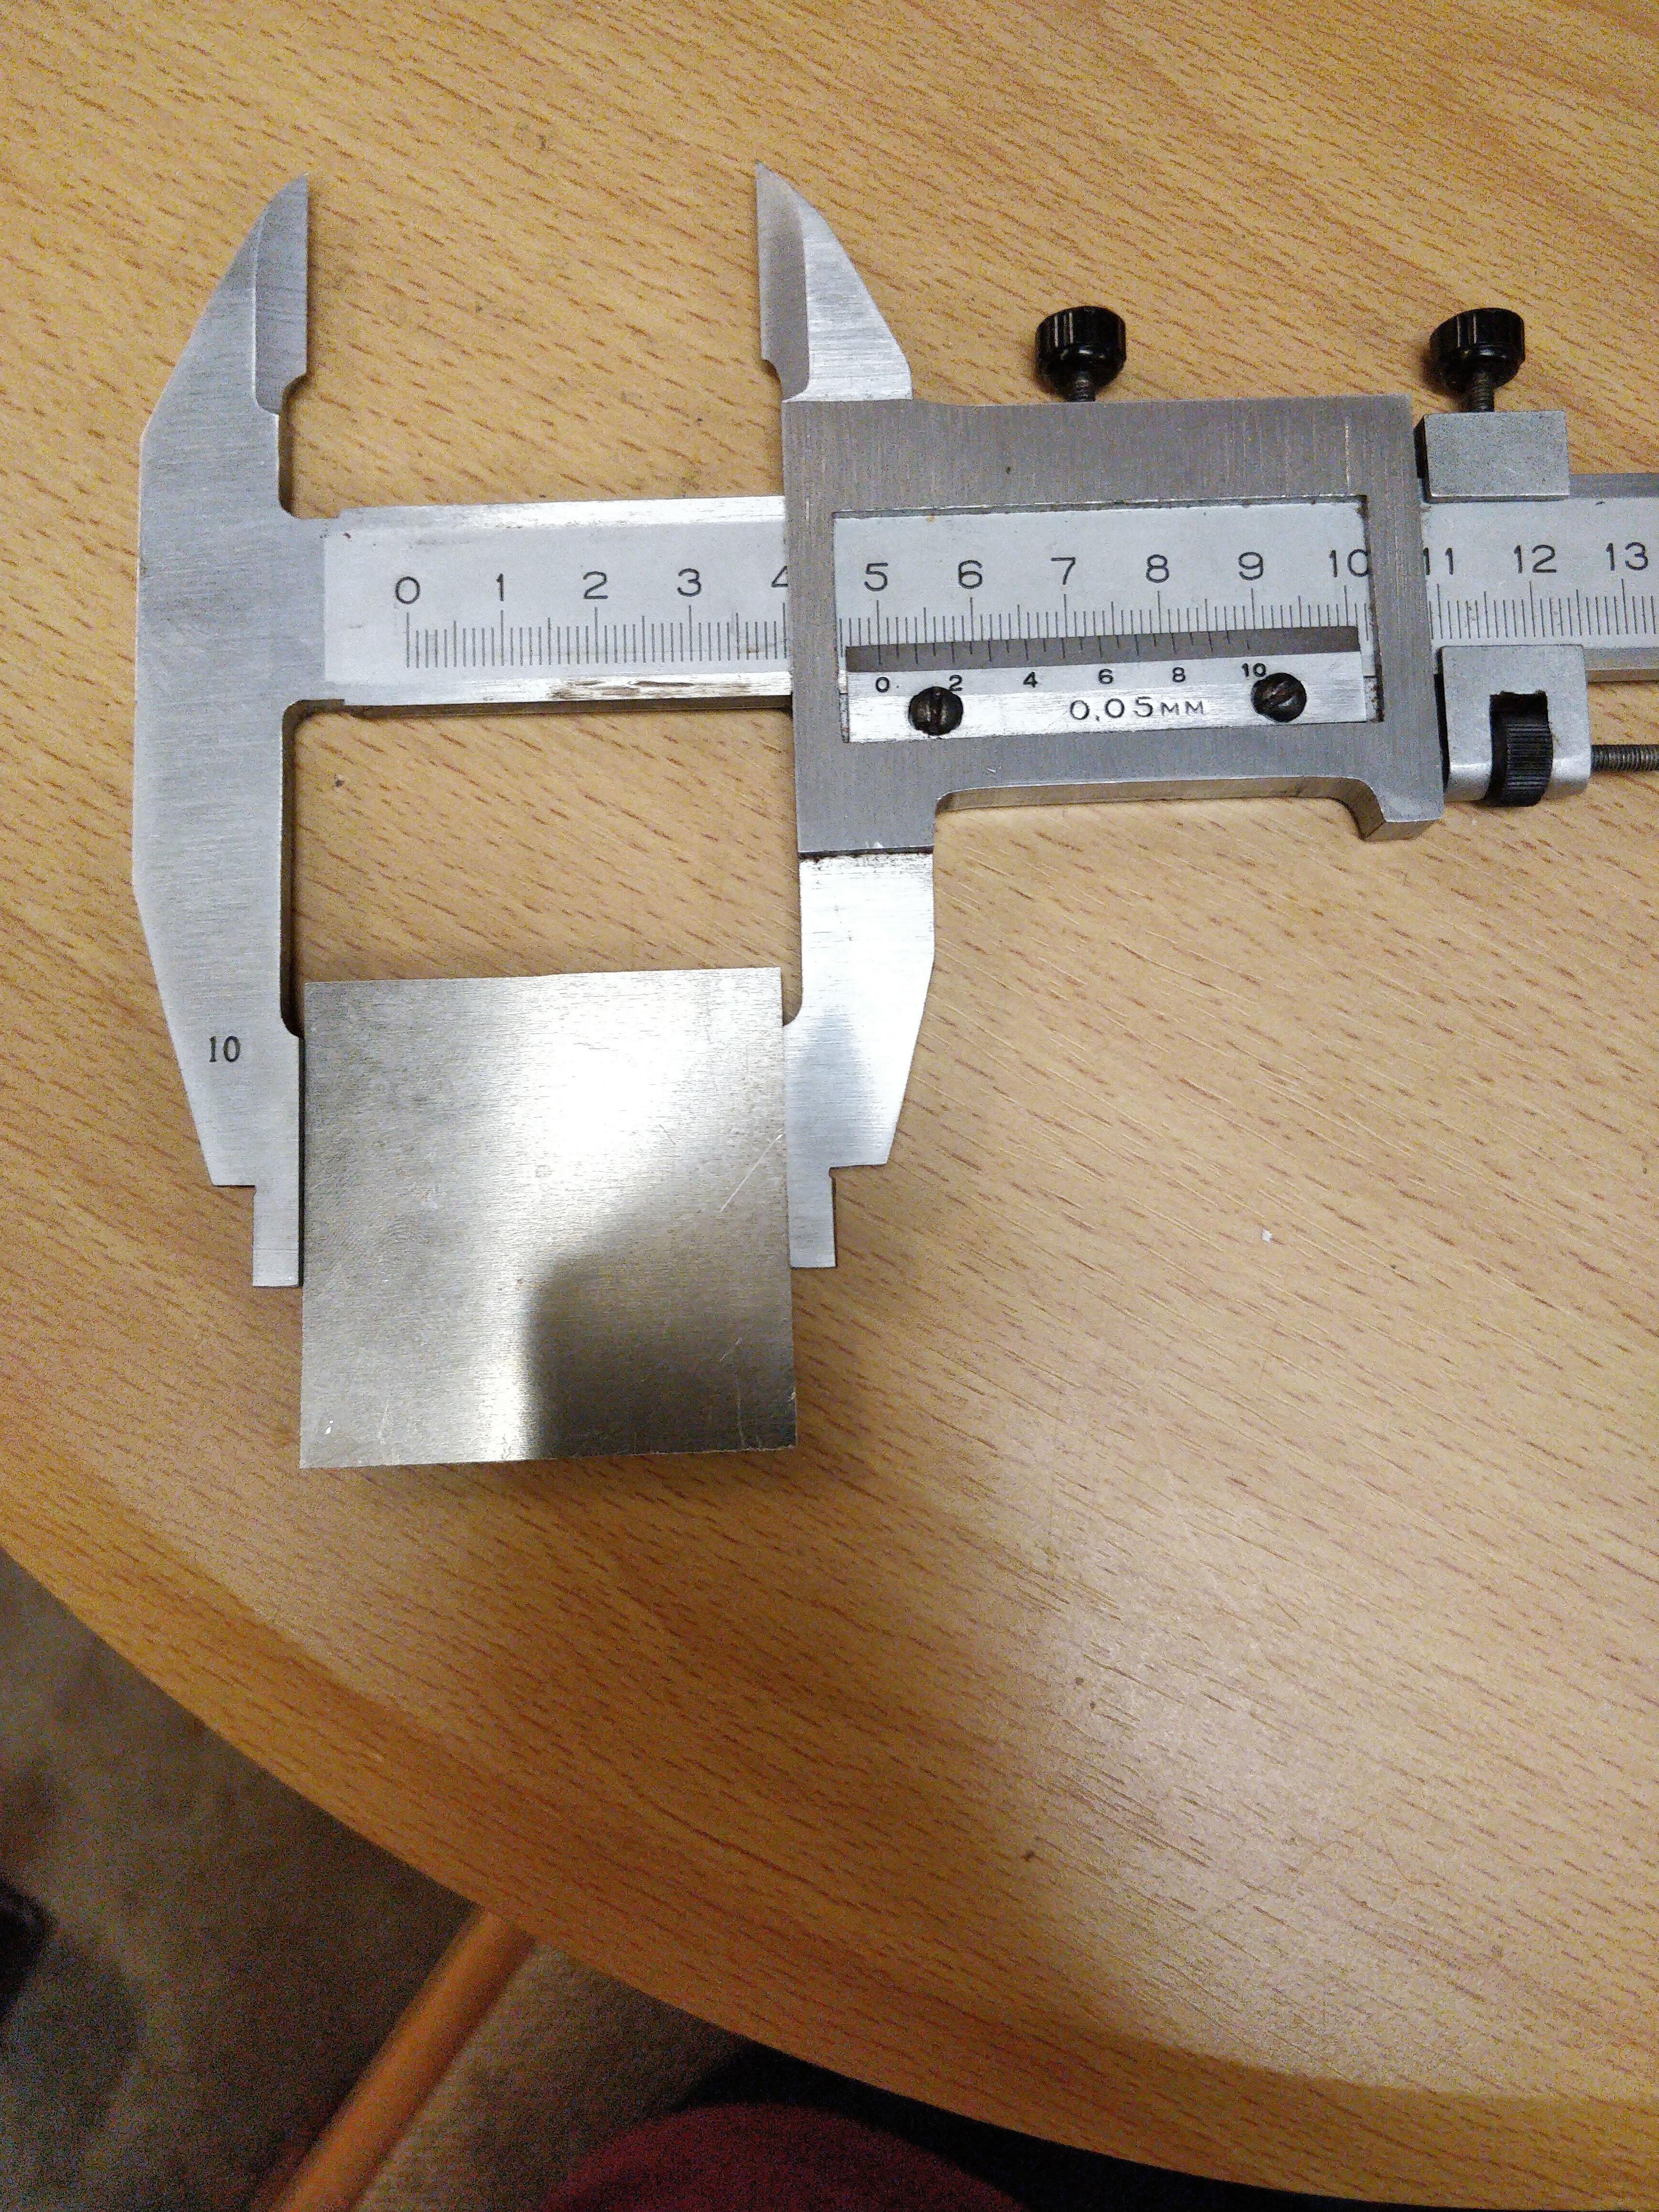
I first tested my settings by cutting out a 50mm square that ended up having perfect dimensions (my caliper showed 50.0mm)
After this, through an increasingly stupid series of mistakes, I managed to break three endmills. At first, I unknowingly set DOC to 2.0mm.
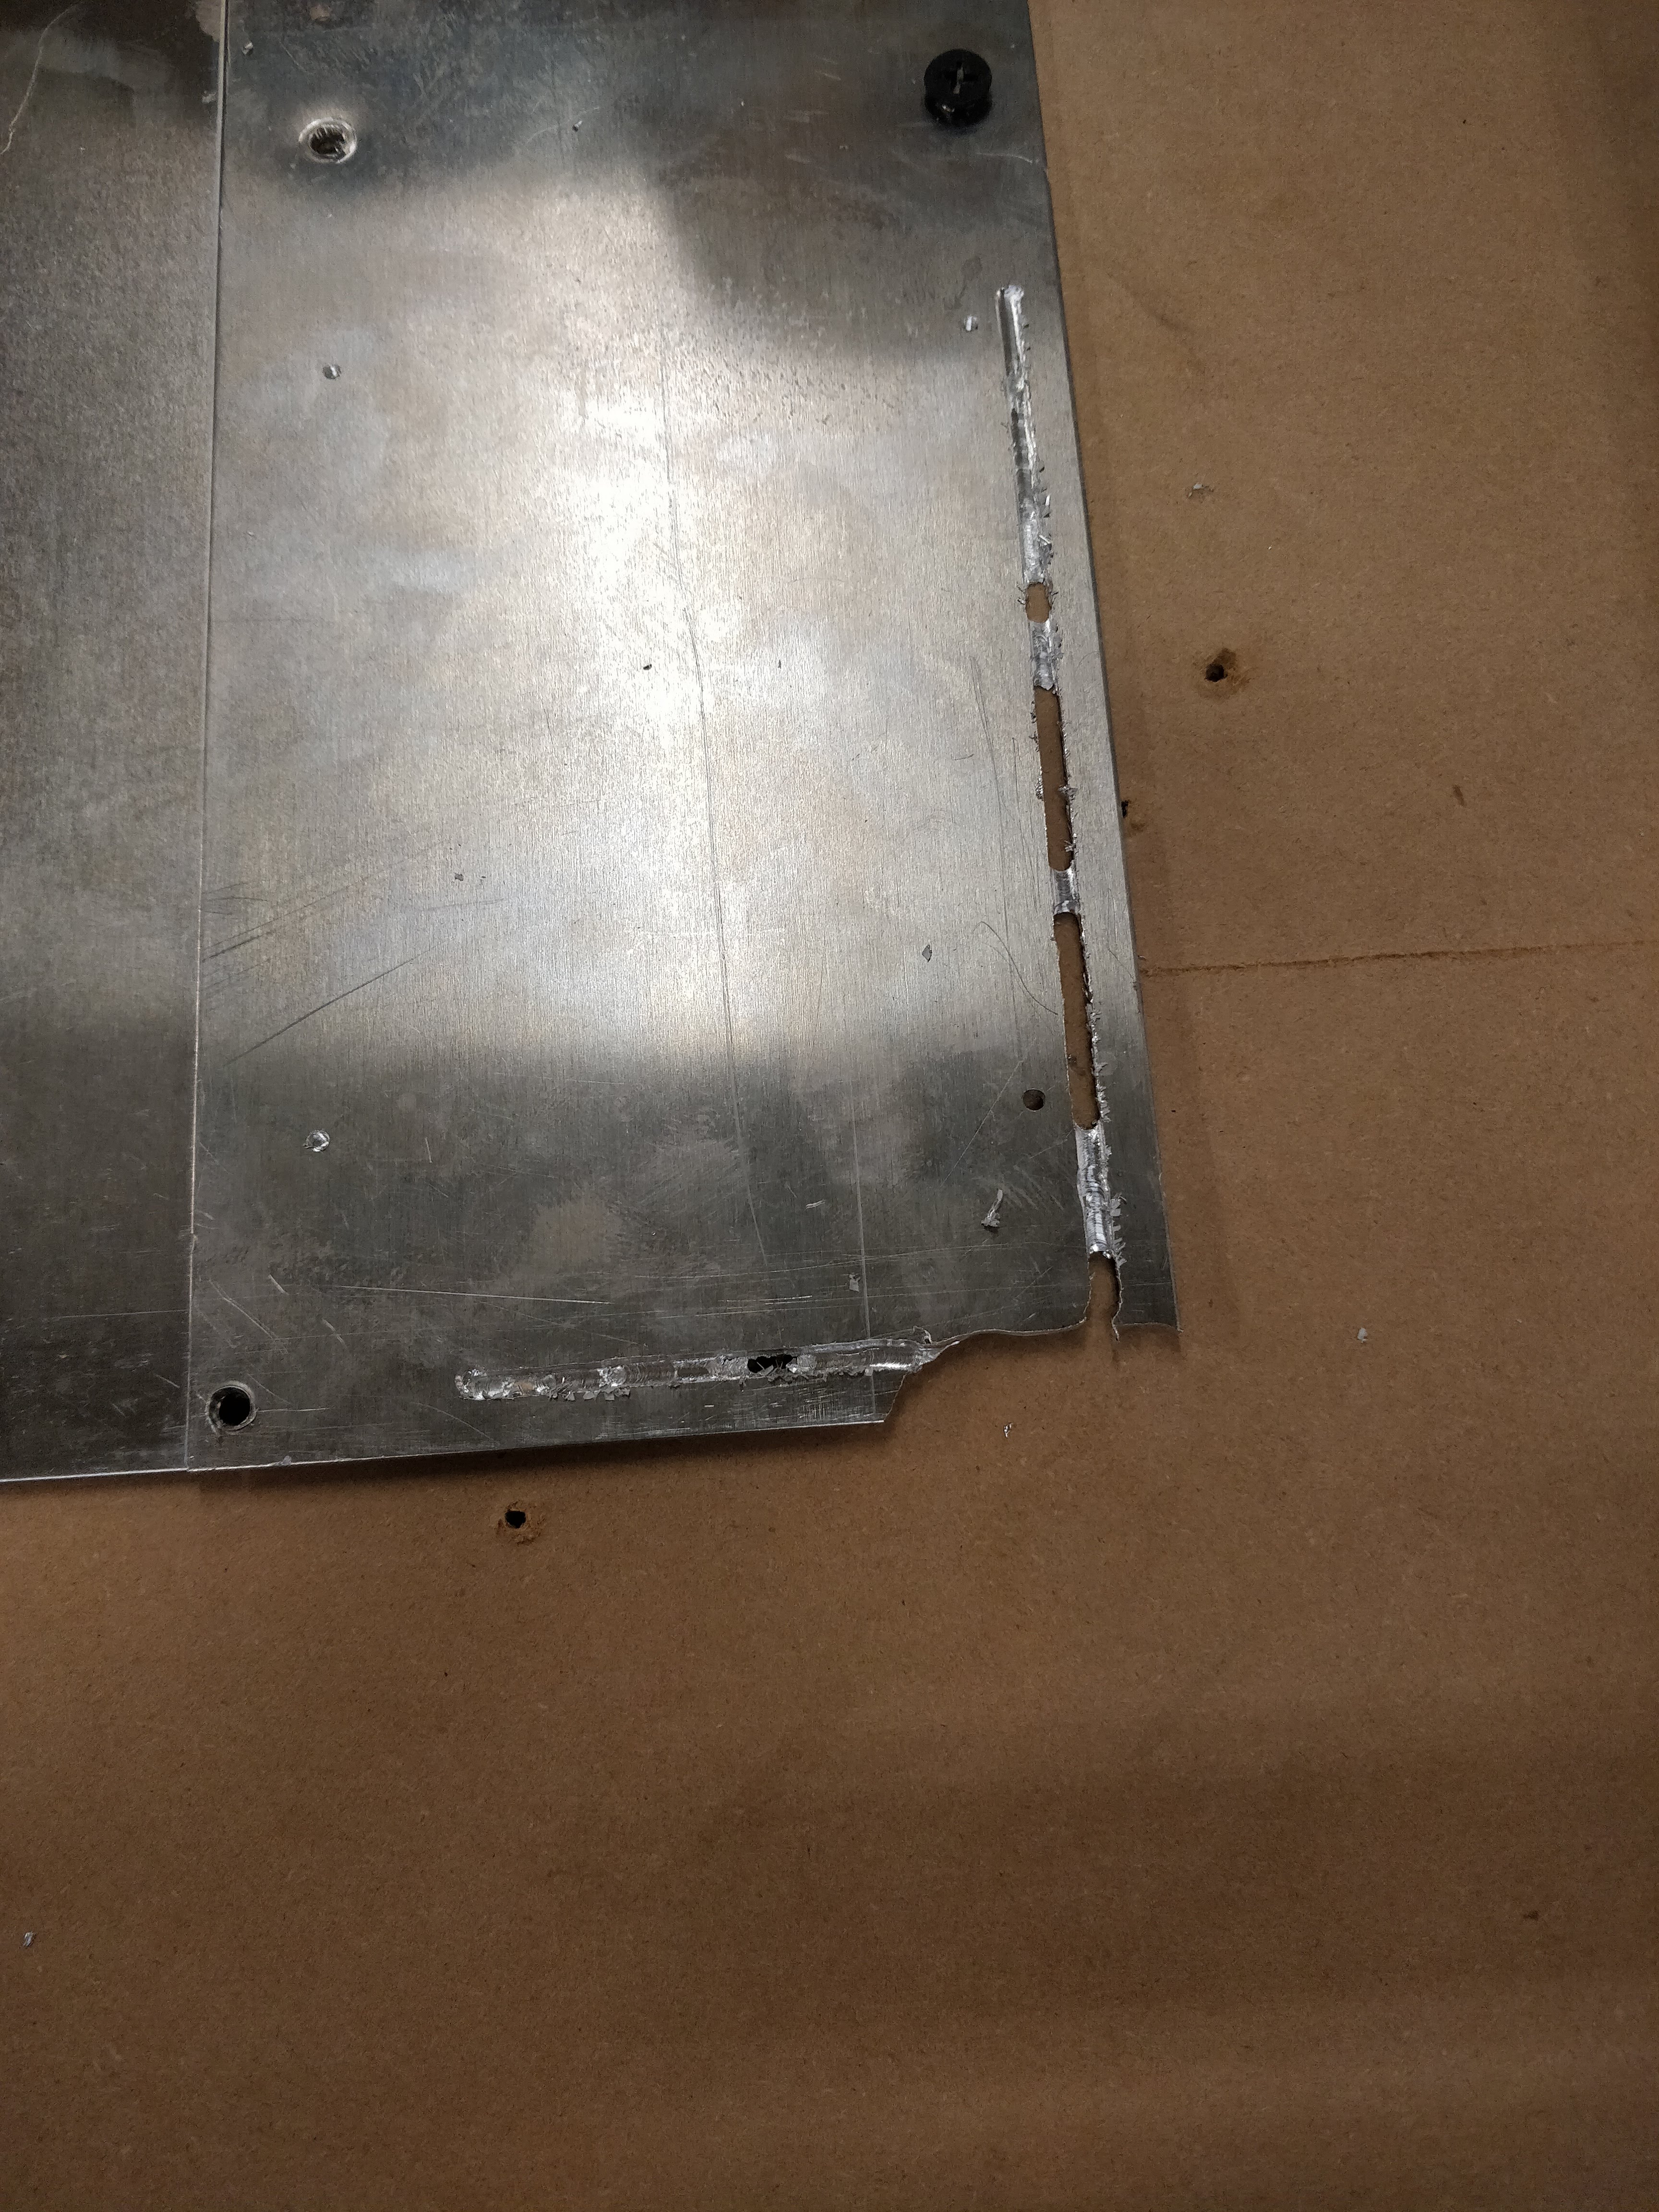
Fixed that, but forgot to use the updated G-code.
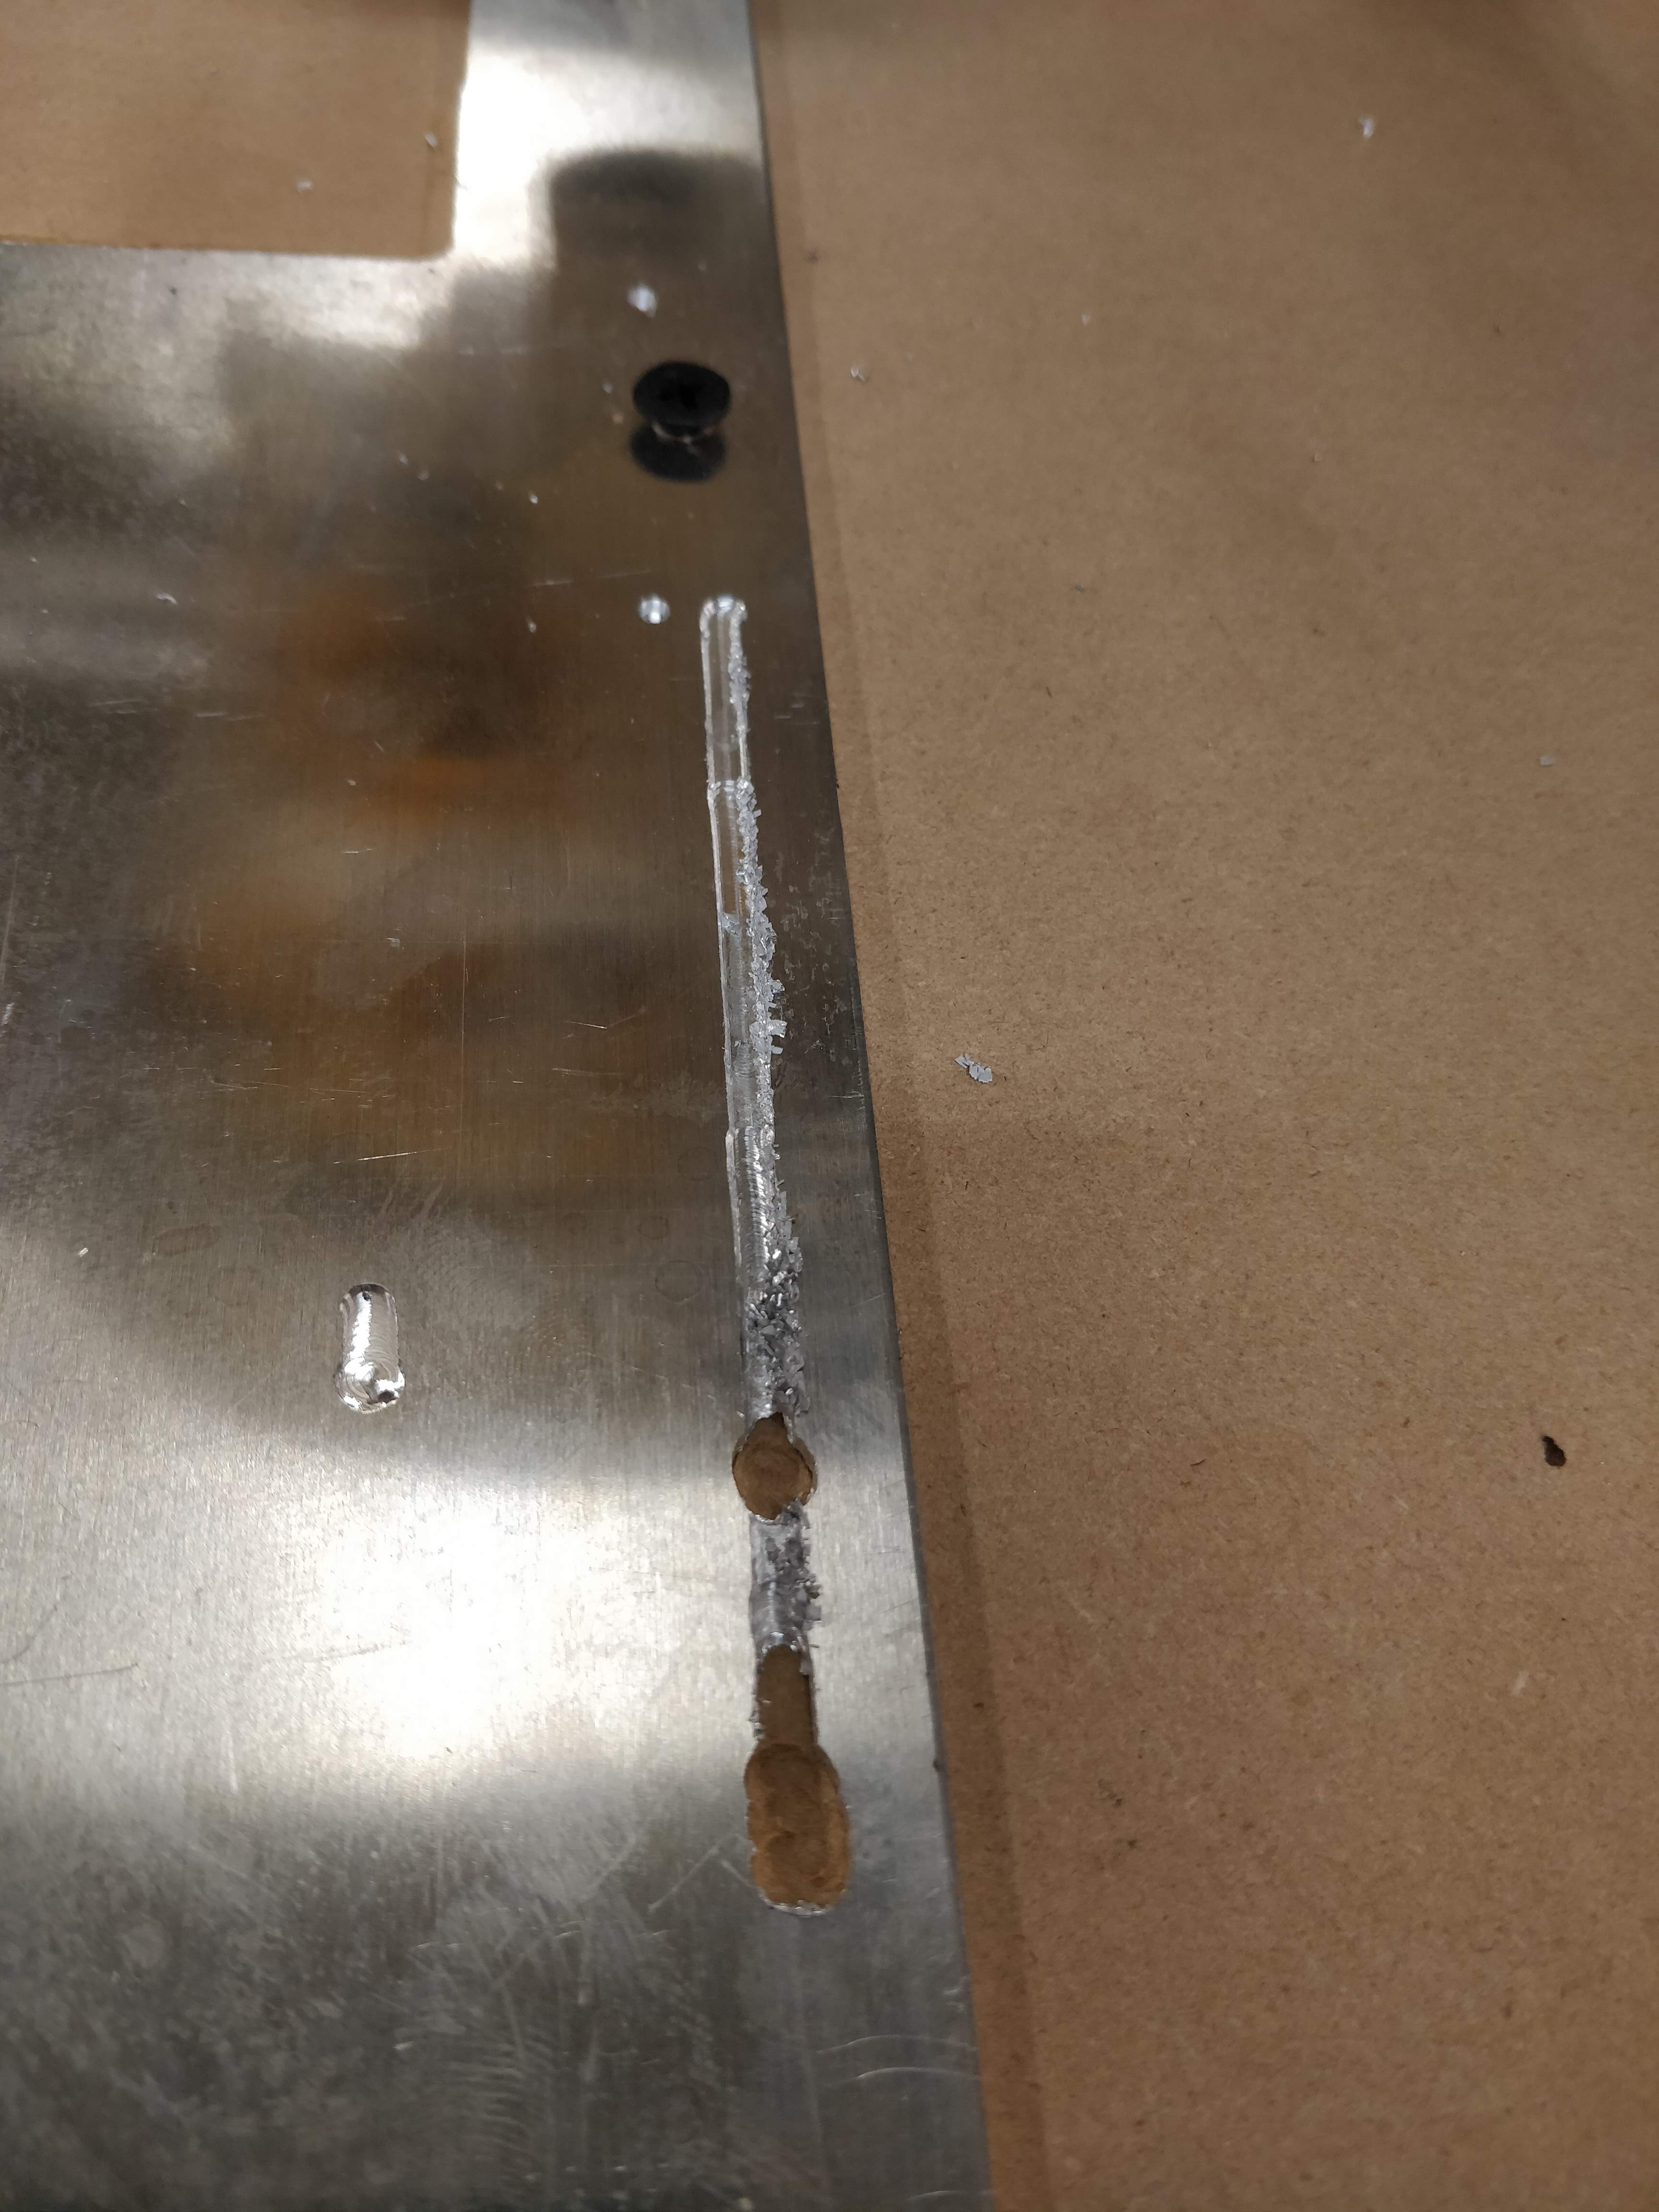
Forgot to home the machine.
Now that I have my settings tuned, I’ll be ordering some new endmills.
1 Like
I’m starting a jar of broken carbide. They still work okay as stop pins for aligning stuff to the spoil board.
3 Likes
So I got my new endmills. A much greater quantity of endmills this time.
Did a new aluminum square with new settings (0.25mm DOC, 3.5 mm/s feedrate) and it cut out properly. Now I’m going to try generating new G-code for the actual part I’ve been trying to make.