Been lurking here for quite a while learning as much as I possibly can, Well after moving to my house from an apartment without a garage I finally got around to getting my MPCNC finished after having the printed parts sitting around for about 6 months
I have made a lot of progress lately, got my table built and everything mounted and squared. Starting to look like a real machine in that picture!
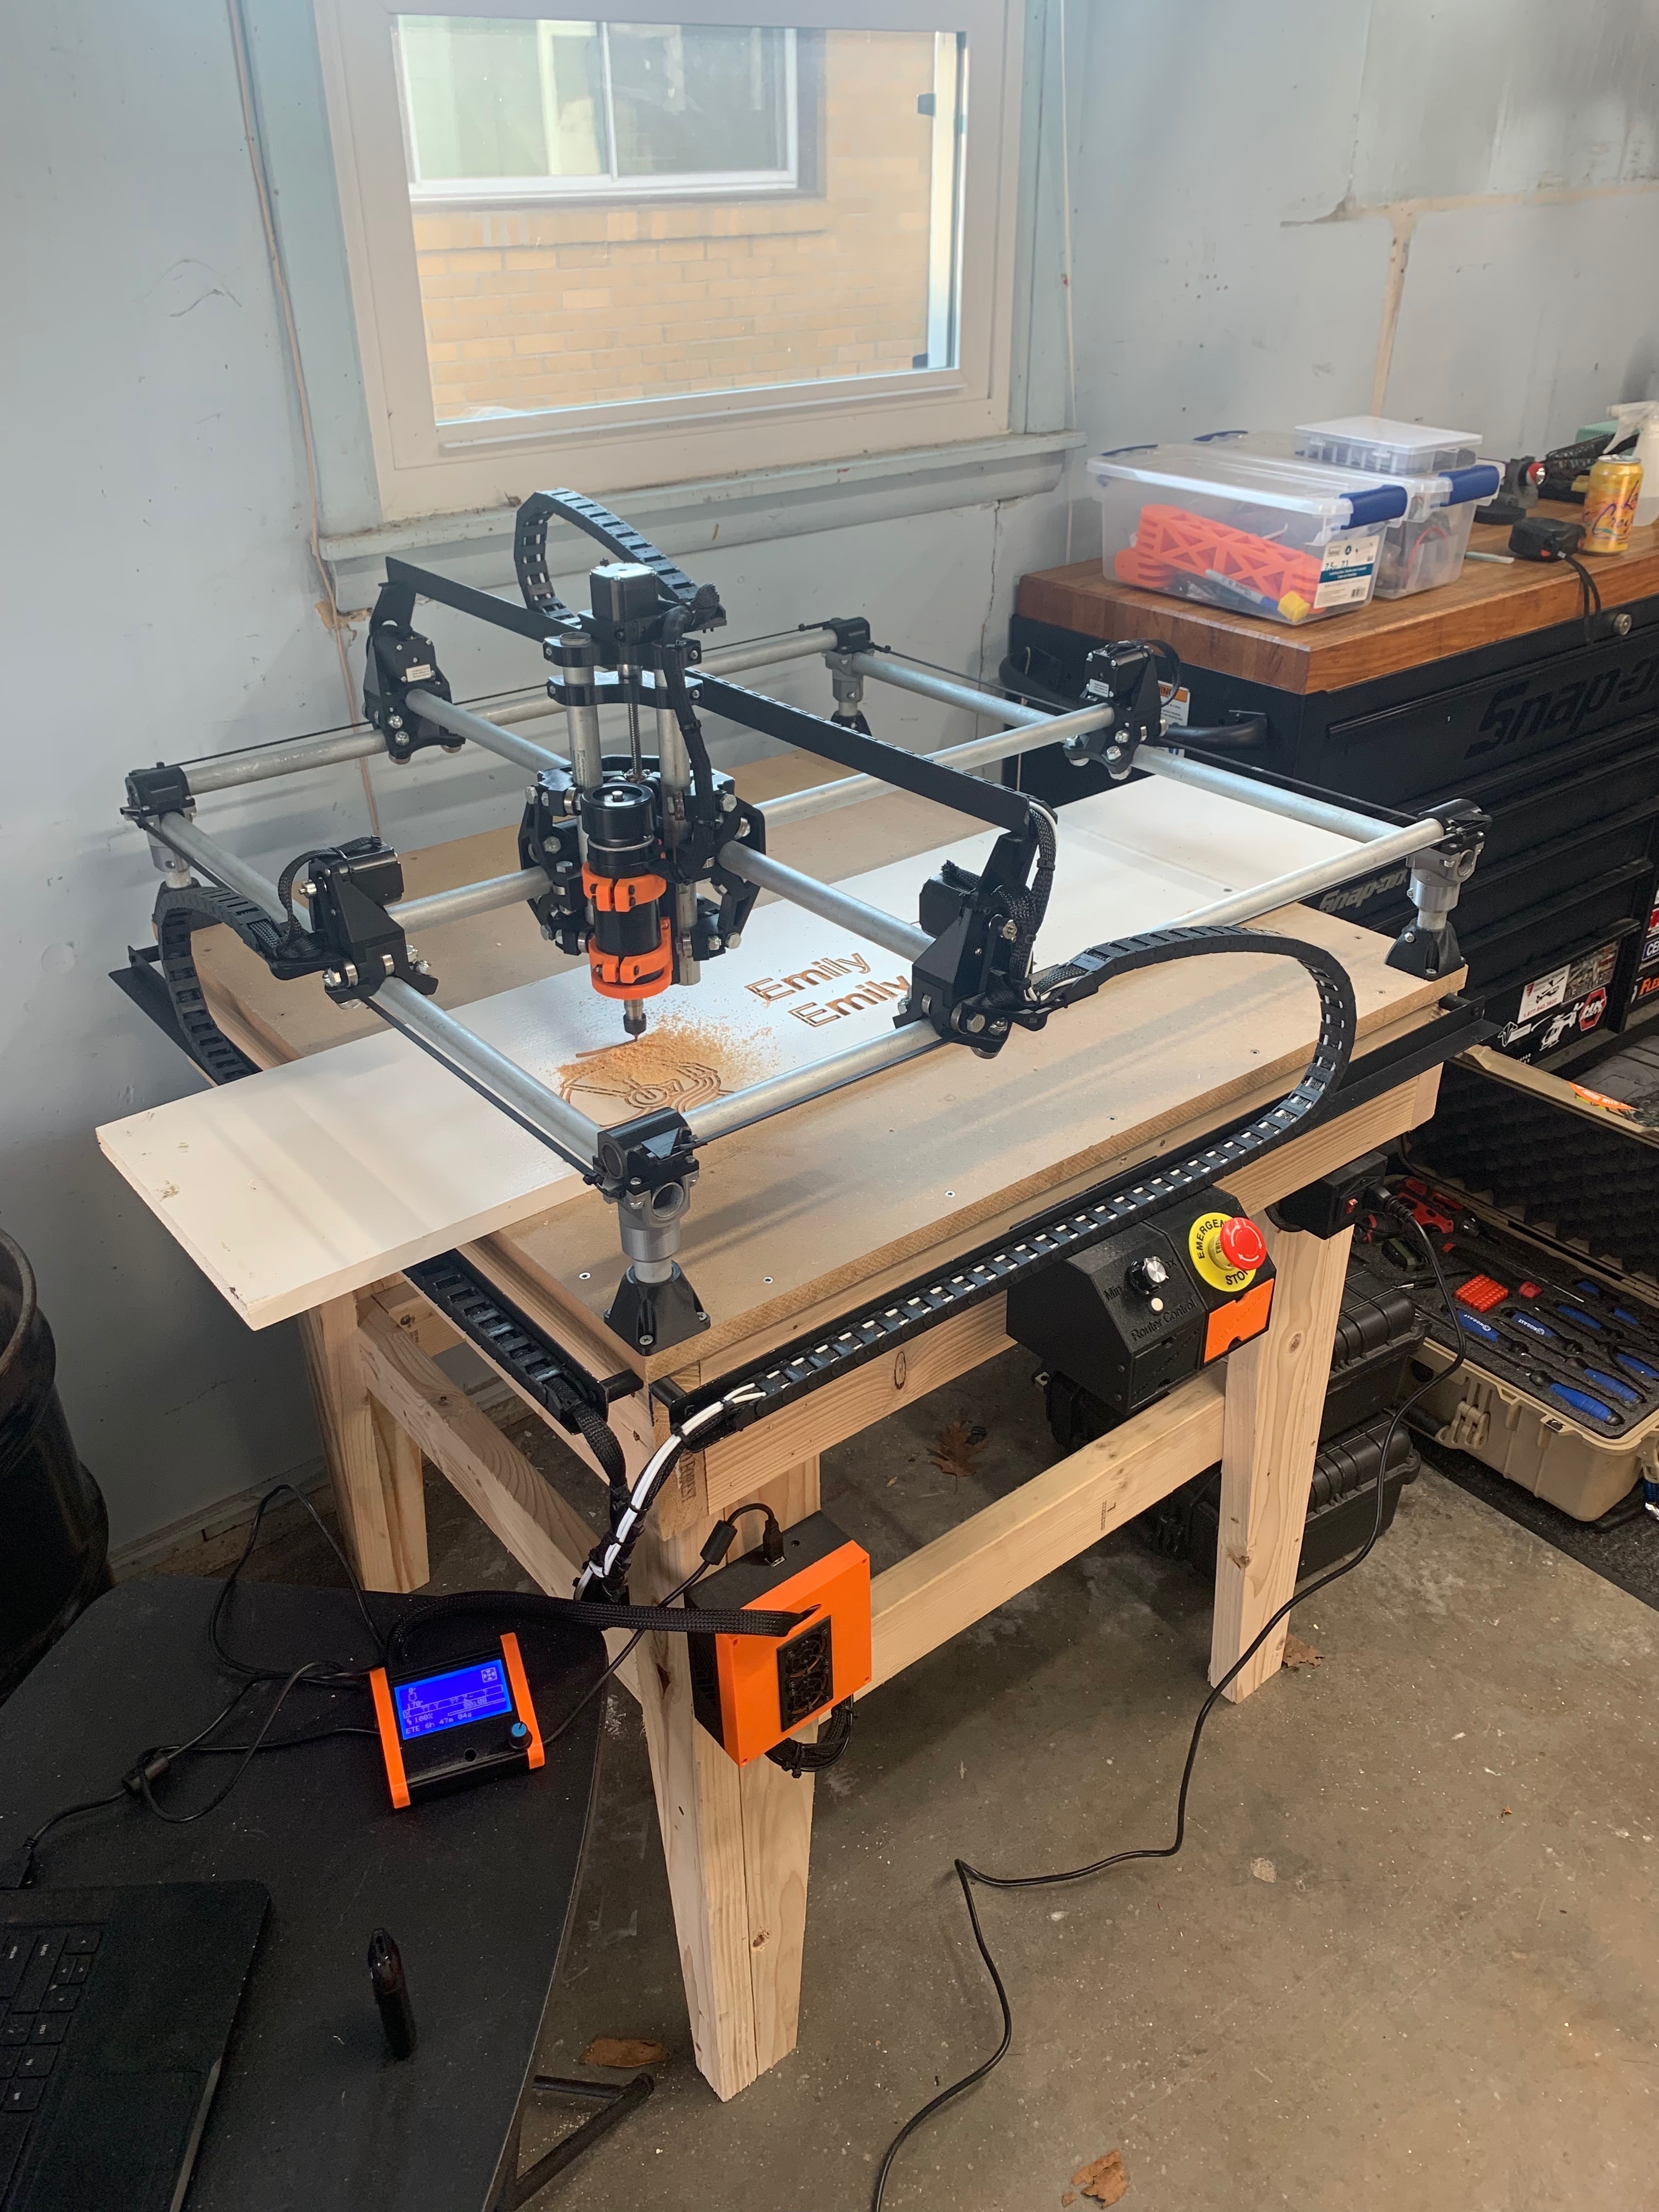
Once my table was built and I was pretty sure everything was square and mounted to my liking I started looking at options for how I was going to get my wiring done, the electronics case/cooling for my board etc. Got a lot of that hammered out as you can see below. Pretty happy with how it has turned out so far. This picture is where I am currently at.
Still to do:
Wire up the emergency stop
Clean up/hide some of the cables
Figure out if I like the LCD screen for general use and if so make a mount for it on the machine
Pick a router/mount
That about sums up my current progress!..oh yea and I did my first crown test, which I think turned out pretty well but hopefully some experts here can chime in and tell me what you think.
Did some more work on her, got the spindle mounted and wired and made my first chips!
Still getting the hang of the software…it’s not too terrible!
Added a control box for the spindle and mains power in. Also painted those rails black
Might have to paint the table
I really like your build. Working on one right now. I am curious if you can point me in the direction of a few of the pieces you used. Looking at the boxes you put the emergency stop button, the control board and how did you mount the aluminum rails for the cable chain? Also, did you 3d print that as well? Really good looking build. Thanks for any help you can provide!
The emergency stop box and the router control box are both 3d printed, my own design.
The control board box is off of thingiverse with a custom top piece that I designed that also adds two 12volt fans to help keep everything cool. Here is the link for the the bottom parts I used: https://www.thingiverse.com/thing:3400866
The aluminum rails are mounts on 3d printed legs
That link also includes what I used to attach the drag chain the to machine.
For the rains that are mounted to the table X/Y I just used a couple 3d printed spacers to get it away from the machine the right amount
The drag chain I didn’t print, didn’t see a point when you can get it pretty cheap.
All of the stuff I designed ill have to clean up and upload to thingiverse