I have been 3d printing for about 6 months now and fancied a step into cnc and was pointed in the direction of this amazing project (MPCNC). Other than the 3D printing I have zero background in anything like this so im essentially self taught, I got into 3D printing off the back of the fact I wanted to learn CAD but actually wanted to see my designs “come to life” otherwise for me it would of been not much point.
Mostly looking at milling Alu, but will start off small … baby steps
I have just started printing the parts out on my ender 3 and scoping all the parts from amazon etc. I will update this thread with pictures and build steps
Robin
Update 27/06/2019
Printing is going well so far, almost everything measures up, slightly concerned over the width f my holes on the lower z axis mount (can’t remember the name, looks like a fork triple clamp) . Gonna wait till I’ve got he 25mm od conduit see if i need to print the slightly larger version.
Heck yes, self taught and bringing things to life! I went to school for this and all it really does is teach you how to teach yourself. You will fit in nicely around here…if you can handle a little messing around as well.
I edited my original post and now its disappeared?
27/06/2019 Update
Printing has commenced, leaving some of the parts till i get the conduit as I am concerned the tube holes are not big enough (down to my printer most other measurements I have taken match up.
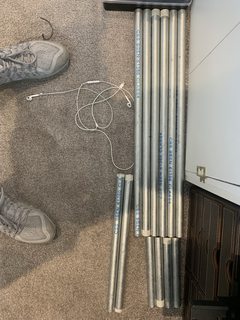
Conduit all cut thanks to my new Dremel 3000 way easier than a hacksaw and I can cut straight with this
All nuts, bolts, lead screw, bearings, belt and pinions are on there way, next month ill get the board and the steppers.
Oh and ordered a 500w er11 spindle on banggood, was £55, but just seen a 1.2kw on ali express for not a lot but will wait till ive managed to cut something first
Well now most of the hardware has come, just waiting on some of the M3x10, and M4 nylocs
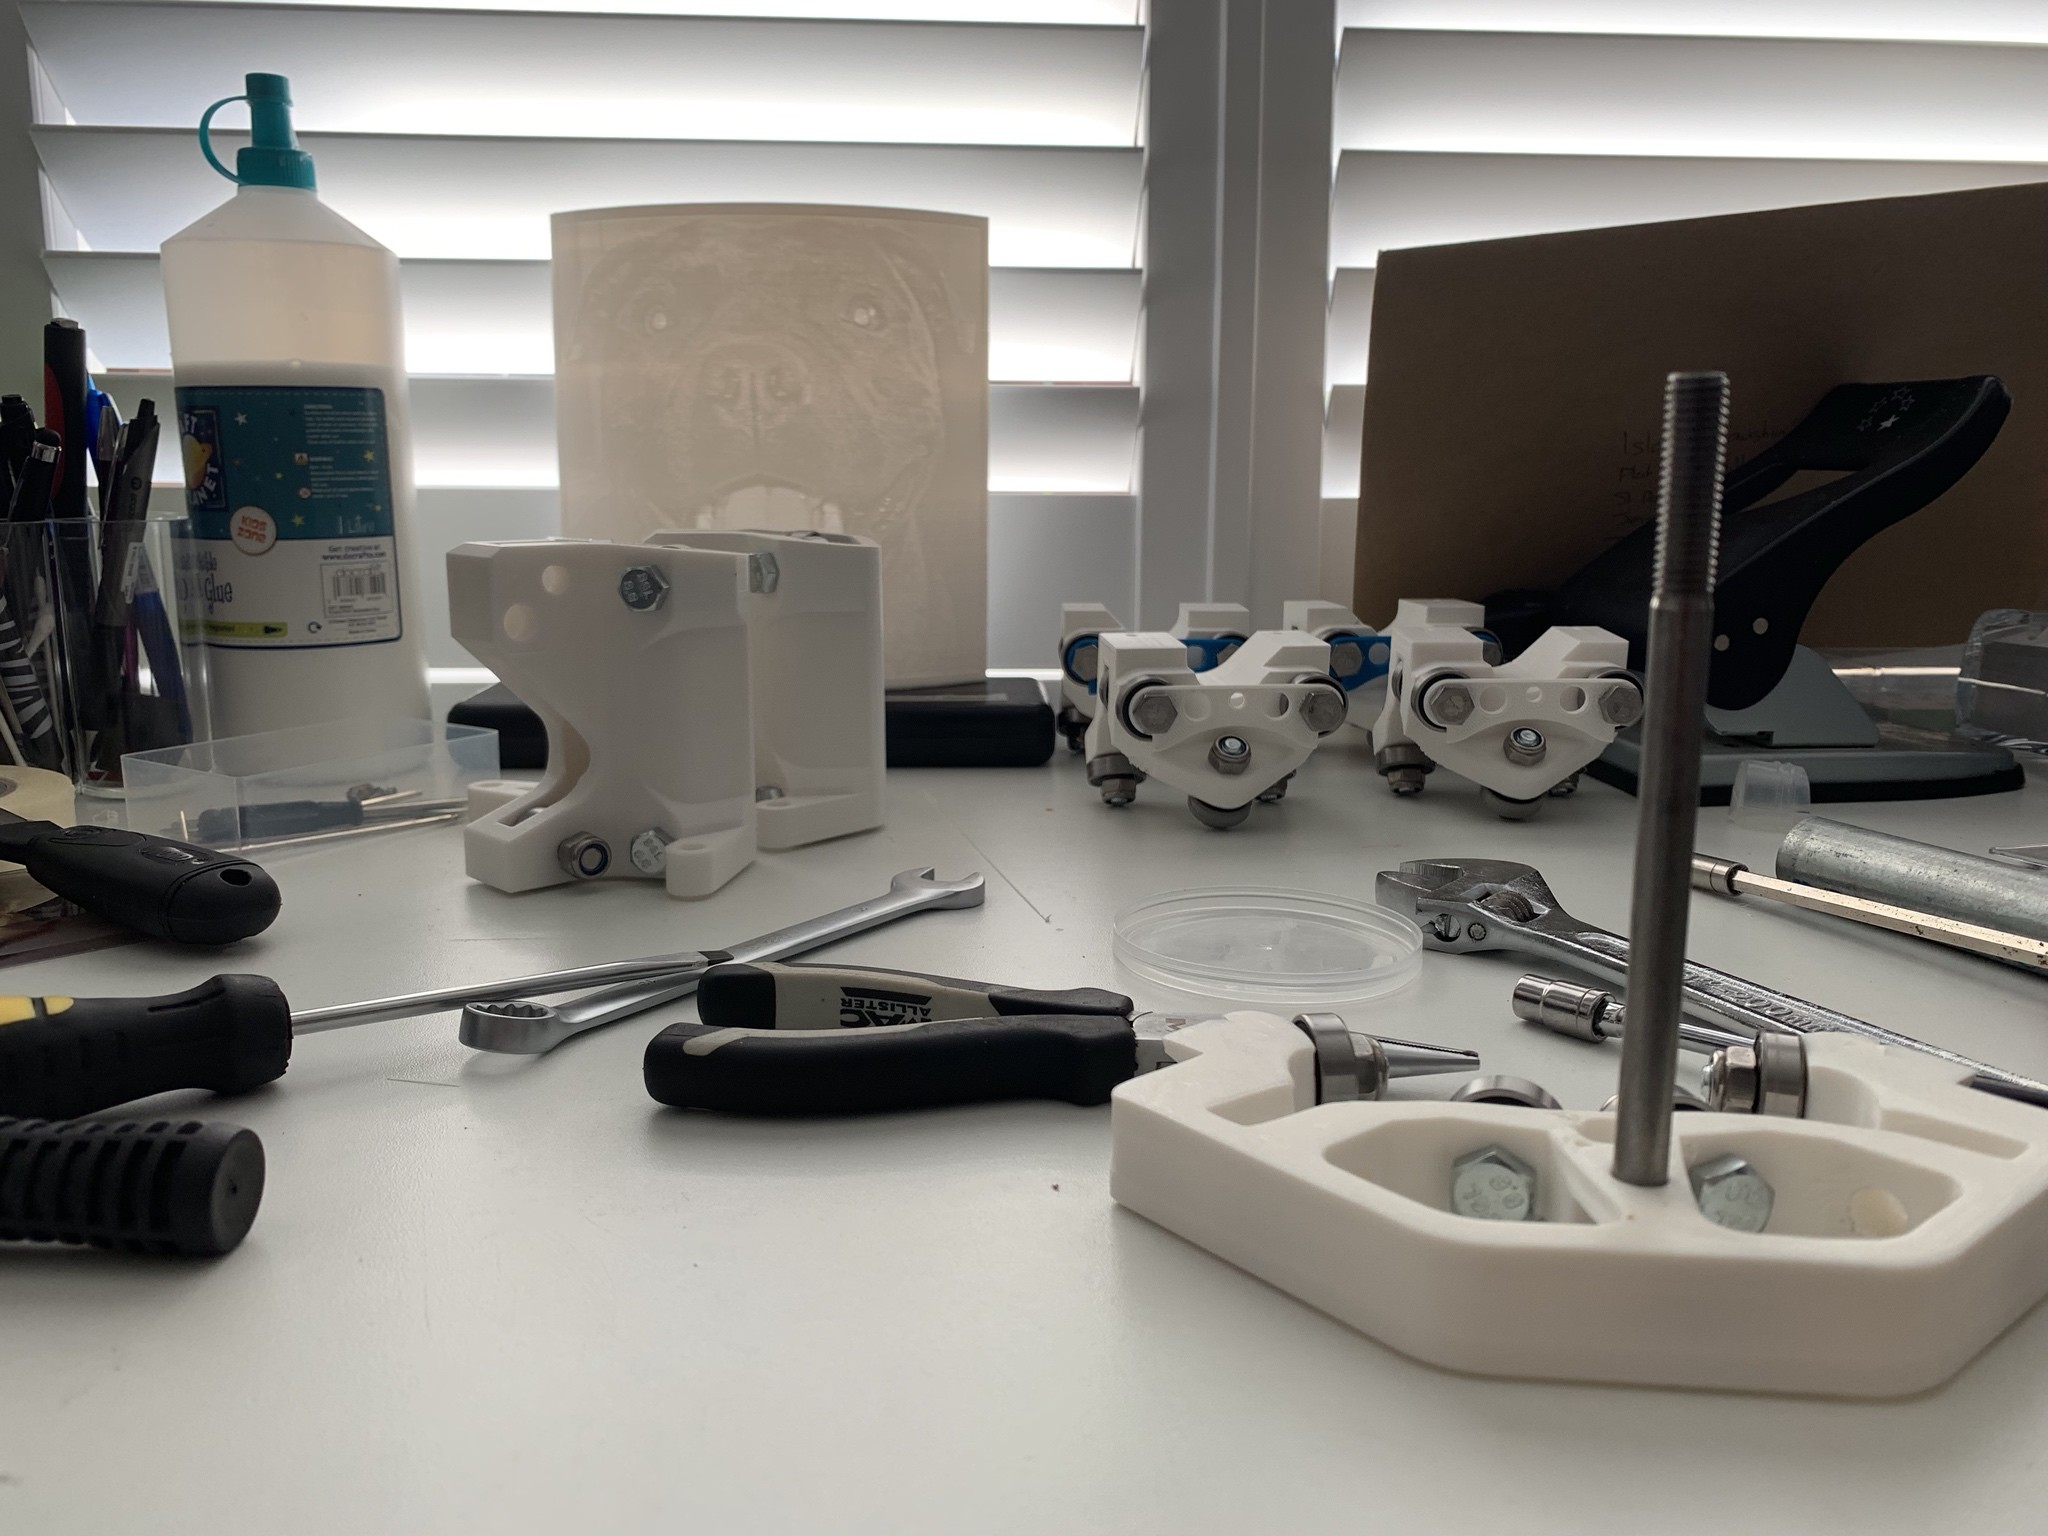
and I couldn’t wait so i knocked one of these up just to satisfy myself that all was going to be well in the 3d printing etc (I know its missing a roller plate). Runs nice and smoothly not too tight not too loose:)
and the bearings fit where they are supposed to
Just need the spare parts for my printer to turn up now so i can get it churning out the rest of the parts.
Well since the last post of the 3d printer being fixed, its been apart 3 times at least with various blockages etc general 3d printer woes, tbf its been going almost 6 months non stop with zero other failures
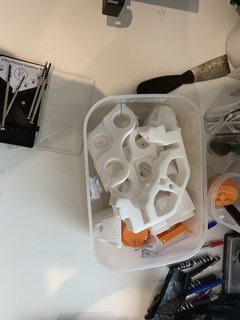
So that’s 4 complete roller assemblies
2 xy
1 xyz as the other failed as i was at work today, filament snag
2 gantry spacers on the printer now
almost all the corner pieces done
Just need to order the motors and board at the end of the month
1st time found my legs were a little too long, so they’ve now been trimmed and now I need a bigger board, mainly to save cutting more tubes and secondly to keep the 400 x 400 cutting area I wanted.
Bonus is that Im a dab hand with a dremel cutting wheel and my X and Y axis are all level.
I’ve just received my Z probe, and I know it needs to be attached to my Z Min port on the archim board but… how are the pins configured, I have looked at the silkscreen.