Hello everyone, I have always wanted one of these and finally decided to try and build one. First off what a great community this mpcnc stuff is. It’s so put together with a lot of noob explanations. I am now at the stage of trying to get my software on my skr pro board.
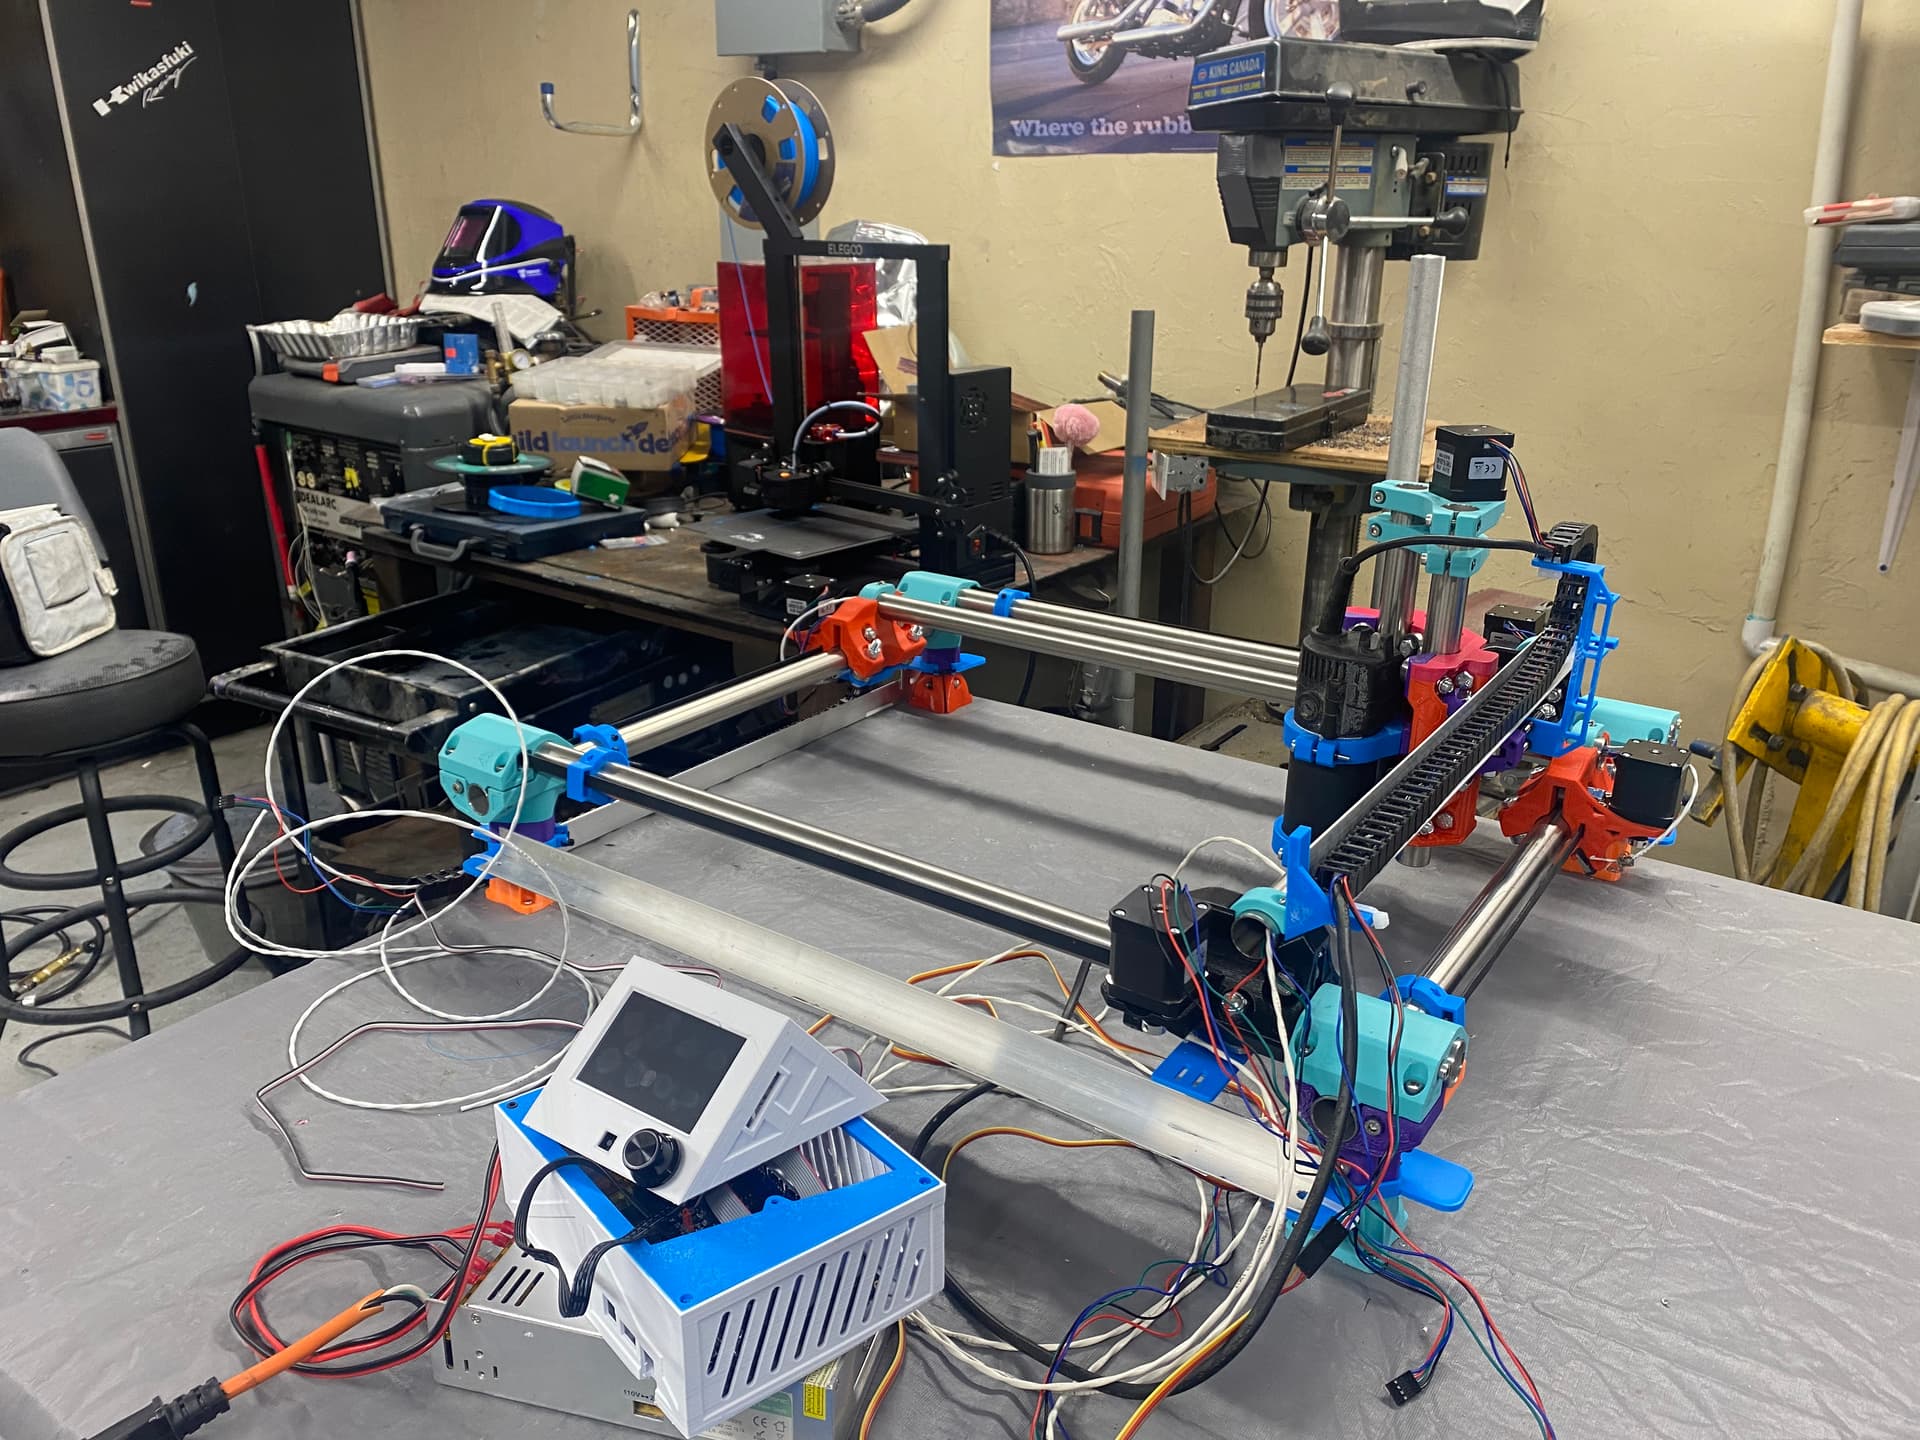
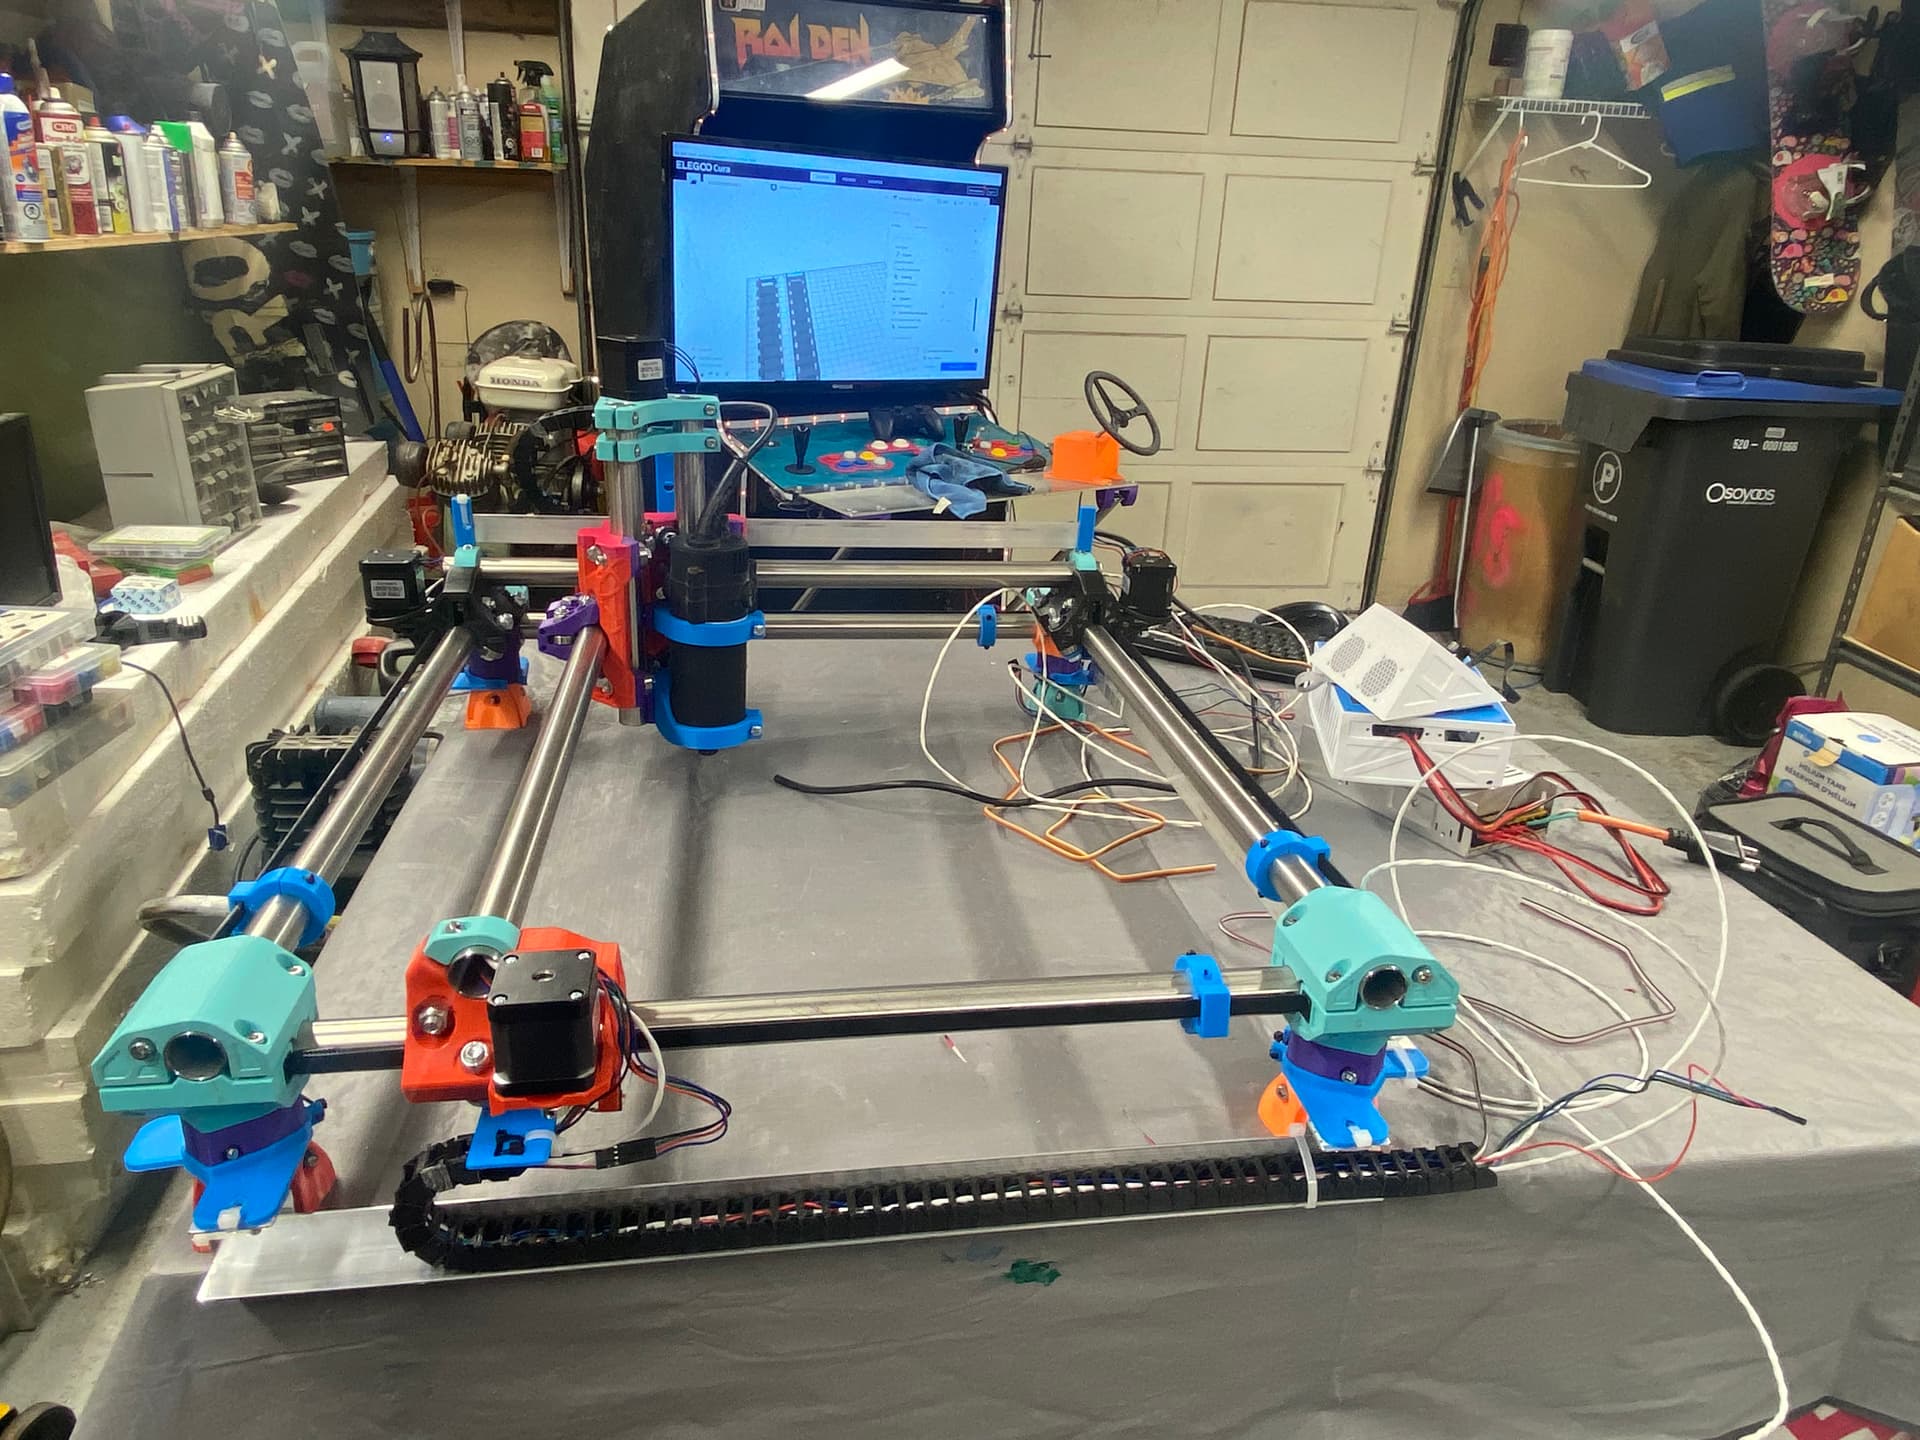
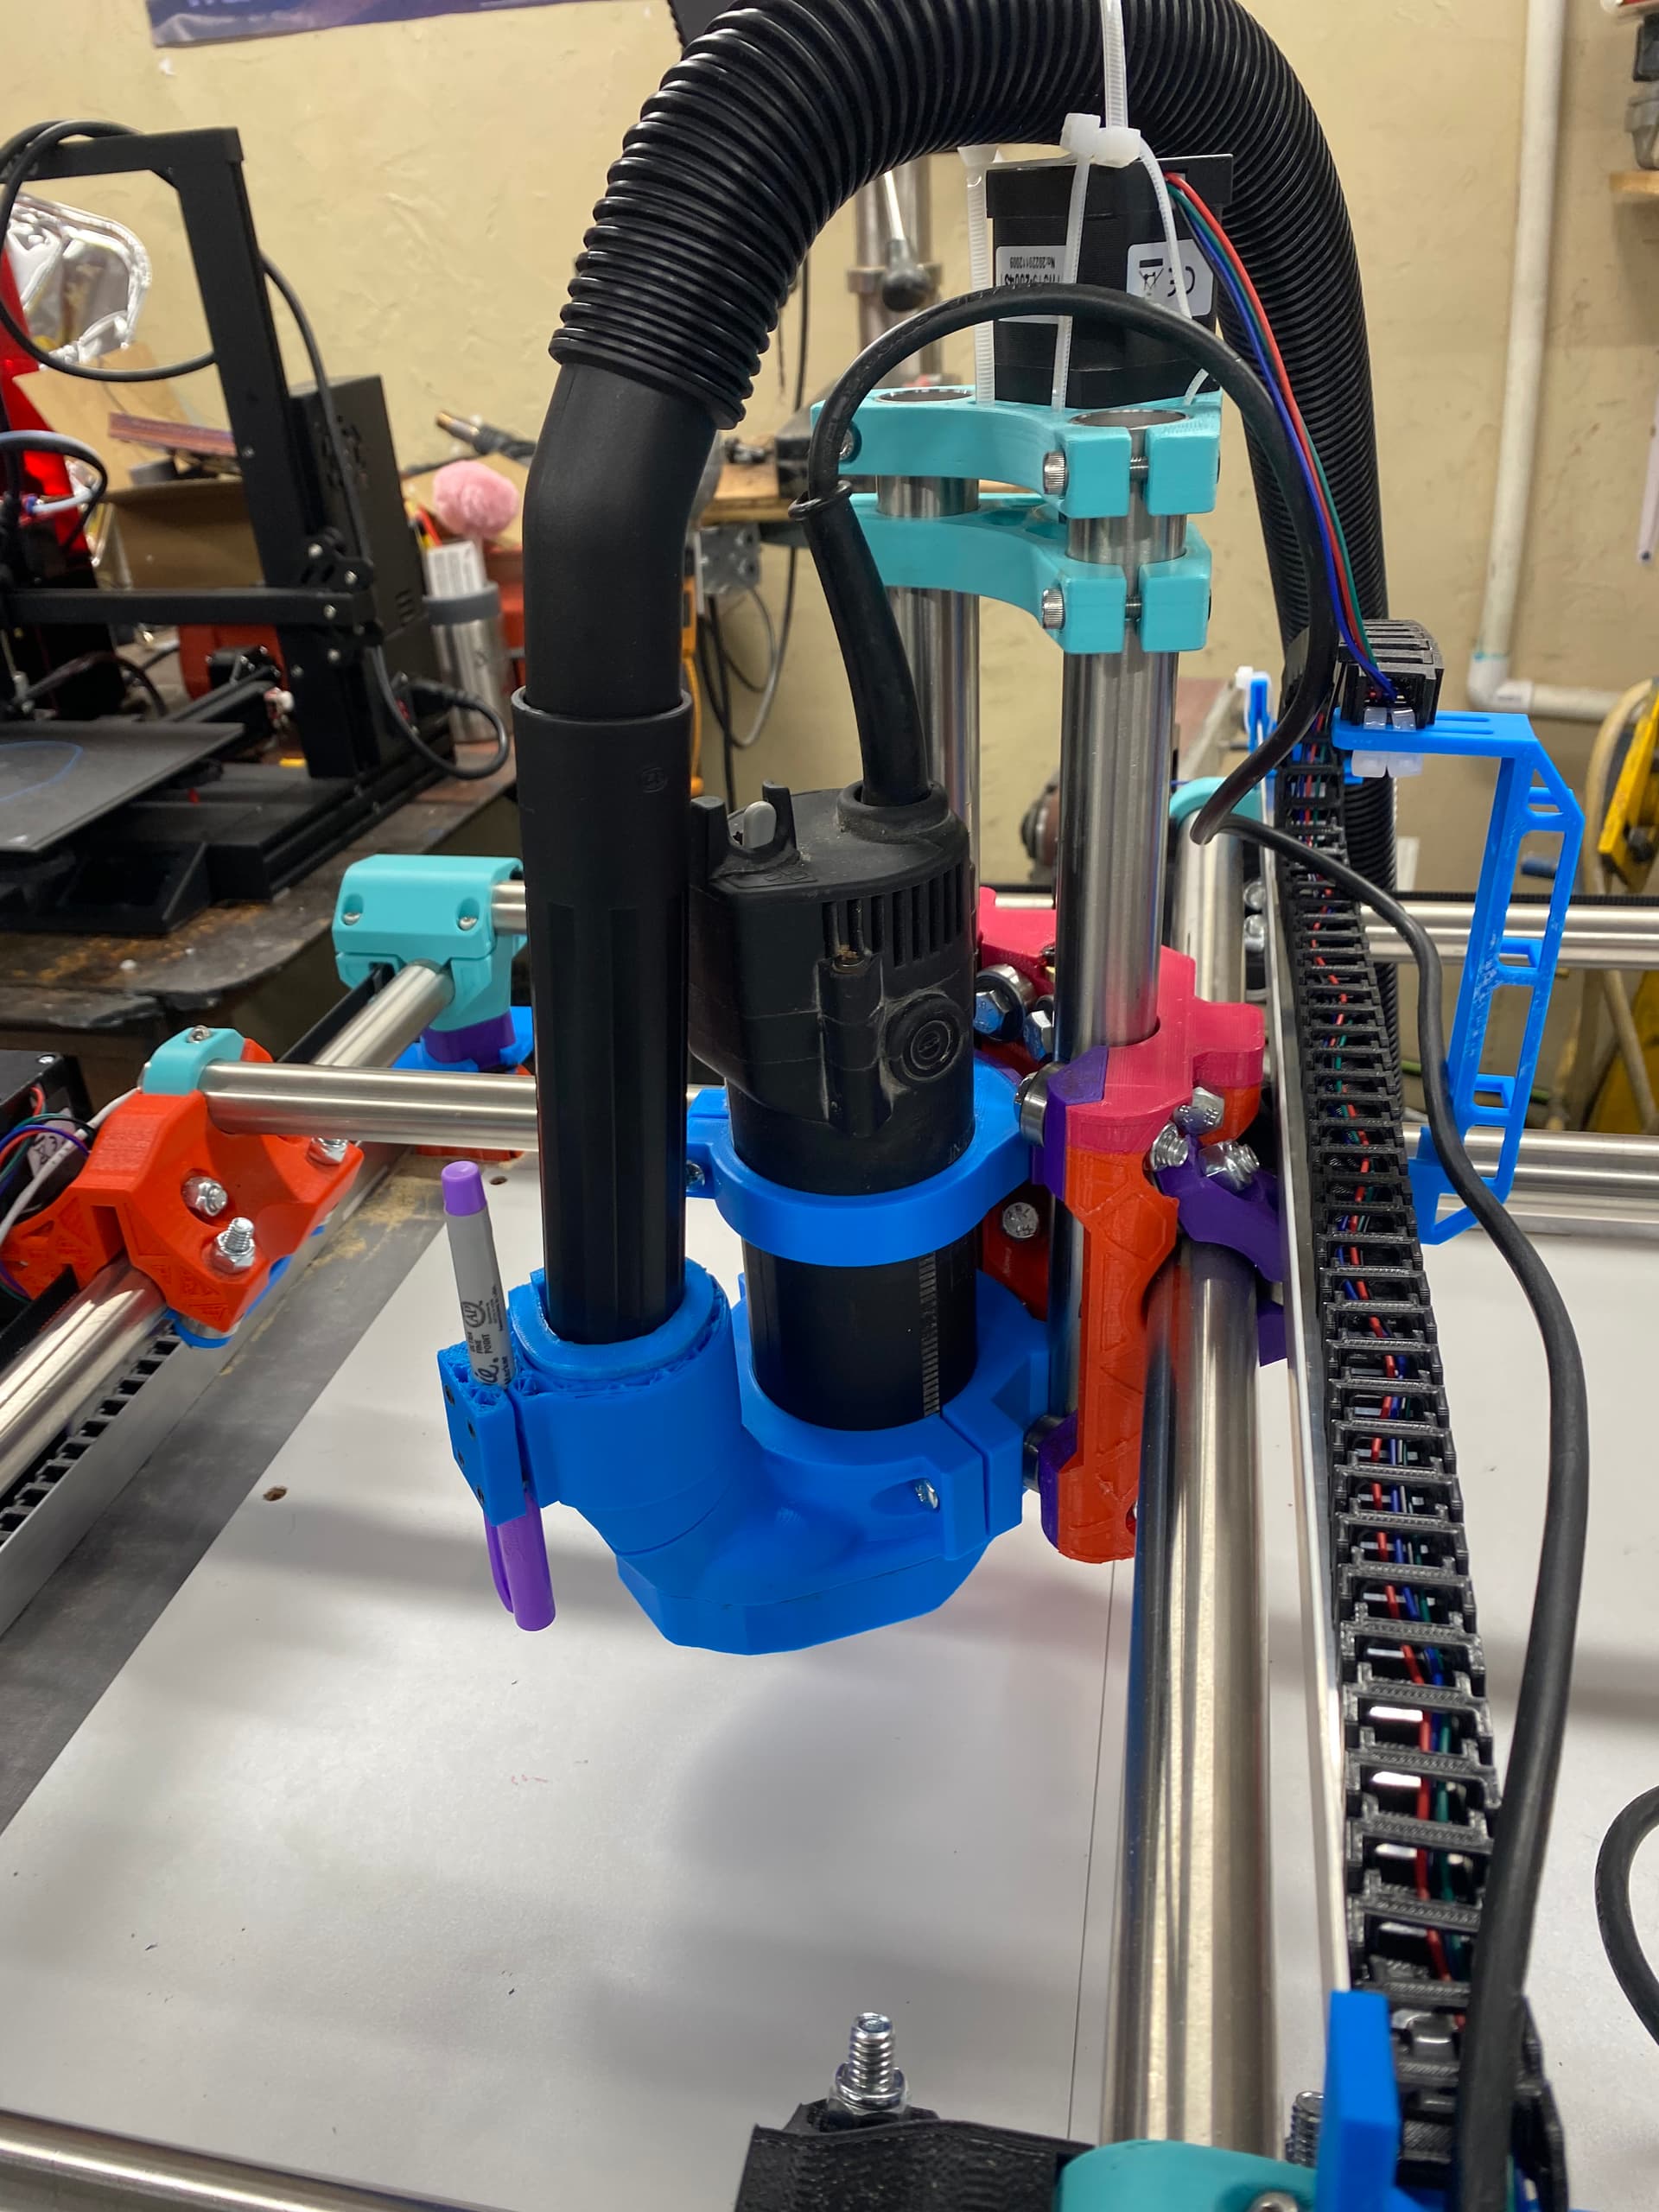
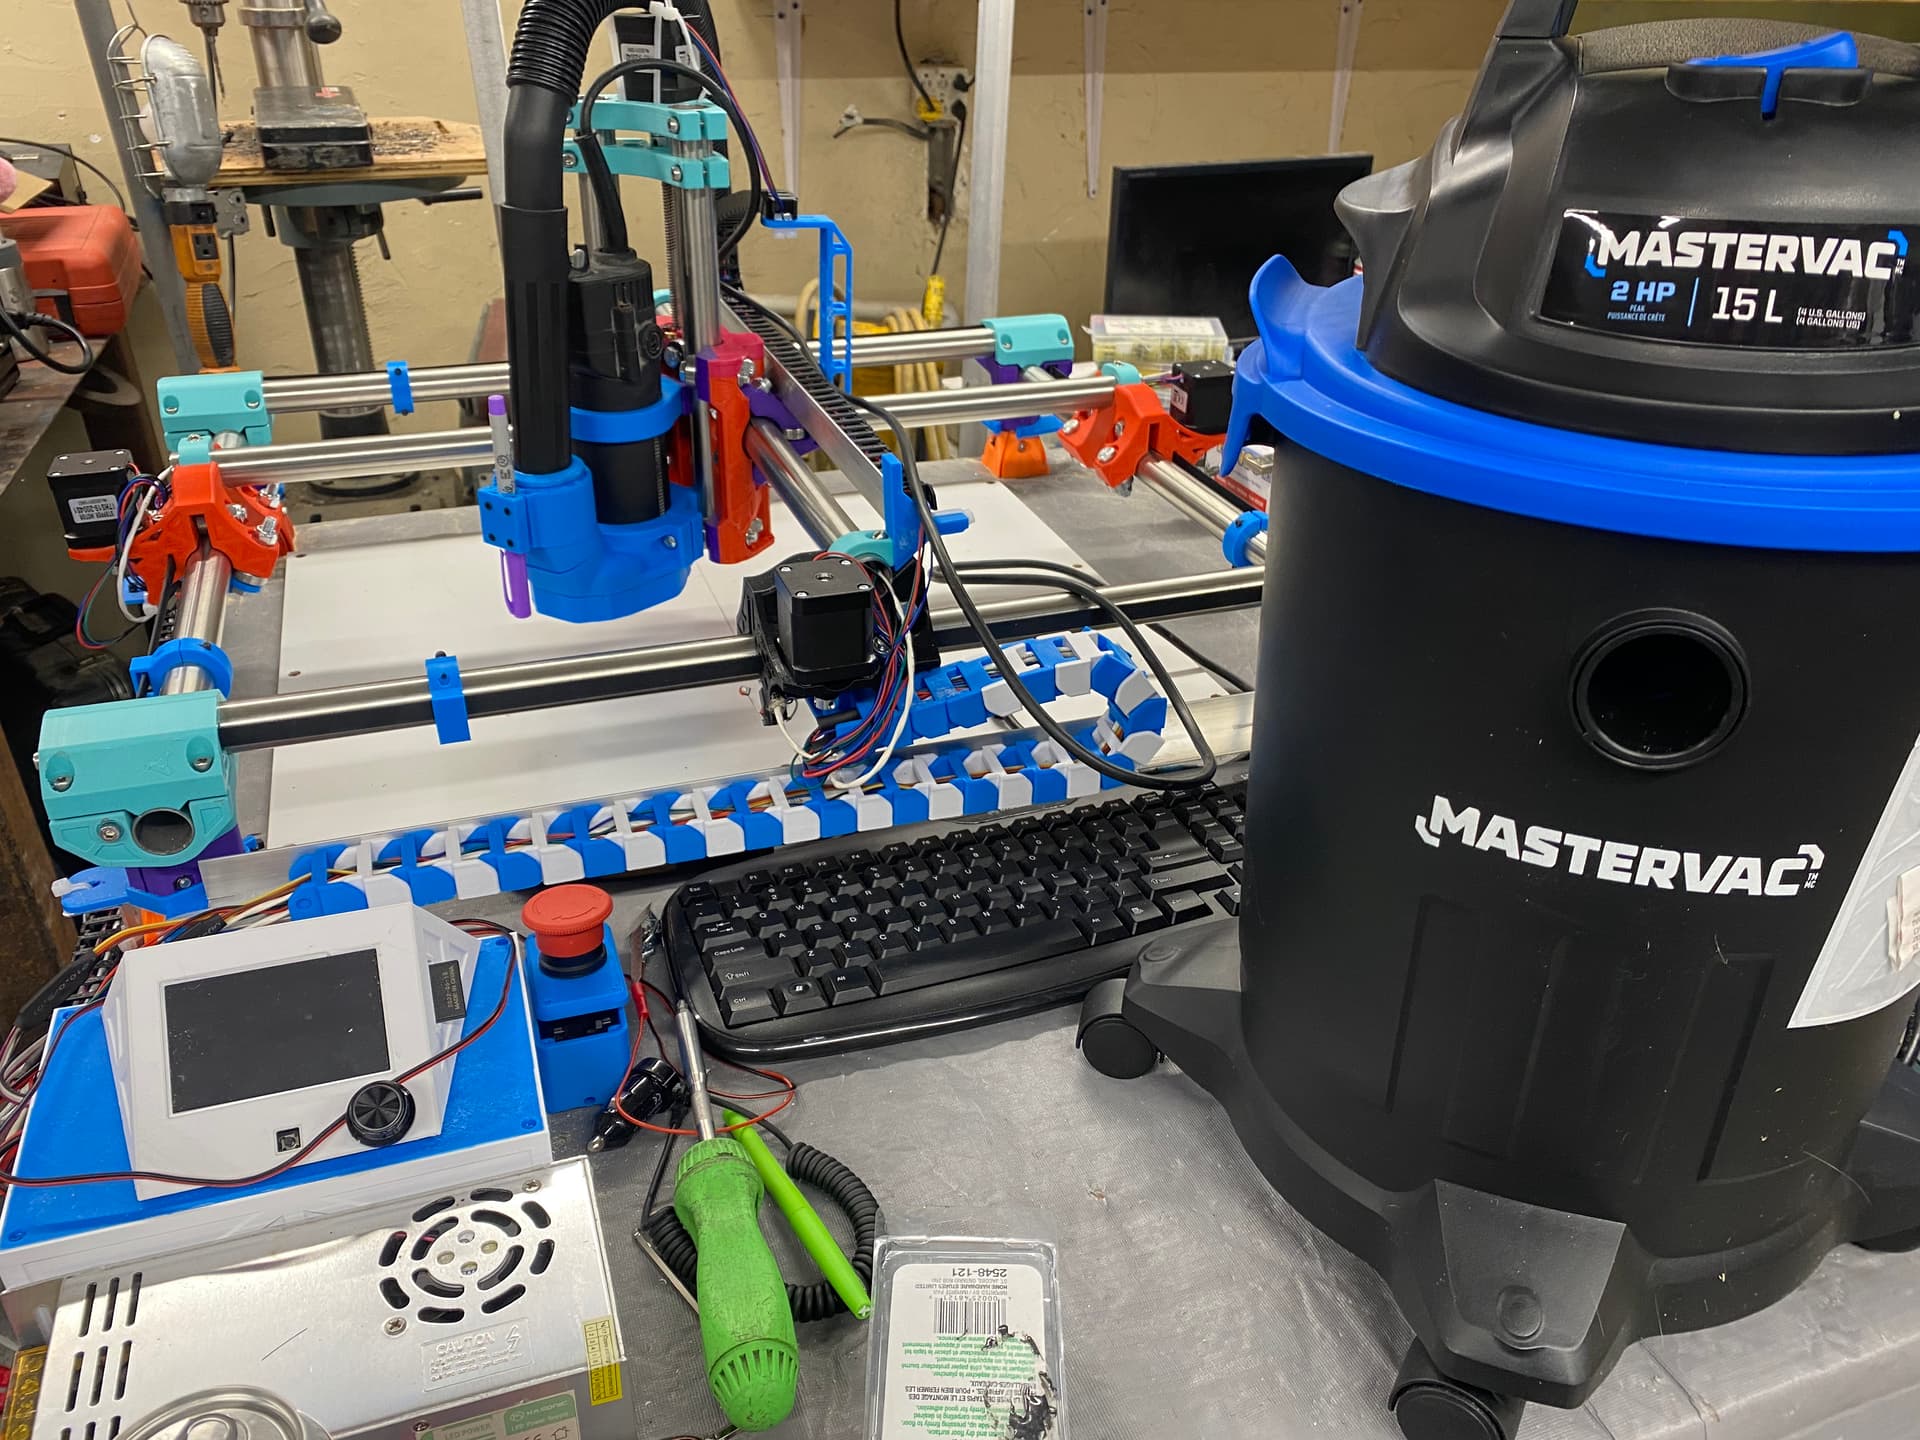
Just thought I would post a couple pics of my build as fugly as it is lol.
I had some issues aligning mine but that was bc I didn’t read and printed some parts with supports
I tried to post earlier but a pic was tagged I didn’t intend to but it probably showed I was Canadian as well.

8 Likes
What I intended to use this for was doing eva foam flooring designs for my boat floor. But I can see there is a lot of potential for other fun.
2 Likes
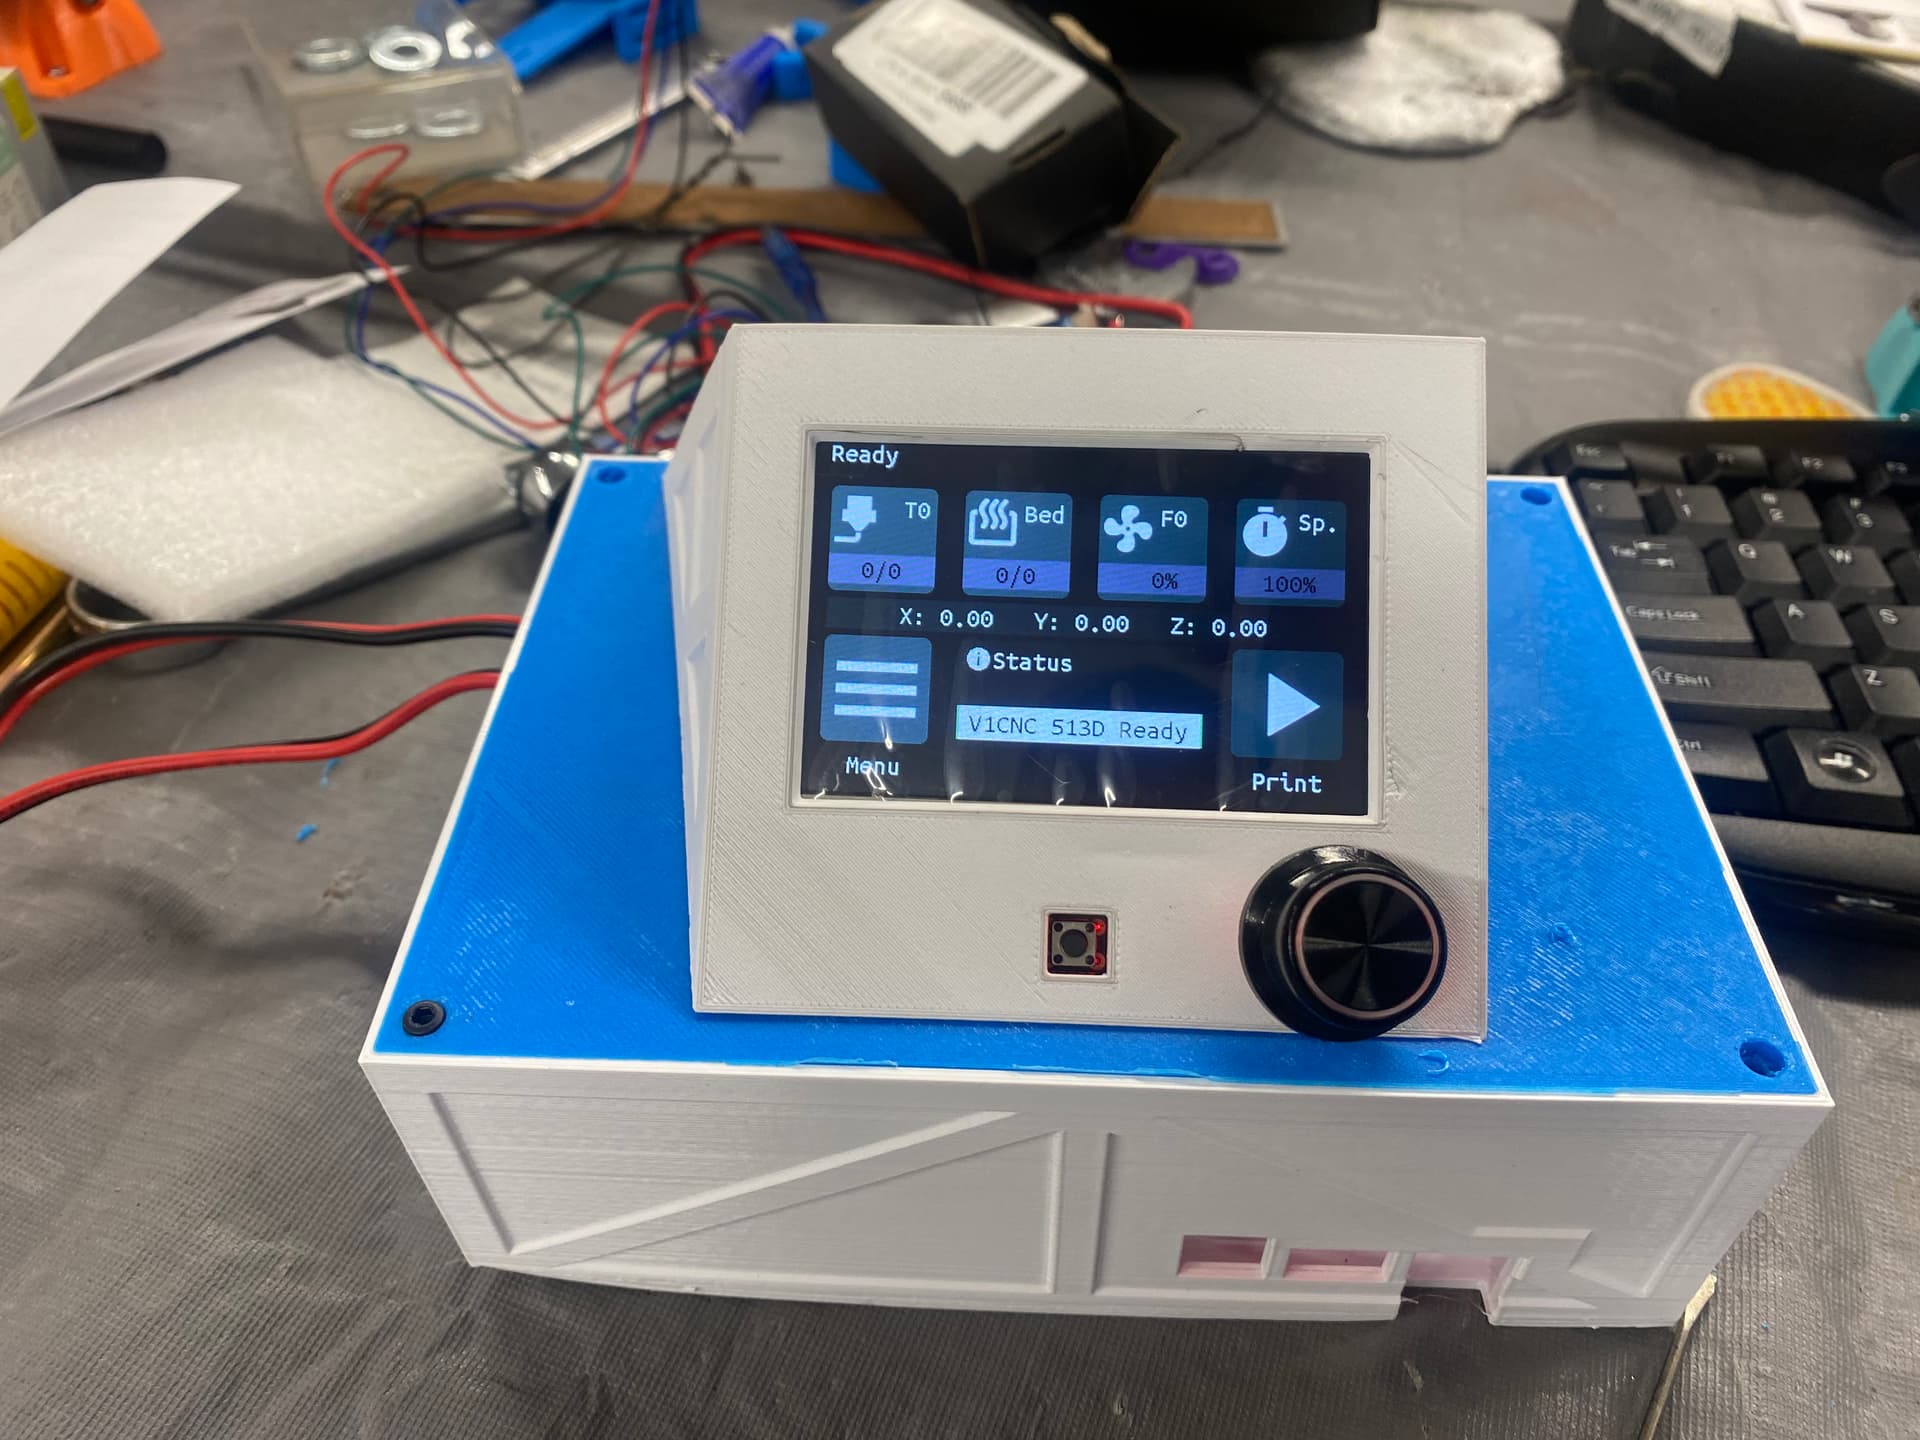
Some minor updates
Ran out of hardware but I think I almost have the flashing done thanks to all the help here.
Just seems like I flashed the tft file for a printer and not cnc.
It says connected to Cnc
1 Like
I’ve cut a fair bit of EVA foam with my laser module on my MPCNC. The cuts are clean and precise. From videos on the subject, getting clean EVA foam cuts with a router requires the right bit and the right settings. There are bits with geometry specifically for cutting foam. Unfortunately, they are not cheap. It has been a while since I watched the video, but I believe using conventional milling instead of climb milling was the one setting that had the most positive impact on the results.
When you get it up and functional, I’d love to see the pattern you are making with the foam.
2 Likes
Thanks a lot for the tips, I can’t wait to actually get cutting haha.
Never attempted such a build before I have learnt a lot already. When I get something figured out I will definitely post it up and hopefully return some of this help you have all done for me.
I can’t upload the video but I have movement now :).
Now it’s time to tidy and wait for the other bits to show up from v1
2 Likes
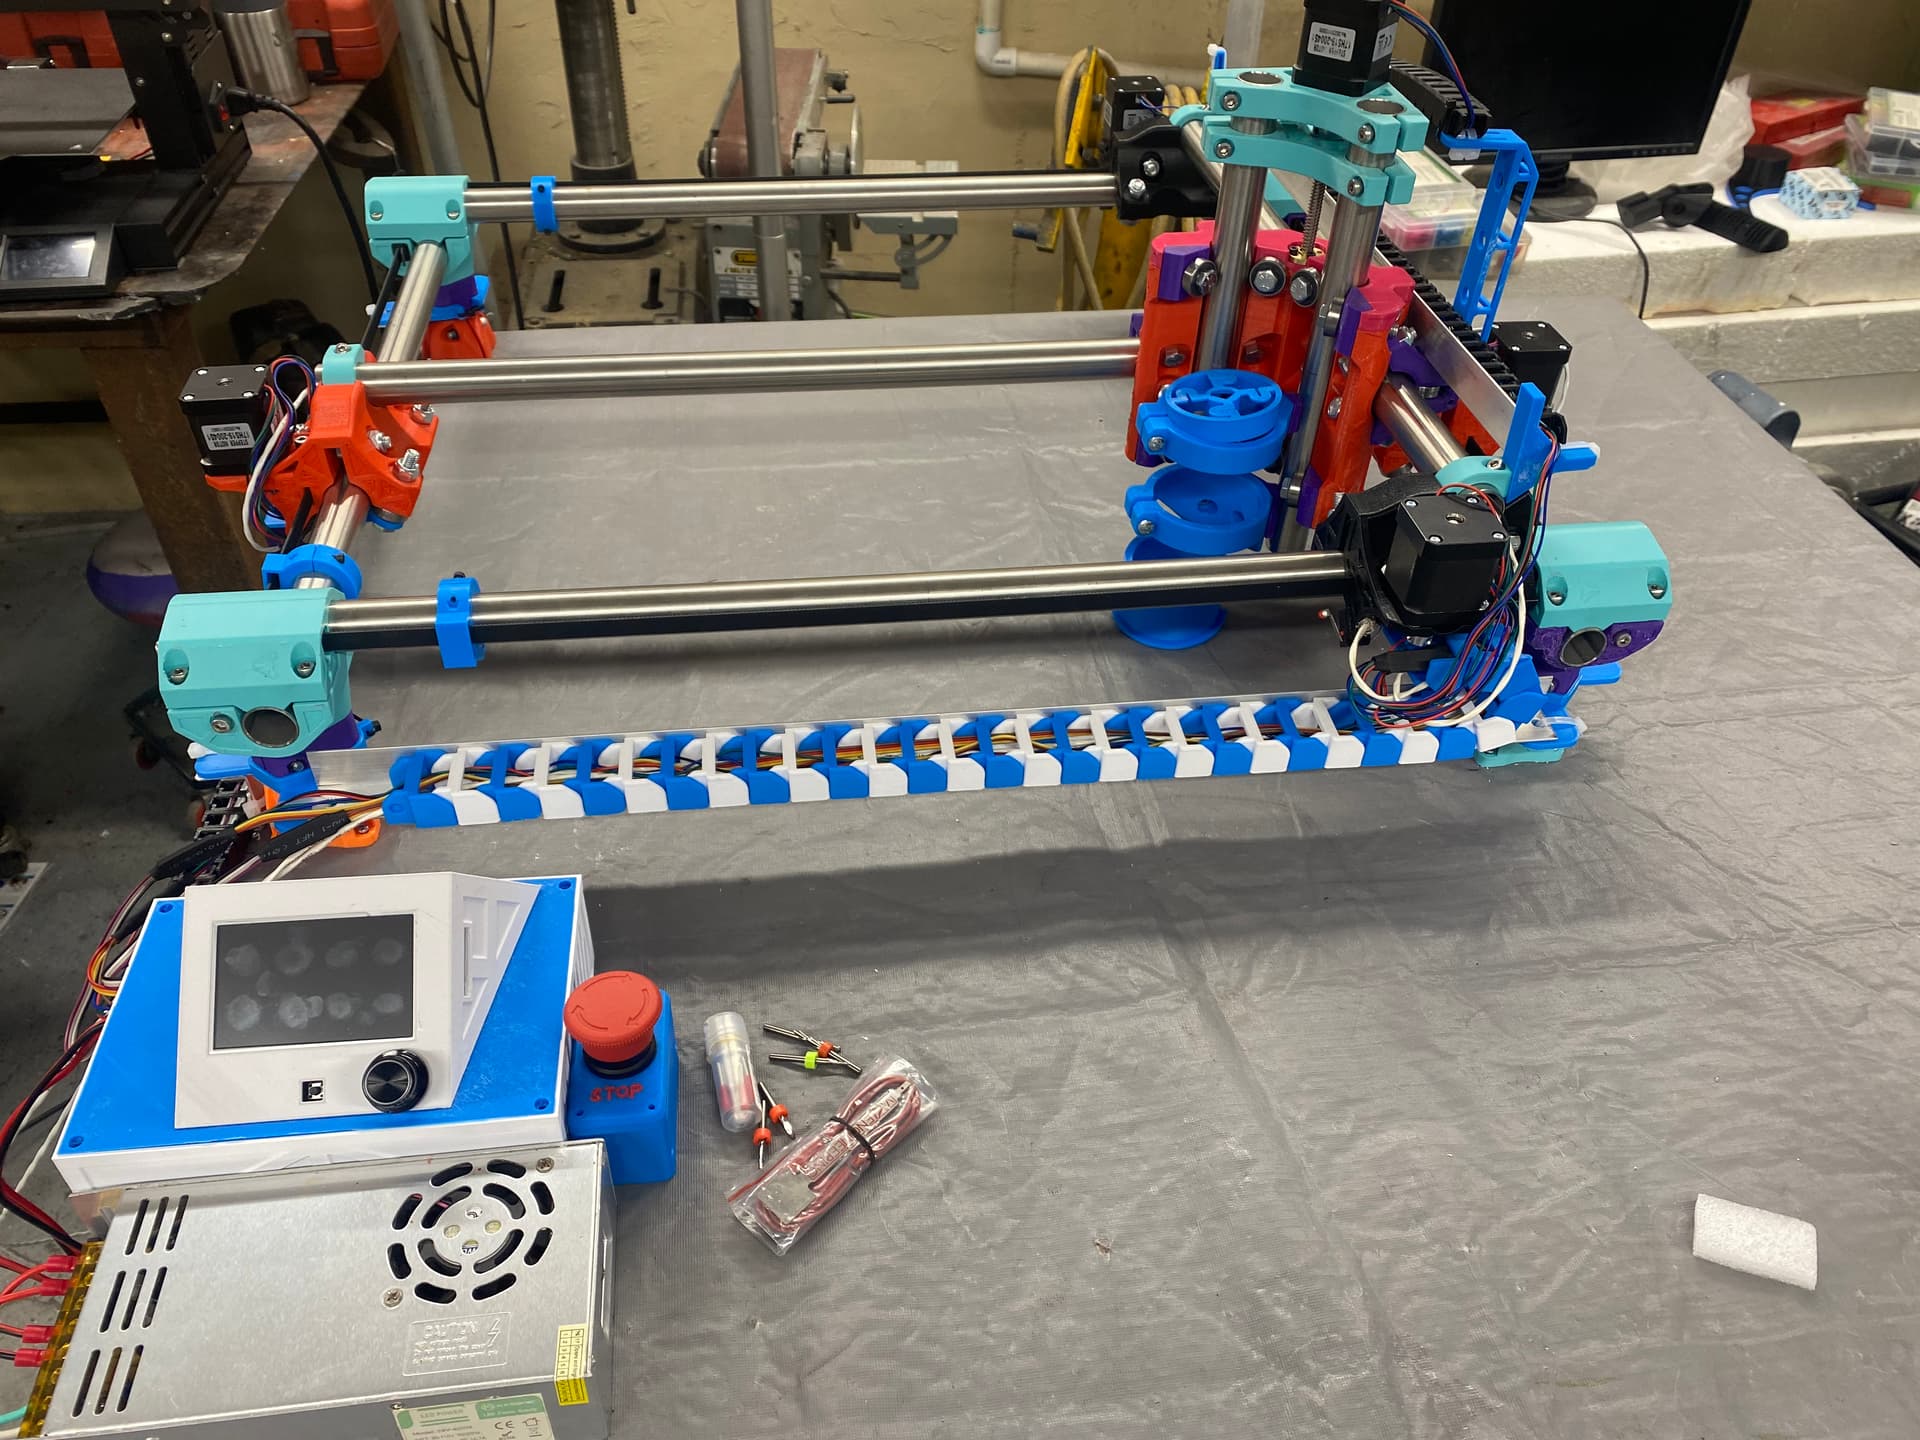

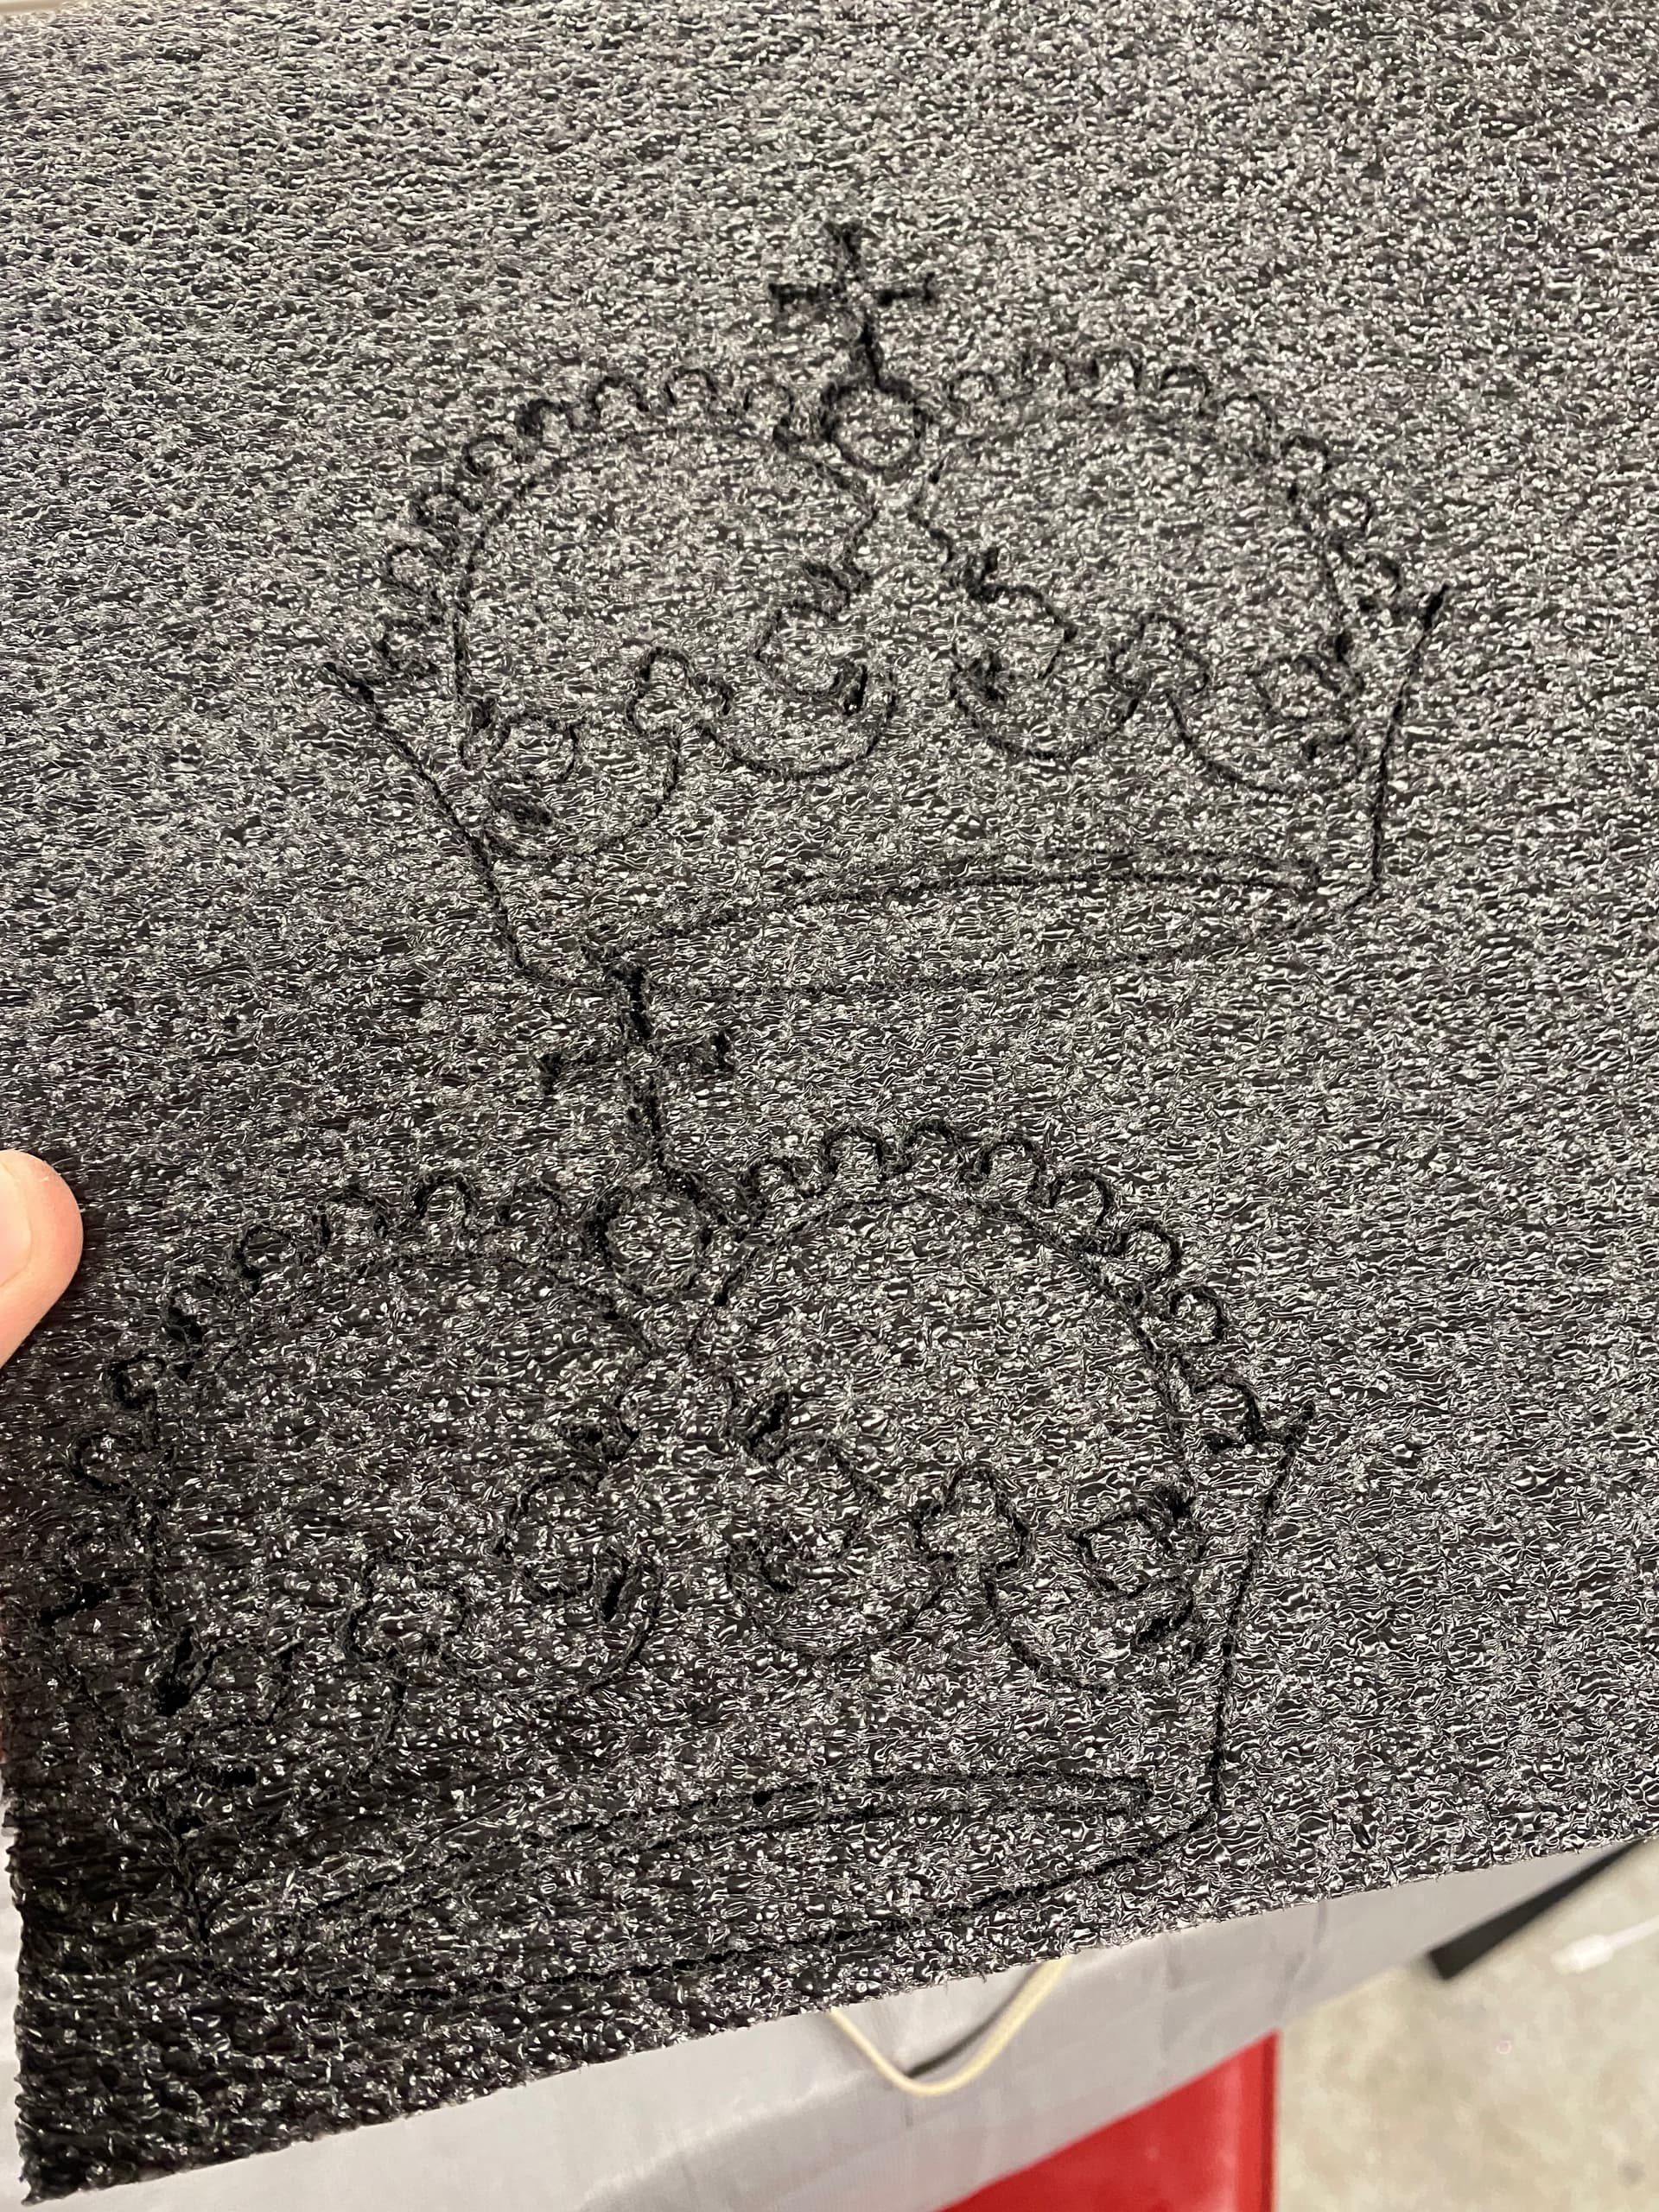
I got some parts in from v1 and managed to do the crown test.
So much fun
Was pretty slow going 5months from start to here. Not finished and I feel like this is something that will. Or be fully finished as there is so many things to build yet for it.
4 Likes
Now I guess it’s time to set this touch plate up. It seems as though it acts just like a end stop. But just for the z.
Also do ppl actually ground their shielding for the end stops or just simply use the faraday cage function as is. From what I see seems like they do not.
For the most part, you don’t need to shield anything. The exceptions are:
- if you are using a cheap/electrically noisy spindle, they can sometimes generate enough noise to cause issues
- depending on your dust extraction, you can get a nasty static buildup that a bare ground wire run through your vacuum hose will mitigate
- if you run a plasma cutter; those things are noisy, and will confuse your electronics
YMMV, and you might not need shielding in those situations, or you may find you need shielding in other situations. Those are just the usual suspects for electrical interference. Oh, those and things like really noisy shop equipment (air handlers, compressors, etc., etc.), which being on a separate circuit will solve (or a really good power supply/power conditioner).
1 Like
Thanks very much for the info and response.
Well I got the end stops working. I read a thread on here about having my x1 and x2 swapped and sure enough that’s what it was. Jeff was the culprit lol
I was wondering if anyone had a recommendation for a vacuum attachment for a 65mm primo.
Well I put a spoil board in after the fact like a proper noob.
I have a vacuum attachment I found on thingaverse the designer did quite a awesome job on that I must say.
I have made one cut
G01 x310
Input that into my tft
I tried to slow it down by adding f50 but it didn’t seem to do much.
Lots of fun still and learning a lot everyday.
1 Like


Looking great!
I’m just beginning my journey, currently at the discovery stage.
Currently not having great success with the rail choice, in Canada, all I’ve come across so far is conduit from HomeDepot, which looks very mottled and not sure if that would prevent a smooth roll. Where did you source yours from?
1 Like
Well you are in luck
I am in bc millennium sells 1”od ss tube.
And metal super market does as well.

It was about 120.00 iirc
It’s so much fun building it, I struggled with the terminology at first.
Lmk if I can help I will
1 Like
Www.milleniumalloys.ca
That’s the address it was in Kelowna bc
Thanks, doesn’t look like they ship out my way.
I’ll keep reaching out to local places until I get somewhere, thanks.
What area are you at ? (I know right some Internet weirdo asking where you live lol)
The reason I ask is I used to live in Manitoba and Ontario so I can maybe help you source some if you wanted.
Appreciate the the offer for help, I’ve potentially managed to source some from a relation in the plumbing industry here in BC. I just had to wrap my head around working out what to ask for, Schedule 40 vs 10 and the difference between 304 vs 316… But looks like I’ll get my hands on 3/4inch 304 SS schedule 40, which would give me an outer diameter of 1.050" and wall thickness of 0.113".