Hi all – Fine tuning our LR2 build, coming across strange issue. Cutting a test pattern through some foam, on the second pass of the cut it goes too far in the X direction, resulting in offset lines. The Y axis matches up perfectly on the second pass, though. This discrepancy changes over the course of the path. I seem to only be able to upload one photo, but I have more pics if needed.
startGet to trust level 1 by…
Entering at least 5 topics
Reading at least 30 posts
Spend a total of 10 minutes reading posts
Users at trust level 1 can…
Use all core Discourse functions; all new user restrictions are removed
Send PMs
Upload images and attachments if enabled
Edit wiki posts
Flag posts
Mute other users
Will do. About how tight is generally optimal for the belts? I know on my Prusa, I want to be able to strum them and hear a note, but I can’t imagine that I could get the LR that tight.
Ok. The wheels may be losing track as well. Some people have that issue. You can route a channel for them to ride in, or I just nailed down some 3/4"x3/4" strips just inside the wheels. This keeps them on track, and it keeps the dust out of the wheel path too. The edge of my table is the “truth” for straight/square, so I was careful to make one side parallel (which is pretty easy with a nail gun and a combination square). Then I lined up the wheels and used the far wheels as a guide to nail down the second side (again, using my nail gun).
Alrighty, yesterday got away from me, but had some time to troubleshoot today.
I checked the belts and pulleys, the two Y motor pulleys were a little high, so I loosened the grub screws and adjusted them into alignment with the rollers, then re-tightened the grubs.
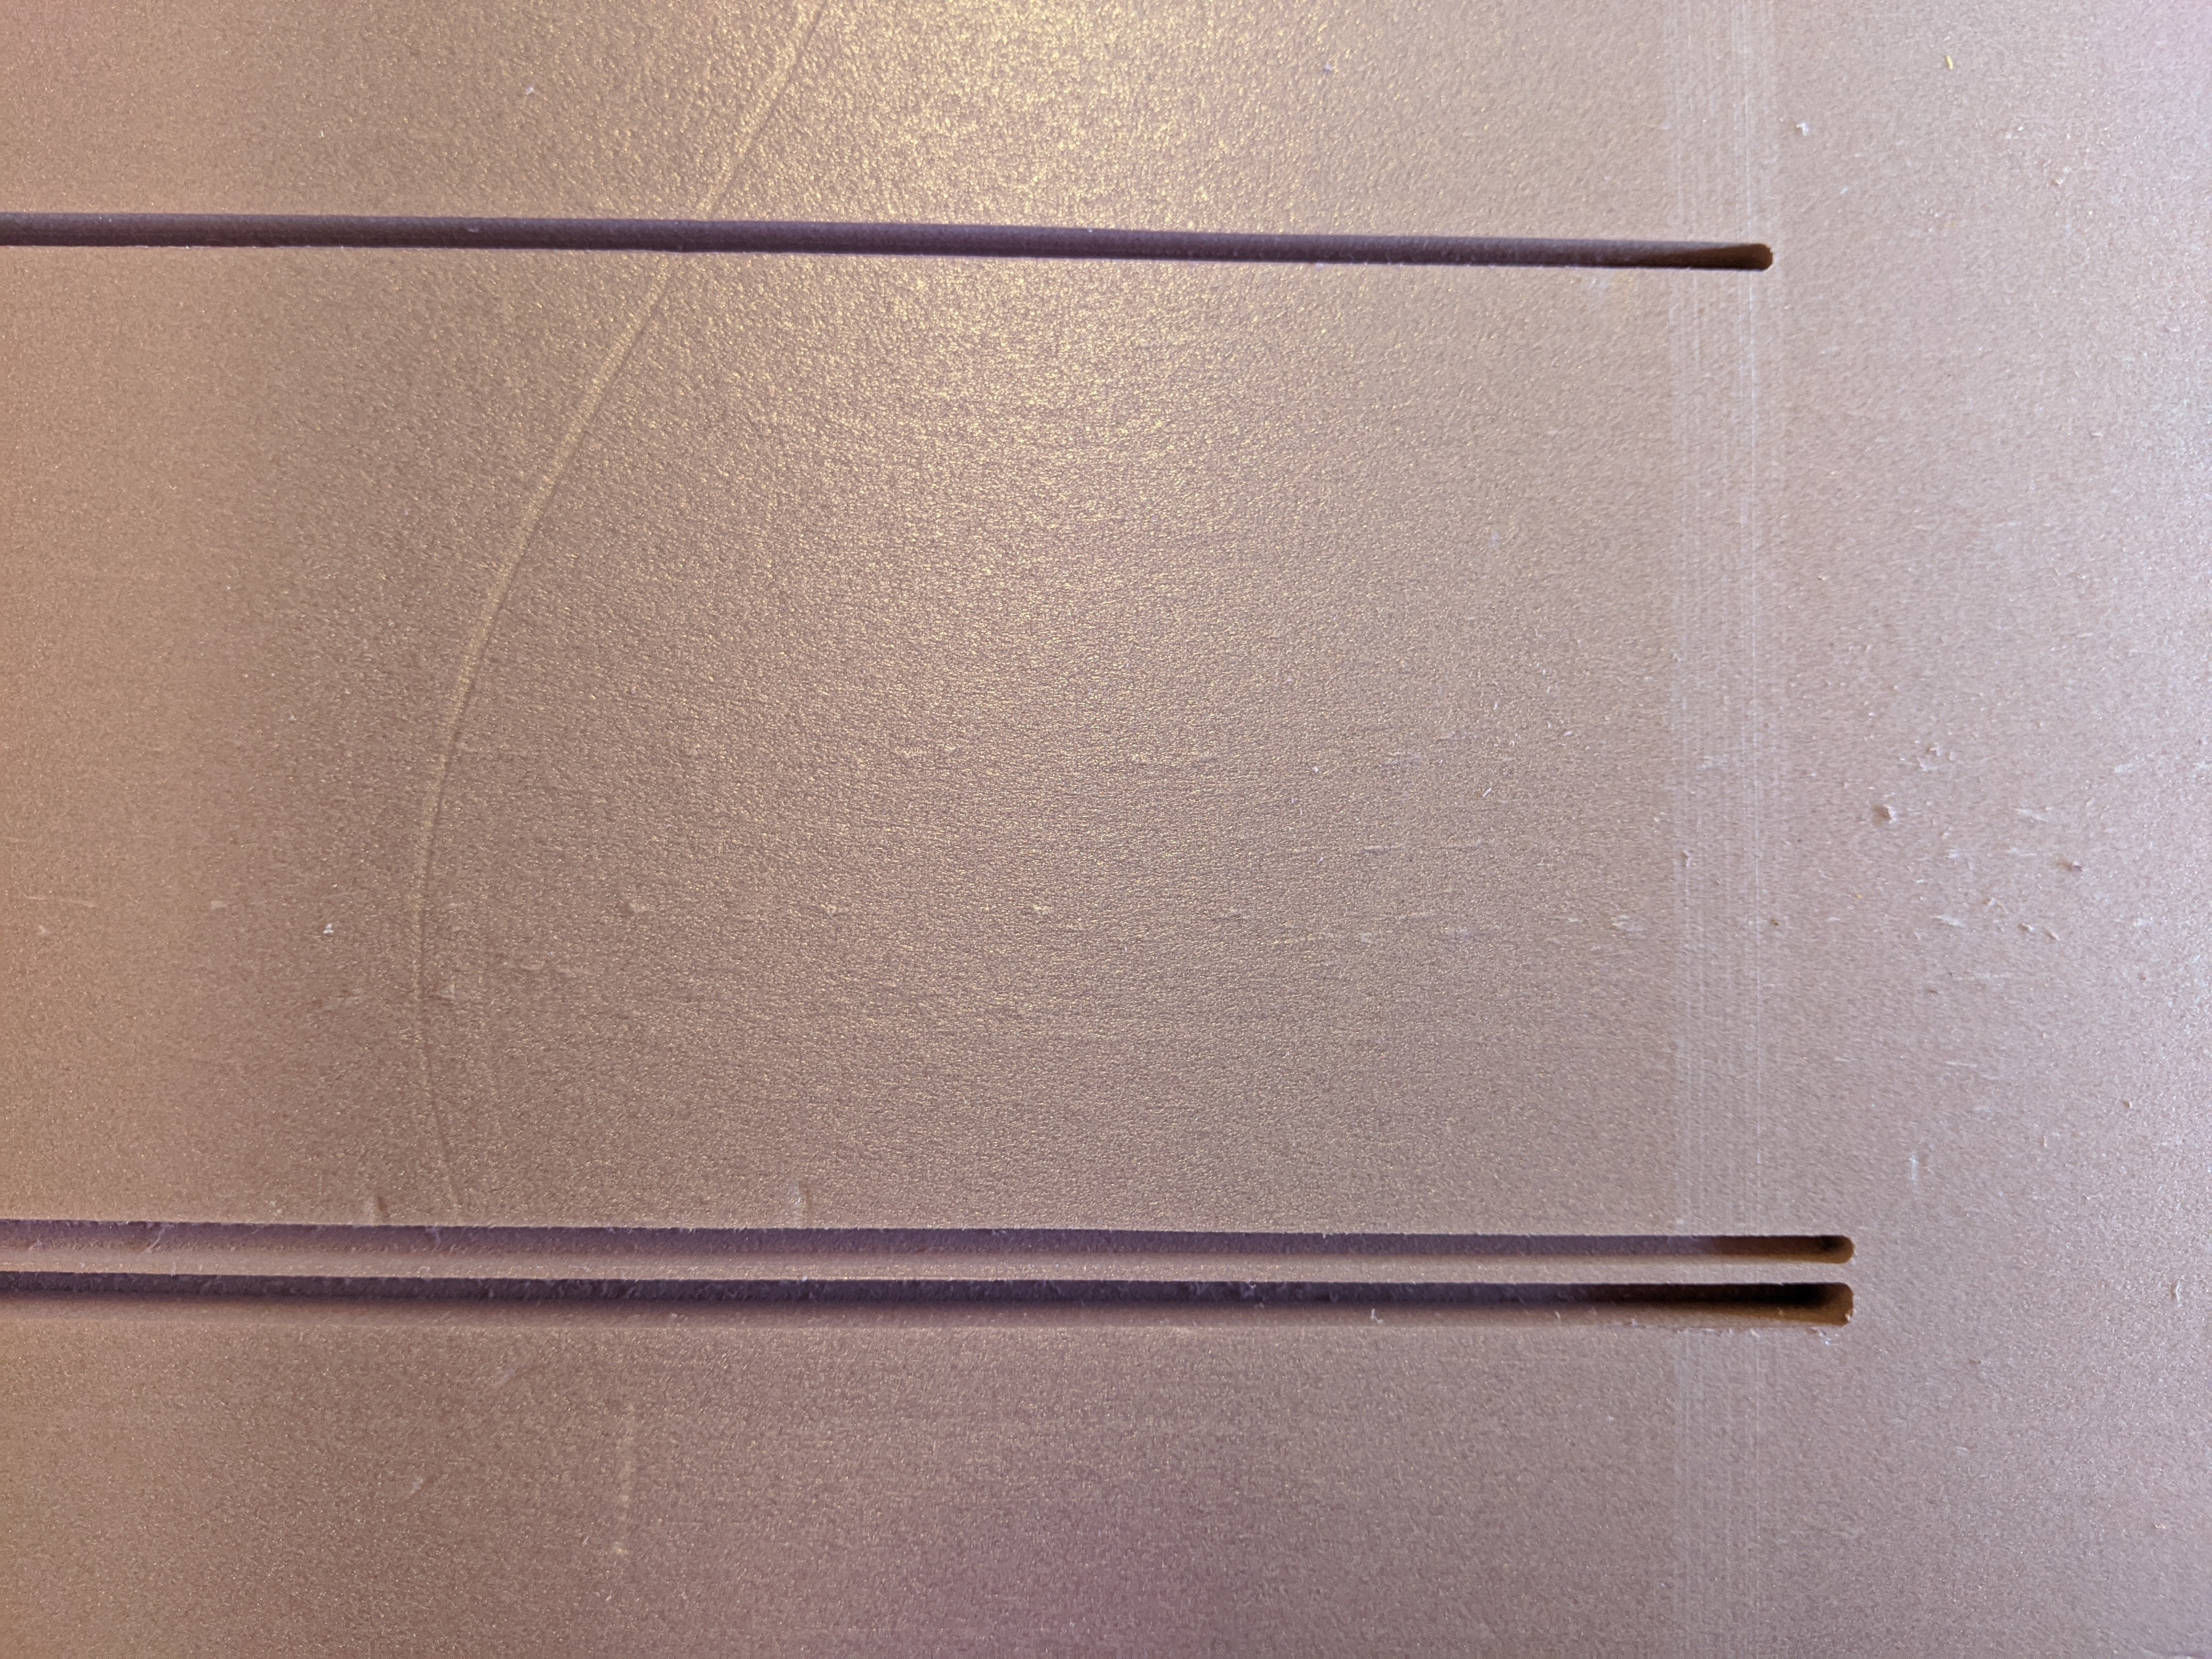
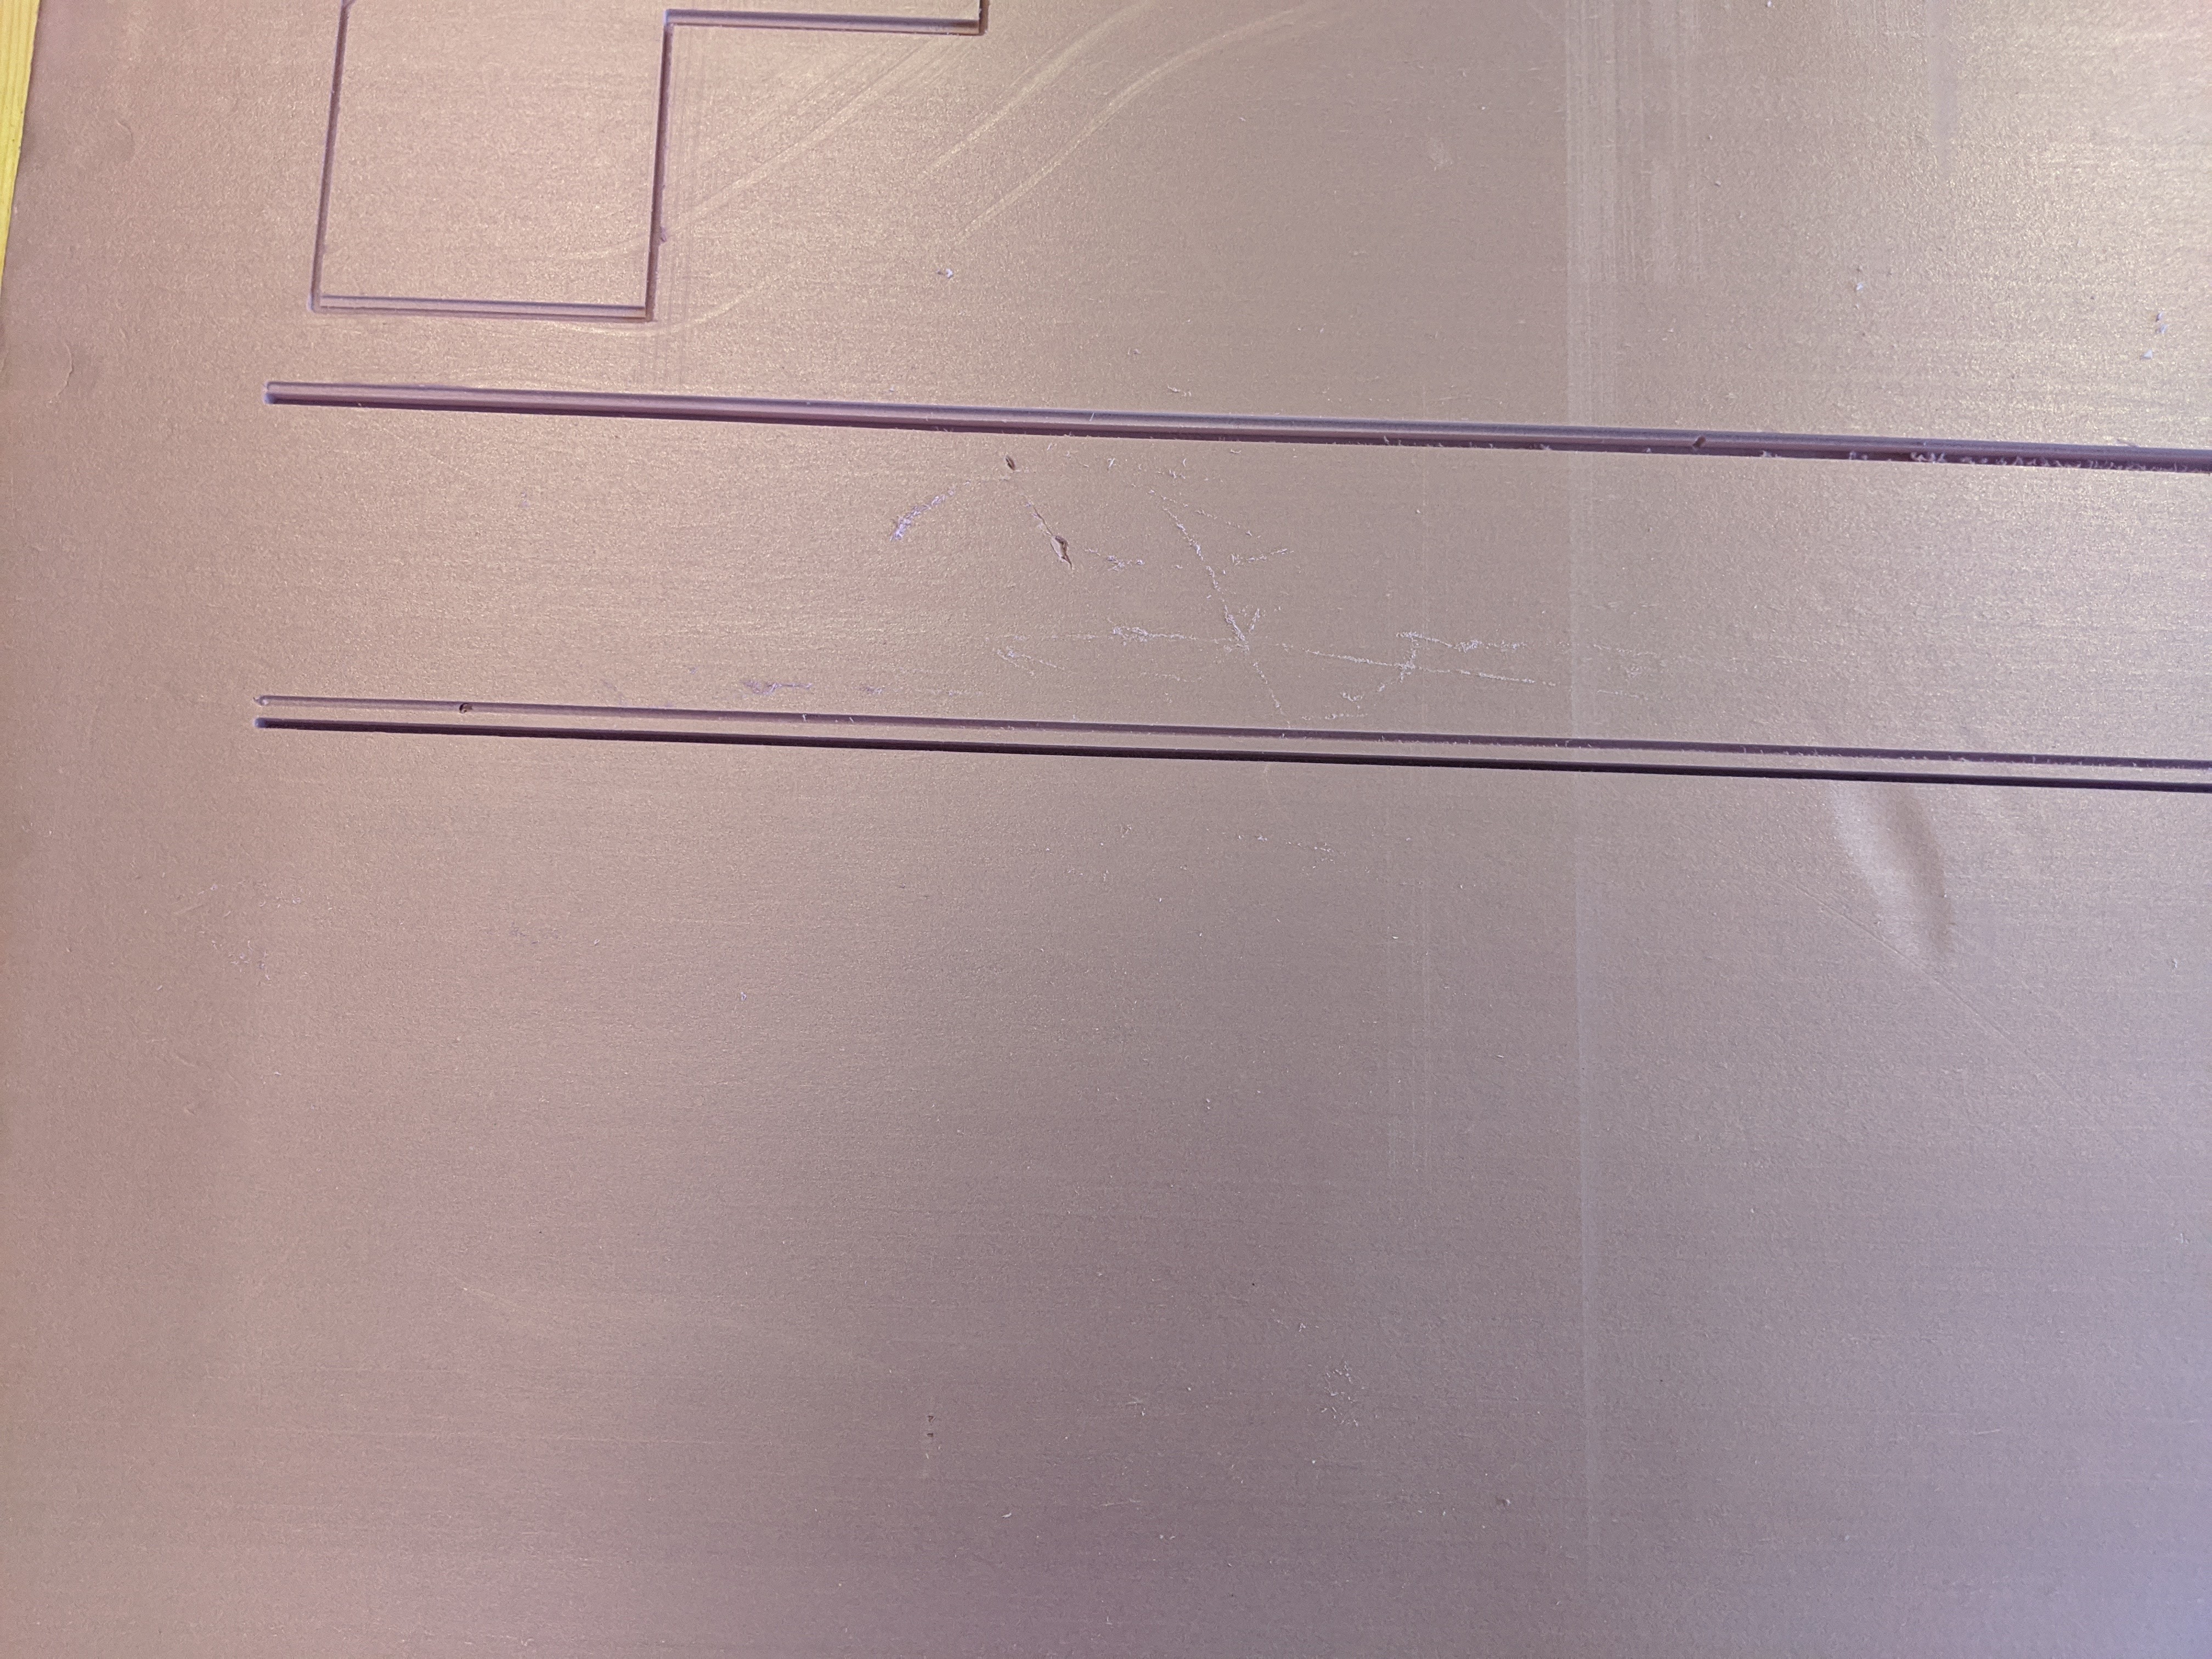
After this, ran a test cut, a 7 foot straight line along the Y axis, 10 passes, 1mm at a time. It went down the table on its first pass, and then on the way back the cut deviated from the first pass. Then it cut the rest of the passes true to its deviation. Here’s some pictures of that:
We did this test cut twice, with different deviations on each cut. The first one (the one on top) went right back to the first pass at one end of the table, but deviated at the other. The second cut deviated and never went back.
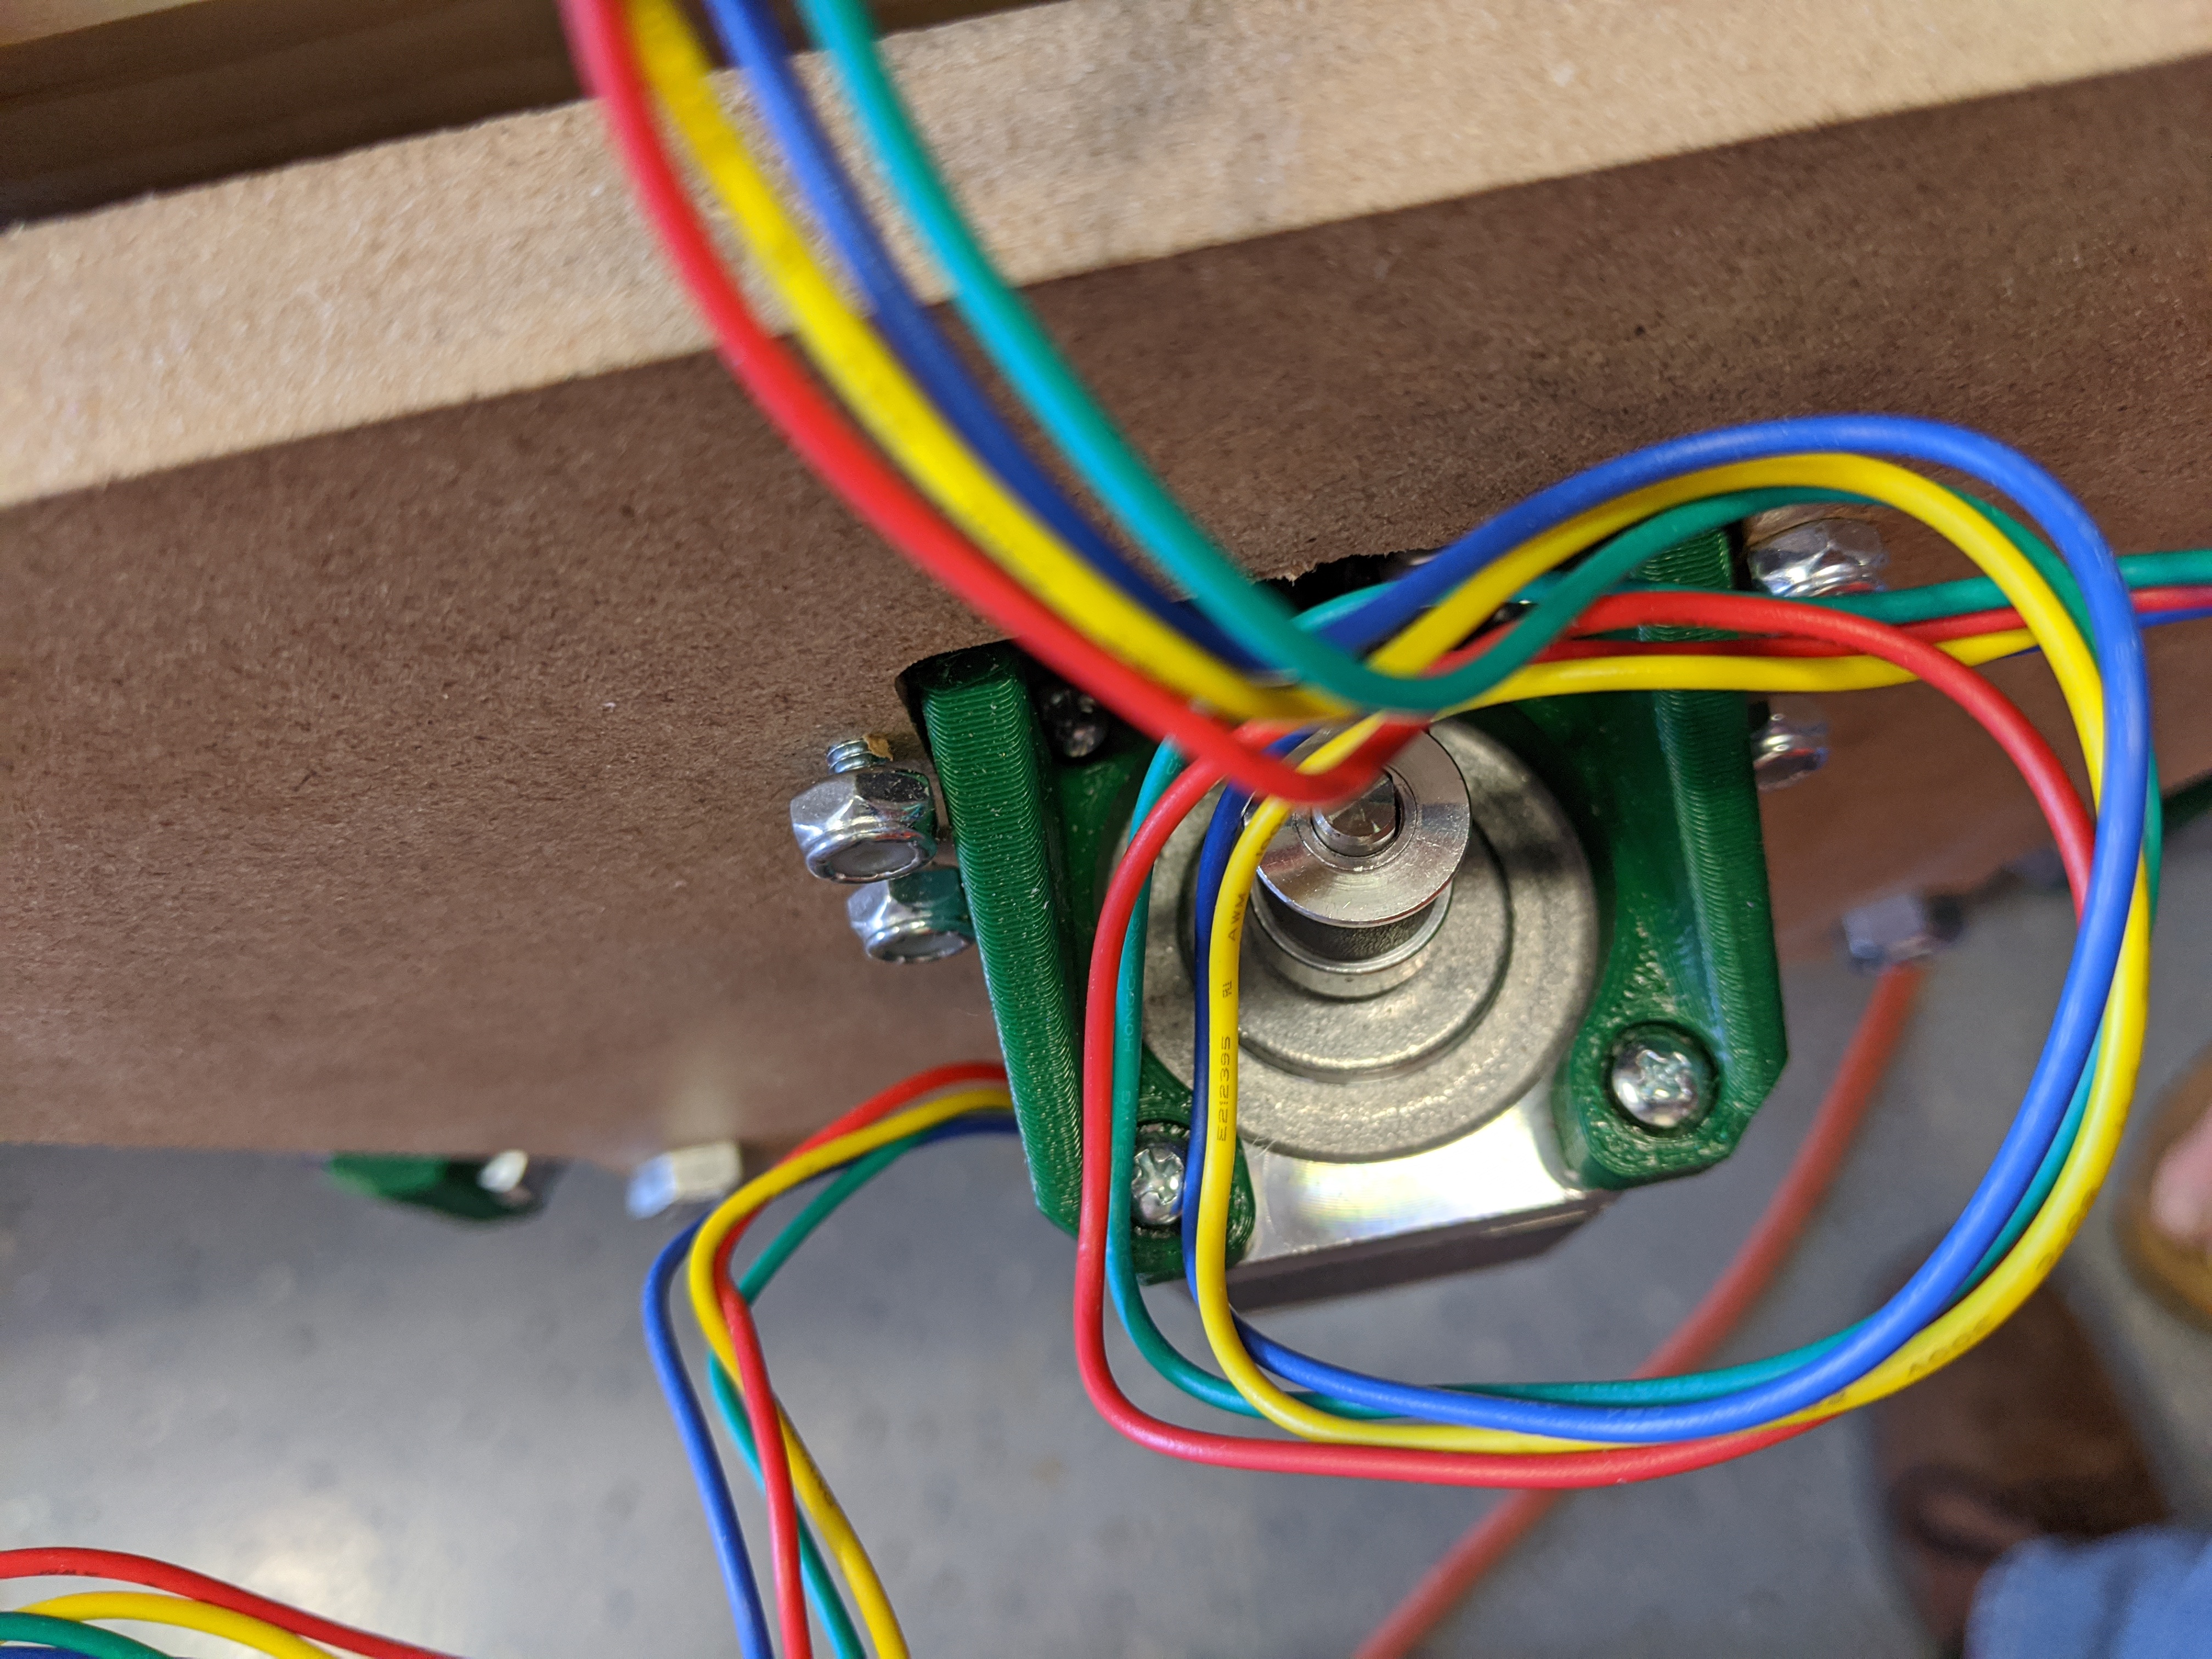
All four screws on one Y motor mount had not been tightened fully. D’oh! (I took that pic after tightening one of them). I’m thinking that this could be potentially the source of the deviation?
I’m going to run another test tomorrow now that those nuts are fully tightened. I’m also going to secure the foam to the table as best as I can, right now it is just sitting on the table. It didn’t seem to move throughout the cuts, but I’d like to rule that out.
I should mention, a straight line test along the X axis was also performed today, and it was completely true.
Tightened those nuts and ran the test again – better, but still some skew. Went ahead and installed some 3/4in rails as Jeff recommended and just like that, this thing is cutting perfectly!