This can be done in cura as well older video but I believe the feature is still there.
Starts around 2:05
This can be done in cura as well older video but I believe the feature is still there.
Starts around 2:05
Might be easiest to make an STL which contains the portions that need the extra strength. That can be imported as a modifier mesh in PrusaSlicer and Cura and used for changing infill density (and will be much more convenient than screenshots).
How much time/filament are we taking here?
This is where Simply3d’s “factory” files are pretty amazing.
Set up the build plate with the parts you want to print, configure all of the processes, then save the factory file. It saves all of the process settings with the parts.
This is pretty easy in simplify3d… You need to figure out which layers you want to change infill at. You’ll have three processes. First process will only print up to layer X. Second process will print from layer X+1 to layer y. Third process will print from y+1 to end.
I’ll try it out later and see how much time it might save on the print.
YAY, I have the 5th upgrade kit, which is clearly better than 1, 2, 3, or 4! Nice touch on the hand written Thanks You note Ryan!
Splitting the file at 24mm and 116mm filling the center with 30% infill takes 20% less print time. 462g vs 353g
Do the whole ends need to be at 70%, or just the areas around the bolt holes? Are you trying to prevent the bearings from shifting, or are you trying to prevent the core from getting crushed? Just wondering how optimized you could make the heightened infill.
Do some topo analysis of the internal stresses, and create a bone-like model with a cellular “marrow”…
Well, yeah you could drop it a tiny bit but even doing the massive center doesn’t save all that much time so the extra work to shave a half a percent or two isn’t worth it to me.
The ends, Z clamps, are what combat the flex from the endmill into the rails. The center/middle of the of the core has little to no effect.
So it wouldn’t do any good to keep the triangular core at high infill all the way down (vertically)?
The Z clamps are as close as possible to the core/gantry clamps. This transmits the load pretty directly. The other thing the top and bottom do is keep things square and from spreading (clamping the Z rails). Not much else going on in the core in terms of loading.
CNC kitchen also did a gradient infill recently"ish", not the same thing I know, but looks good for overall rigidity in general, especially for larger parts, not used it myself yet, but might be helpful to someone.
Replacing the center section of the core print with 30% at the two heights that you recommended looks to be promissing.
That reduces my estimated print time fro 27:30 to 21:18. That’s a fairly significant reduction in print time. 435g down to 347g.
I think I’ll be printing it with the reduced infills.
Thanks for everyone tuning in on this sub-thread. I’ve done this long enough now that I’ve achieved zen master status when a print fails. My learnings from the Burly build is that Octoprint has the potential to freeze and hang and the time it takes me to debug it is more than the time it takes for me to load an SD card, so I choose the path of least resistance.
I still use Octoprint, but when its a long print where I have half a roll of filament to lose if something goes wrong, then I’ll err on the side of caution and load an SD card. Takes literally 1 extra minute to do and so far I have 100% success rate with SD card. I cannot say the same for Octoprint. I have a quality USB cable with a shielding. I have a quality power supply. I have a fan blowing on the Raspberry Pi 3 B+. I’ve done enough troubleshooting on the surface that, I’d rather spend my time loading a SD card than reading error logs.
For all intents and purposes, those gradient infills are basically gradient perimeters. And you have to have your extrusion settings dialed in pretty tightly to get it right, since that’s how it does its magic.
It’s one of the reasons why I haven’t tried it yet. I’m getting decent enough prints, but my extrusion is iffy (lots of extra stringing, probably need to cool down the hot end and/or crank up the retraction).
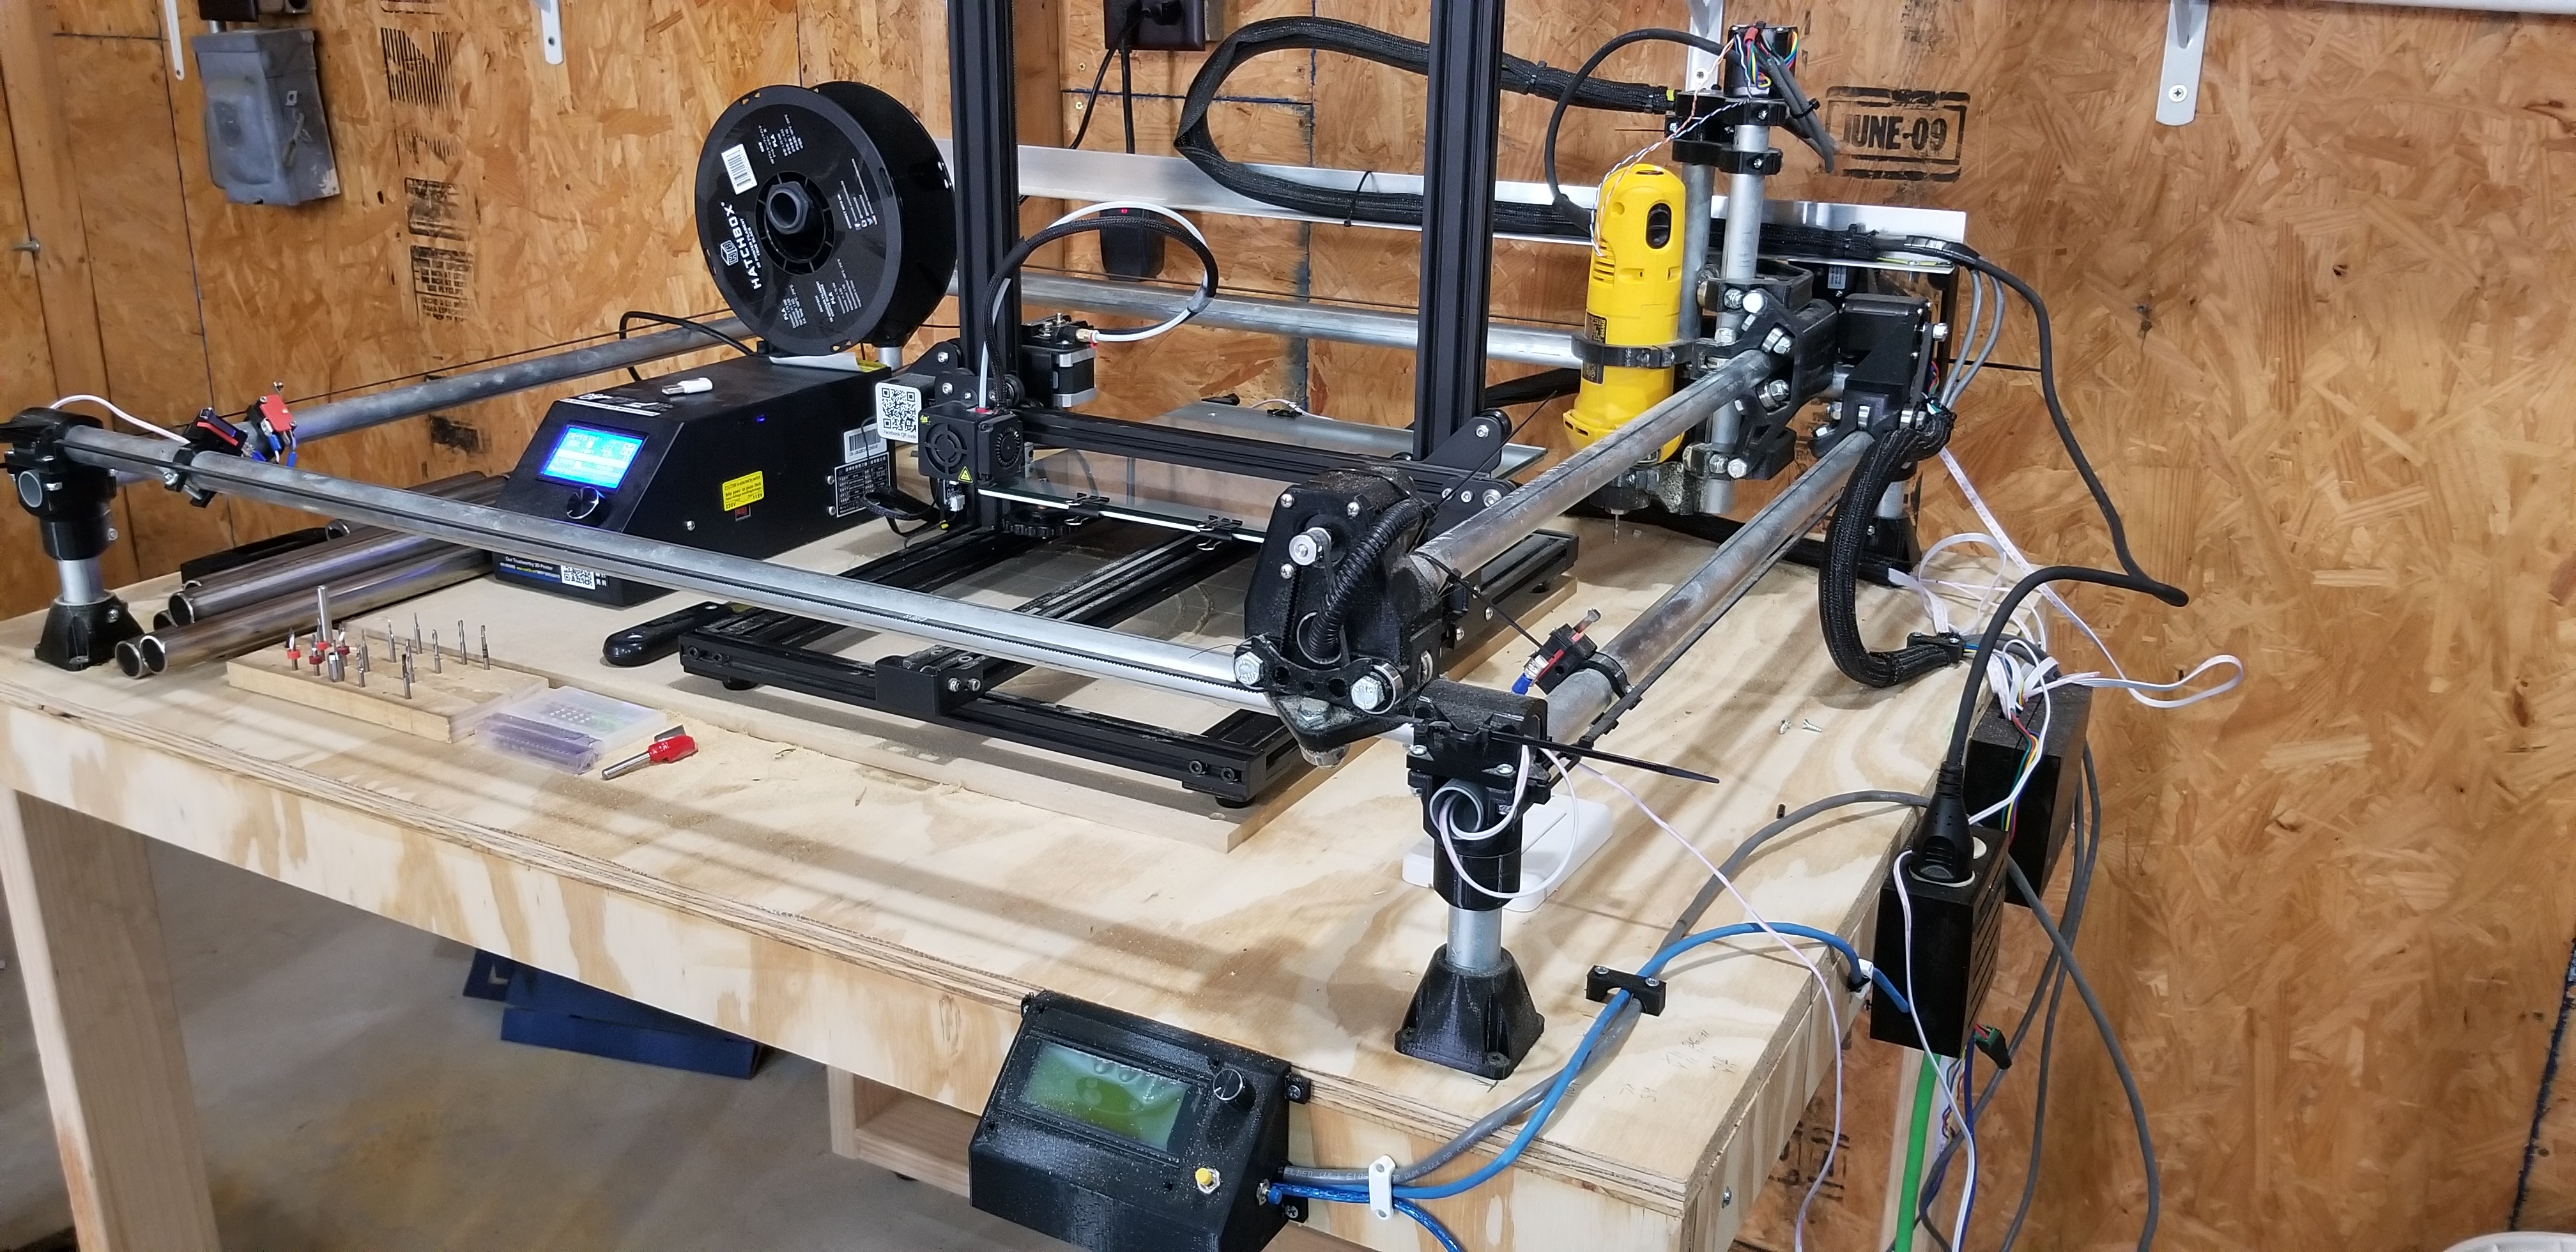
PLA is finally in! Sourced a 20ft stick of .065 SS tube for $65 (didnt think it was that bad of a price), cut it down at work. Upgrade kit from Ryan is here. Now time to get this printing show on the road! To say I’m excited would be an understatement.
Okay guys you all need to calm down with the belt orders. That is the one item that I am really really having a hard time getting. But I am getting upgrade kits with 18M 15M, 12M belts. I really really hope no one is trying to build this thing that big.
I have budgeted 3-4M average. So far I think I have sold a couple kits with 4 meters, all the rest have been averaging 6M. I hope the next batch of belts ship soon.
I don’t know your setup, but I’m only using an Ender 3 and Cura’s stock settings and extrusion has never been an issue that i’m aware of, mechanical maybe, but not the software side.
Maybe we are not talking about the same thing, either way I’m not brave enough to stick my neck out and try printing a center piece, so maybe you’re right.
But he did make a point of mentioning it functioned slightly differently from the already available similar infill types.
lol I’m one of the guilty belt hoarders. I forget how much I ordered but I learned from my first couple/few mpcnc’s to have extra (guess once cut five times). And mine are nearly 4x2.5’
Someone probably asked this before but to much to scroll thru 
When 25mm version ?  my printer is ready !