I tried to fix it using a dead board I had on hand…turns out 450C on the hot air is too much. I need more patience.
1 Like

So Barry got me all excited to try faster prints. His railcore is a pure speed demon. So I gut the guts up to press my luck…PS 100mm/s is no good with the stock hemara hotend.
Flow rates here, Flow rate calculator, 0.5mm nozzle, .35mm layers, 0.6mm width, PLA, standard genuine v6 heatblock and heater. Volume lets you compare to different nozzles and layer heights.
His test block is sliced at 10mm intervals and the speed increases at each one.
bottom - 10.5mm^2/s -50mm/s
12.6 - 60mm/s
14.7 - 70mm/s
The line is the start of the 16.8 - 80mm/s section.
So you can see it took a bit for the heater to catch up and never recovered.
The 70mm/s section has a bit if a odd thing on the corner of the “X” but I think it is some sort of heat issue not an actual acceleration thing.
I am pretty stoked on the performance.
and the top section (not in the picture) at 18.9 - 90mm/s is no bueno.
2 Likes
Had my print speeds set at 190mm/s.
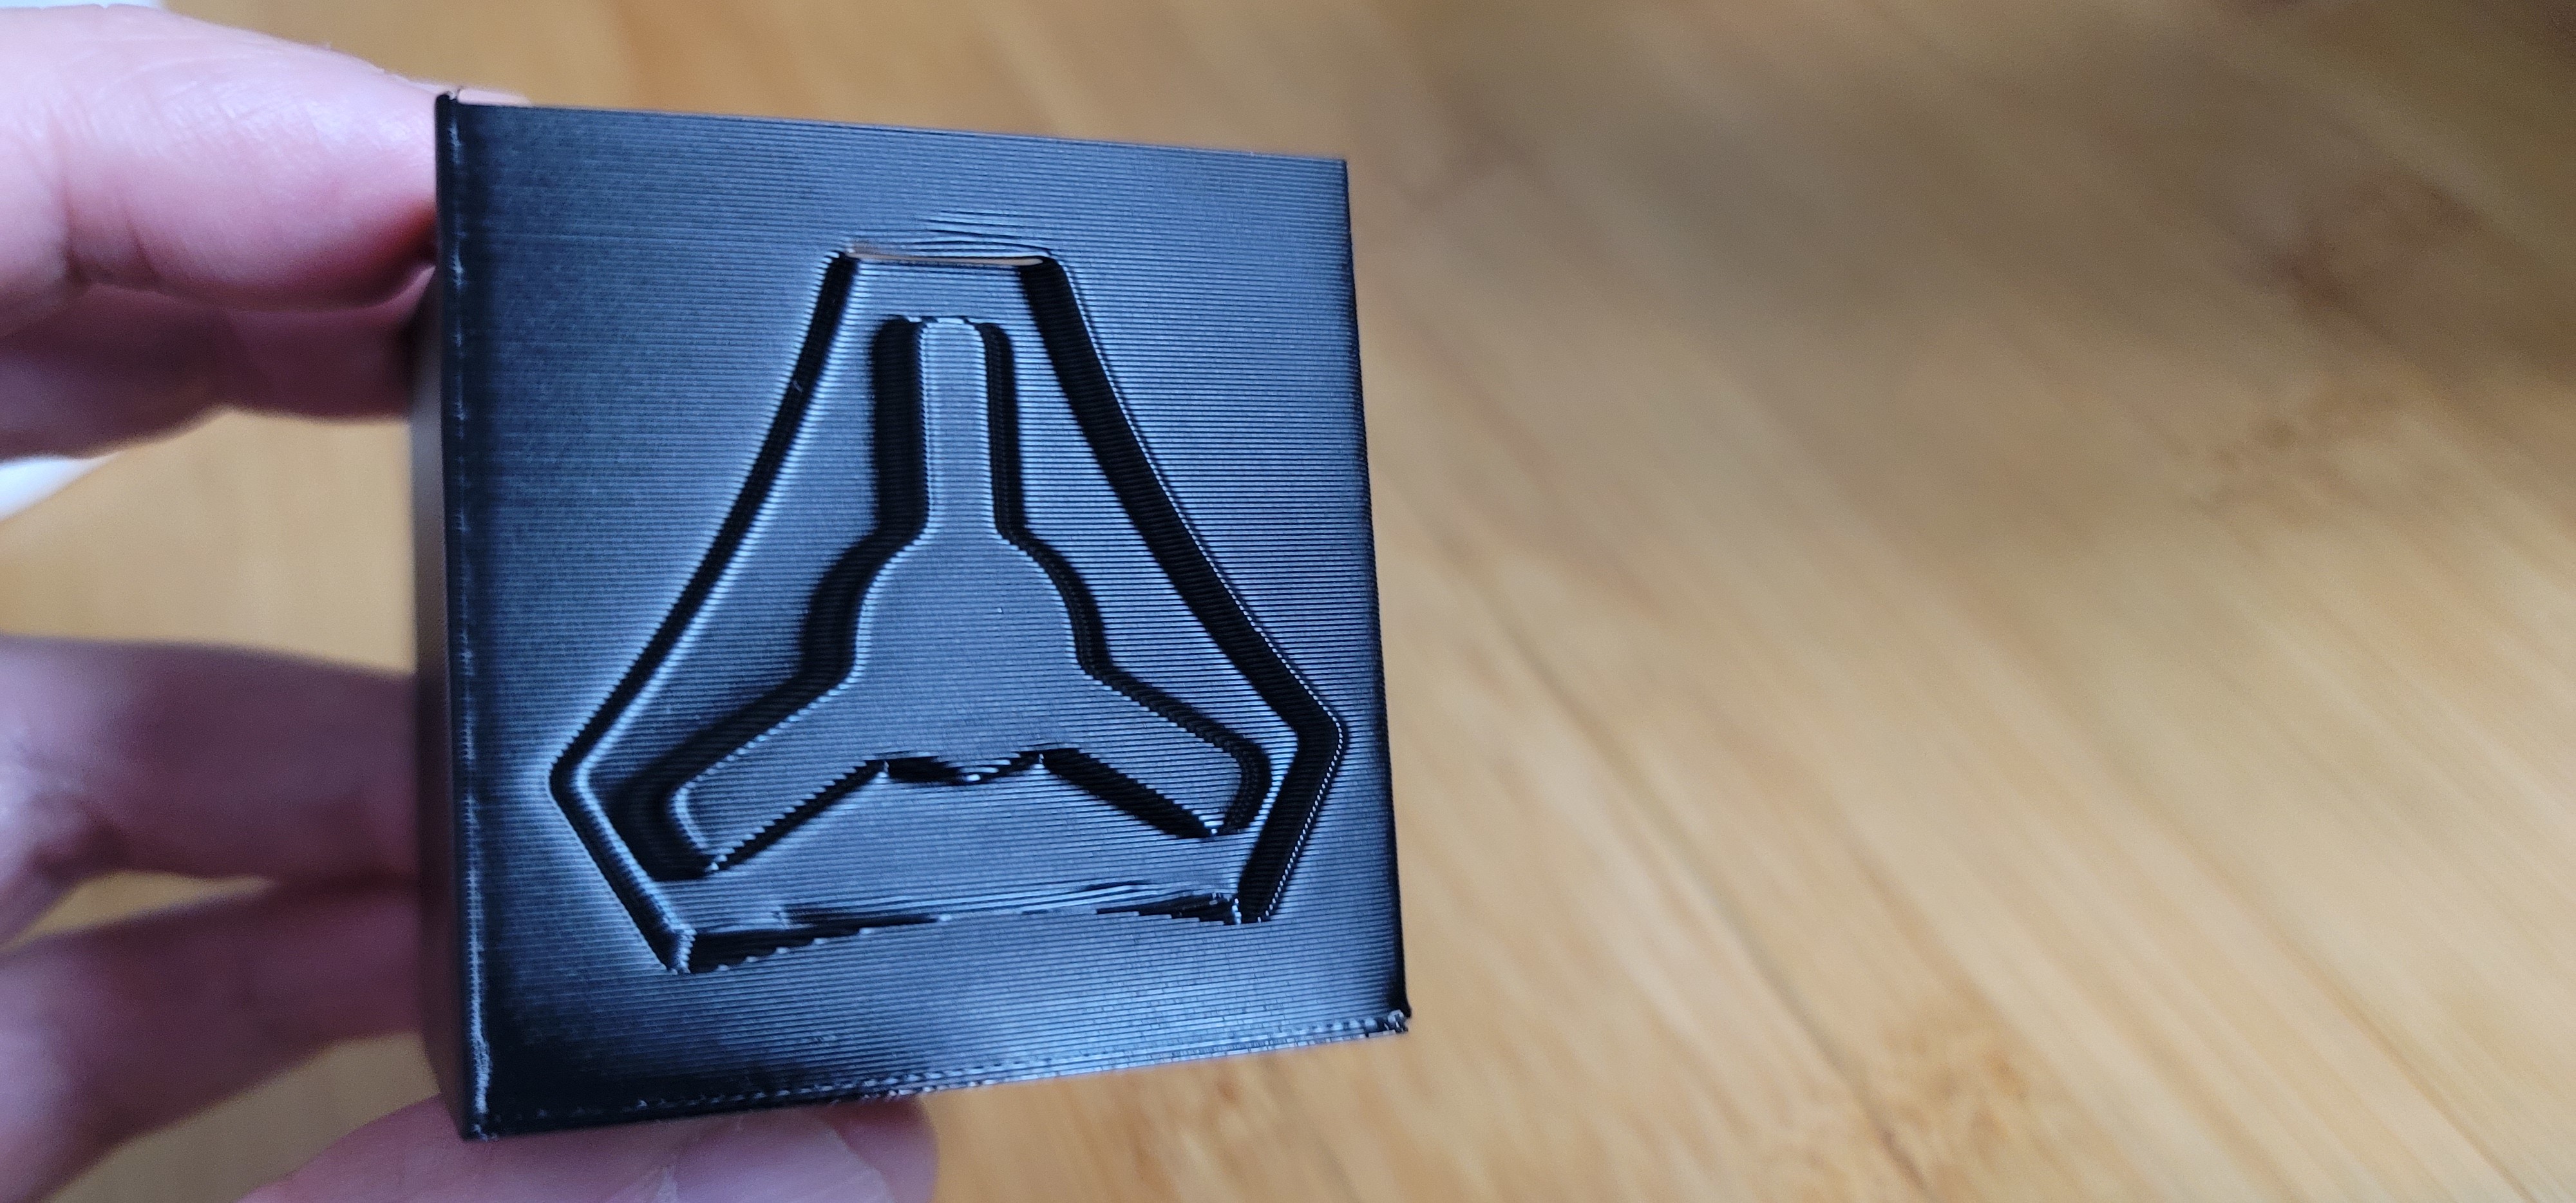
Funky spots are because vase mode and I didn’t chamfer the shapes right in fusion.
6 Likes
That is just insane.
You have a mosquito with a volcano? What about cooling?
1 Like
Cooling is maxed to 80% with this fan.
Mosquito Magnum. Didn’t go with their super high temp hot end. Got tired of fixing my V6’s heat break. Too easy to twist apart.
For what it’s worth…
My speed settings are printing perimeters at 70mm/s and infill at 85mm/s, 0.33333mm layers.
Vase mode is all “external perimeters” at 60mm/s
What is probably making the difference is 24V, it means a 55W heater instead of a 36W one.
1 Like
NICE! Bet that’ll make even the Germans jealous!
2 Likes
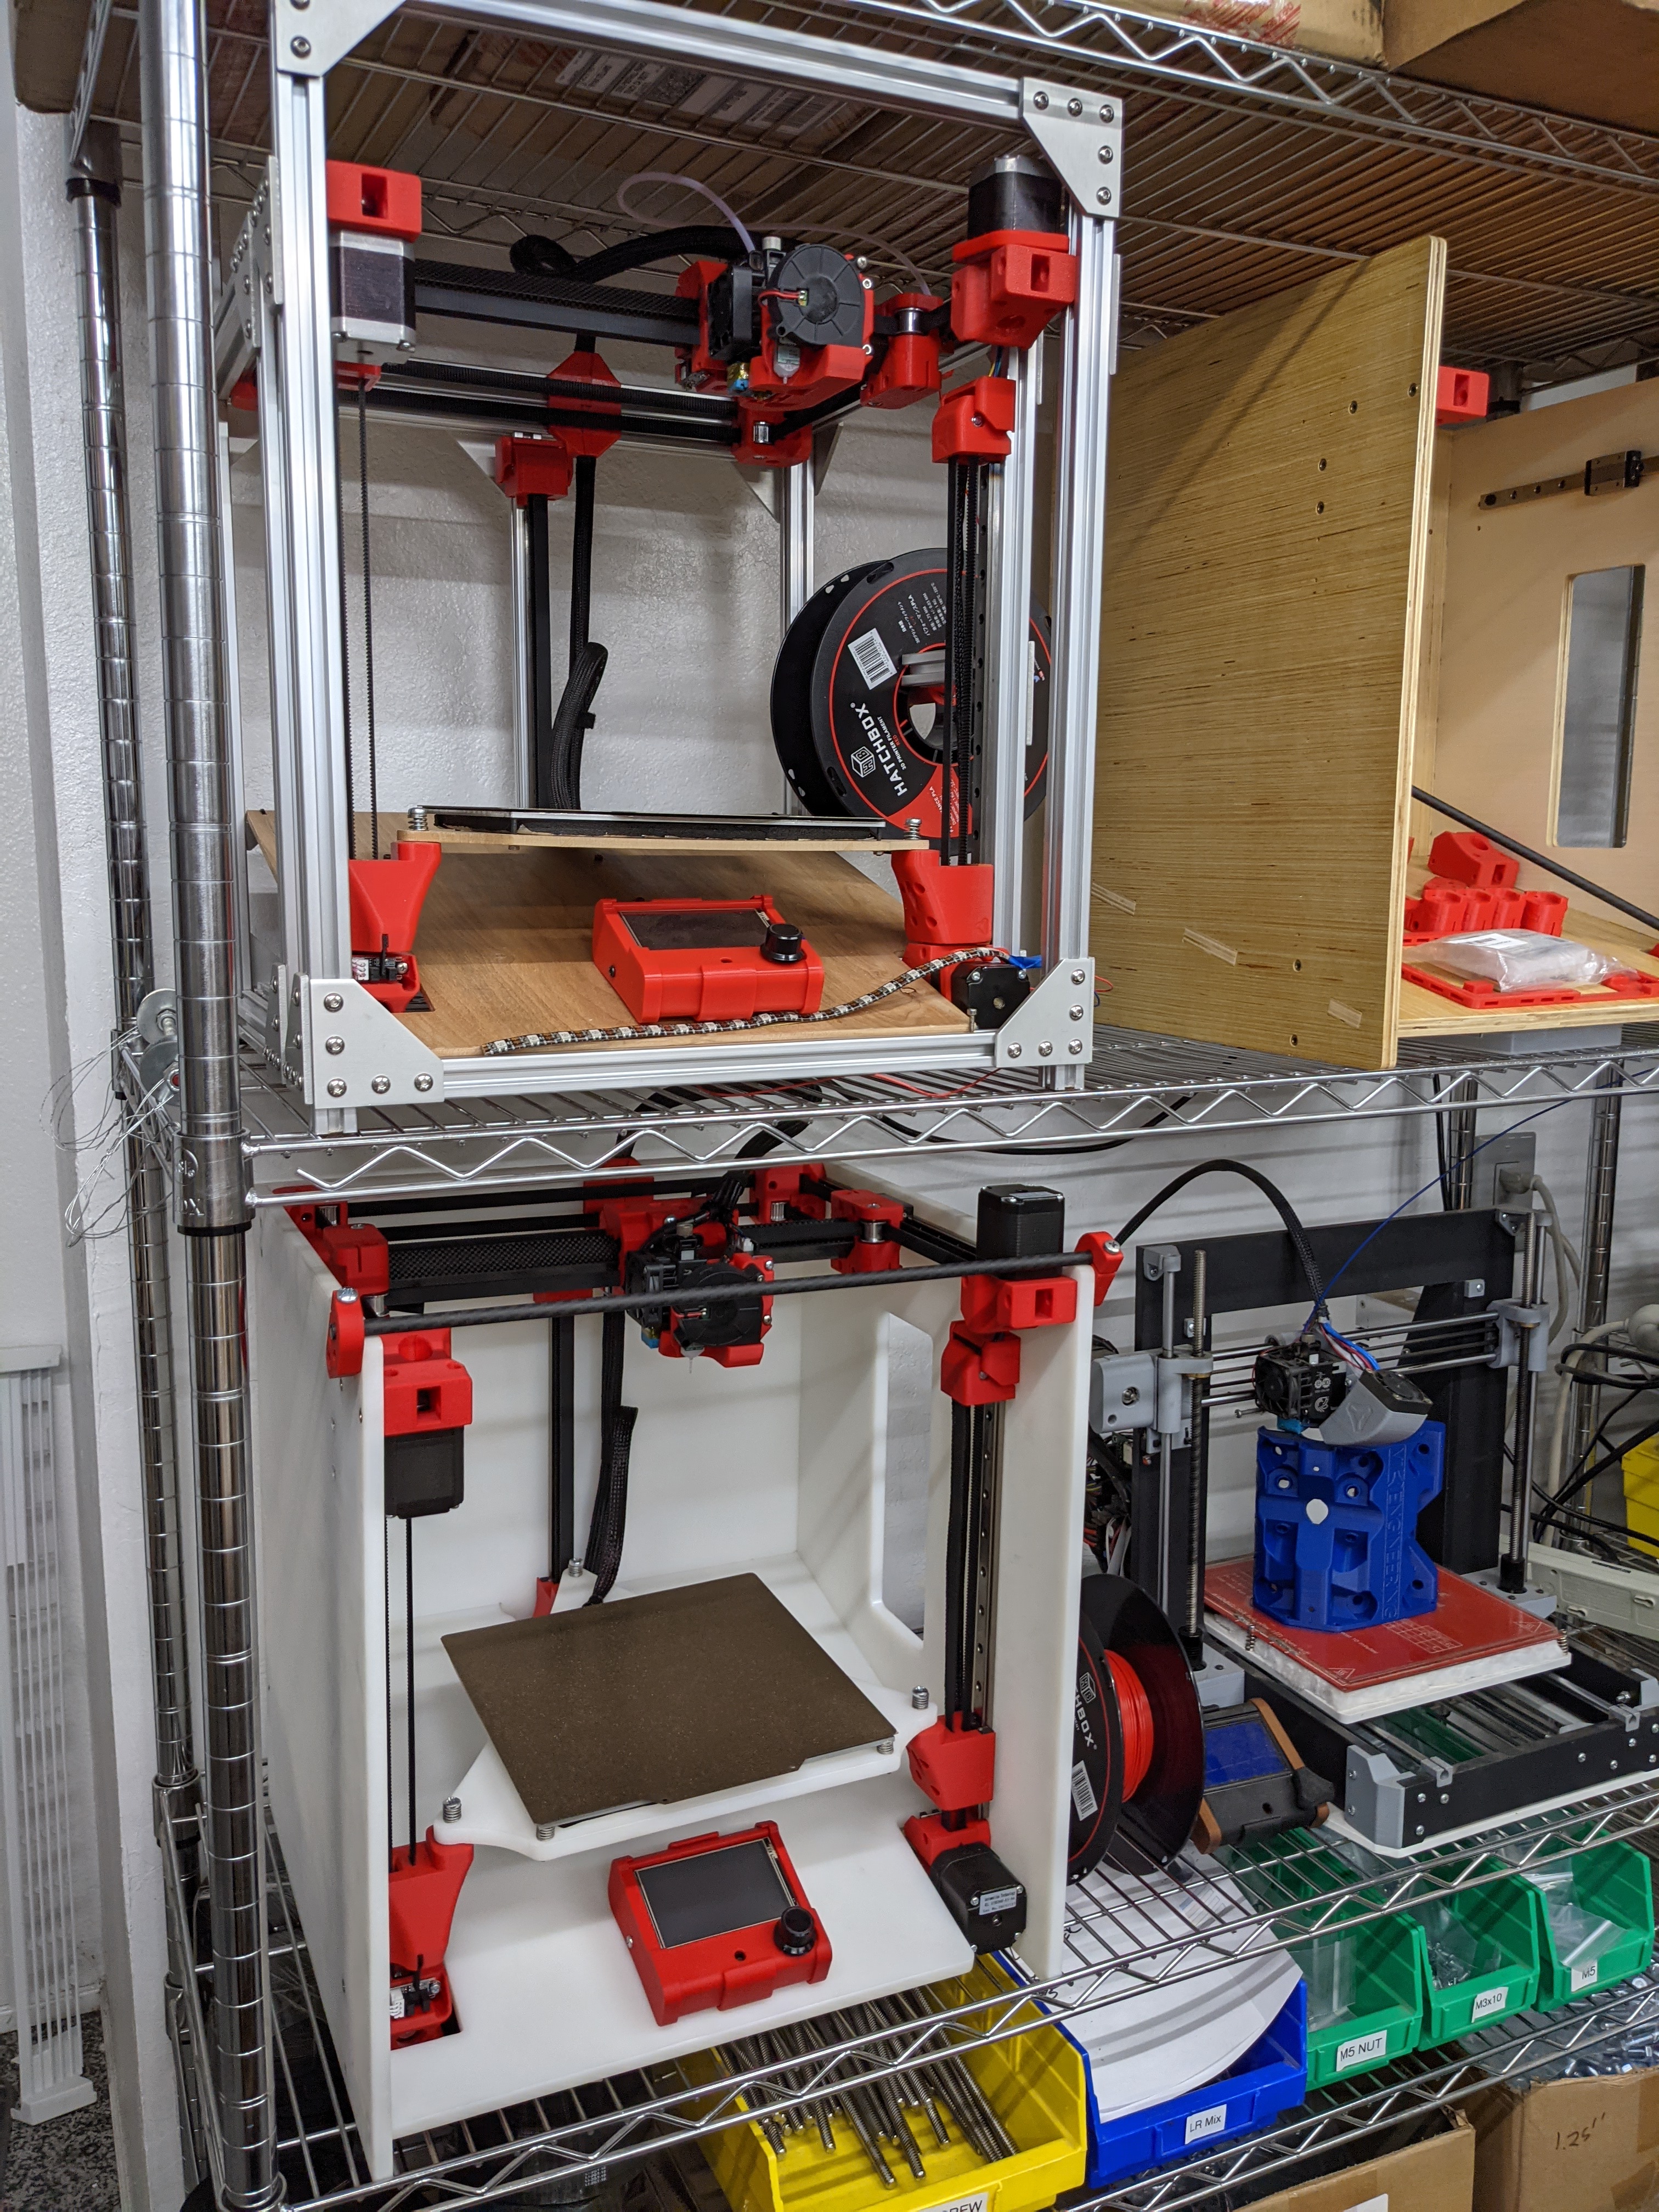
Gorgeous! I don’t need another printer (yet) but that one photo makes me want to build one…
1 Like
It really makes me want to have a 3D printing business.
6 Likes
You easily design an adapter to mount the probe to the hotend before the fan.
1 Like
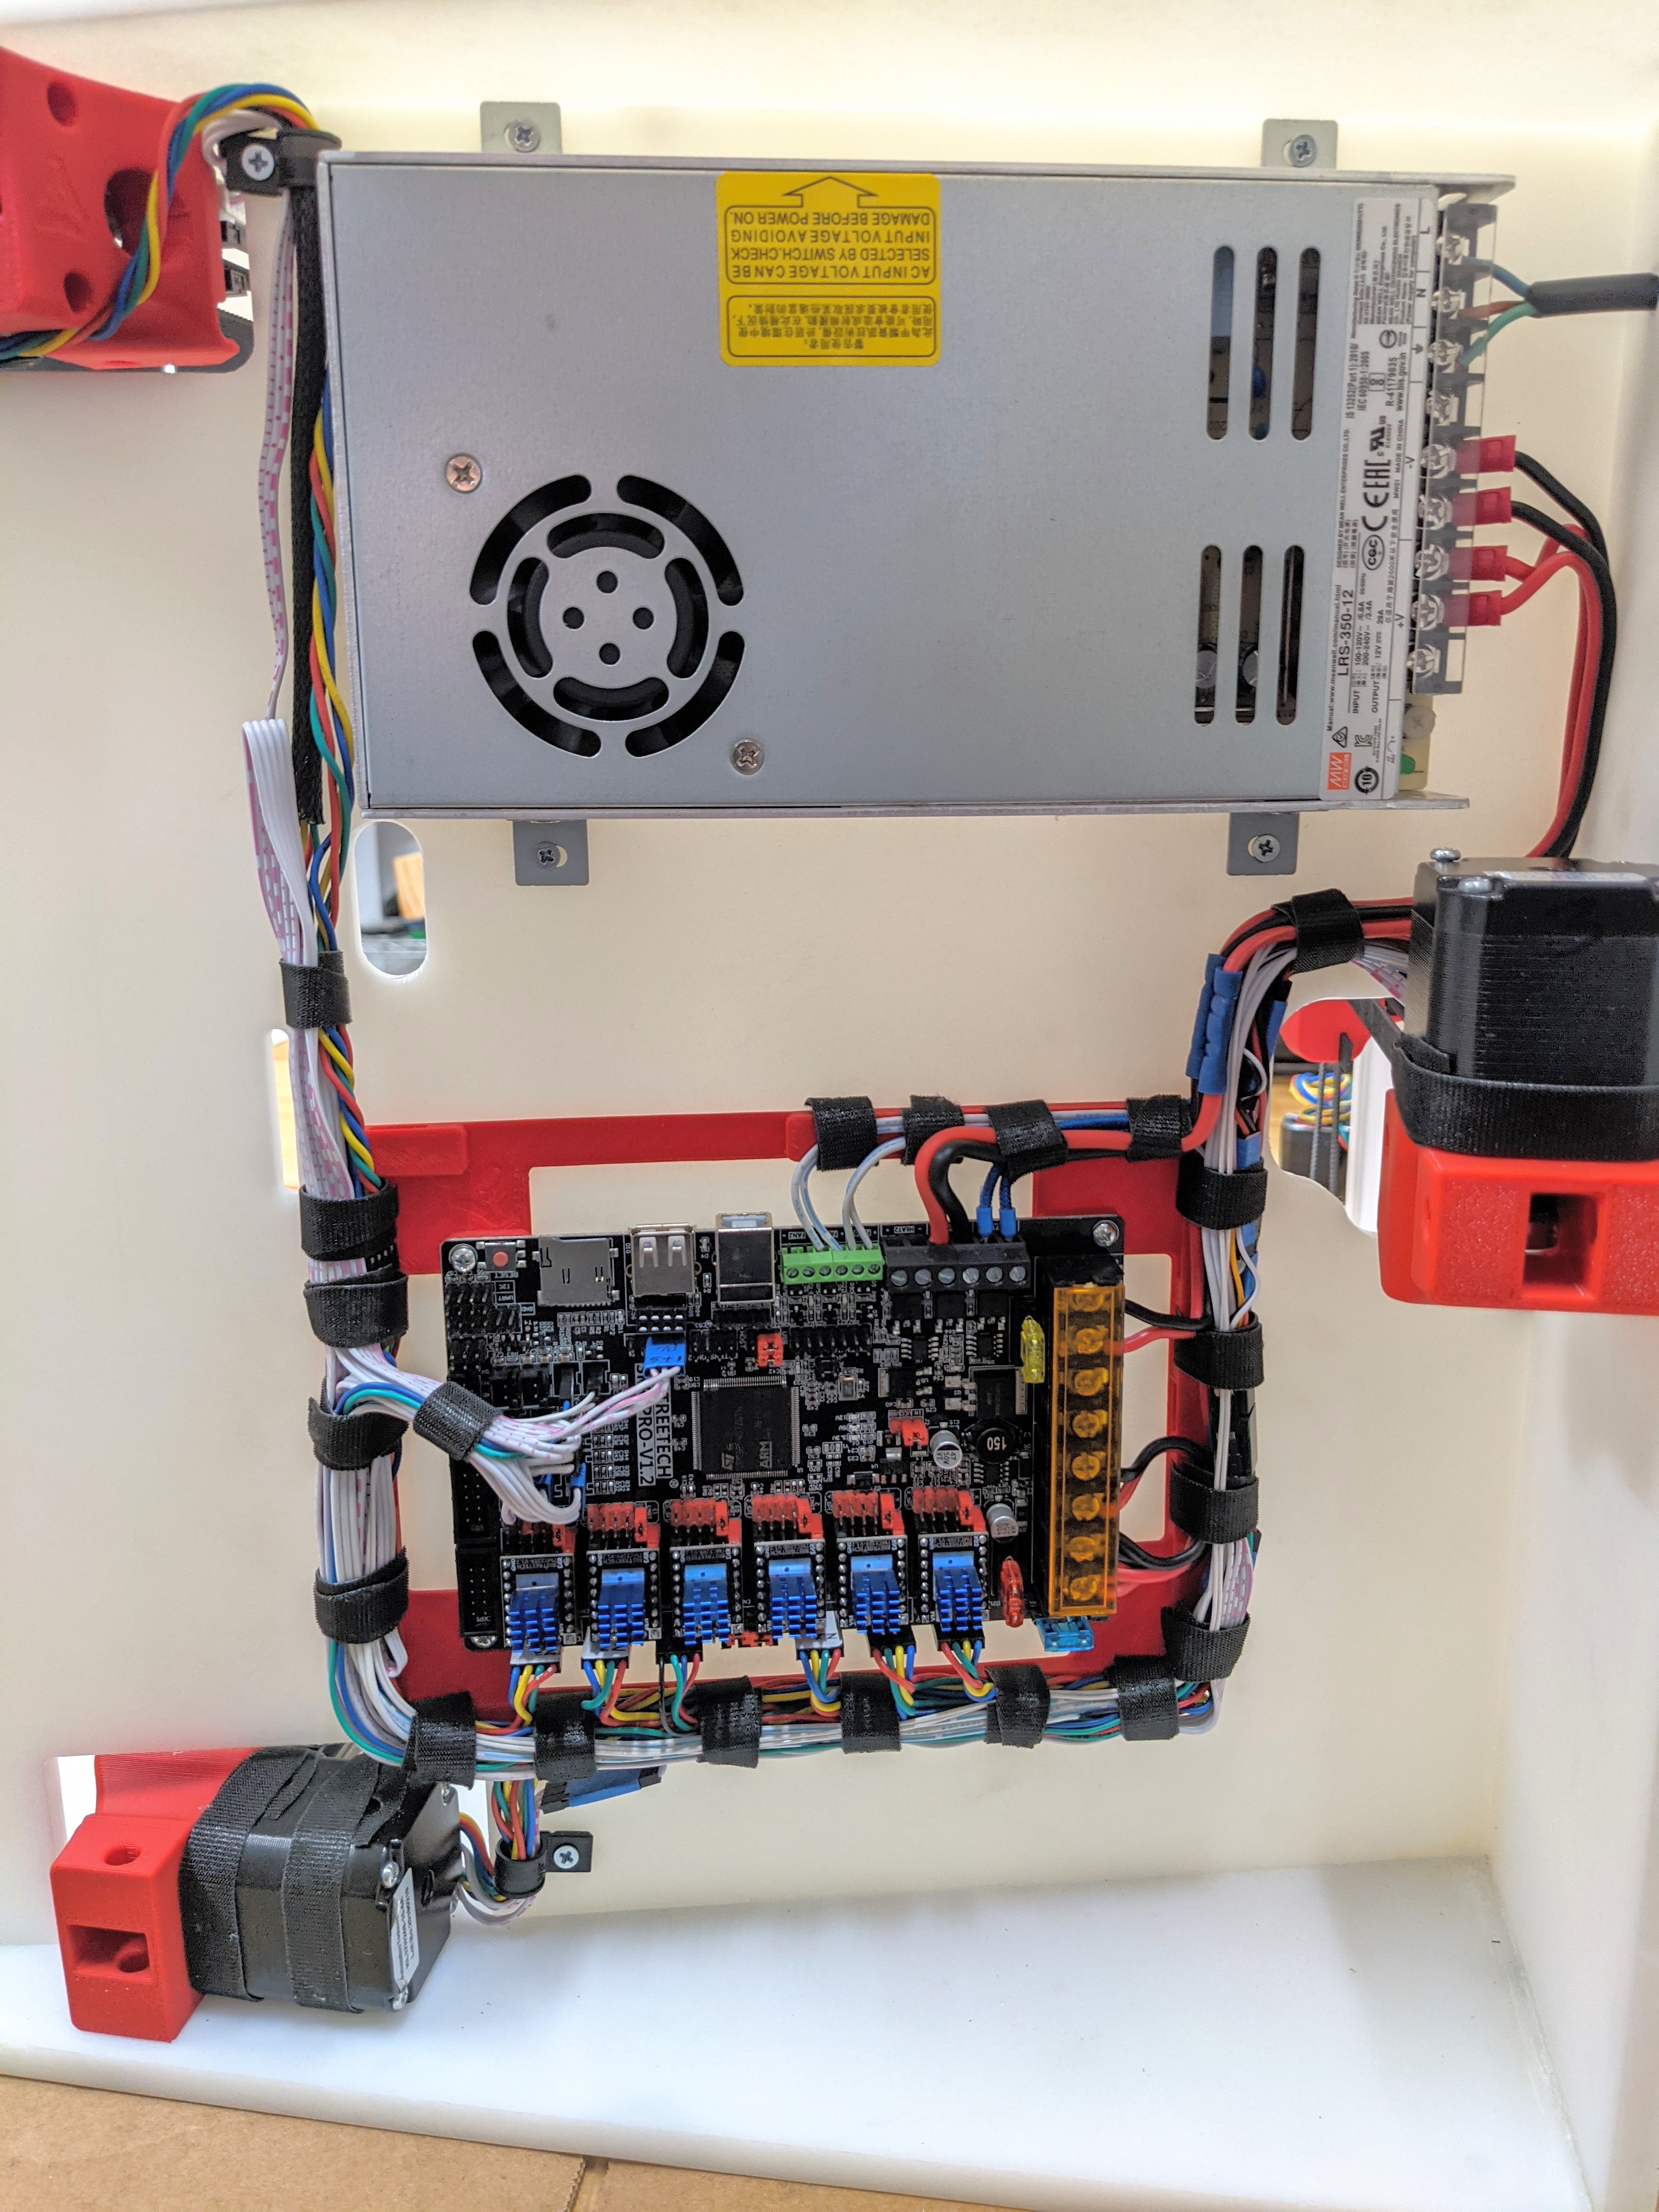
Hi Ryan, your caddy for SKR Pro is very nice, if the stl file is available (if you are willing to share it) I would like to use it for the MP3DP that I am building at very slow speed … (I started 8 months ago and now I am in the process of wiring)
Thanks
Paolo (from Italy)
1 Like
Very kind of you. Thank you very much
Sooo… When do the STL file pack and parts kit come online? 
1 Like
The STL’s have been available, you just export them from the CAD. I will do a prusa / thingiverse link at some point soon though.
Parts kits…probably not so much. I have most parts in the shop individually already as well. I can’t carry linear rails, beds, or the CF for shipping reasons. It is a couple pulleys, steppers, idlers, wheels, and some belt. The screws totally depend on how you build it as do wire lengths.
The dilemma of not constraining people’s builds. any size, any material, any hotend, any bed, any probe. A standard kit means fixing all variables.
1 Like
Ppthhhhbthbththh… :bronx_cheer:
Yeah, I fought with F360 to export the lifters from the CAD. PITA, when trying to “learn” just enough F360 to export the objects.  And, of course, no print alignment hints (although the lifters are kinda easy, since there’s really only one dead-flat surface). That’s the real benefit of the STL pack, the objects are (hopefully) pre-aligned for optimal printing (either for no support, or best strength). And then, first print, my glass bed decides to lose it’s grip about a third of the print through, and I end up with a bird’s nest, and the second print, the back of the painter’s tape holds too well, and the print tears in half trying to pull it off the bed.

Hmph… Sorry, just venting a bit. Been away for a while. Work and such-like. Tried to get the old printer back into shape, and thought I might print up something useful (like a new printer), and was failing miserably…
1 Like
Luckily with Fusion you just click on the part you want, right click, export as 3mf.
At least I think that is it.
I will get there, I plan on taking instructions pictures while building #3. When I do that I will package up some STL/3mf files.
I have been doing a few things at the same time as import shipping is taking a lot longer than usual. So everything is slow going.
No worries, I had a few rough weeks but things are starting to smooth out a bit…until I run out of inventory that is.
2 Likes
@kvcummins If you want to get started, I have all of the printed parts exported and rotated to the correct orientation for printing.
What I don’t have is CAD for the sides, wedge piece and other parts for a standard sized build. My CAD assumes 450mm Y rails and 350mm Z rails, and I don’t have the wedge piece at all. Oh yeah and a CR10 sized heated bed…
3 Likes