Yes. Have a look around thought. Finding one pre soldered is pretty key, it can be really hard to solder too as that bed sinks the heat really really fast.
There are a bunch of beds out there these days, silicone heaters, all sorts of stuff. I linked that because I had a few of them so I designed for them, but it seems the MK3 aluminum is becoming hard to find.
Gotcha, i’ll look around a bit for a good bed. I assume I may need to adjust the bed plate cutout to match up with the mounting holes of whatever bed I pick. Or have you found these mounting holes are pretty standard spacing?
You will need to edit. Now is probably a good time to start your own build thread so others can follow along in all the design and sourcing choices you are making. They will quickly get lost in this thread.
It has been my experience that the 209mm square is pretty common, and easy to get in a variety of brands and even sizes. For example the 220X275mm bed that I use on 2 other printers has 209mm square mounting holes. Also, for 3 hole variations where one mounting hole is in the center of the edge, this size is common, which is what the original bed mount is designed for (I think)
If you pick a different bed, that’s a fairly minor adjustment to the CAD, I think.
So my problem is finding a bed with a center hole on the back edge to mount to the Repeat bed. Is there a work around for this? Can I drill a hole in the bed?
Drilling a hole is not usually an option, the traces can get pretty close to the edge. You might be able to though.
Reshaping the bed plate is pretty easy in the CAD you can just overlay a square. I’ll make a not to have this as an option next time I mess with the CAD.
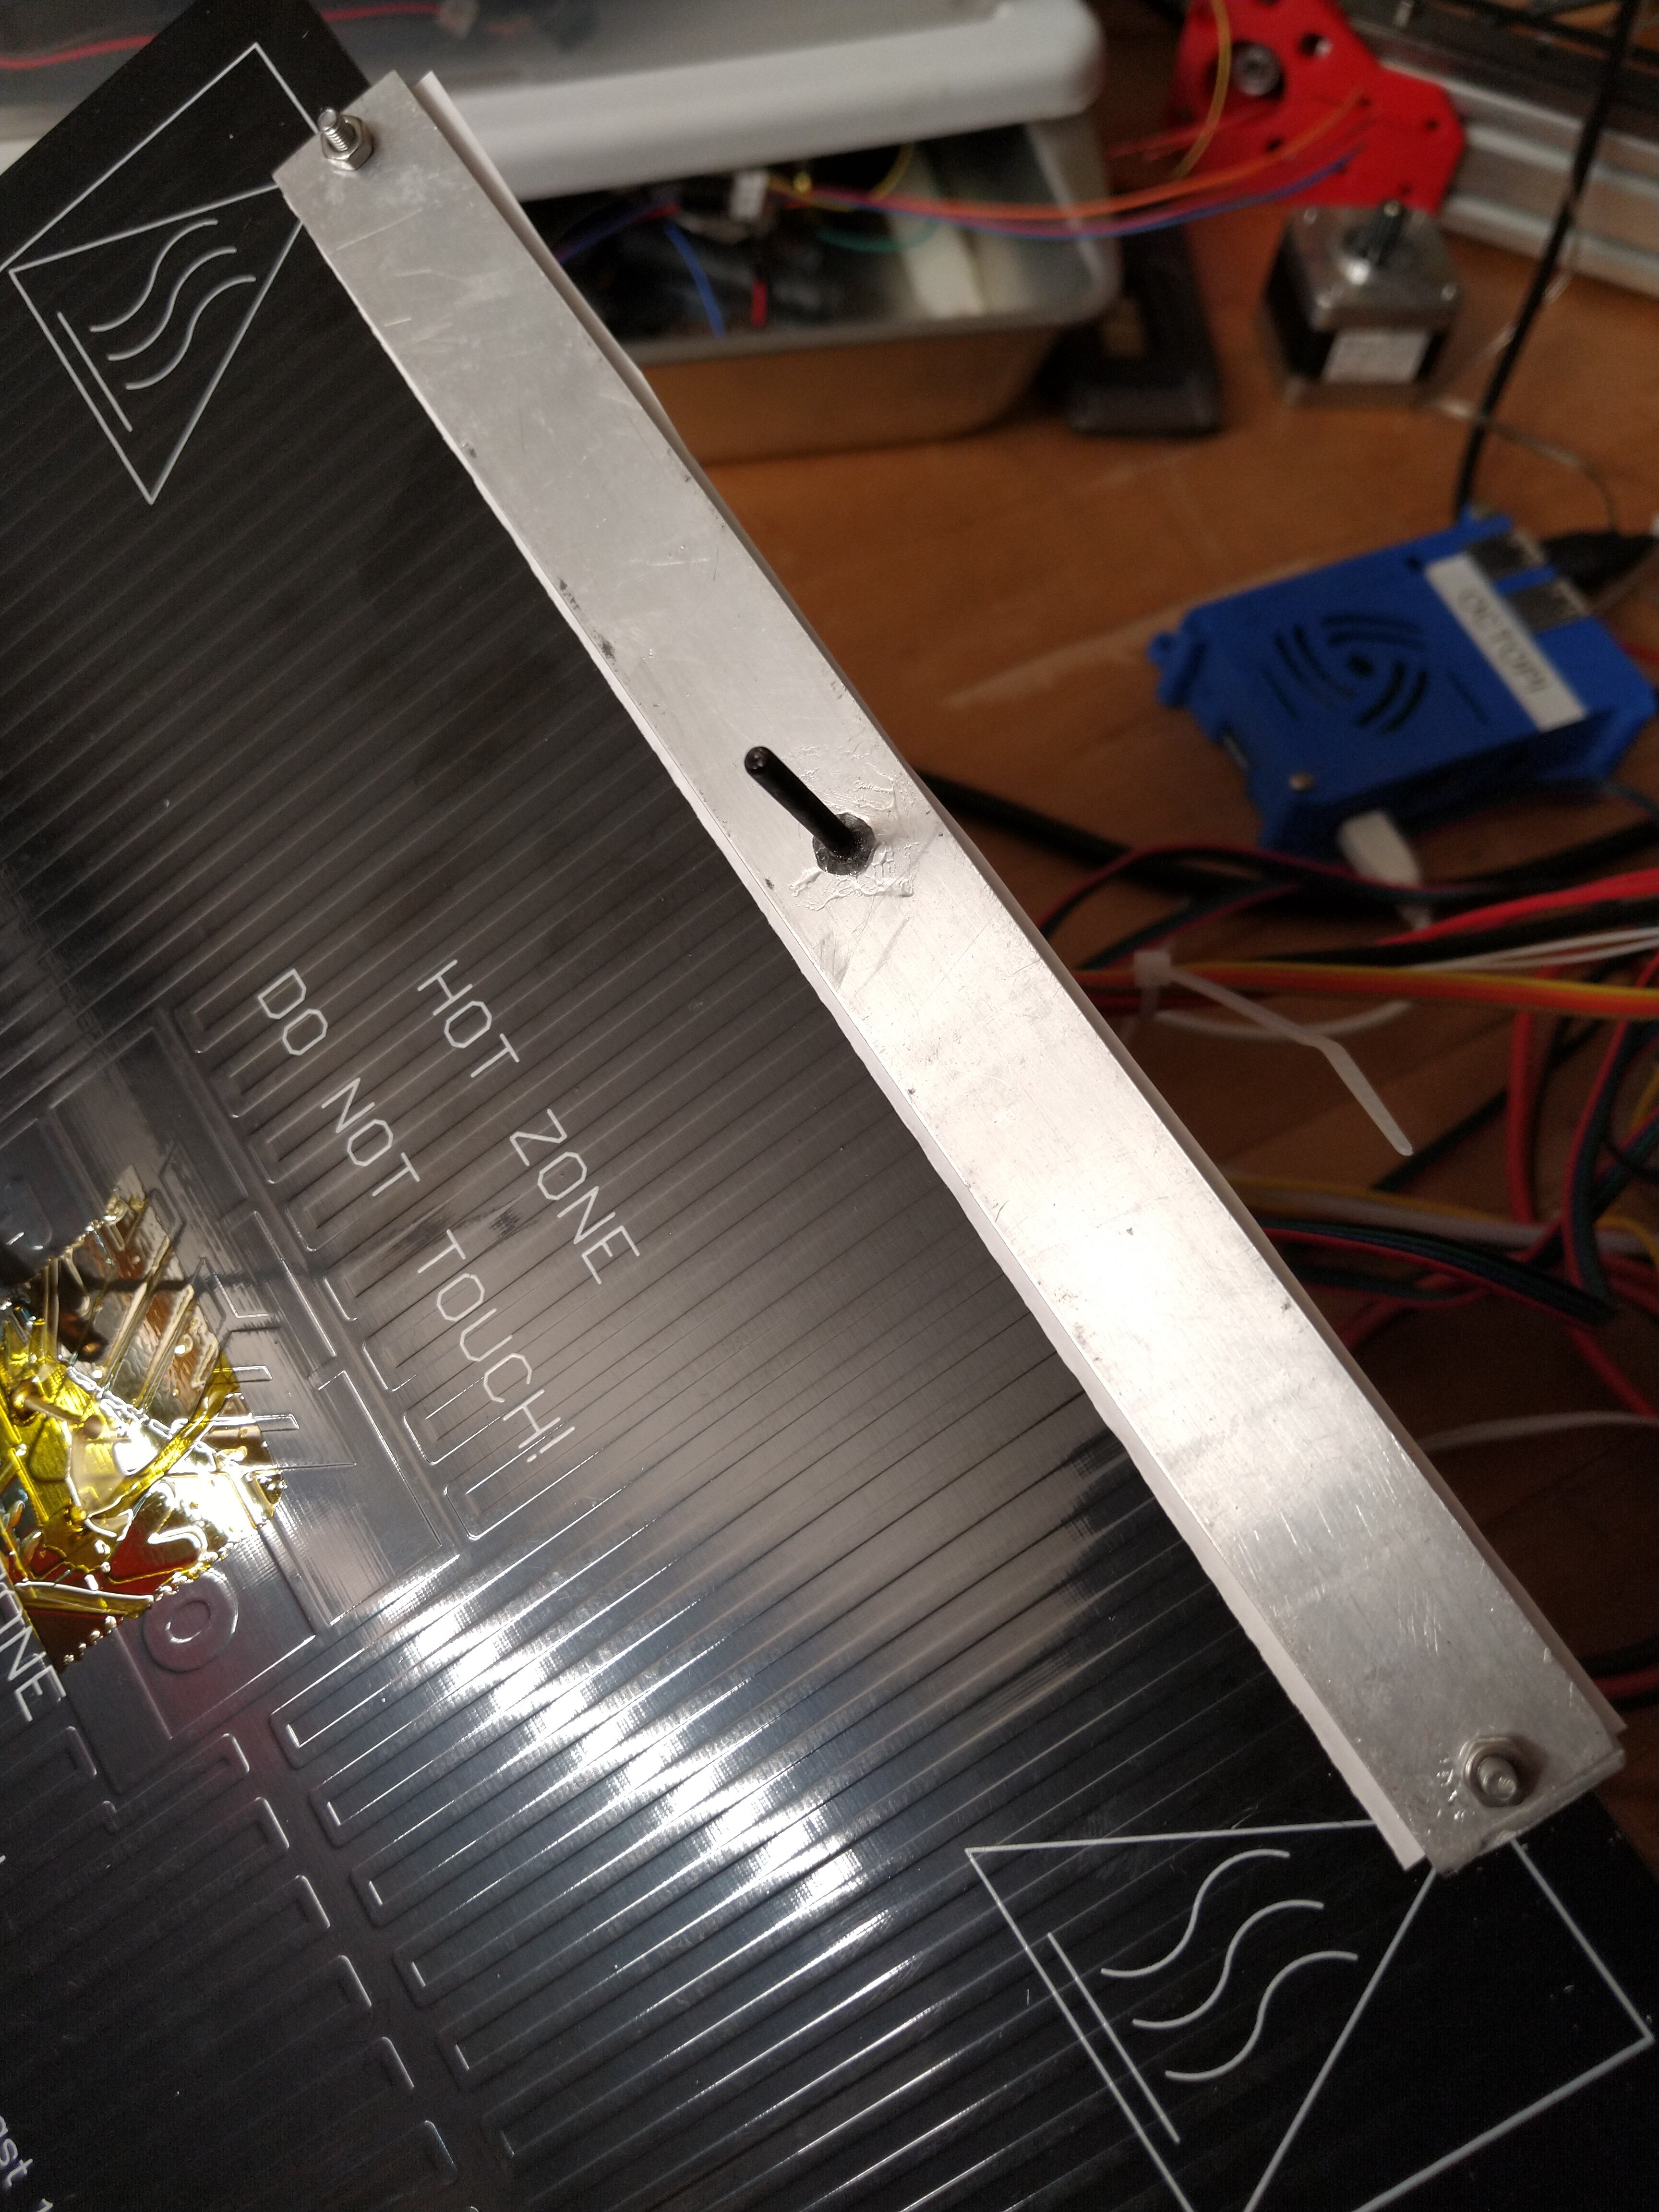
The center screw is a long set screw tapped into the strip and epoxied into place. Two holes at the end are just short screws +nuts to hold the strip to the bed. A strip of paper between the strap and the bed acts as a heat break and also prevents damage to the solder mask.
While I am, of course, a proponent of making purchases from the V1 shop, I am also spoiled and want to get my v wheels here tomorrow via Amazon Prime. But upon using the Amazon link from this page, I was directed to your run-of-the-mill 24mm wheels as opposed to the 15.3mm wheels that the build actually calls for.
I am hoping that I’ll be able to make some real progress this weekend! Life has been happening all around me and REALLY getting in the way of my “me time”.
I had just assumed that they changed it up on you. I know that they have a way of keeping affiliate links consistent, but IIRC, you don’t do that… do you? Because you should if you don’t.
They try to replace it with a similar item…for all the countries. It has been known to go bad. I would prefer they at least have a note at the top, “that item is no longer available, here are some suggestions”.
Also just a heads up, the amazon link in the instructions for the 10mm belt takes you to 6mm belt. I can see how that would get annoying to keep up with.
You should be able to open the Rail part itself (right click, open source), then edit the first extrude to the length you want (in multiples of 25mm). I have not opened that up in a while.
CAD can be like that. When things start acting weird, save, shutdown, and reboot. That model is not my finest work so, that could be the issue as well.