Yes. Did you try it?
No, I’d like to assuming I understand its benefits. I’ve just watched this https://youtu.be/d_gHerM0R40 and if I’ve understood it correctly this chap has estlcam directly controlling his router and is using it to zero on on x, y and z faces of his work piece.
I like this as I’m guessing this could be used to accurately pick up the work piece following a tool change?
Estlcam can’t control the skr directly. There are other pc software that can, but it isn’t the same.
Me again,
I had things working and moving and going to plan when I thought I’d give the dial end stops setup a go however, having rewired then flashed the SKR’s firmware I’m left with a no printer attached error message.
I’ve flashed the firmware a few times now with no difference. Baud (uart?) is set to 250000.
Any ideas?
I saw there were two wiring options, extruder 0 and extruder 1. I’ve plugged my steppers in as per the extru’ 1 diagram, is this correct?
I used the V1CNC_SkrPro_Dual_2209-2.0.7.2-src file.
Did you flash the screen with firmware?
It was already flashed and working with the V1 firmware. Does it have a different firmware for the dual end stop setup?
Nope. That should work.
Ah.
I’ve rechecked all connections again and again, reflashed but with no luck. Any ideas of anything else to check?
Are you sure you have the right firmware? Can you post a pic of the screen and connections?
The skr pro firmware and the tft firmware have both been tested together a lot.
If that doesn’t work, then try marlin mode too.
2 Likes
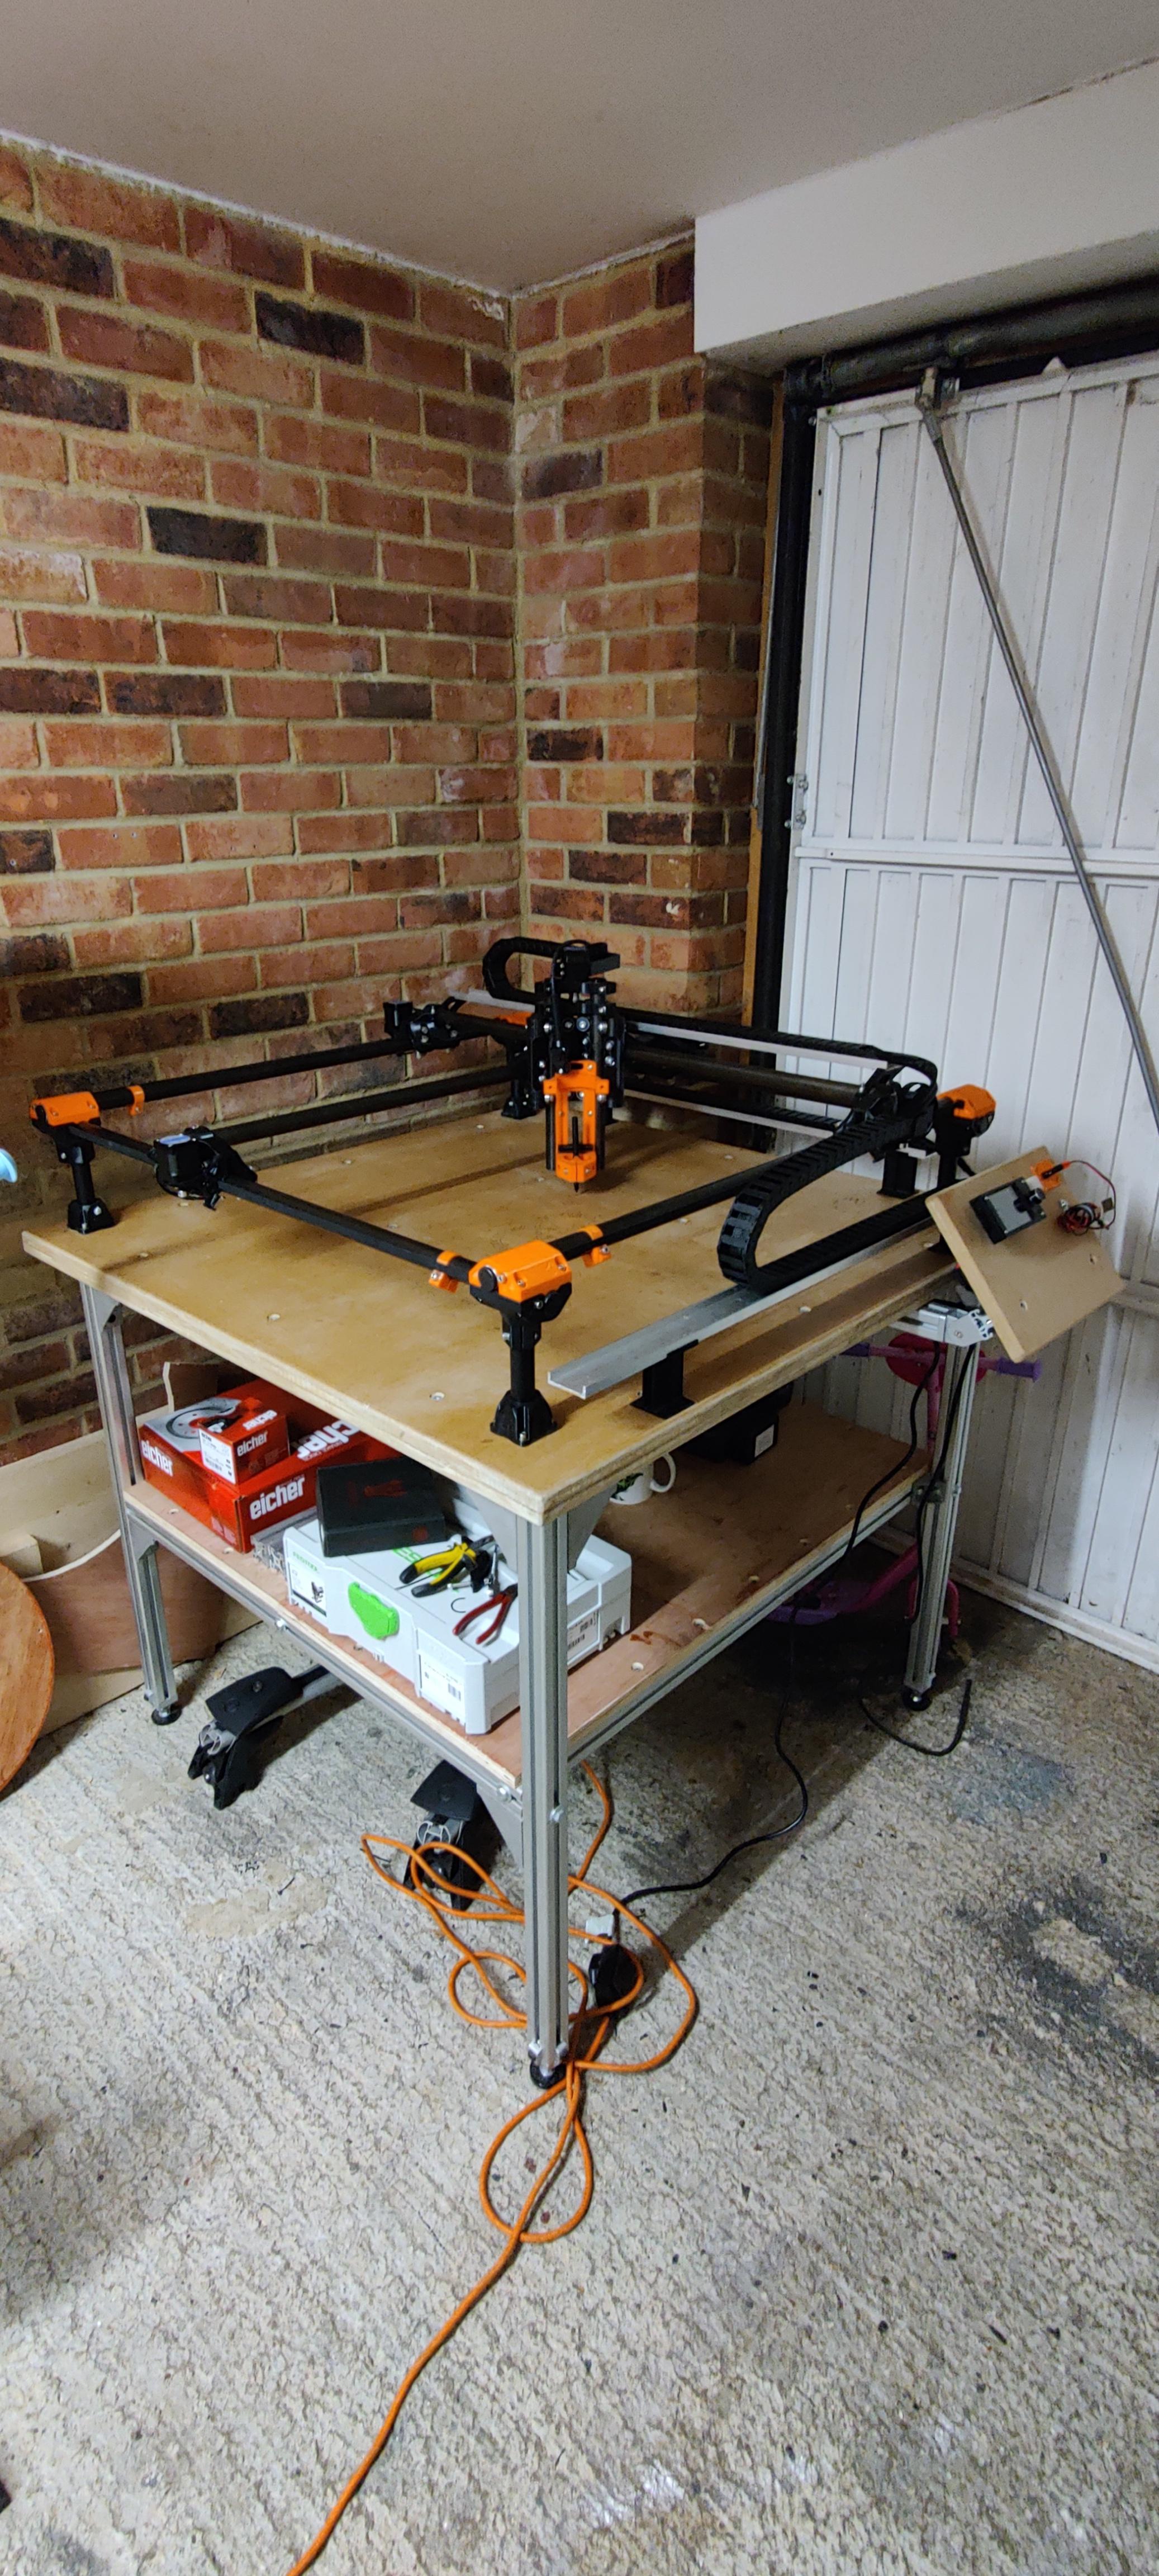
You were right, I had the wrong firmware. Changing that along with some wiring adjustments now means I have a functioning router. Now on to the squaring process!
Thank you Jeff!
2 Likes
 . Nice
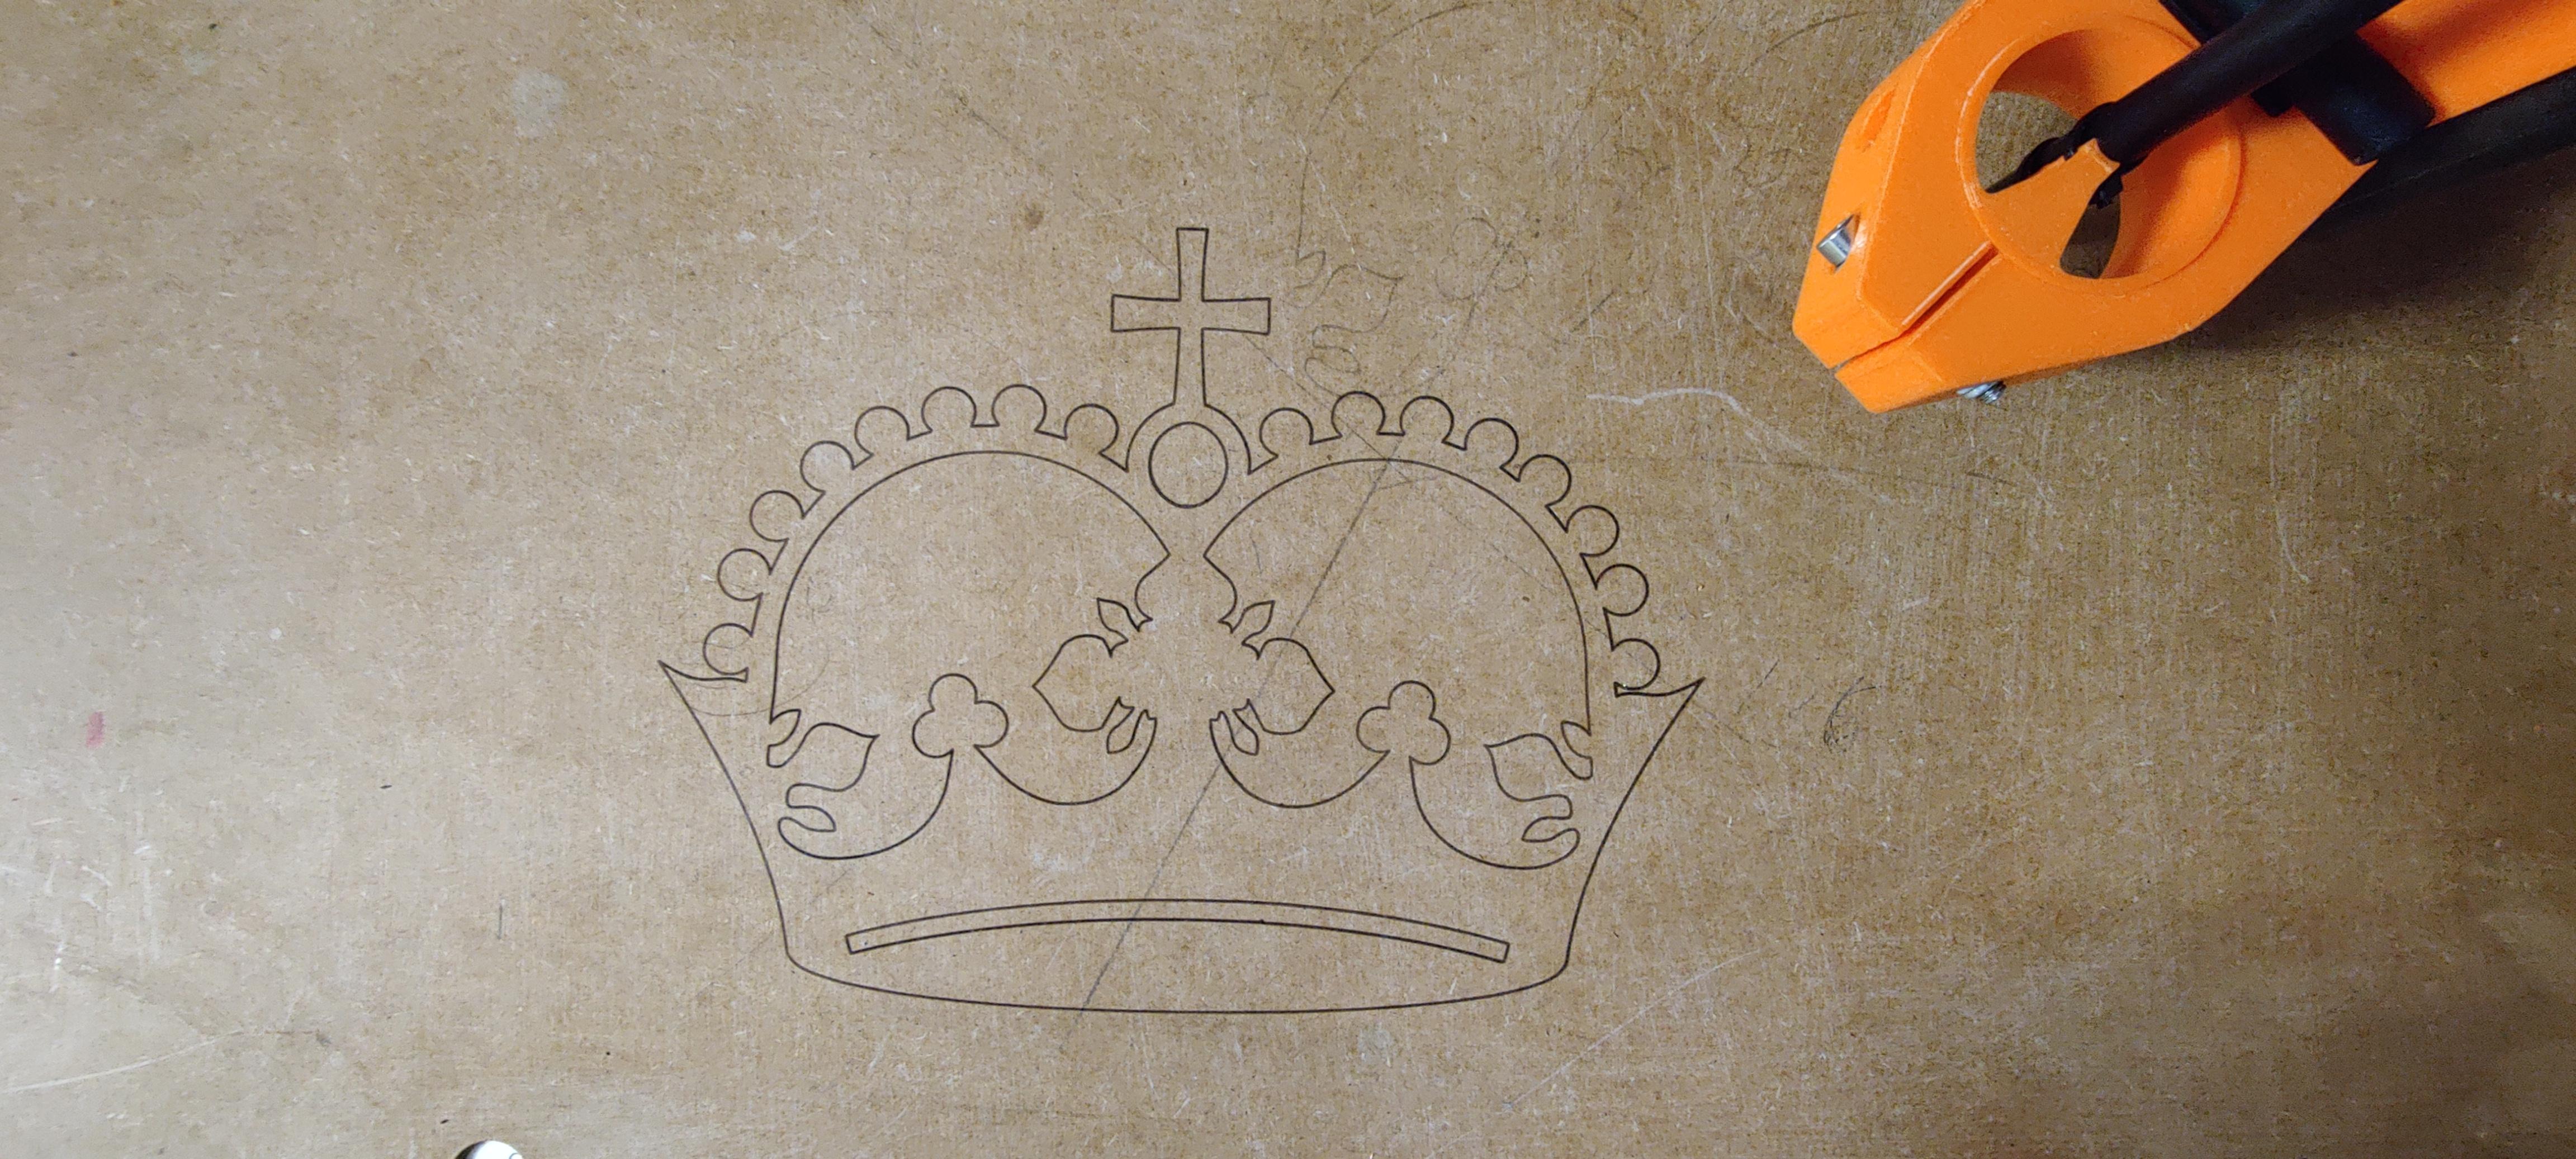
Looking at my crown I could see some irregularities so I’ve gone back over my machines squareness. My x and y gantries aren’t how I left them however I can’t see to adjust it out with the core clamps. Probably it’s too much to adjust out however I can’t seem to make any difference with the clamps. I read there were errors with the original clamp files so I reprinted the updated clamps but it made little difference.
Any ideas?
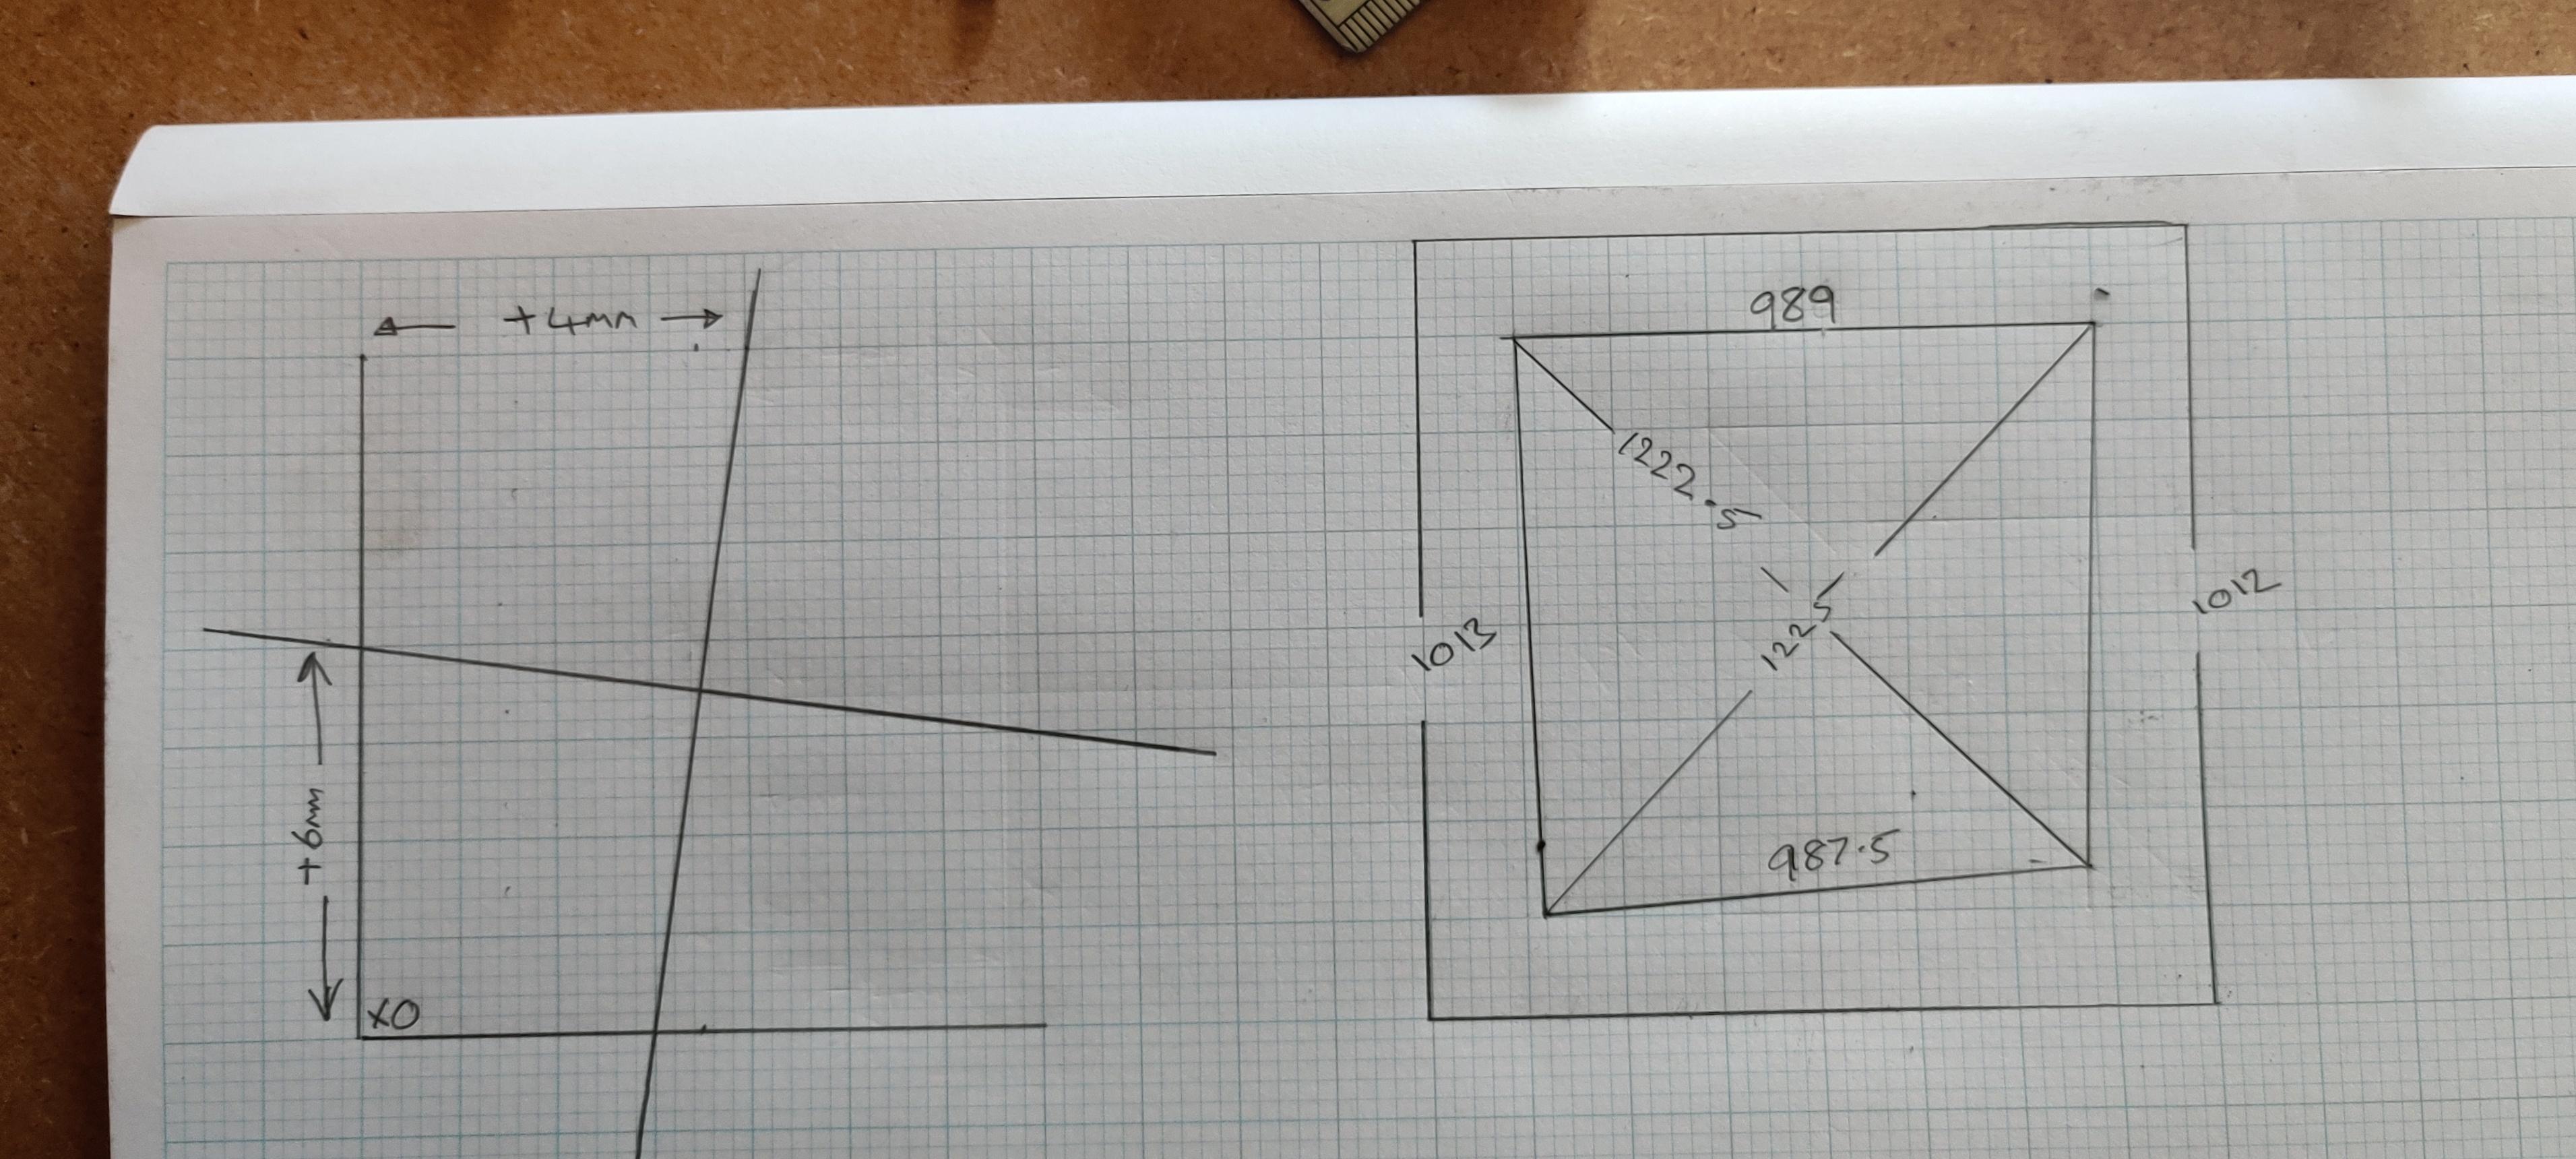
This is viewed from the front of the machine. X0(?) is to the bottom left.
If it were my machine, I would think 2mm is close enough for the physical parts, and I would then try to work the rest out using the motors. The motors will move in lockstep once they are on. So if you have dual endstops, they can square themselves. If not, then use something to hold your machine in place and square when you power it on. Then draw a rectangle and adjust until it is square