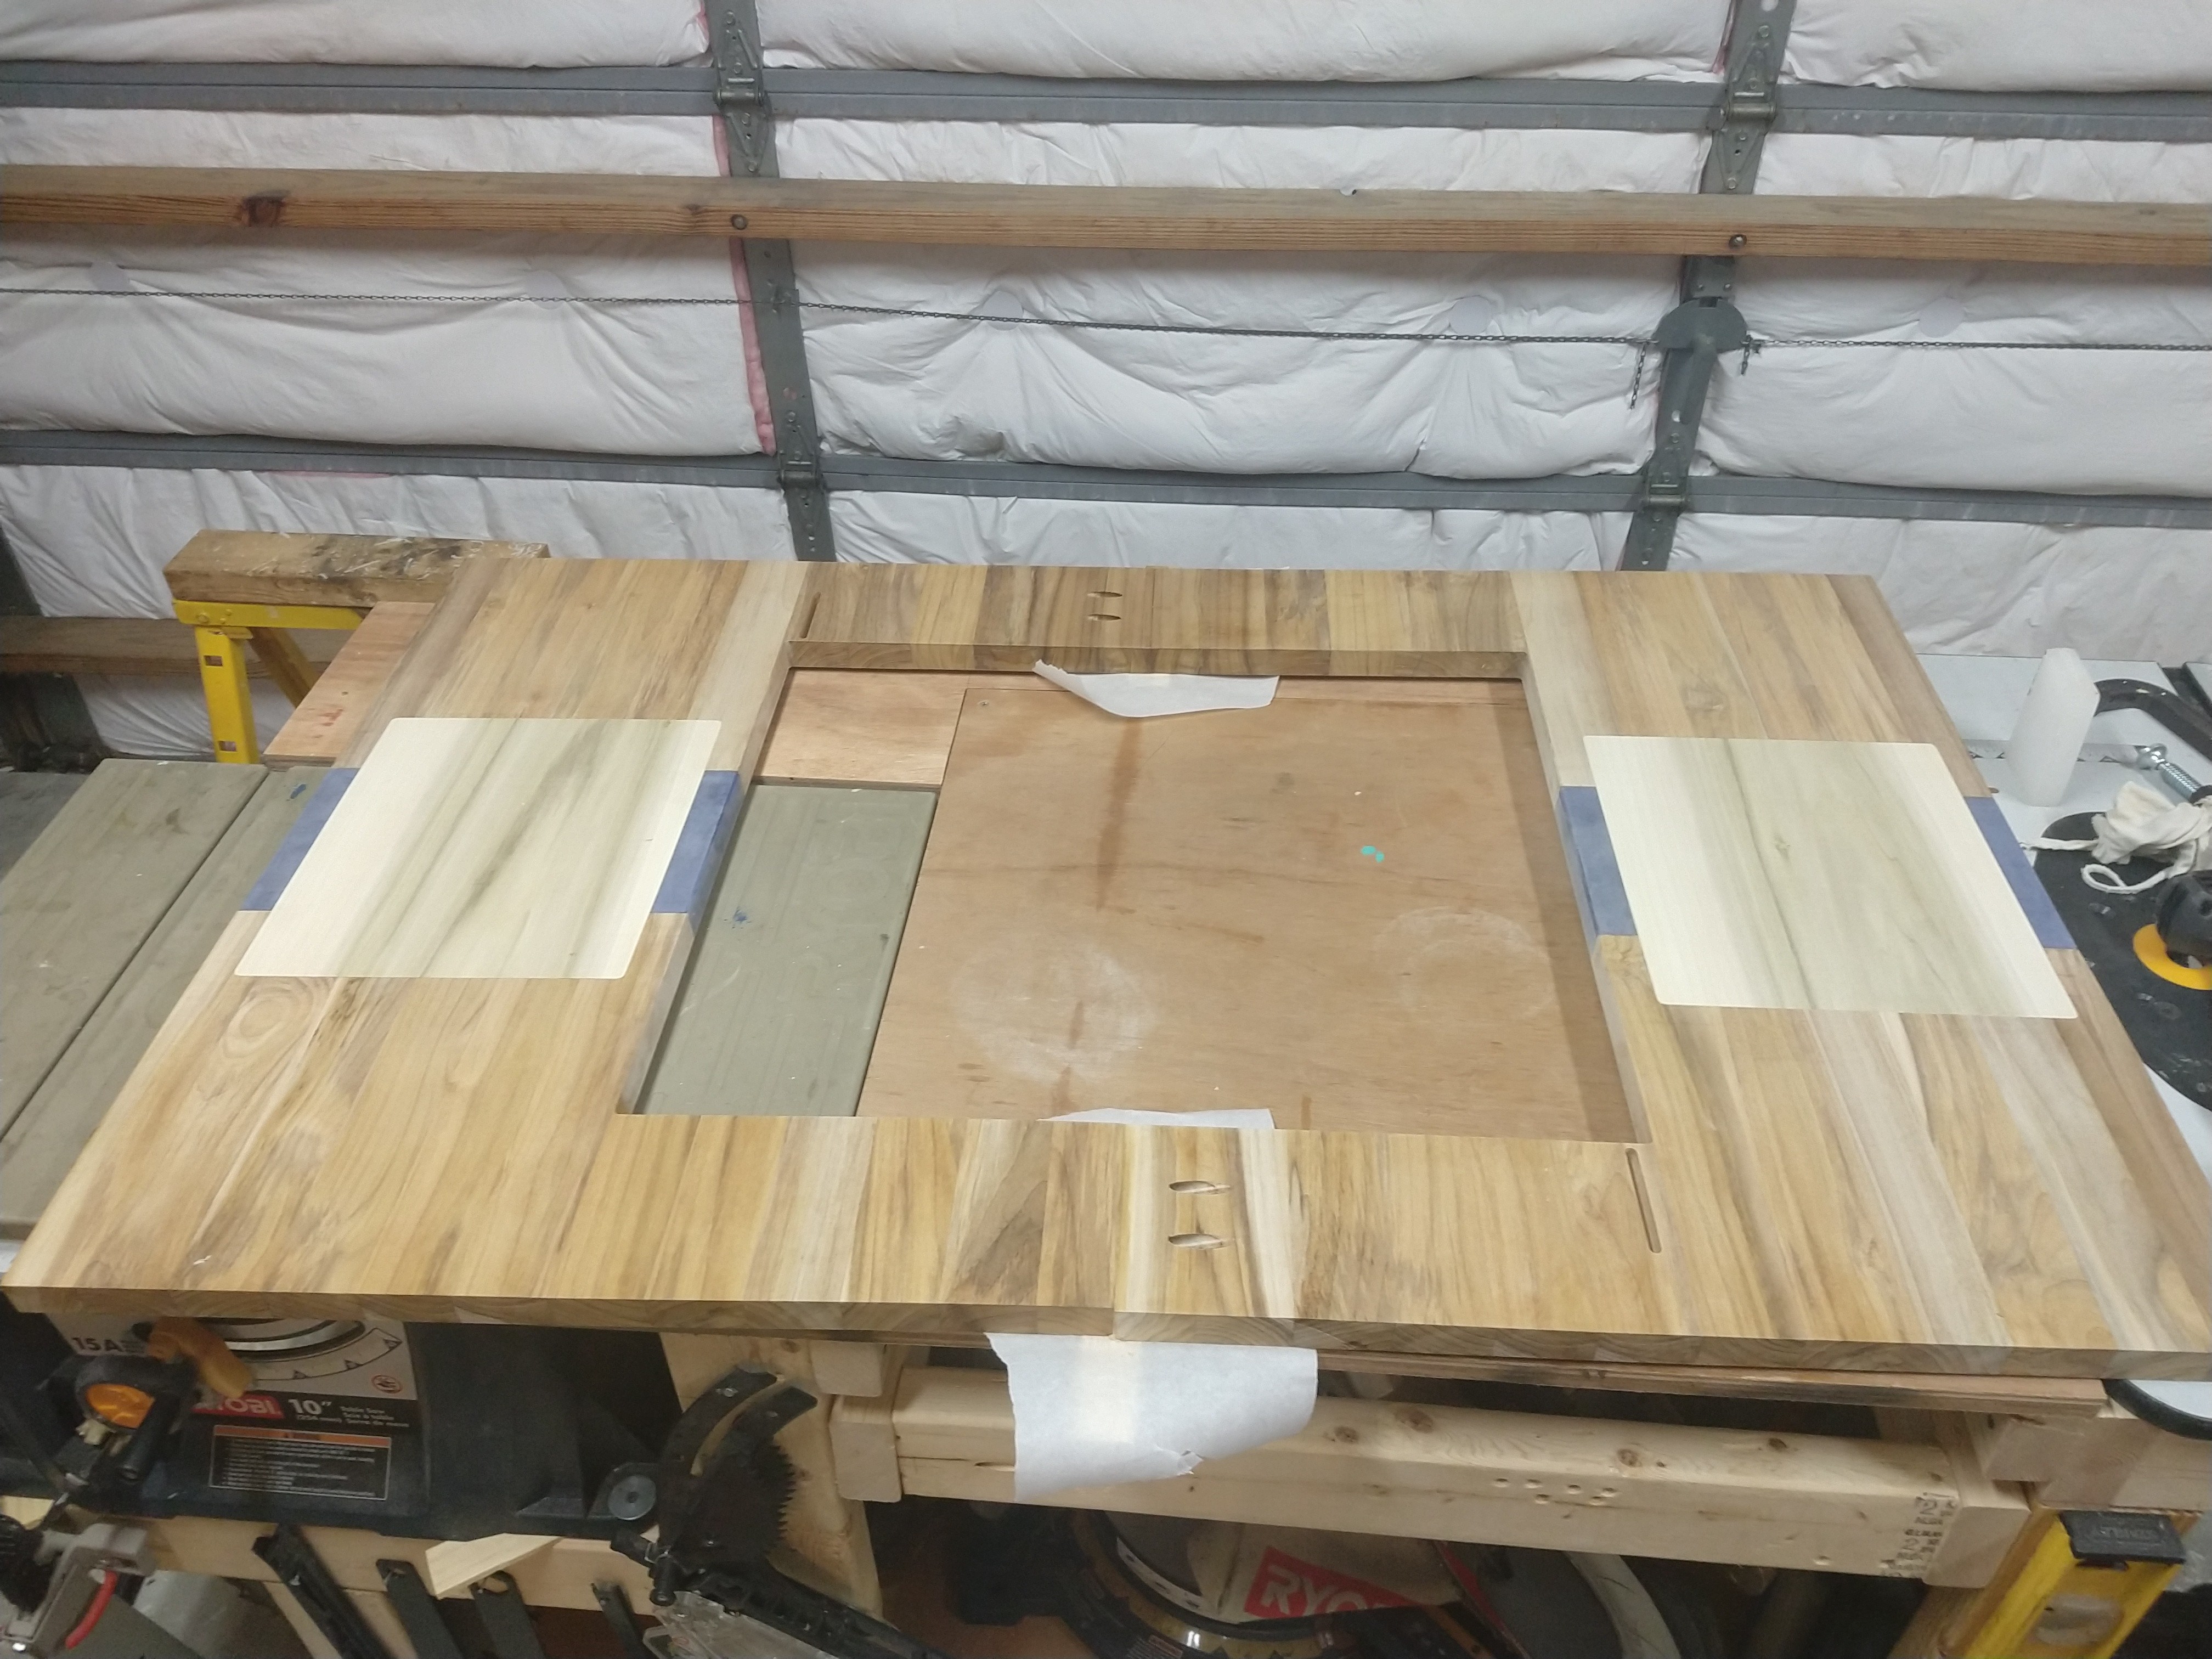
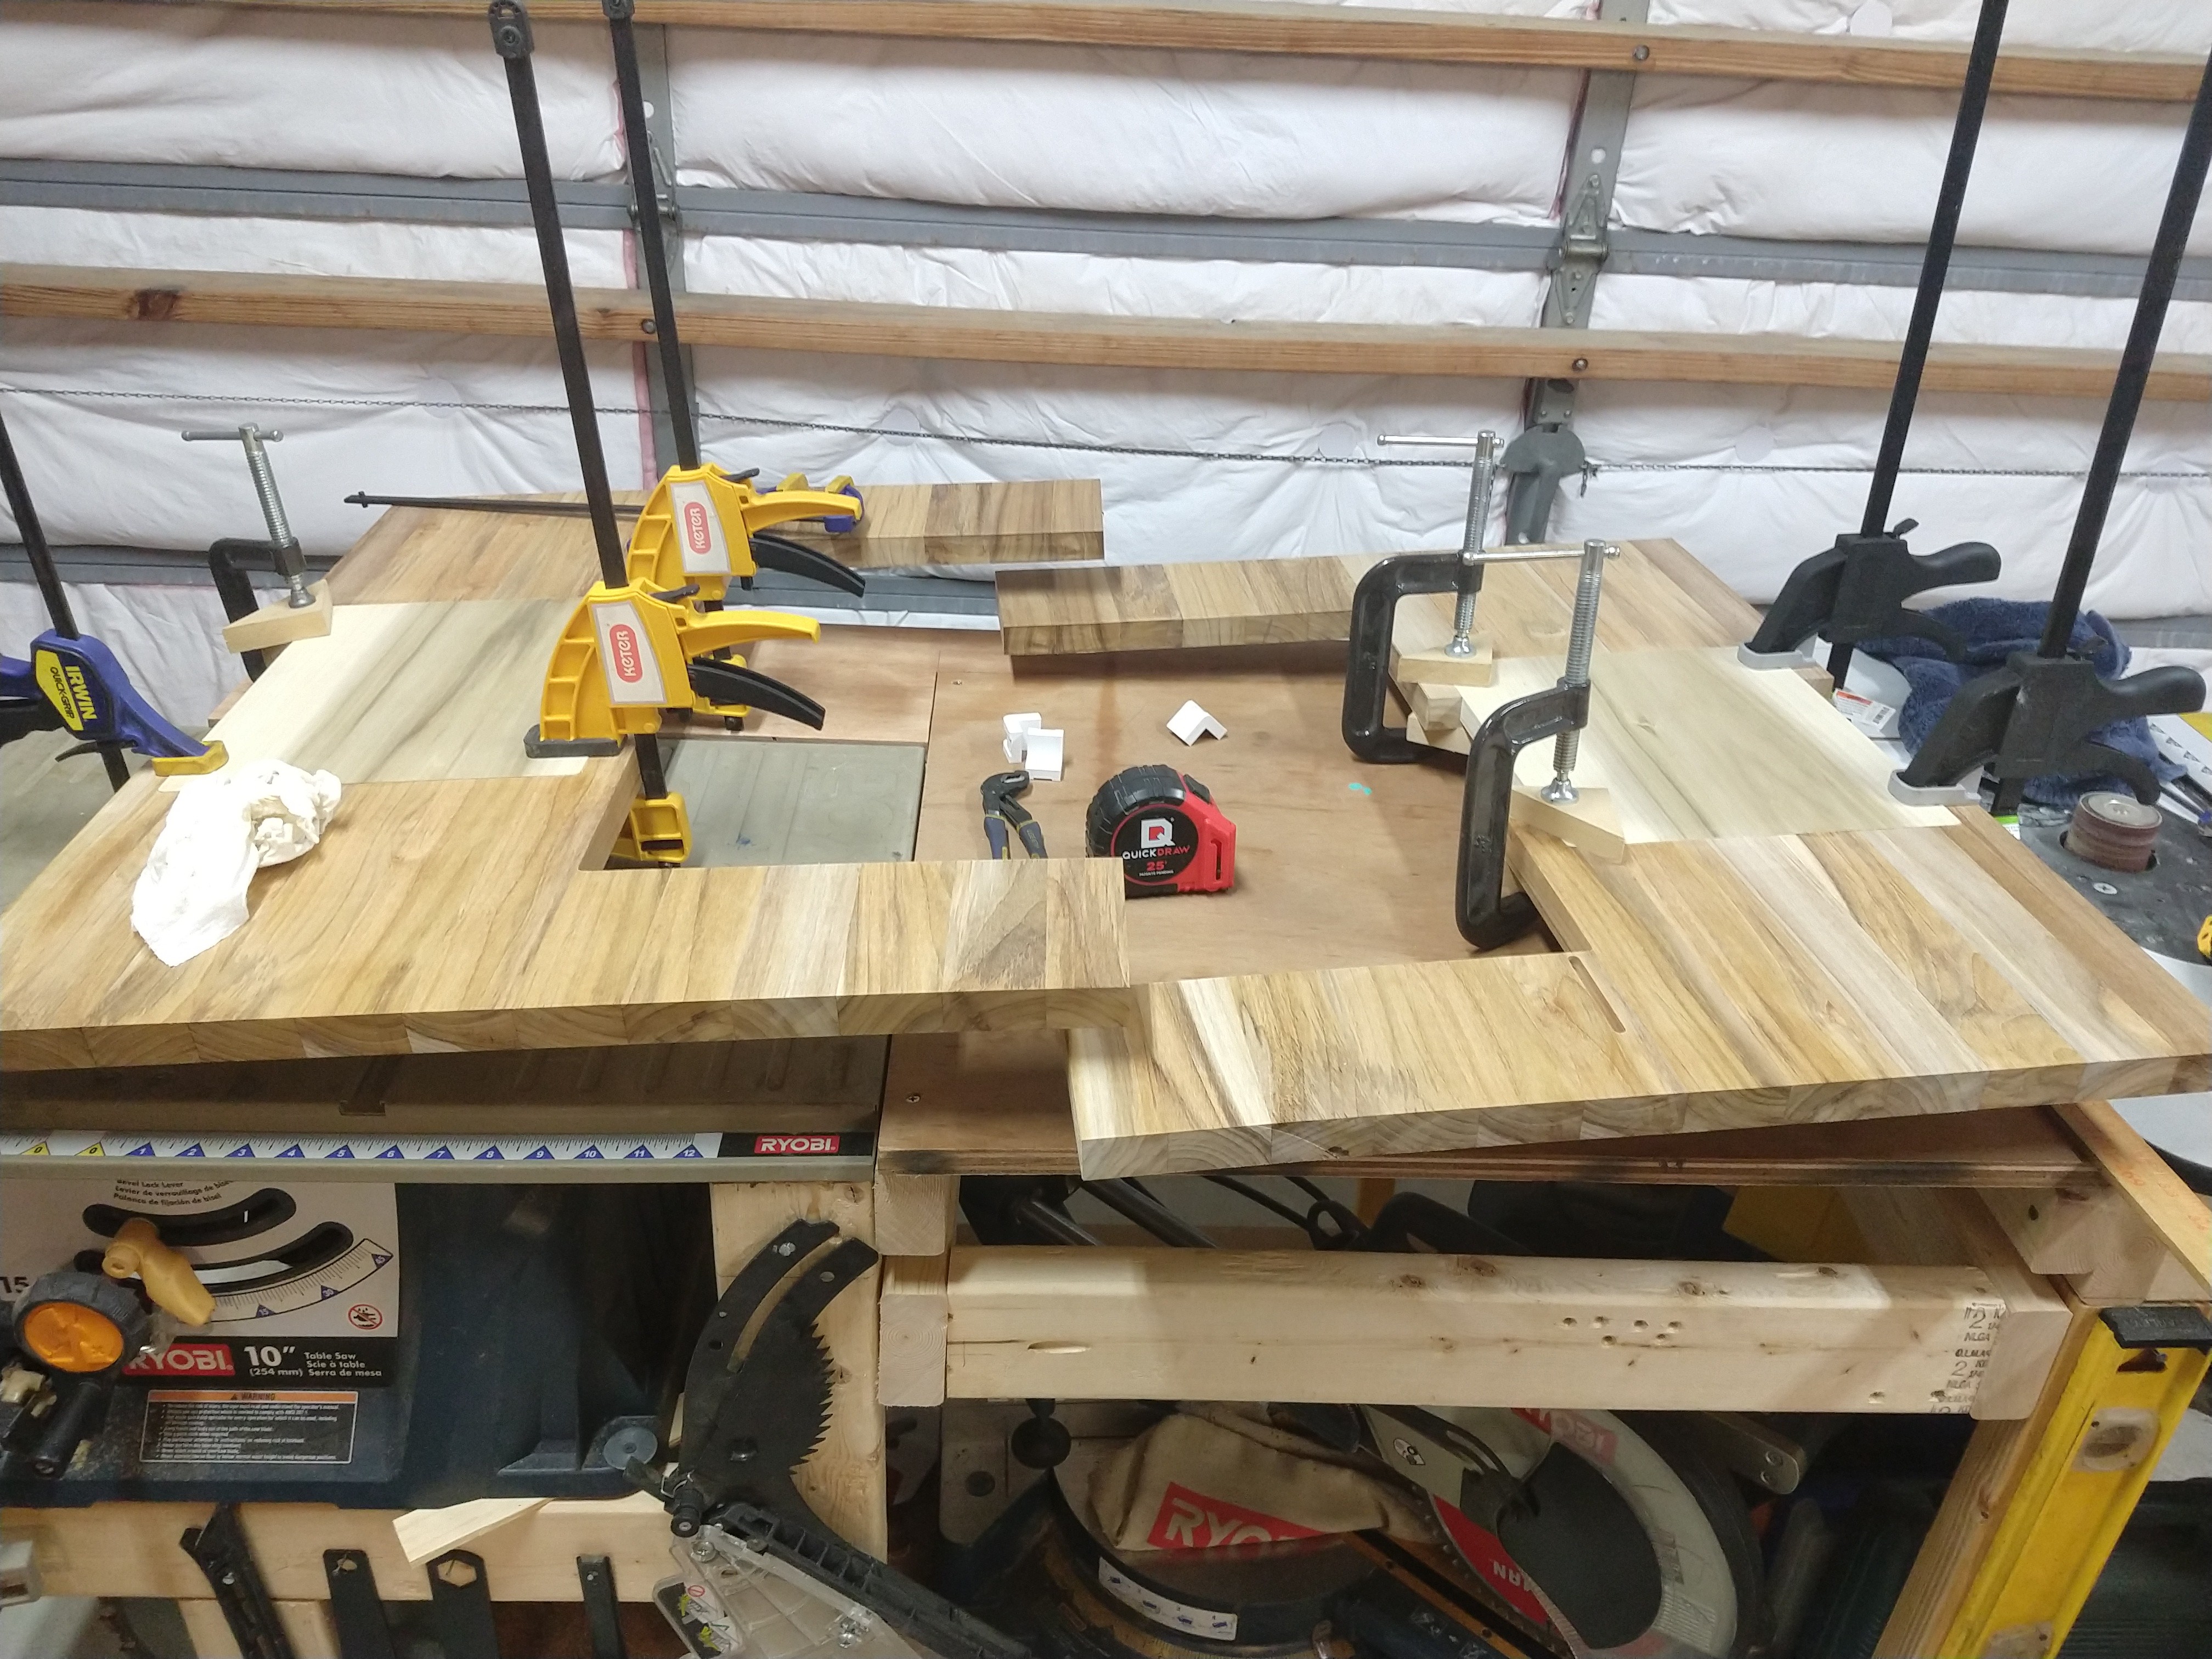
I started by cutting one of the 2’x2’ teak panels. The first of the four corners went on the burly, for the window cutout and a large pocket that will be used to join each pair of corners in the y-direction, while setting the gap for the epoxy section and reducing the depth of the pour.
The rabbet cut will be done hand-held with a bearing bit once all 4 corners are joined. I didn’t want to have to worry about another feature to line up at assembly, and it would have complicated the epoxy form if I did the shoulder on the CNC. That rabbeted shoulder will hold the aluminum angle, which is cut to fit anyway.
DANG!!! DAng. The way you are using that aluminum angle is cool! Great idea. I am finishing up mine very soon but I really had a heck of a time with the glass “skirt” I think that angle is great. If I make another I think I will look into that.
This table and the way I am designing it within the constraints of my machine will really test my setup and workflow.
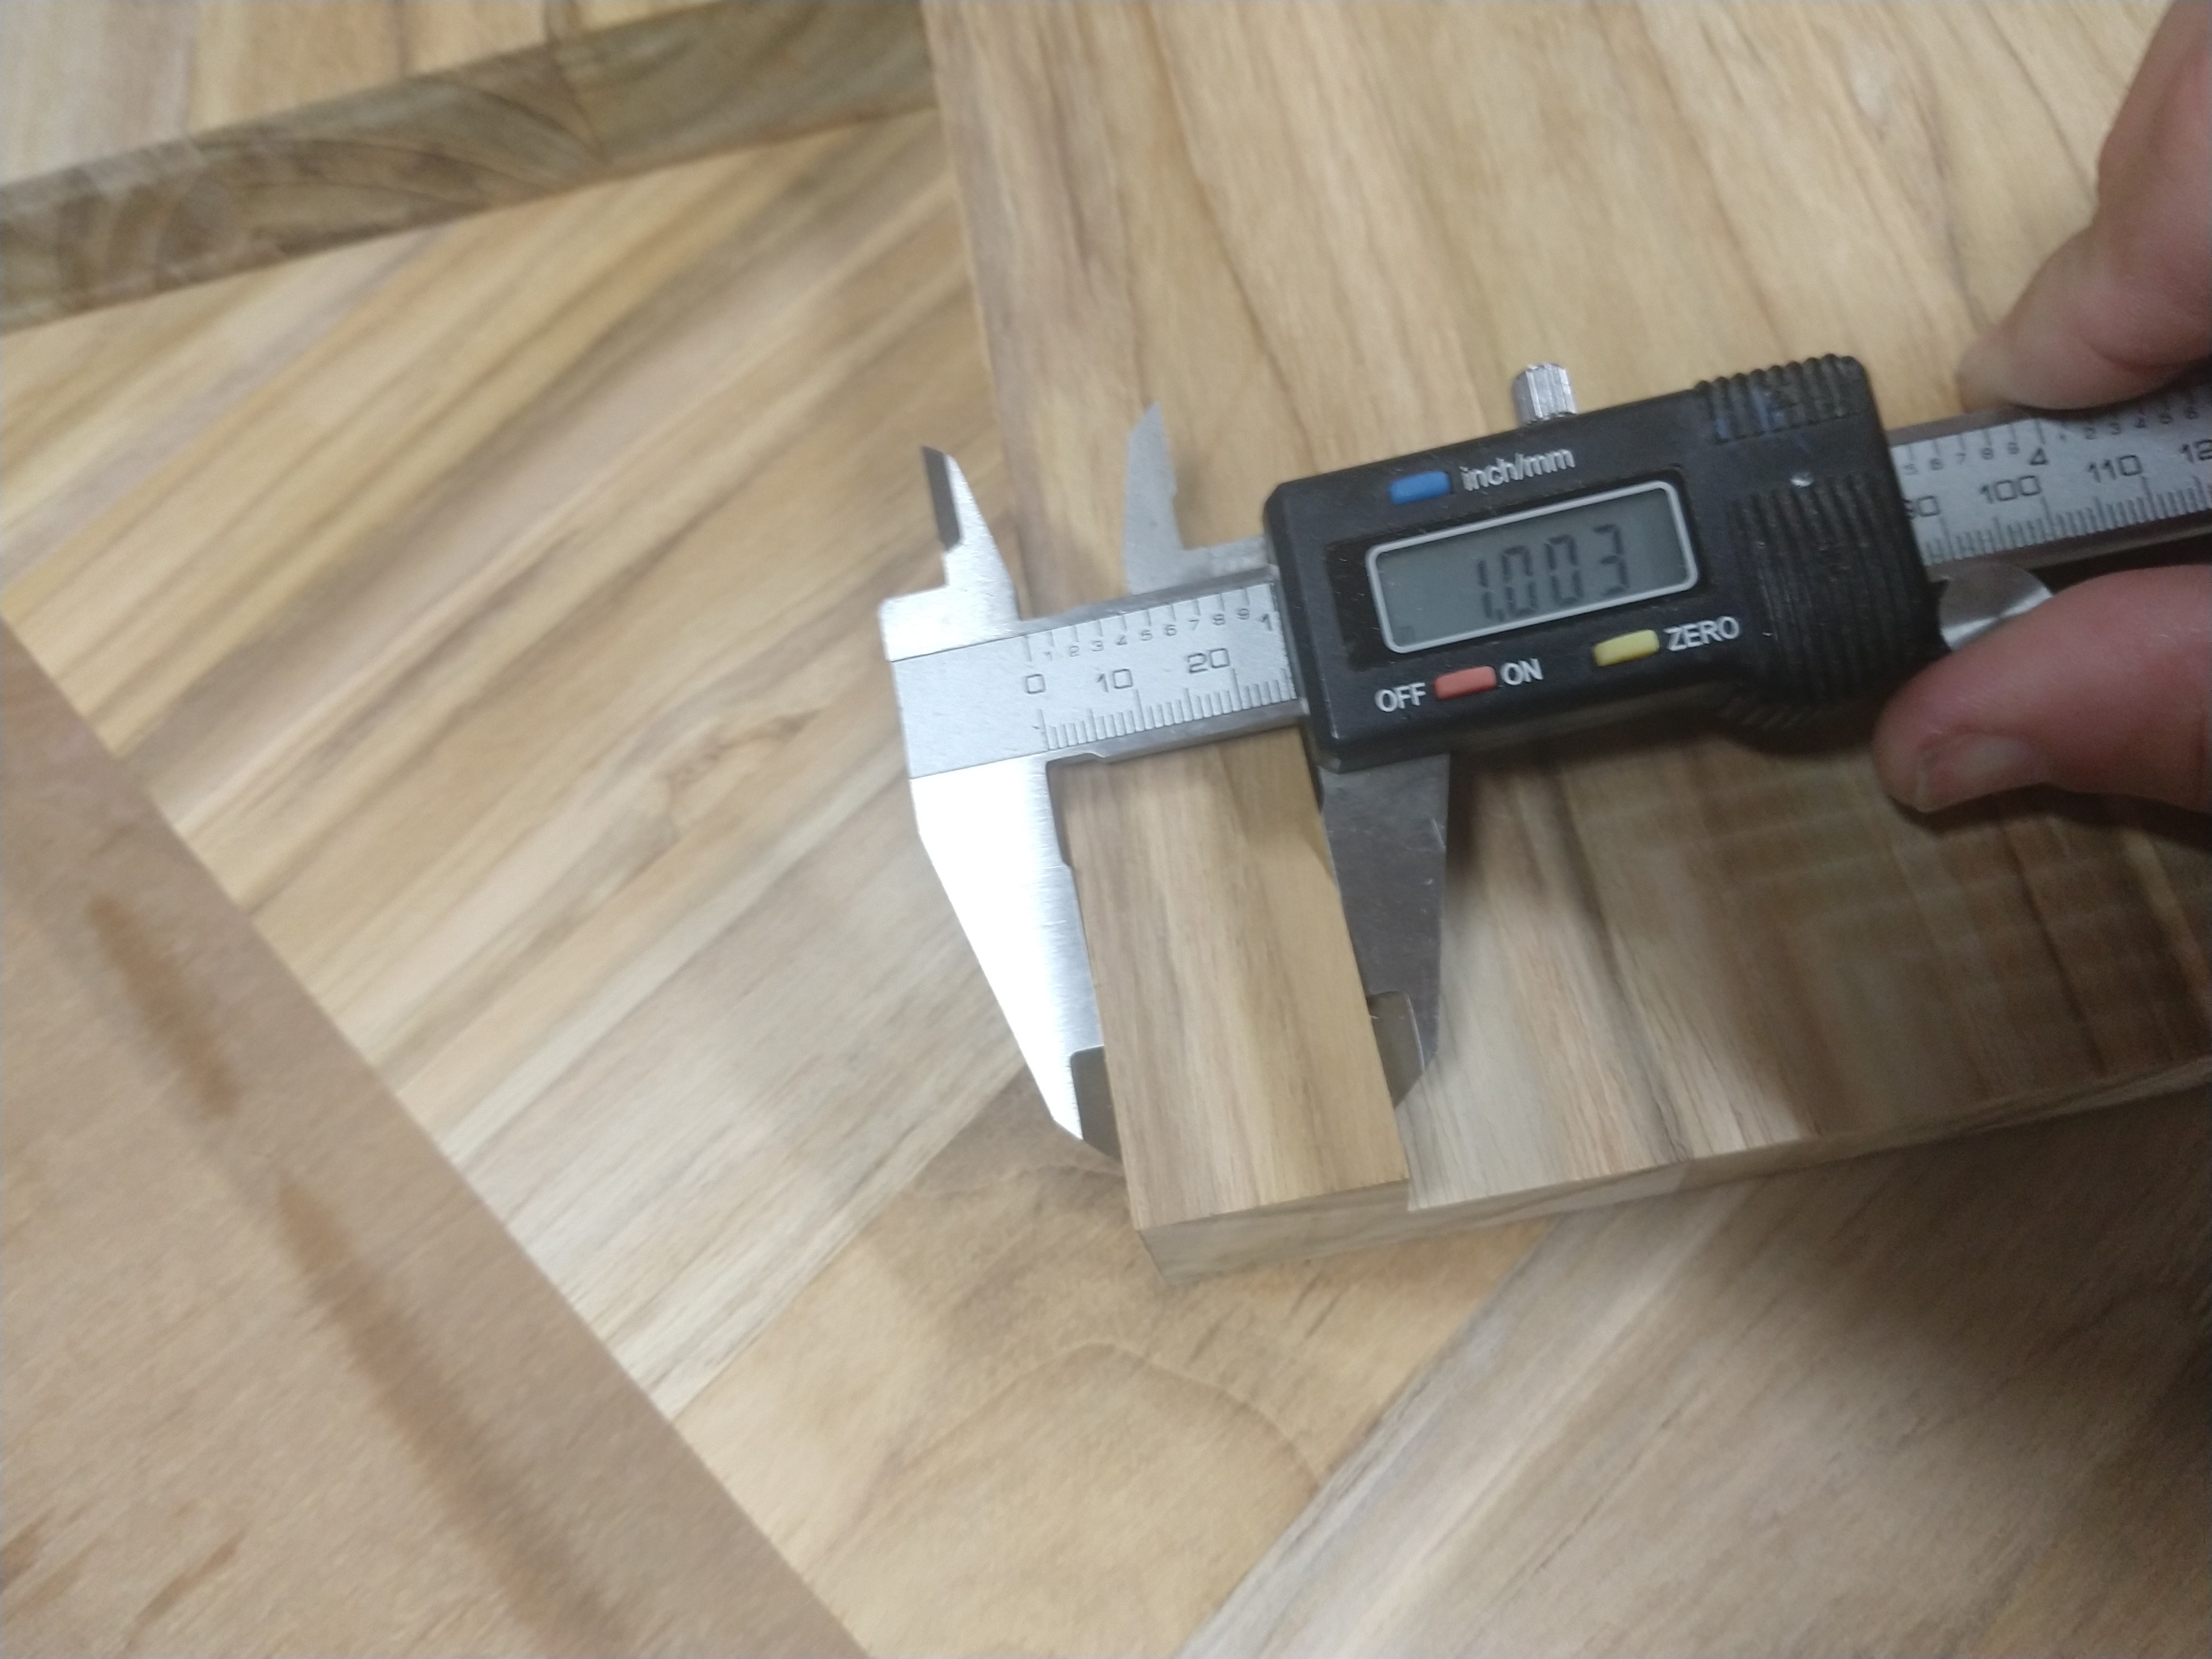
For instance, I just discovered that using the tool itself to bump my X/Y corner on the table is resulting in about .022" error in one or both directions. I believe this is because either/both A) My 1/4 tool isnt exactly 1/4" B) the exact spot on the flute/margin of the tool that touches the corner plate may not be the outermost point on the tool tip.
I need to stop being lazy and chuck up a 1/4" dowel pin when homing X/Y.
This is all especially critical for this job because I am not cutting the entire perimeter of the teak quadrants. In the Y direction, if my cutouts arent right, my glass wont fit when I join the table halves. In the X, at least I can compensate with the width of my epoxy pour channel.
This is one of my challenges for my table project, making the CNC cut line match a real world material cut line. I want to cut as much as possible on the tablesaw, since it’s much faster and perfectly adequate for accuracy in straight rip cuts, but I still want the cutout for the glass perfectly centered.
What I plan on is to use a sheet of foam, and mill it down 5mm or so as a pocket, then drop the cut piece into the pocket.
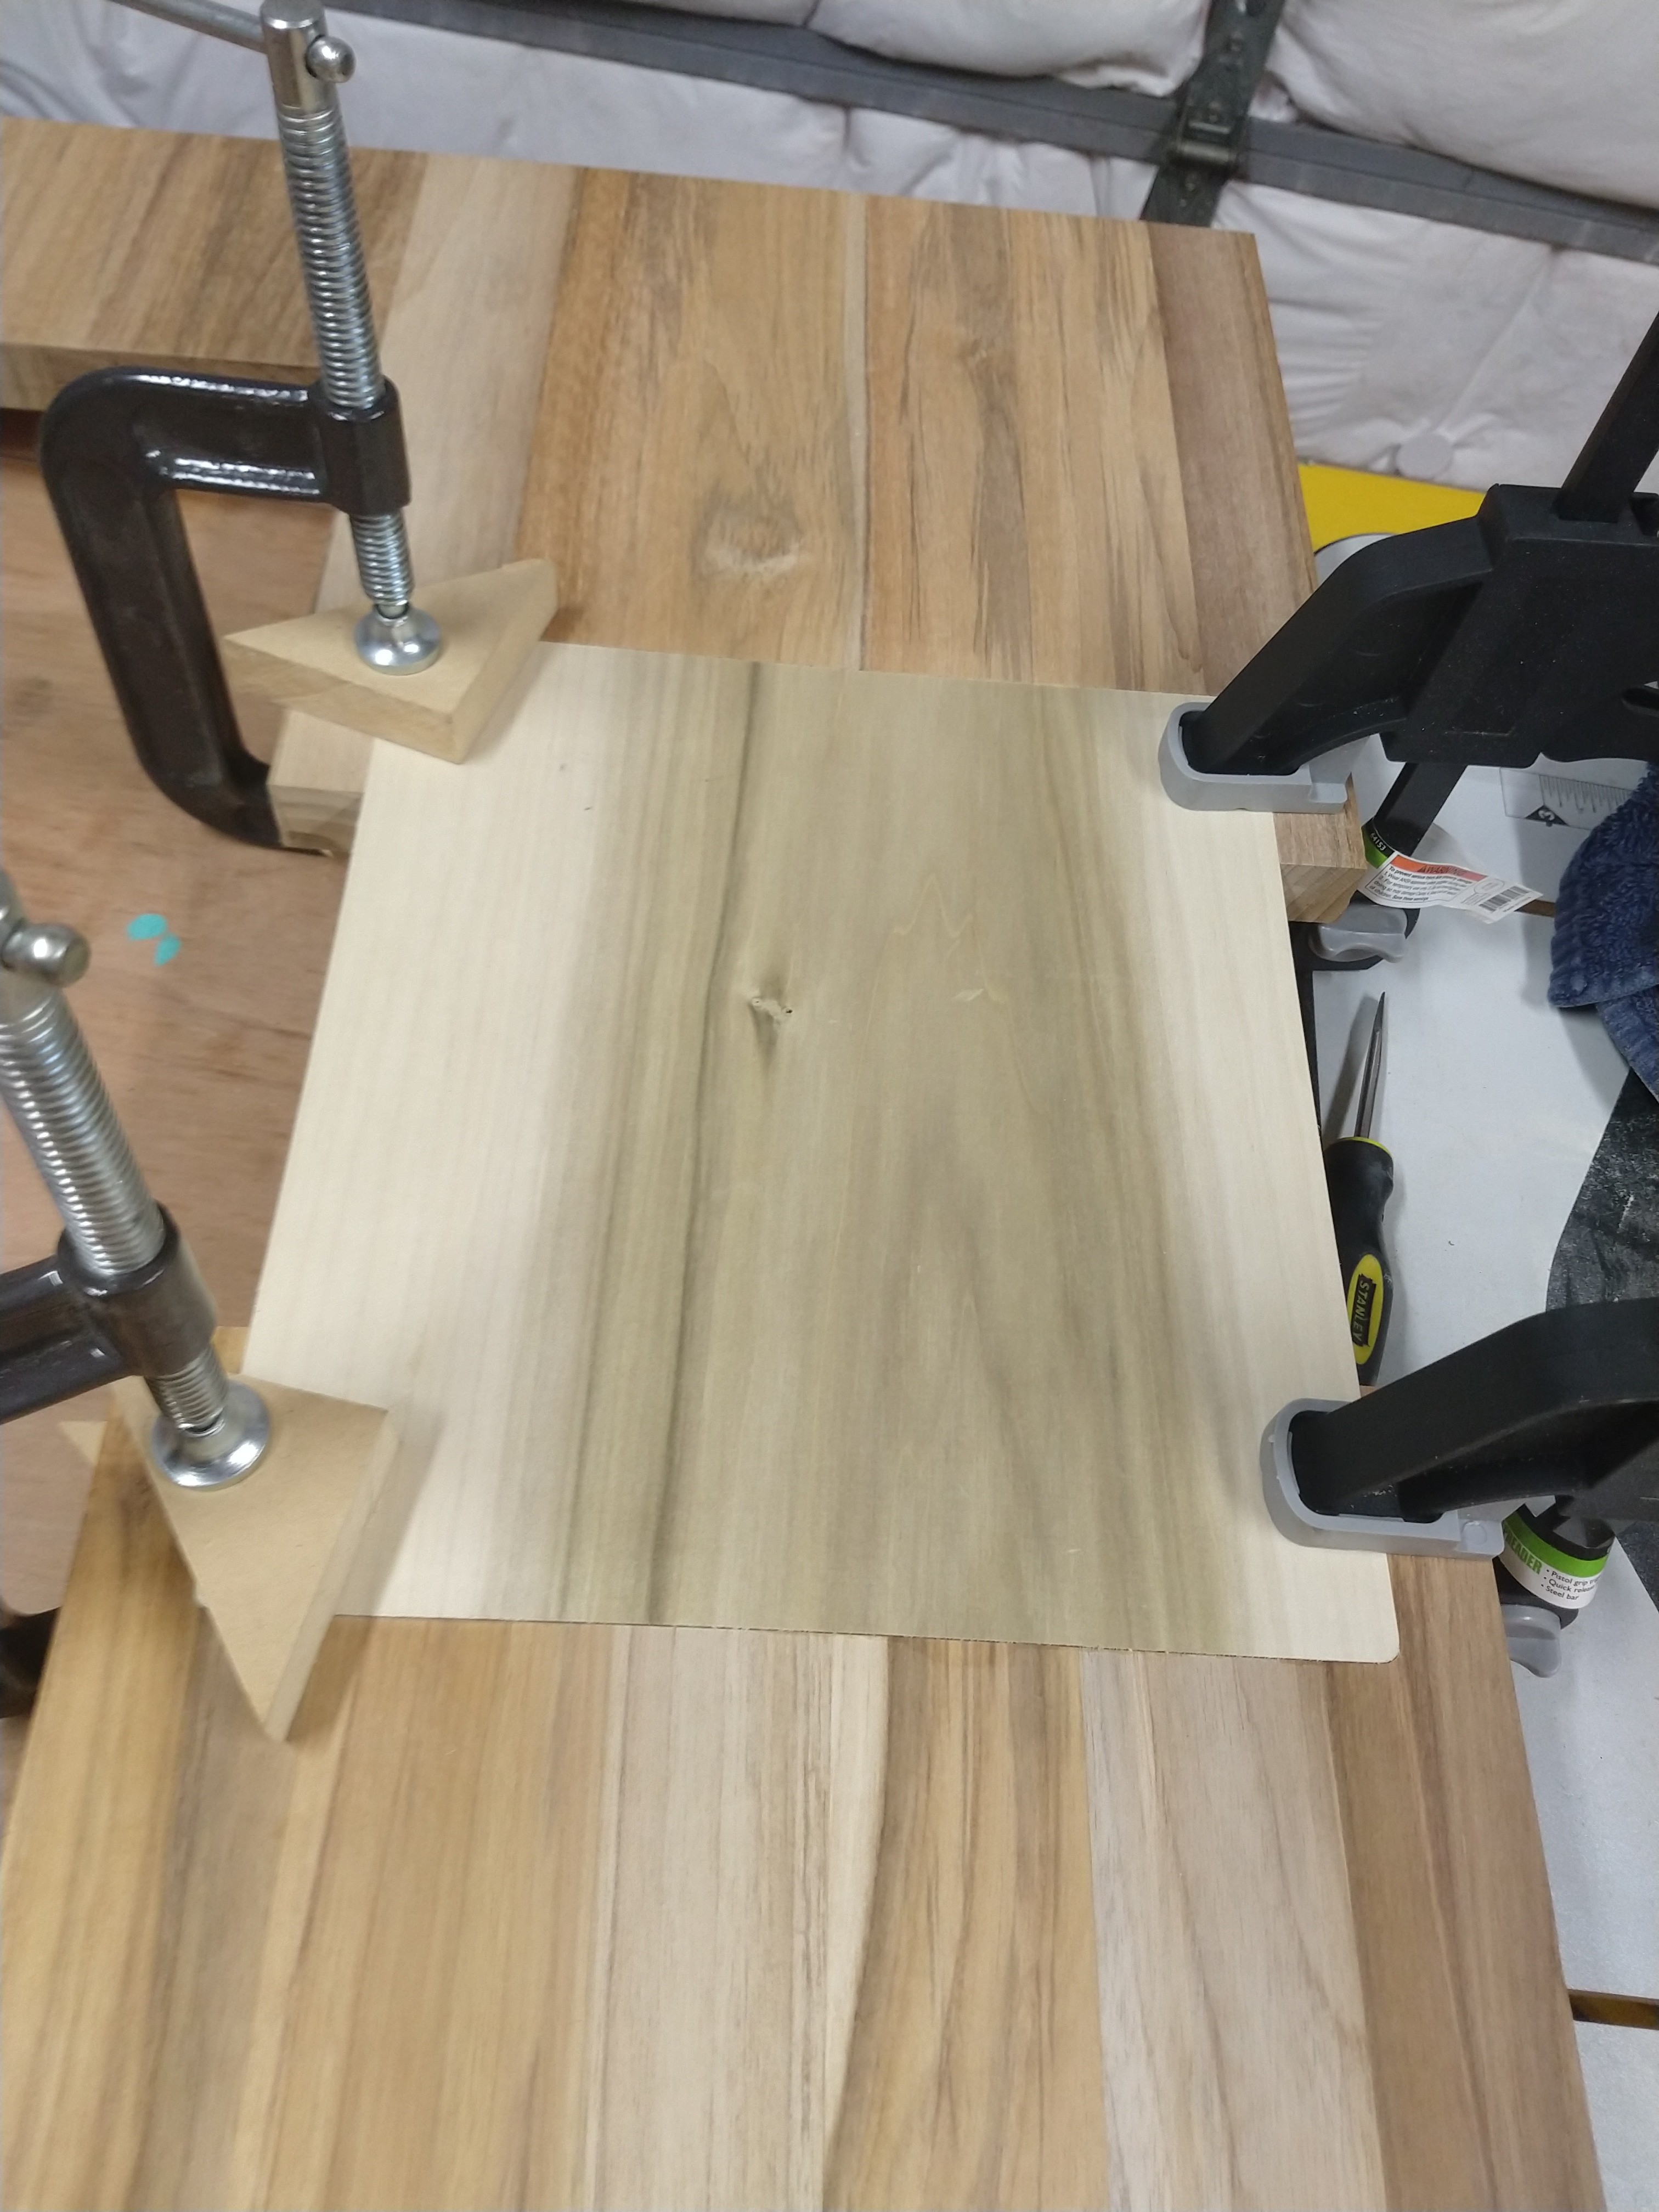
I am doing something similar, but with a wooden “plug” glued into the pockets of the teak quadrants. A good fit should ensure that my window lines match up all around, even if I have to do a bit of sanding and planeing on the outside edges.
Another thing I am fighting now is warping in the edge glued panels. I noticed it when I got the panels home, and it has gotten worse since cutting the window area away. I have been thinking that my construction will force it into submission, but now I am not quite sure.
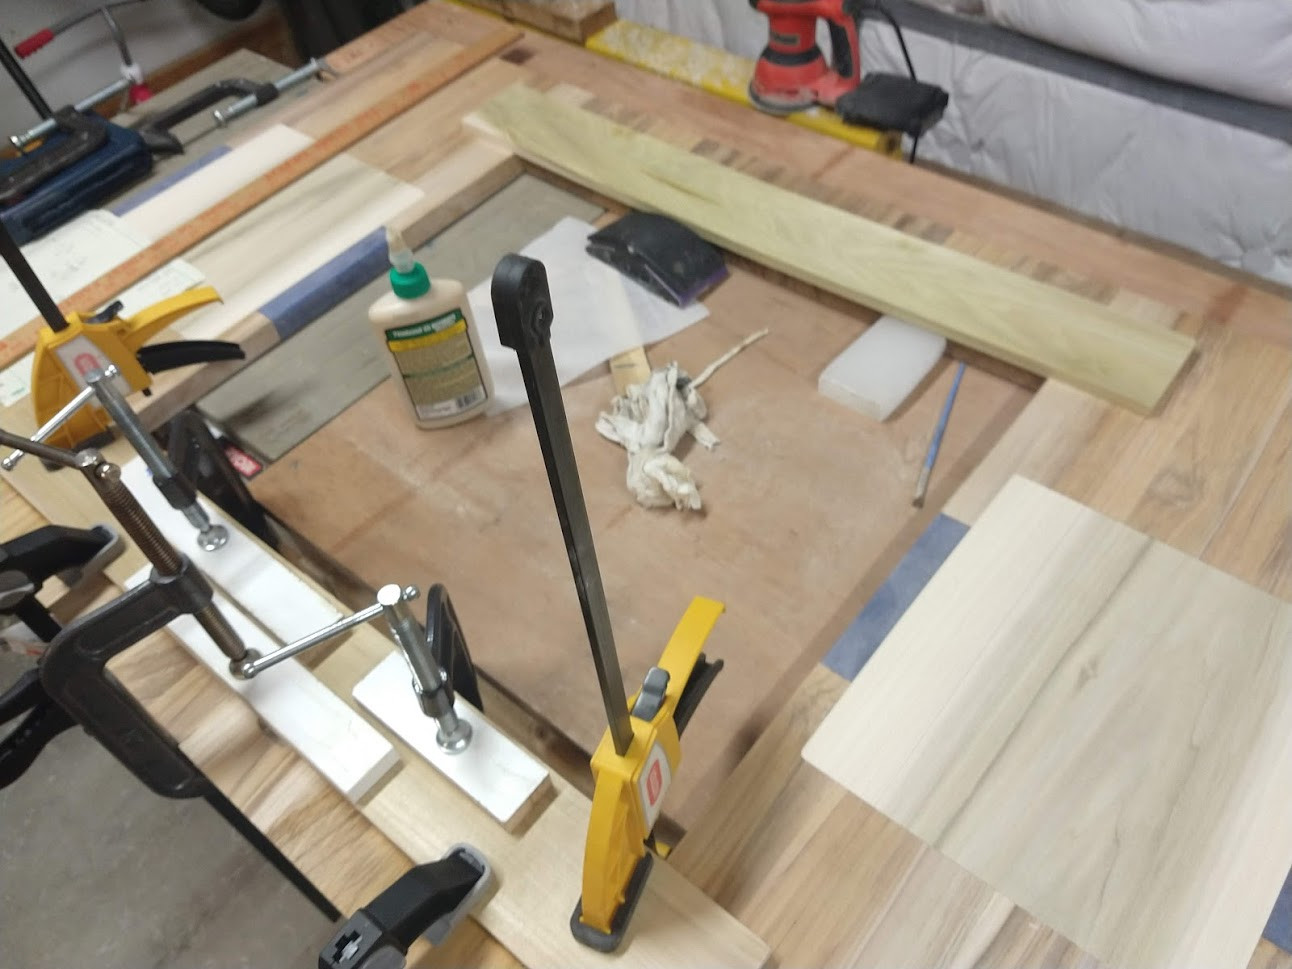
Good solid clamping and glue will help a lot, so long as you glue it to a nice solid straight edge. Your angle for the lighting and glass support should also provide a nice straight edge, with good screws into the material to force it straight. You’ll want to have it clamped down solidly to a flat surface when you attach things. If you screw in the angle while it’s warped, you’ll never get it straight after.
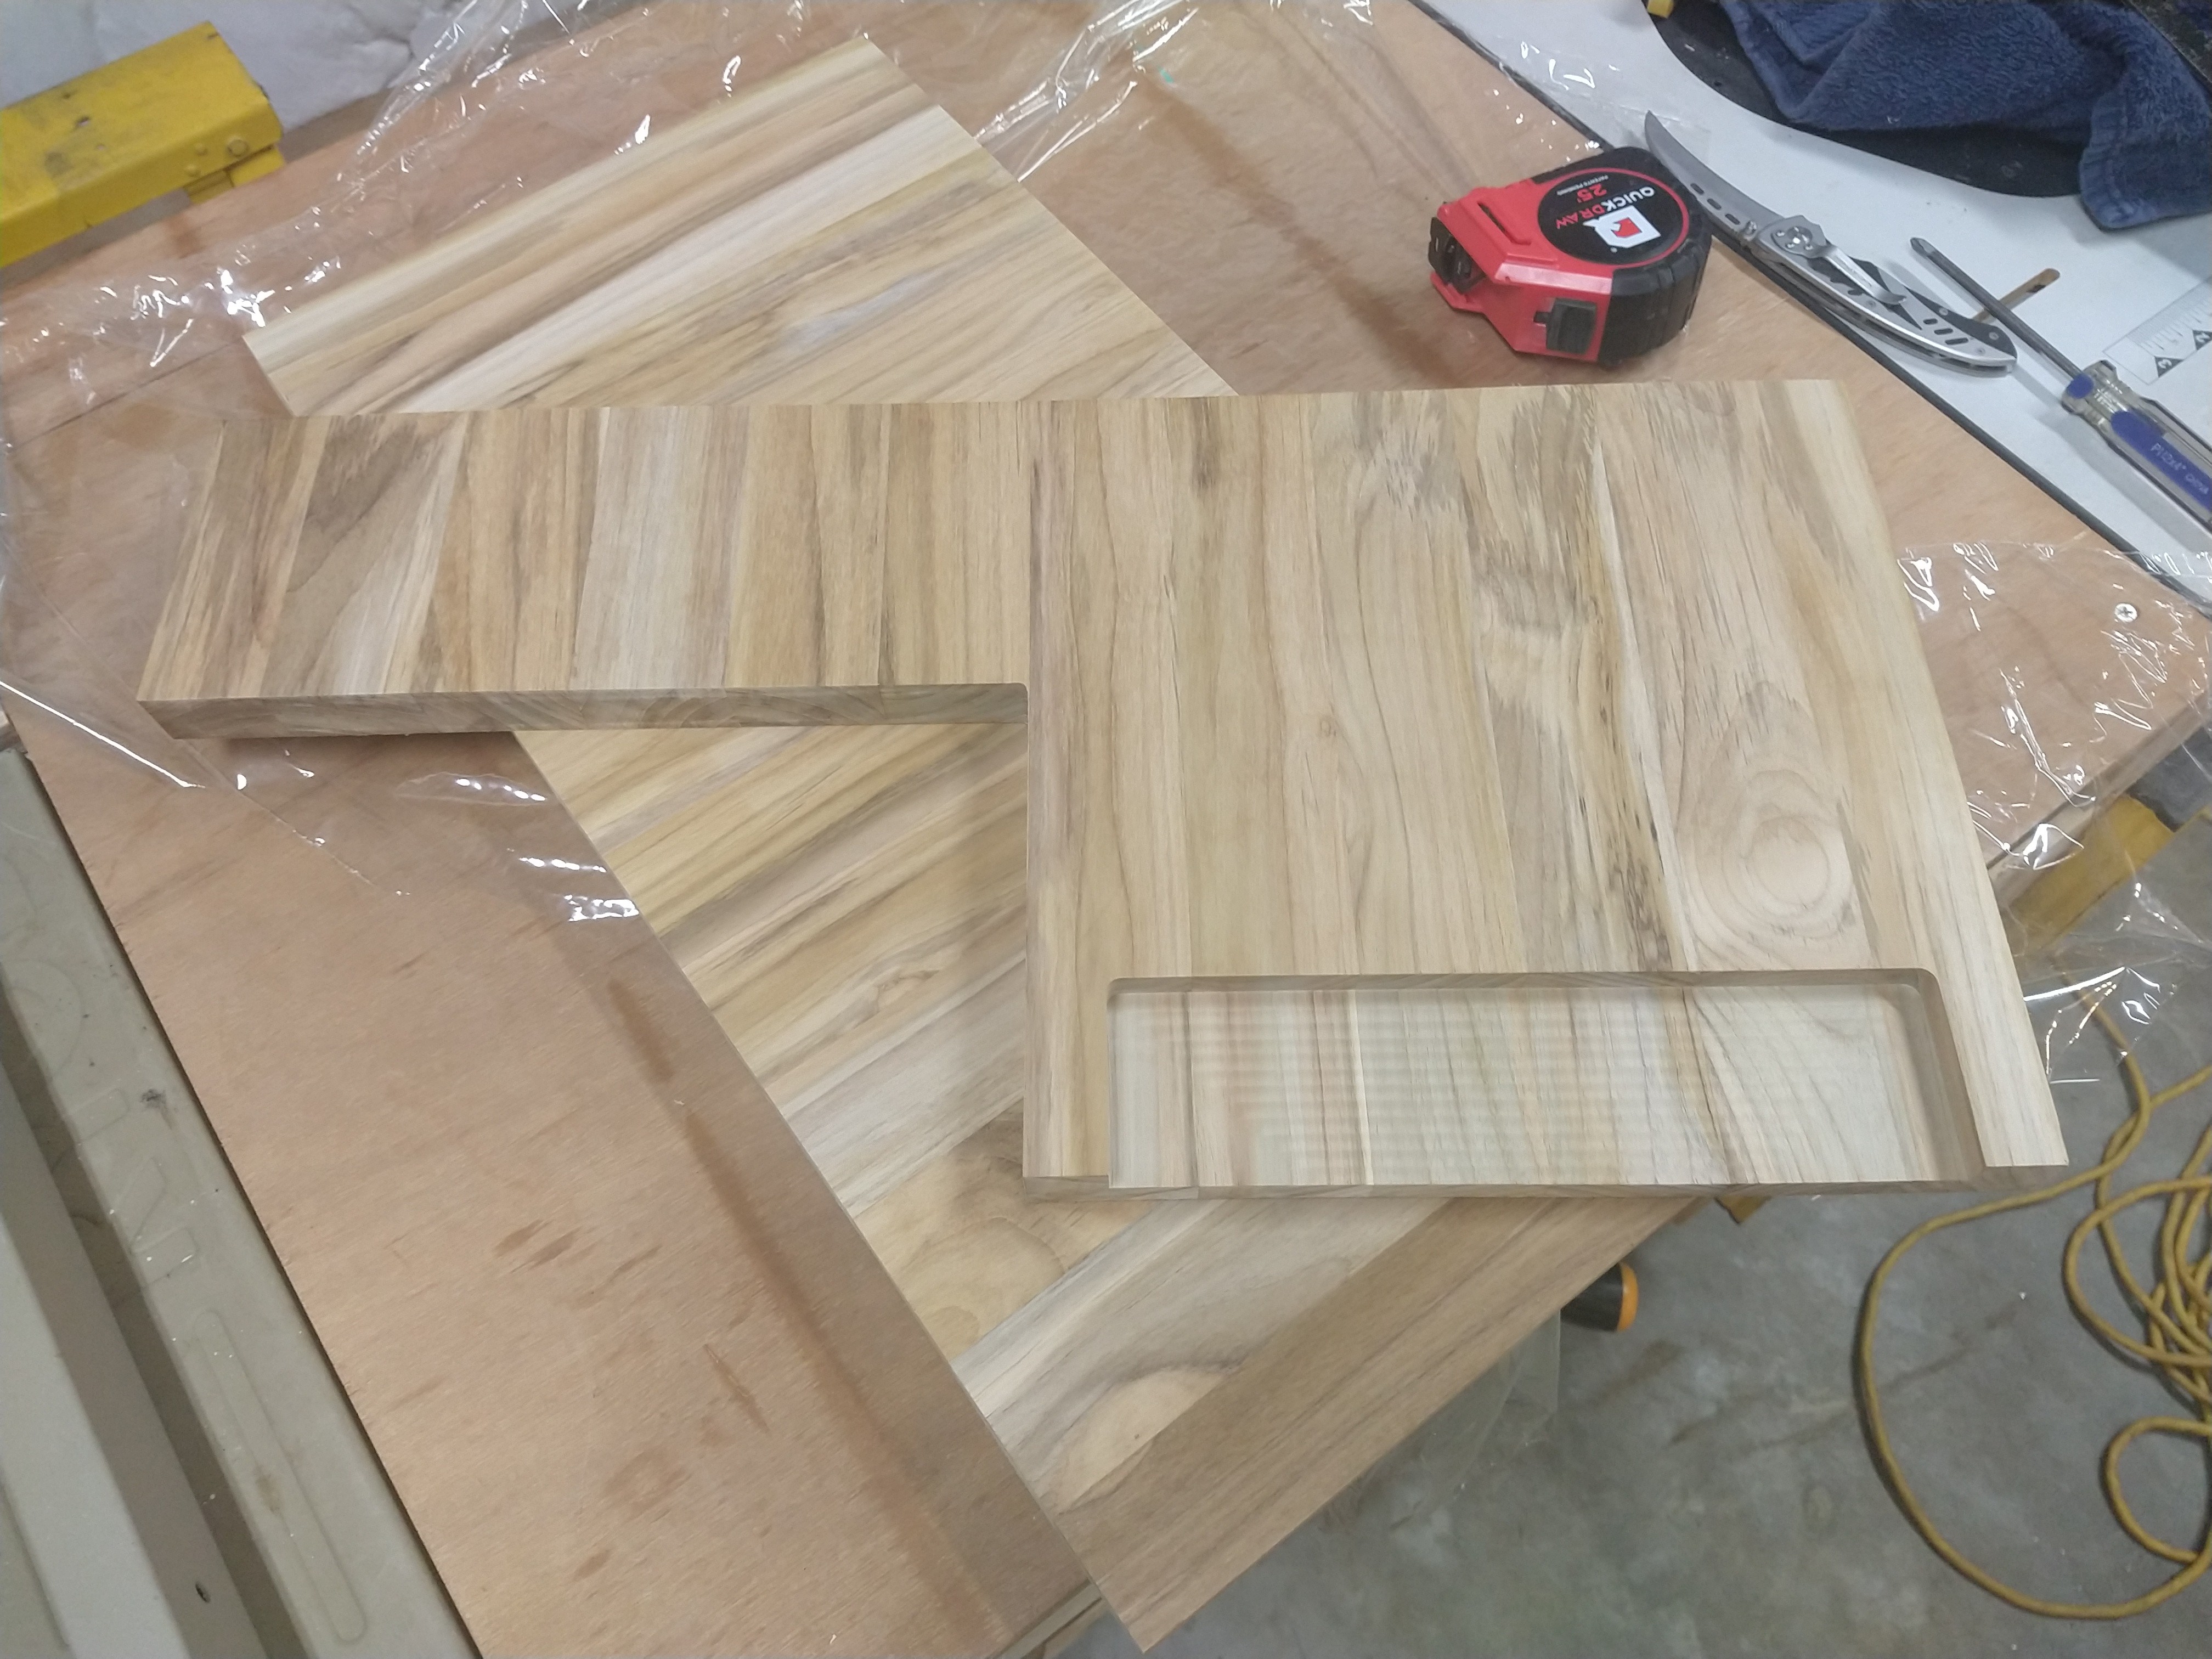
I machined all 4 quadrants this weekend. All in all, pretty good. Some size discrepancies due to not cutting the overall perimeter, and small variations in workpiece positioning, orientation, zeroing, etc. The most baffling part is how the small portion of the “L” was 1/32" larger on two quadrants only (the mirrored one). I checked EVERYTHING about the CAD models and CAM settings but I couldn’t find the reason. Not sure how I will correct it once the halves are joined.
I also cut the plugs that set the spacing for the epoxy, and allow my 24"x24" raw material to yield a 30" wide table. The plugs are poplar. On the first one I used a bit without enough LOC by accident so the piece was oversize as the bit was shanking out on the workpiece. I had to sand that one to fit.
After correcting the bit, the 2nd one came right off the machine and fit SWEET!
Next I have to build the melamine forms and do some test mixes of epoxy for the pour. I’ve only done epoxy bar tops before, and that was on a table I bought on craigslist…if I mess this up it’s alot of work down the drain!
Thanks! I have some smaller jobs that I am going to practice the epoxy on first, but those are just fills, no molds required. Im confident I can get the mixing and working right. Im more worried about getting the color I want, seepage, mold release, etc…
I really love how this is coming together, Nicholas. I, too, have all of the parts already on deck and have just begun the printing process. I’m glad that I stumbled upon this thread. Lots of inspiration here.
Thanks! So far so good, except for the weirdness with opposing corners misaligning by 1/32" in each direction. I still cant figure that out. Tonight I am going to use a flush trim bit and try to correct that.
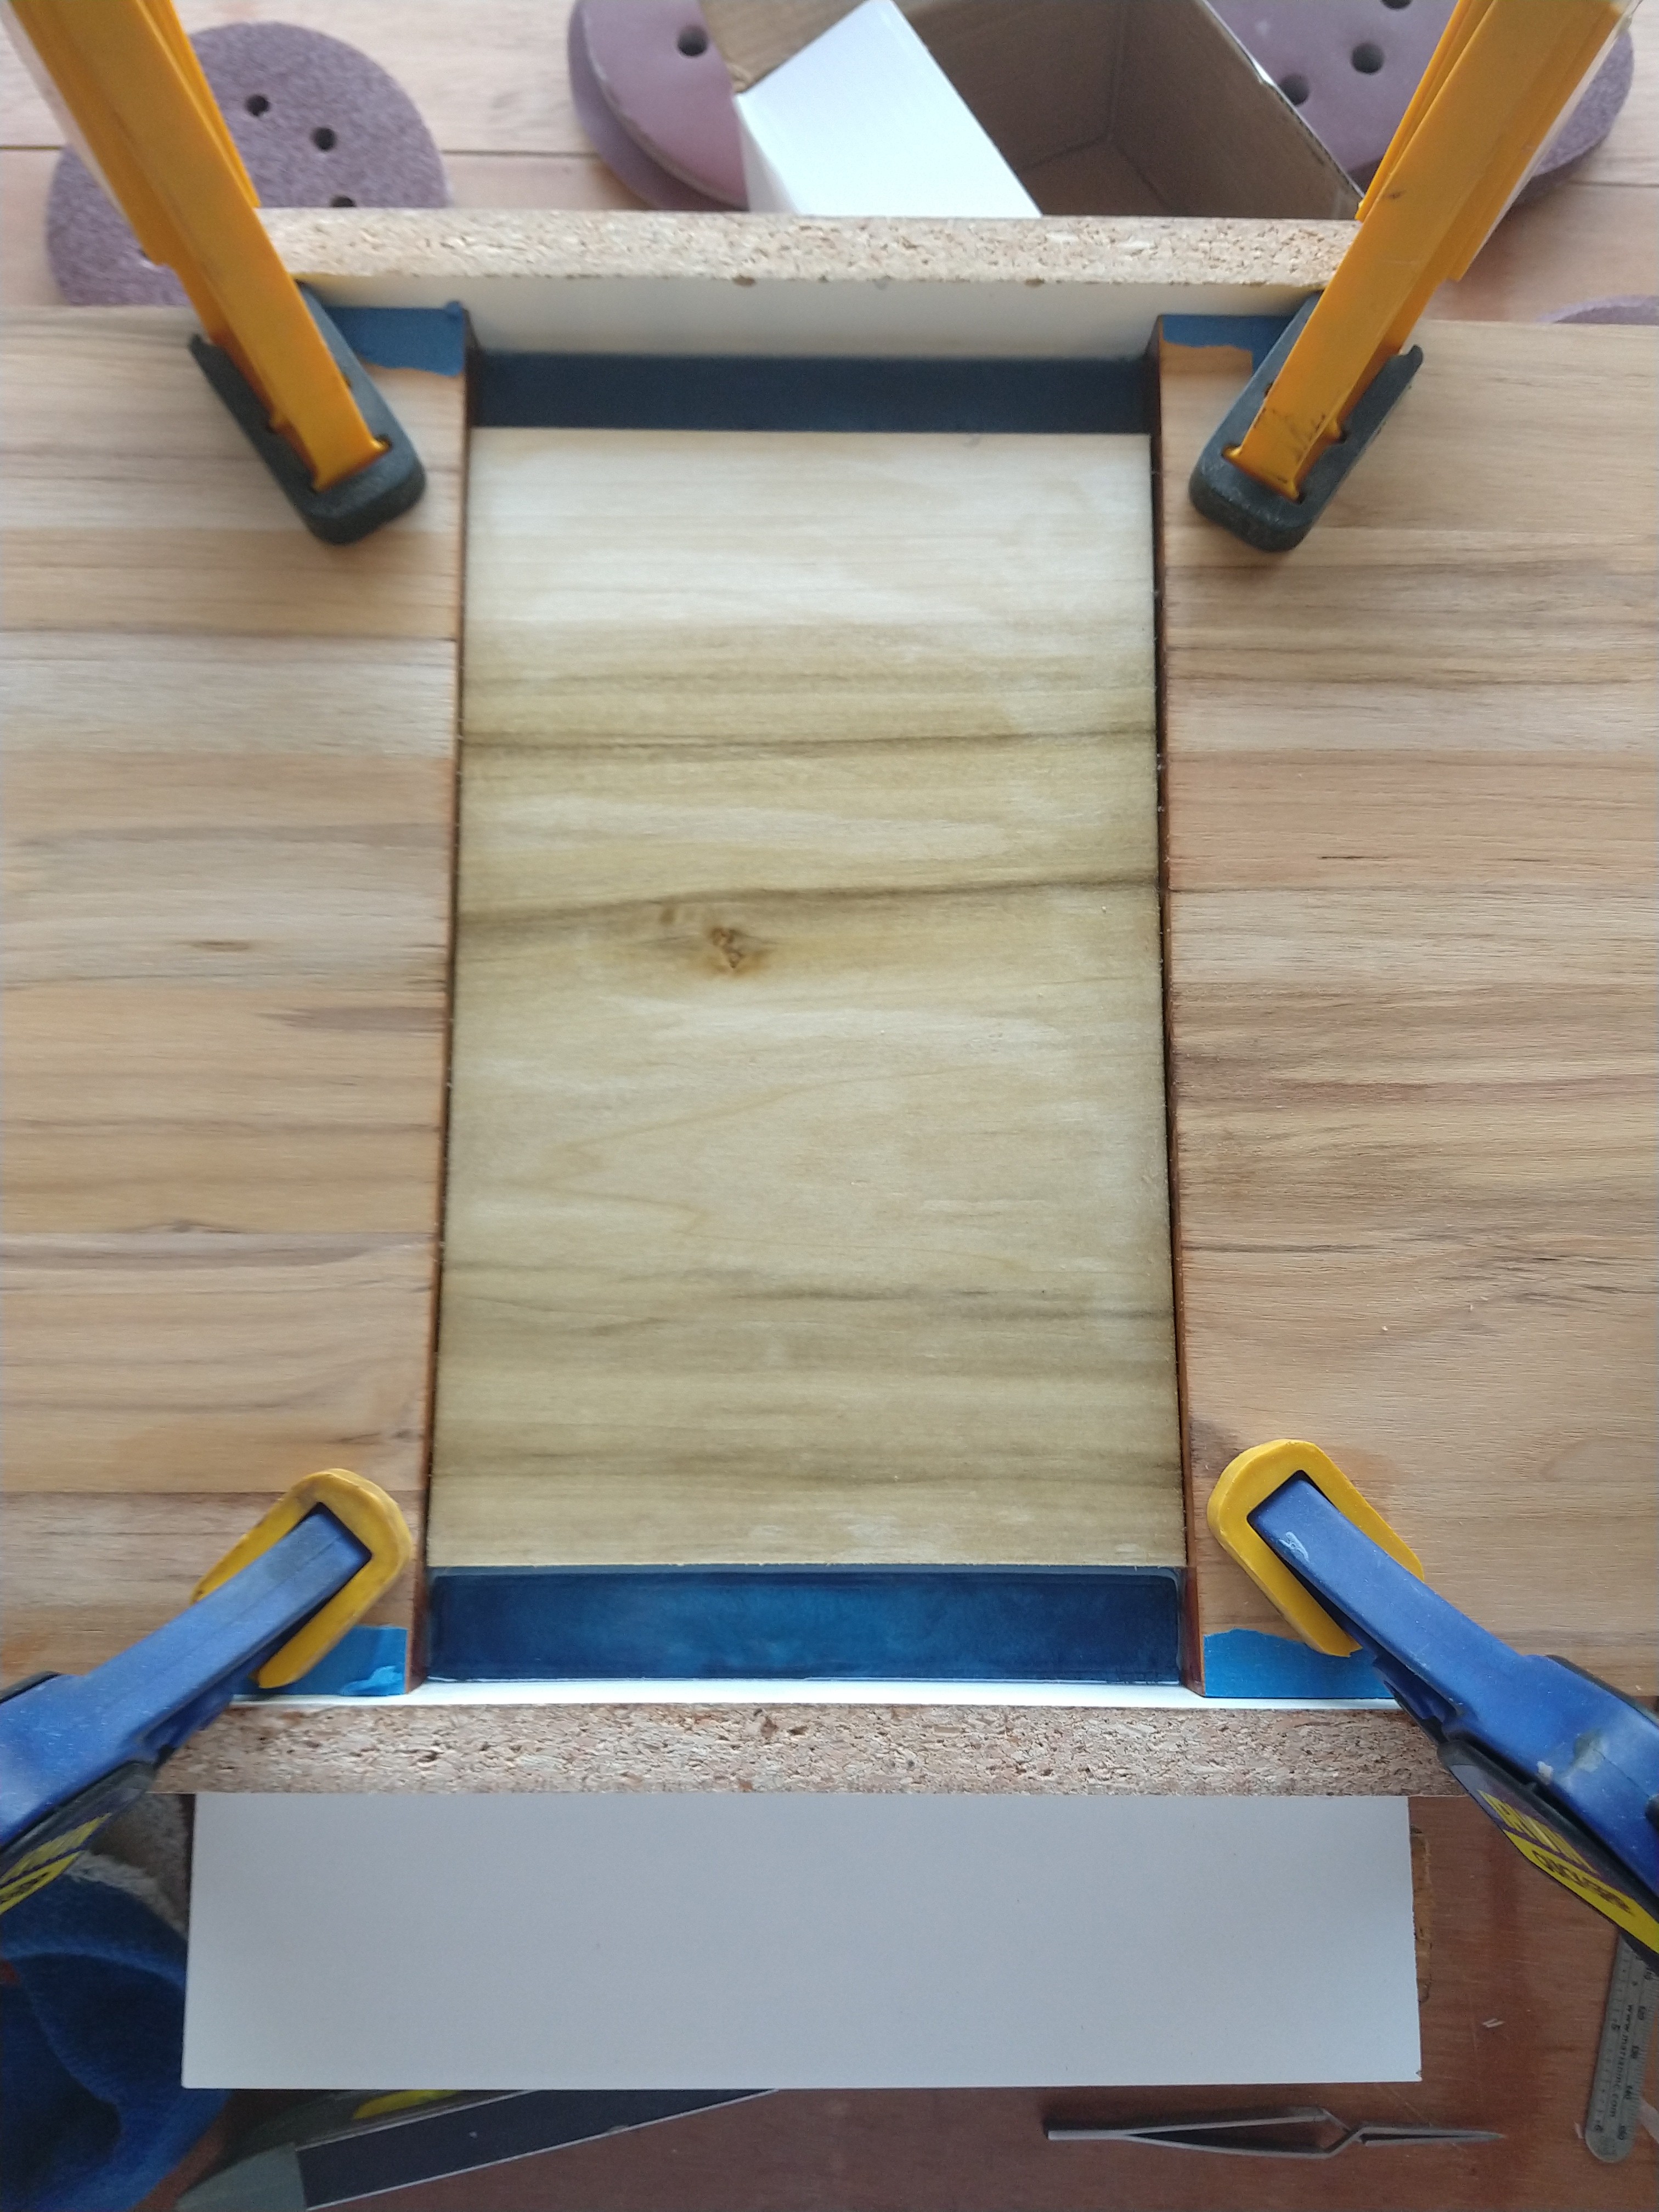
The next challenge will be the pour. I purposely left my poplar “braces” a little proud the teak, figuring I could sand it smooth. And while I was able to sand the joint, the middle of the brace is still tall. Sanding != planeing. I know this will lead to seepage on the pour.
Not sure if I should try to plane it, keep sanding, or just clamp it to the melamine form as tight as possible and clean up the seepage.
This build is still going, albeit a little slowly. I’m actually burning on 3 project simultaneously, putting a 4th (much larger) on temp hold.
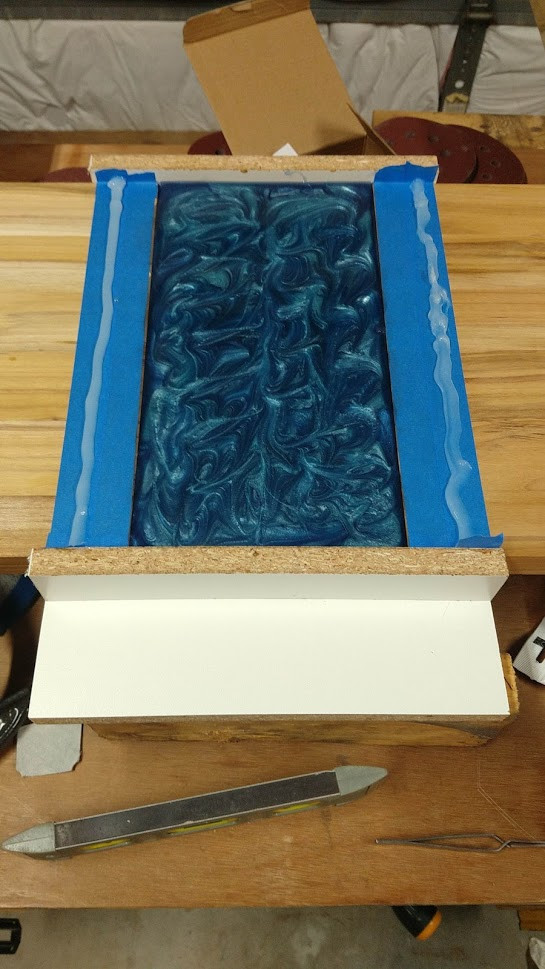
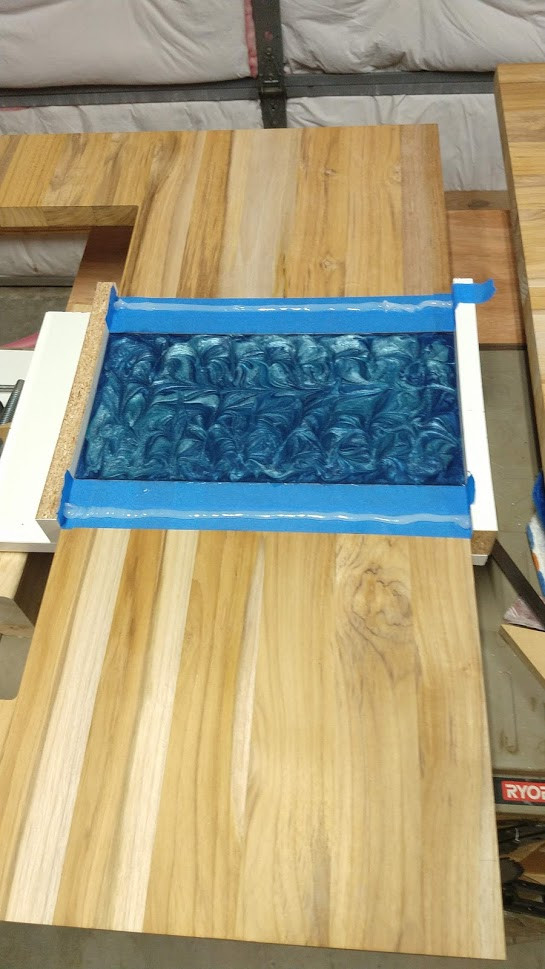
I do have the forms built, table halves clamped in, with the 1st pour done. I’m doing this in at least 3 pours, so I don’t overheat the resin. The final pour will have some accent color mixed in.
Pour two will be tonight, and the final done hopefully tomorrow night. The. I can join the halves and build up the structure.
I think these came out GREAT, so excited! Hopefully they cure ok. I torched them a bunch but I didnt do a great job of sealing the seams so there are still air bubble coming out.
I over-torched a little as I spent a bunch of time on “bubble patrol”. I had to adjust the pattern with a stick every now and then as I torched. I ran into a hard spot and and it didnt level out. It SHOULD sand out I would think…Since I put the green on top of the blue, I hope I dont lose too much pattern in sanding.
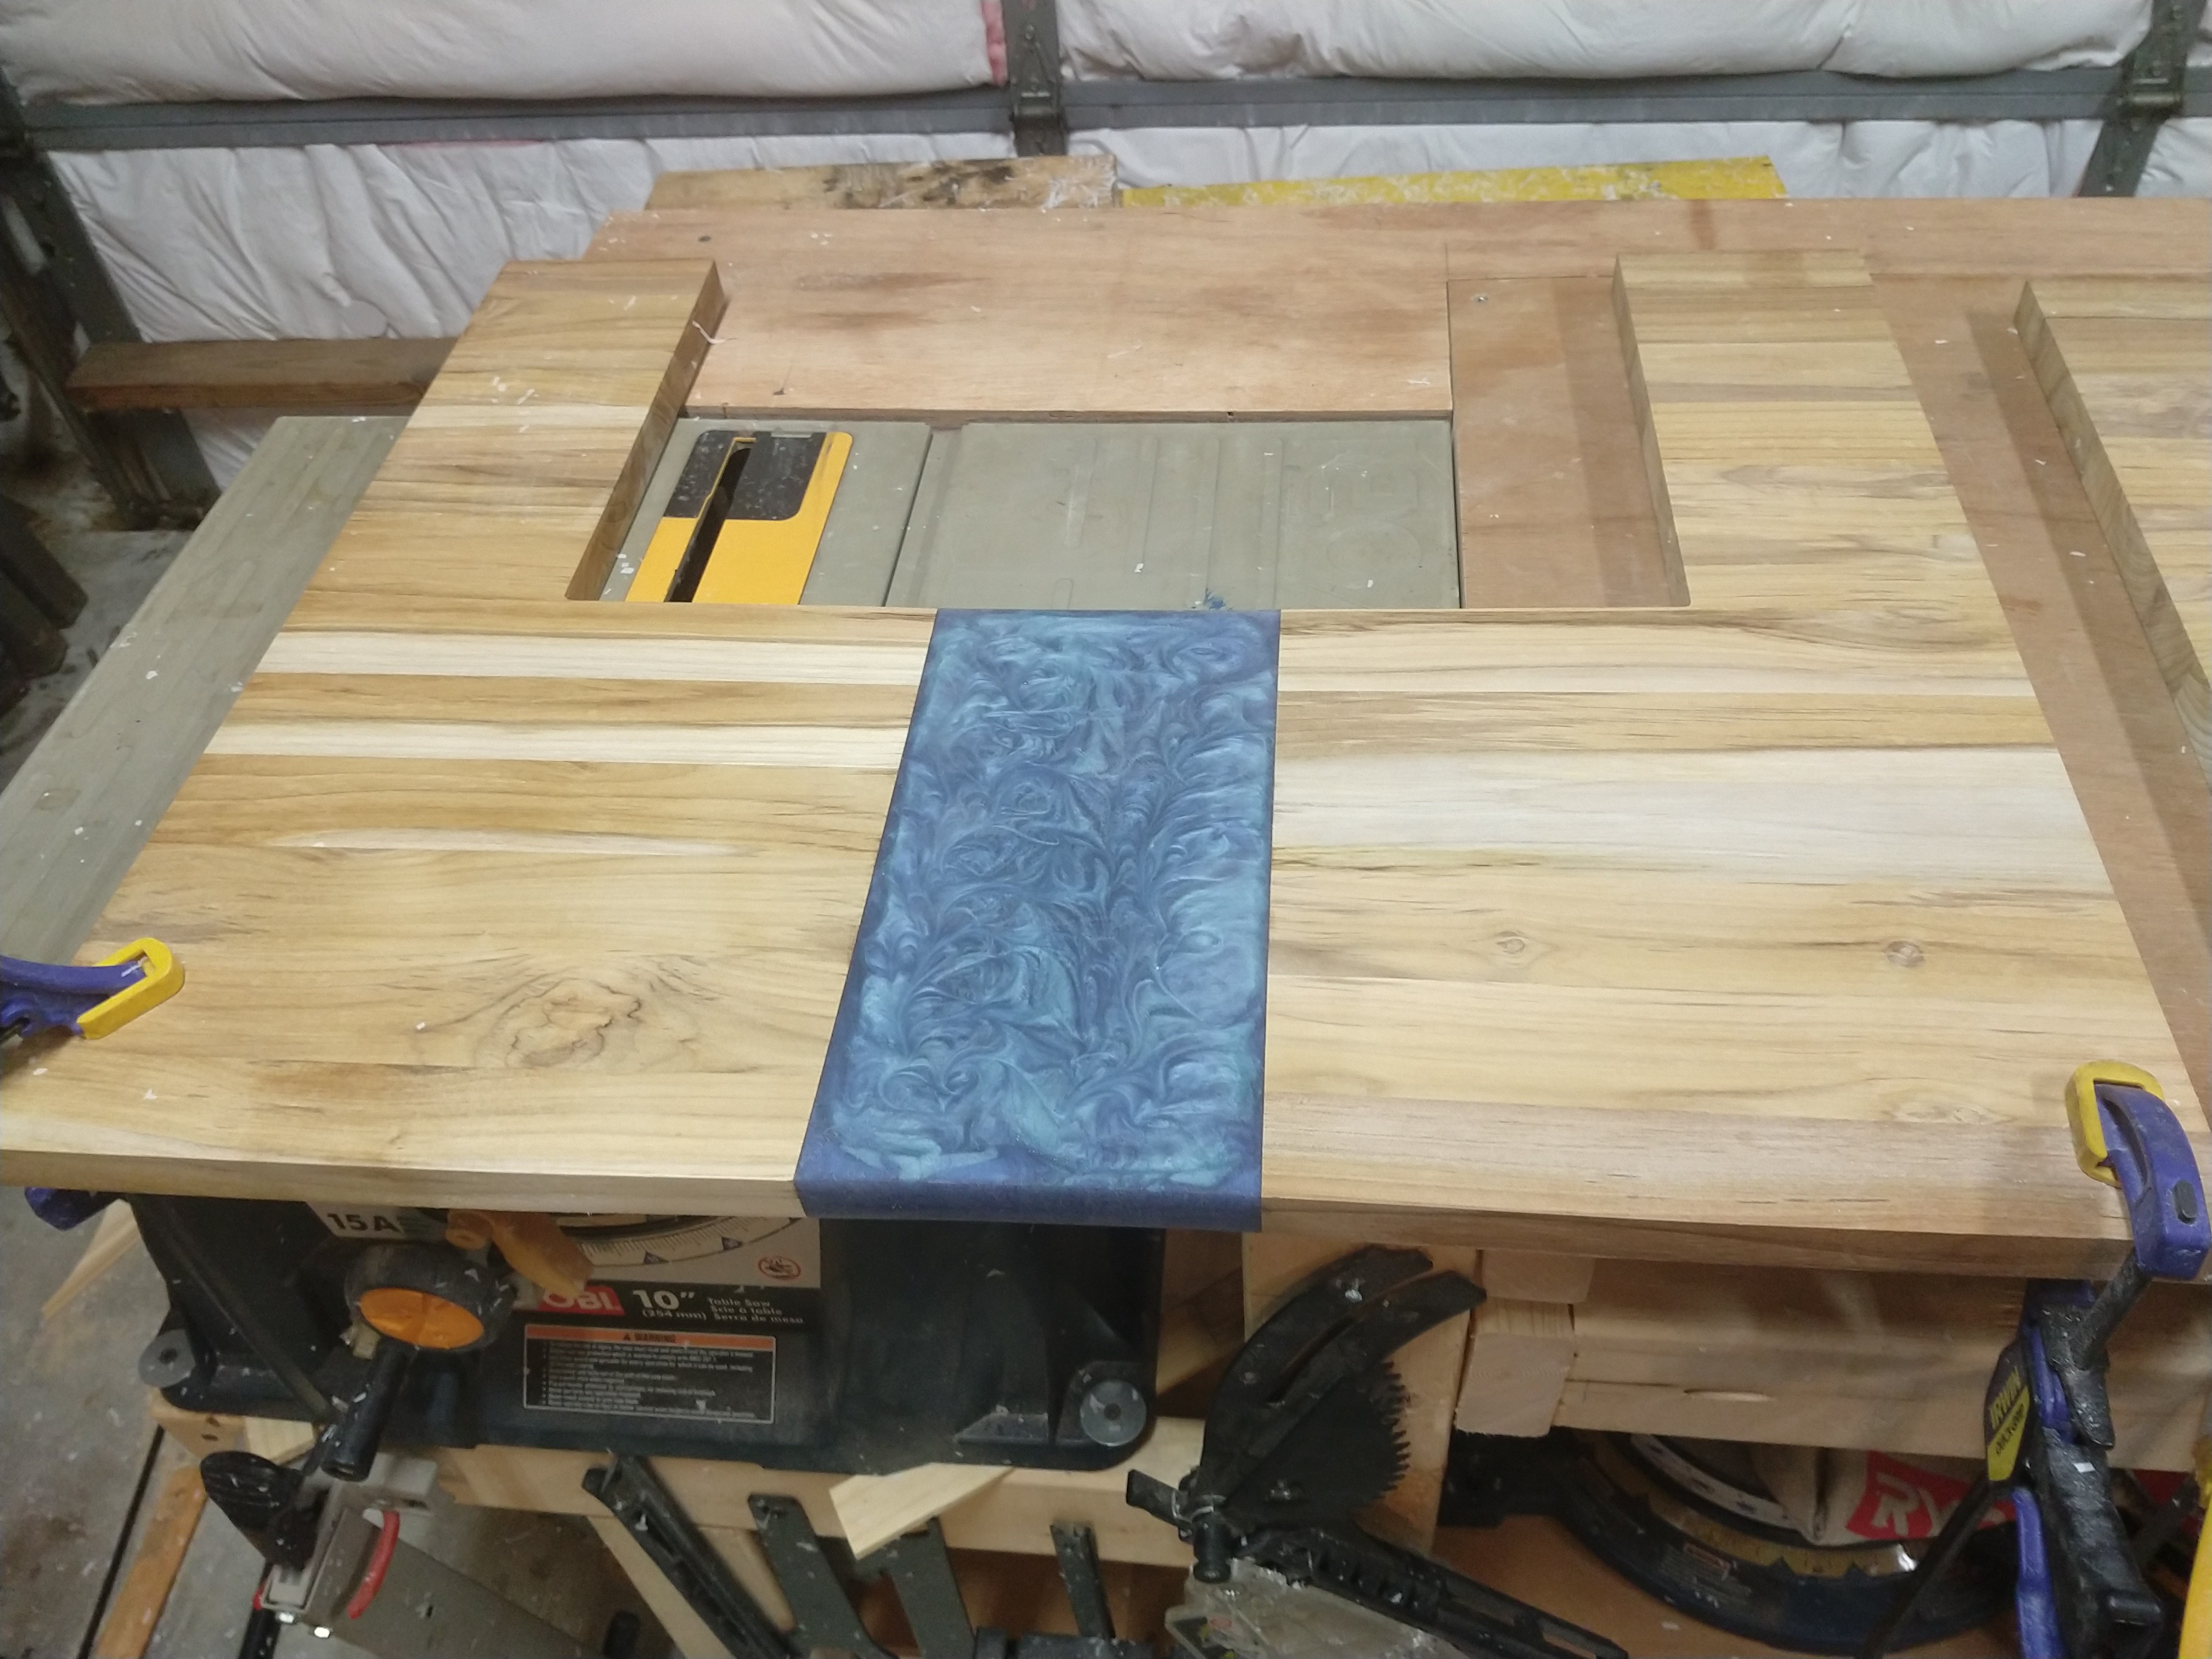
It demolded SO easily! I was very apprehensive about it. Melamine and SC Johnson paste wax was PERFECT.
I hit it with an electric hand planer to get rid of the bulk of the resin, then went to town with 60 grit.
Obviously I have to keep sanding with higher grits, but I might wait until later just in case there is any blemishes from assembly and handling during subsequent steps.
Classic Nick is beginning to creep into this project…the errors are mounting.
Whether due to the fact that I didn’t cut each quadrant complete on the mpcnc (relying to origin and squaring), the fact that my machine was built too big and sometimes has problems holding tolerance, some unforseen error I haven’t even fathomed yet, or a combination of the three, the two halves of the table did not fit together properly.
When squared up, one side had a gap. I shaved what I could, but I’m already going to have to sand the opening or grind the glass on one side to get it to fit, so I did the pocket holes and decided to glue up.
It went relatively ok…nothing I can’t rout and sand out later, but when going to check on it an hour later, one of the factory edge glued joints popped, right where the pocket holes went through it.
I glued and clamped it back together, but I’m very apprehensive that more joints will pop since ethe table is under stress in order to close the gap, until I get the aluminum angle and “picture frame” mounted to the under side. These elements should give it more than enough structure to prevent further splitting, but I can’t address it for at least 18 hours. I should have had all the parts ready to go before I did the glue up.
 for you. It is looking great.