Exciting! Great to see how good the outcome is. What do you think is the current nose diamtre? I’ve been thinking myself that an engraving bit would be better for the pcb’s, since its possible to get a thinner cut - but what you experienced seemed to show that there is a limit even to the engraving bits. Where did you get the bit? What do you think of these, anyone in particular that you’d recommend?
Honestly, I have no idea how large the nose diameter ended up after breaking in, and I really have no way to measure it since it is still very small.
These are the bits I used: https://www.amazon.com/YIYATOO-3-175mm-Carbide-Engraving-Router/dp/B017LGA36G/ref=sr_1_1?dchild=1&keywords=B017LGA36G&qid=1611751241&sr=8-1
I bought them originally to engrave some aluminum, for which I used the 15 or 20 degree bit. As I recall, I had the same “breaking in” issue with the aluminum, but again once that sweet spot was reached, the job ran complete with good results.
For the PCB I used the 10 degree bit. Not sure how small exactly the cuts ended up being, but I am very happy with the result. Fine details were preserved.
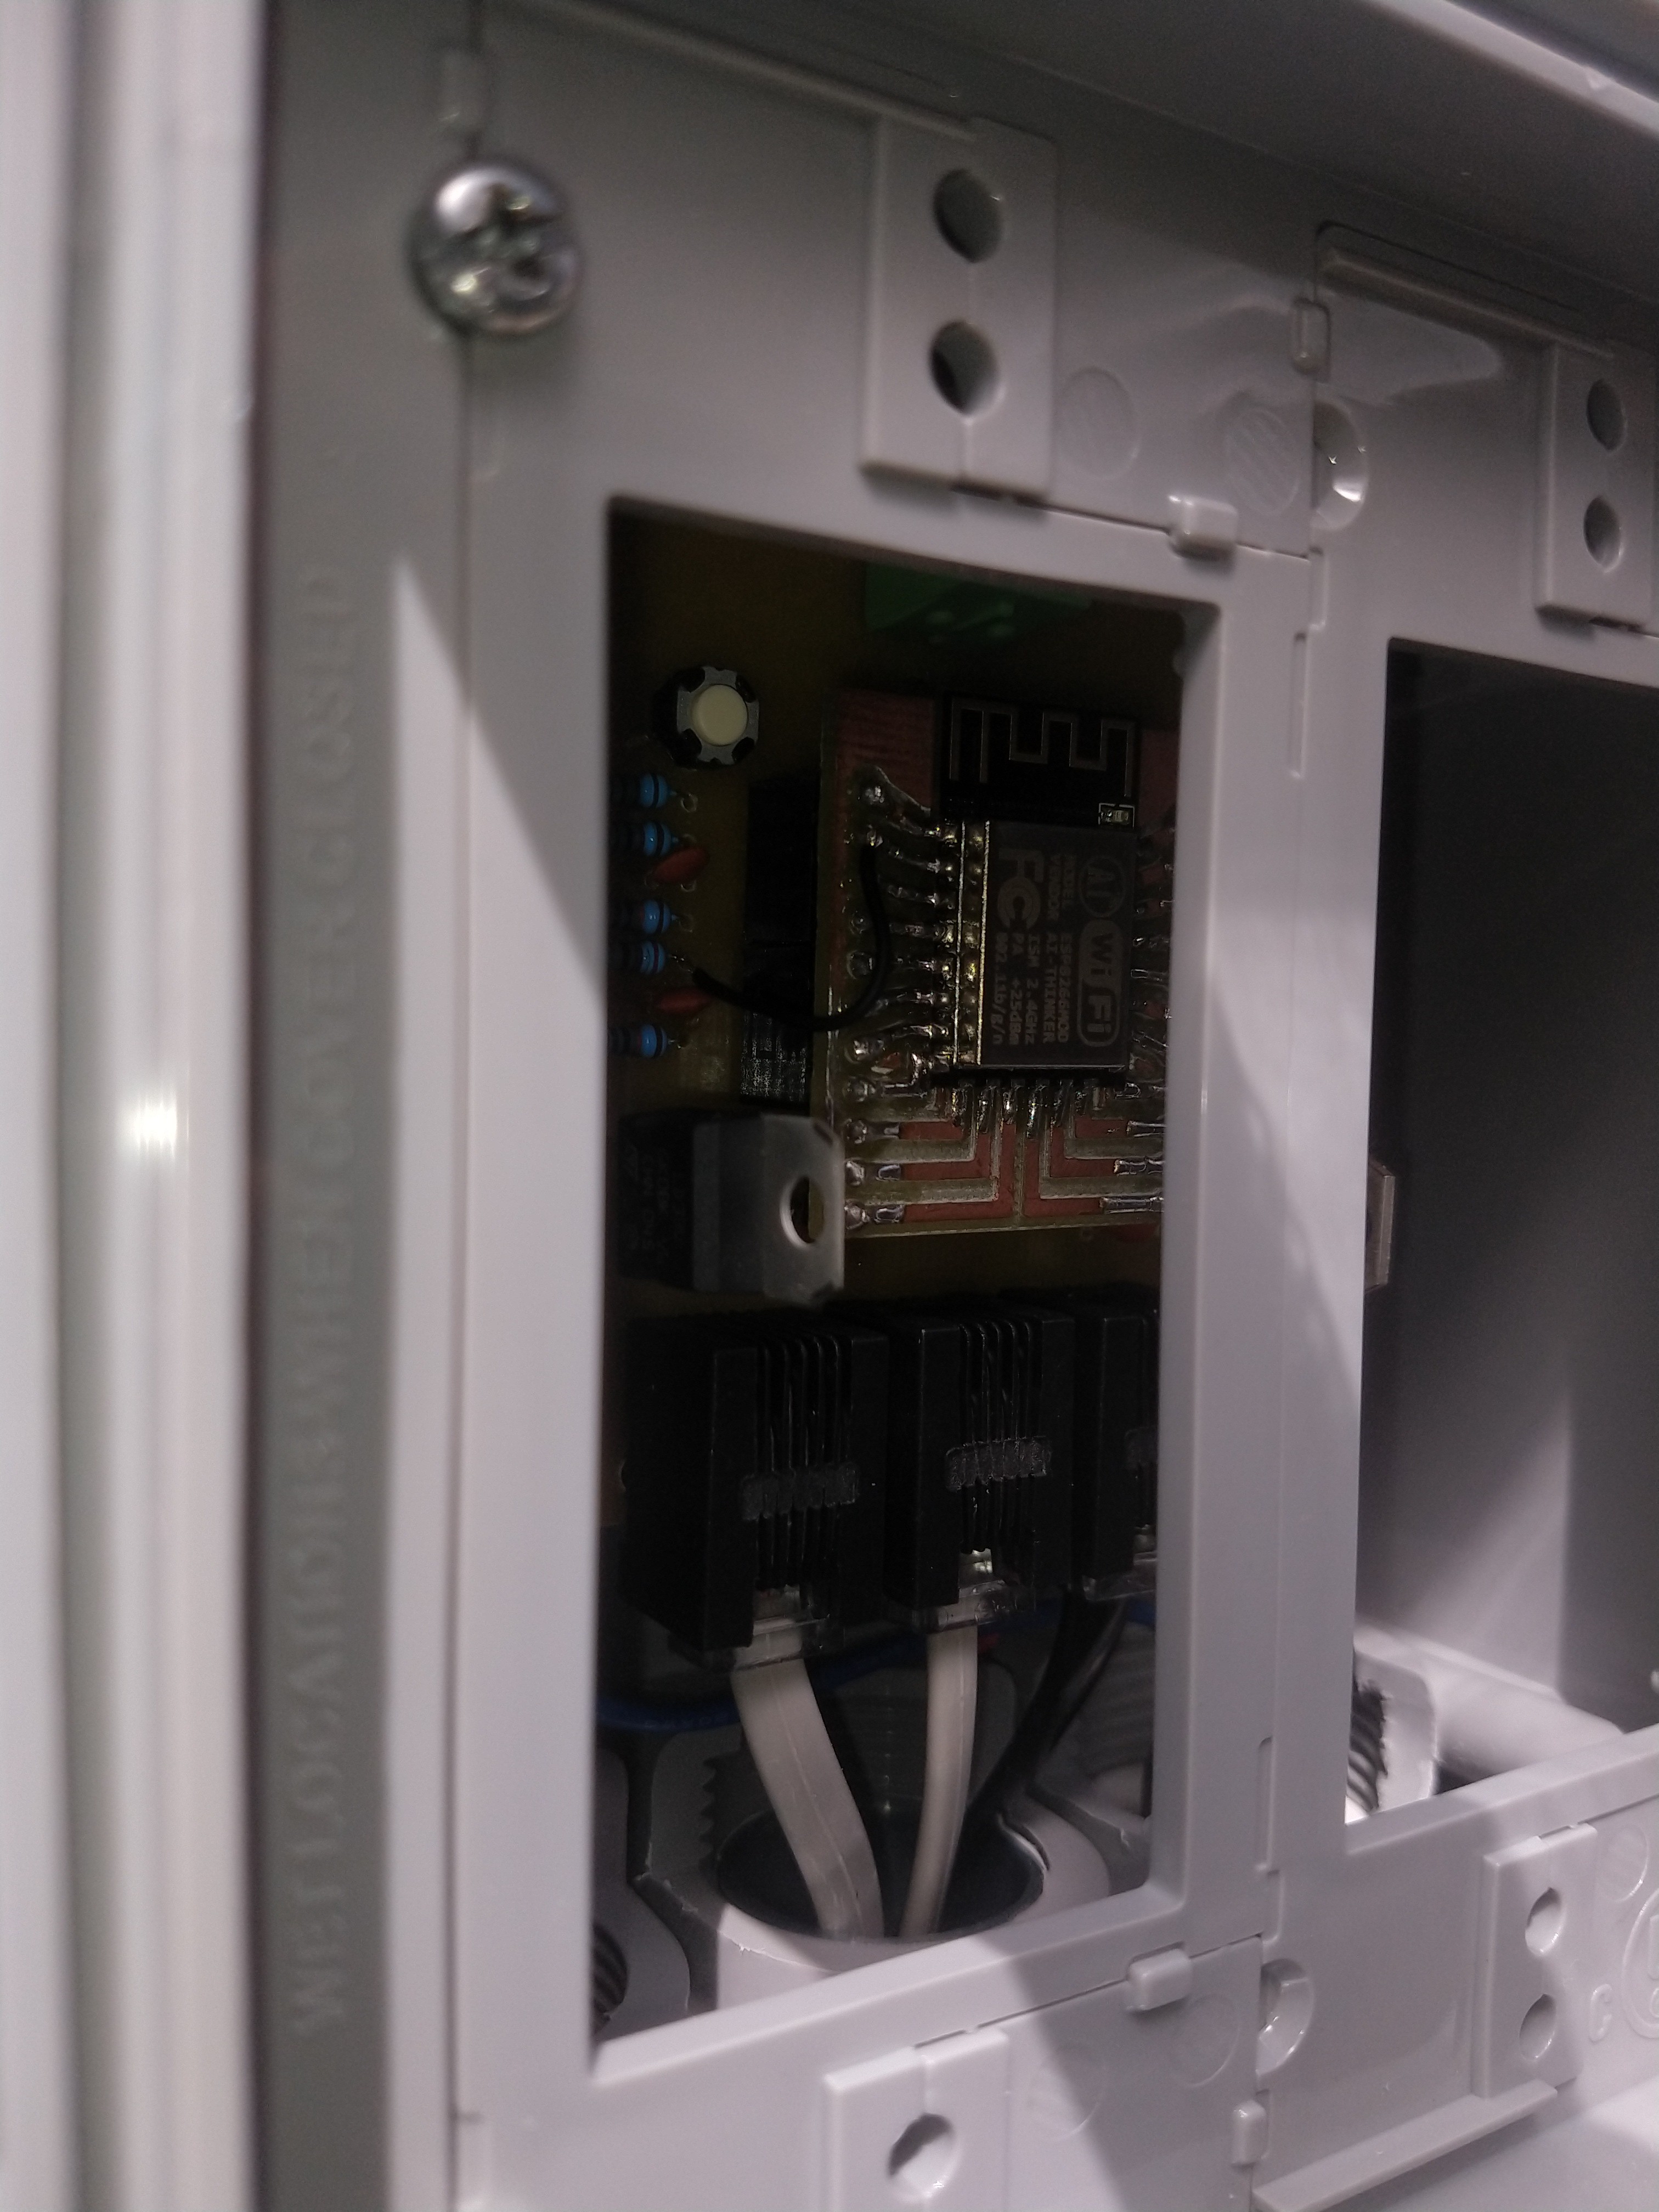
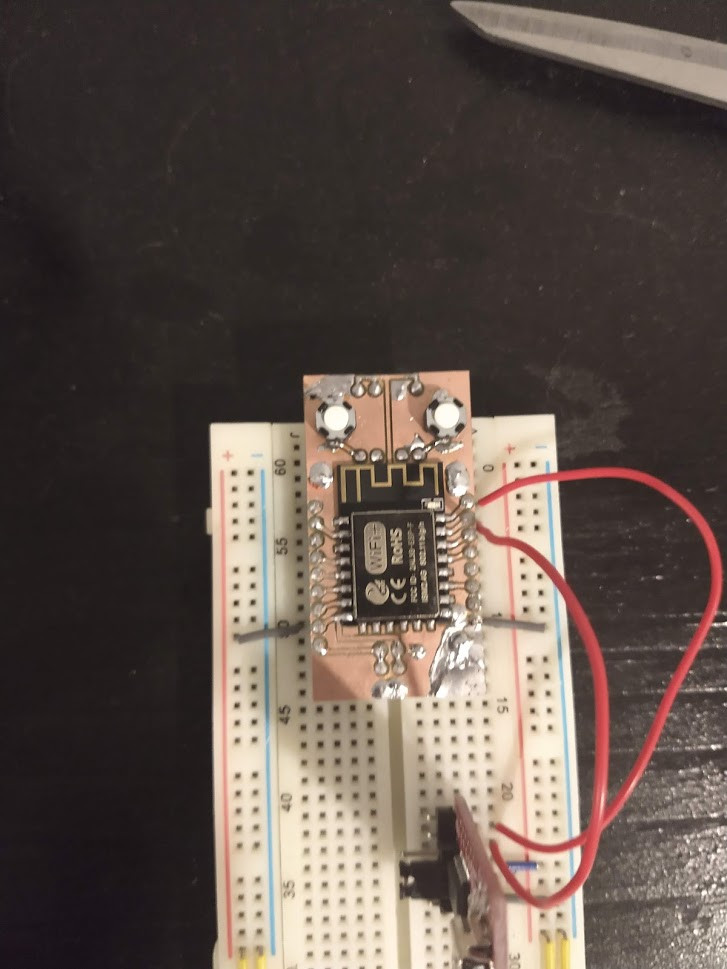
As with most things, time and fiddling have lead to some familiarity with the esp8266. I am more comfortable with it now, and the board above has all the provisions for the various pins to pull high or low, as well as pushbuttons for flash and reset.
One of these days I need to do a dev board for the esp that has the necessary resistors and switches on that I can just plug esps into and then plug all that into a breadboard. maybe next project.
I have always wanted to CNC my own PCBs. I had a PCB CNC machine at work (when I worked in an office) and we used it a few times and it was great. But whenever I have tried to work up toward something like that, I have just ordered from from a PCB manufacturer like JLCPCB. I should just do it myself at least once, just to prove that I can, and get a better evaluation of how hard it is. I do make mistakes in my PCBs, so it would be nice to be able to fix them in an afternoon instead of waiting 2 more weeks for 10x more copies of a prototype board.
I think for one off and prototyping, machining your own is the way to go. i made a mistake on this one, and although I adapted through lead bending and manual rework, I could have had a new board in an hour. Having the design proved out and working before sending out for pro boards is key…
The only problem is that im restricted on layers and clearances over a pro board house, so if I sent this design as is to a mfg service, it would be a gross underuse of their capabilities.
So far I have only done single sided. Double side shouldnt be hard given a good fixture that will locate the board accurately after flipping it. Downside is having to make little side to side jumpers where you would have a via or plated through hole.
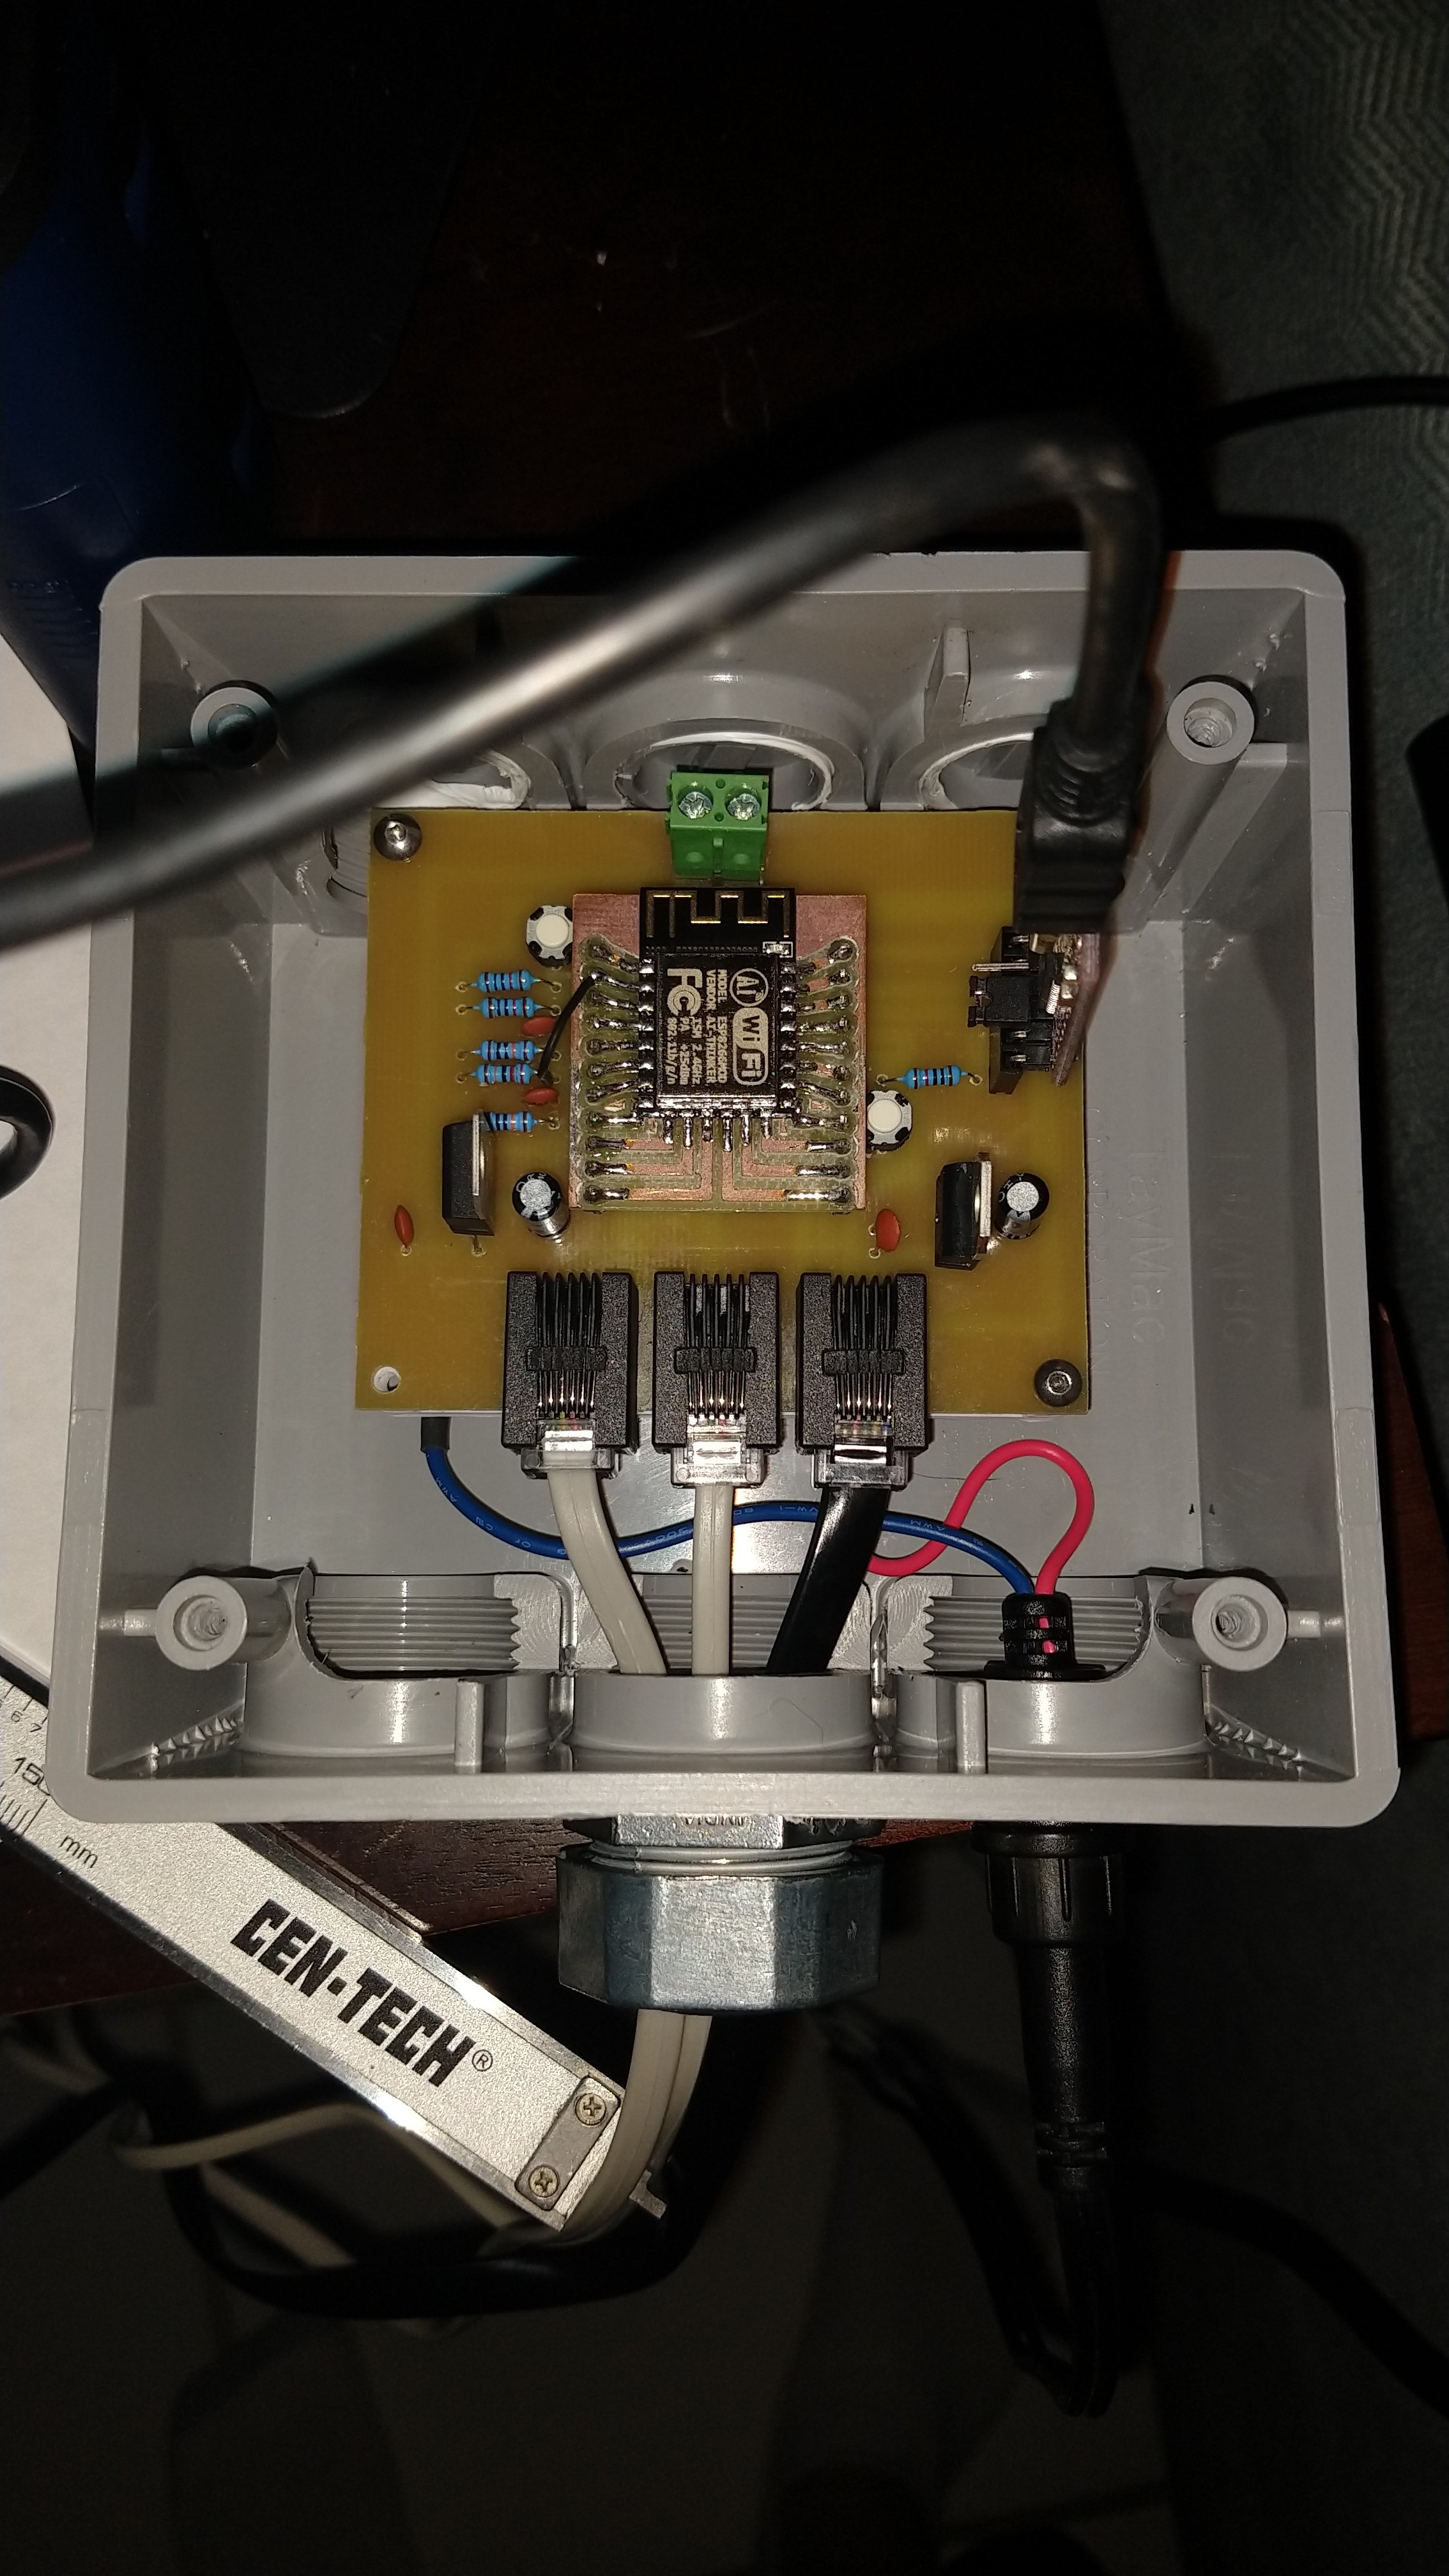
Nothing I have done so far has been nearly complex enough to warrant double sided. this project is by far the most “complex” i have done, and it is still little more than a convenient way to plug a bunch of sensors into an ESP for a Personal Weather Station. Other than jacks and terminals, its just a few regulators, resistors, and caps, plus sockets for the esp itself.
2 Likes
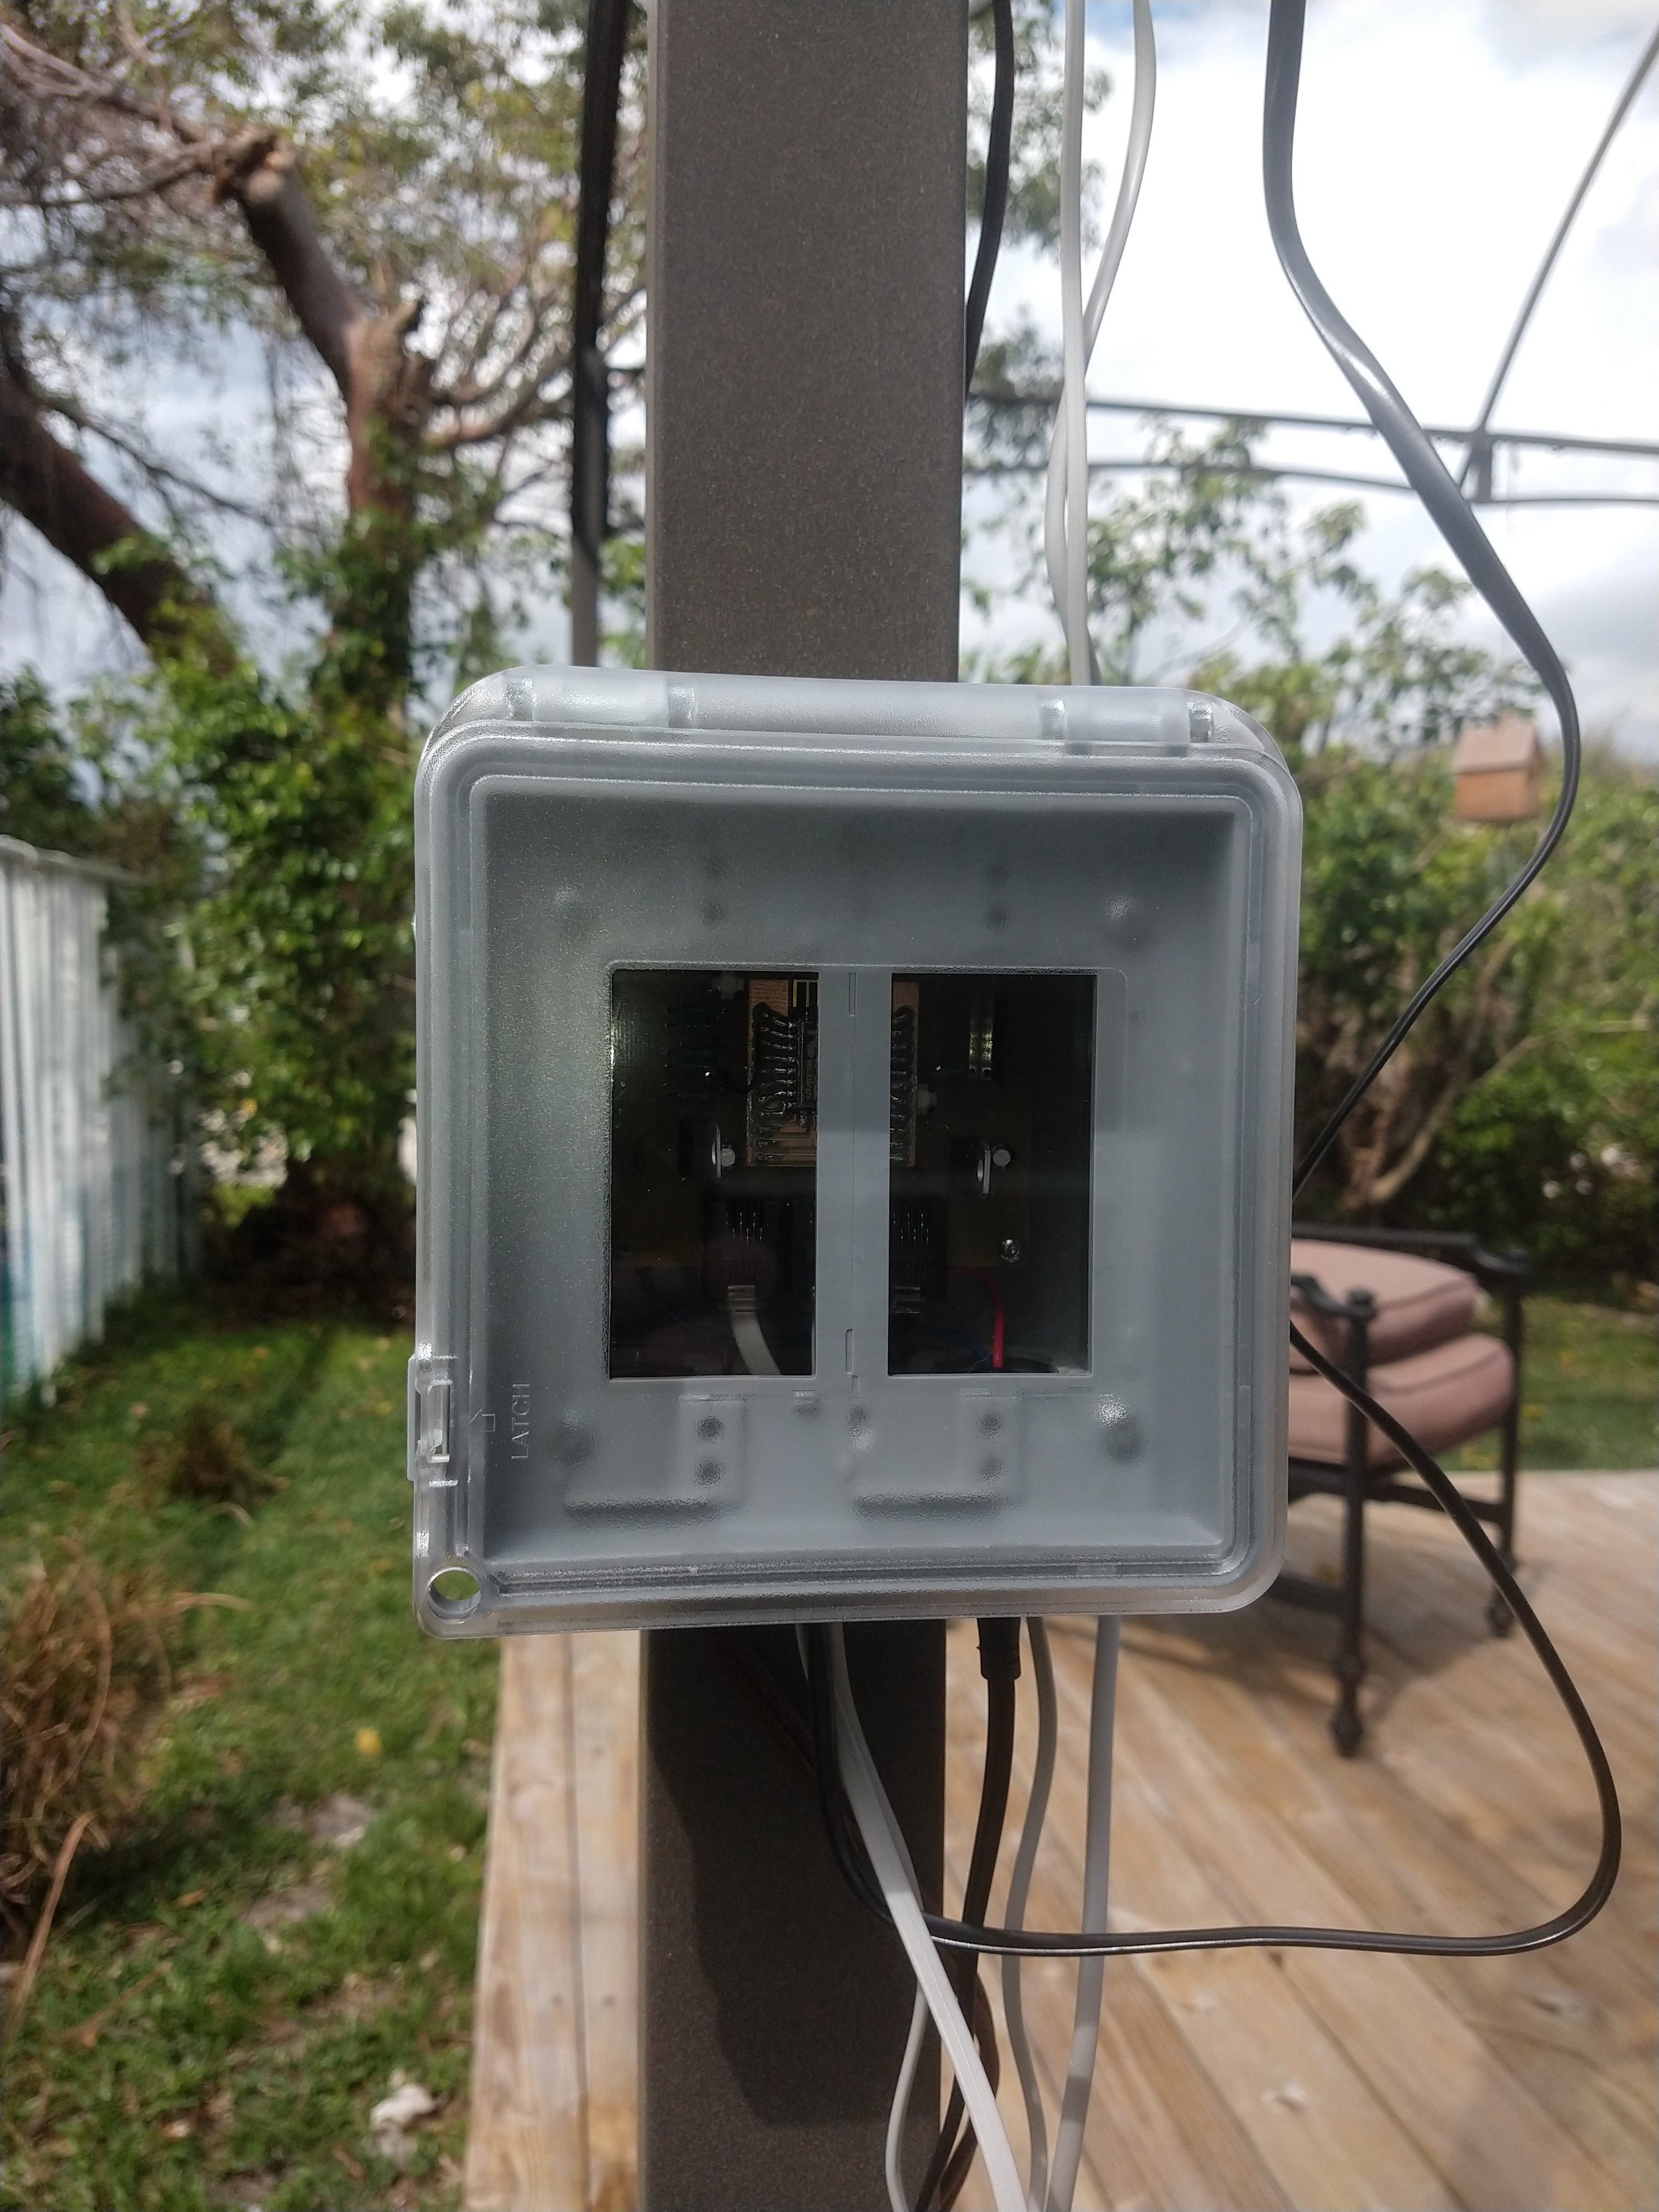
Almost finished with the weather station. It is installed and broadcasting live, however the last step is to get it about 30 ft in the air, mounted above the roof line. Still working on this, trying to devise a system that allows for occasional service when necessary. (or when hurricanes threaten)
Can kinda see the board in the outdoor electrical box.
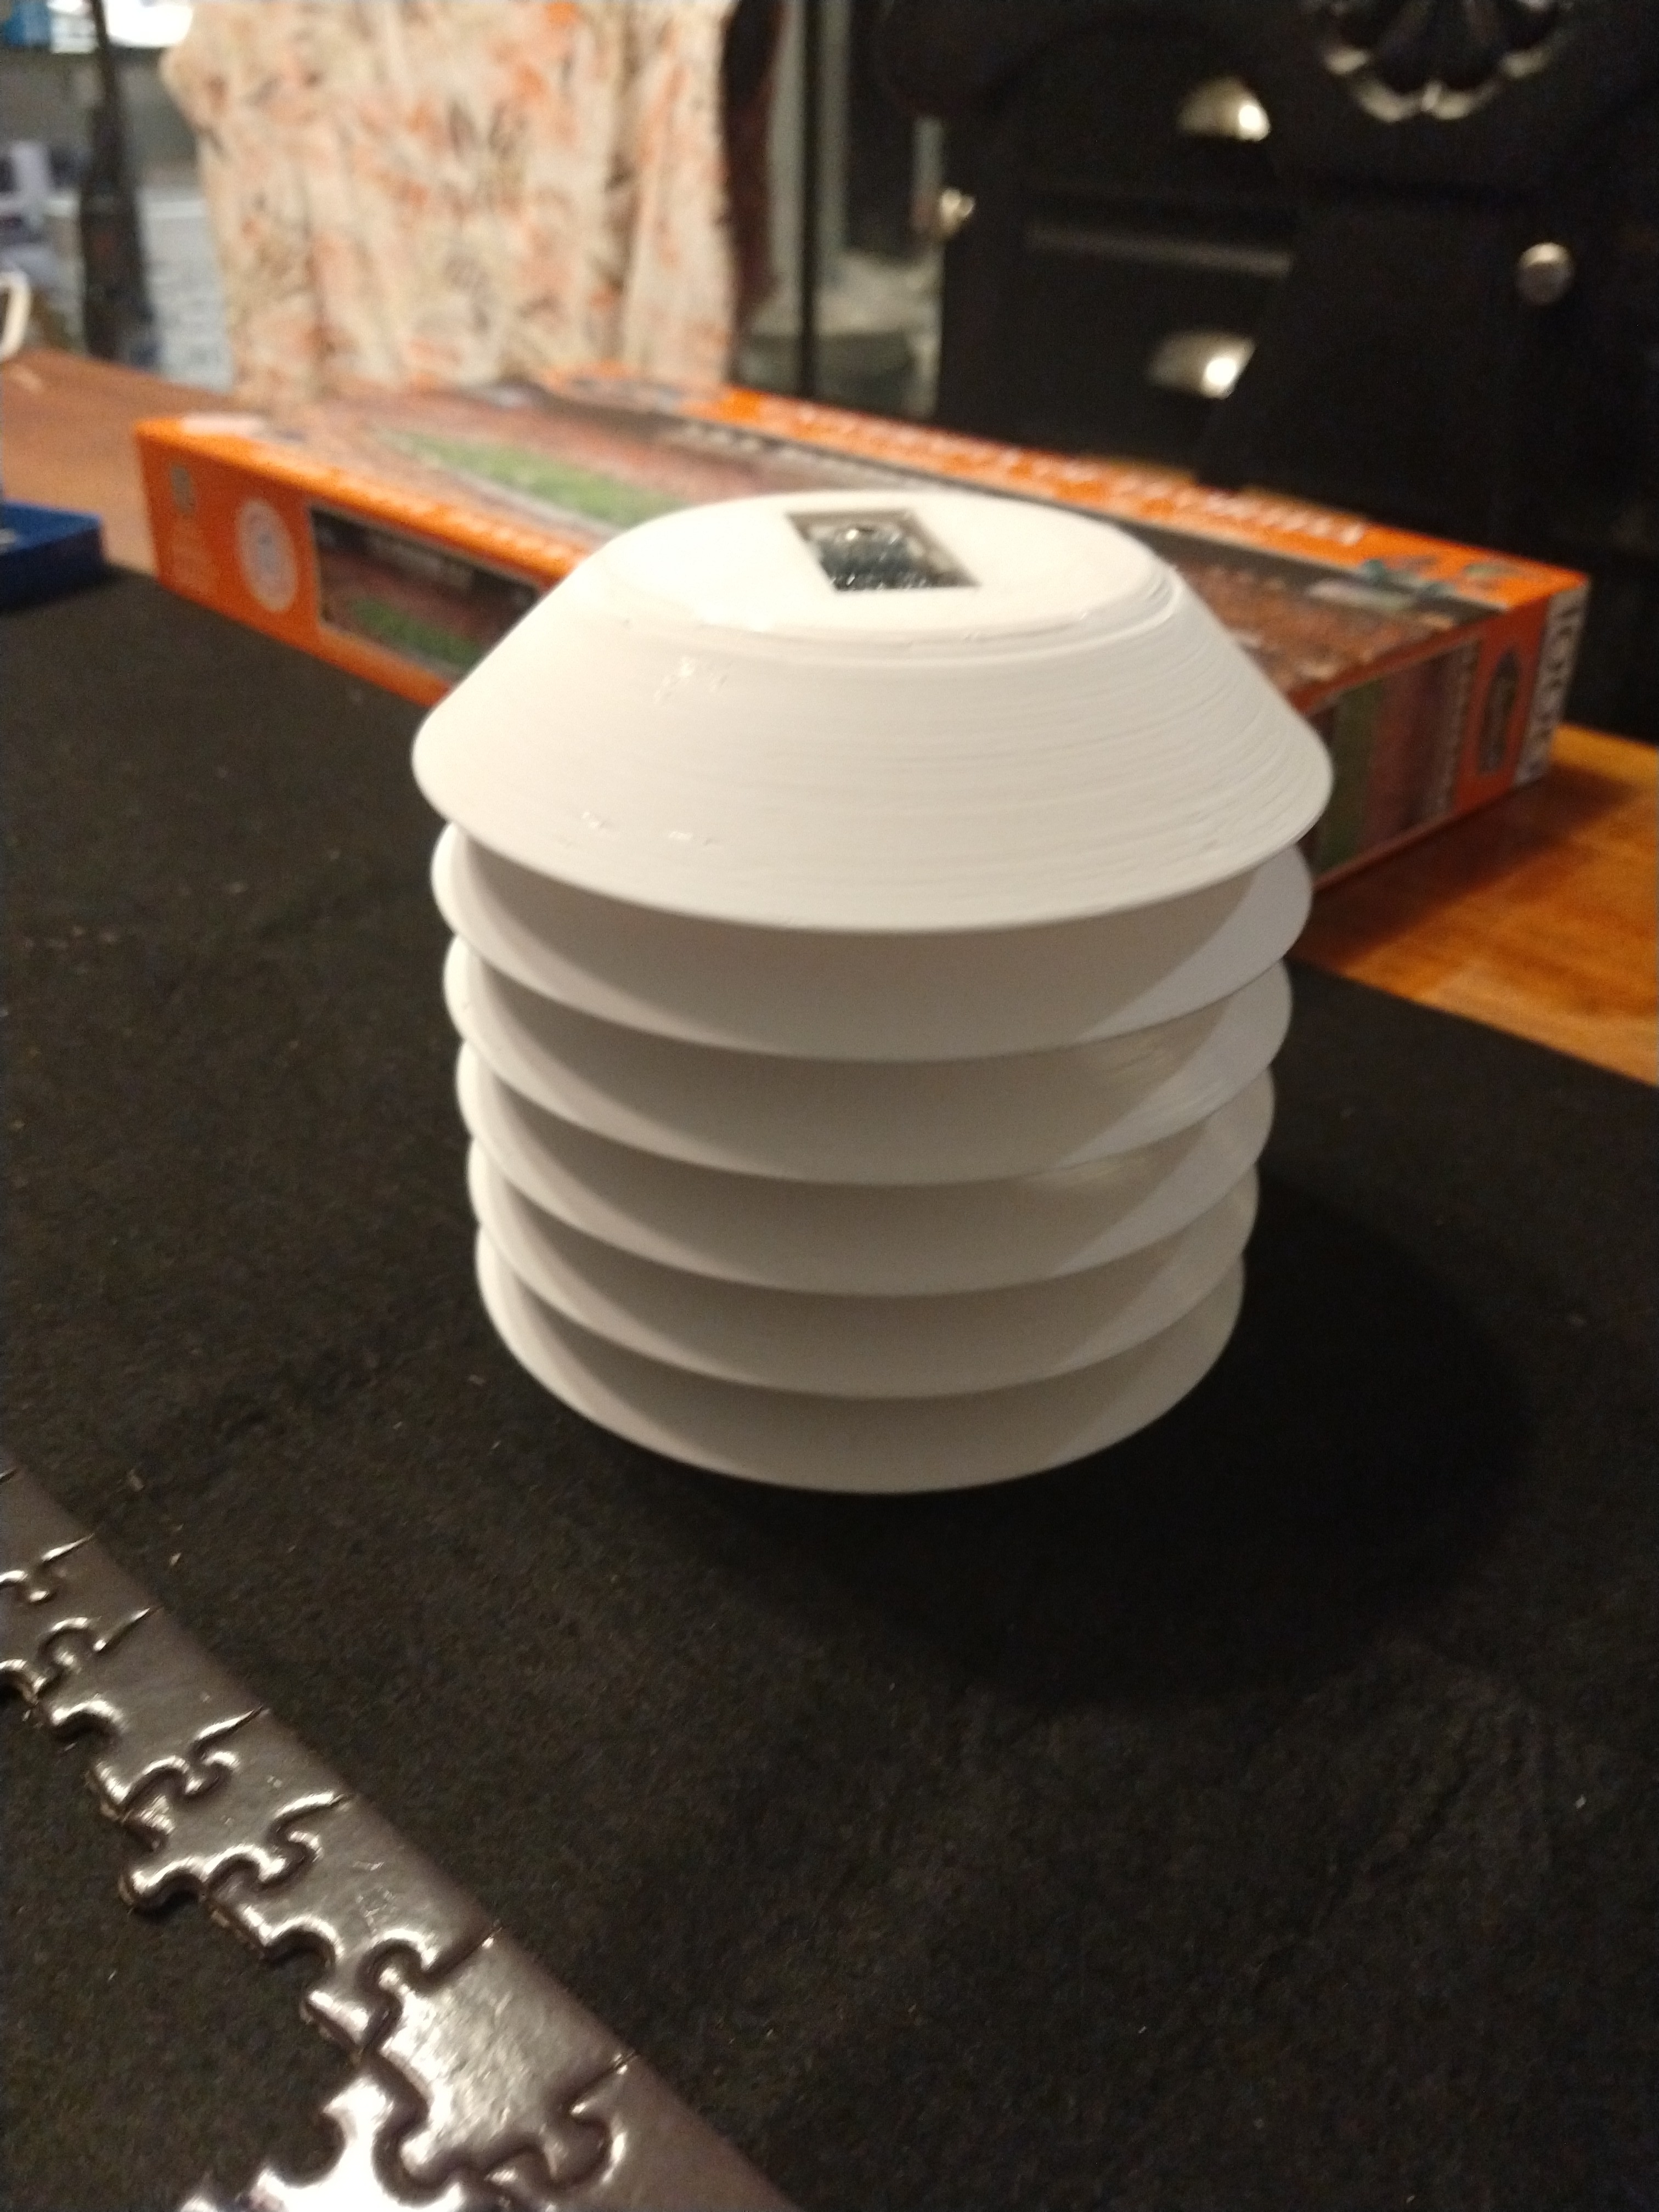
(Why is my radiation shield glowing? One of the sensors has a red led on it. I could probably remove it, but I kinda like the feedback that things are powered on)

5 Likes
That is pretty slick. I see my neighbor has one on their roof. I have been meaning to ask them if I can just take over their router and make it accessible via the internet  .
.
1 Like
They may already be visible. I have my station registered on weatherunderground.com and pwsweather.com. They are fully free and visible to anyone who cares.
If they broadcast to one of these or similar services, you could look up the data any time you want. You could even have things like smart irrigation controllers use their station for weather based irrigation decisions.
That was actually part of my motivation with this project. I bought an Orbit B-hyve irrigation controller, but was using a weather station over 4 miles away to control weather adjustments. Im in south florida, so we could have a quarter inch of rain 4 miles away, yet get nothing in my back yard. Now I know exactly how much rain falls on MY grass.
My other motivations were to have local wind data to know when would be a good time for RC flight, and some data related to determine good times to use my telescope. I have an IR temp sensor pointed at the sky, as well as a lux sensor. These should tell me which nights are comparitively “darker” and more transparent/cloudless. (the cloudless one is my favorite. its a delta between ambient and IR temp. with no clouds radiating back to the surface, the IR temp measures closer to space. The delta gives me a qualitative measurement. I cant take credit for this though, some people over on cloudynights.com figured that out. Its a copy cat league, as they say.) These are in the top of the radiation shield. Also found a better shot of the electronics…to keep is MPCNC relevant!
3 Likes
More PCBs. This one is to run wLED on my new zen table. I learned some lessons on this one so now this module is bread board-able, has on board 3.3V regulator (underneath), and all the pull-up/down resistors and programming buttons are on board as well.
That being said, once I use up my last ESP-12f, I am never doing this again, haha. Its not hard, and its rewarding, but I can get MUCH more capable 8266 dev boards for less than $10. When I bought these modules I didn’t know how much of an application circuit was needed to make these work, coming from the arduino world.
5 Likes
Yeah. I typically go for the esp32 dev boards. I’m never in a situation where the size or cost savings of using the smaller boards matters.
I also tend to grab the dev boards with the OLEDs on them… because screens are cool
2 Likes
It looks very rewarding. It is worth at least a couple of nerd cards.
Nerd Cards? I am probably gathering a ton of those right now. When my brother saw my zen table he said it was the “combination of all of your nerdy hobbies”. I own it…
5 Likes
Music to my ears!
3 Likes
This is Awesome I guess I need to actually do some research and do this project now… Love the astronomy aspect and the RC