I finished the build about a week ago. I was itching to get this part made, but I haven’t cut anything else while finishing up a few odds and ends on the build (dust collection, speed control, maybe a spindle relay).
This all gives a 1:135 gear reduction for slow motion movement at high magnification. I wish I had the mpcnc last year when I built the whole telescope!
I fly RC…usually scratch built models. It’s actually something that I want to use the mpcnc for, cutting foam sheets for airframes. Actually haven’t flown in some time either. Life gets in the way.
One day I would like to take some lessons for small recreational full scale flying.
As for the telescopes, it’s really not much to get a basic dob together, especially with purchased optics. Having the cnc will make it all the more pleasant to build. Mine was a second hand 8" Newtonian in a steel tube that I threw away everything but the optics and focuser.
Very cool. I’ve tried RC a couple of times…with consistently catastrophic results. A CNC seems like a great fit for making aircraft though.
I have a private pilots license, and I think flying a full scale is easier. The aircraft seem more stable, things happen a little slower,… and you get the FPV by default. 8^)
Hmmm. Yeah, I’m going to have to start looking for a good deal on a used telescope.
My grandfather got me into RC. in fact, he pretty much got me into alot of my hobbies, even if indirectly. The Bridgeport mill many have commented on in my build thread was his. It’s as much a family heirloom as it is a tool for me…
He was a master machinist and a damn fine rc modeler. His medium was balsa. I remember some of his crashes over the years…in blasa it is devastating. So many hours and dollars up in smoke.
Once I became a money making adult and tried my hand at it, I learned about foam and electric airplanes and how they have revolutionized the hobby to a degree. The consequence of crashing is sooo much less now. Most thing I can fix with hot glue and packing tape. And if I can’t fix it, cut a new airframe and transfer the electronics.
Yeah. My dad made a few balsa planes. One was a “trainer”. He drove it straight into the ground. Destroyed every part. He probably spent close to a year of evenings on it. There was a similarly magnificent RC helicopter that took forever to build and lasted a handful of flights before a boom strike totalled it.
I started with a used “blade cp” and generally glued it back together over and over. It still runs. Then I bought parts for a hobbyking quadcopter for less than my dad would spend on an engine 20 years ago. I have so many spare parts for that quad, because I thought it was such a good deal I bought extras. And I haven’t been able to break them very fast.
Had a great uncle who used to grind his own mirrors. Big 12-18" suckers. I think he even silvered them himself, but I can’t recall. I was just impressed with the precision and patience needed for grinding mirrors on that scale. Even wrote some software back in the DOS days to help with tracking stars, and motorizing amateur 'scopes.
He’s part of where I get my ASD from. He was a calibration specialist for Boeing. They’d let him on the airliners to dial in all the equipment, and make sure they were working properly.
edit: In the “grand scheme”, 12-18" is not that big, but for an amateur astronomer grinding his own mirrors in his garage in the early 80’s (maybe even late 70’s?), it’s pretty damned big.
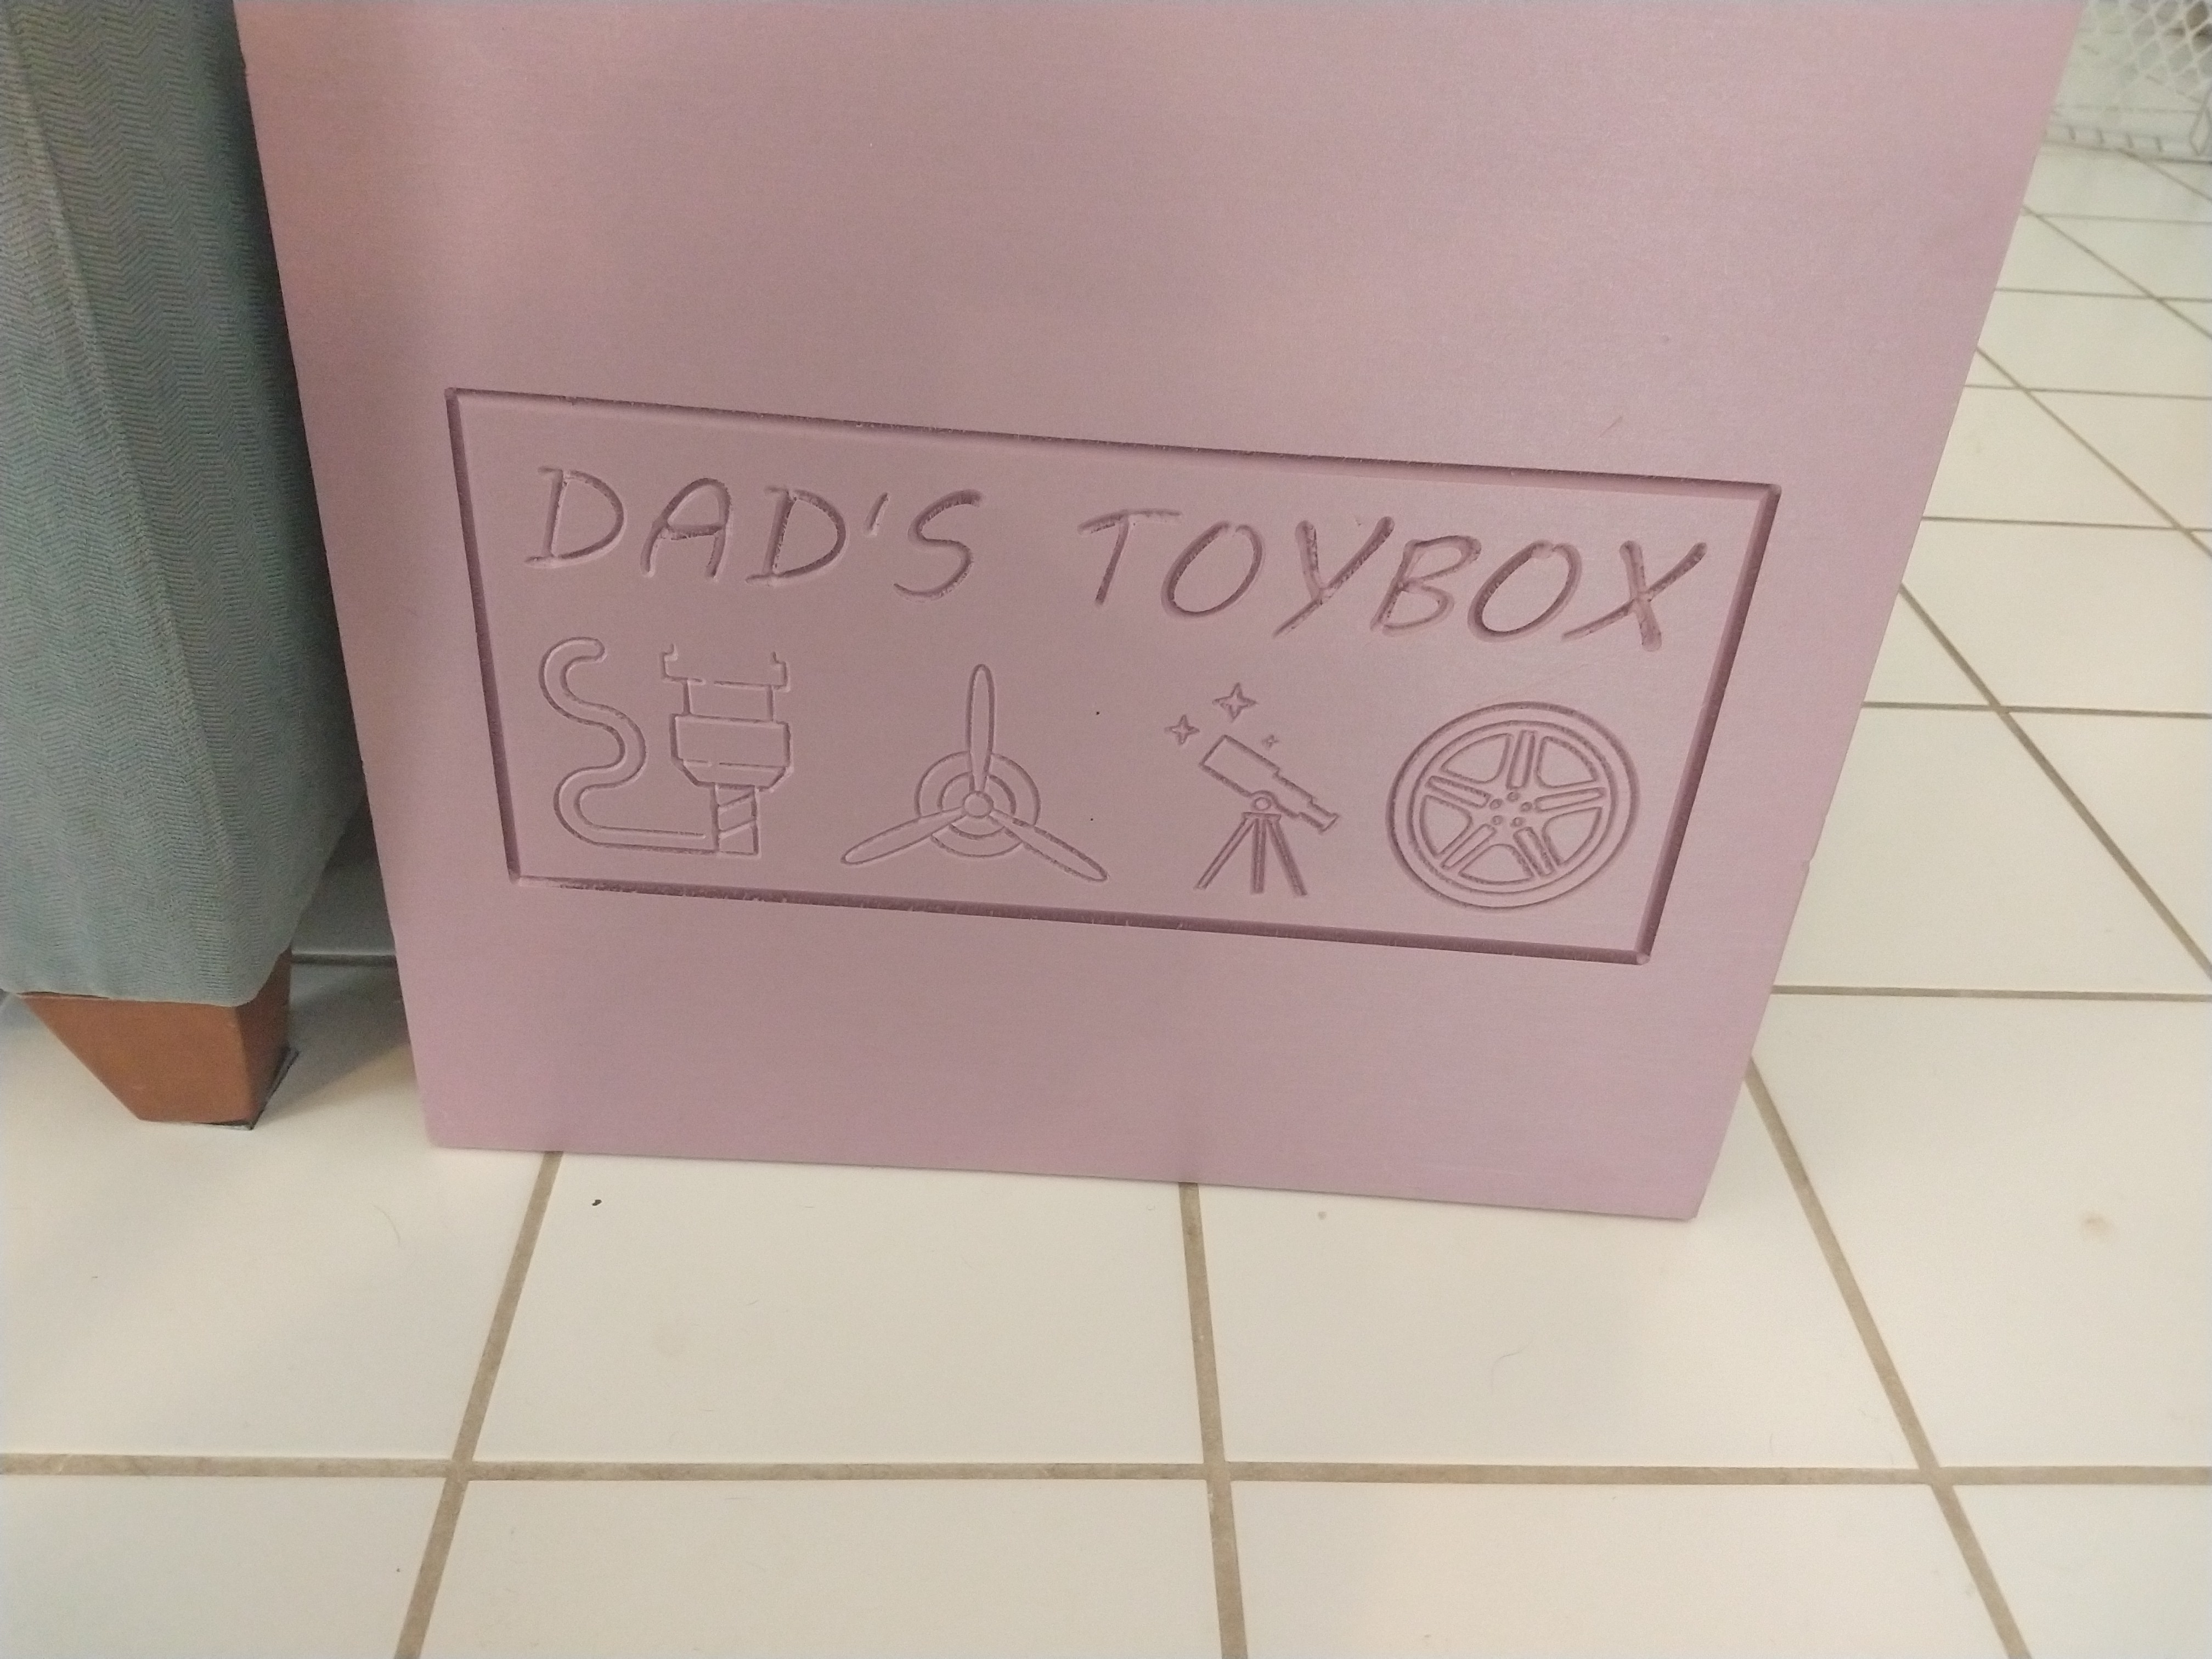
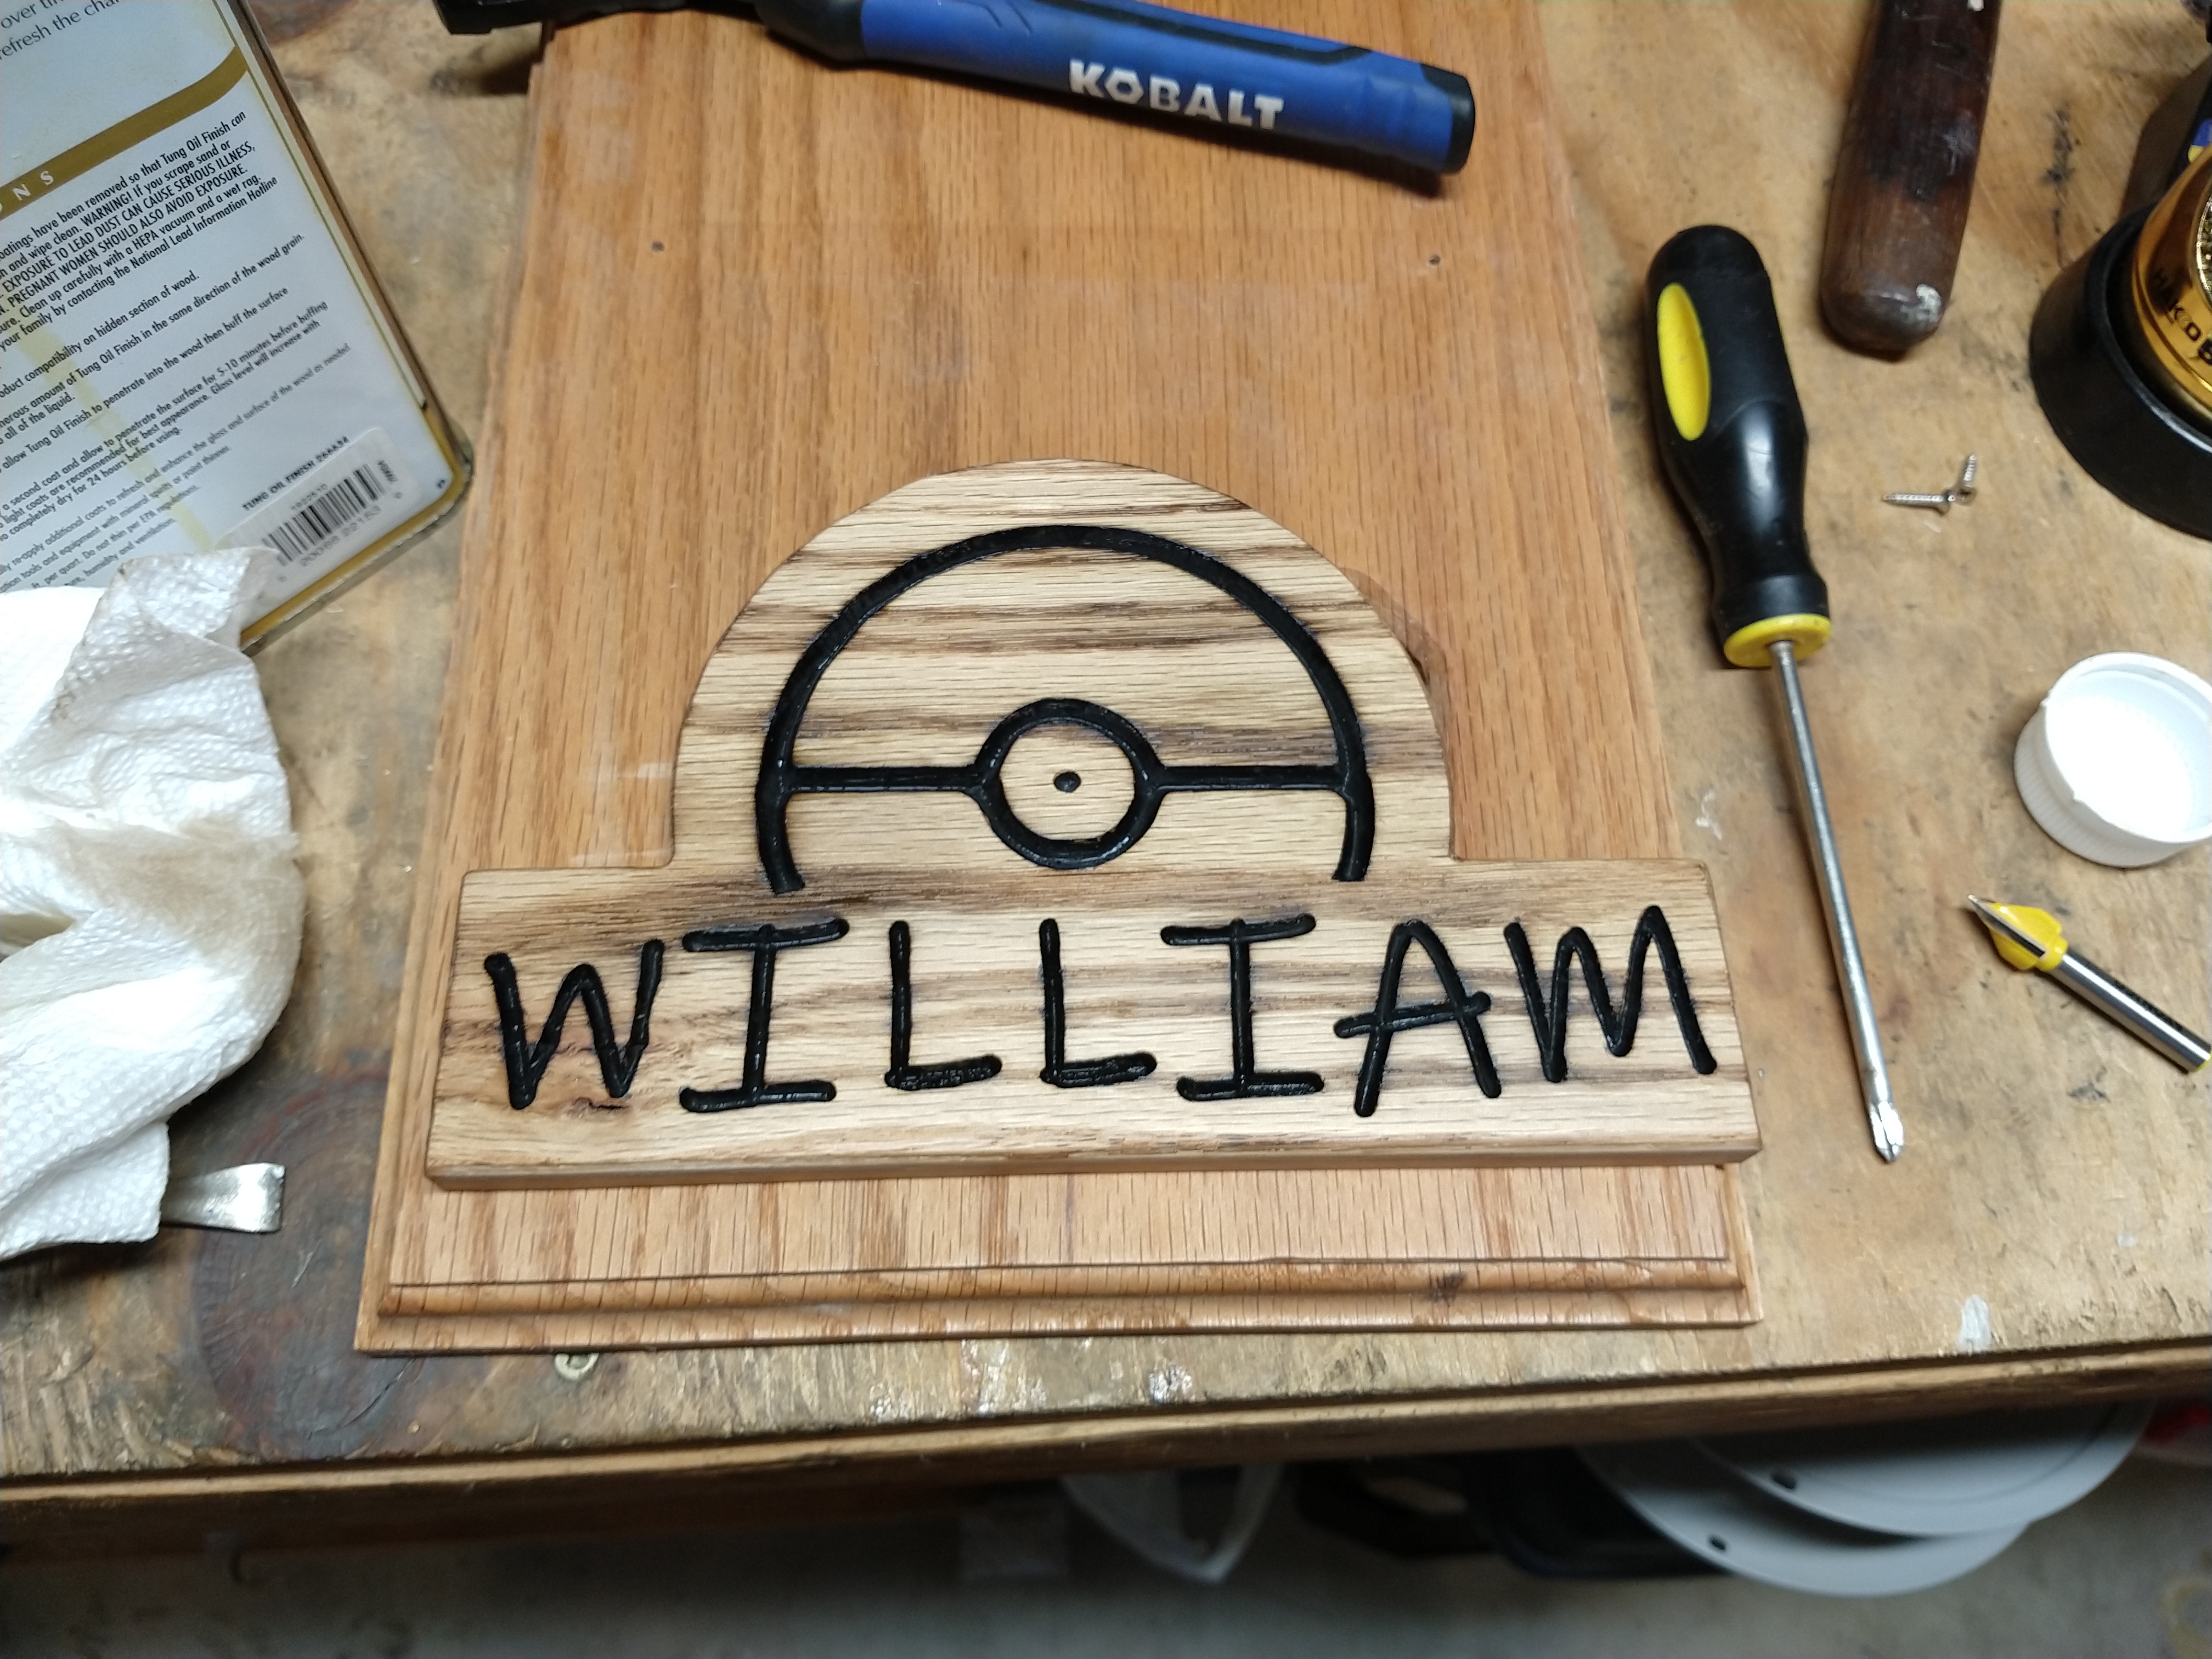
Decided to do some development on a smaller sign for my son. I tried it first in birch ply, which of course cut great but I had problems finishing. I had wanted to burn the engravings, then sand the top surface. Unfortunately I don’t have a fine enough torch to get into the engravings, and all the sanding on the burn ate the veneer.
I switched to oak, and had to really recalibrate my cut settings as my birch ply settings was causing the gantry to twist when using the vbit. I suspect my depth of cut was too high. Slowing down helped, but next time I need to reprocess the cam and add more passes.
For this I ended up doing paint in the engravings after a little bit of torch work just to bring out the grain. Finished with Tung oil.
Sign for a friend…this one made me a little bit of extra cash. This was carved in old scrap barn wood…very uneven surface. He wanted rustic though. Even had to go over a few letters and make them deeper. He didn’t want the board planed though…
V bits are still giving me some grief, and revealing weaknesses in my gantry. Found quite a few bearings not making contact, and have been tightening them up as I find them. Hoping that is just break in period. V bits just seem to exert tremendous tool pressure in my short experience so far. I’m at a 1mm stepdown on carving and next time will be cutting that in half.
The ends were done with a 1/4 end mill. I have good luck so far with end mills, except when I accidentally program a .025 finish pass over a full 1" LOC…that was gnarly when it it the interior corners…
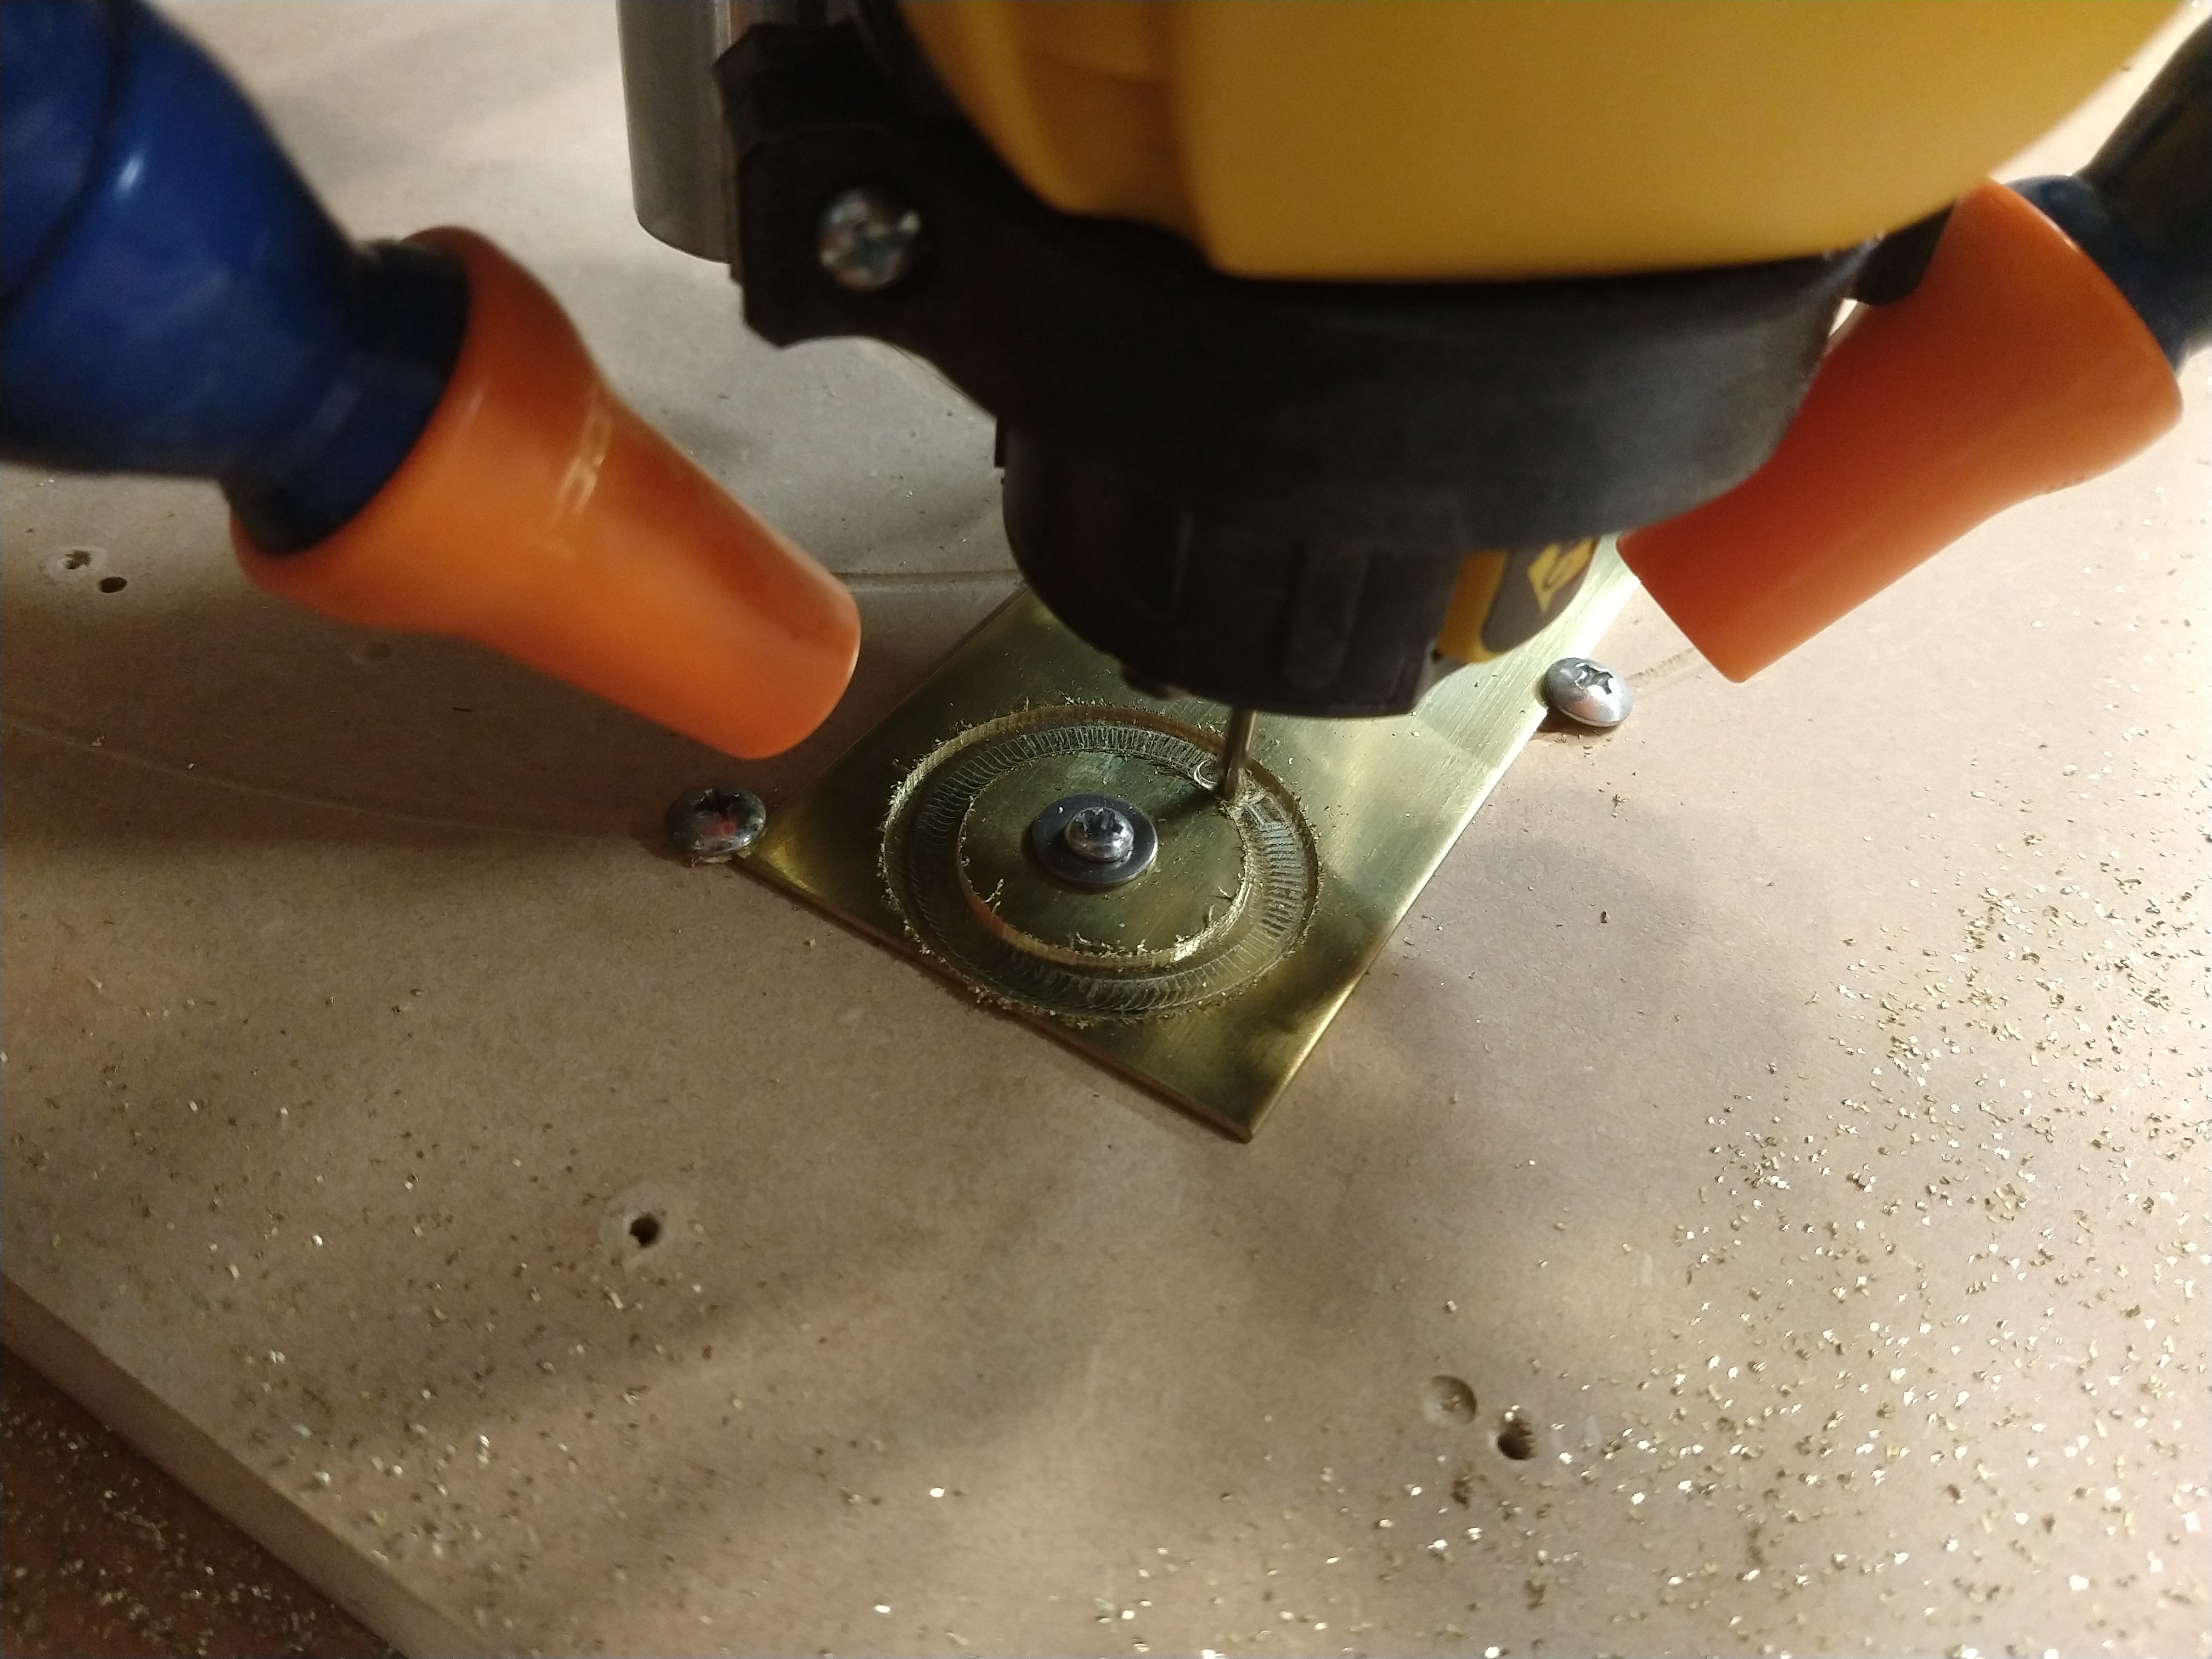
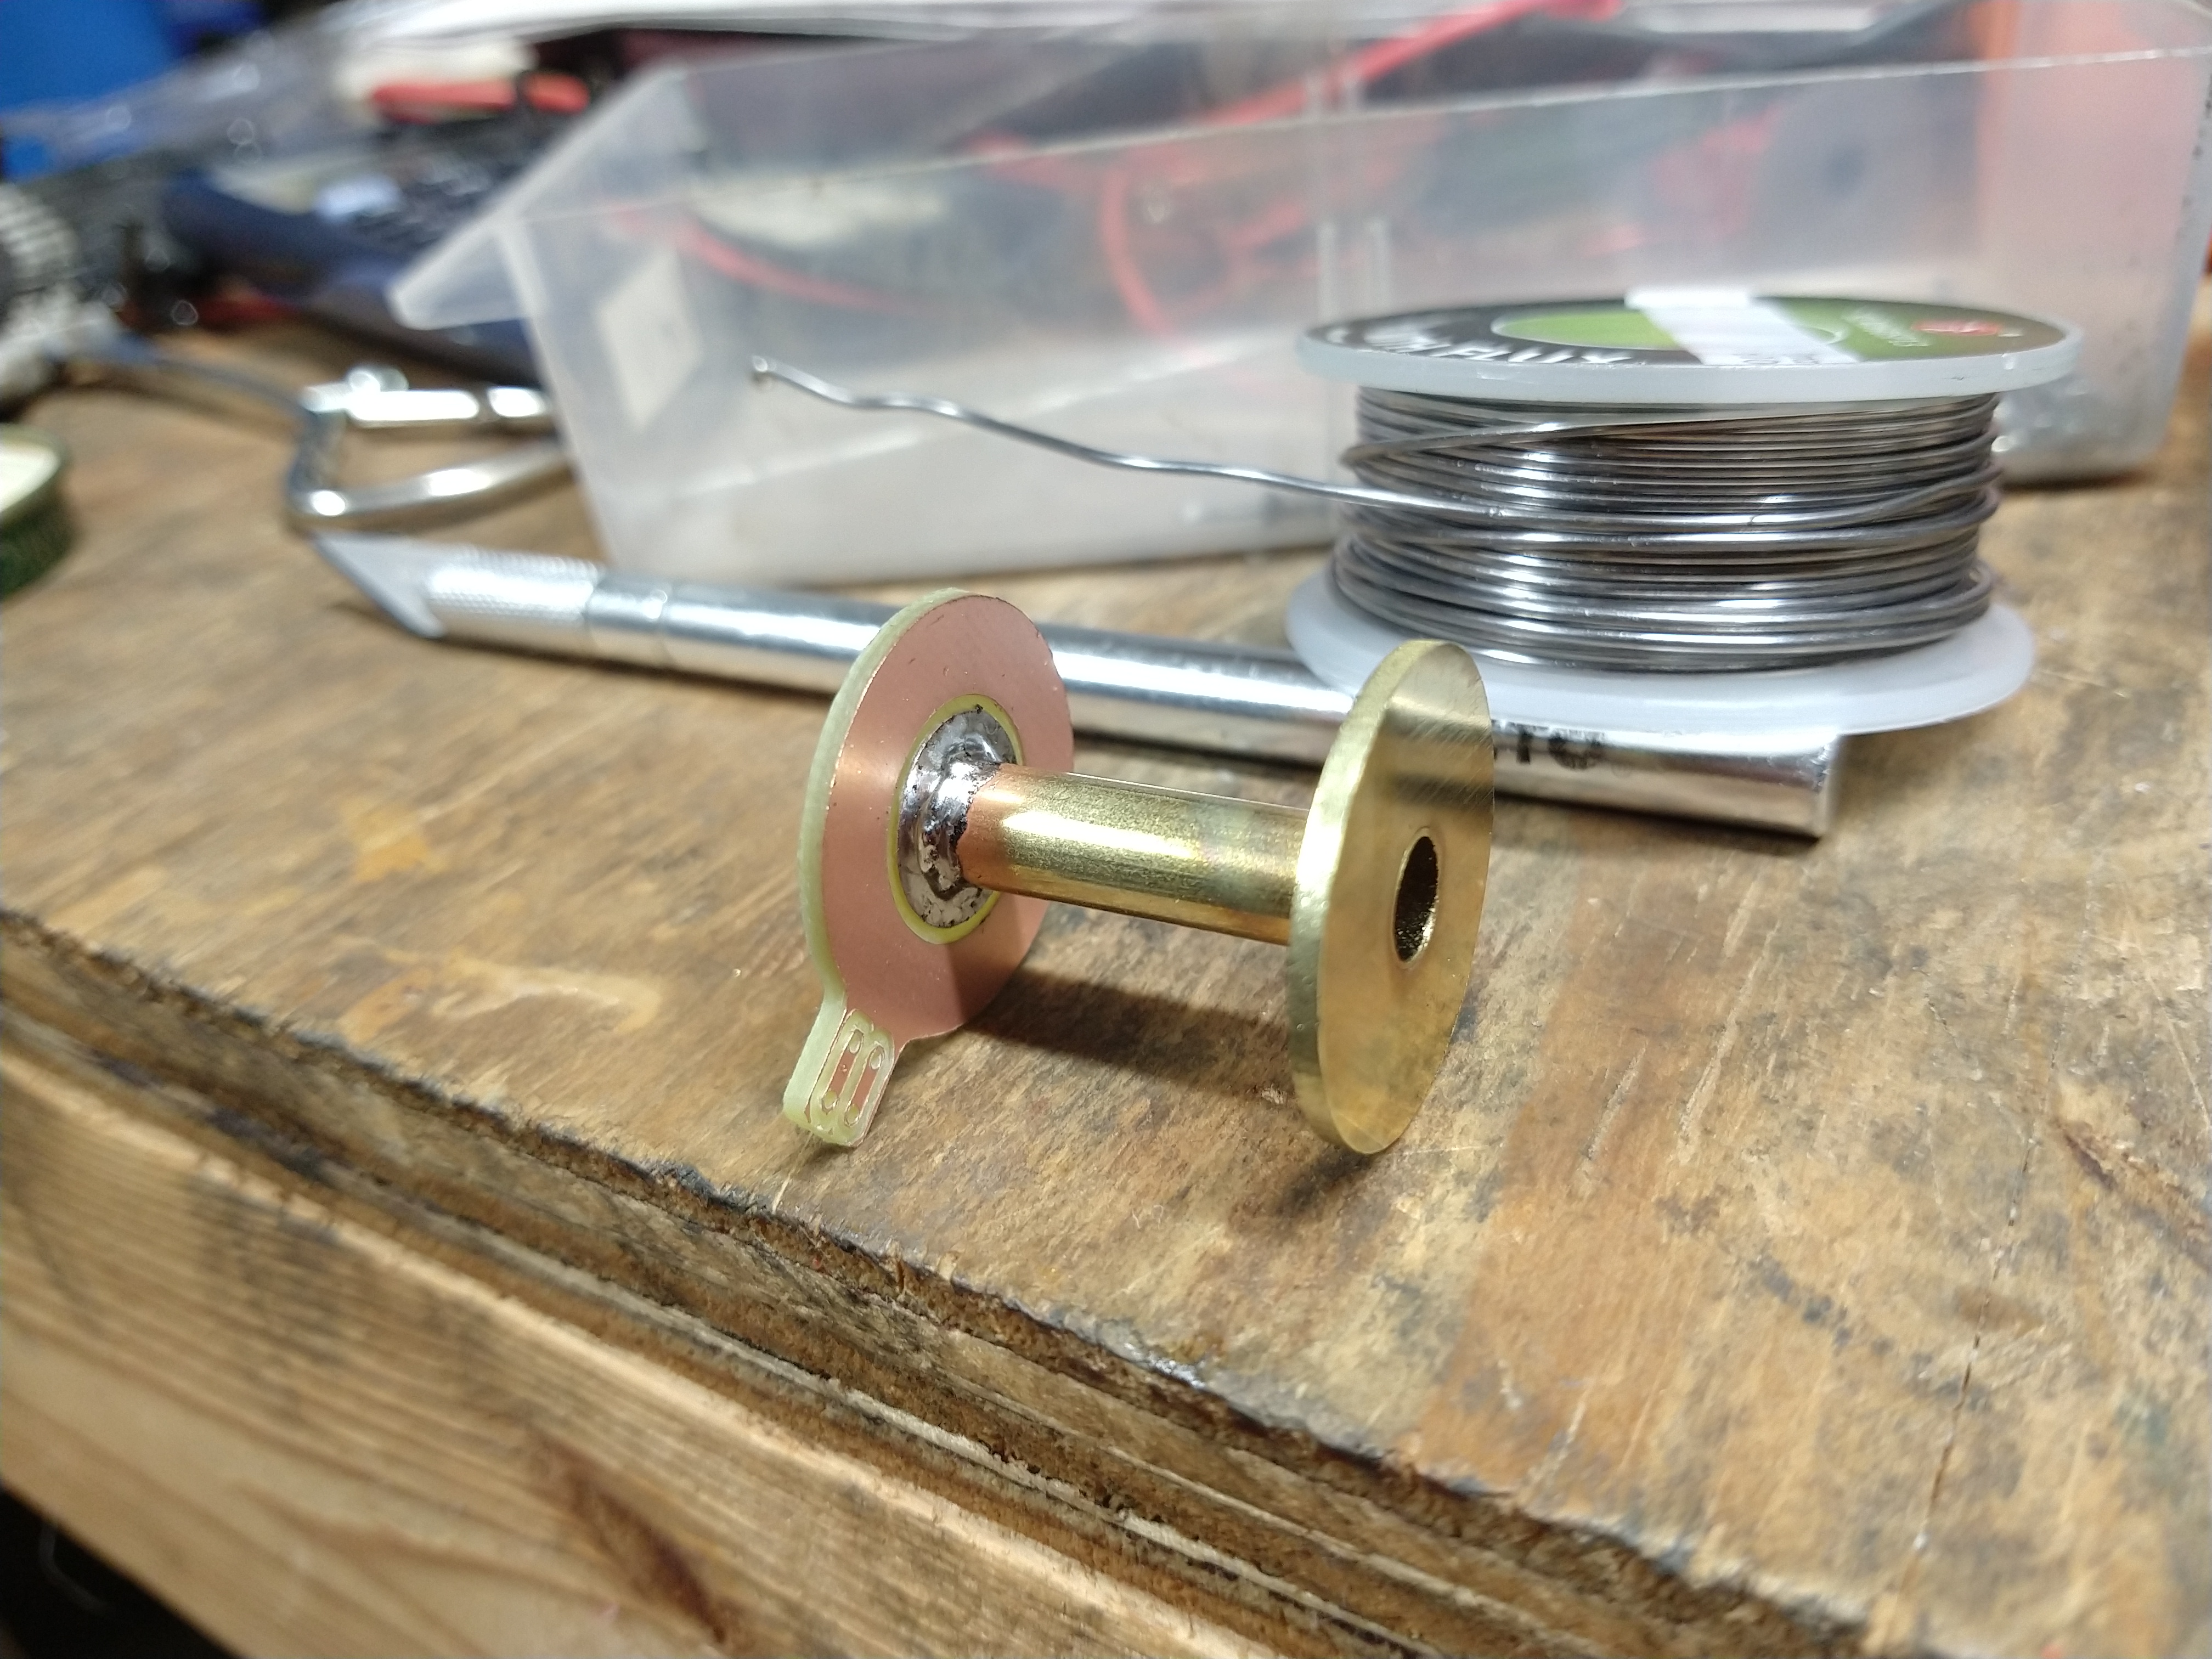
1/16" thick brass sheet. Used 1/8" mill and took it pretty slow. 4mm/s, adaptive, with a 5% diameter finish pass, and .4mm depth of cut. I’m pretty sure I can work a little faster from this point, as my chips were more like dust. I don’t think I was really getting into the cut. Still, my OD was within .001 of what was called for, so I’m happy!
This was joined by solder to a thin wall brass tube and a single sided copper clad pcb which I milled ony derelict 3d printer fitted with a Dremel. This is a coil bobbin for a solenoid
I like the sign a lot. The rustic effect looks great to me.
I did a double take at the name…There is a guest ranch in my neck of the woods called the Wit’s End Ranch.
Other’s with MPCNC’s may know better, but I think it should be able to do more than a 1mm step down. I’ve (unintentionally) done a 12mm deep 60* V-carve in one go on my lowrider, and it turned out fine.
The sign is for my buddy’s hunting cabin. His name is Whit.
I don’t know what it is with v carving. My whole gantry likes to “climb” the material then drop back in resulting in a jagged edge. Maybe my bit is garbage.
Mind you, this seems to happen in hard woods like oak and whatever this sign was. In plywood I was able to plow right through.
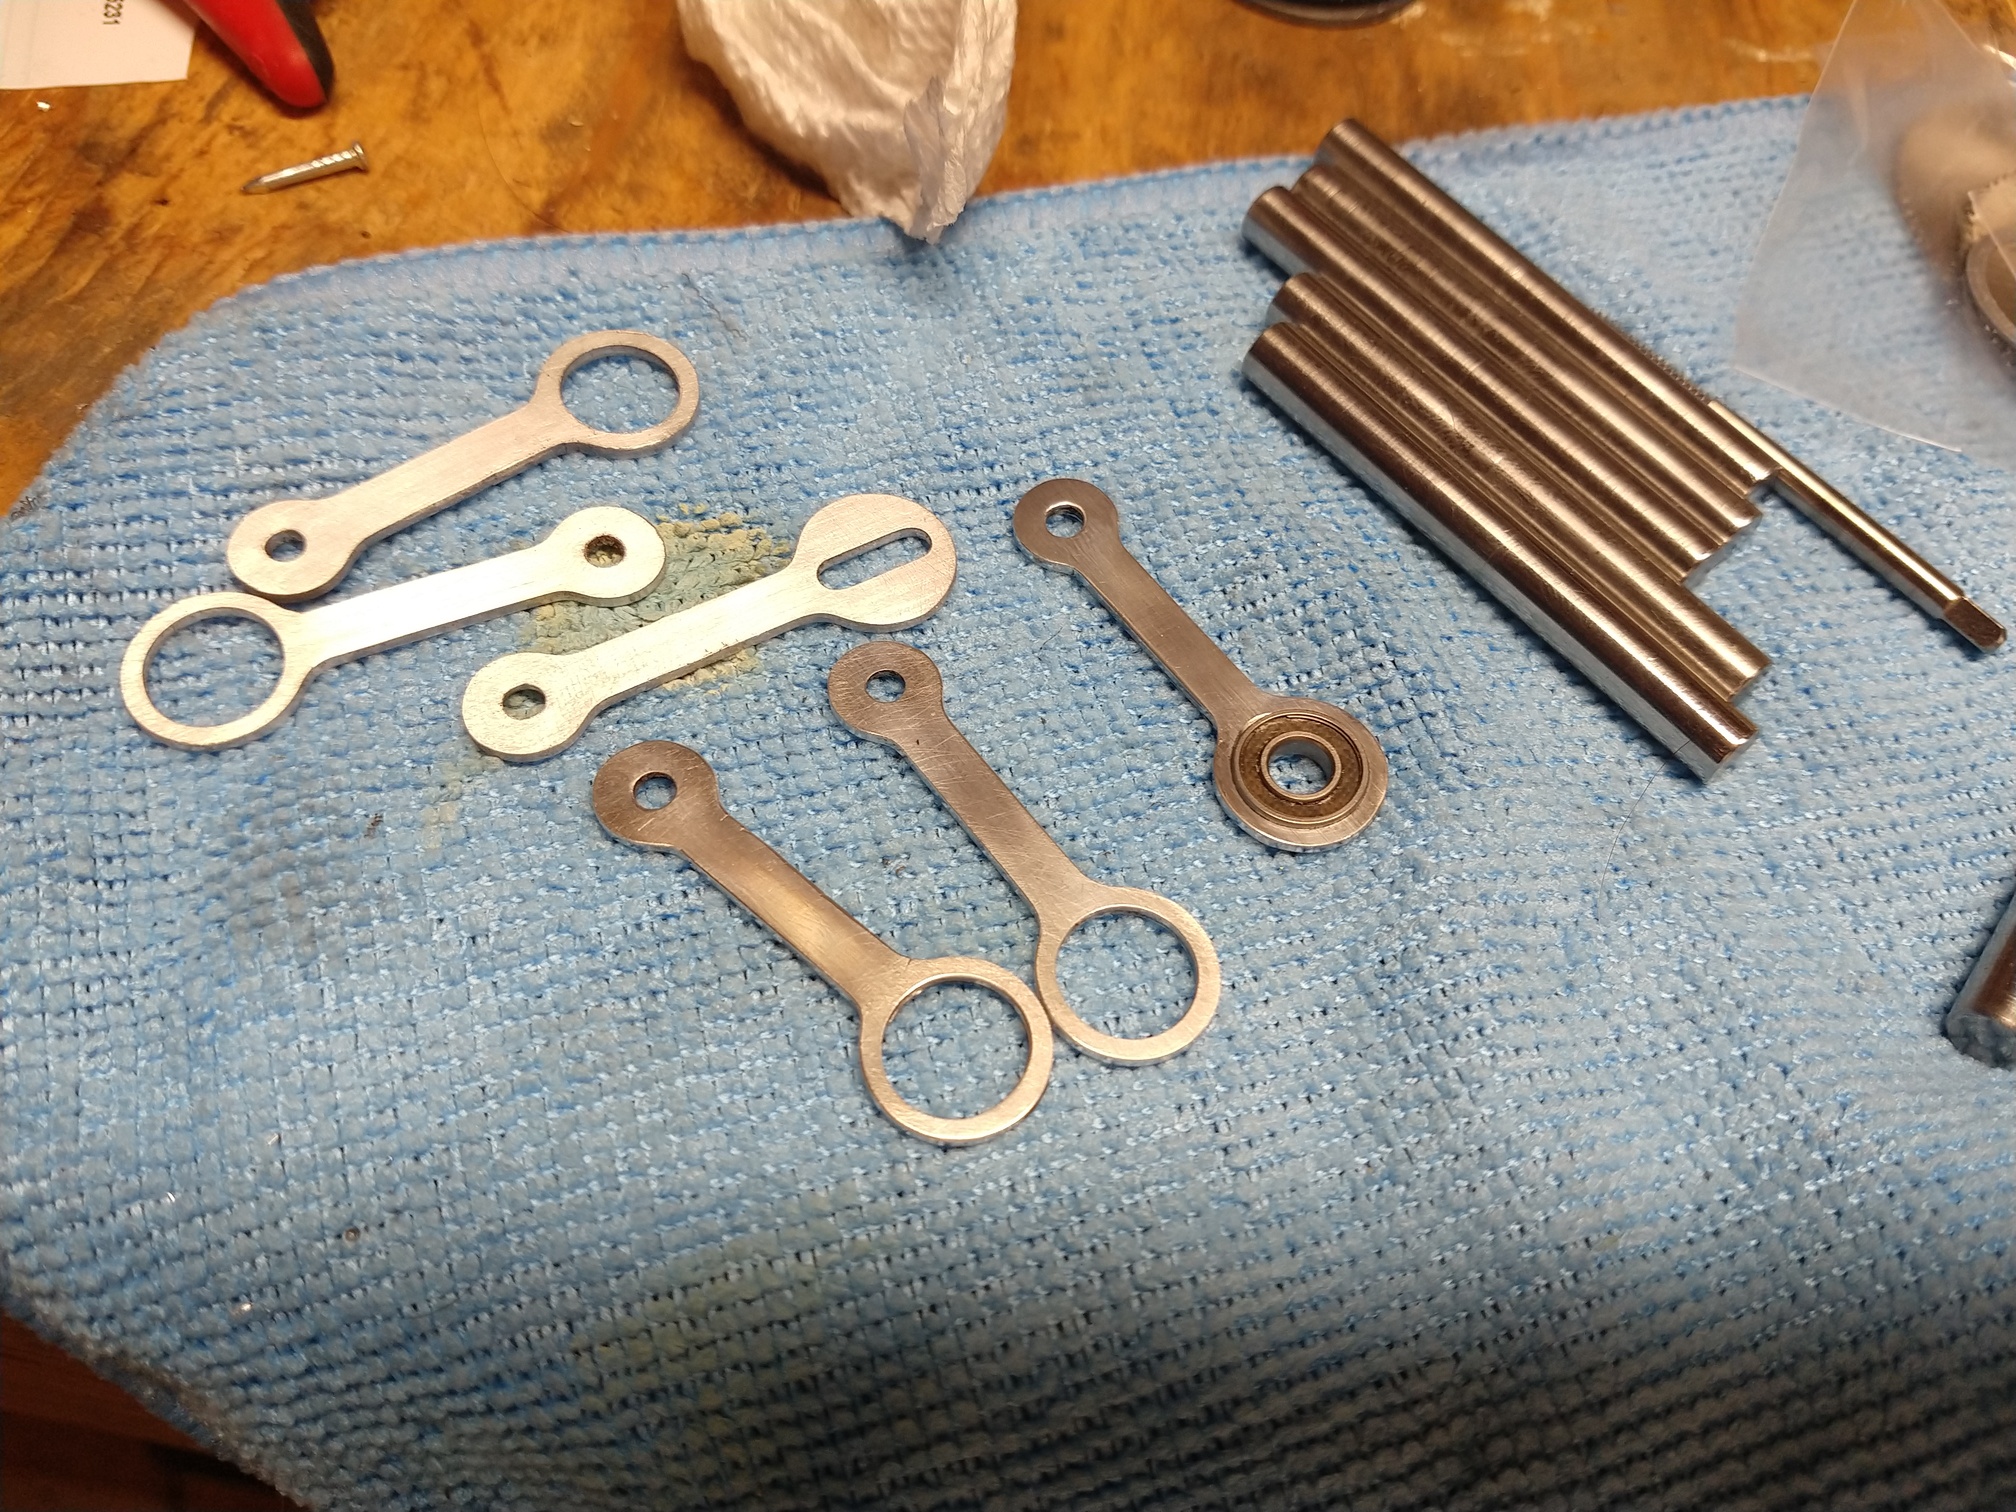
Aluminum connecting rods for a solenoid driven model 6-cylinder radial engine. This was a shit eating experience I hope to never repeat. I don’t know if it was the gummy alloy, machine, material size, all of the above…
I’ll be interested to try another alloy…but I have 4 more parts for this project to make from the crappy hardware store aluminum, only thicker stuff. I’m hoping it dissipates the heat better, and I’m gonna try a larger tool. If that doesnt help i may have to spring for the good stuff and wait for shipping.
Cool project! I hope you share the results, I’d like to see that. Radials are just cool. Is there a solenoid per “cylinder”? I guess each solenoid “fires” every revolution?
The radial engines I’m familiar with (Pratt&Whitney R985 mostly) have an odd number of cylinders. Firing order would be 1,3,5,7,9,2,4,6,8…That provides for an exhaust stroke on the odd numbered cylinders, while the even ones are firing and vice versa.
I have always loved the look, sound, and mechanical savagery of the old aircraft radials. I saw this project done a few times on the web and I knew I had to try it. I was originally planning on machining everything manually, but that was before I found and built the MPCNC.
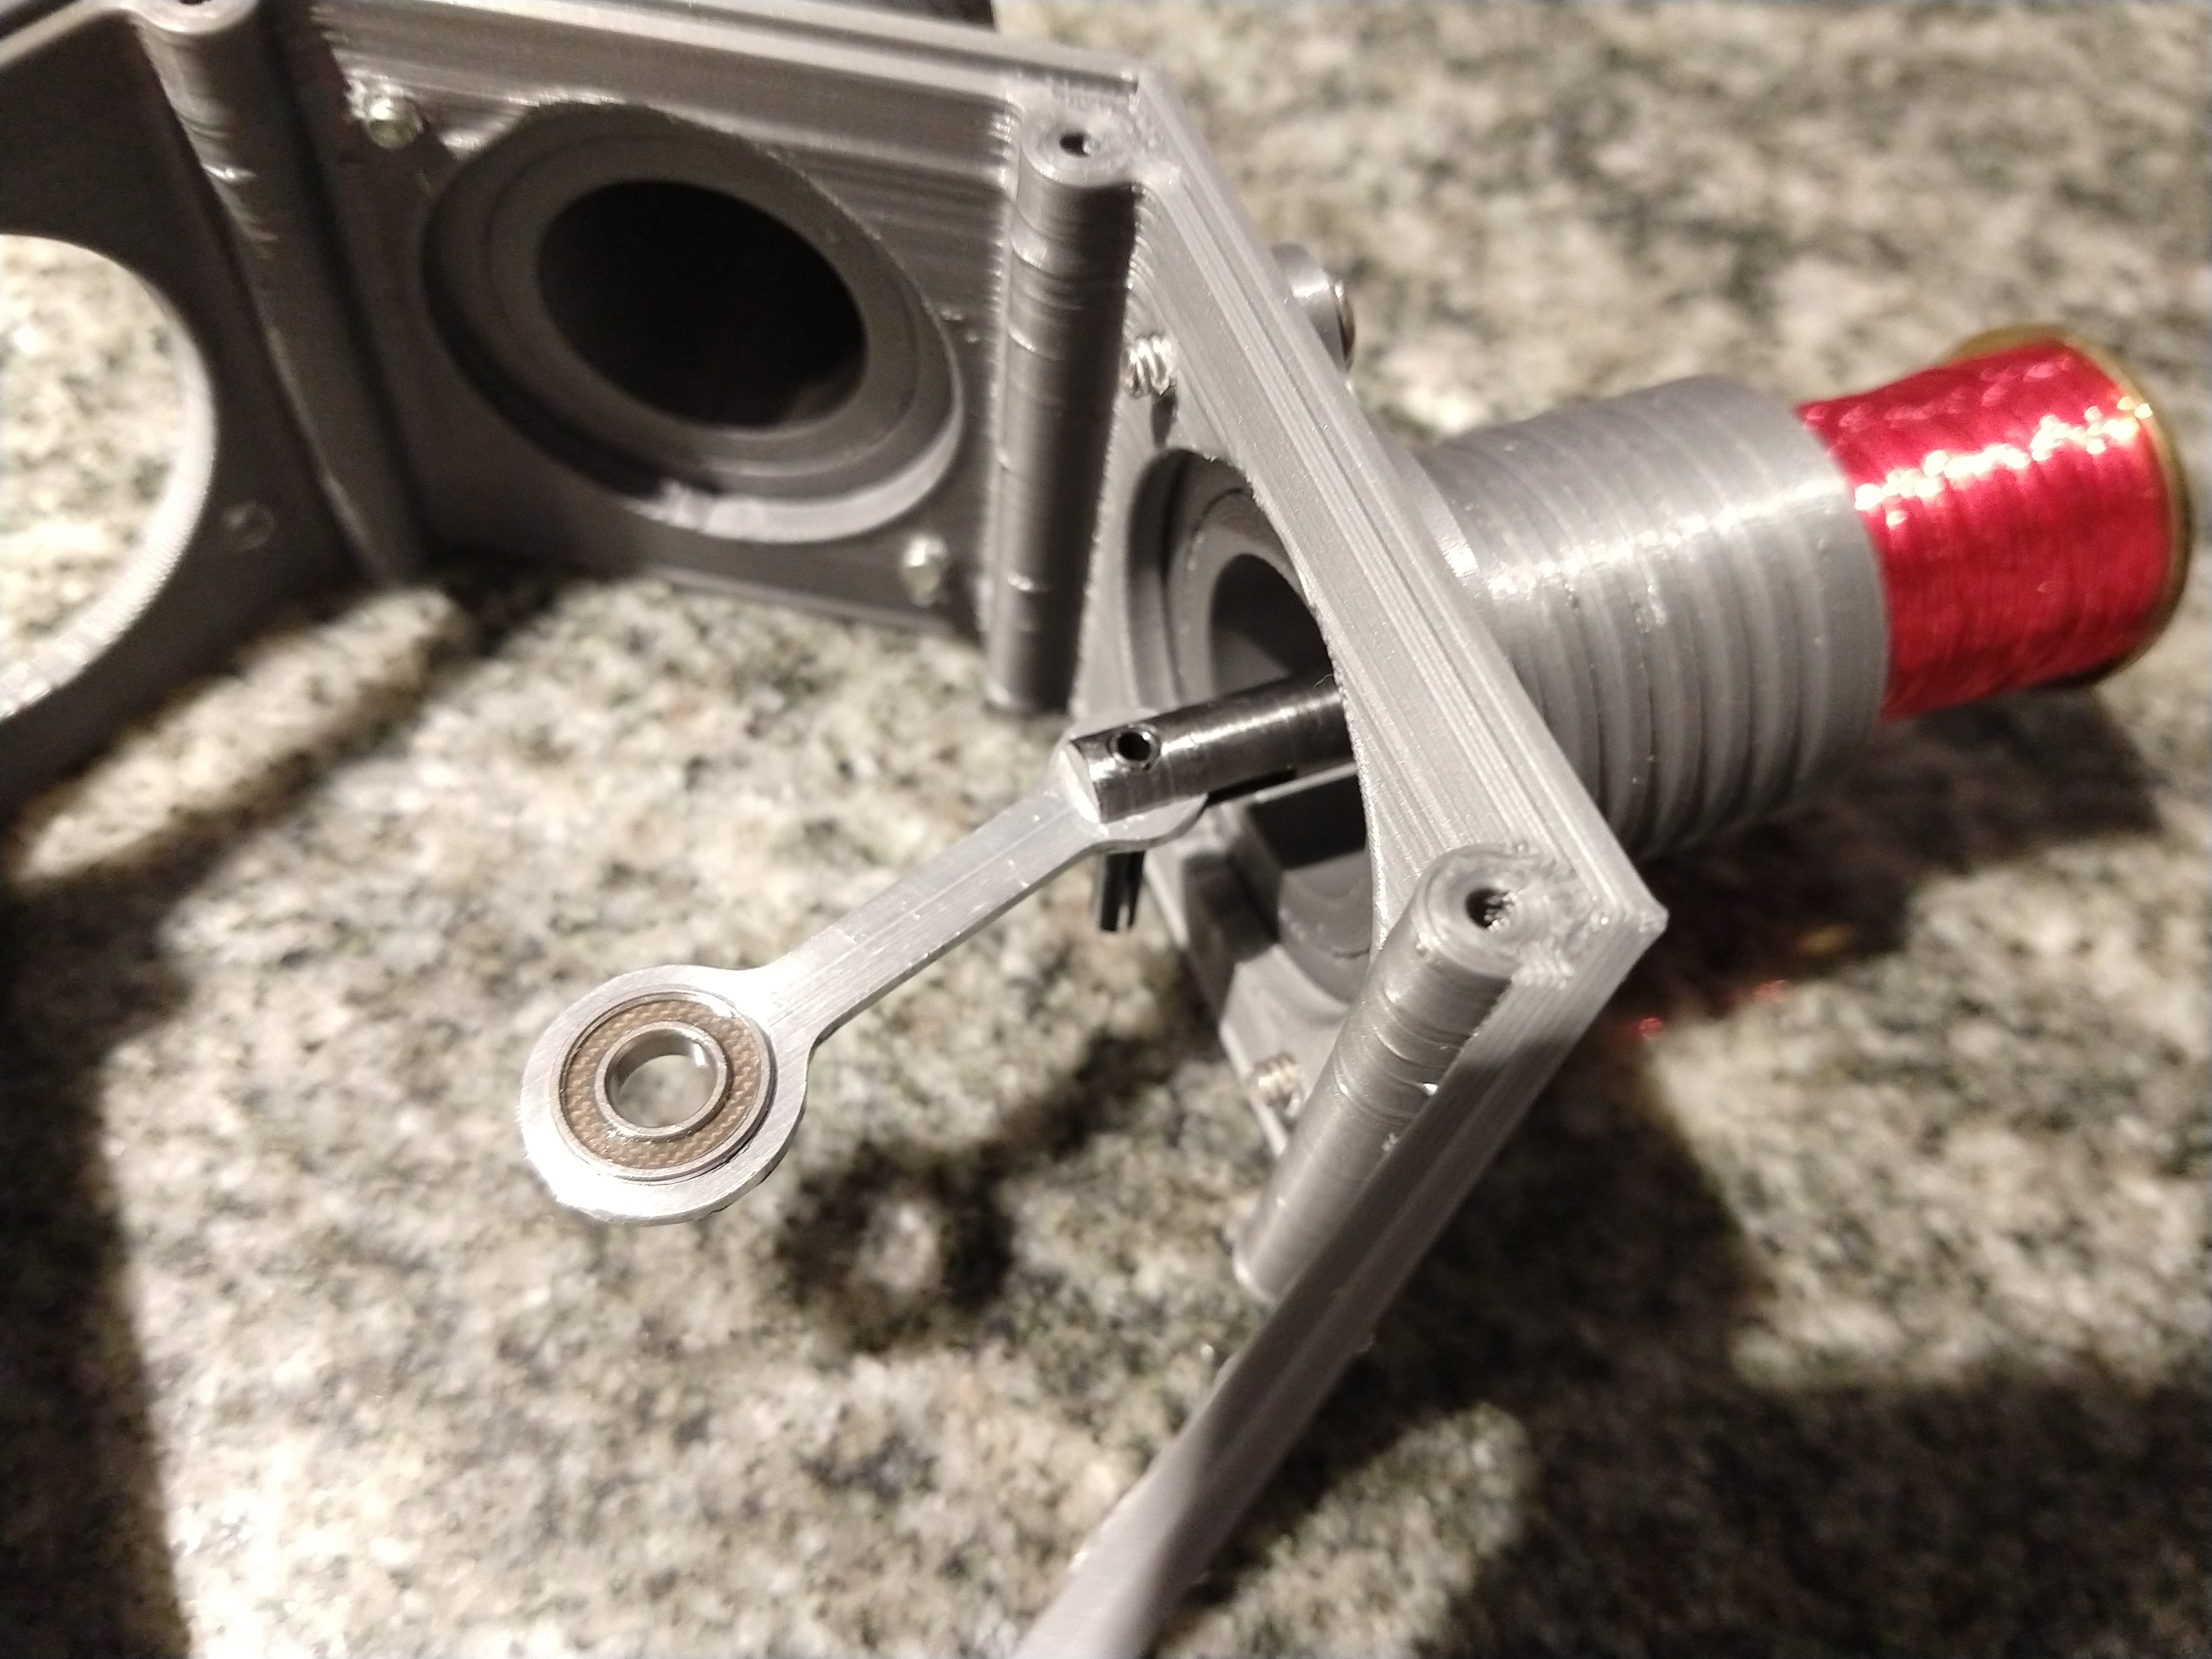
Yes, one solenoid per cylinder, firing once per revolution. This is why I can have an even number because I dont need to worry about pesky exhaust strokes.
I have my solenoids done and wound. The pistons are turned but need cross drills and slots. I am using a 3D printed housing for now so I can mock it up and work on the “ignition” timing. Next is the crankplates, crank shaft, countershaft, and counter weights. Im planning on making these on the MPCNC too, but the rods kicked my ass so bad im a bit intimidated. If I could find brass locally I may switch to brass since it machines a hell of a lot better on my machine than the aluminum.