Ok, I know this is like 1.5 months late, however, it’s been a heck of a month and a half, here’s a quick recap. Shortly after that last post was my birthday so I didn’t do anything productive all weekend (it’s a tradition). The following weekend I went to an urgent care clinic with a 102.5 fever (temperature 1 hour after taking Tylenol) and was diagnosed with the flu. Spent a few days trying to rest and work (I’ve been a work at home person for 12 years so this is old hat for me). The following weekend was an on-call weekend and my wife was sick with the flu (and our little guy was feeling the effects but was not nearly as bad as either of us) so I spent more time dealing with a child. Add in a few late nights with deployments, and another week of on-call and we are at the end of last week where I decided to re-read teh diagnosis for my flu, which actually states “Influenza due to UNidentified influenza virus with other respiratory manifestations” which sounds like maybe something else. Currently trying to get a hold of my Doctor to get a prescription to get an antibody test to see if I am now immune to Covid-19 or if I still need to worry. Anyway, that brings us to tonight.
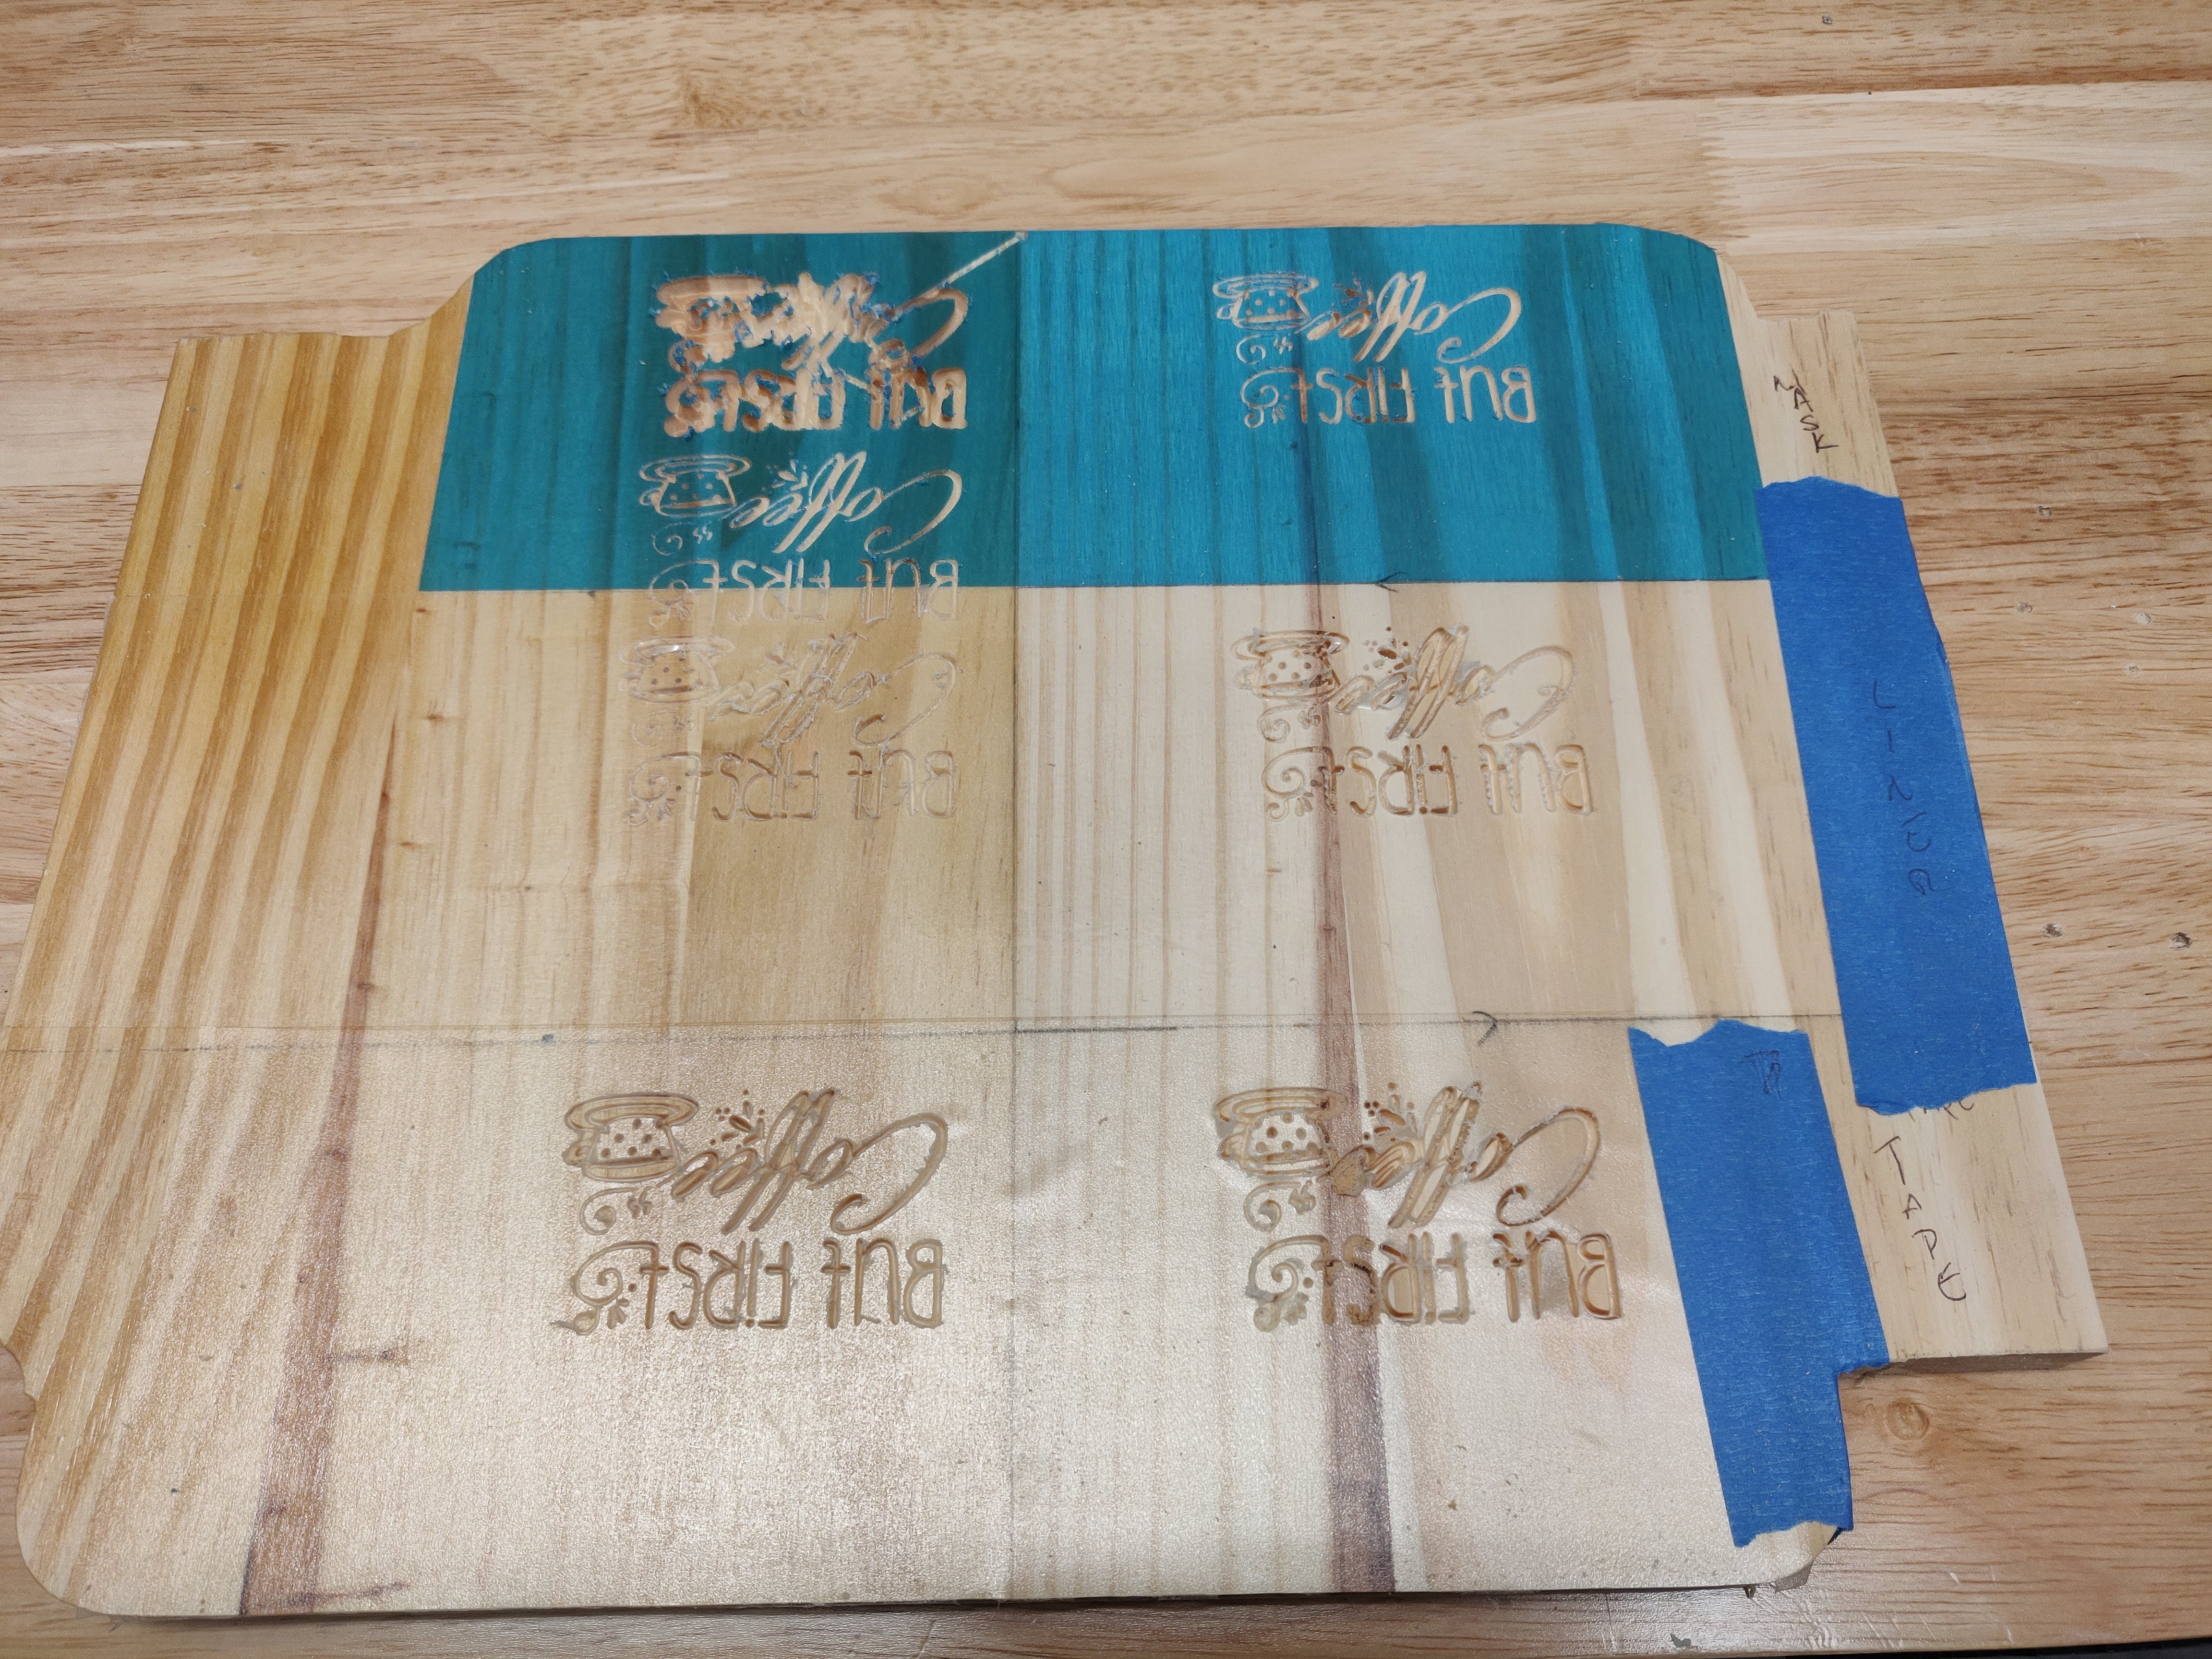
So last time I posted I went on Amazon and ordered (or tried to) Oracal 831. Turns out I wasn’t paying attention and instead got some other brand of mask which was not any cheaper but that’s what I got. so I took a piece of pine and split it in 3. On 1/2 I applied shellac and the other 1/2 is untreated wood (cleaned with a damp cloth to get as much dust as possible off):
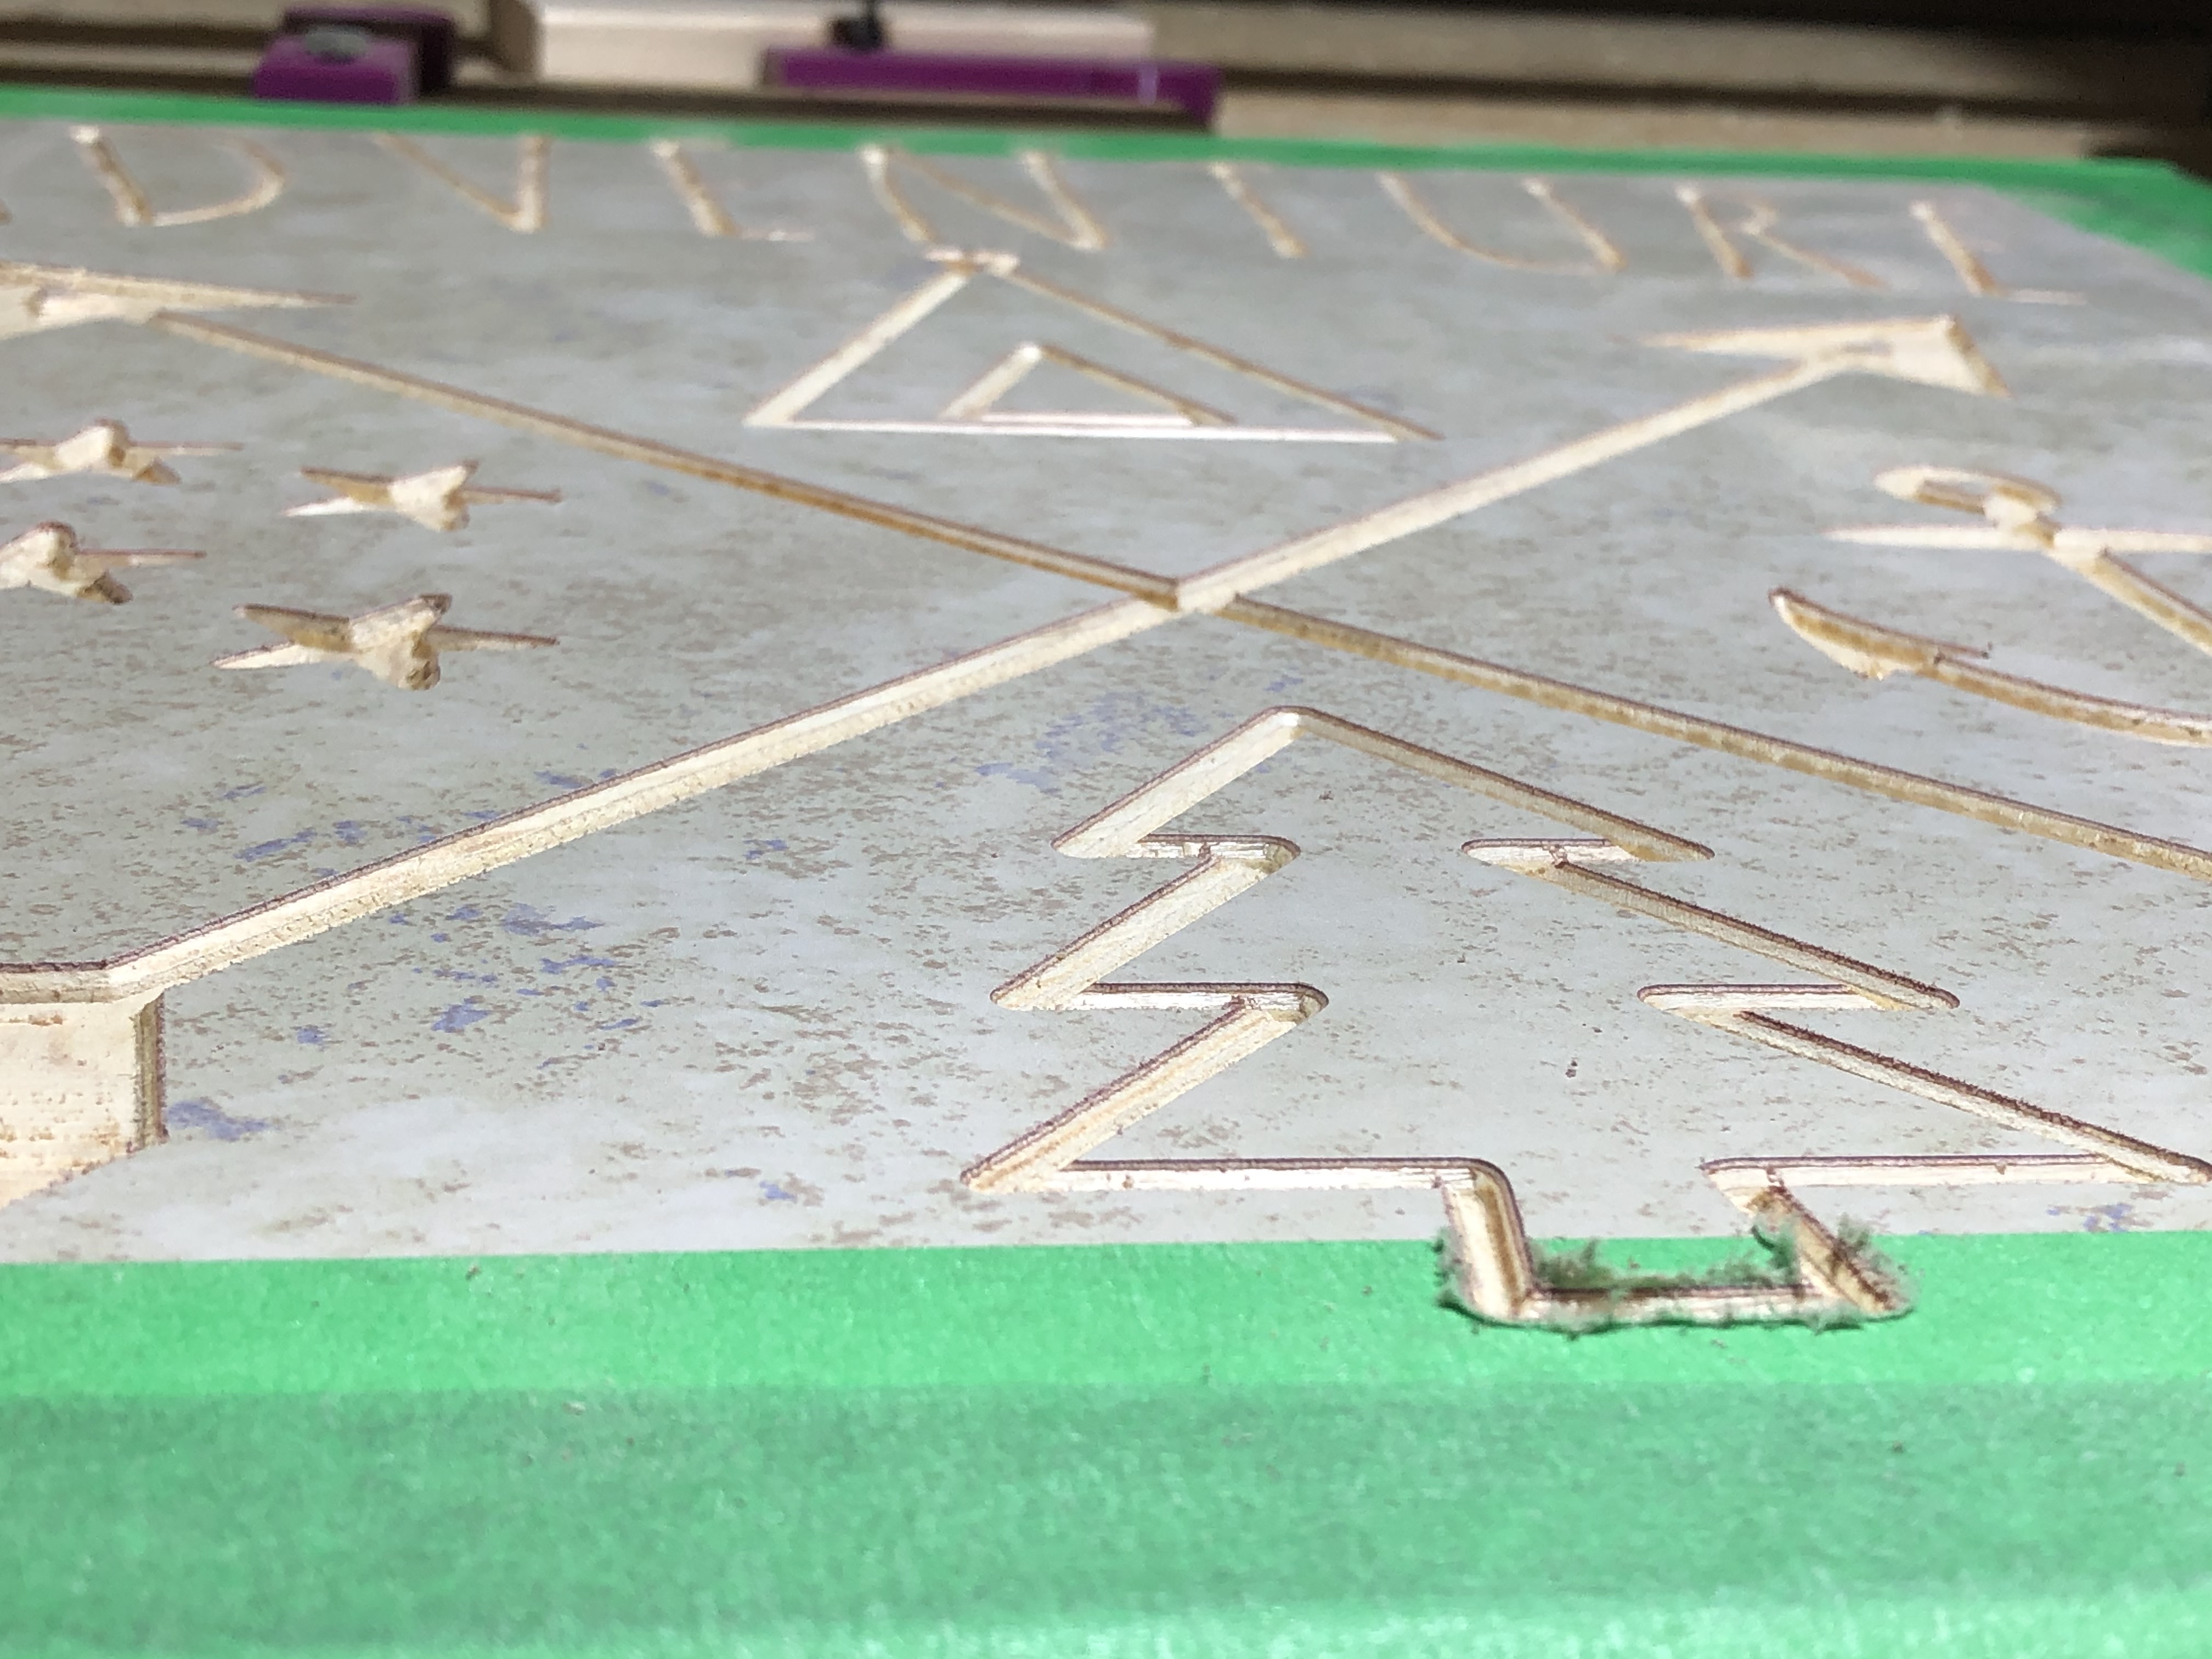
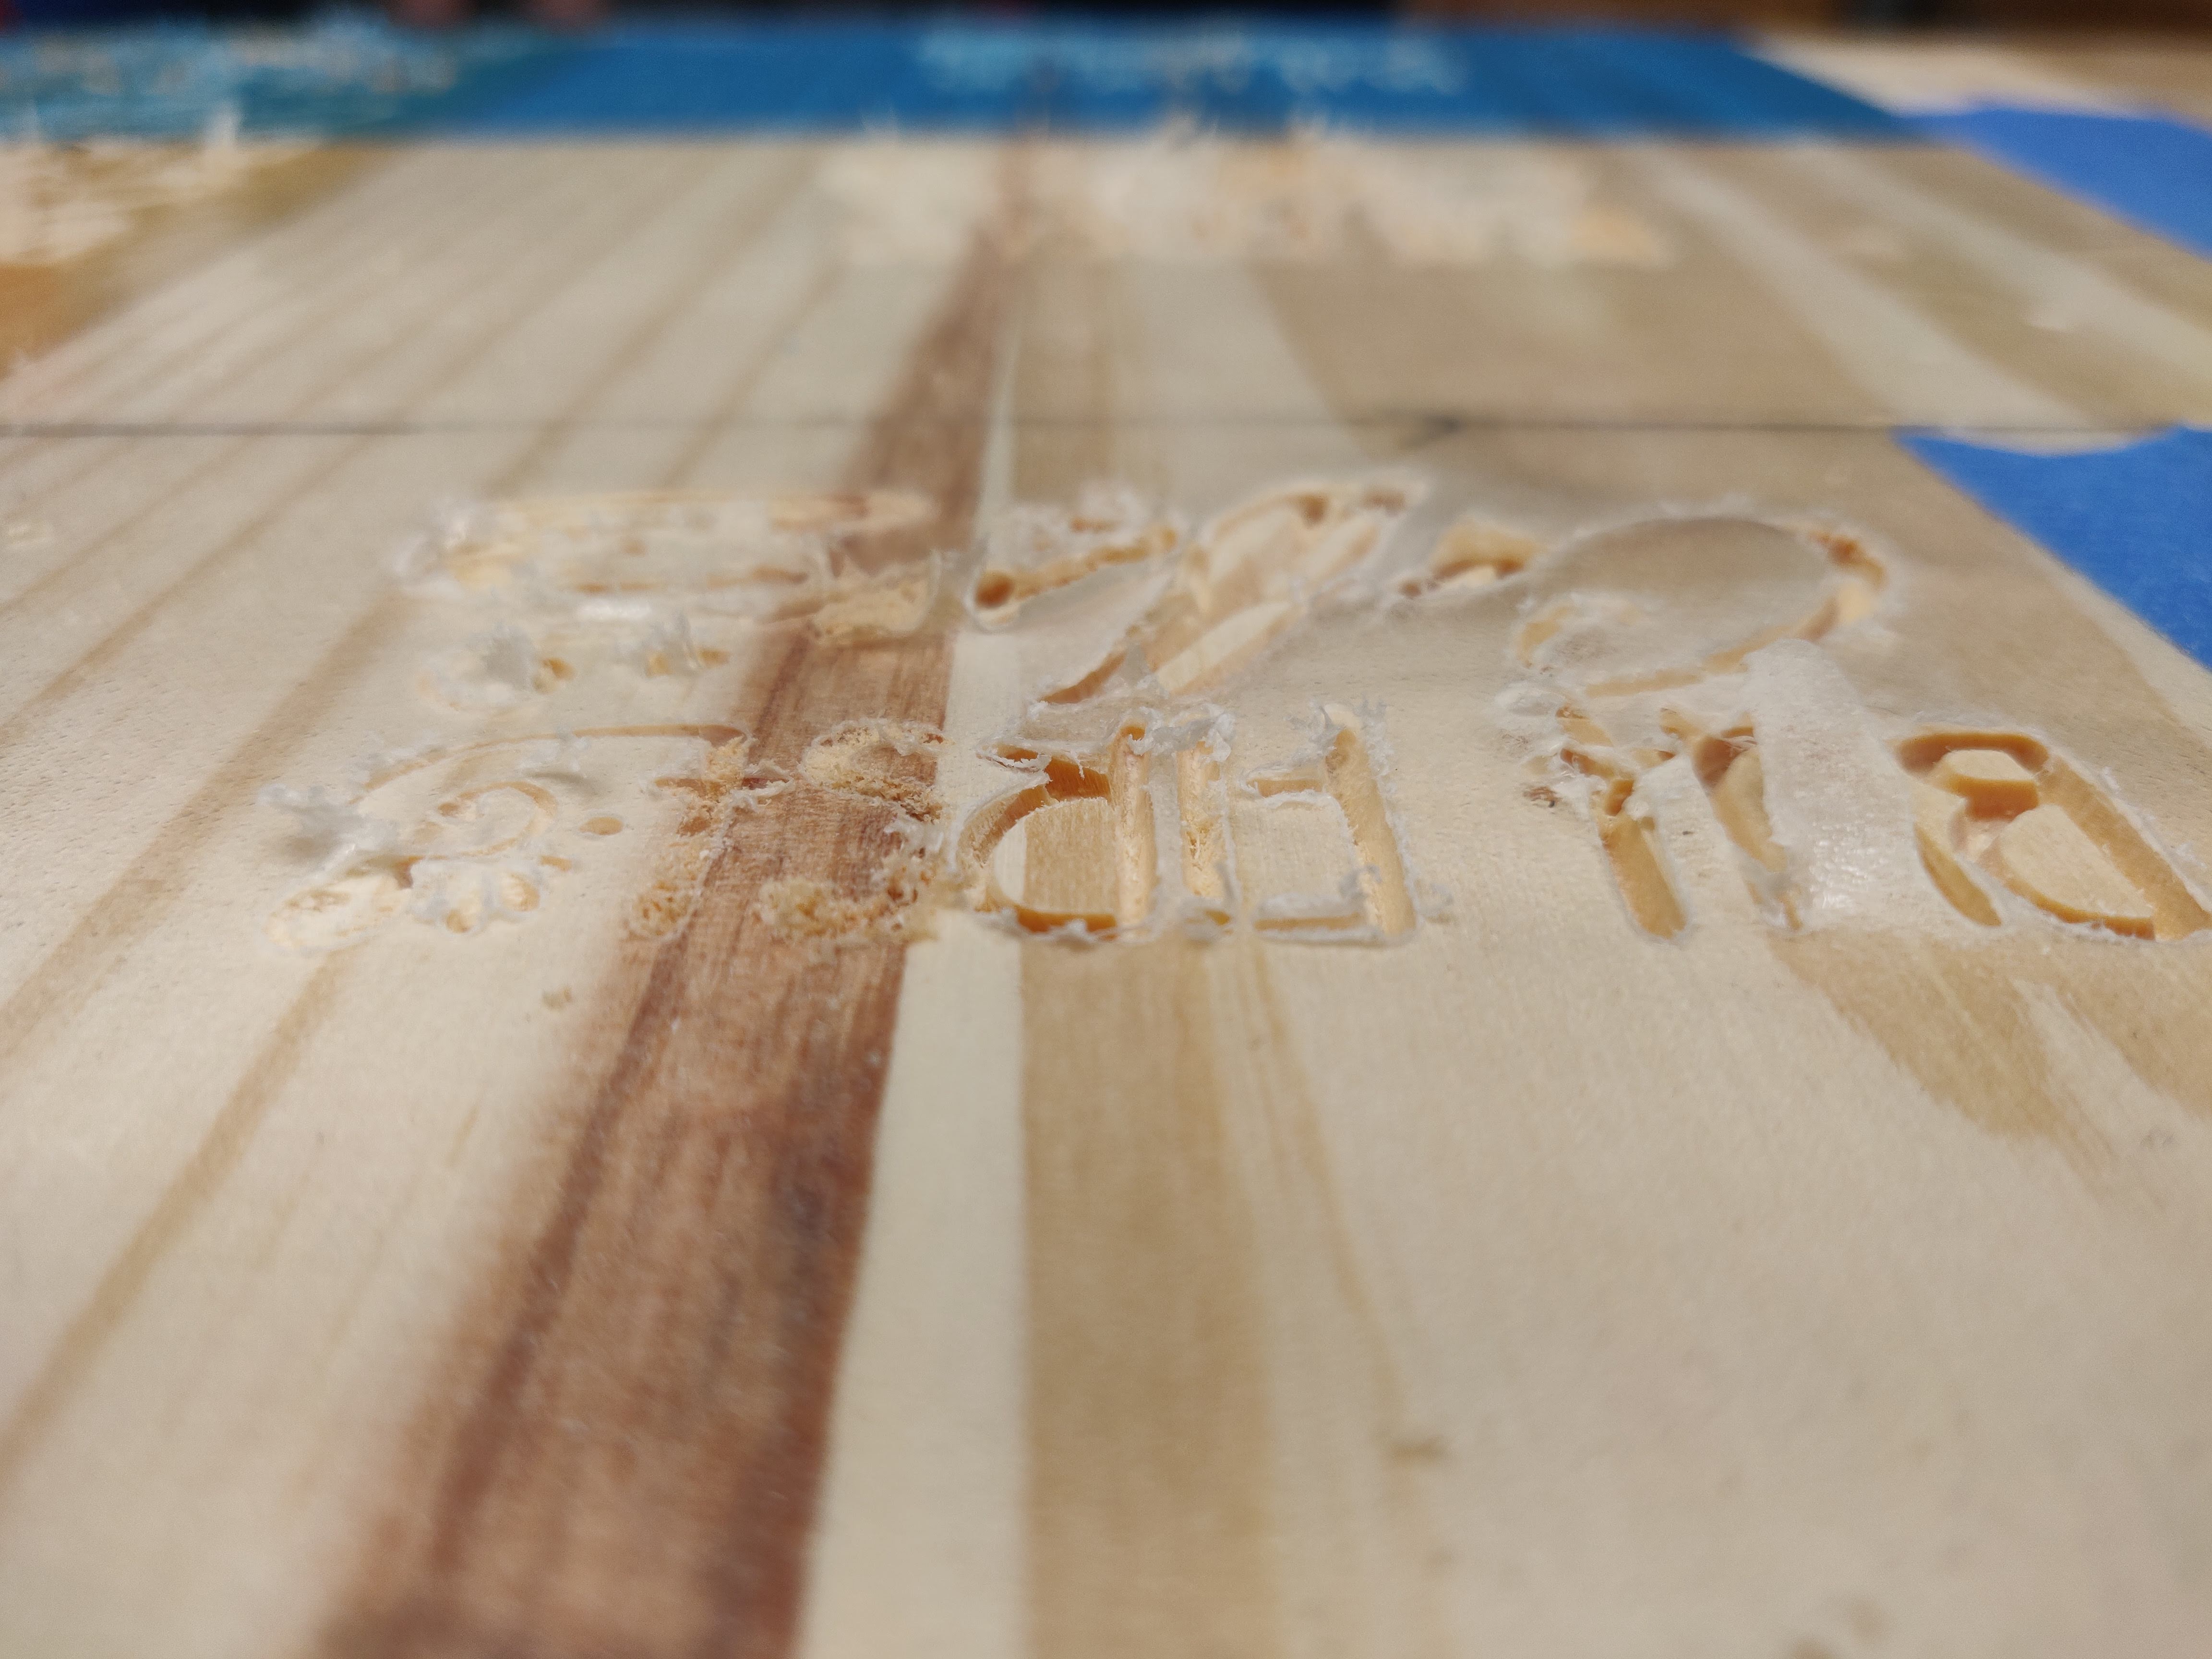
2 days ago I had some time and took the an SVG I’ve etched previously and carved it a few times. You’ll see at one point my z was way lower than it should have been. This happened because I set my Z, zeroed everythign out, went to my CNCjs and connected, only to find that I was already connected and what I actually did was DIS-connect. This caused the router to drop just a bit into the work piece (wiht a very sharp 45degree V-Bit) and it started lower than it should have. You can see the chewed out carving in teh picture below:
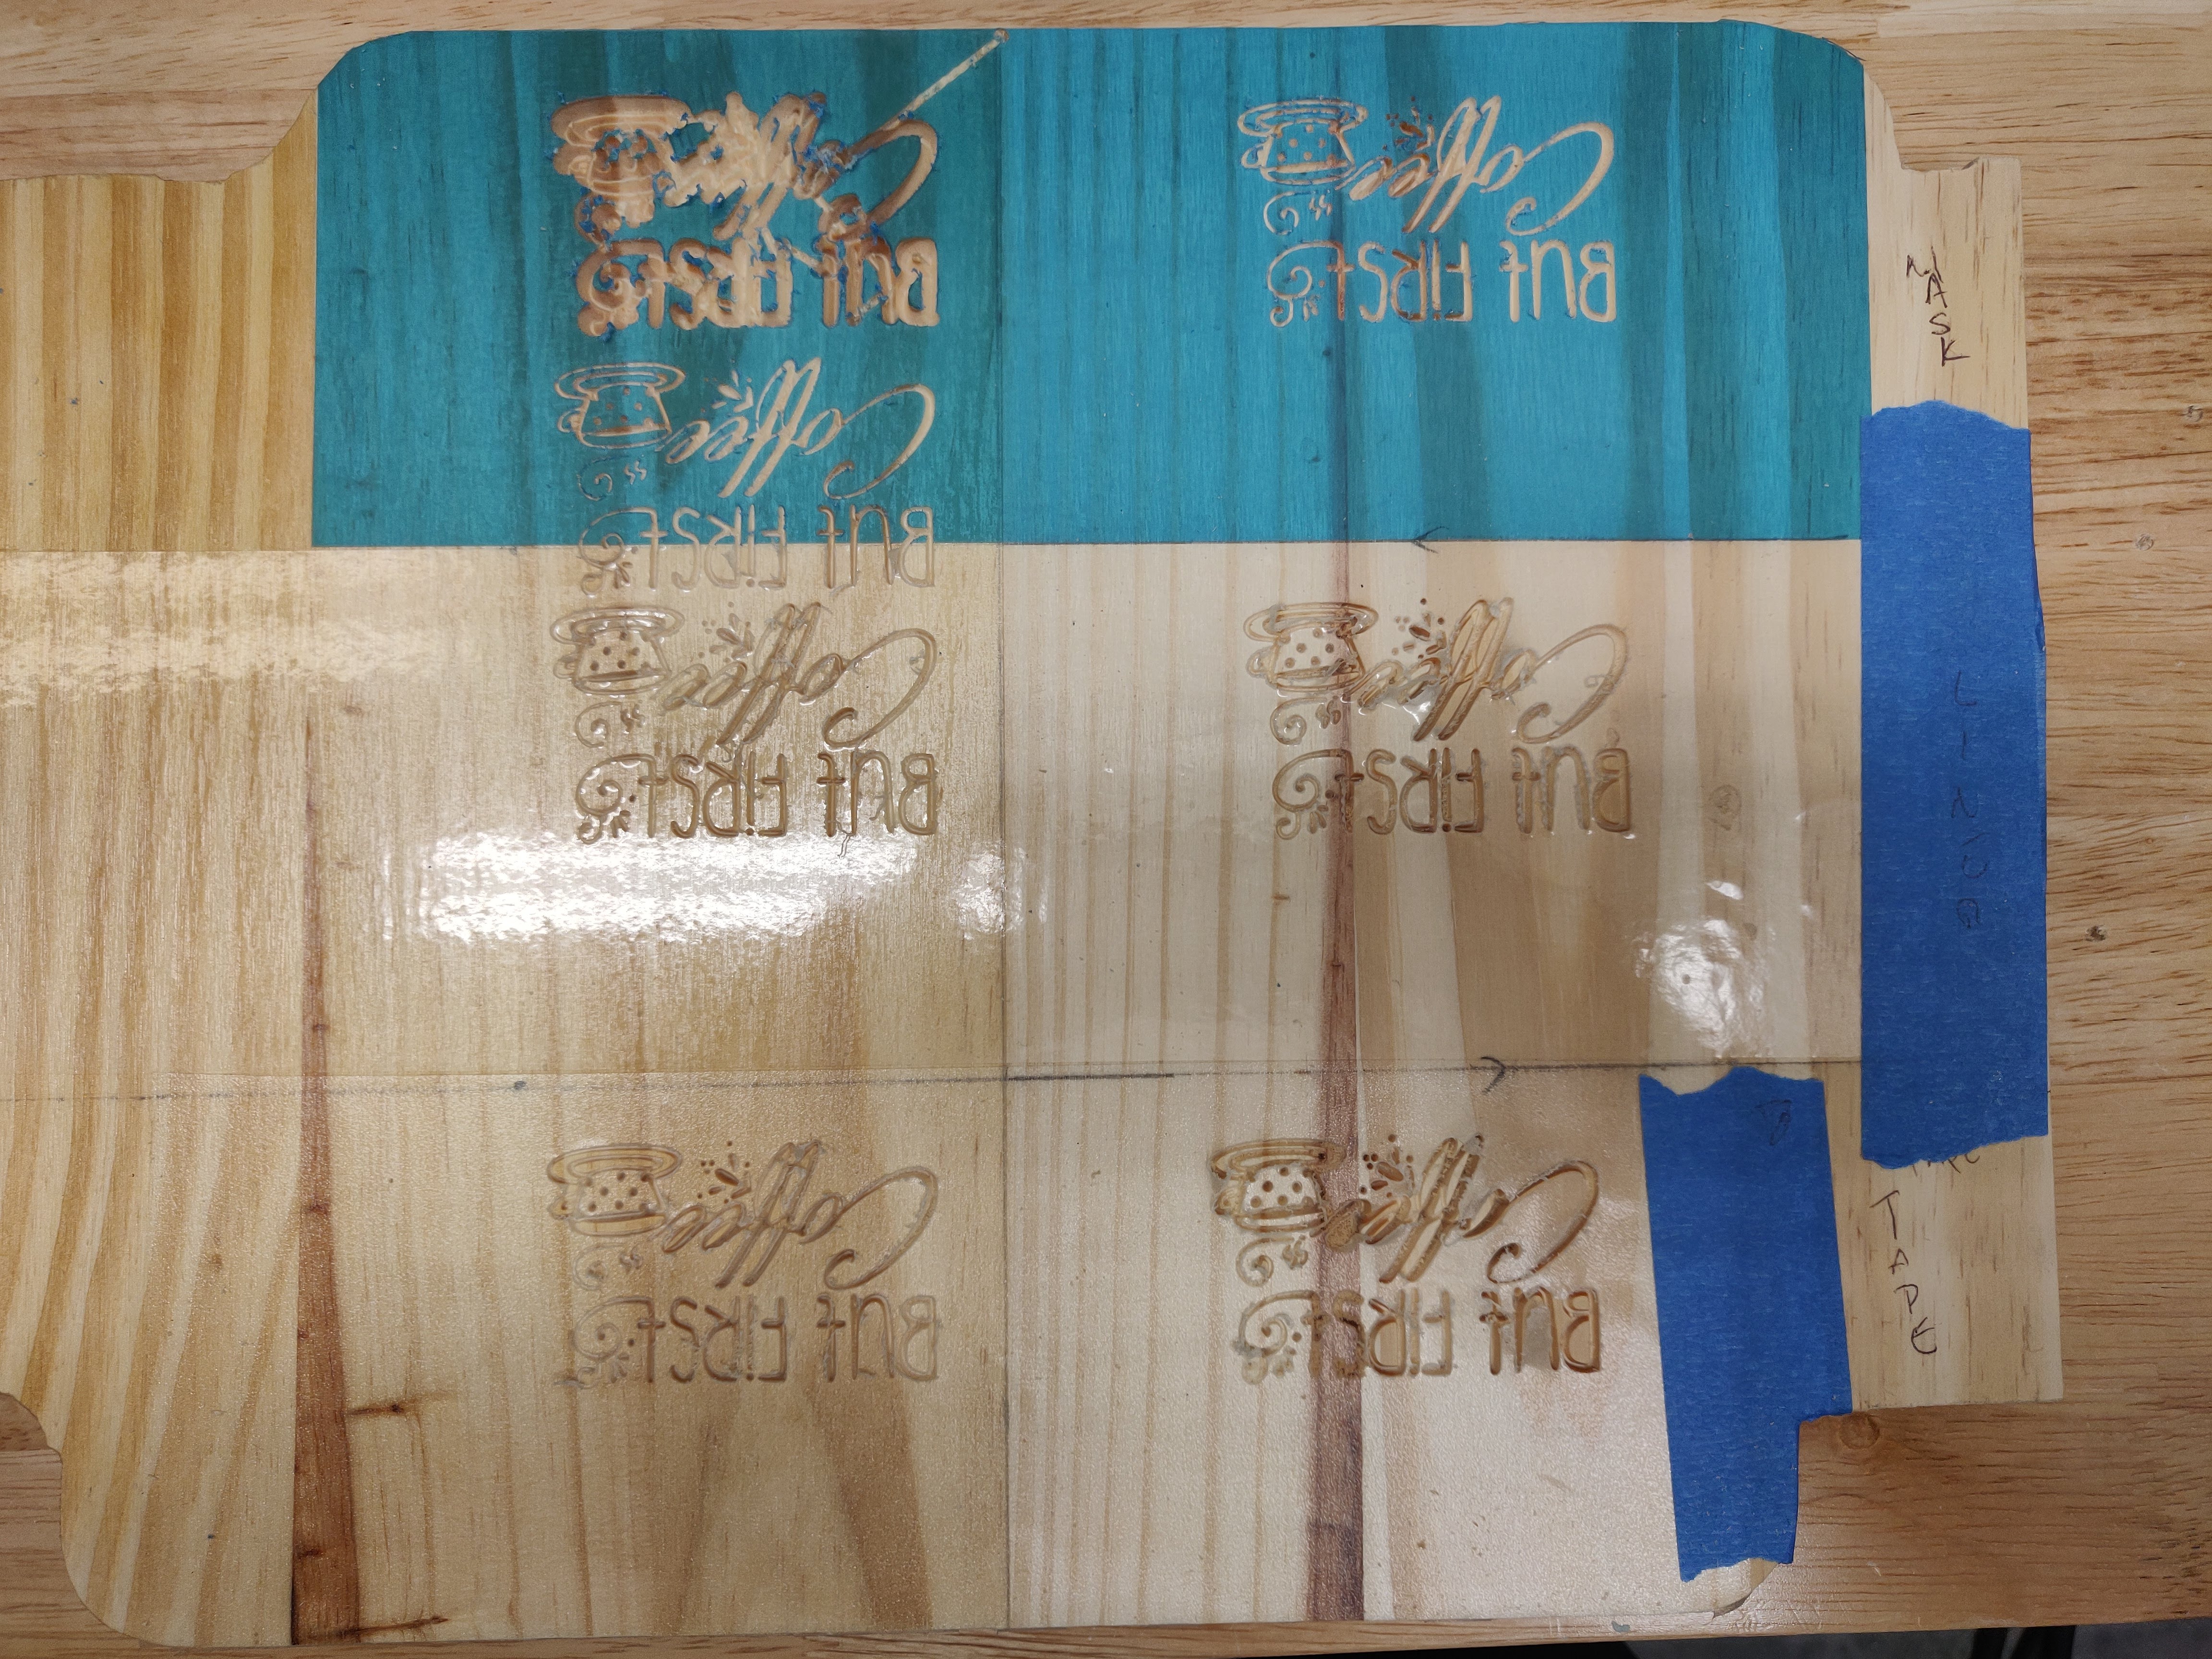
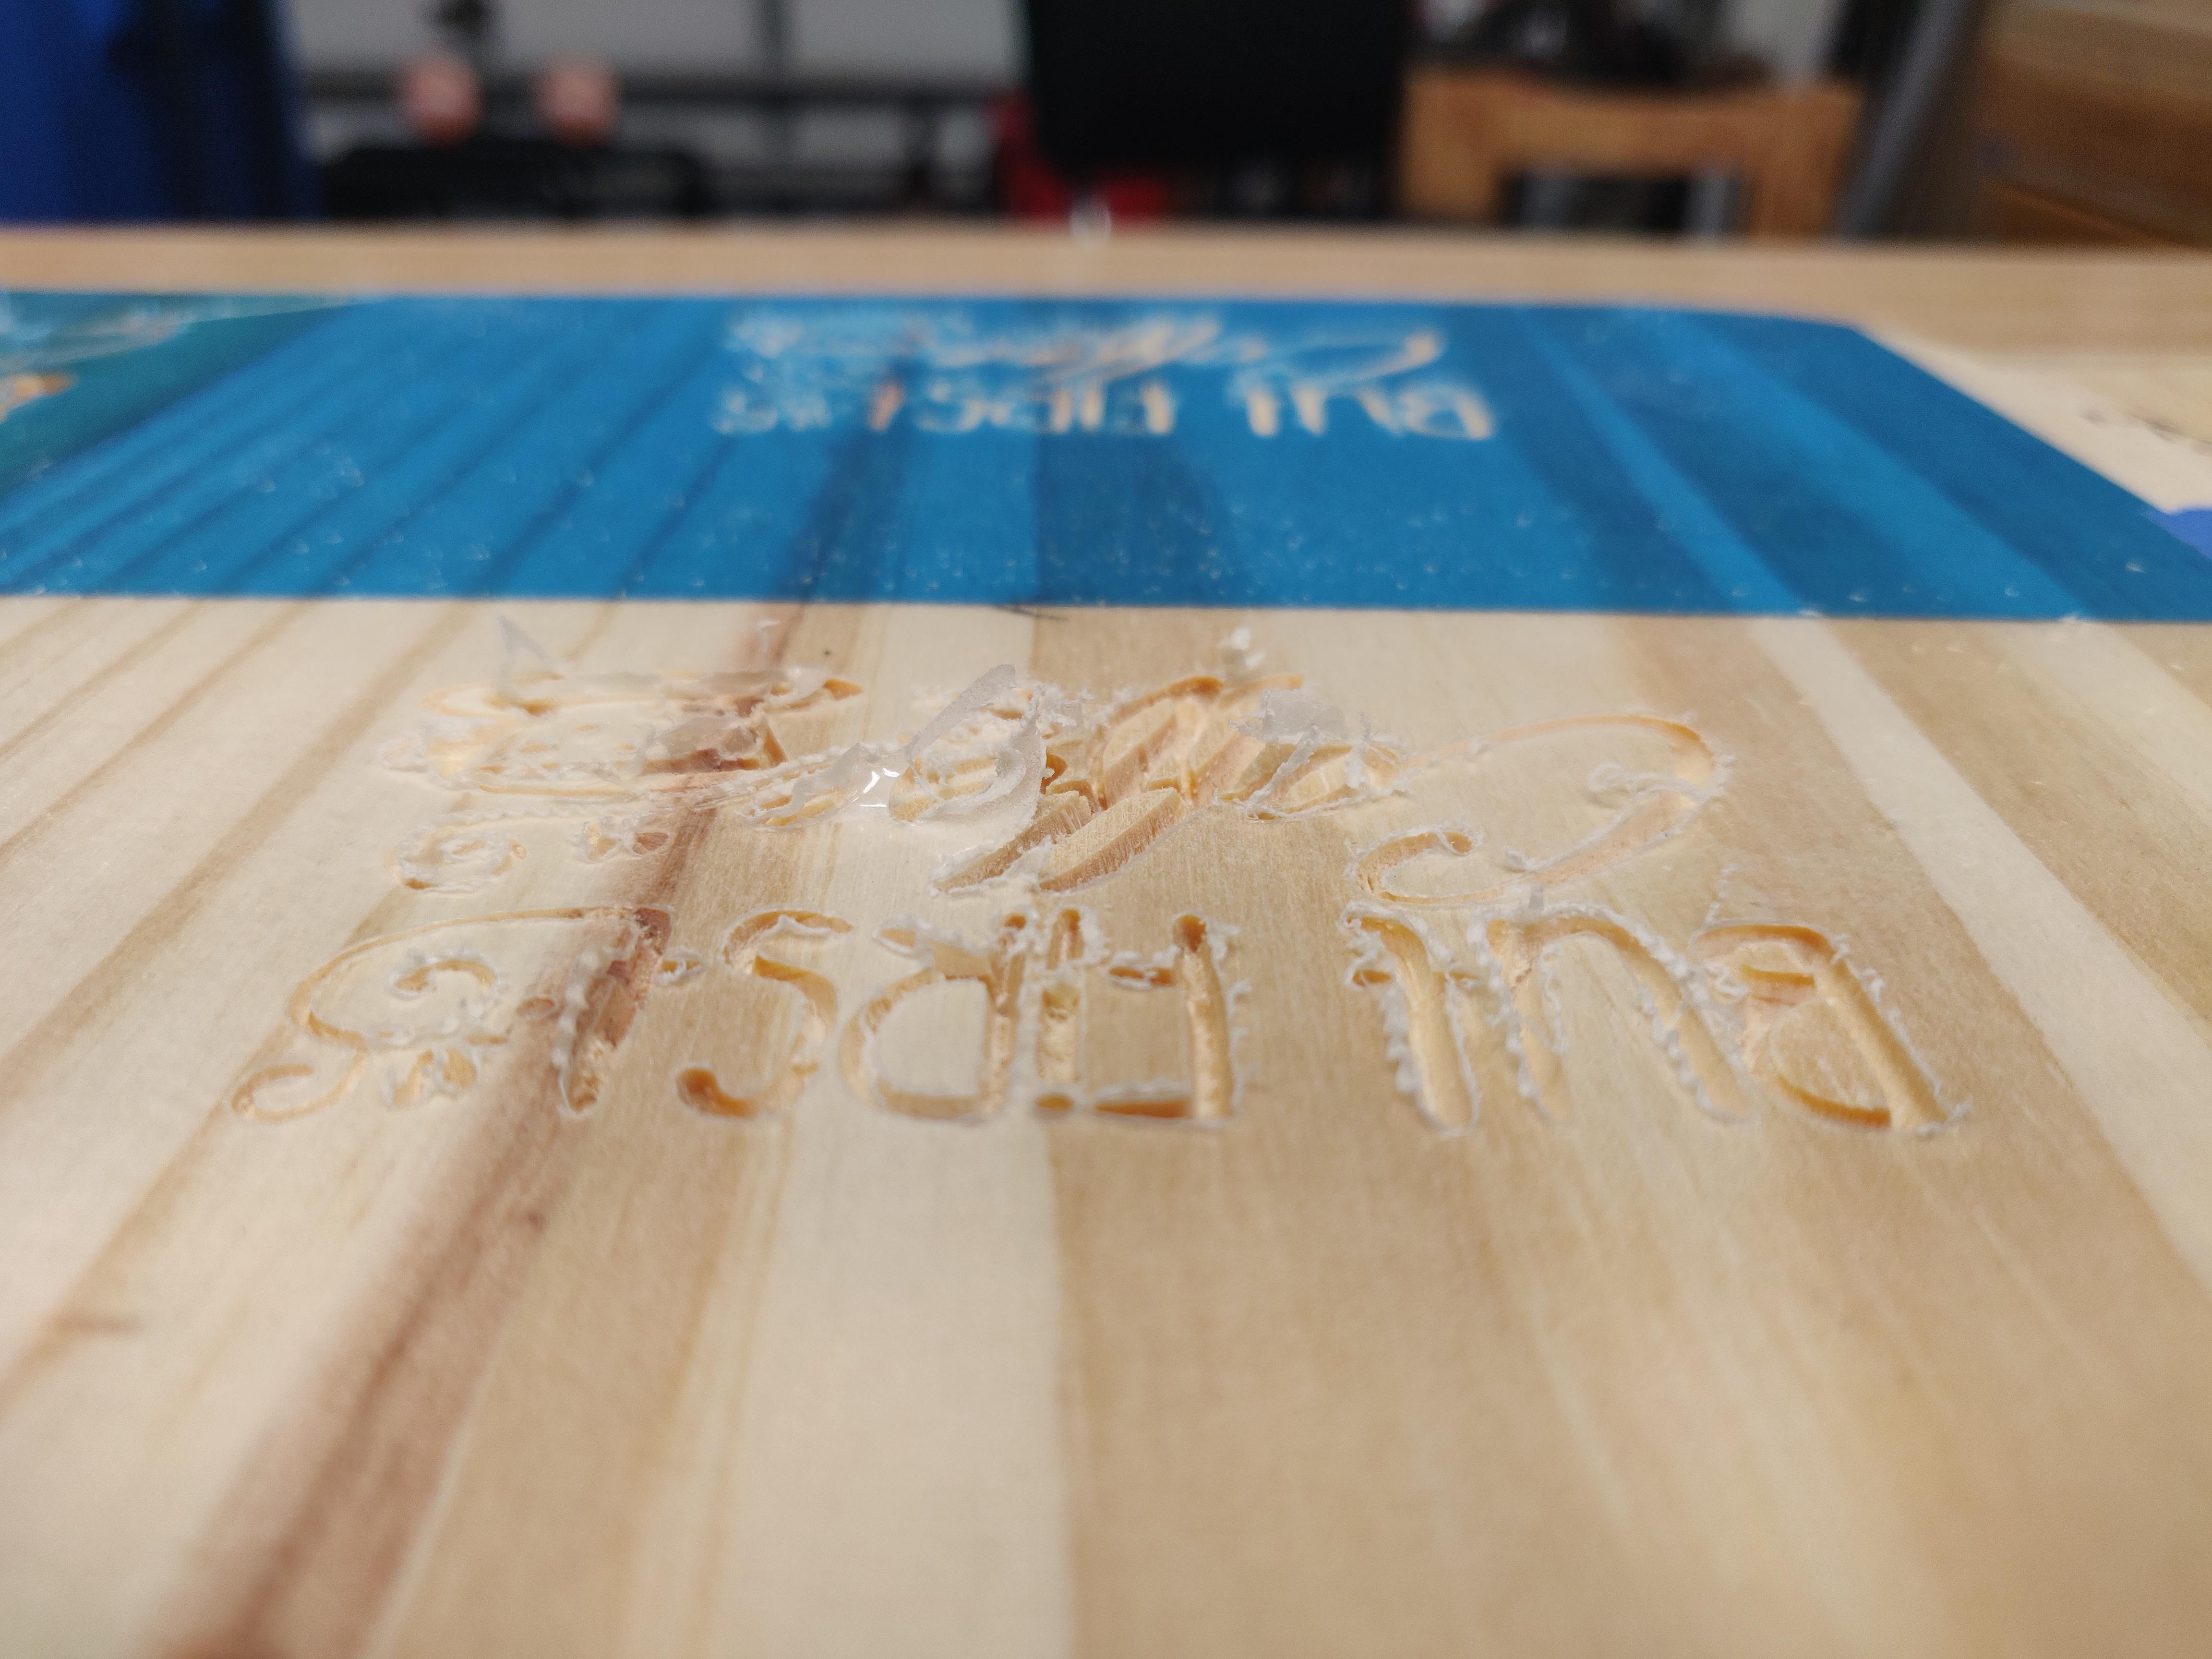
anyway, I managed to find a space I could get part of the carving into anyway so that’s what we’ll have for testing. In this photo (and subsequent photos which should be the same orientation) the left side is shellac’d and the right side is plane. From furthest to closest we have masking, specifically this stuff, shelf liner (contact paper -clear), and finally, transfer tape (medium tack). The blue tape on the side is because these last two didn’t want to stick so well to untreated wood. As you can see, there is a lot of tear out and lifting on the untreated tape and liner. Here’s an overhead view:
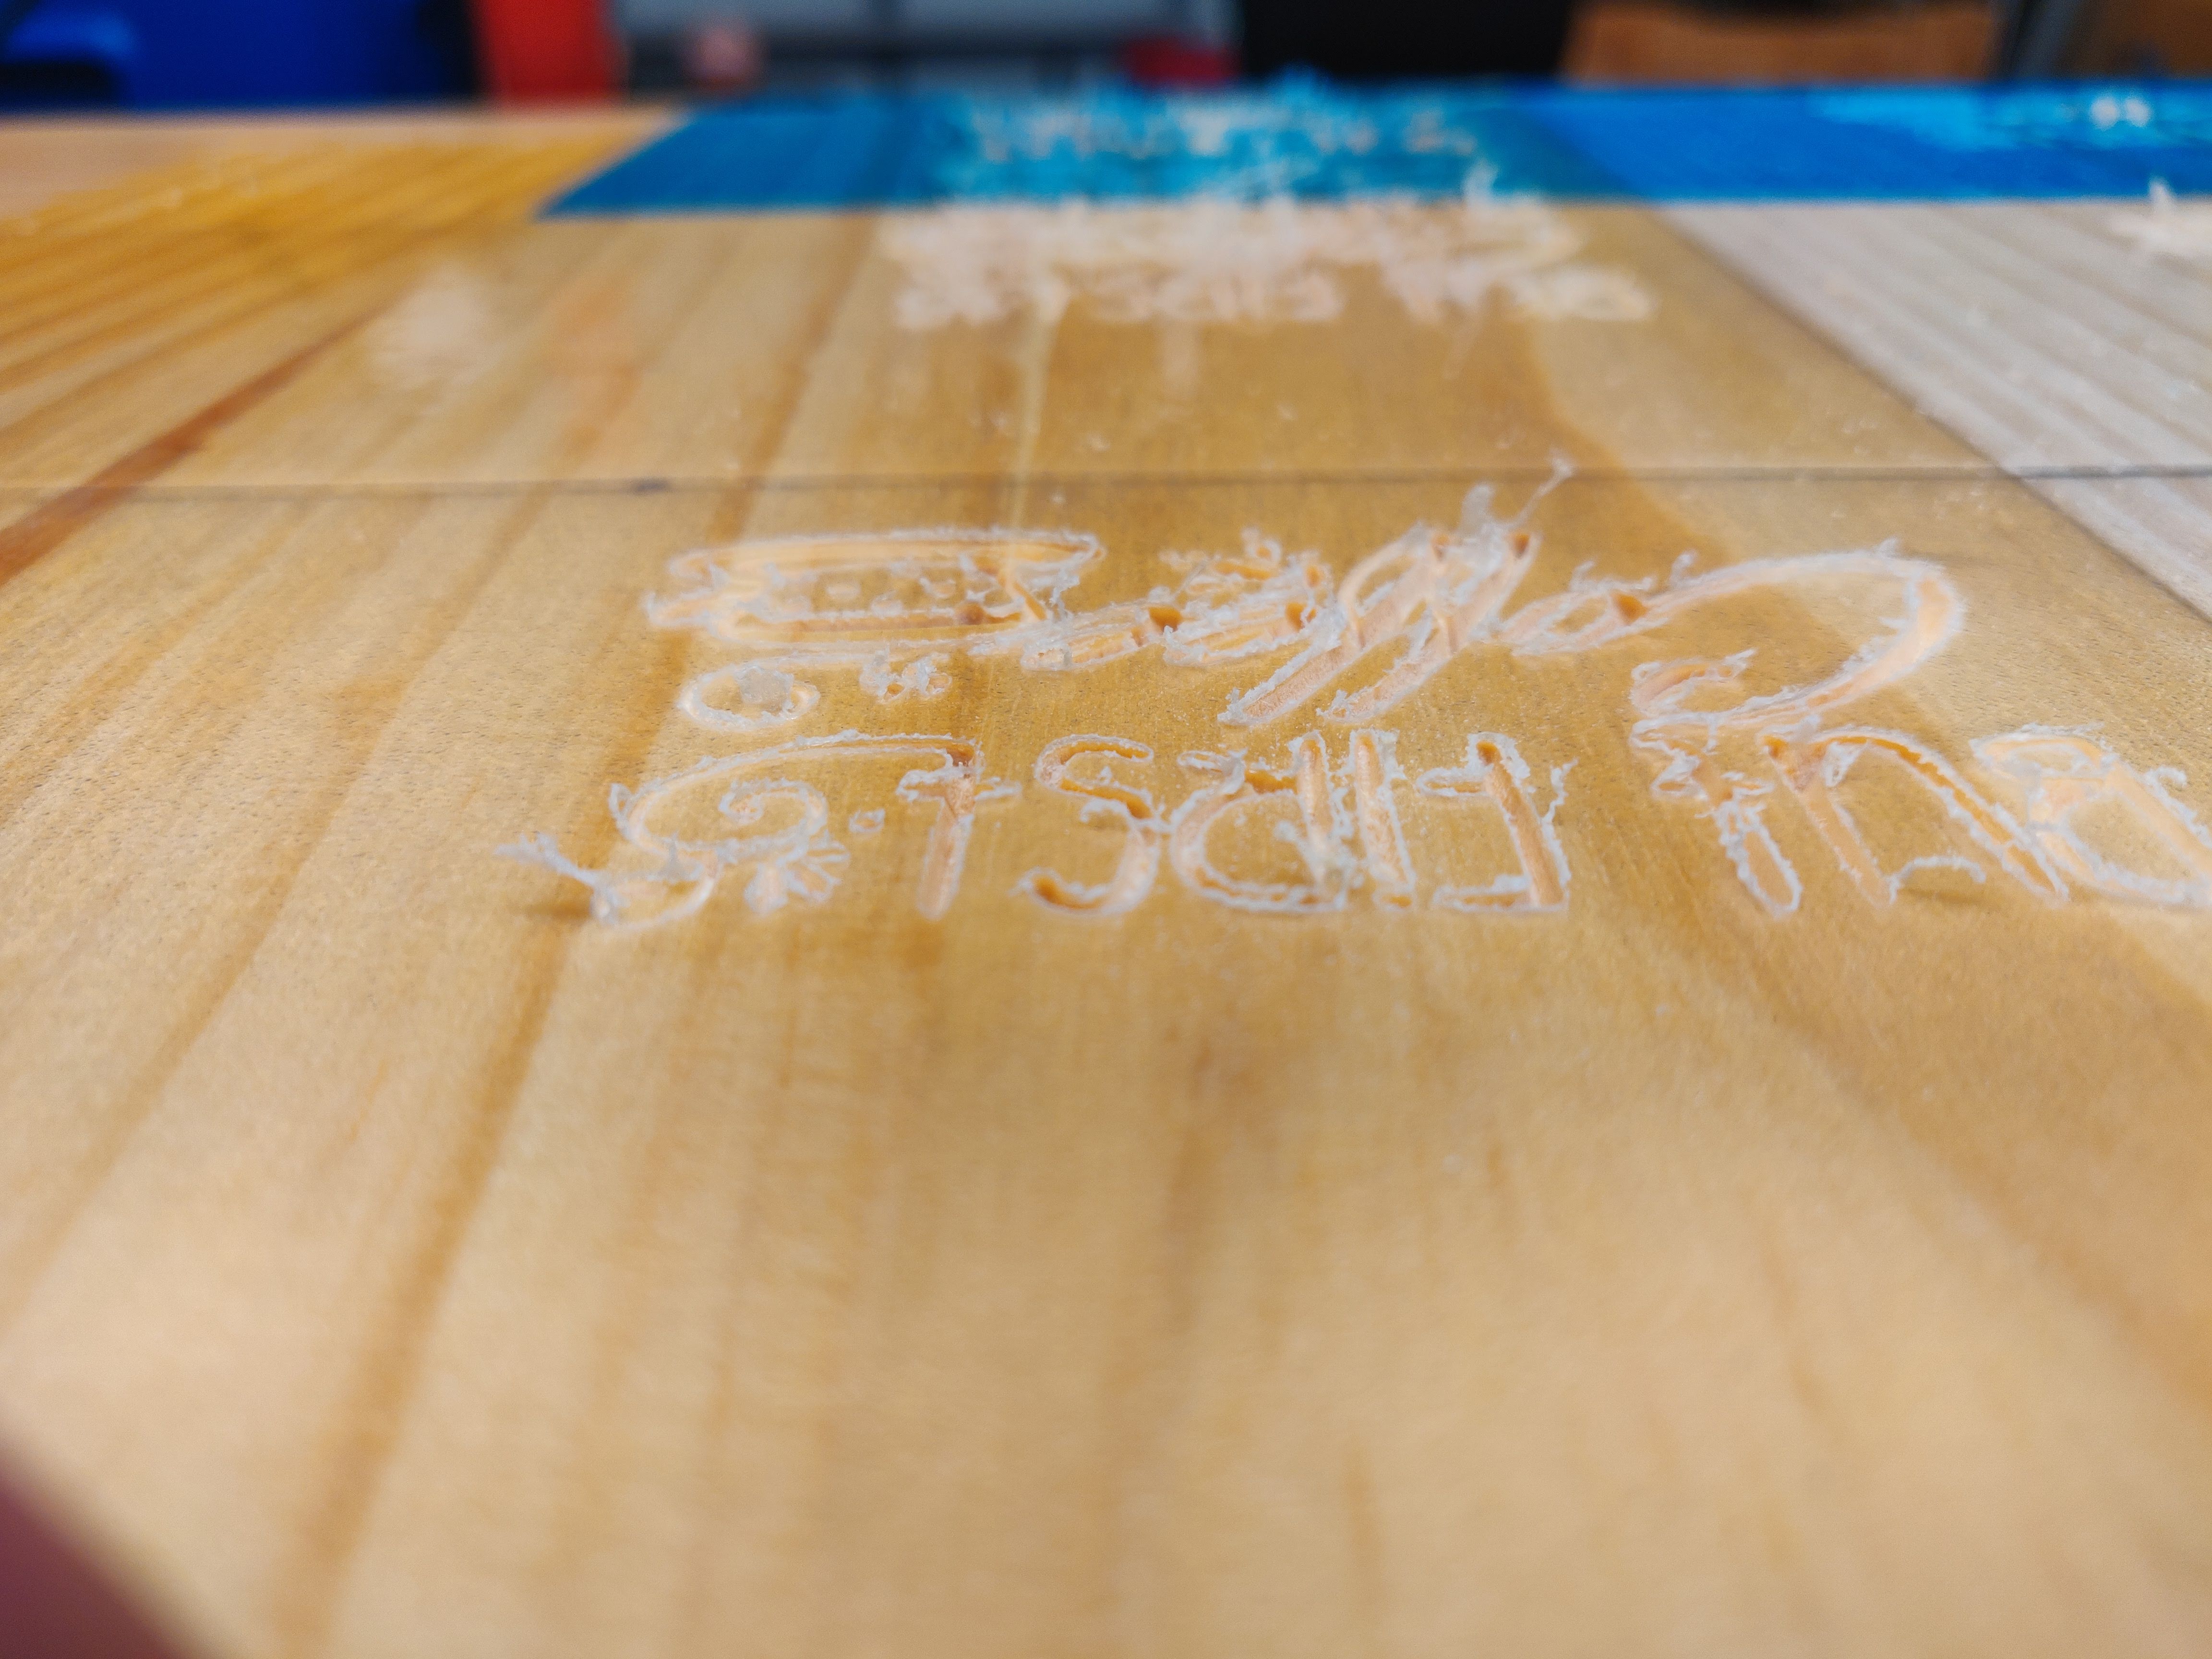
Here’s are closer views of the shellac’d side in order, transfer tape, shelf liner and masking:
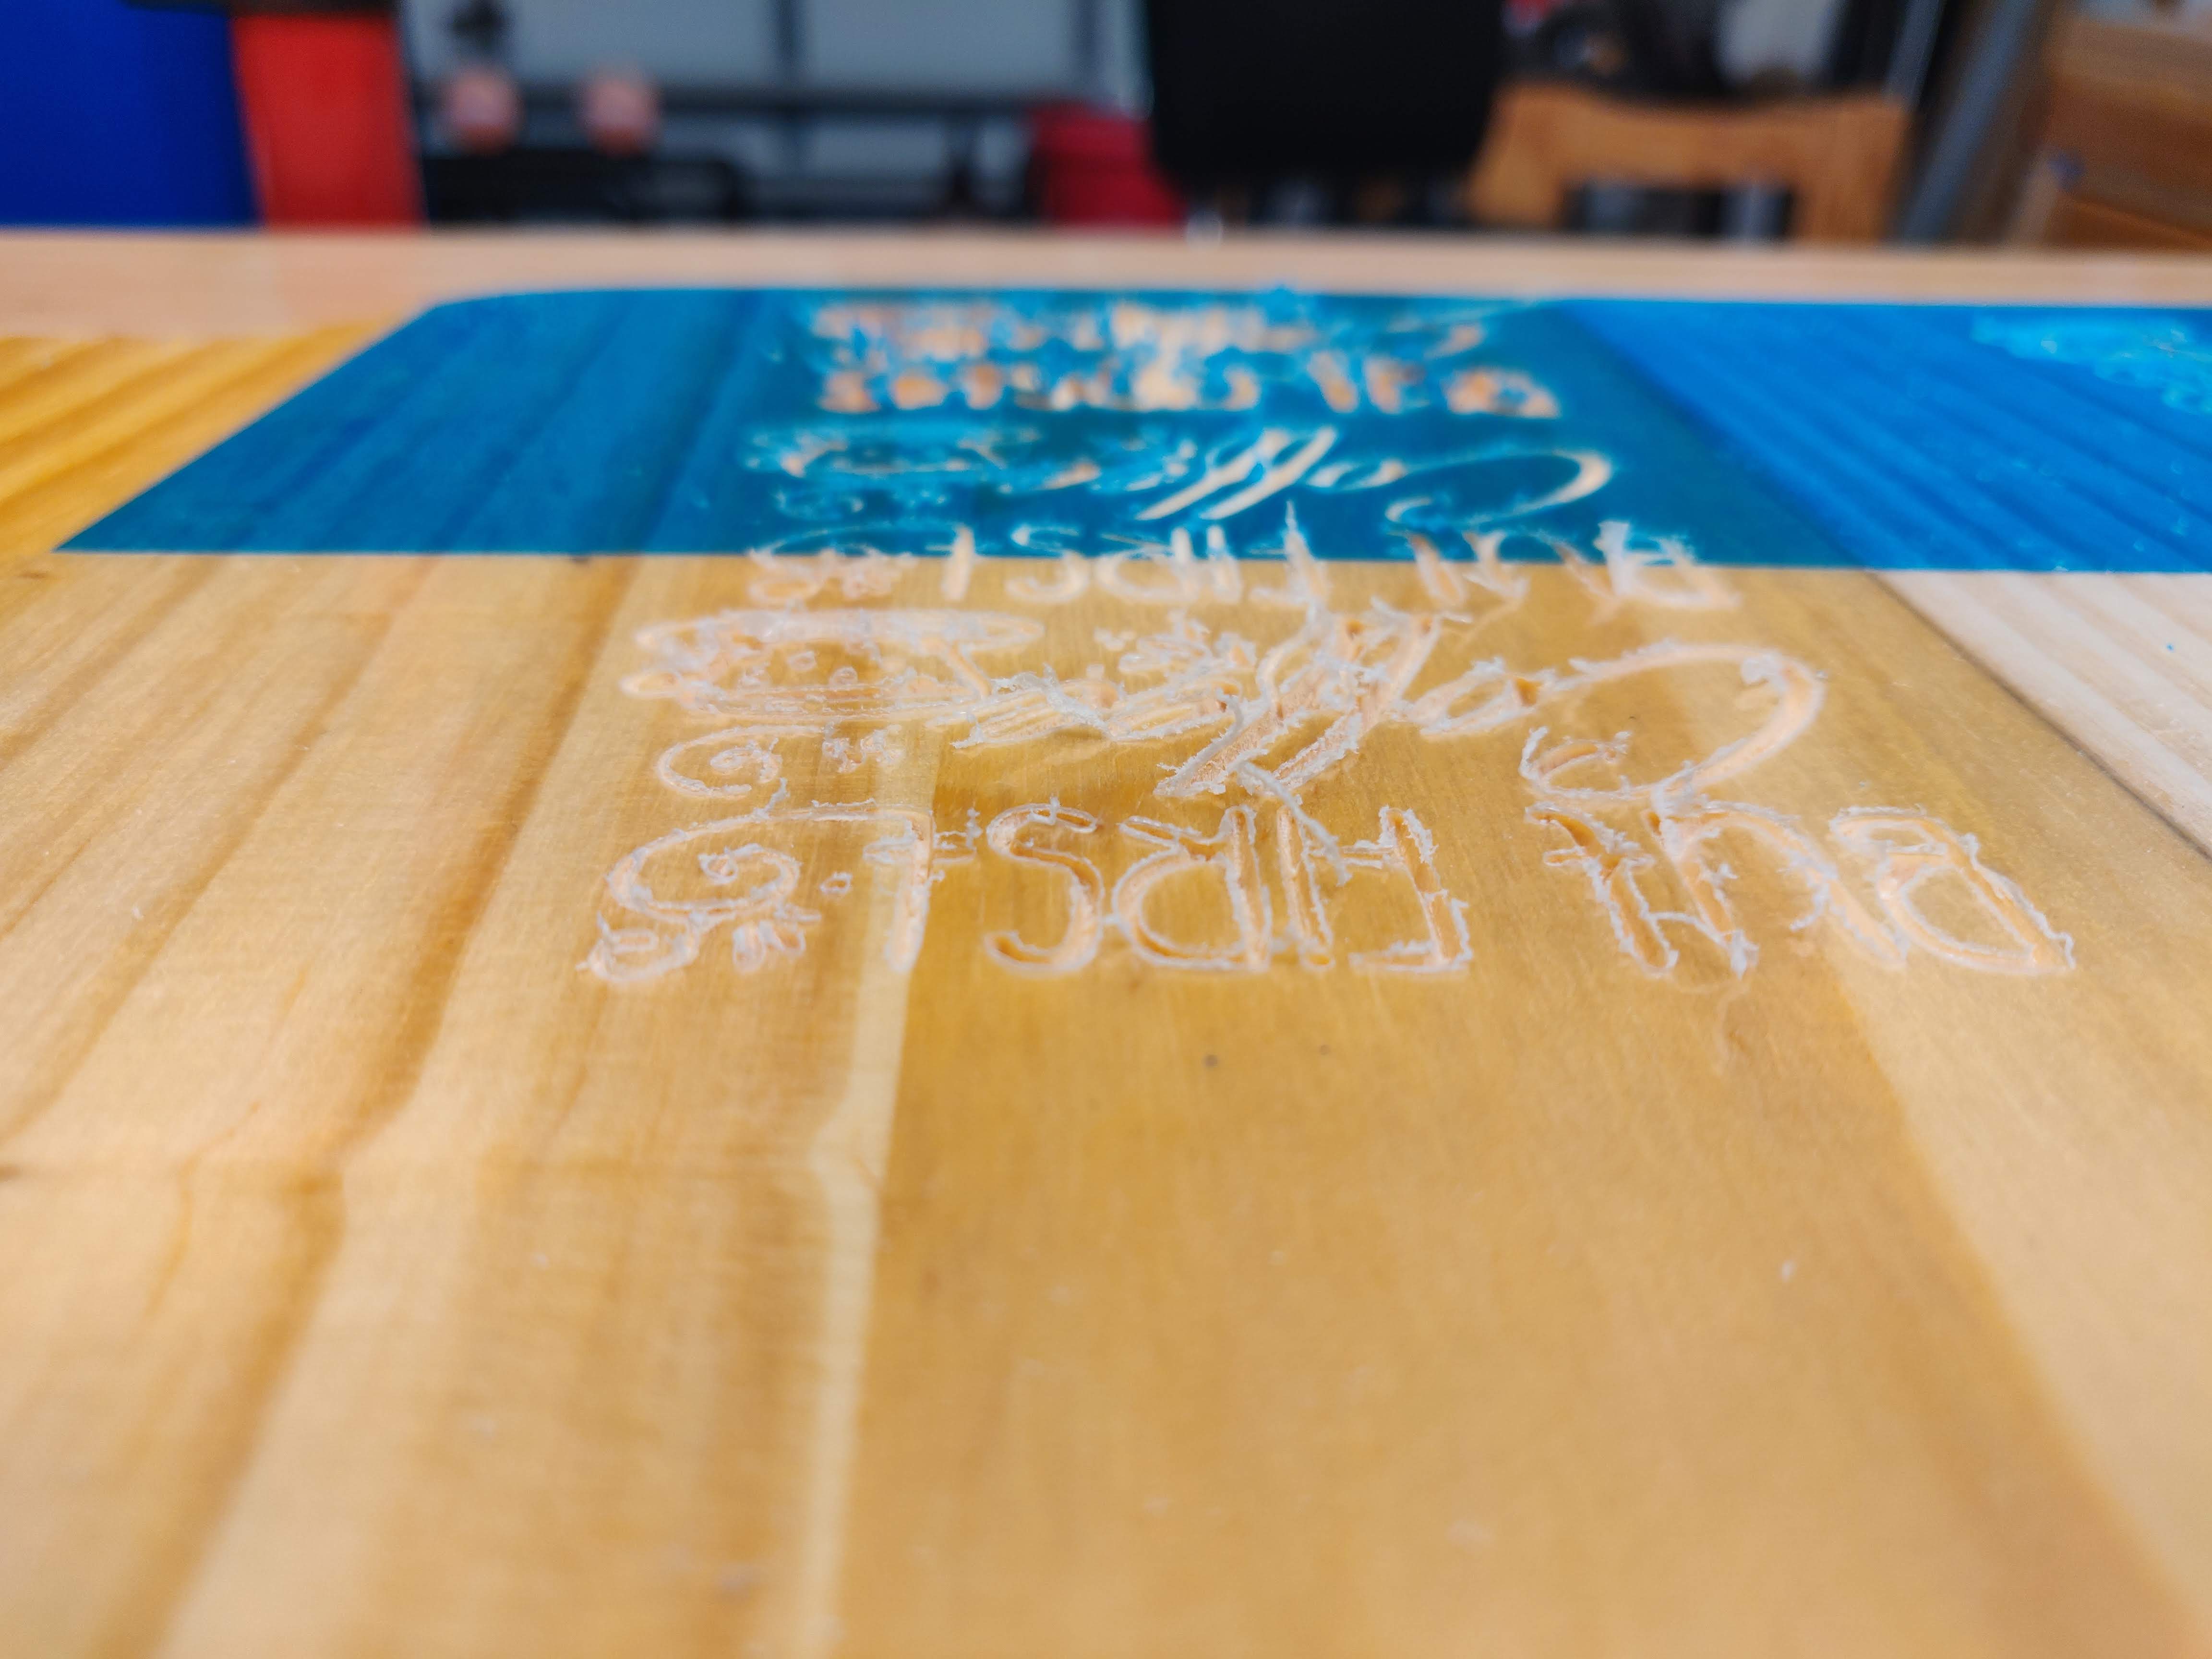
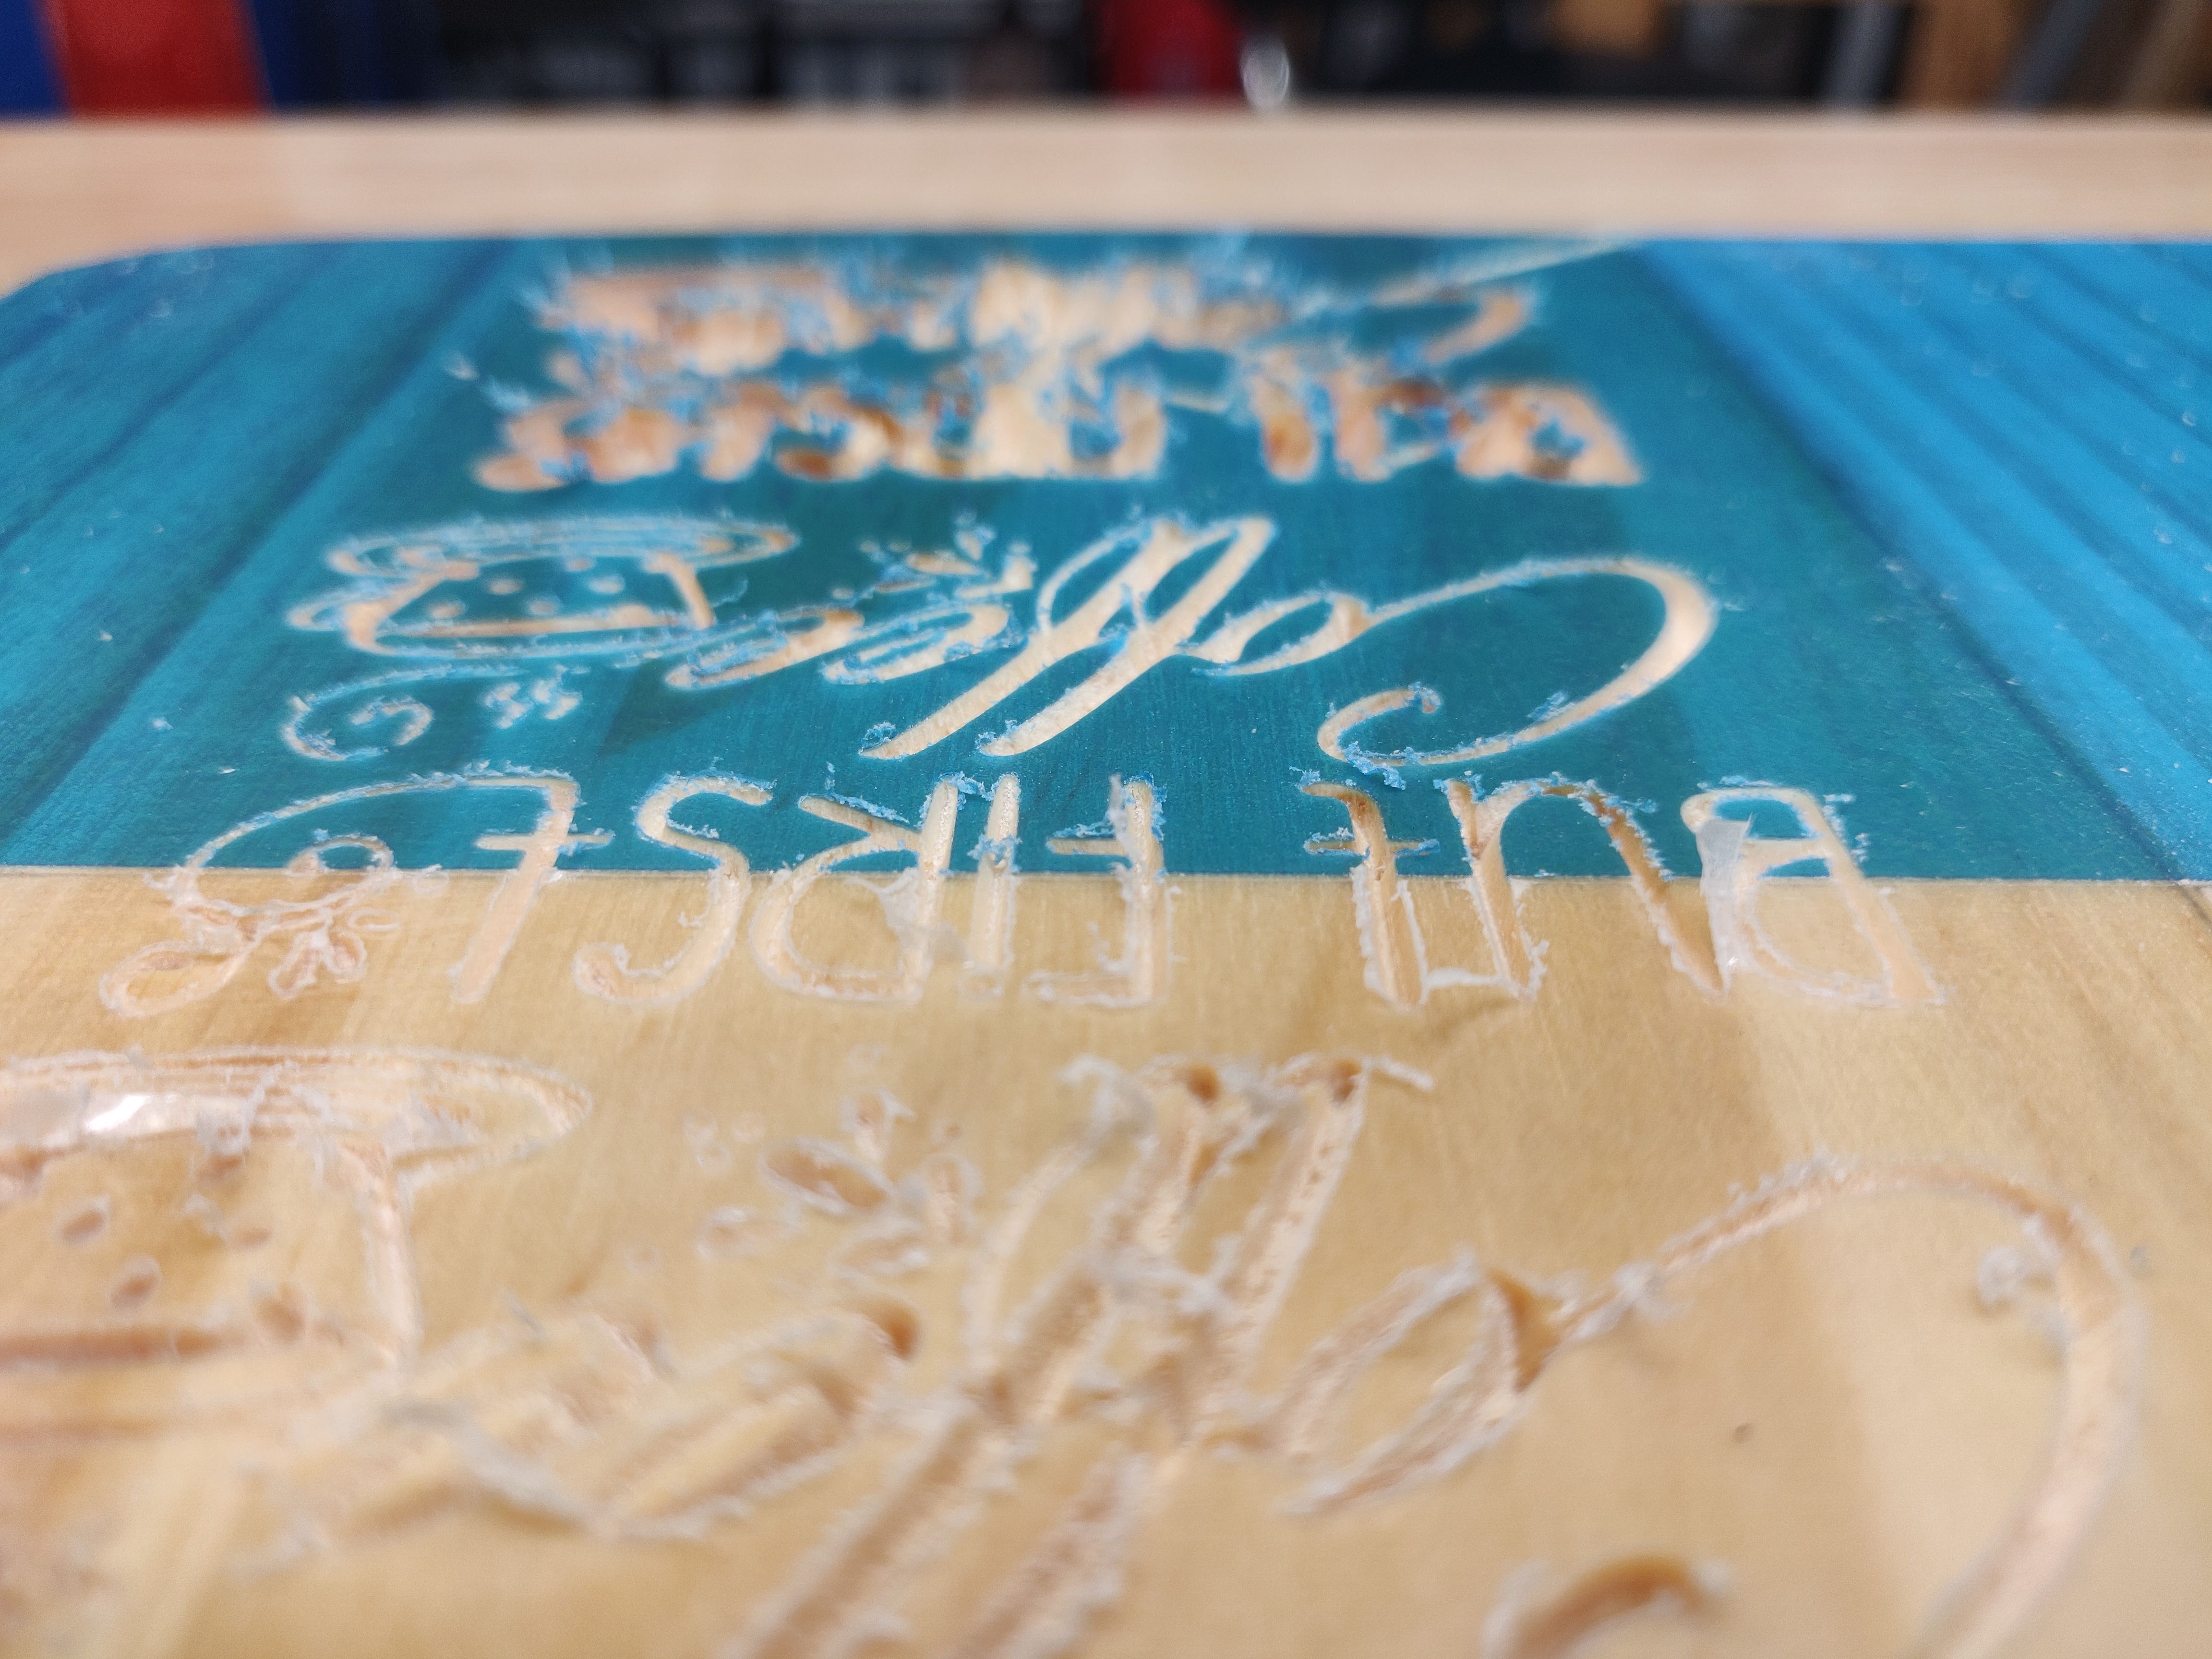
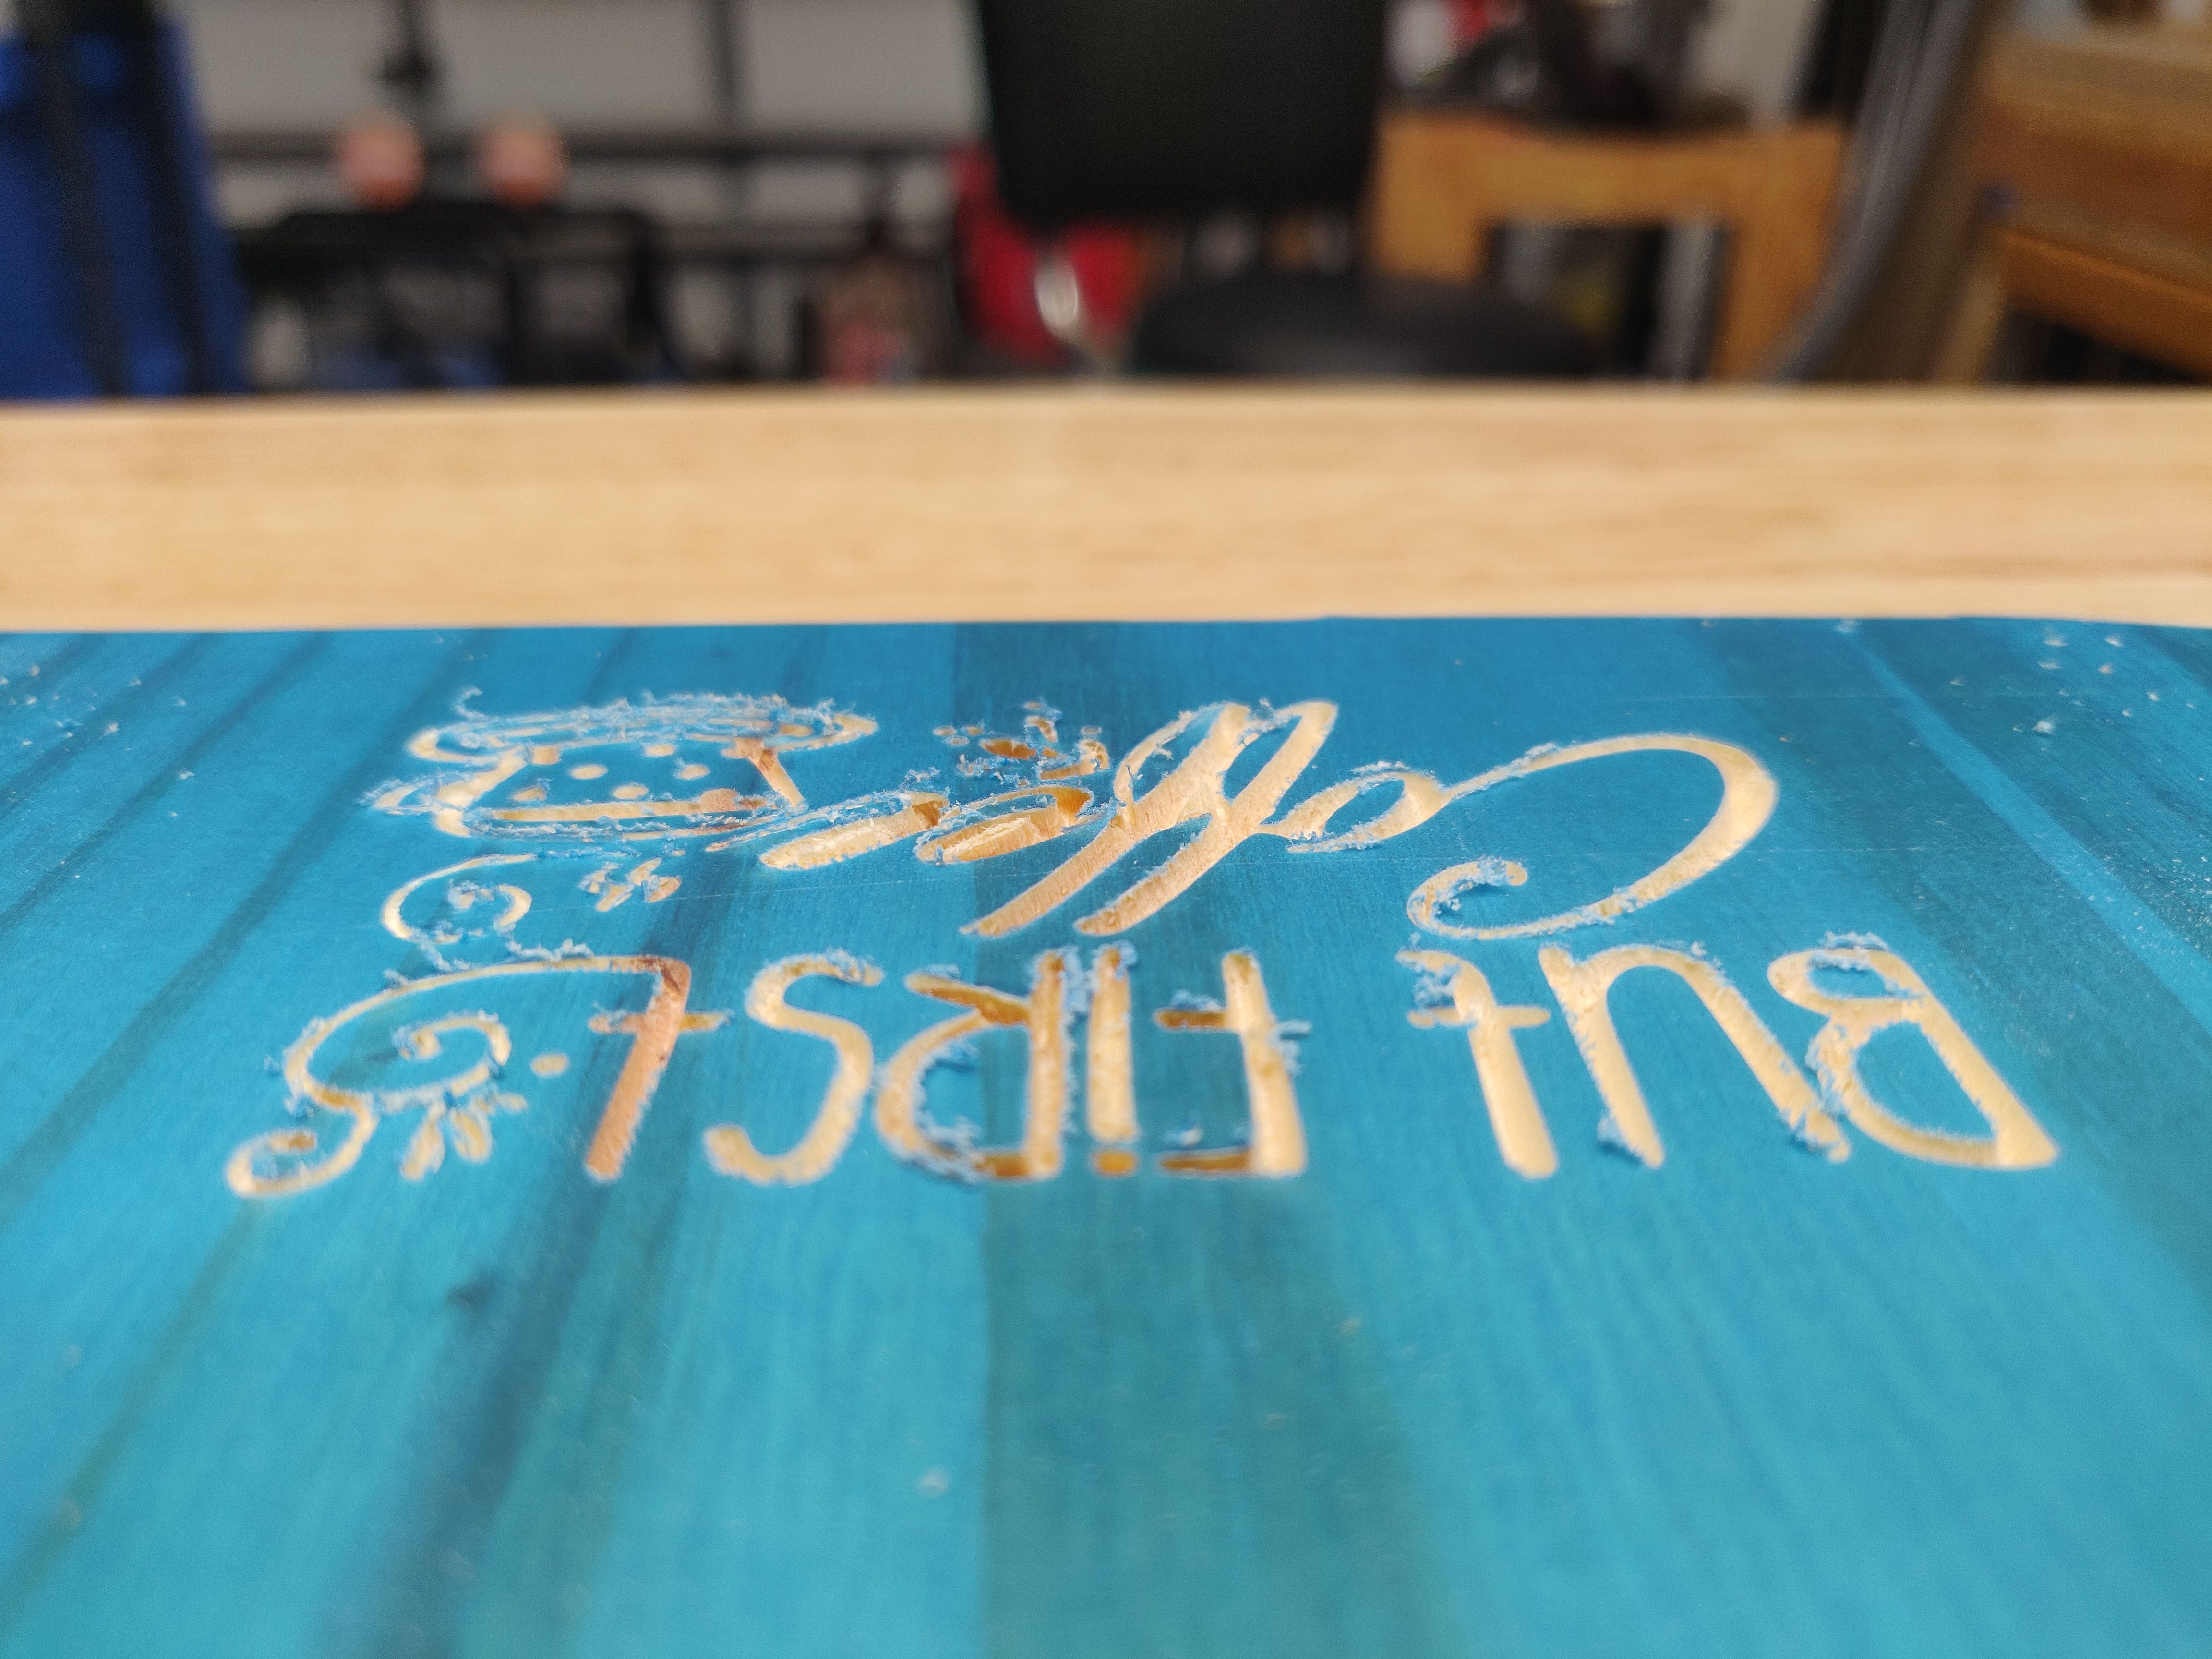
And the untreated side in teh same order:
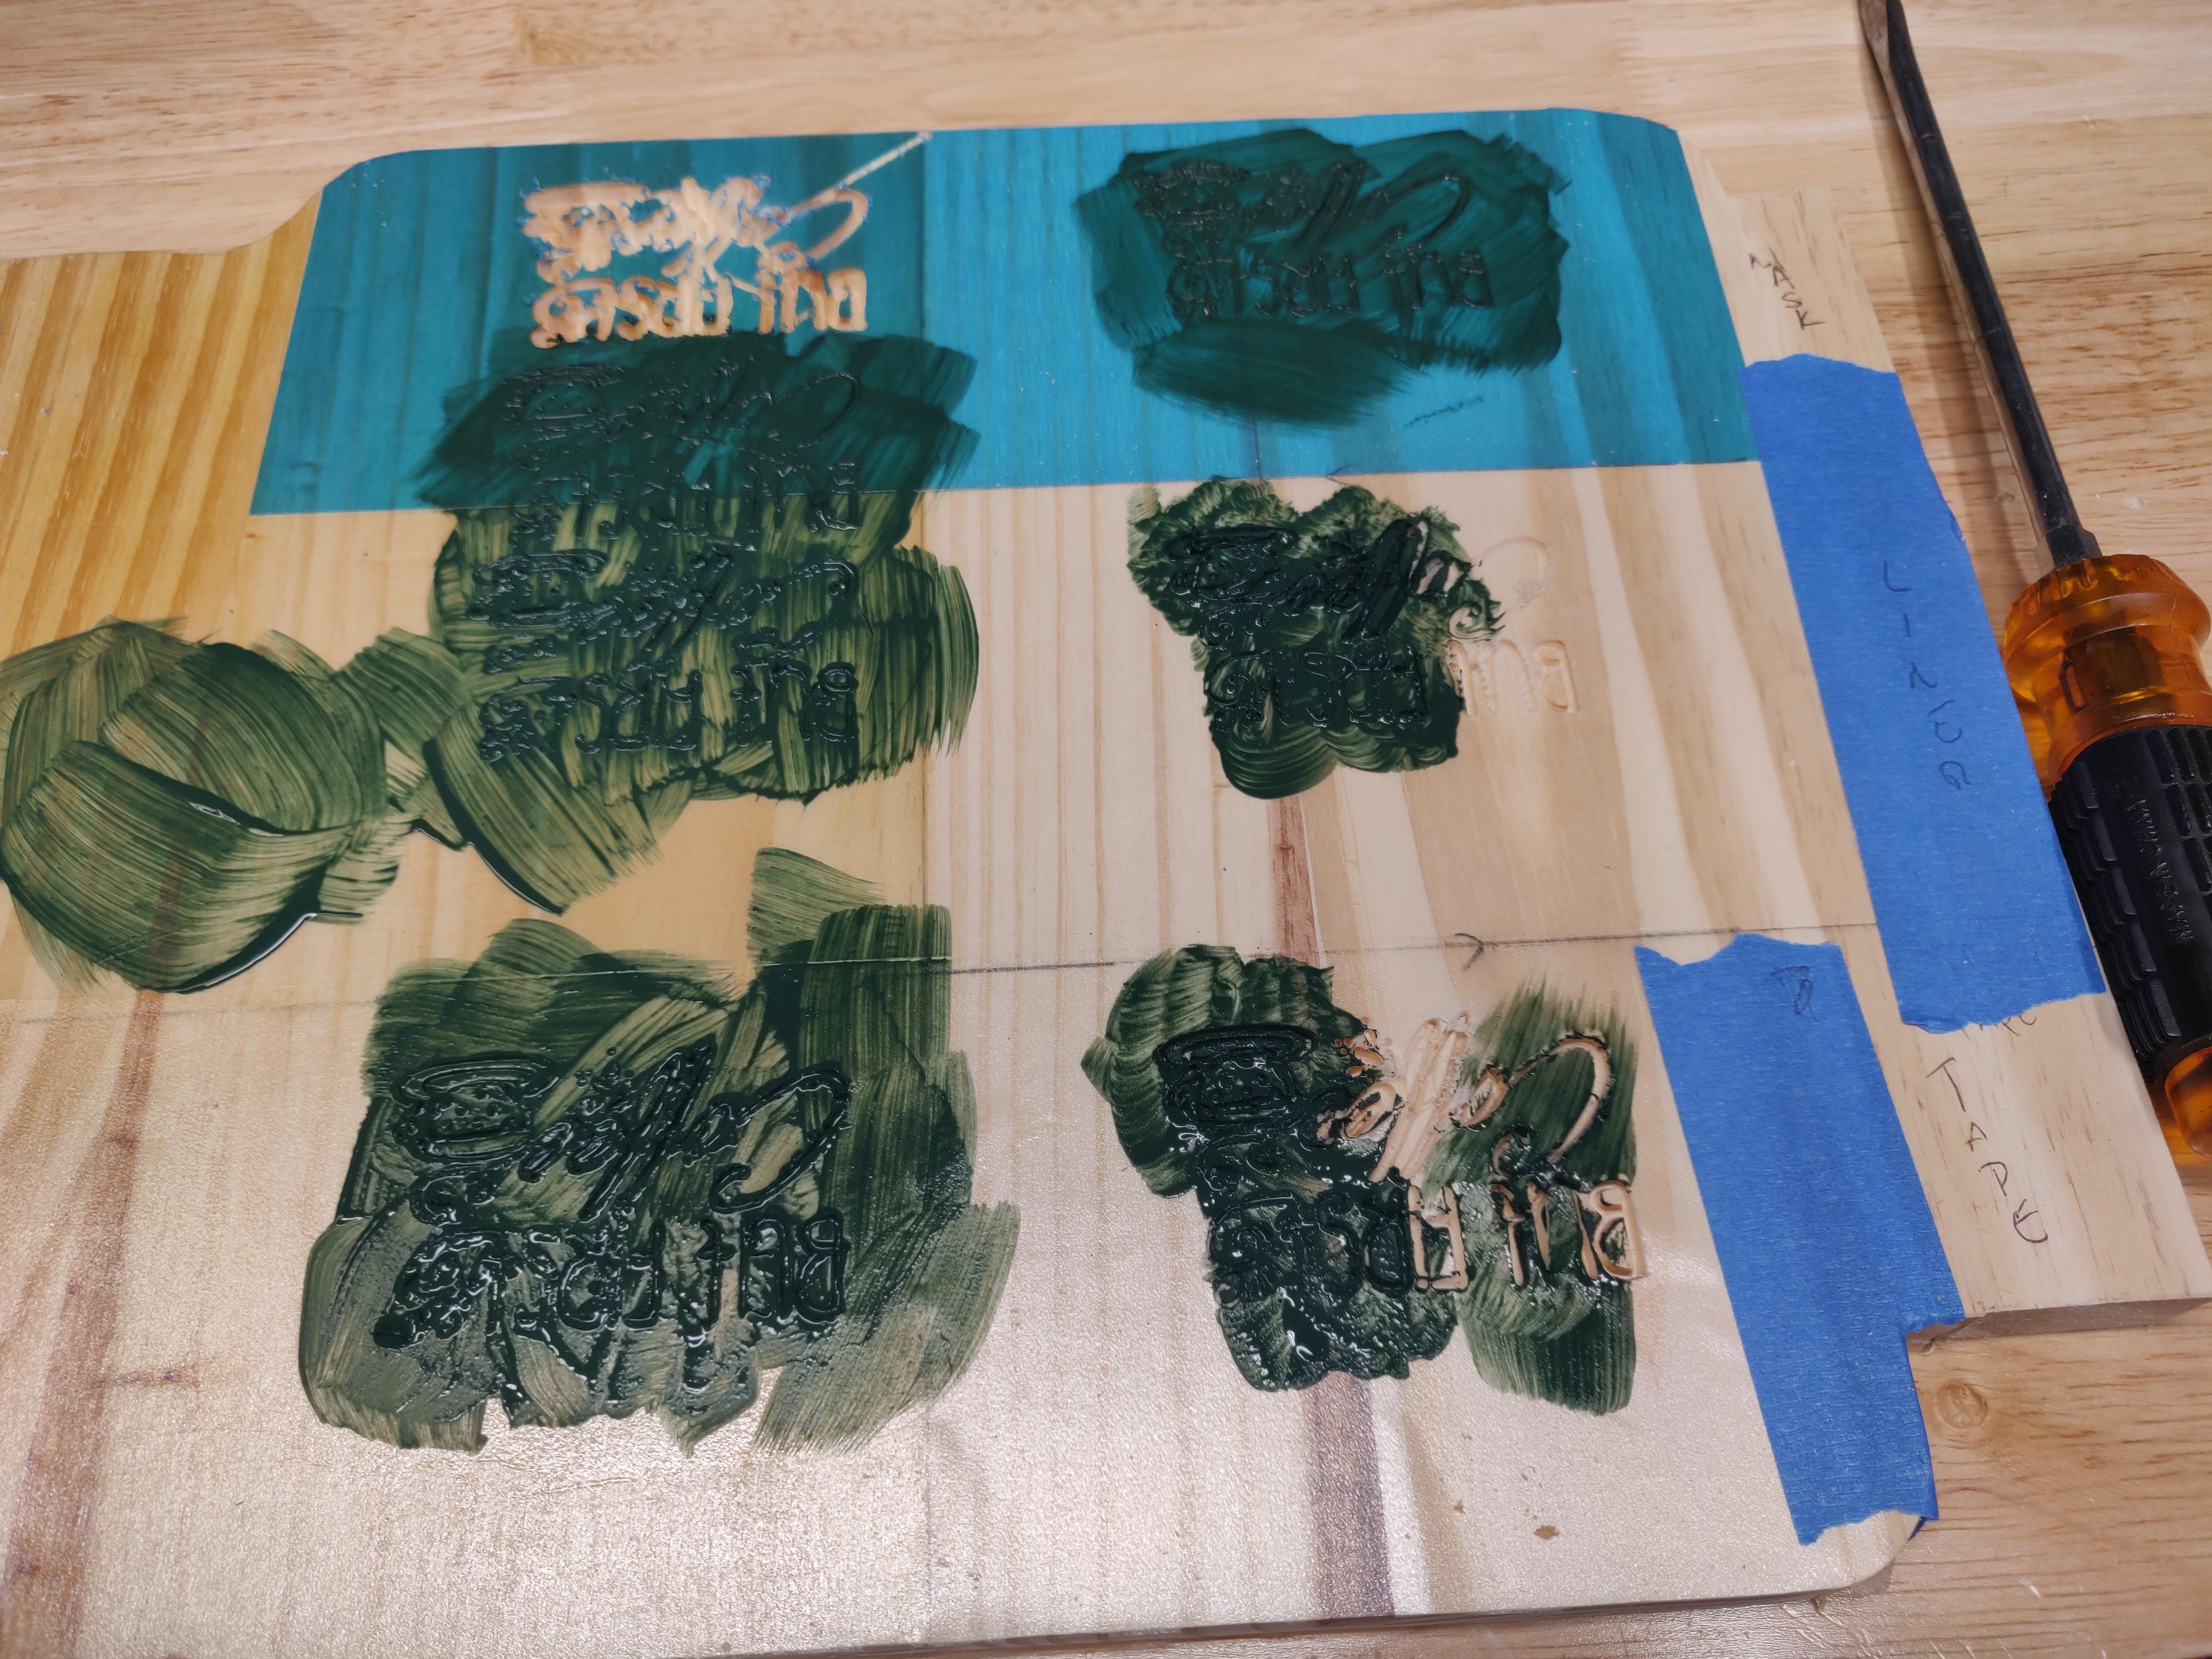
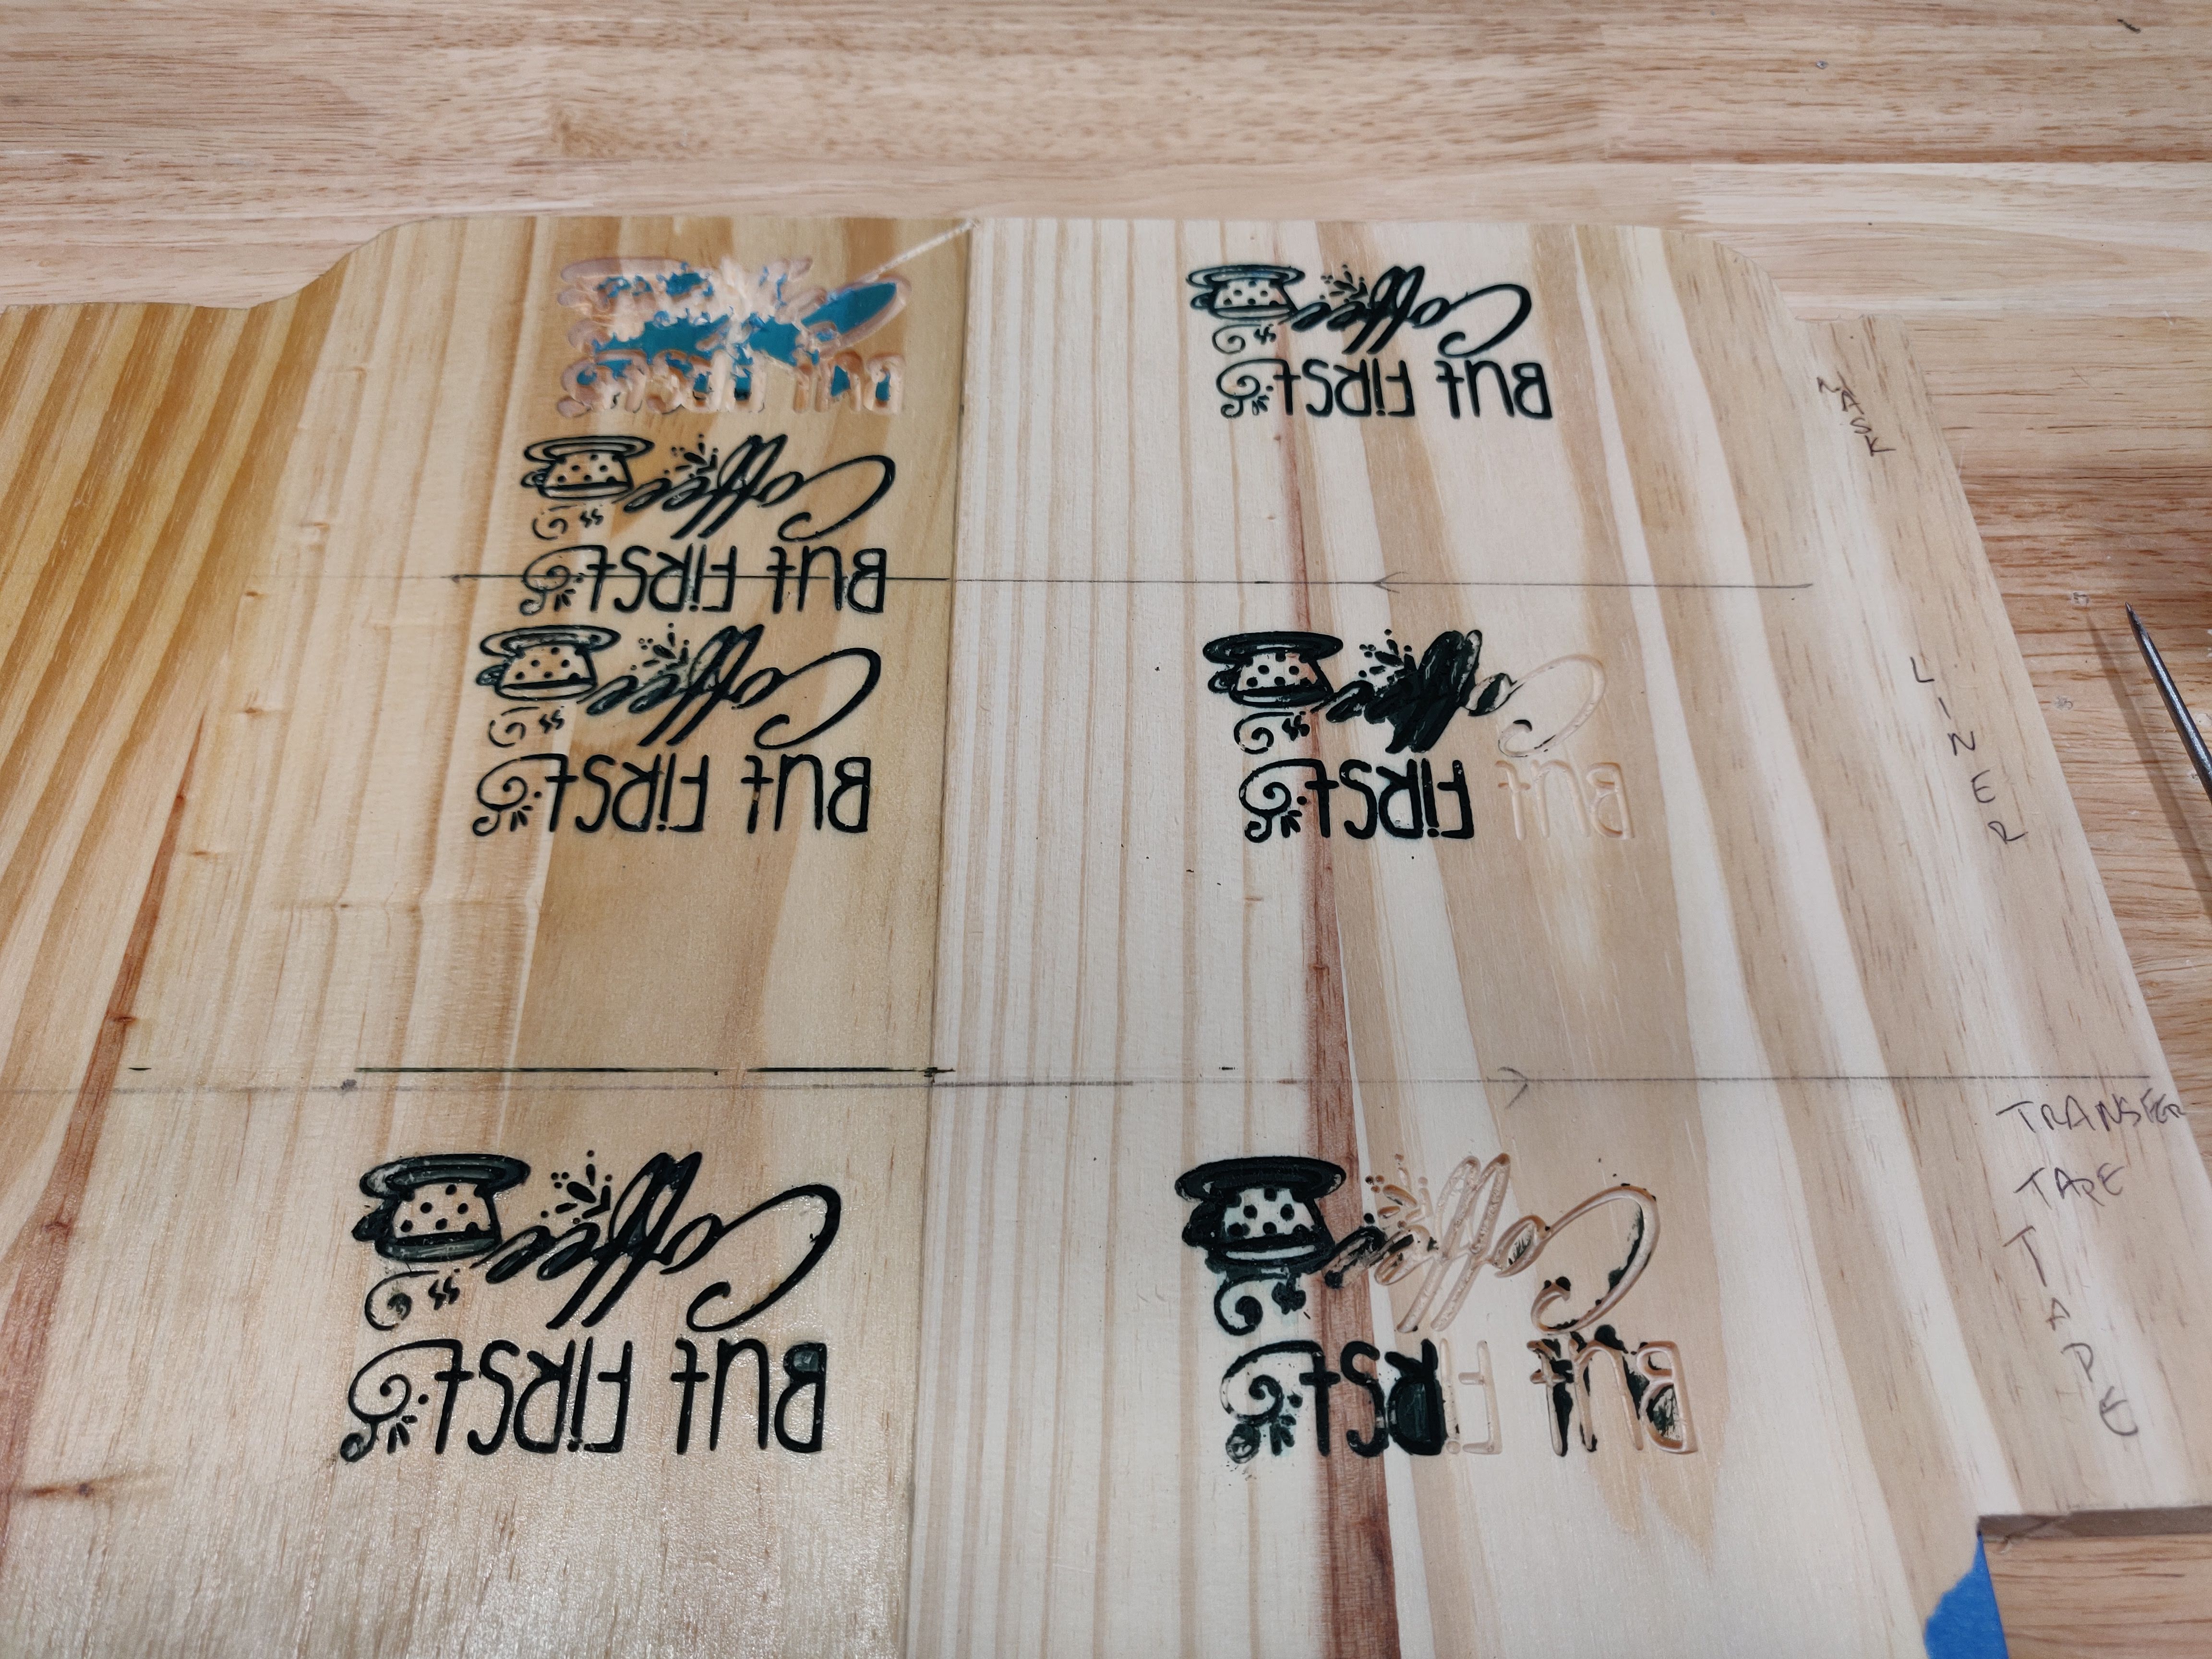
What surprised me most is how well the masking worked on untreated wood. Also, the shelf liner seems to be a lot better than the transfer tape. Next, I put shellac over the various films on the shellac’d side, leaving the untreated side plain and then I painted with a brush and cheap acrylic paint I had around. Spray paint would’ve left cleaner lines, I’m sure, but I wanted to see just how bad this was going to be. As you can see I didn’t fully paint the liner and tape on the untreated side because of all the tearout:
I let it dry a few hours and then peeled the films and this is what we have:
As you can see the half of the carving that was in the masked and shellac’d area came out the cleanest, but the shellac does improve the other 2 materials as well (though they each were missing a bit of film in smaller areas which caused some ugly spots).
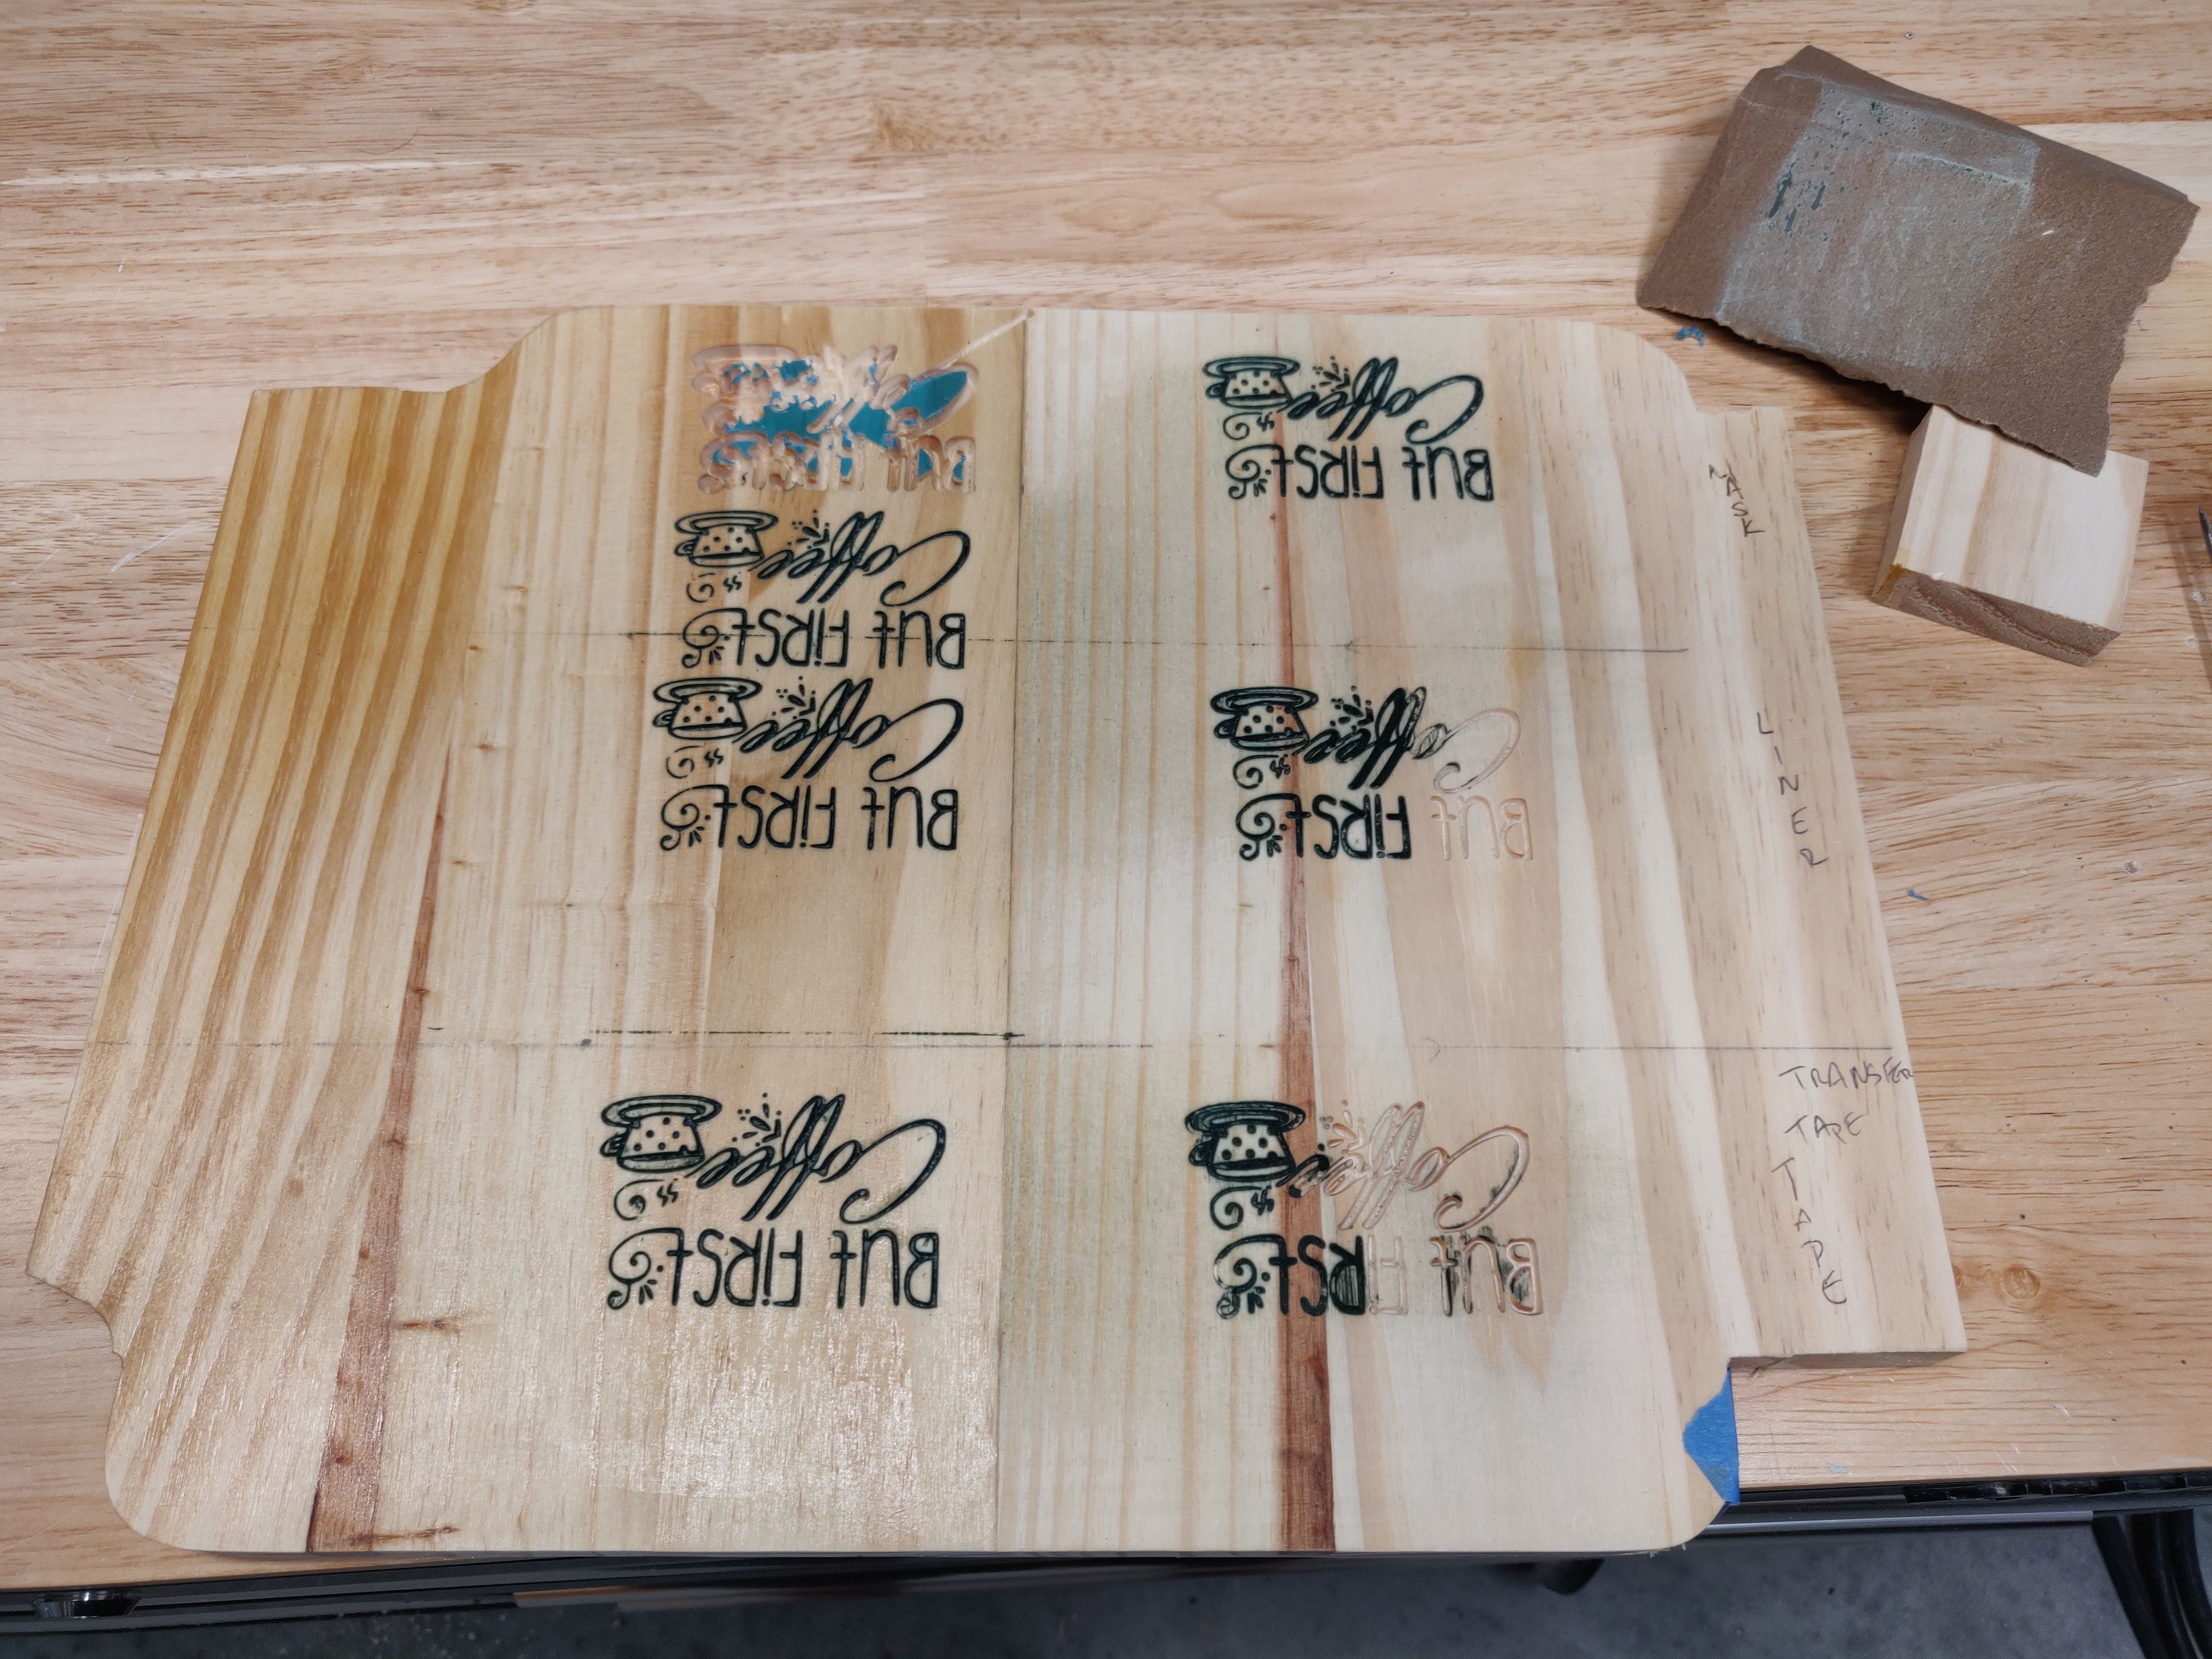
I then took 220 grit sandpaper and rand it across the top of the areas and wiped it with a damp cloth (which shows that either the paint was still not fully dry or is just bad cheap paint as it went and stained the wood) and you can actually see a bit of improvement even on the worst (the transfer tape on the untreated side) film.
Bottom line, it looks like you should stick to films that are designed to work as masks to mask your work, and for cleaner lines, seal the wood (if using wood) before applying the mask. This can be done by either painting or putting some sort of clear coat.
And don’t forget to put a layer of the bottom color (or clear) down OVER the mask AFTER carving before moving on to the final color. This will seal the edges and prevent bleeding under your film.
Hope this was helpful to anyone.