Hi,
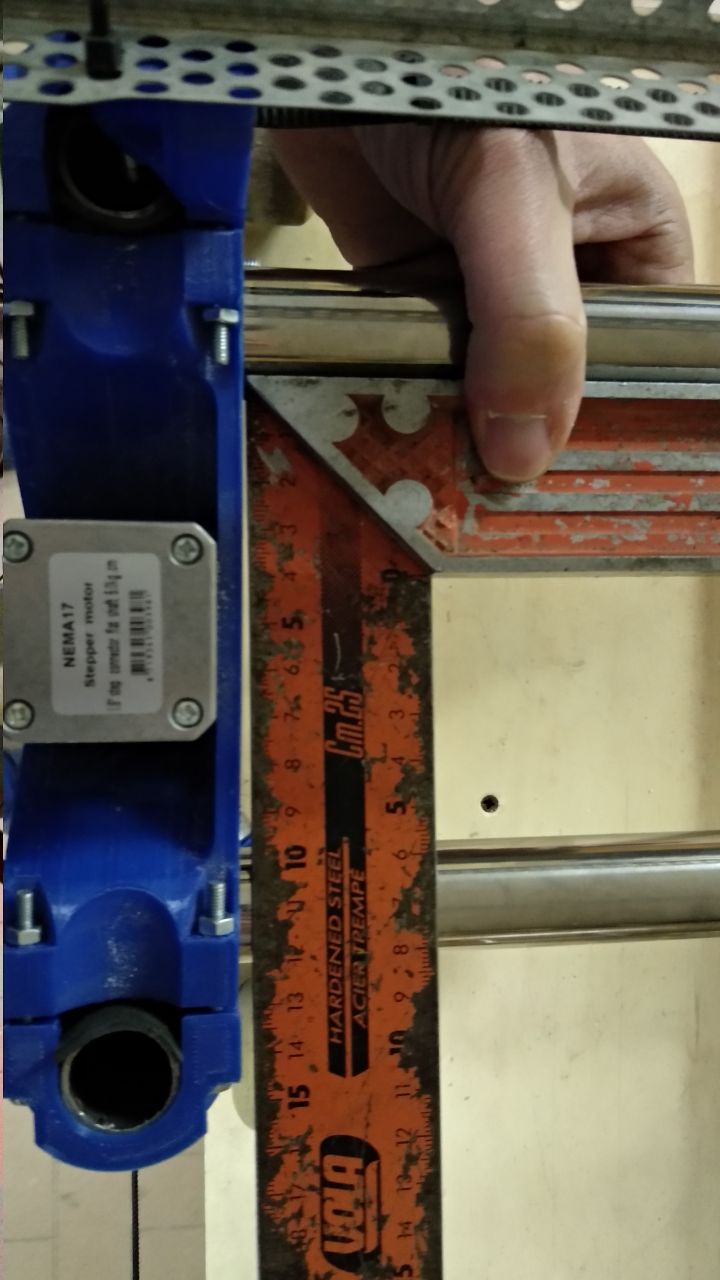
my LR is out of square, meaning that the X tubes are not 90 degrees with the XZ main. I am already using it but it is something that starts to be annoying.
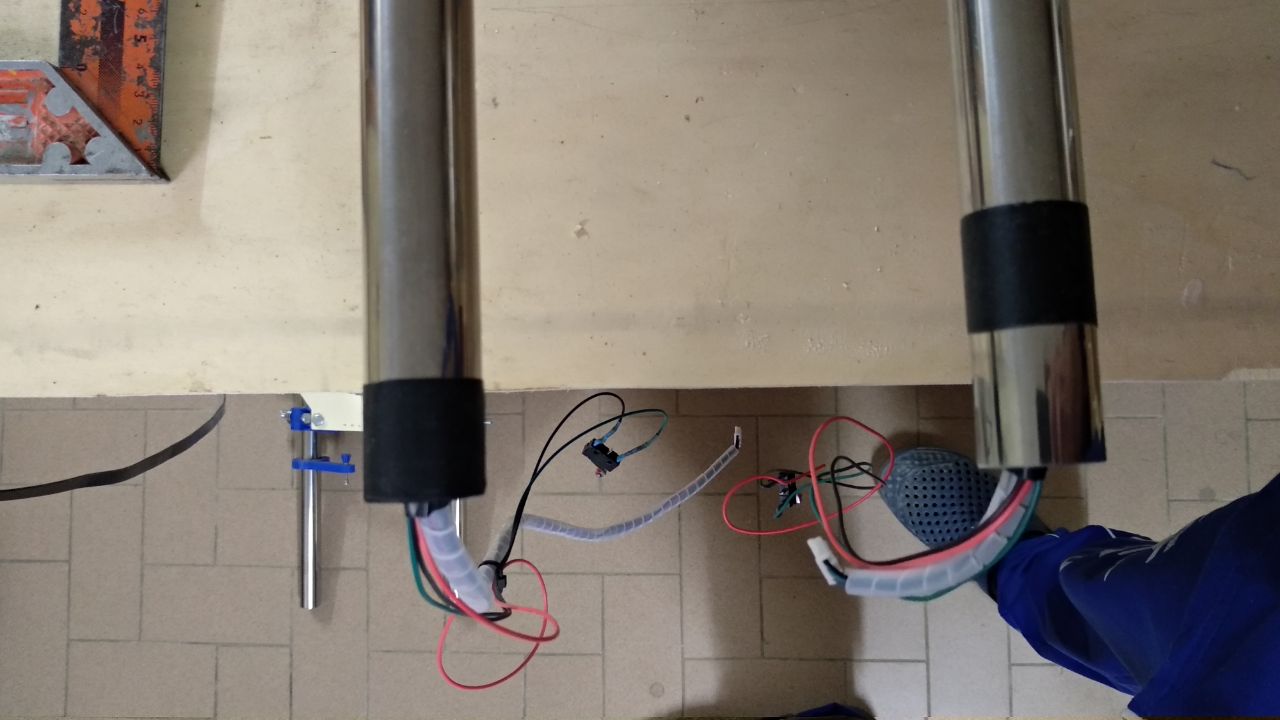
I am running a dual end stop setup but I think it is not something I can tune with the autosquaring.
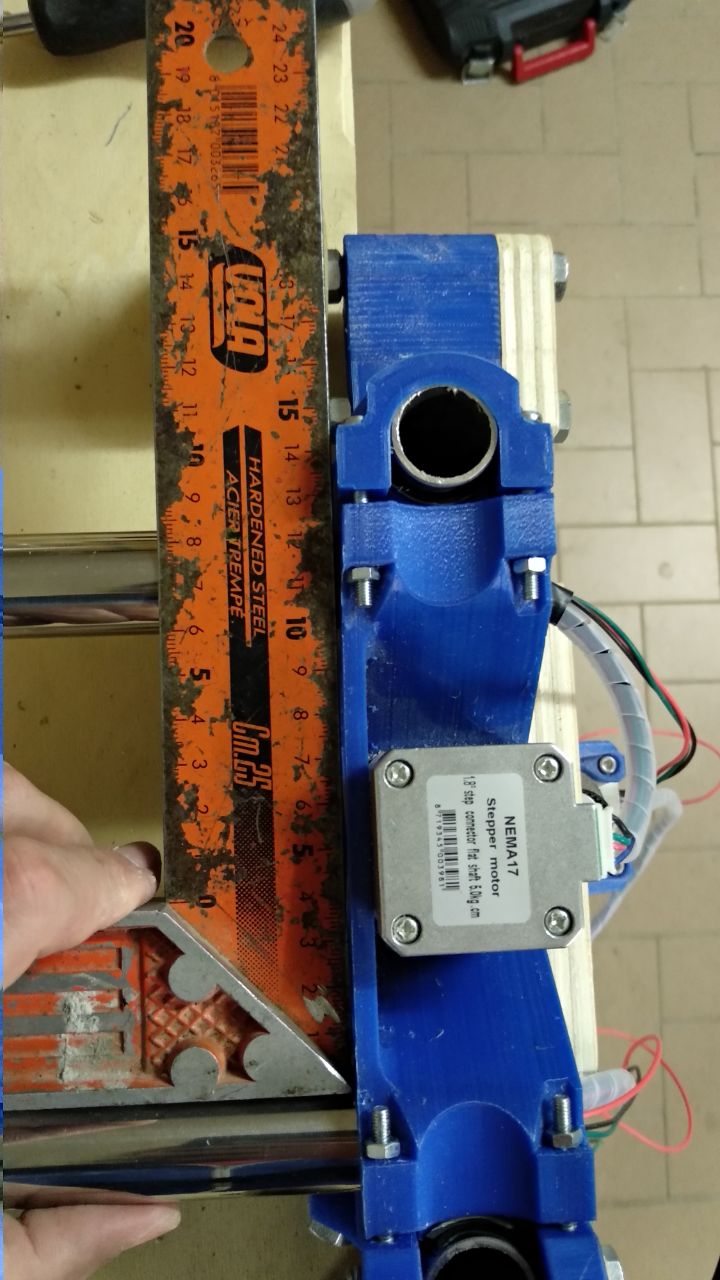
I tried to loose all the screw of the XZ and the XZ_side_belt, move everything to put it on square manually and than close the screws.
When I tigh the screws everything go back to the out of square position. I think it’s because the tubes sit against the rounded walls of the XZ_main that for some unknown reasons are out of square.
Z tubes are parallel indeed the LR can sit firmly on the truck.
Did you ever seen this problem? Suggestion before start to unmount and remount everything?
I printed all the parts with my Ender in PETG (Not a good idea, I know ).
On the opposite Y plate I have the same problem (mirrored).
The X tubes are parallels to the table border and the router plate is perpendicular to the tubes!
Just checked some pieces I milled and the angles are 90 degrees.
I am guessing I forgot some “line” of brim in the XZ_Main that does not allow the tubes to fit perfectly.
In any case this misalignment should create problem. Maybe also the wheels are not perfectly aligned… with all the possible consequences.
The reason I asked about the prints is that I am wondering if maybe the printer wasn’t square when printing. Maybe the frame was racked a little and the inside of the part isn’t square with the bottom. When you tighten it, it pulls the tubing out of square.
Maybe there is a place you can shim it? Or else, maybe install some tracks inside the wheels so they at least track consistently, even if it isn’t in line with the Y plate.
If you want to try reprinting, print a test (there are some that look like the square you have, but extrude out 100mm or 150mm in each direction). Once you get it square, don’t move it. Some of these frames can twist without you really noticing.
Also, make sure the orange square in your photo is actually square. You can tell by marking a line from the edge of the plywood, and then flipping it over and making sure it still lines up with the square.
That is a bummer, but I bet you can still get a lot done by just adding some tracks for the wheels to stay inside of.