So in my living room, the TV sits over an Ikea Kallax shelving unit. It’s not a bad setup, but the only thing I do with the TV is watch movies either on my LAN, or via streaming services, maybe a blu-ray. The TV does ok with Netflix, but the rest requires a PC. At least the LAN stuff does.
I have a micro ATX case that fits, but I wanted to get some gaming on the big screen too, and that machine is a full sized ATX mobo.
Full sized ATX is 304mm wide. The shelves are 335mm wide. There doesn’t seem to be a case for full size that fits, though there is room.
Well, if I want it, and it doesn’t exist, then why not make it?
(Cheating though. I made the first version 3 years ago with the table saw and drill press, and 3d printed parts.)

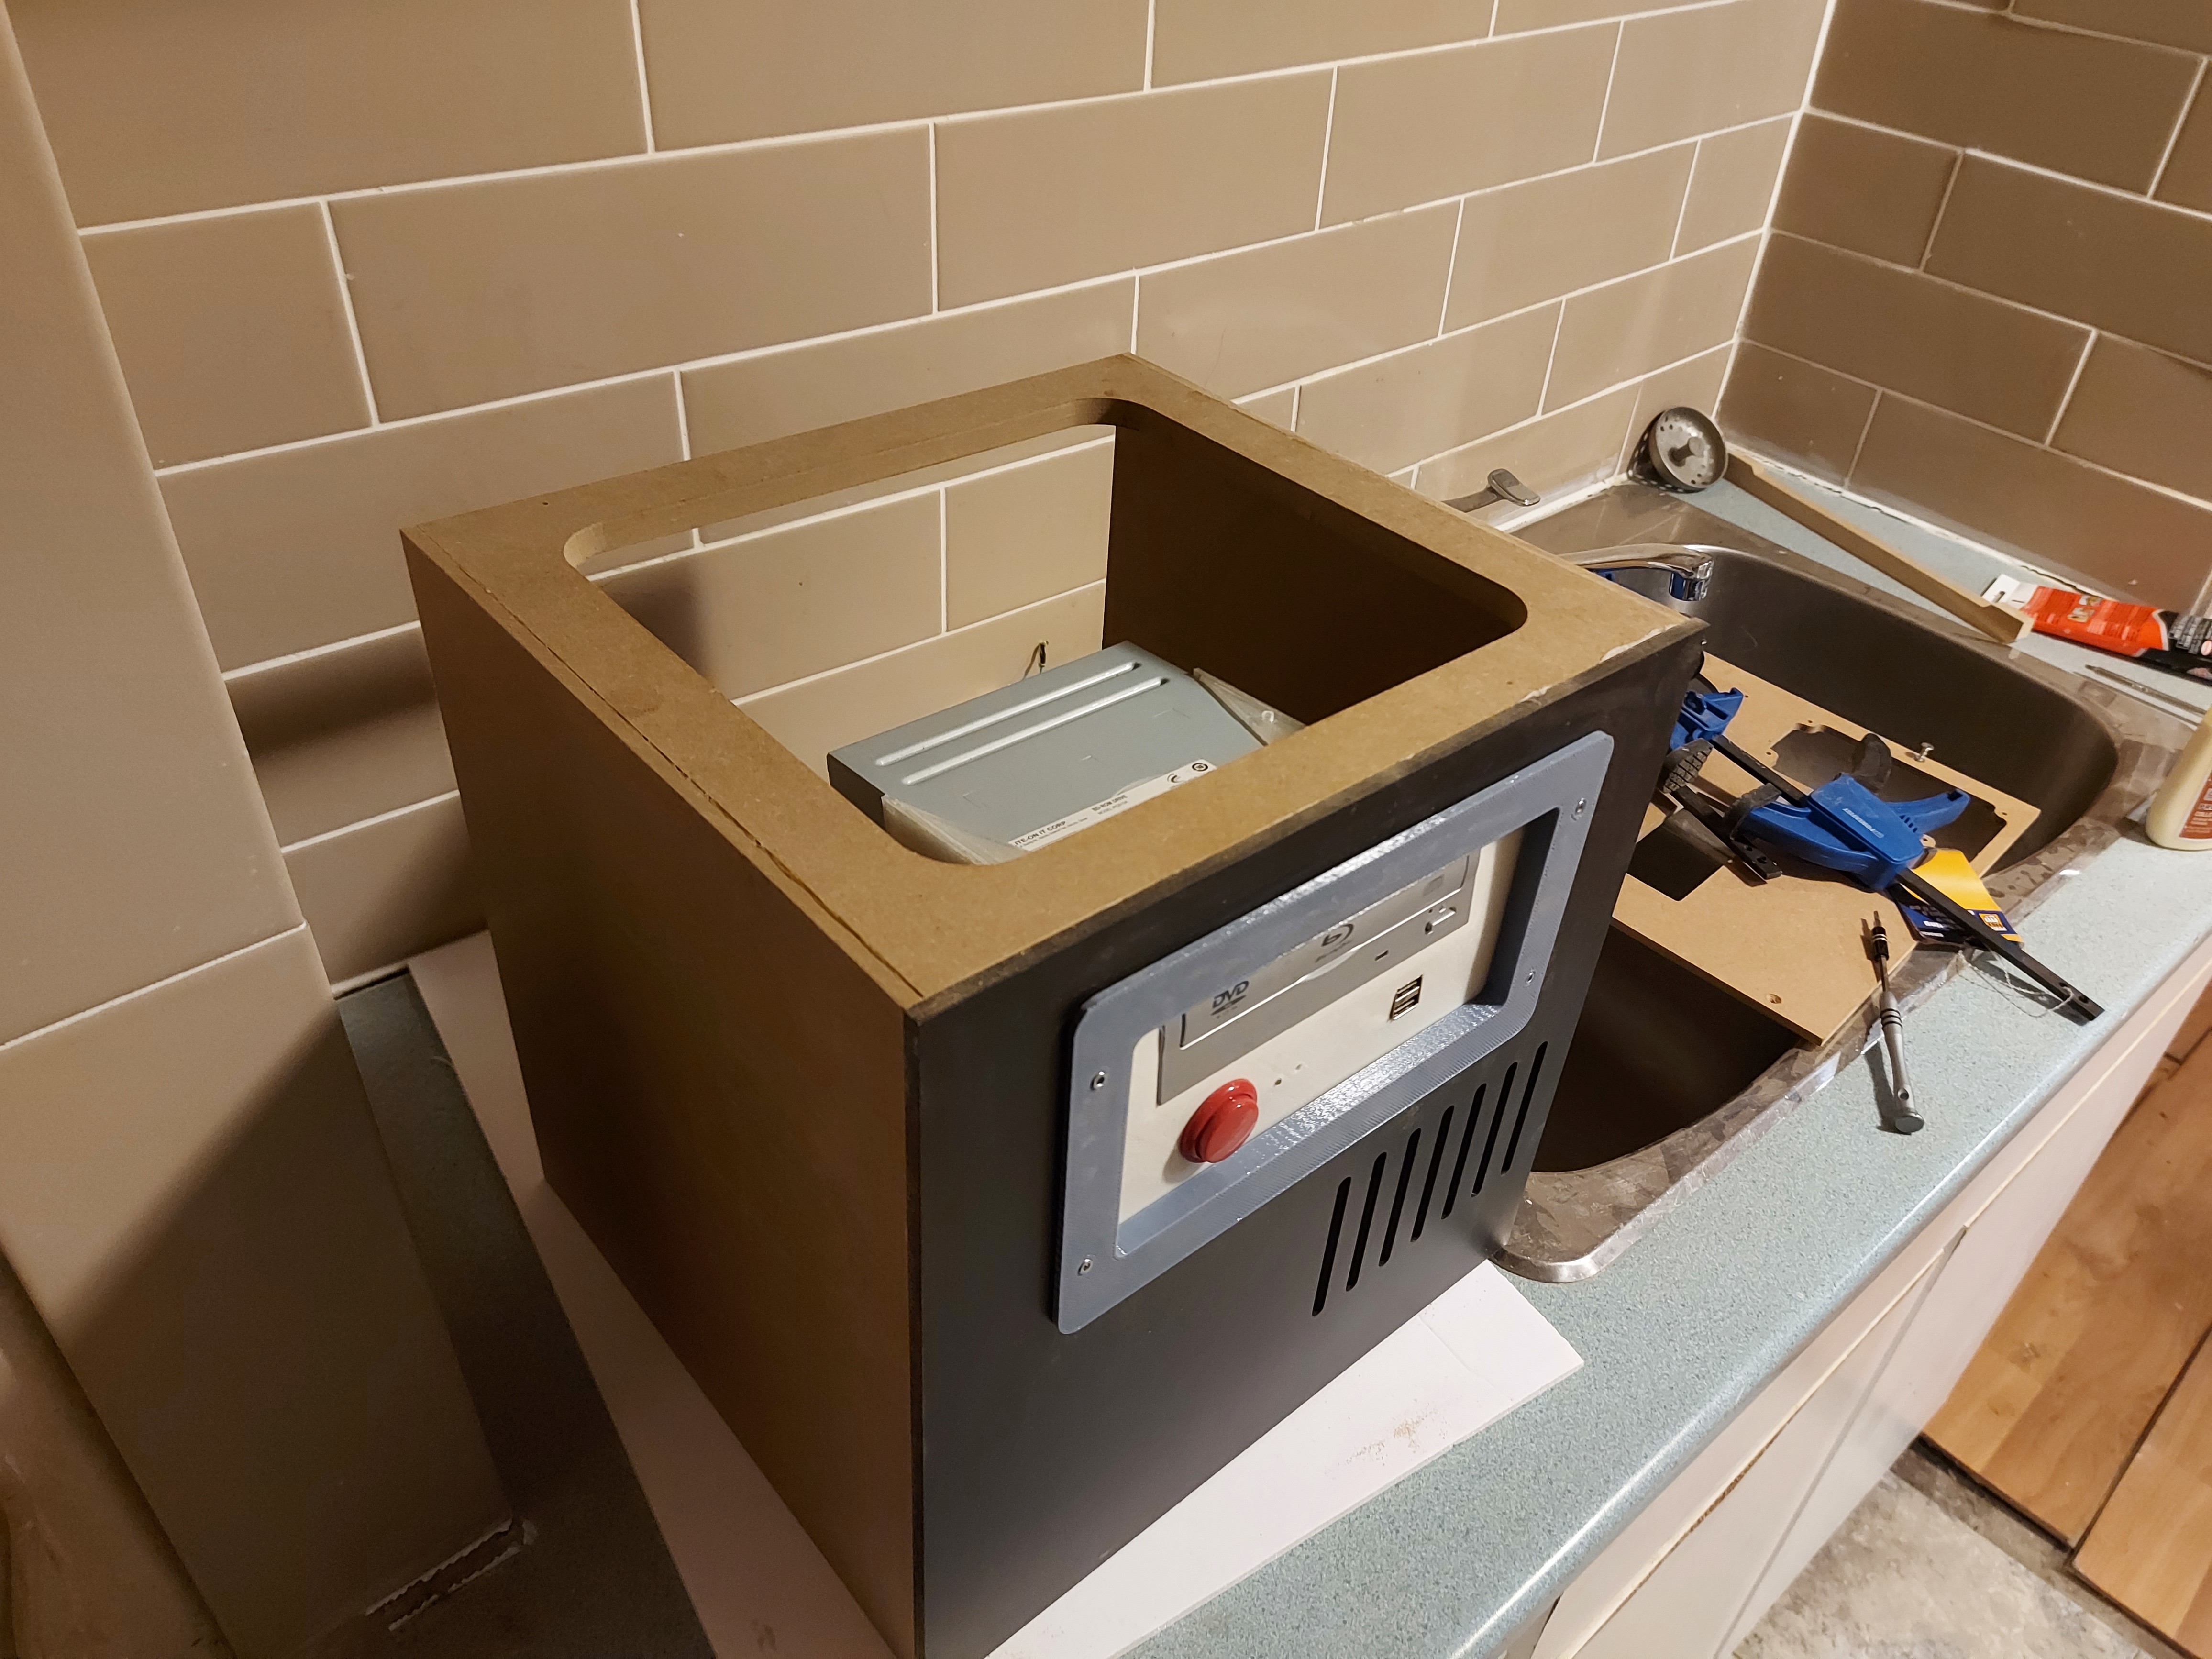
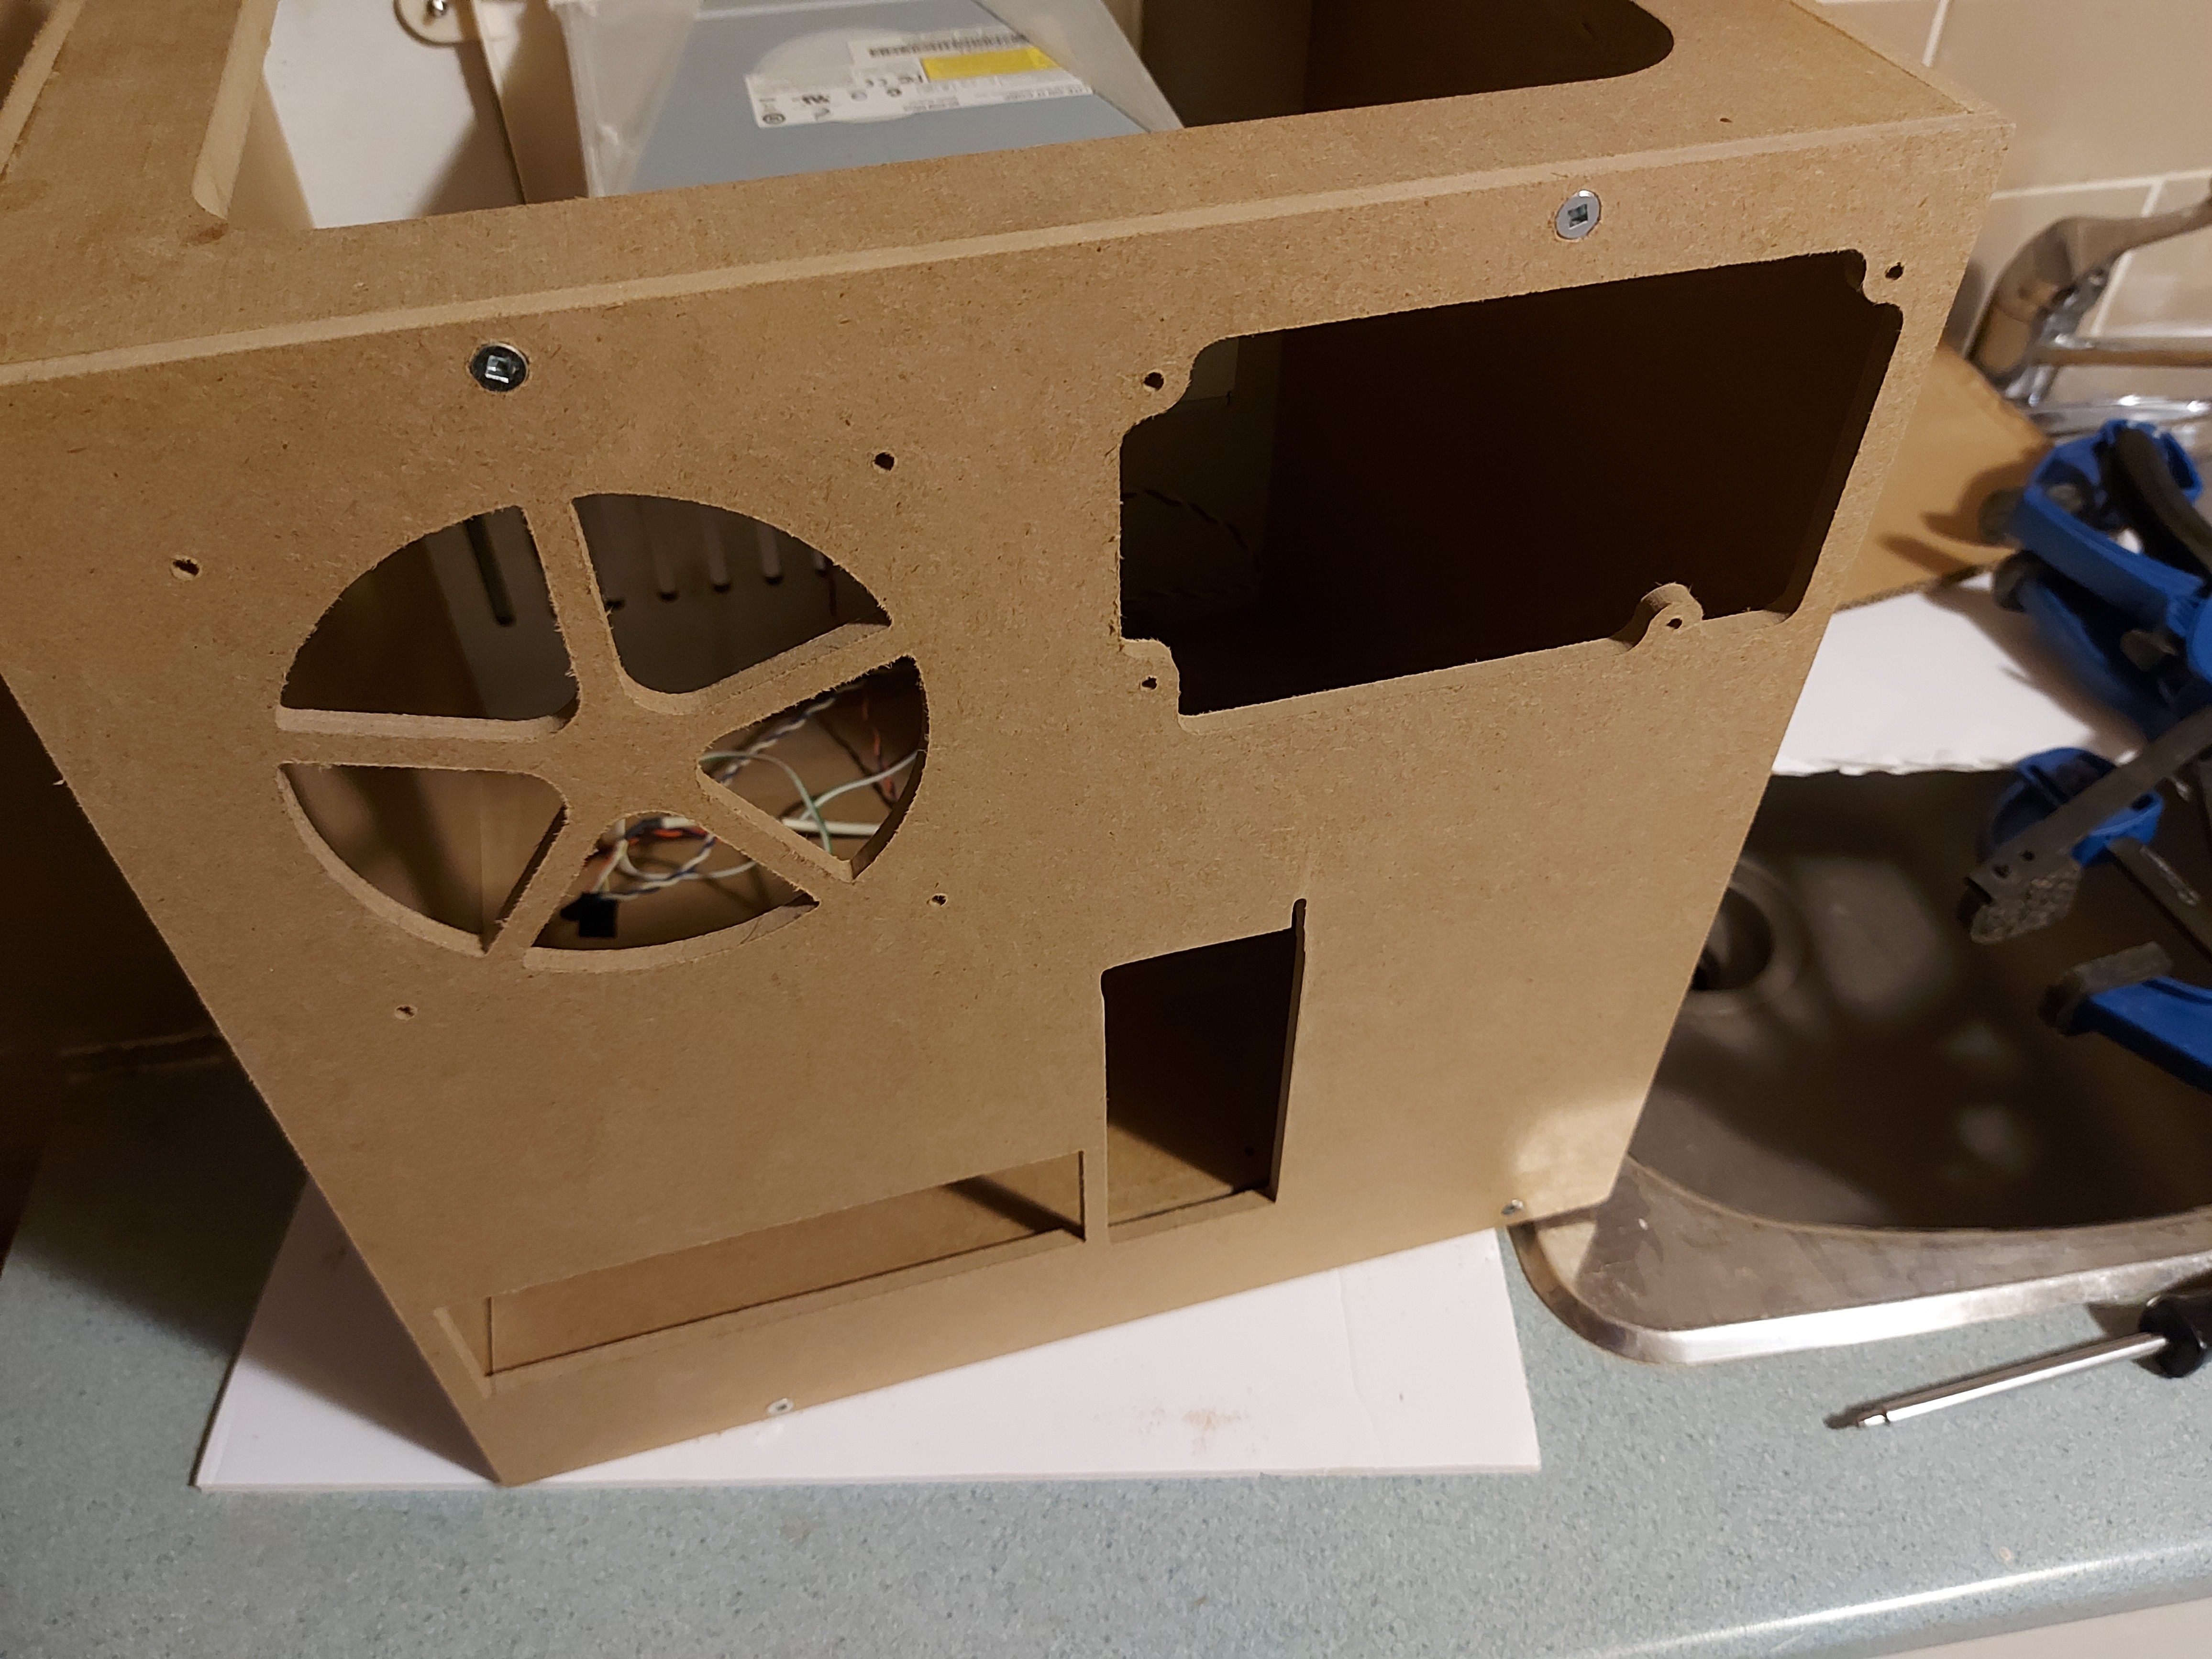
The top and bottom are 1/2" MDF, both have a large open spot, since that’s primarily how I’ll get to what’s inside. The back is 1/4" MDF, with a cutout for a 120mm fan, and the ATX PSU. I goofed the opening for the video card in CAD, I specified its height relative to the I/O shield, and it went down instead of up. I did a quick manual re-cut to make it work.
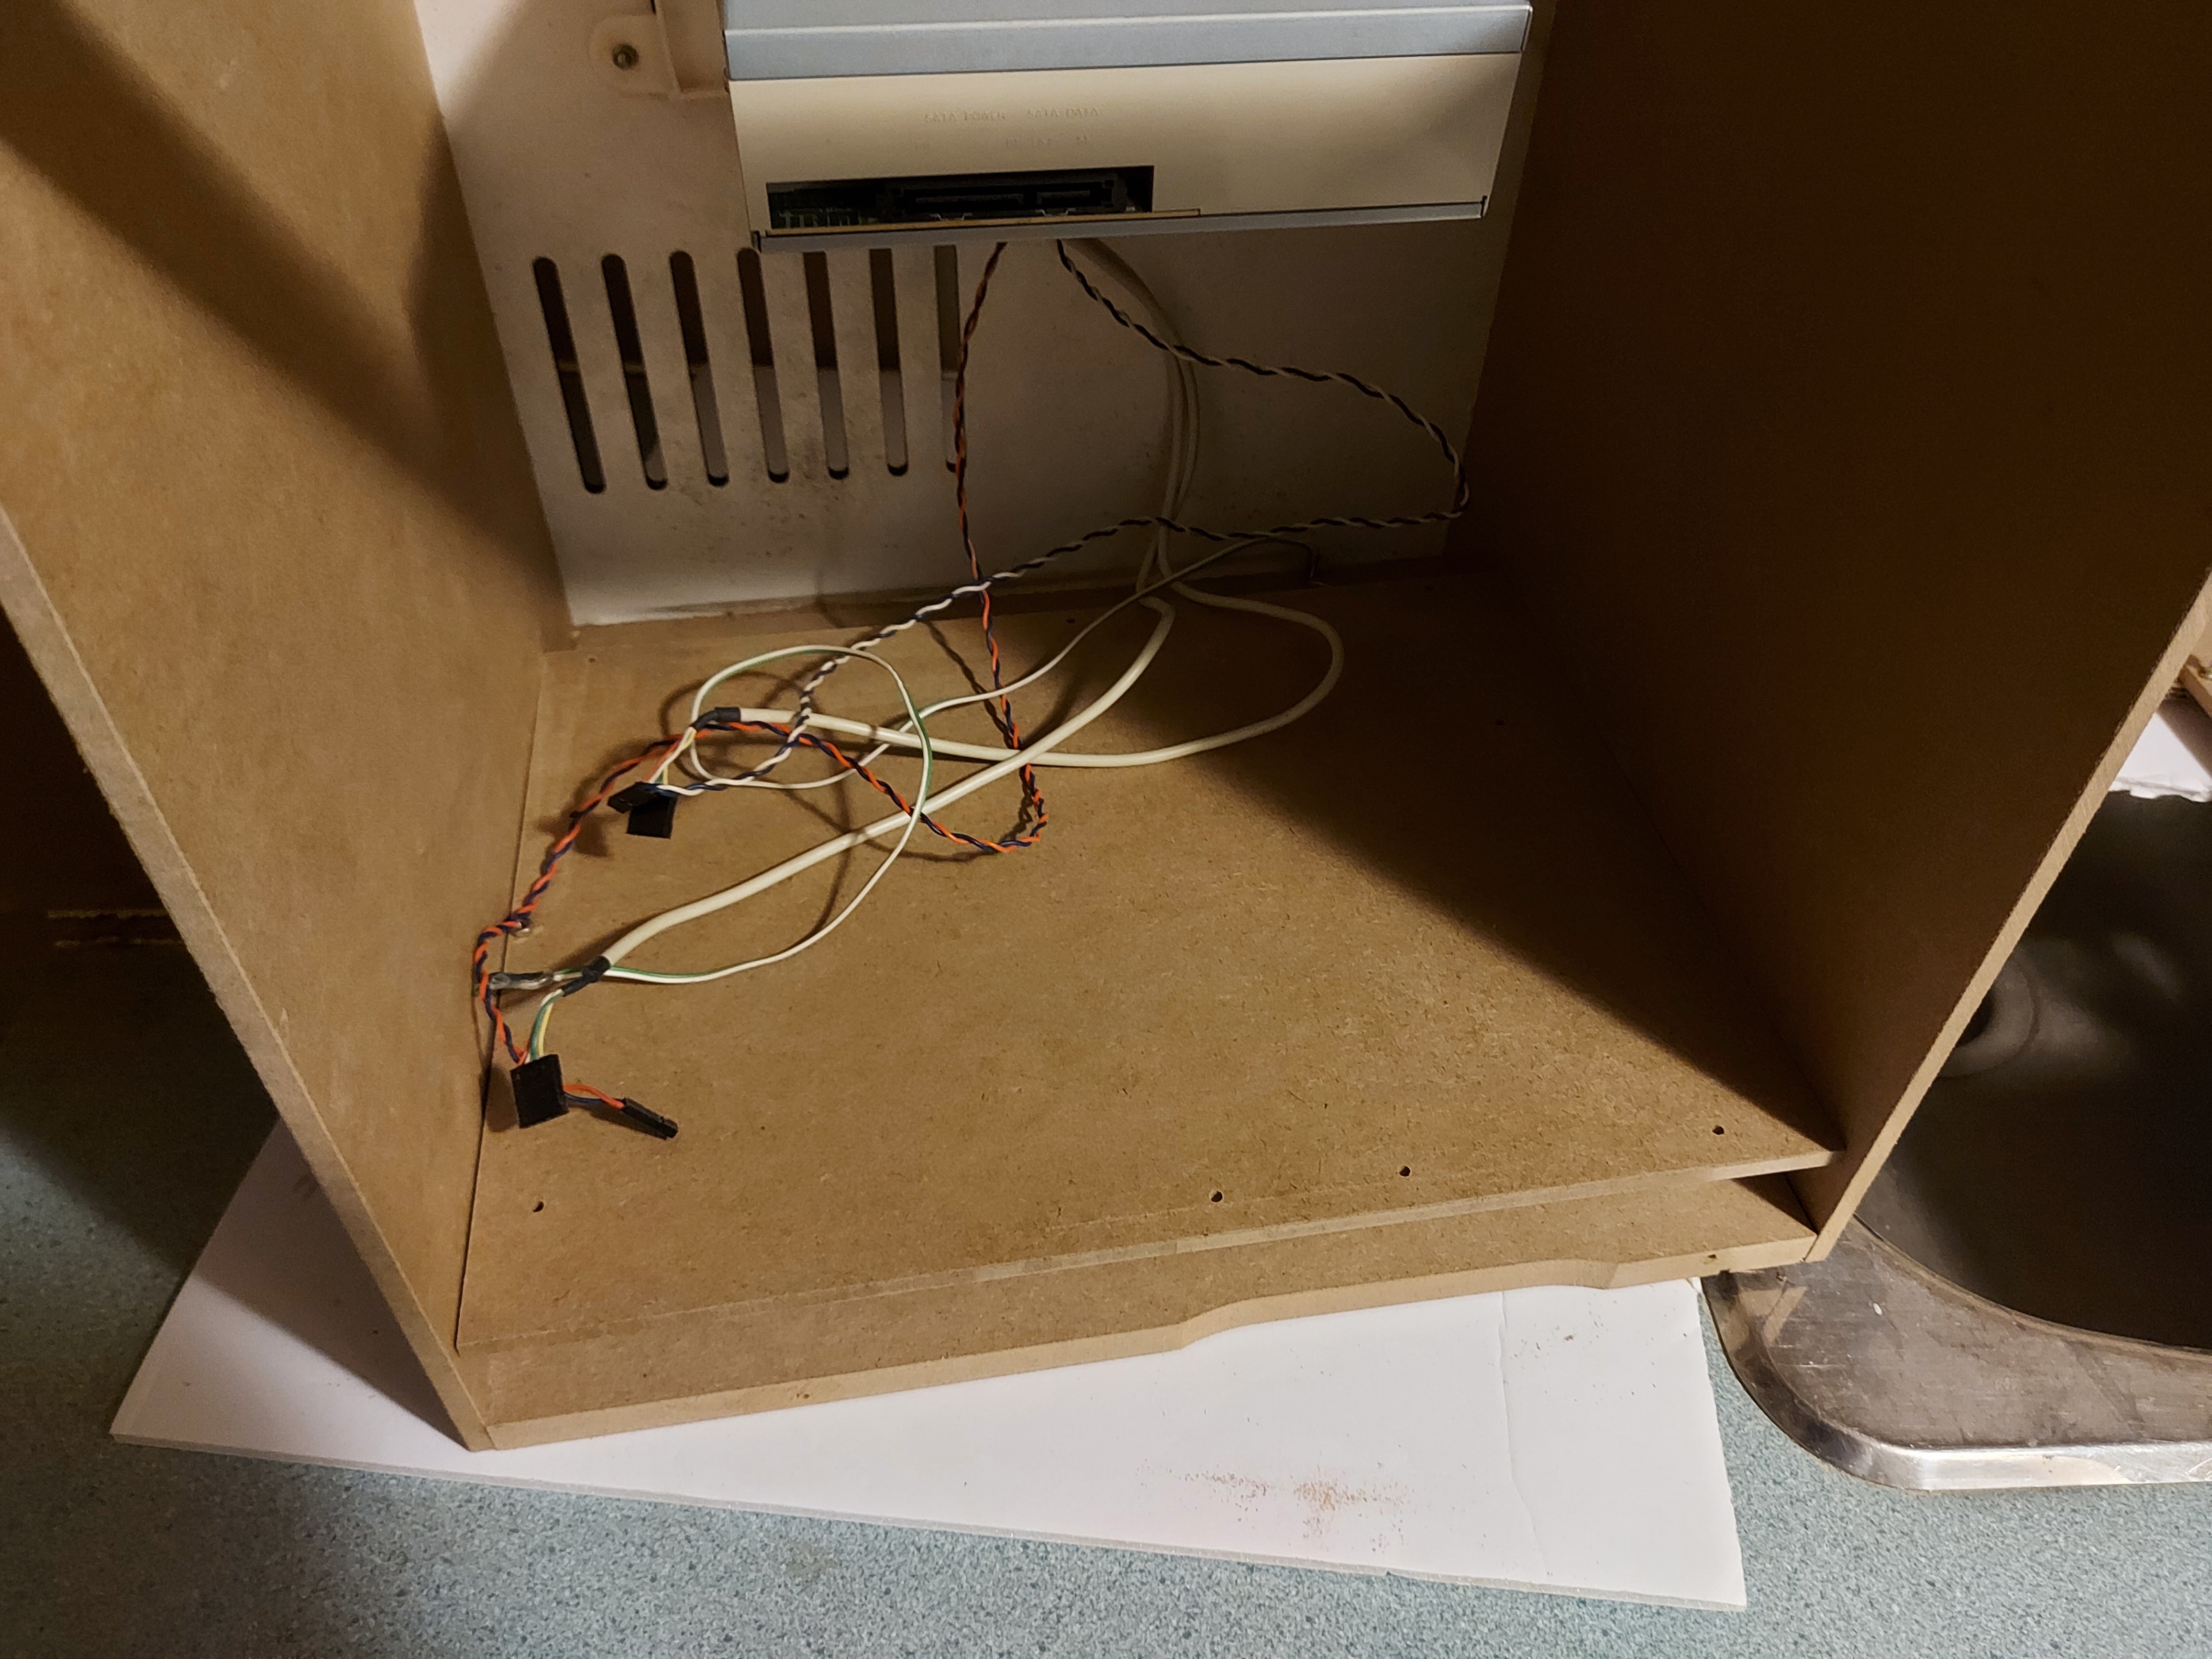
The whole thing is held together with construction adhesive, and the back I’d held on with 4 #8 wood screws to get to things too big to pull out the top.
I still need to install the motherboard stand-offs.
Provision inside for a 3.5" and 2.5" HDD. It should handle a PCI-E video card, up to double width.
The first version didn’t have a back panel at all, and no cooling slots in the front, also no top panel, just a brace at the top front.
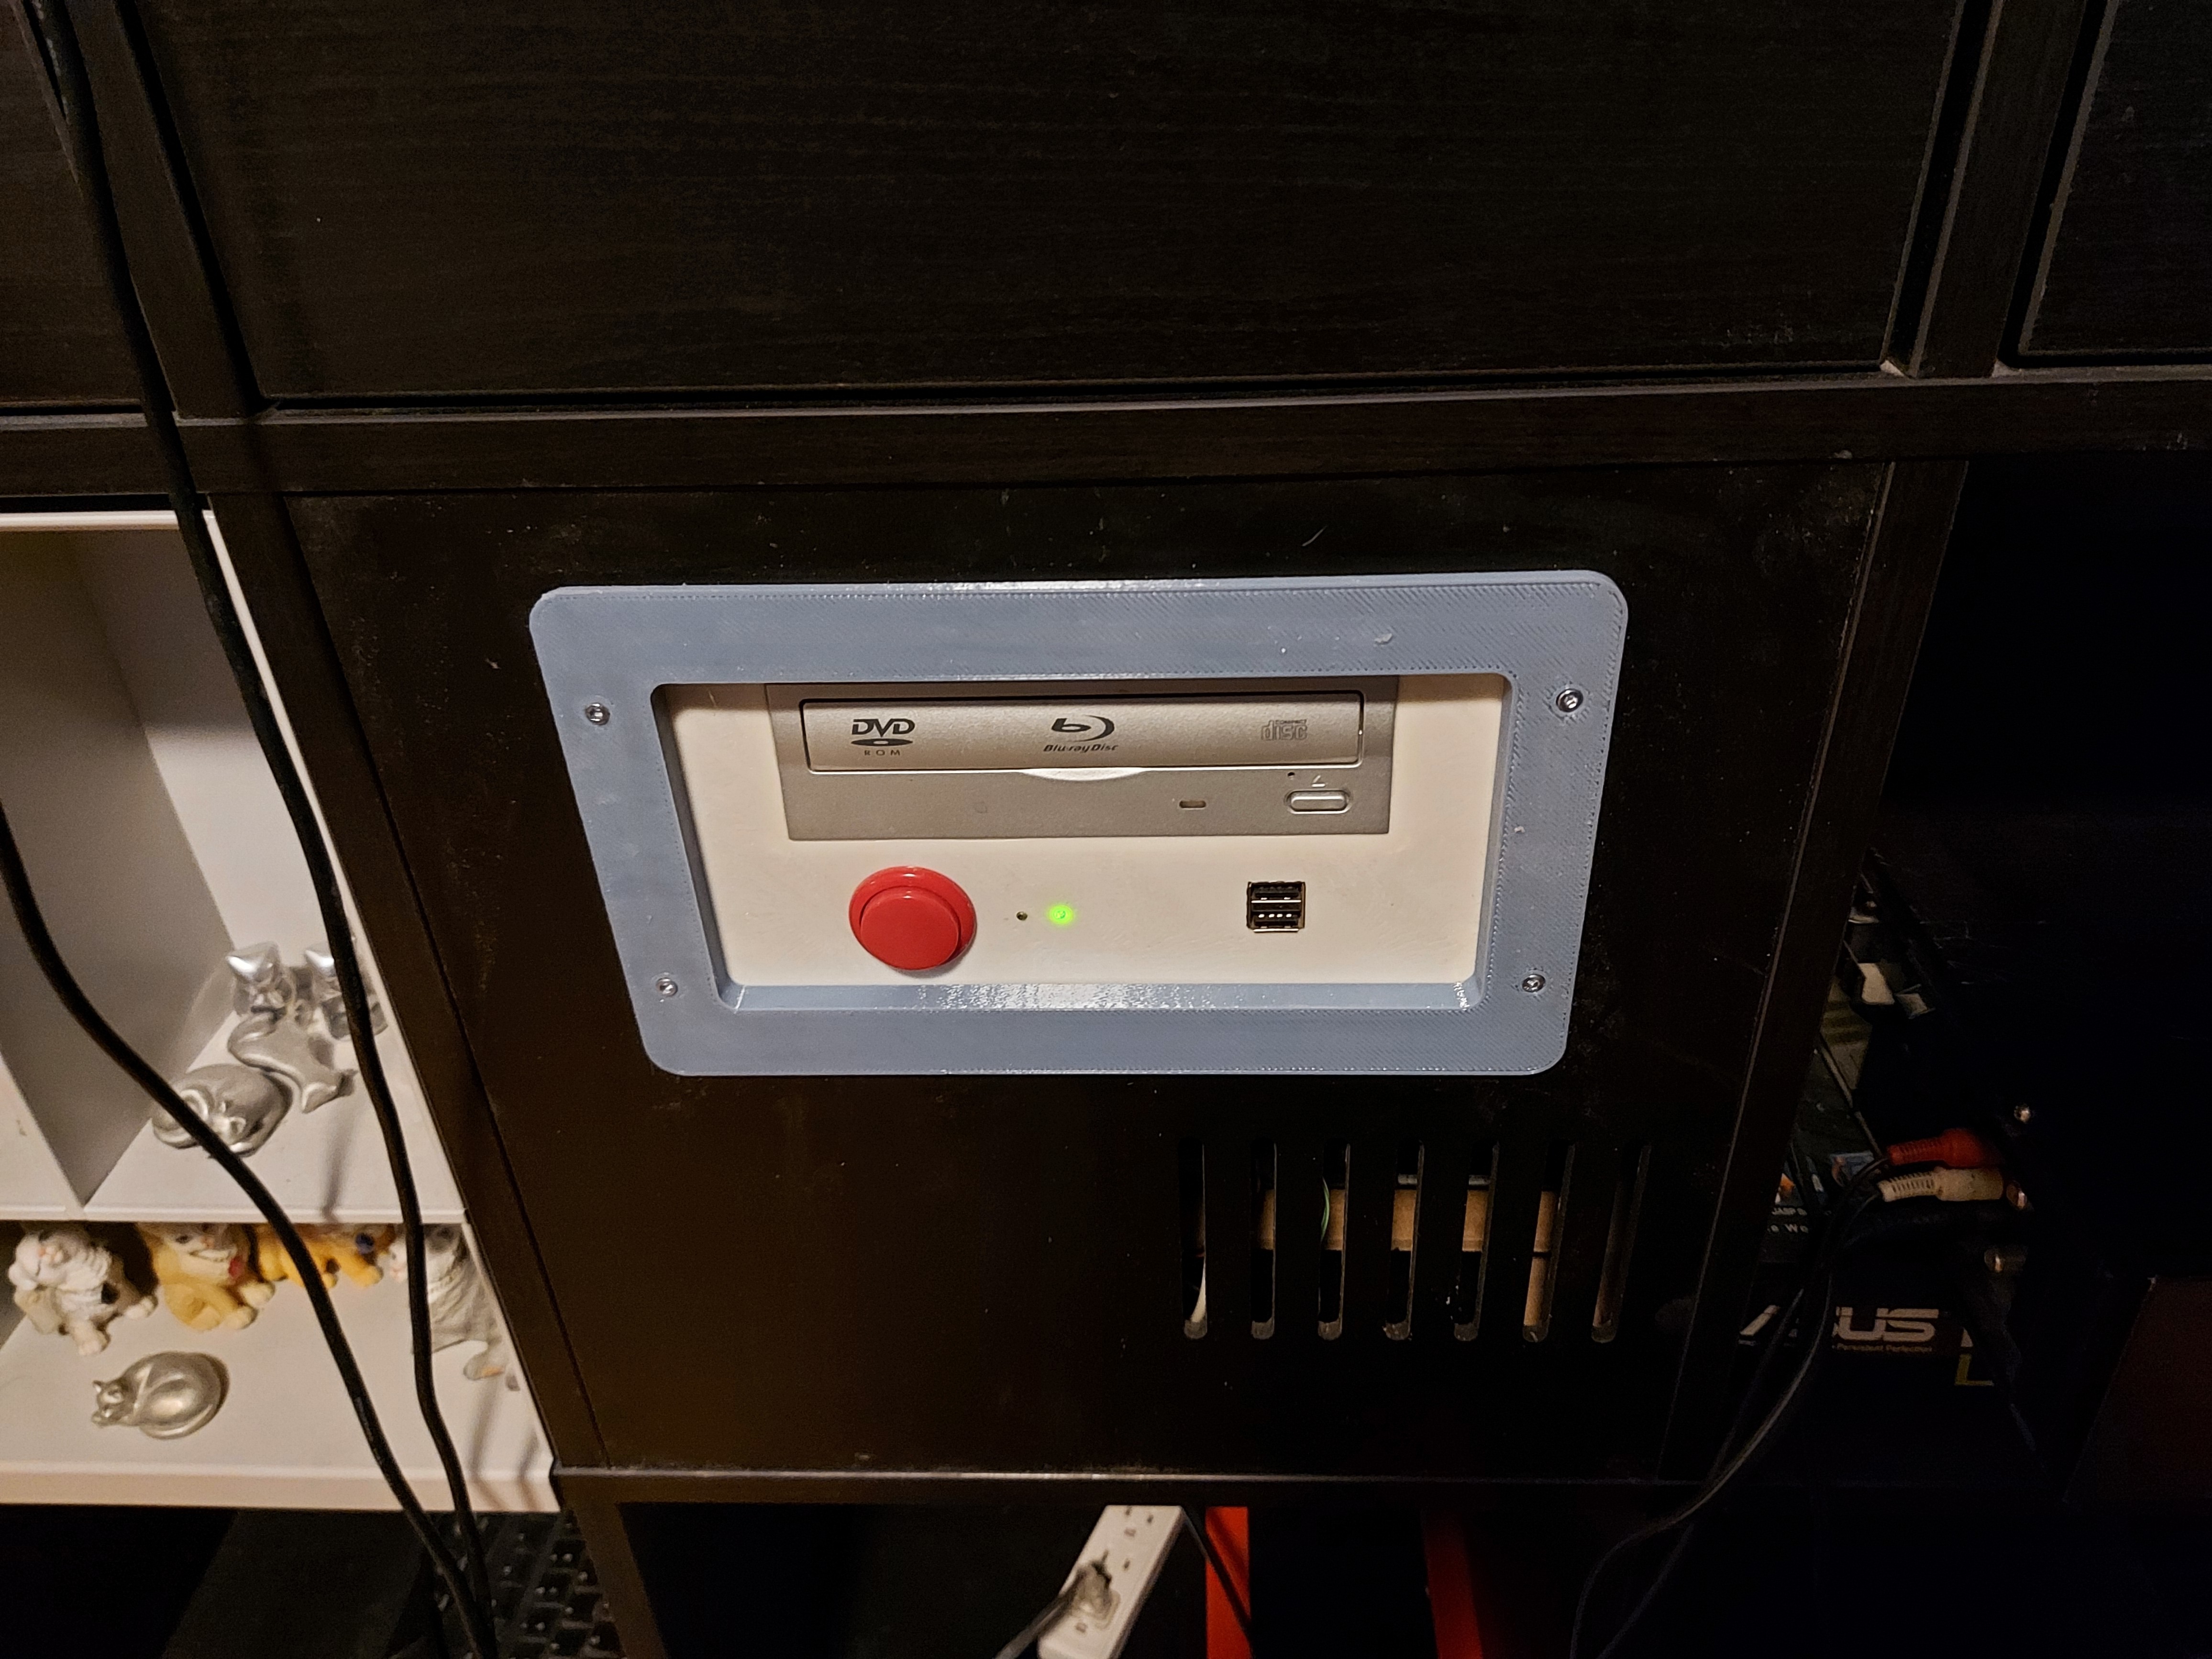
The 3d printed part is the bezel and insert for the blu-ray drive, USB ports and power button. It also attaches the drive holder for the 2.5" and 3.5" hard drives.
The USB ports, power and HDD LEDs were scavenged from a junk PC case. The power button is a cheap 30mm arcade button that I has spare. I also did up a case with a floppy bay for a card reader instead of the USB ports, but I never printed that version. Maybe I’ll do that later.
Naturally this will fit a micro ATX motherboard too. I still need a bit of work to put in a card support bracket, right now it depends on motherboard fit, and the slot in back is just extra wide for cooling. More cards would need a new backplate, which I might do once I find the document that has the specs for the opening sizes and relative placements to the mobo.
The specs are weird, 0,0,0 is defined as the mobo top at the center of the screw hole on the far side from the CPU, so even though many screw locations are interchangeable, all the numbers for micro ATX end up different, though from the screw between the CPU and the I/O shield, they should be mostly the same.