The esp32 is not that much more expensive (still less than $10). And it uses a separate core for the wifi. That used to be a bigger deal, but the software is better at handling the multiple tasks now. The digi quad has 4 outputs and the animations are smooth and the web interface is snappy.
1 Like
Am I mistaken, or does the ESP8266 use 5v logic, but the ESP32 only does 3.3v and (can) need a boost?
Not that I have seen. I have used them both on 5V lights for things like the sand table or my fish tank lights. They both use 3.3V digital outputs. That mostly works because 3.3V is higher than 5V/2, so a 3.3V high looks like a high for most 5V electronics.
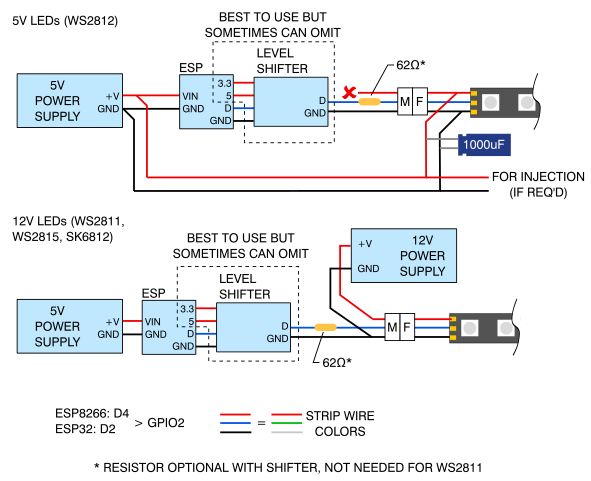
This image is what I followed for the projects where I haven’t used a daughter board. The level shifter is really only needed if you are trying to have a very long cable to the start (in my experience). I don’t see any references to one kind of esp or the other.
1 Like
Well then I’m an idiot… 
I guess I’ll be putting the few ESP32s I have to use soon. These things are addicting once you get them figured out, they can go anywhere!
1 Like
The reason that the 3.3v output works on the LEDs is because the first pixel is acting like a proxy. The Pixels don’t “like” the lower voltage for the digital pin, but it will tolerate it. Once the first pixel gets the data and passes it down the line, the signal is now running at the 5vttl that the rest of the pixels want. You just want to make sure the driver is close to that first pixel as any extra voltage drop could keep the first one from getting a good ‘hi’ value on the data stream.
I have one opening and closing the door on the chicken coop just so it can use NTP to keep the time set correctly and it gives me a remote method of changing what time I want the coop to open/close.
1 Like
I like it!
There’s a ton of stuff that I need to finish up on my smarthome setup. And I know those ESP32s have a bunch of smart thing uses, so I’m sure I’ll find a few fun things to get 3/4 of the way done.
I’m working on another one now to monitor and control a planted aquarium. Luckily the control is easy, just CO2 and heater.
I ran into an issue with the stock ADC due to the drift and non-linearity of the built-in analog on the ESP32. Luckily the easy fix is to throw an external I2C ADC on it.
Esphome is really great for other home automation esps. Even if you don’t use home assistant.
1 Like
@jeffeb3 Thanks for the diagram. Once you posted that with the source, I remember seeing it on the WLED Git page. On the 5v diagram, is that a 1000uF capacitor on the power injection lines? I haven’t quite decided on 5v or 12v, but really either will do. The biggest thing now is I just have to measure the house to figure out how many to get, and then build out the BOM to present to the CFO.
I really would like to thank you, @niget2002 and @gspitman for all the info you have provided here. It has made me realize this is easier and closer for me to do! It is very much appreciated!
3 Likes
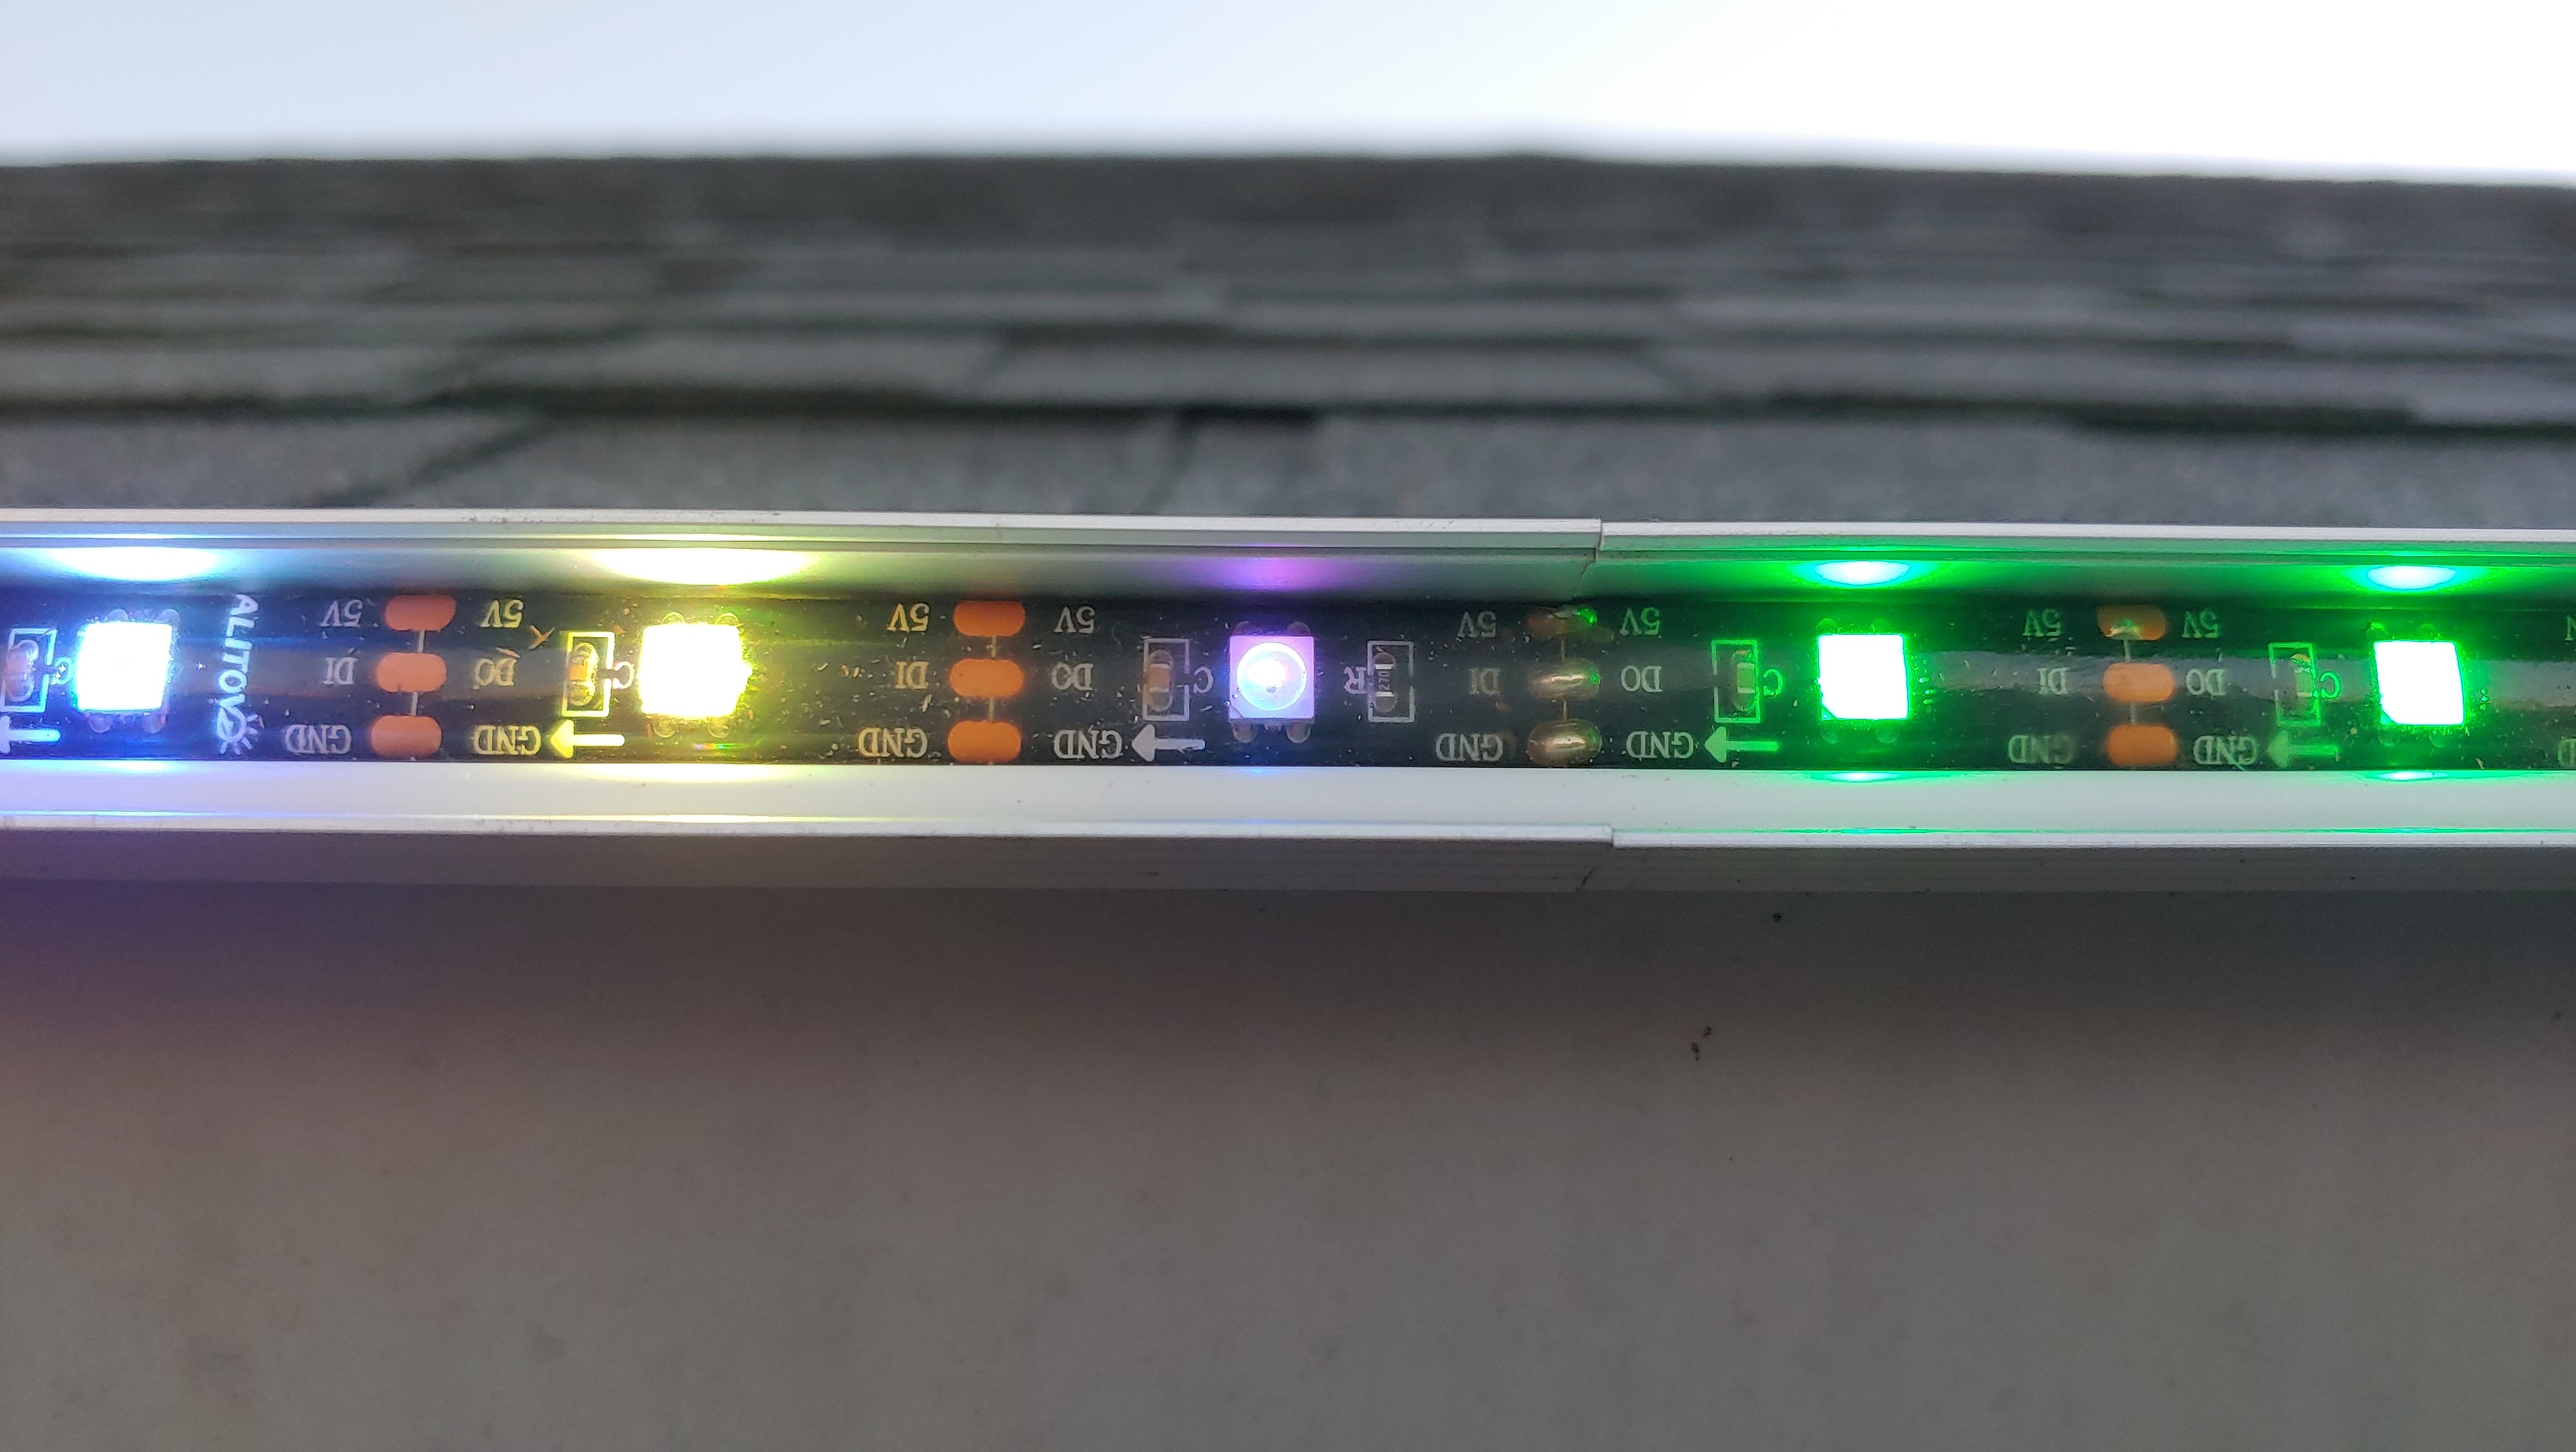
Good news. I found the dead pixel.
I soldered up a ‘patch’ pixel last night. Tonight I’ll try to cut out the bad one, solder in the new one, and hot glue over the solder joints to seal everything up.
1 Like
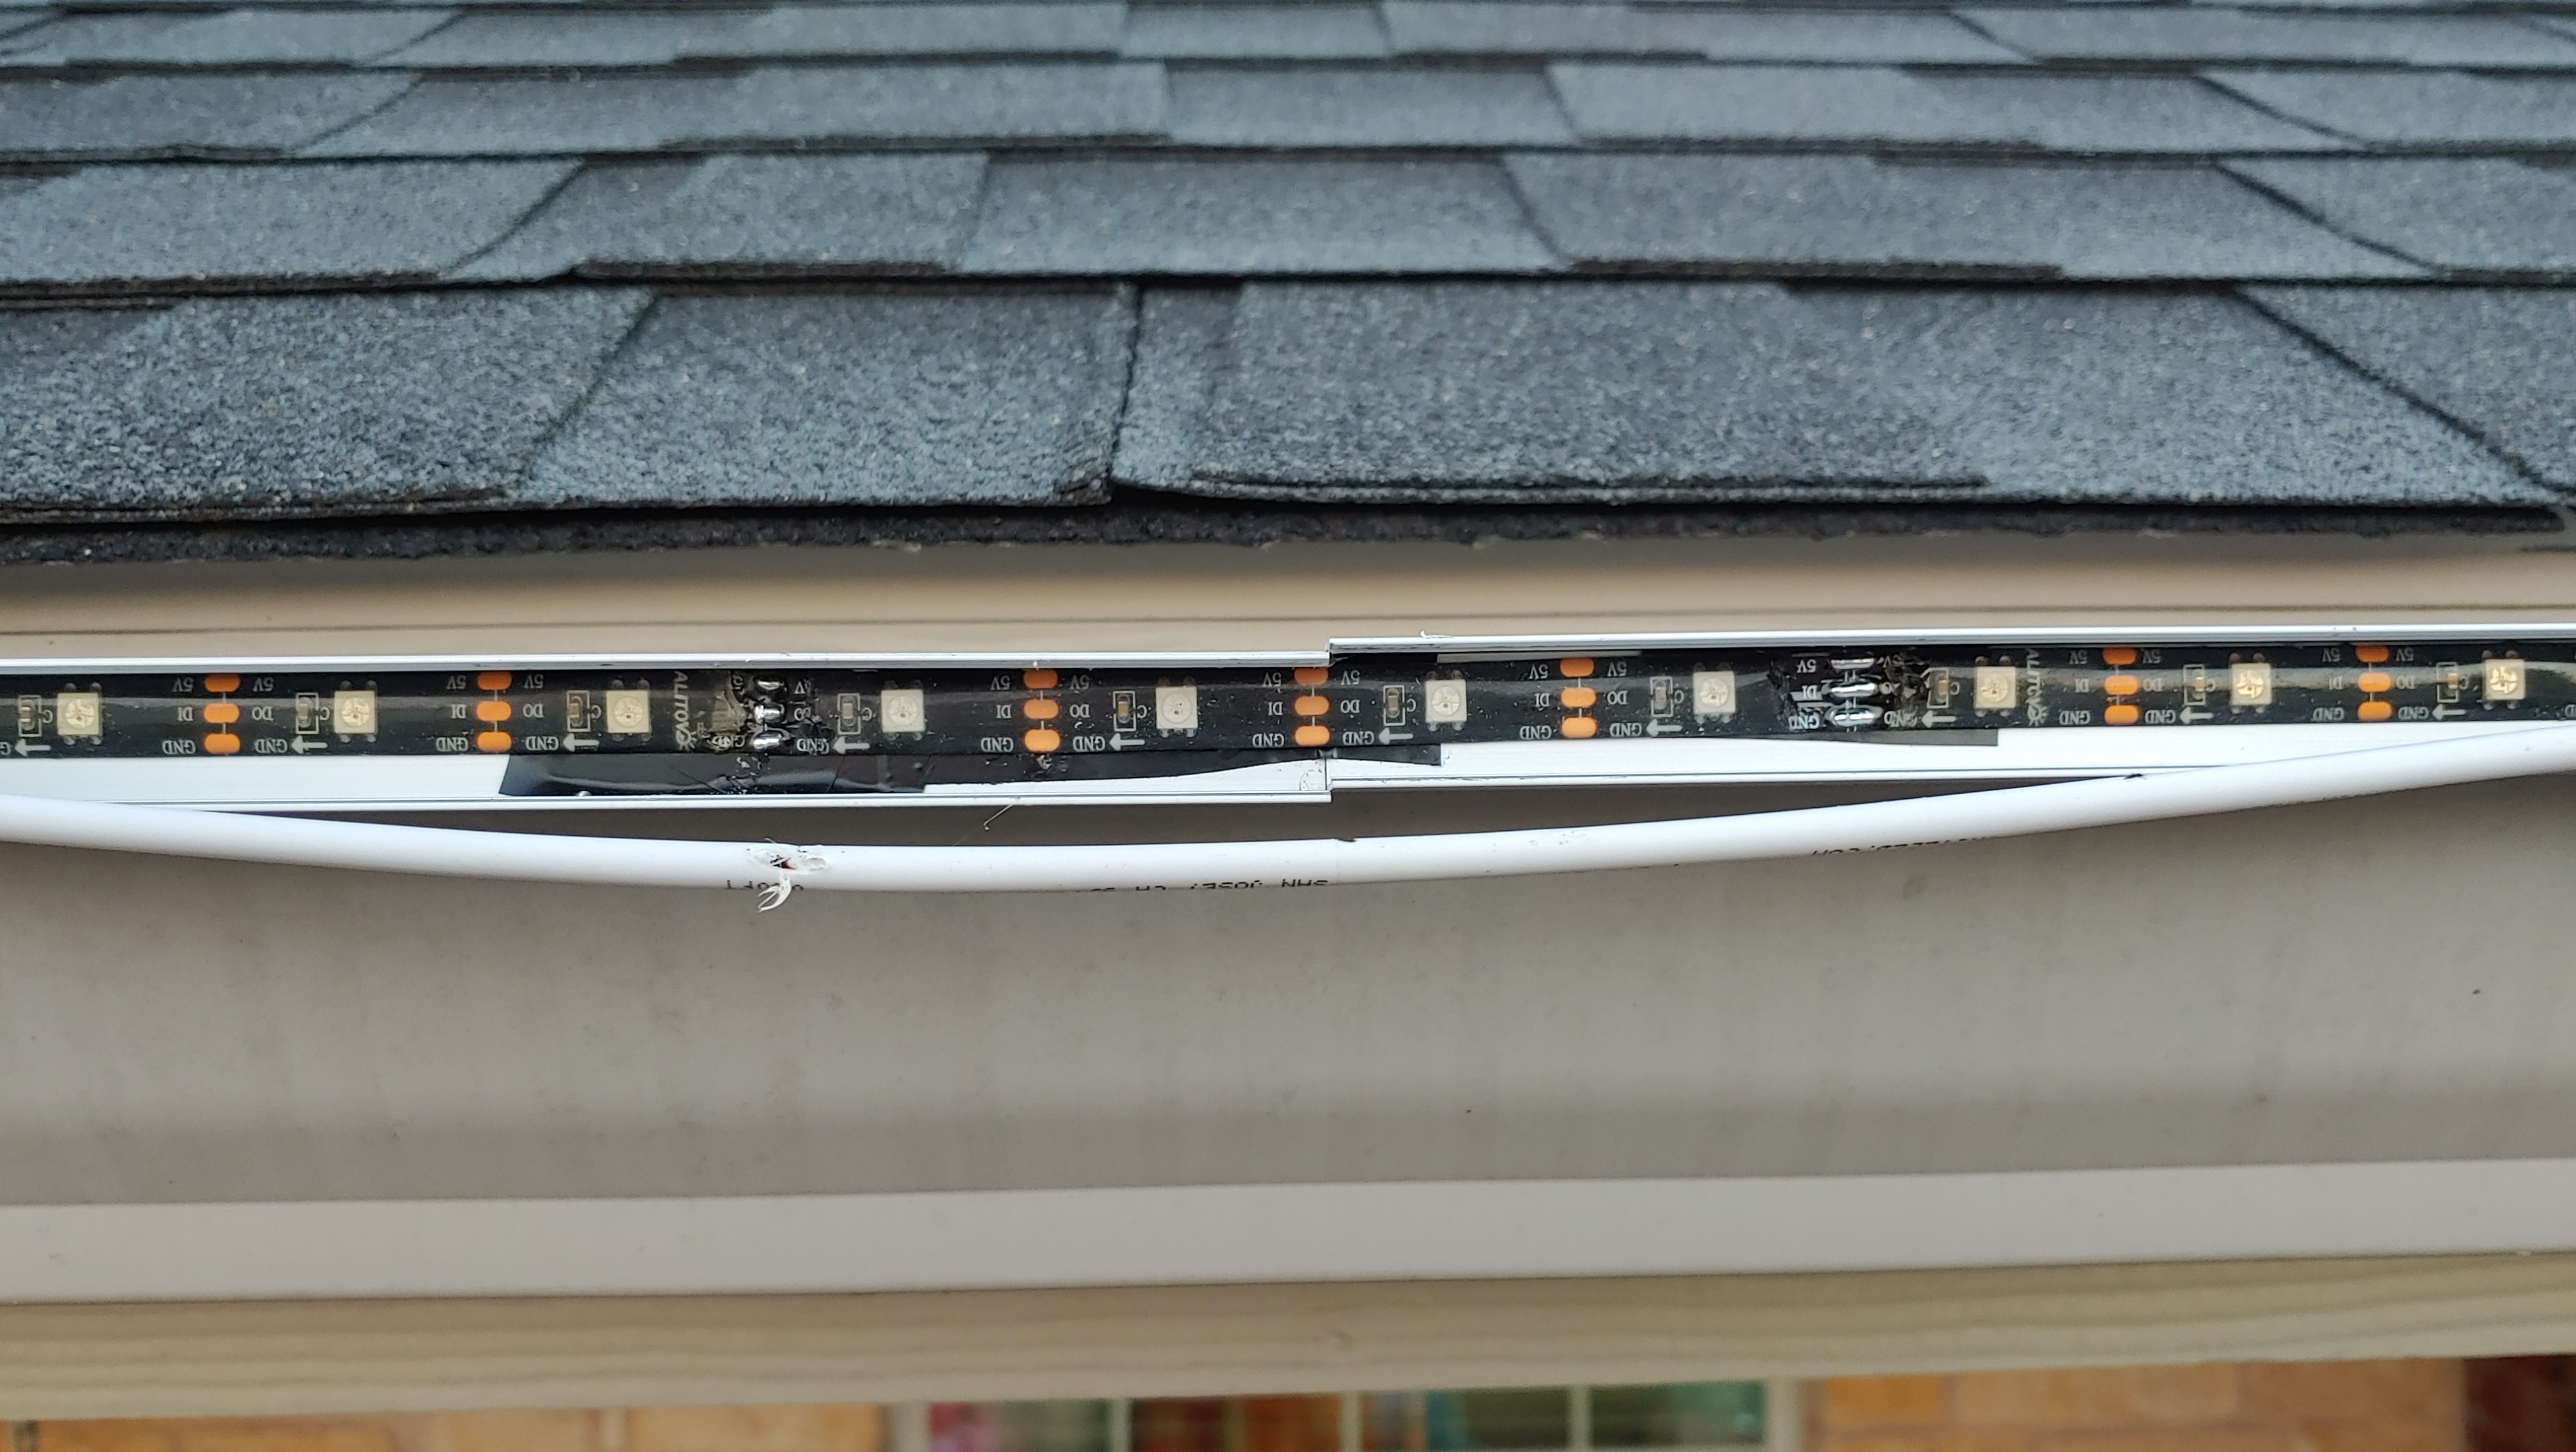
Did the power injection wires survive the nic with the soldering iron?
Also, I like the insulation technique with it on the aluminium so even if the leds shift it won’t fall off!
Yeah. The nick only went through the outer white sleeve. I put a dab of hot glue on the hole when I was gluing the rest of it.
1 Like
How’s the whole install looking?
I didn’t add anything to it this year except 2 more blow up animals.
The rest of the eaves are working as expected. I’m just doing a simple multi colored twinkle this year that fades to solid white at the end.
I grabbed a bad picture of the front of my house with the lights on. It’s not as impressive as a fully lit 2 story, but it works for me.
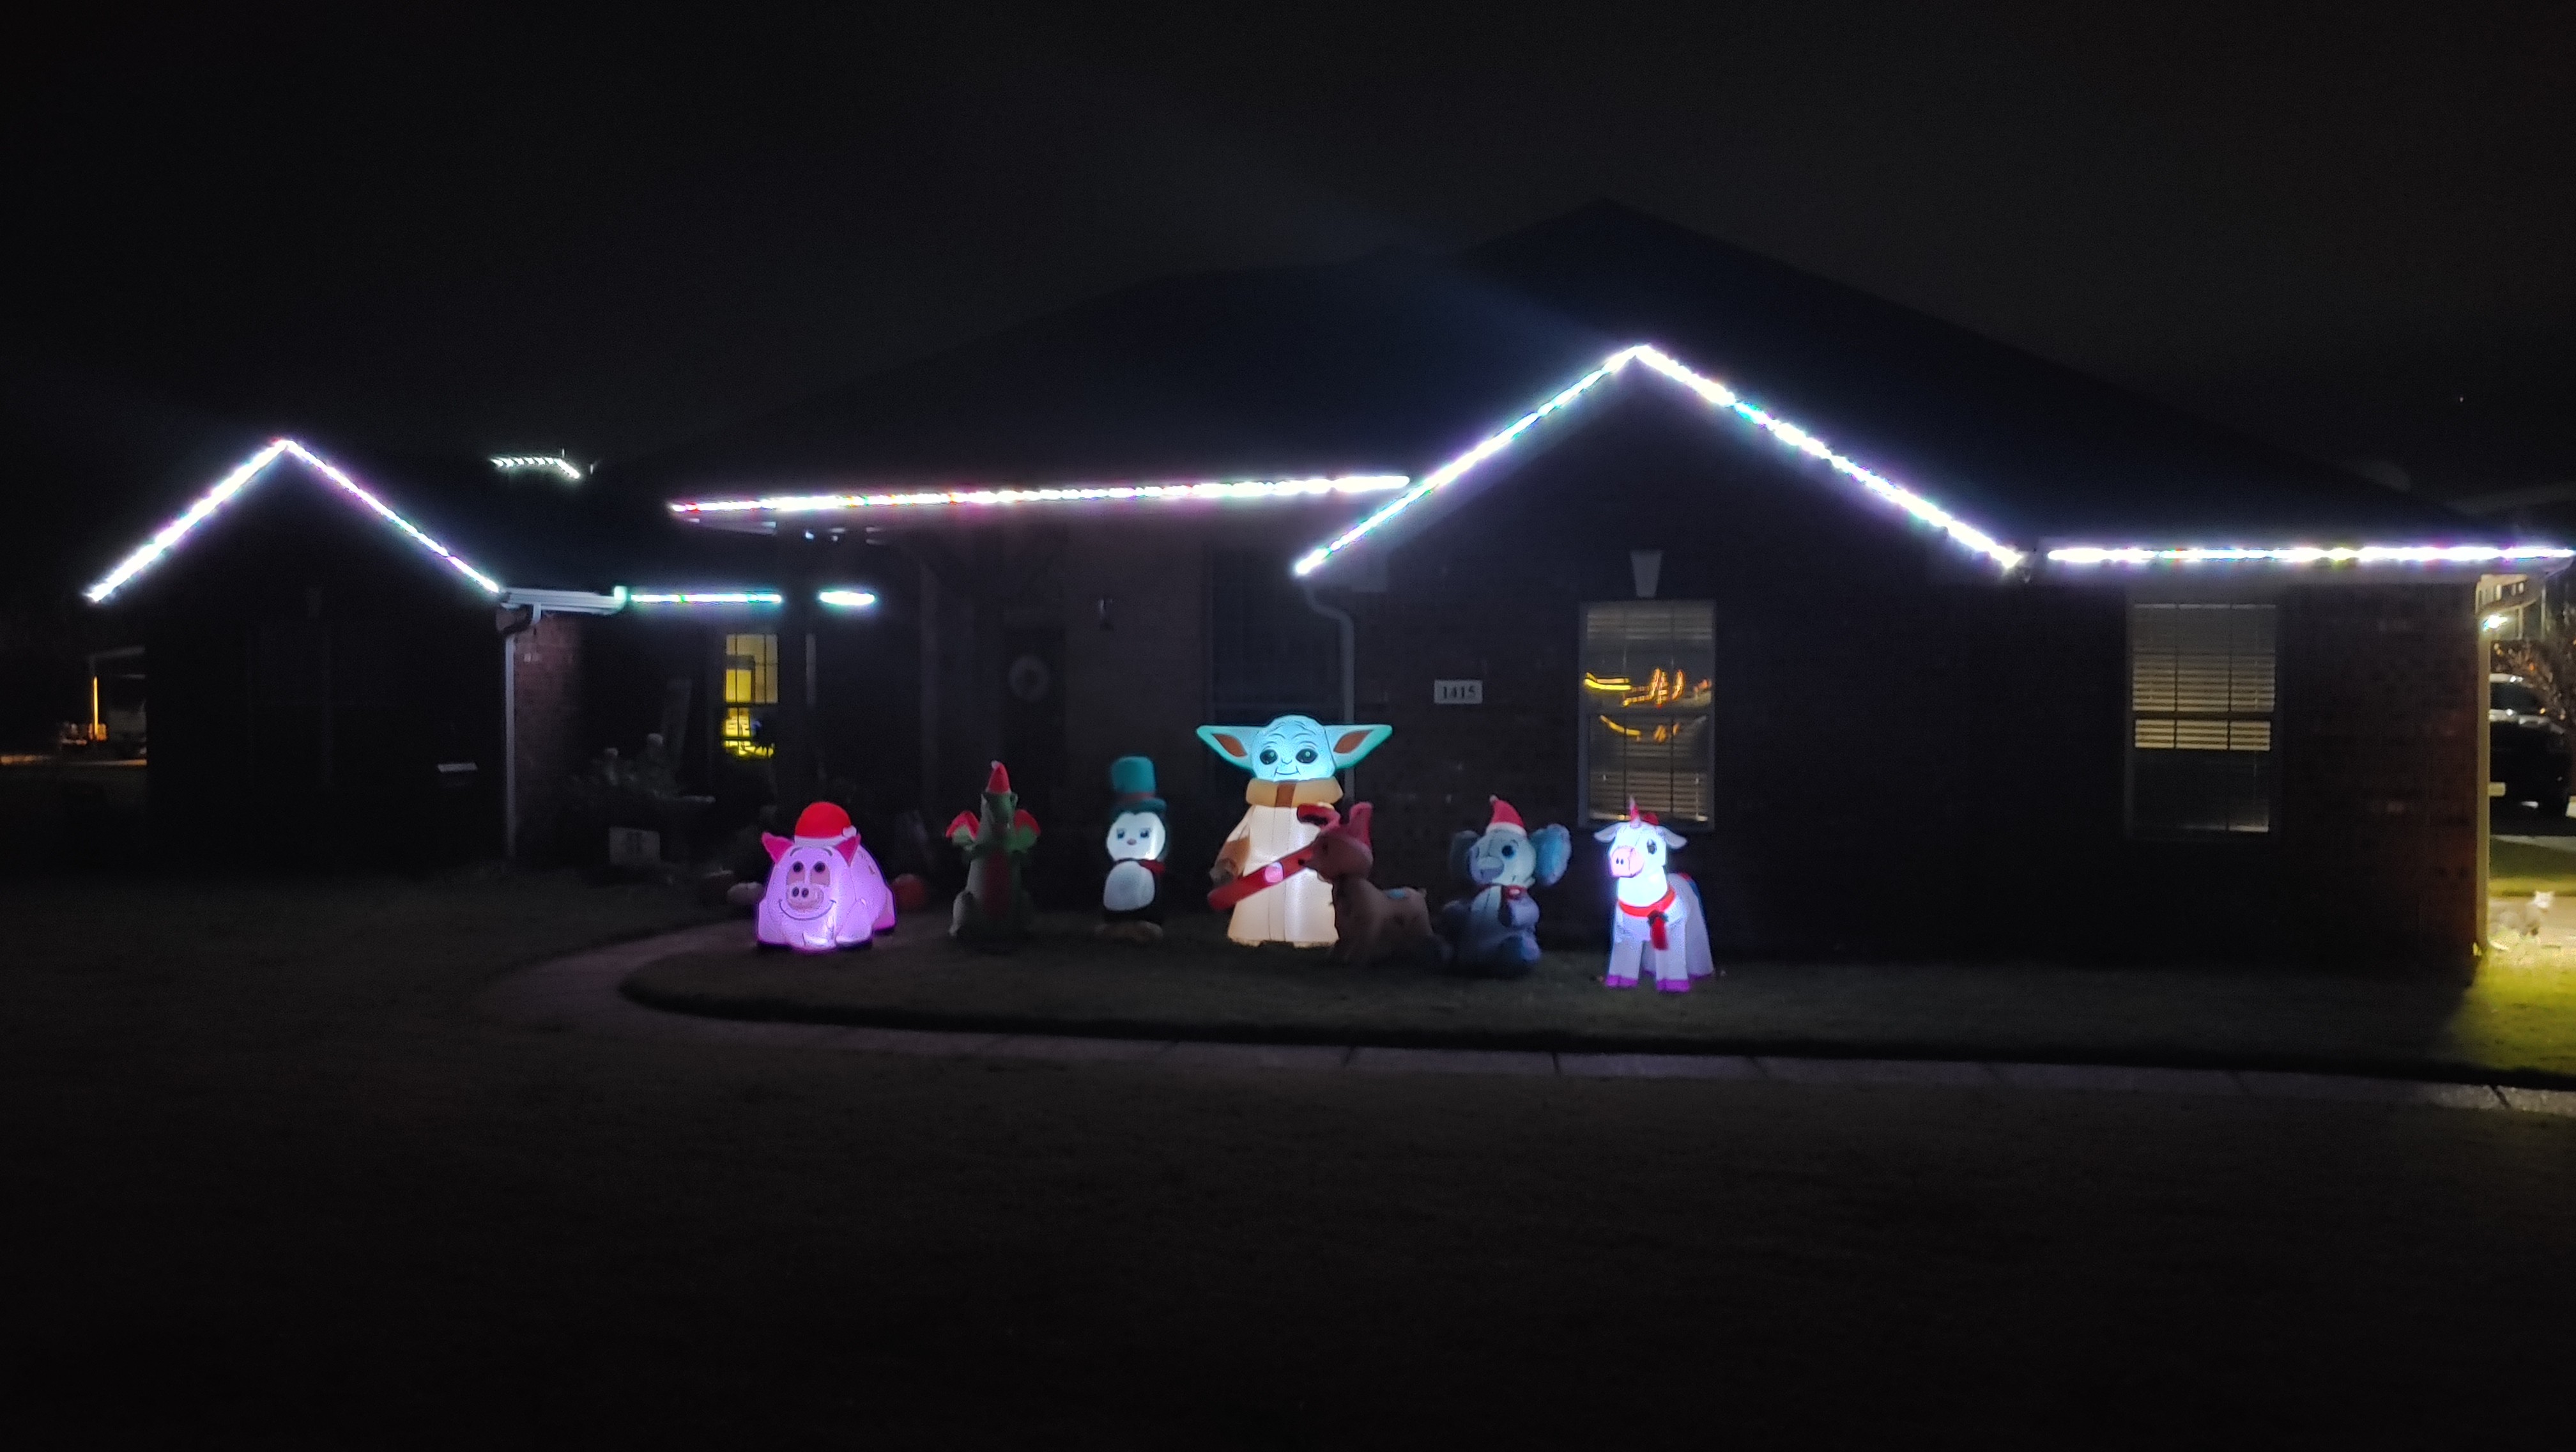
At some point I want to turn the windows into matrix and add verticals at each of the corners.
I also want to do skinny matrix on each of the columns. Just had too many projects this year.
8 Likes
That looks awesome.
I cut the wires on the blowups and run all the power lines back to a single 12v power supply and fuse block. It’s a lot more efficient than running 7 12v small supplies.
I also want to stick a pixel in each of the blowups so I can make them glow different colors.
1 Like
Do you know how much current they use? I am just curious.