I posted this a bit ago in a different thread but I wanted to include it in my build log for completeness.
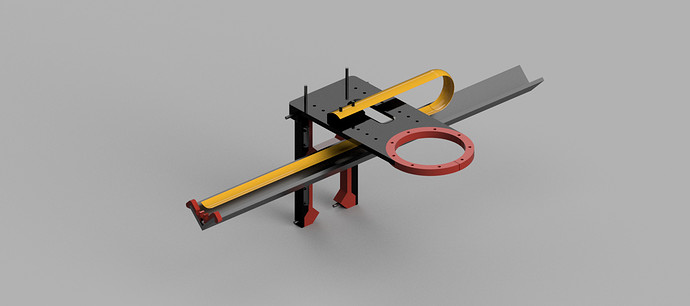
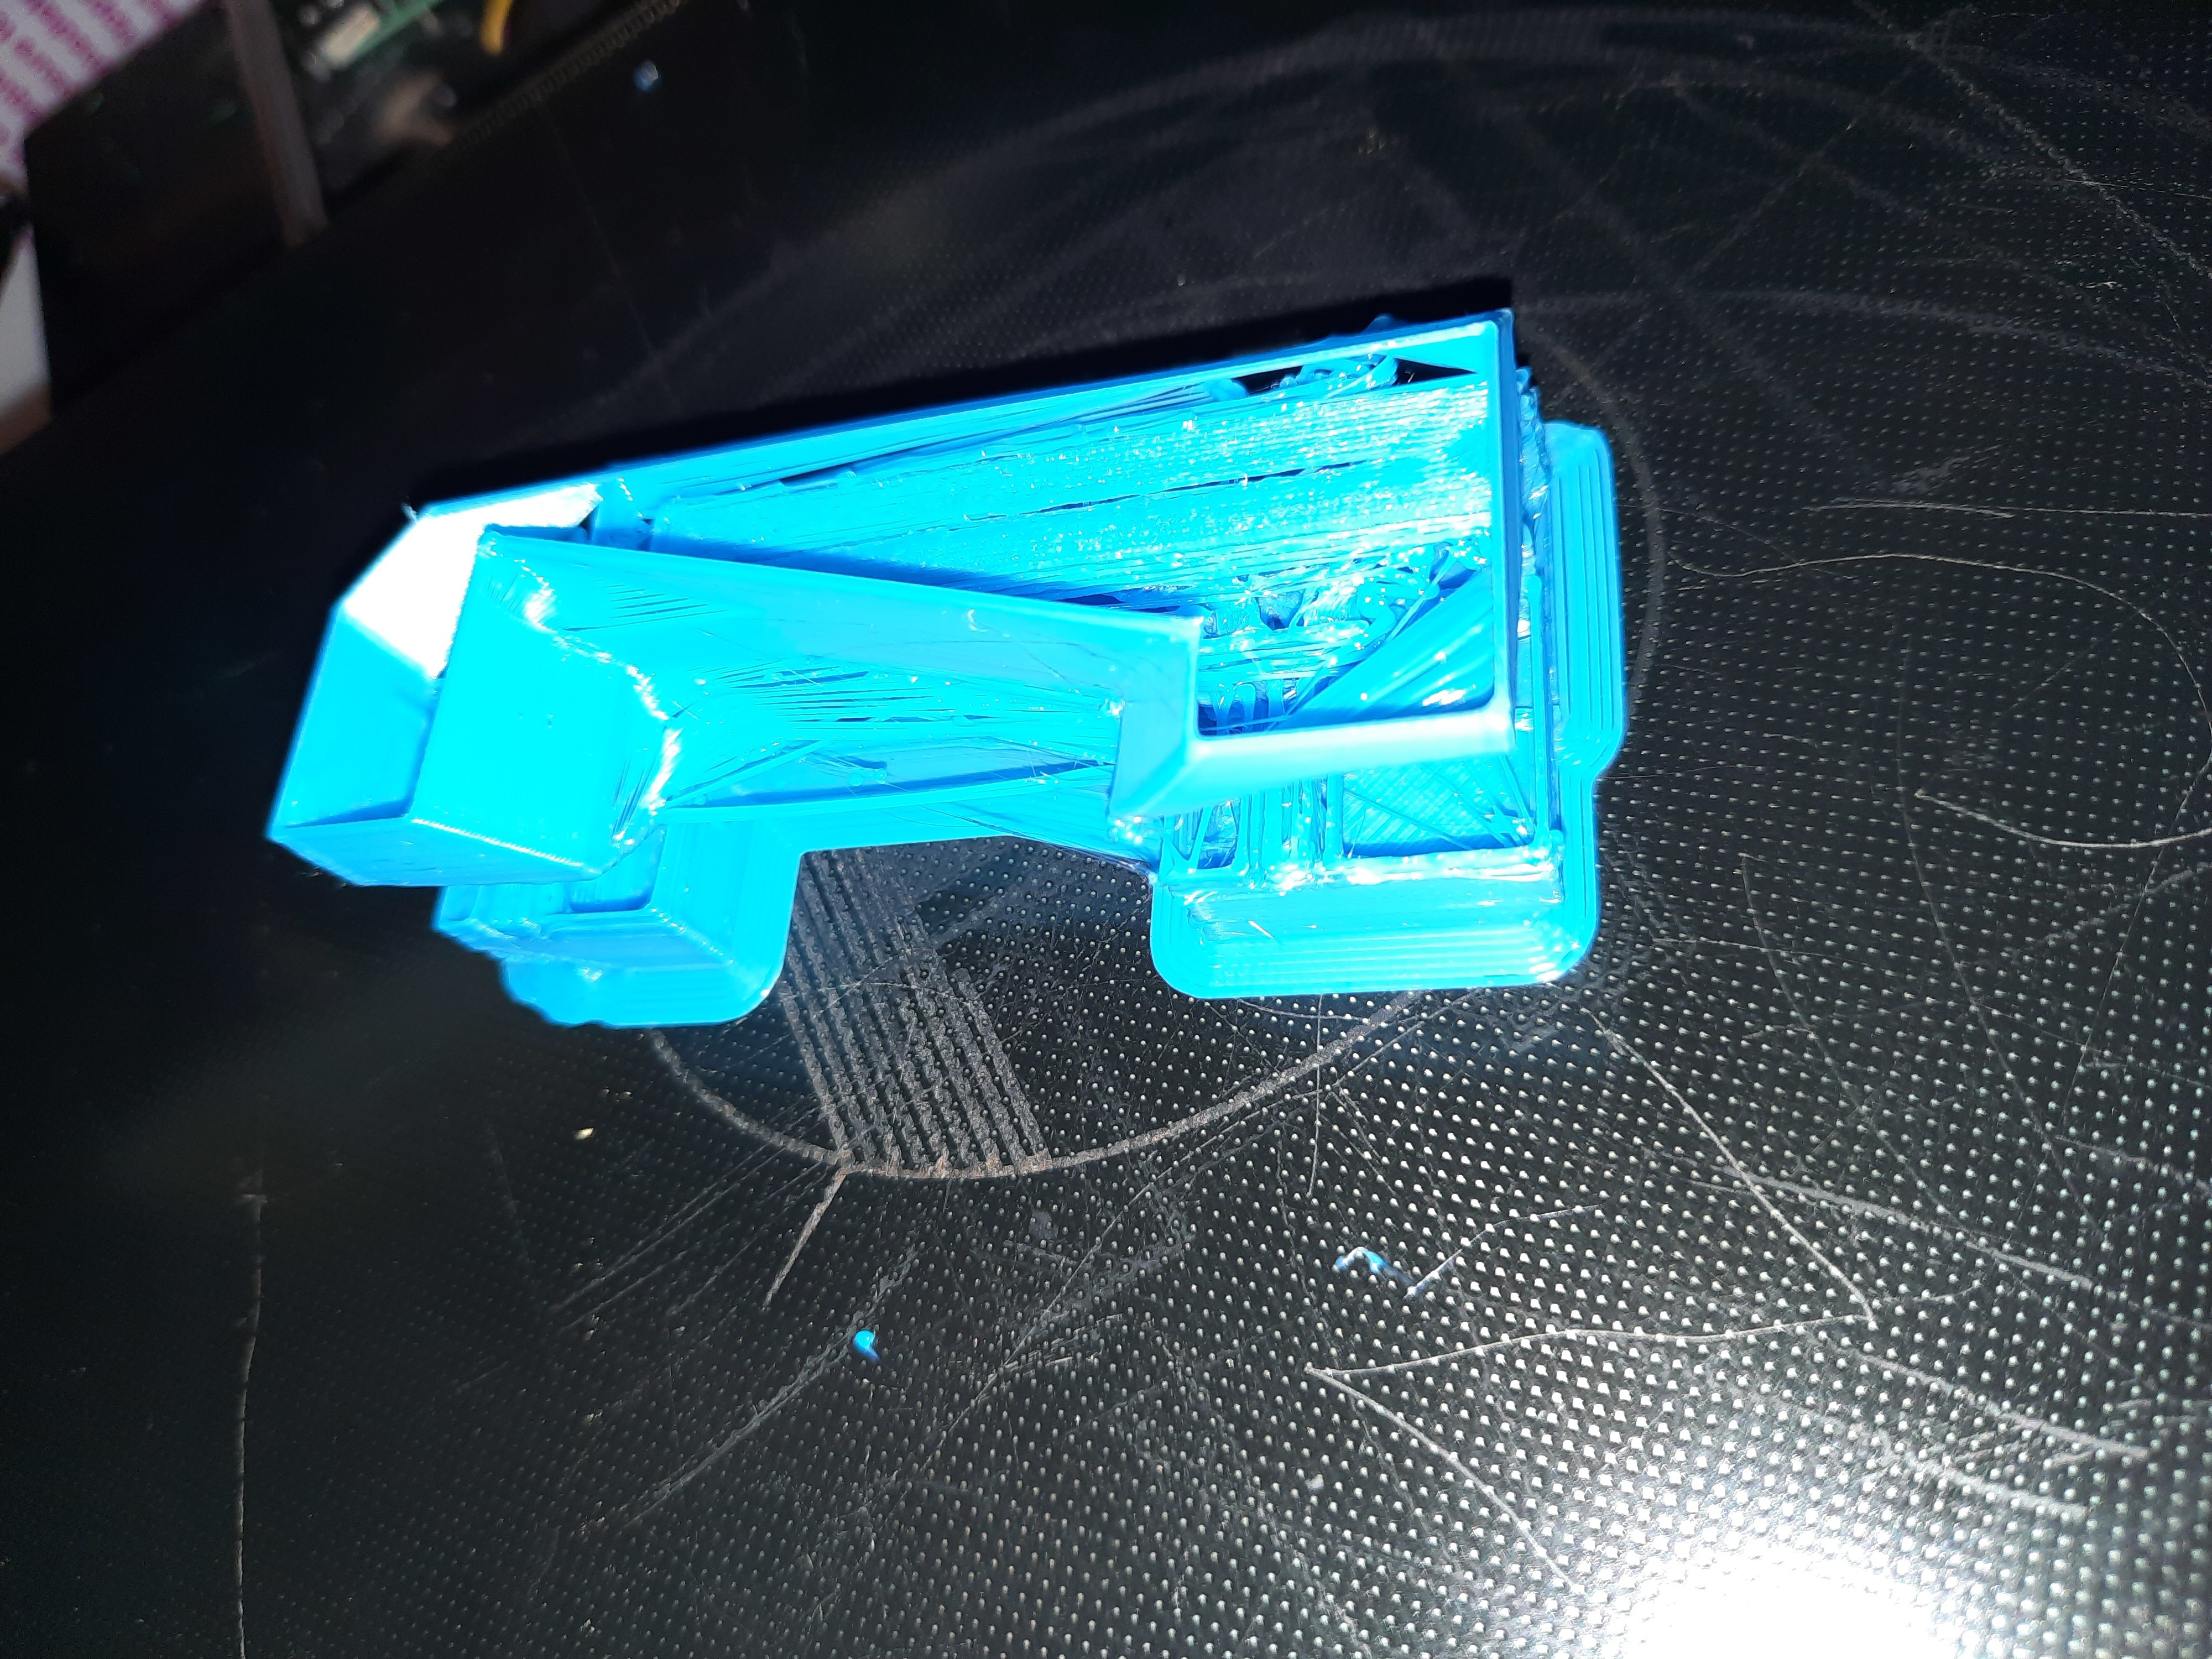
This is a Bridge that clips onto the lowrider2 X axis servo motor and to the router to receive the wiring bundle coming from the drag chain. It’s designed to fit the Makita 700 routers but should work with others as well.
This is so fantastic it’s got me thinking of scrapping my folding table (which still isn’t complete or good enough to share).
What an elegant way to have a table that breaks down so small. Even with a portable folding table, you still have a considerable (26" x 10’ in my case) footprint to deal with.
Being one who does not have a dedicated shop space at home, and one who shares a two car garage with my significant other along with a tractor, landscape tools and power tools, this will be a much easier sell than my table (which I have yet to have the cojones to bring home from the shop!)
FYI you shared the nc files not the dxf, I’m not sure my routing parameters will match what you use. If you could share the dxf’s that would be appreciated.
Yeah wasn’t sure about how I was going to attach the table to the rails so I padded the rails with 1x2s.
I guess you would want to attach the brackets directly to the rail and skip the padding if you wanted to have the spoil board be 49". I just use the extra space for lead ins when cutting full sheets.
Michael, unless I am misunderstanding, those two statements above contradict each other. Are the cradles 1.5" or 2.25" thick? On the plus side, at least it’s not metric
Hi Michael,
Thank you for sharing all this. Brilliantly executed I must say. I plan to do this table sometime in the future. Just a thought. I can’t tell whether it will work or not but it seems to me that for storage you could put the cradles length wise in the strut pieces and then set the lowrider on top of that and then just winch everything to the ceiling to keep it all safe. Just an idea. Might work.
Paul
I didn’t design it for that but you could. I have a short set of rails 12" long. I use those when storing them placing the Lr on top and placing the assembly on a pair of shelf brackets. I store the long rails separately.