Be sure to up the infill to about 50% with 4 perimeters I’ve had 1 fail that was printed at 20% with 2 perimeters from over tightening.
Man this is slick as owl s***!! I like the design! I was about to start building a second lowrider v2 and I might actually go with your design for portability, that’s pretty genius, kudos on your awesome engineering skills! Between Ryan’s killer CNC engineering, and your incredible table engineering, I could actually see this being like the ‘Kit’ one could obtain to get started. Again, can’t say wow enough here.
Can you tell me a little more info about the rails? 3" high, completely made of ply, but what size are the spacers and how far apart did you space them? Or does that really matter? And I would assume they’re as wide as the part on the cradle that they slide into?
Also, do you notice any flex in the center of the table at all when it’s loaded down with full sheets? I was thinking of building mine maybe with a 3rd cradle for the middle (sawhorse underneath as well) just to keep things super rigid unless it doesn’t flex any on yours, then maybe not lol
Anyway, thanks for sharing this brilliant idea, this is right on time 
It doesn’t really matter I have mine about 12" apart but I adjusted slightly to even them out over the span.
There isn’t much bow at all in the long direction the unistrut is pretty rigid and the drop in table sections are basically torsion boxes. Be very careful getting the clips correct as an error there will cost you accuracy.
The important thing is that the design depends on the sawhorses being level from side to side. They can be slightly different from each other but must be a level surface themselves. I shim mine but the holes on the cradle are for an adjustment bracket that I’ll get to some day.
1 Like
Hi there,
I was curious what you used for the guide rails on the side. I am working on building a similar machine and wanted to use something similar to what you have. Were you able to pick some up from a local hardware store? Idea of cost?
Thanks!
1 Like
I should have been more specific in stating I was noticing the metal square tube guide rails that the Y & Z gantry rides on. That is what my question was about.
Its electrical strut and can be found at home depot in 10 foot lengths for about $25. They are located in the electrical aisle. I used the narrower 3/4" but kind of wish I had used the wider 1.5".
I may not believe in destiny but man, this might make me a believer  I just got those exact sawhorses for christmas and have been watching some low rider videos on youtube in preparation for a a build…When it came time for a a prtable build, the EXACT thing I’m looking for comes up in the forums…
Anyways, fantastic design and thanks for sharing–I’ll post back when I’m done (hopefully soon…)
2 Likes
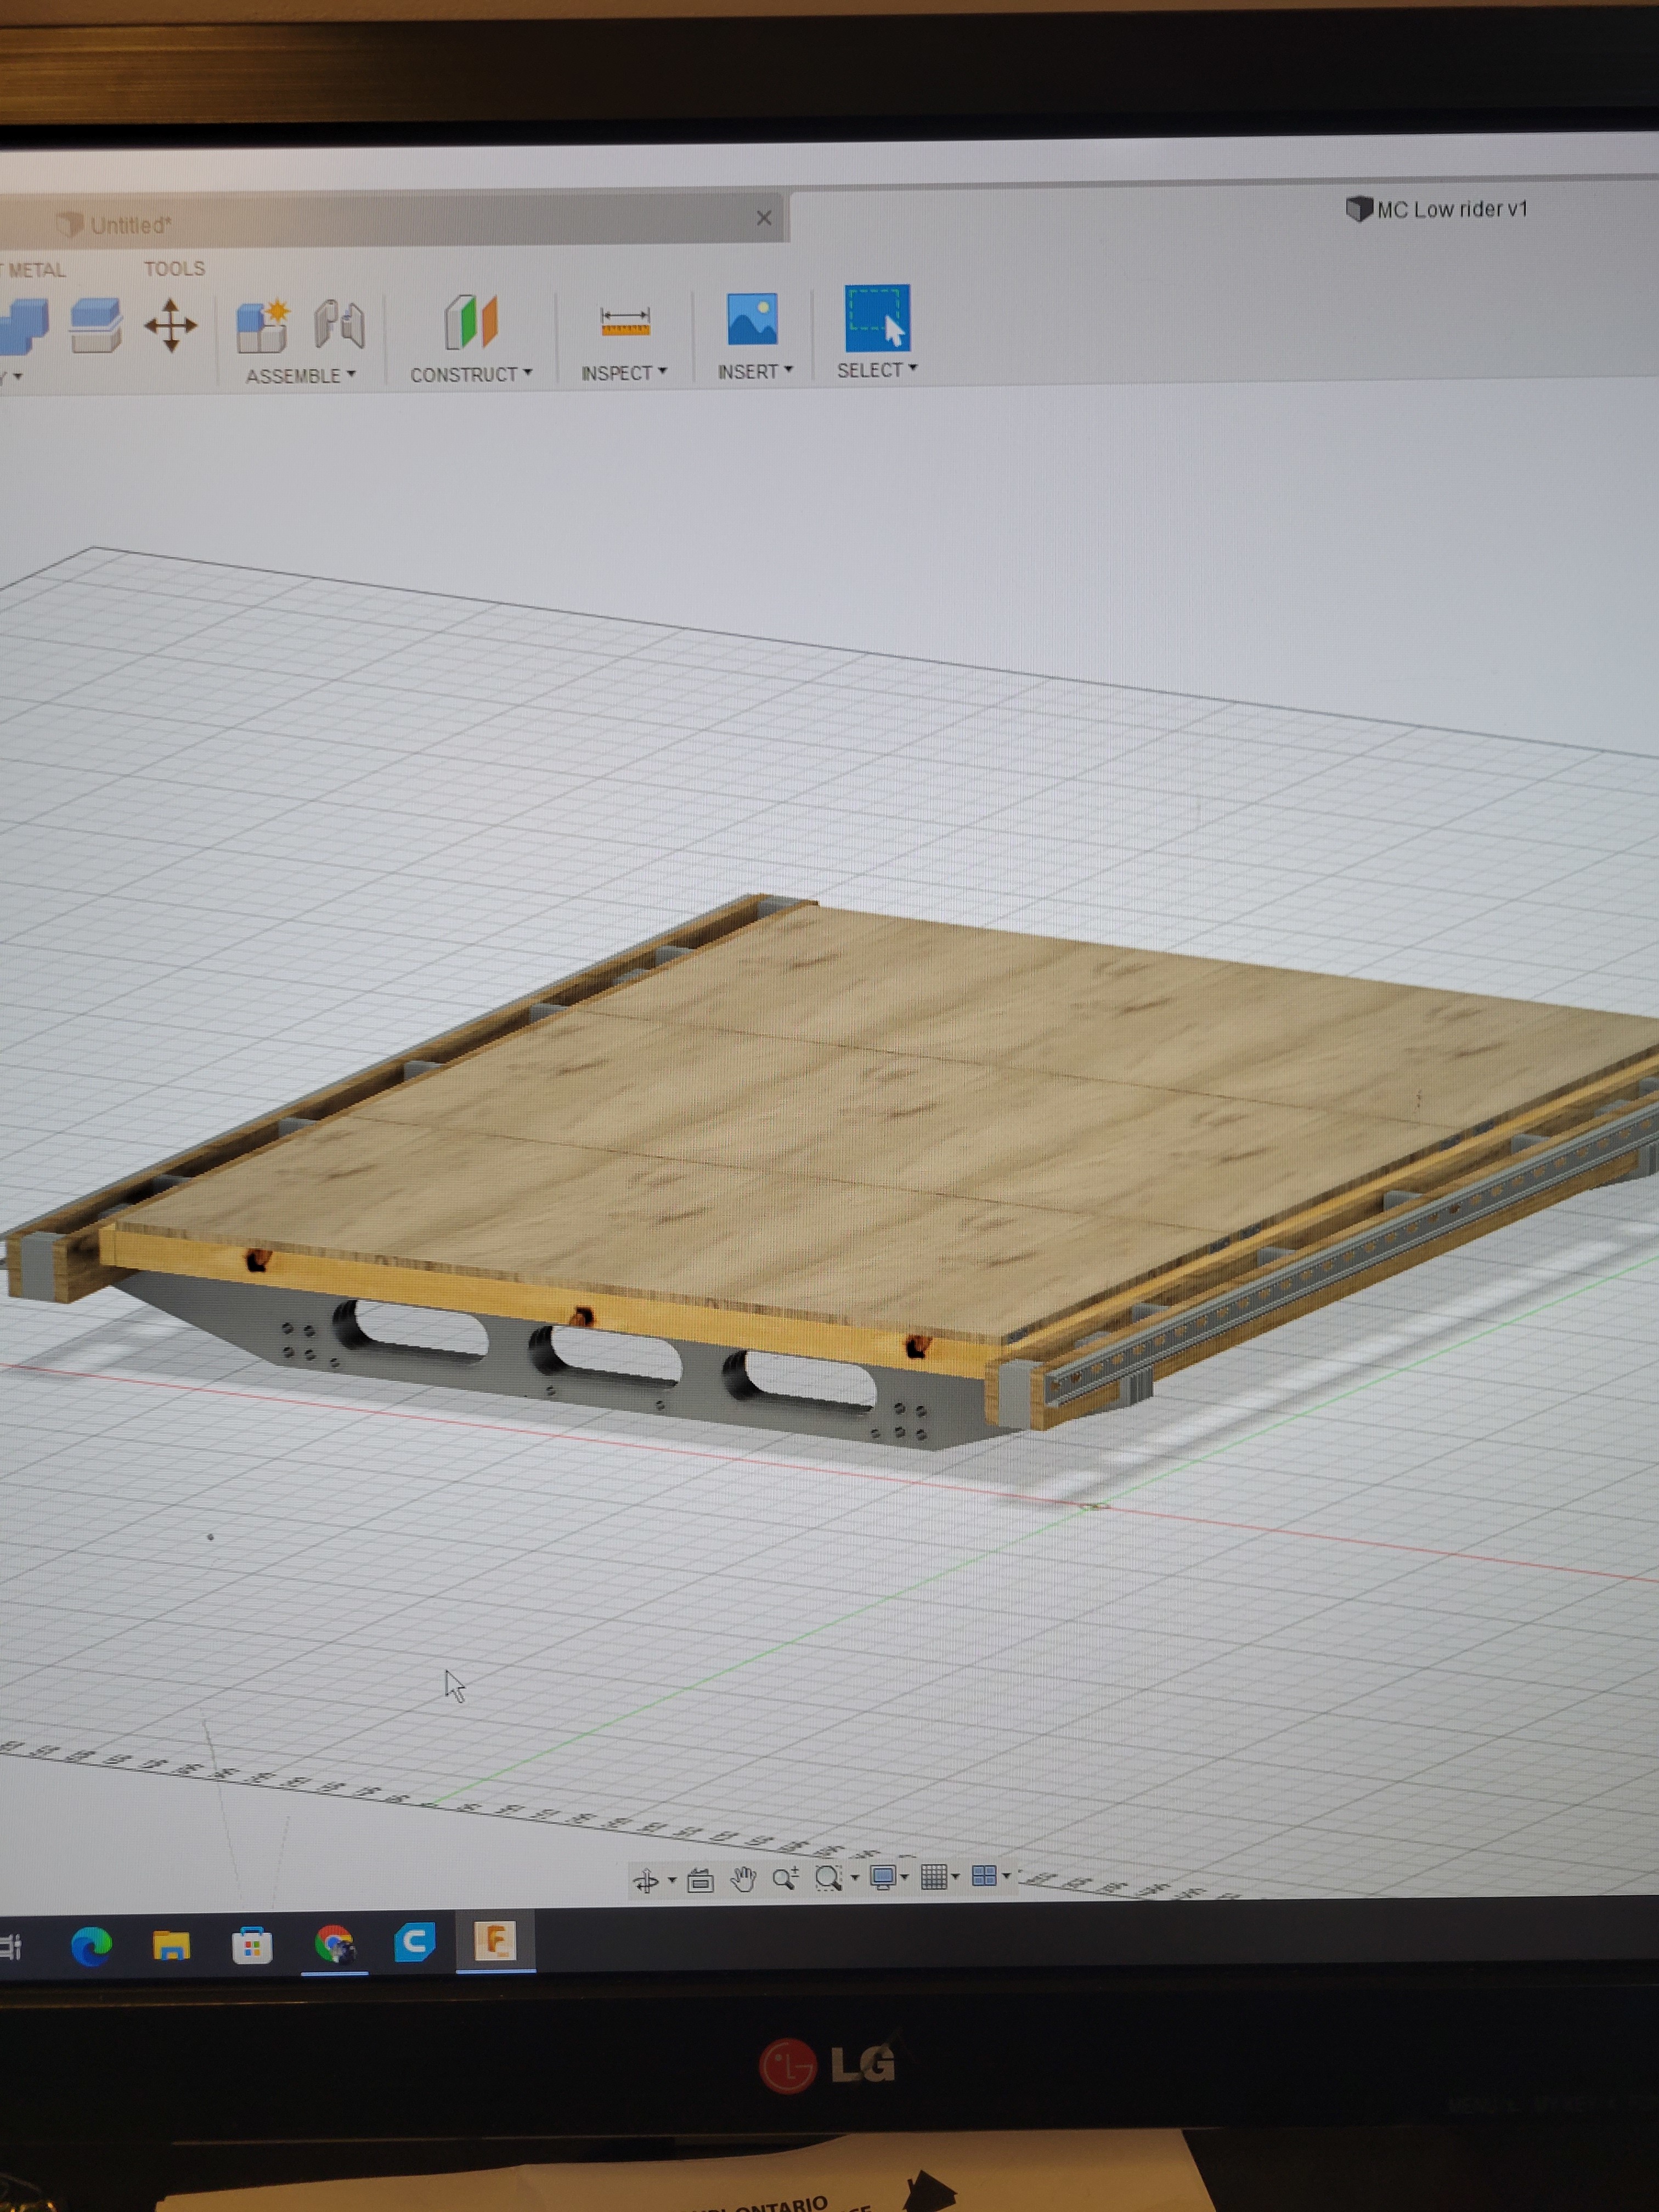
I put together the “MC low rider” in fusion 360. It’s just based off pictures and Michael’s dxf files…but I wanted to see it “as built” before I started ordering and cutting pieces.
Since it’s Mike’s design I’ll send it to him if desired and he can share with whoever…
5 Likes
Looks good to me. Flattered to see somebody using my ideas.
After using mine a bit I would design it for 2 panels or 4 (or both). What I’ve fount is that 72" isn’t very useful. 48x48 covers 90% of what I cut and the other 10% need the full 96" without much in between .
Good luck on your build!
Hi Stu -
Would you mind sharing those files? .dxf works fine (I’m in Rhino)… I’m struggling with how I want my platform/base to work, and the breakdown of this design has it as a front runner.
Like you, I need to see it CAD’d out though before I dive in. I am not that gifted in the shop to work without plans!
Andy
I’ve made some revisions but can send those to you…You’ll have to decide which version you want to go with.
1 Like
That’s too funny as I built my mine with scraps from my numerous shop mistakes. The brackets were designed to use what was laying around.
I’ve had good luck with mine but it does take some tuning each time you set it up. Level the sawhorses first. Next square the rails to the brackets. Finally establish your long axis offsets as you may not have the rails precisely lined up the same as the last time you used it set the offset using M666 and save it to firmware. Figure setup time of about 20 minutes to get it squared and ready to cut.
Mike - I love it! Quick question, did you use 8’ pieces of plywood for your long axis? I’d like to be able to handle the occasional 4x8 sheet.
I wasn’t sure if you spliced pieces to make it longer than 8’.
Thanks!
1 Like
Mine are 90" which gives me 74-75 inches of cutting space.You would need 10 foot ply or splice it to cut a full sheet.
@Mcunn So I have progressed quite a bit with your design and am now giving some thought to how to store it when not in use. How did you store the main LR body in your setup? All I can think of is using a few ladder supports on the wall and hanging it off that…
2 Likes
The plan was to build 2 stubby rails and mount them to the wall so it sits on its wheels just like when in use… haven’t gotten around that one yet and for now I just keep it on a shelf.
This is fantastic! I posted in “advise” looking for a modular portable table design for very large format projects. What I described, or at least what I had in my head, is exactly what you have here. I’m building the new LR3, and will adapt this overall concept and design to fit the form and function of the LR3.
2 Likes
Agreed- this break down table is an awesome example of ingenuity. I’m also currently building an LR3 and immediately saw that this format would be perfect for my small shop. I’m considering using my current outfeed table to support the LR3 so it can cut parts for its own table.
1 Like
Keep in mind you will need to tweak the bracket for a lr3 if you want to cut full sheets I think my design is about 2,5 inches too narrow for lr3.
1 Like
Yep, got it.
I was curious- did you consider using the ‘2x4’ sized holes in your saw-horses to place the perpendicular rails, essentially the saw horses act like the cradle? Just something that came to mind when I saw the second pic in the post
Thanks