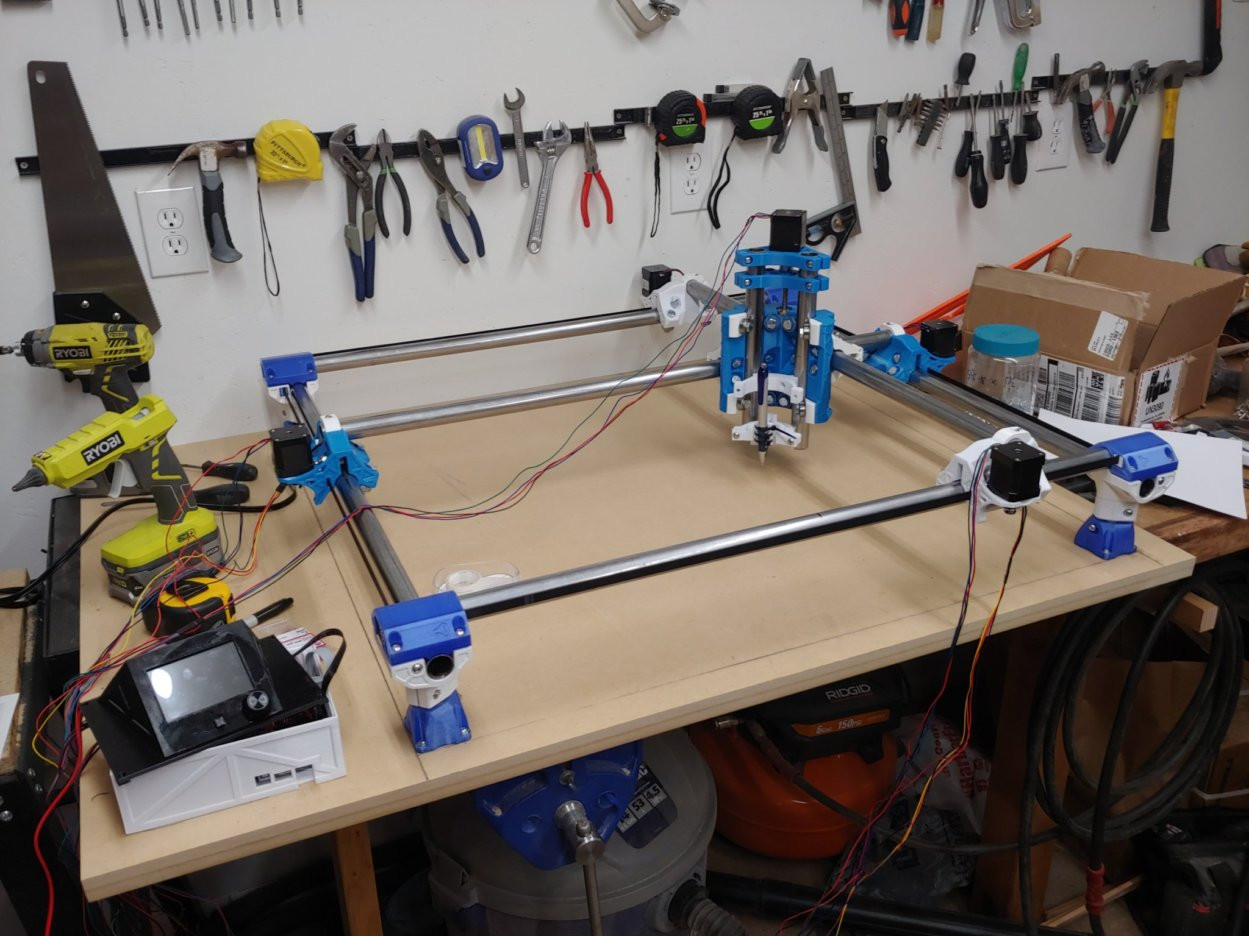
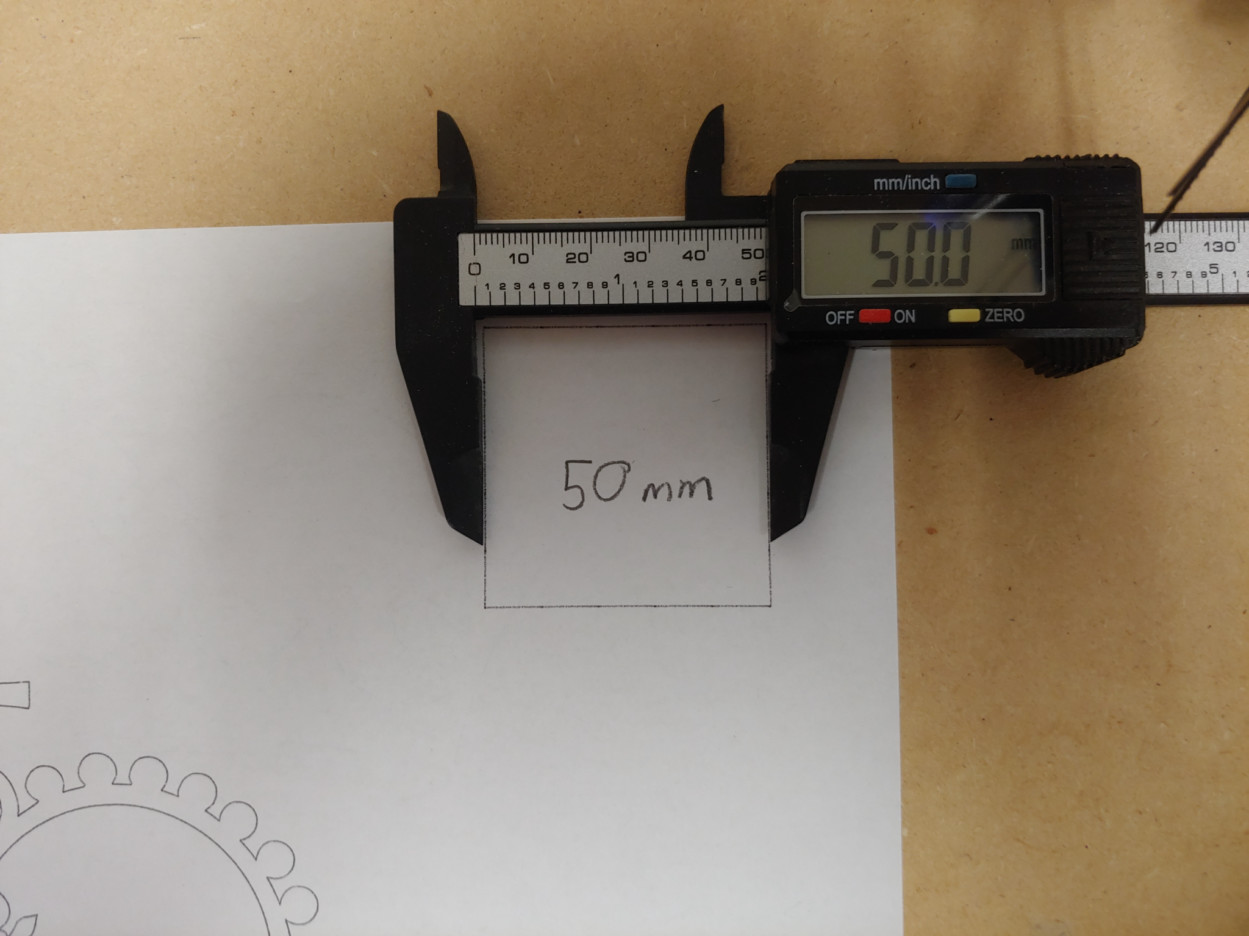
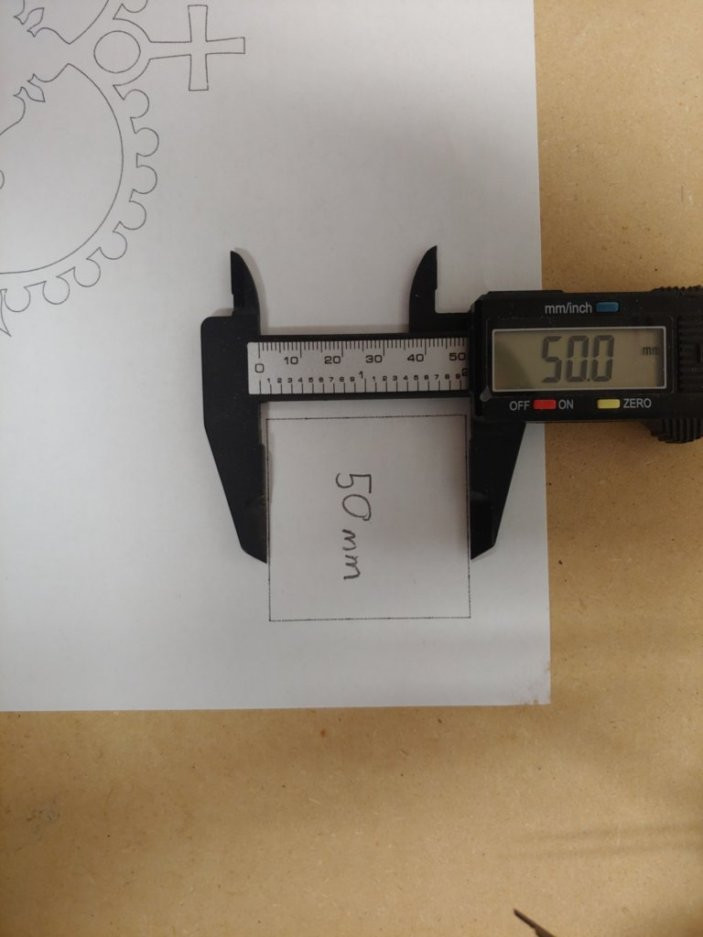
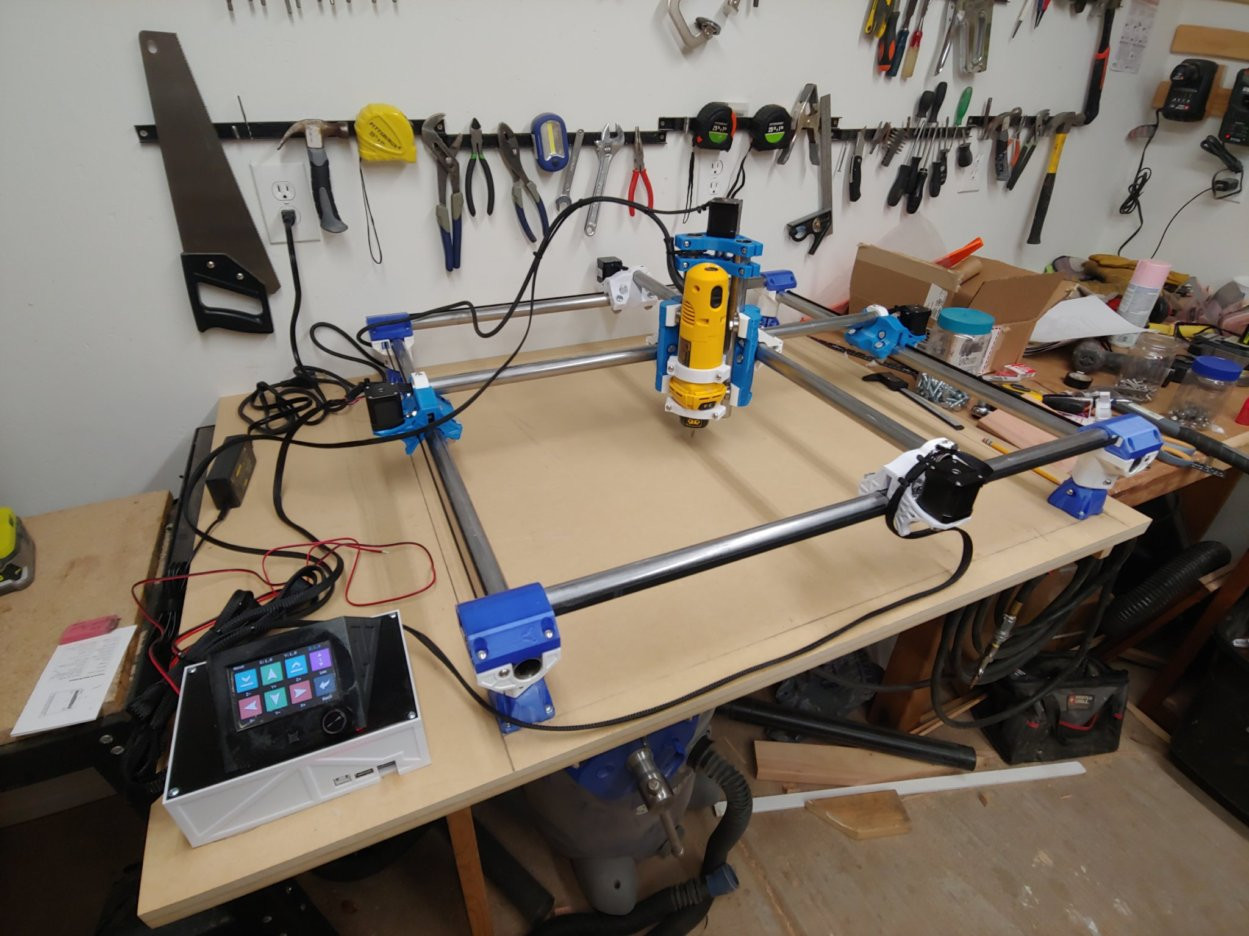
My first build is alive! The build area is 24" x 20" using both PETG and PLA to print the parts and 1" steel tubing for the rails. Everything looks to be working well and fairly accurate, I printing a 50mm square and it may be just a little small particularly along the Y but is very close. I know the wires are still a mess, I am waiting for some braided wire loom to arrive today to clean that up as well as fans to install in the electronics box but I am extremely happy it has gone well so far. Check out the pictures and plotting video and let me know what you think, I would love suggestions on how to improve it. Thank you Ryan for sharing the design and sourcing parts.
You got it, I am going to get the wiring and electronics cleaned up and I need to learn how to use ESTLCam but I have a DW660 ready to mount up and get it dirty as soon as I can.
I made some progress getting the wires sleeved and the electronics buttoned up last night, and this morning got a raspberry pi with V1Pi connected to control the machine so I don’t have to keep running SD cards back and forth.